
DIY Custom Mudroom for Under $200 Reveal

This is a sponsored post written in conjunction with Minted. All opinions are 100% mine.
Ever scrolled through Pinterest lusting after gorgeous mudrooms with built-in benches and custom millwork?… Or am I just a lone weirdo?

For quite some time, I had grandiose visions for our fixer upper home. Then , we ran into some major setbacks and our reno budget began to spiral out of control. But sometimes, problems can create practical solutions.
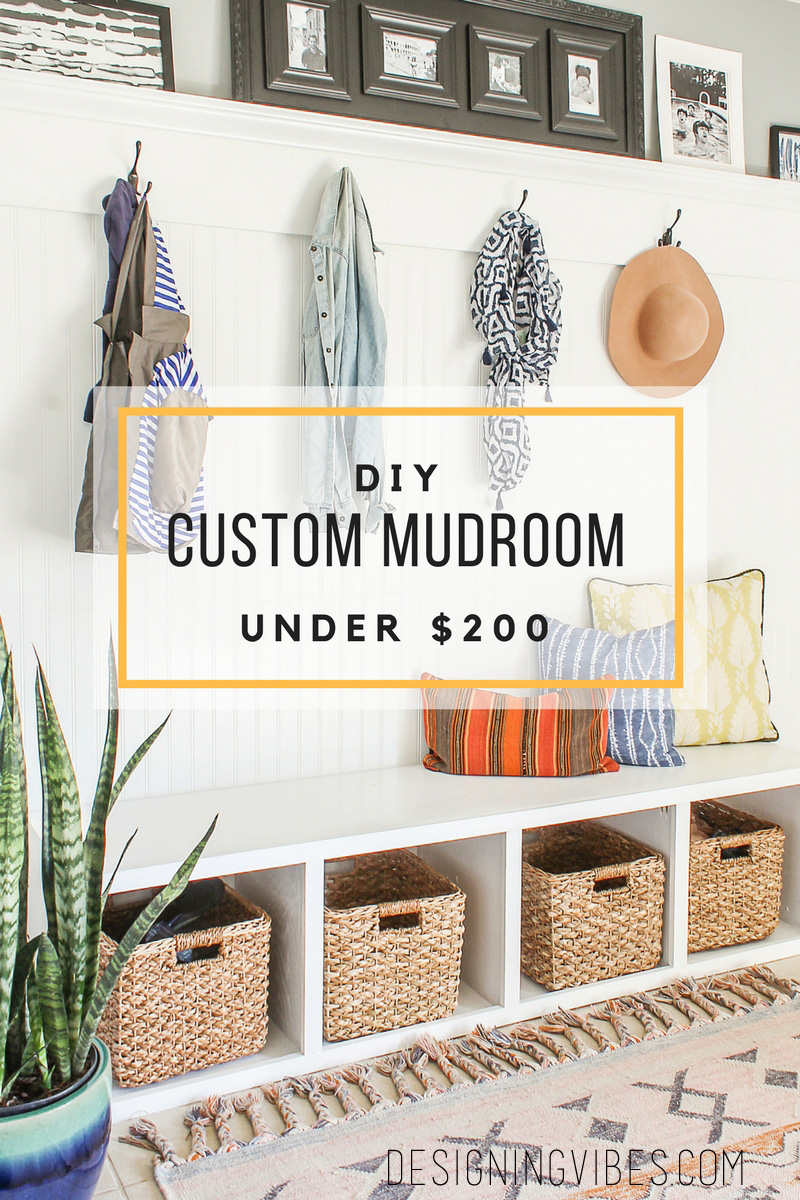
Dreaming of a mudroom bench but don’t have a pot to piss in? Well, today I am going to share with ya’ll how we built a custom mudroom for under $200. (Updated 11-6-19: Scroll to the bottom to see this space now painted with white walls and new tile flooring)
For your convenience, I have included some affiliate links. That simply means if you click on one of the links and buy something, I receive a small commission, but don’t worry… you won’t pay a dime more.
Materials:
-
- pocket screws
- 3” wood screws
- 18 ga brads
- wood of choice
- Kreg Jig

- circular saw or table saw
- 1×2
- beadboard
- 1×3
- 1×6
- 8D finish nails
- 6D finish nails
- white oil-based paint
- paint roller and paint brush
- caulk
- coat hooks
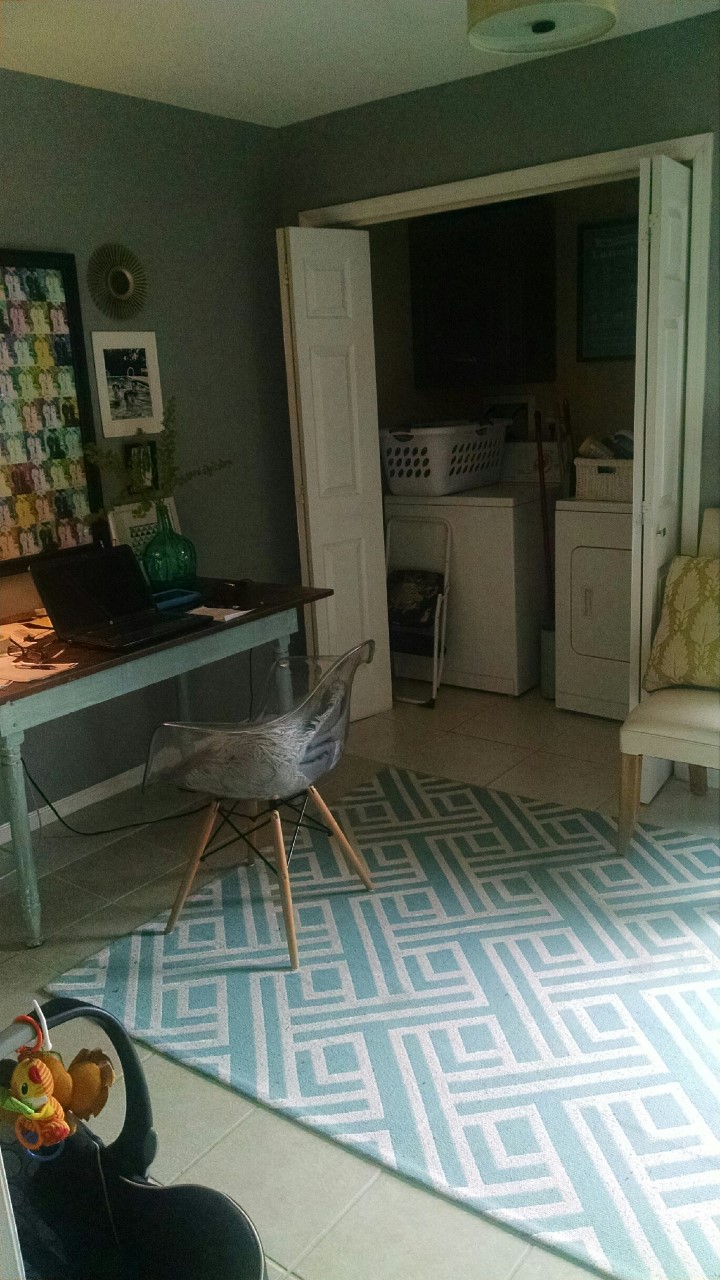
Before:
Please forgive me for not having pictures of each step. My husband actually took pictures on his phone, and a few days later his phone completely died. Unfortunately, we could not retrieve the pics. For visual aide, I created a diagram below.
- Have sheets of wood cut to preferred bench dimensions. (Because we had a closet door to contend with, we chose not to build a bench the entire length of the wall. We centered it along the wall, with a foot of space on each side of the bench so that we could still open our closet door.
- With brads, attach beadboard sheets to wall making sure to attach to studs.
- Attach anchor plate to wall using 3” wood screws.
- Attach bottom plate to anchor plate by drilling pocket holes on edge that meets the anchor plate, securing with pocket screws.
5. Drill pocket holes on vertical supports on attaching edges (anchor plate, bottom plate, top plate) and attach to bottom plate and anchor plate with pocket screws.
6. Attach top plate to vertical supports with pocket screws.
7. Attach top plate to anchor plate with pocket holes and screws.
8. Attach top moulding (1×6 wide) to studs using 8D finishing nails.
9. Attach side mouldings (1×3) with 2” brads or 6D finishing nails.
10. Using circular saw or table saw, cut backing plate for crown moulding from 2×4 at 45 degrees.
11. Attach backing plate to studs with 6D finish nails.
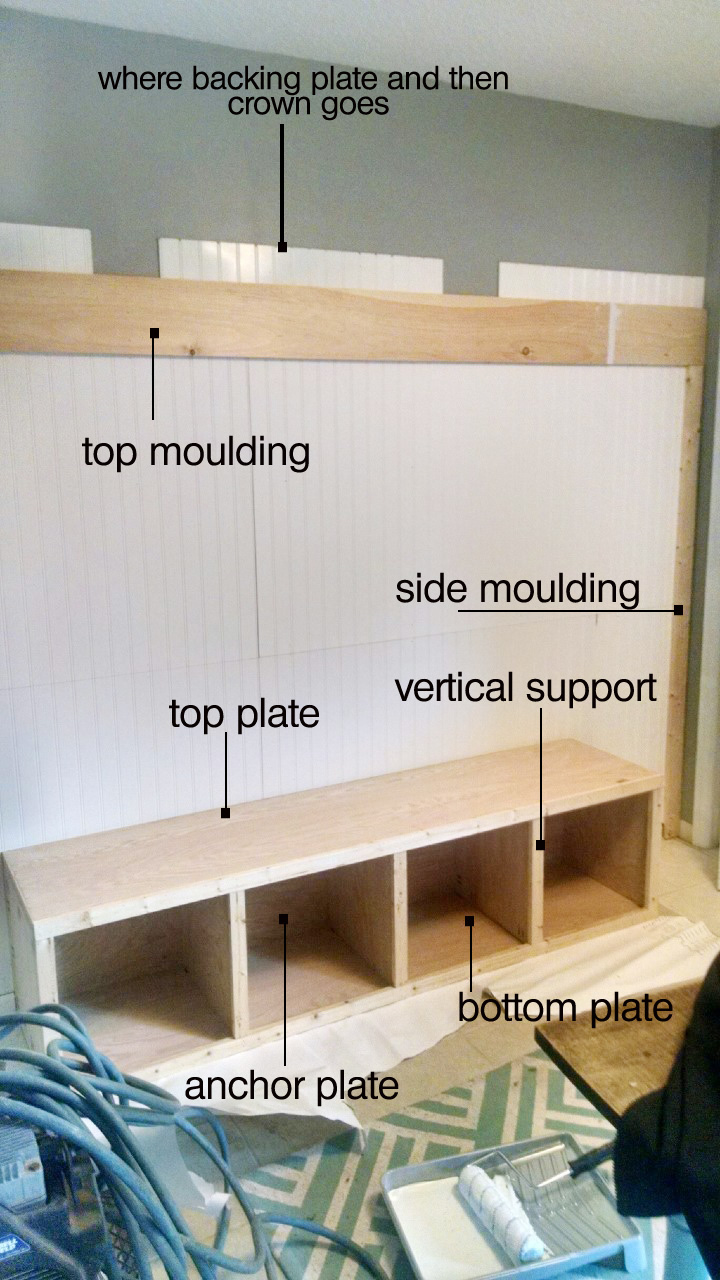
12. Attach crown molding to backing plate with 2” brads.
13. Spackle and sand as needed.
[embed_popupally_pro popup_id=”2″]
14. Apply one to two coats of oil-based primer before applying oil-based white (gloss finish) paint with a paint roller. Then allow to dry overnight. I then did my top coat of paint with a brush (makes for a nicer texture).
15. Once paint has dried, caulk as needed.
16. Attach coat hooks.

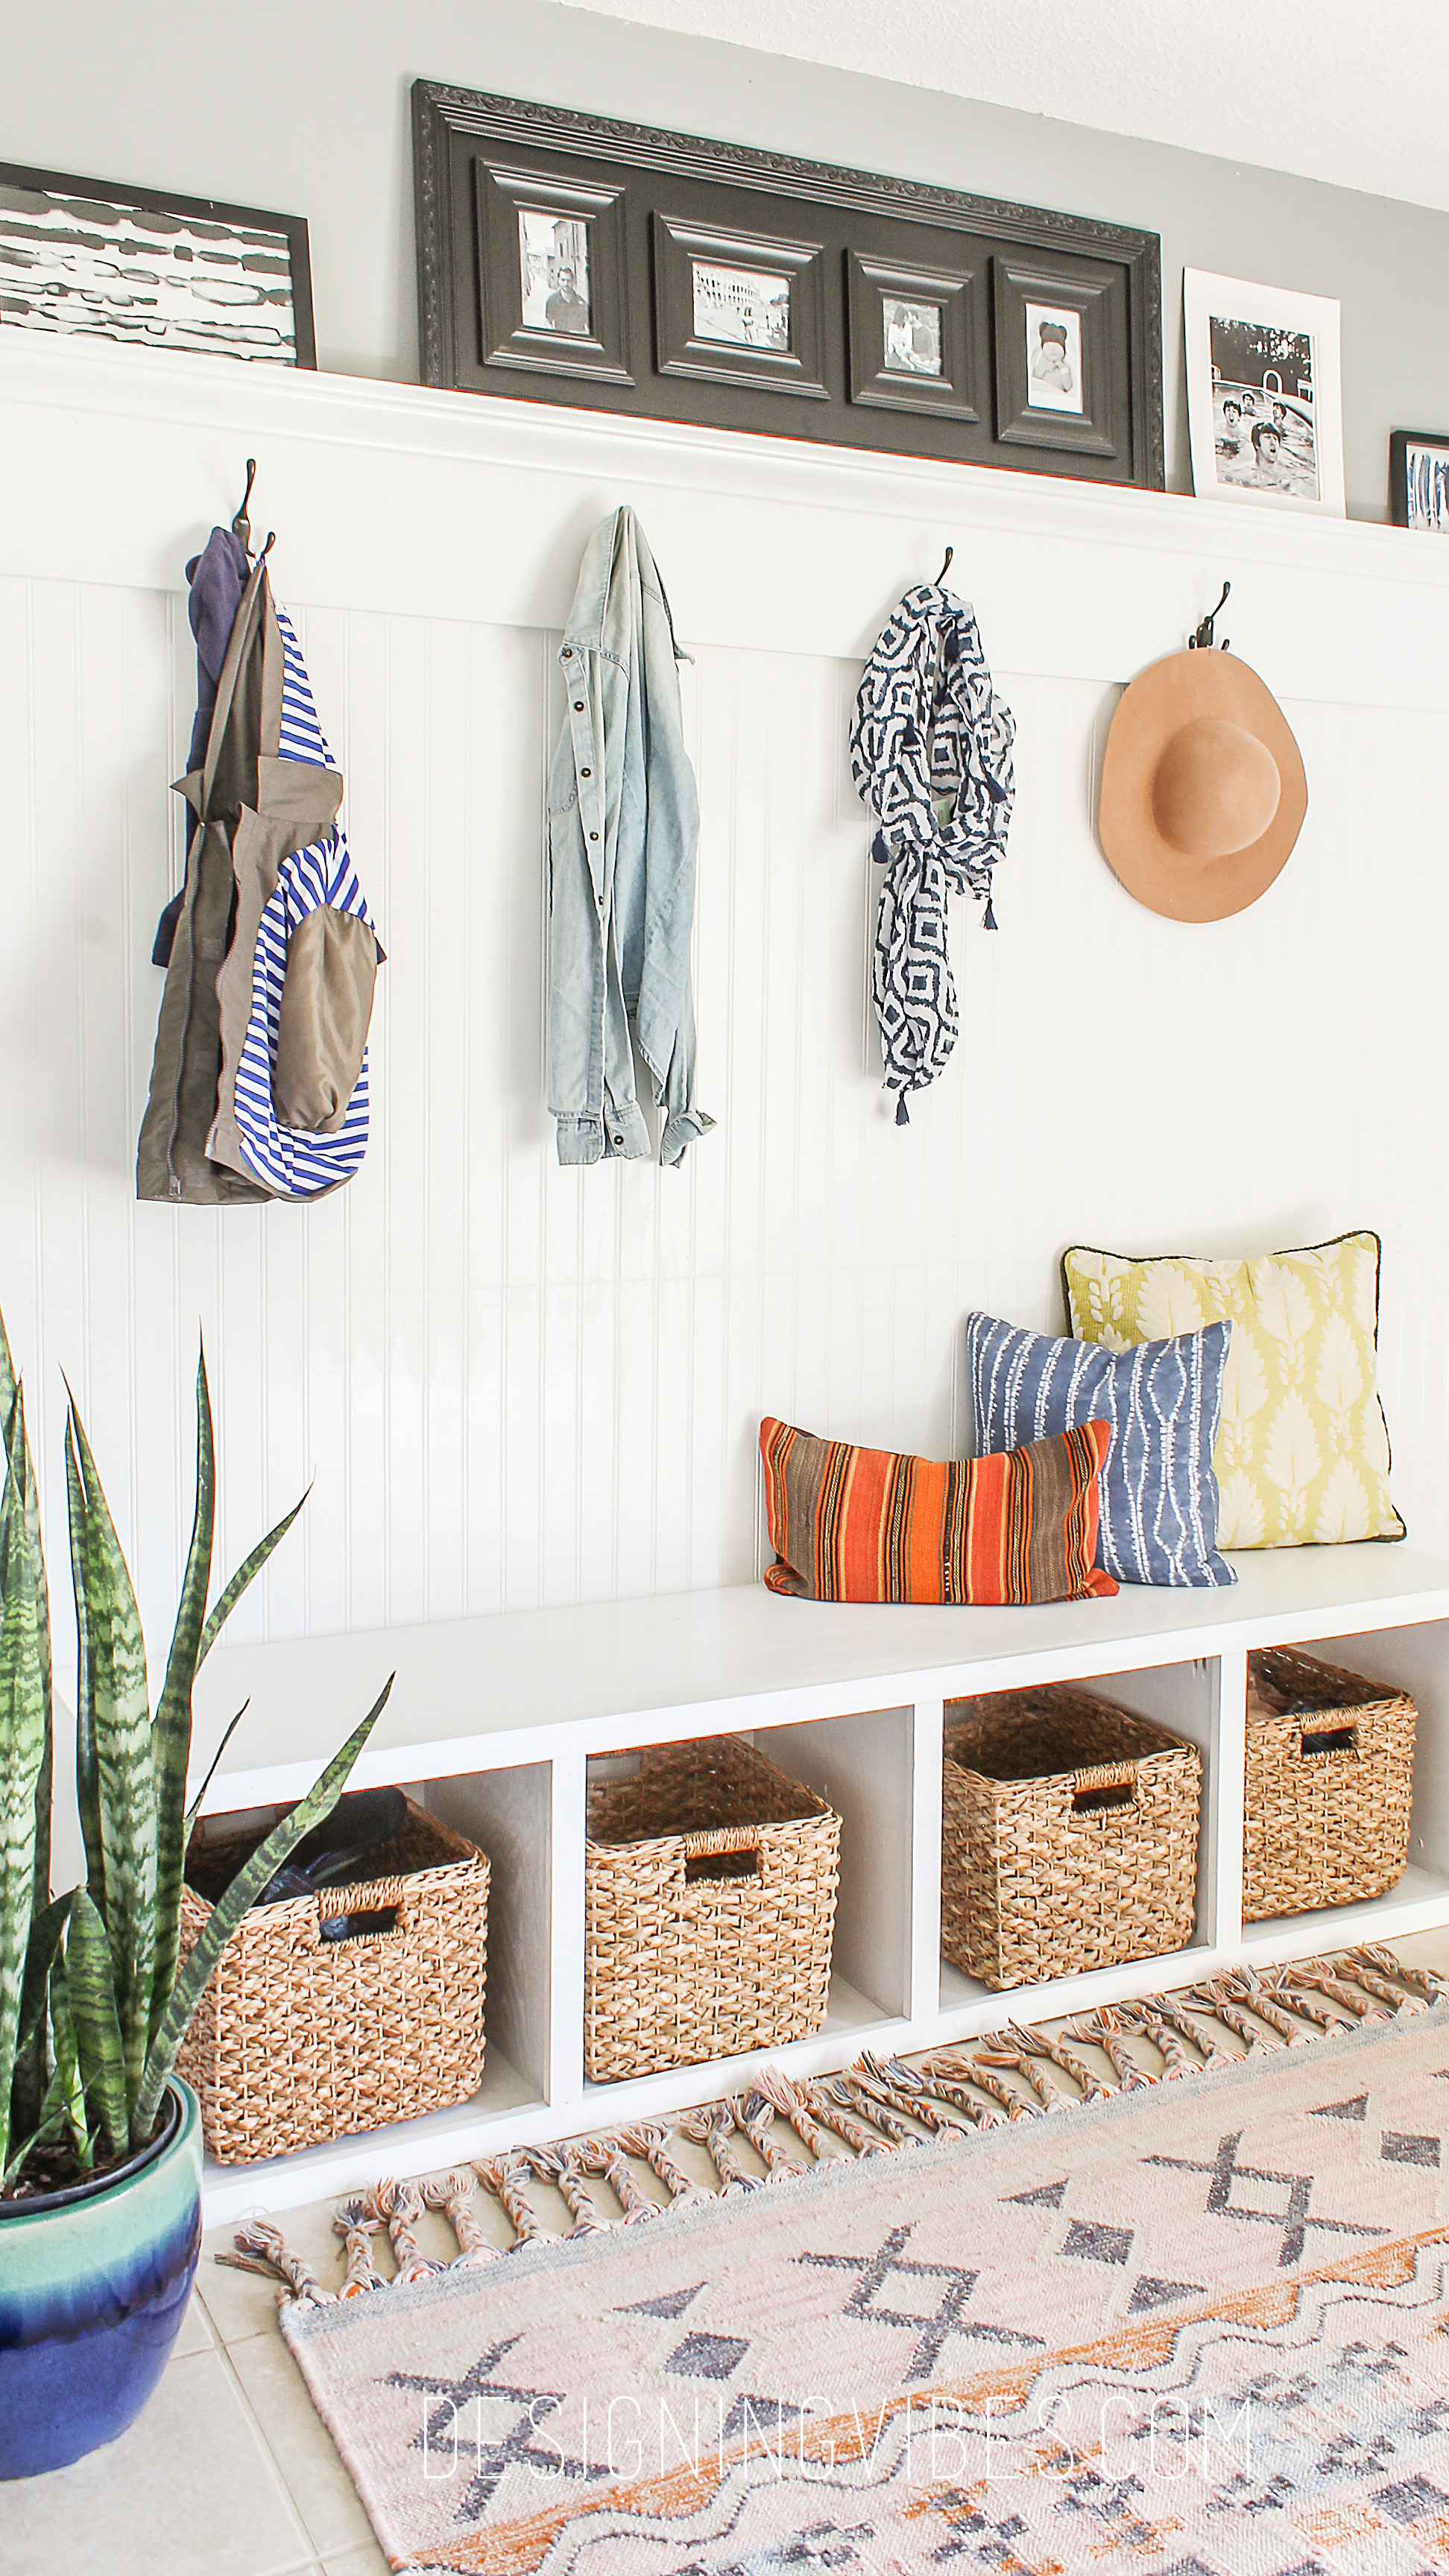
This project took about a weekend to complete, but it had such a dramatic impact on our home. Not only do I think it is visually pleasing, it is such a functional and practical space for me and my family. It is going to be so handy when we have guests over for pool parties this summer.
And guys, I am absolutely obsessed with this art work I received from Minted. Actually, you can purchase your own here.
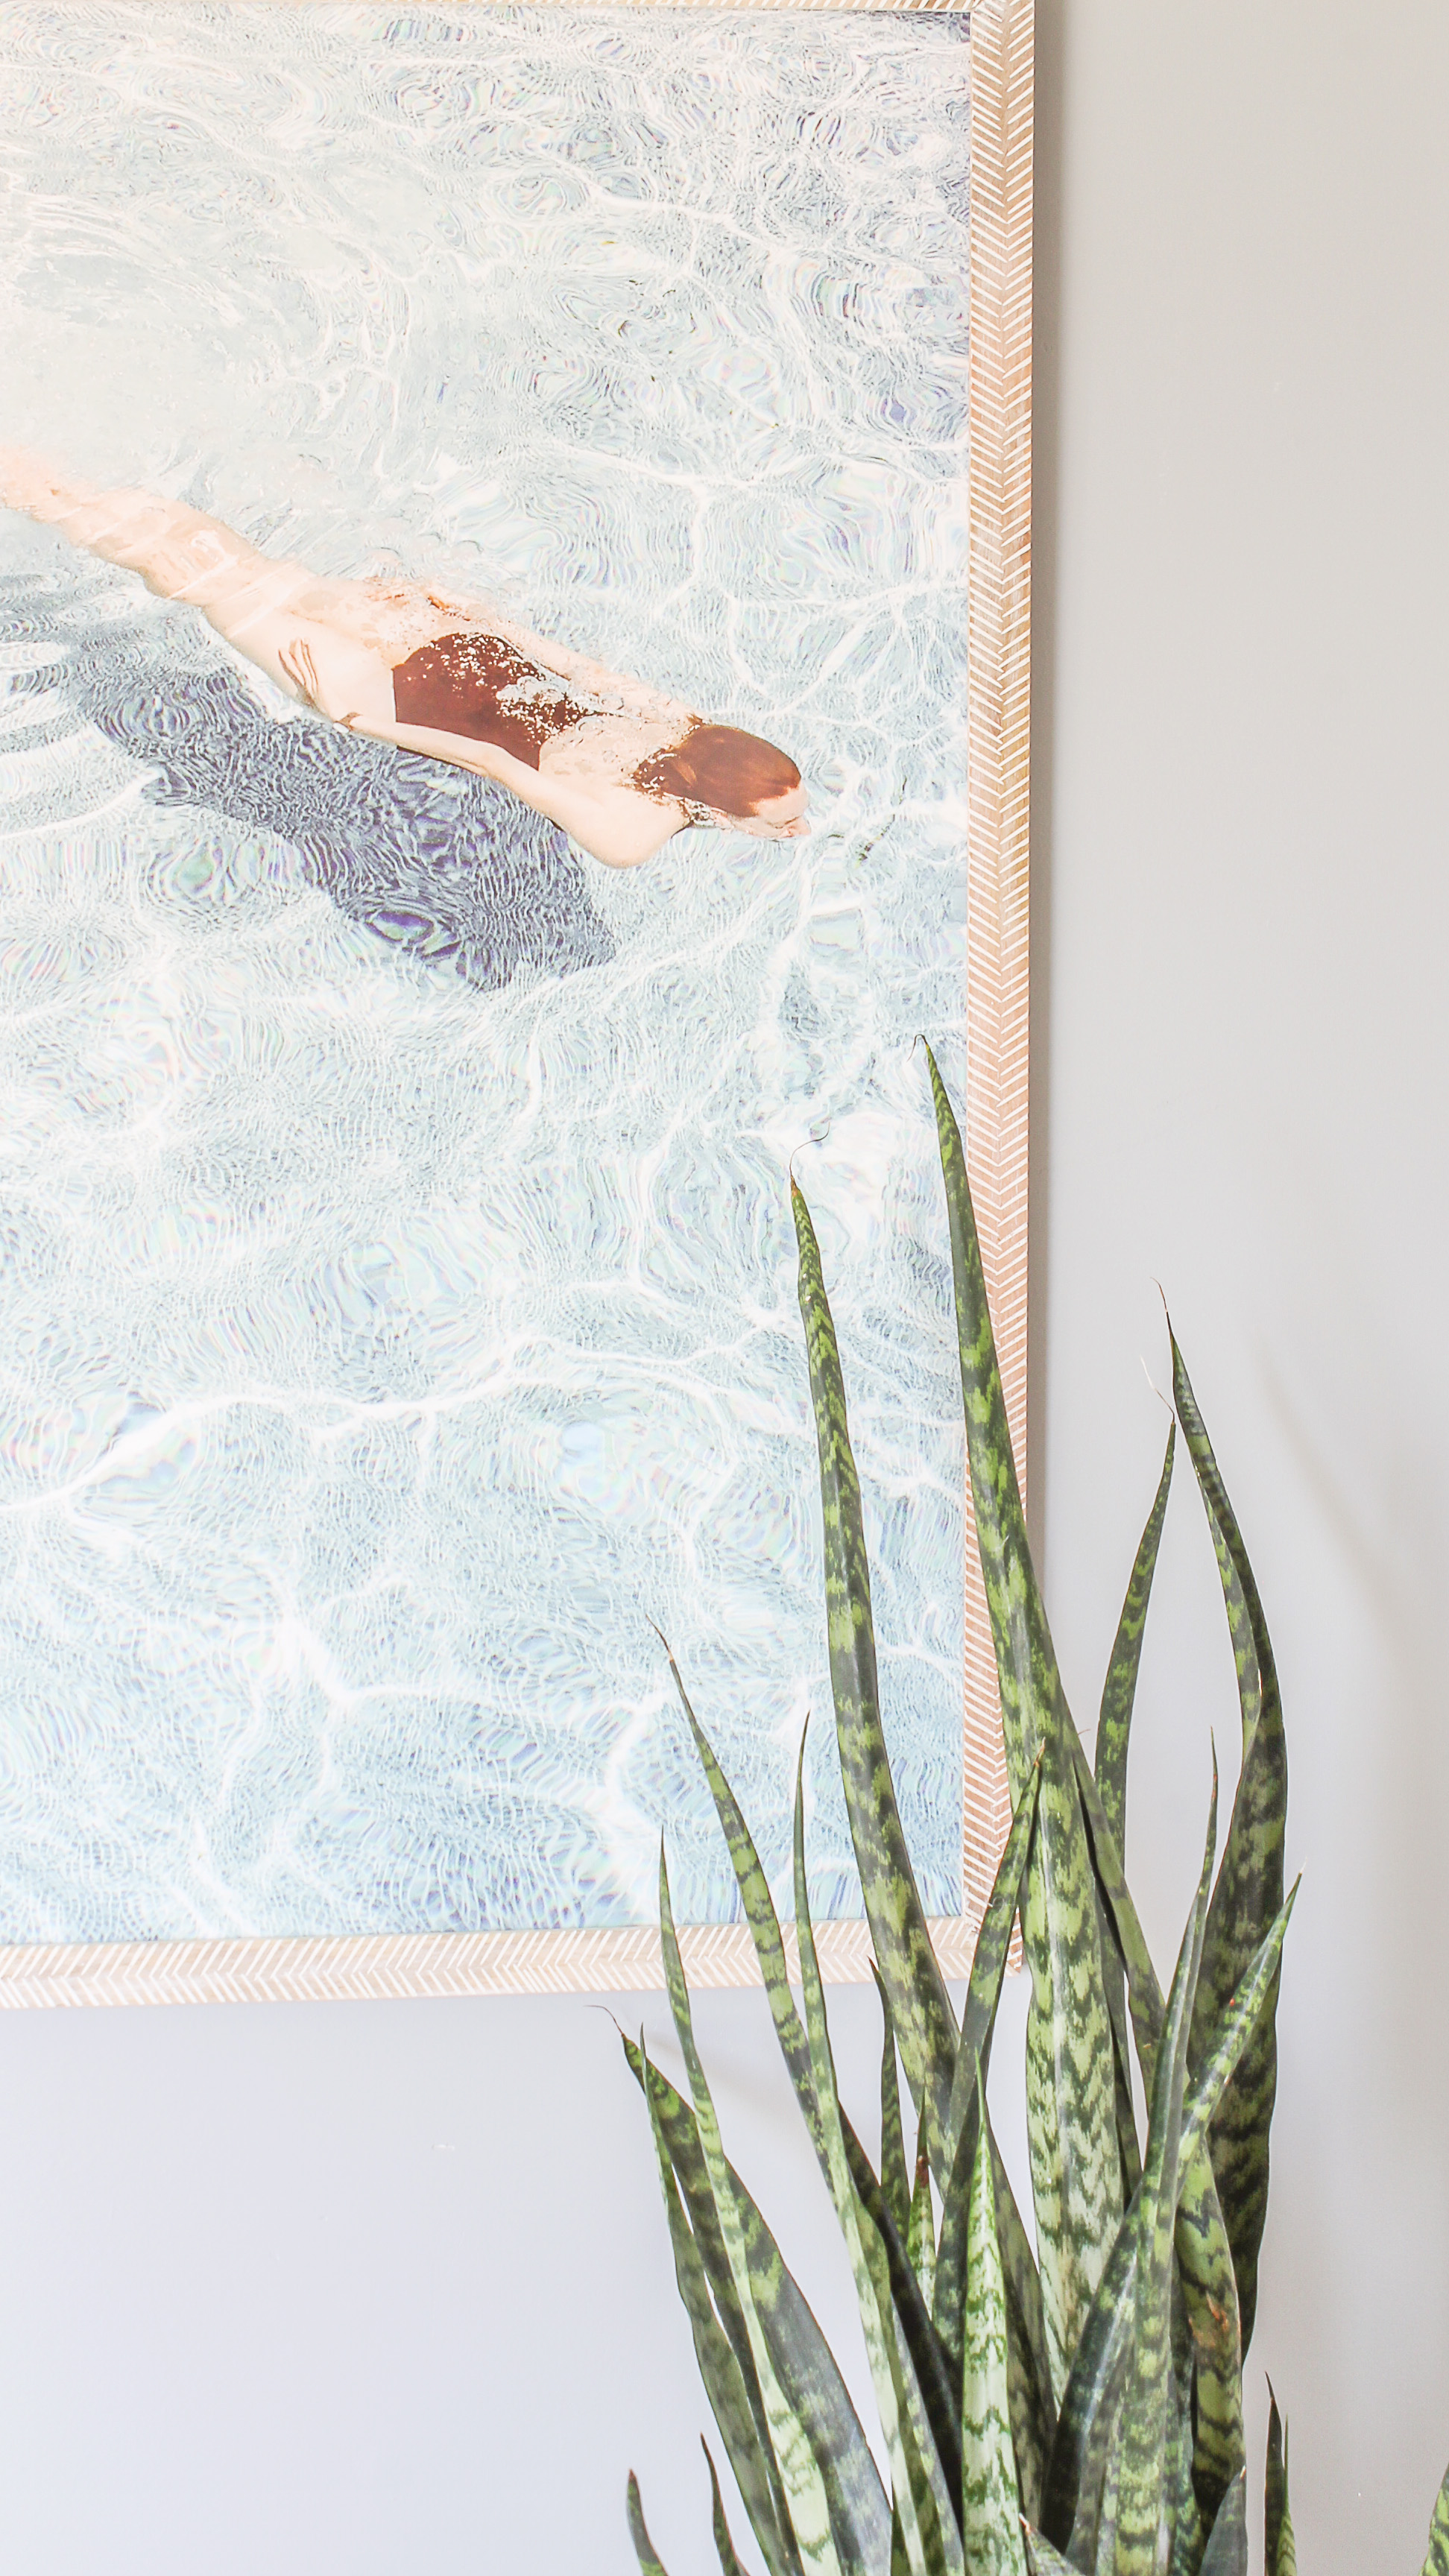
(Here is where I purchased this art)
The whitewashed herringbone frame just takes the print to a whole new level of awesomeness.
Implementing a very traditional take on millwork, I was a little concerned the space might come off as being too farmhouse or not modern- boho enough for my taste. But with the use of modern art work and this bohemian, kilim rug, I was able to achieve a nice balance in the space.
Of course the fabric on the pillows also provides a global and fresh vibe.
 My husband and I are still contemplating adding quarter round moulding where the side moulding meets the corner of the wall. But overall, this space makes me so very happy.
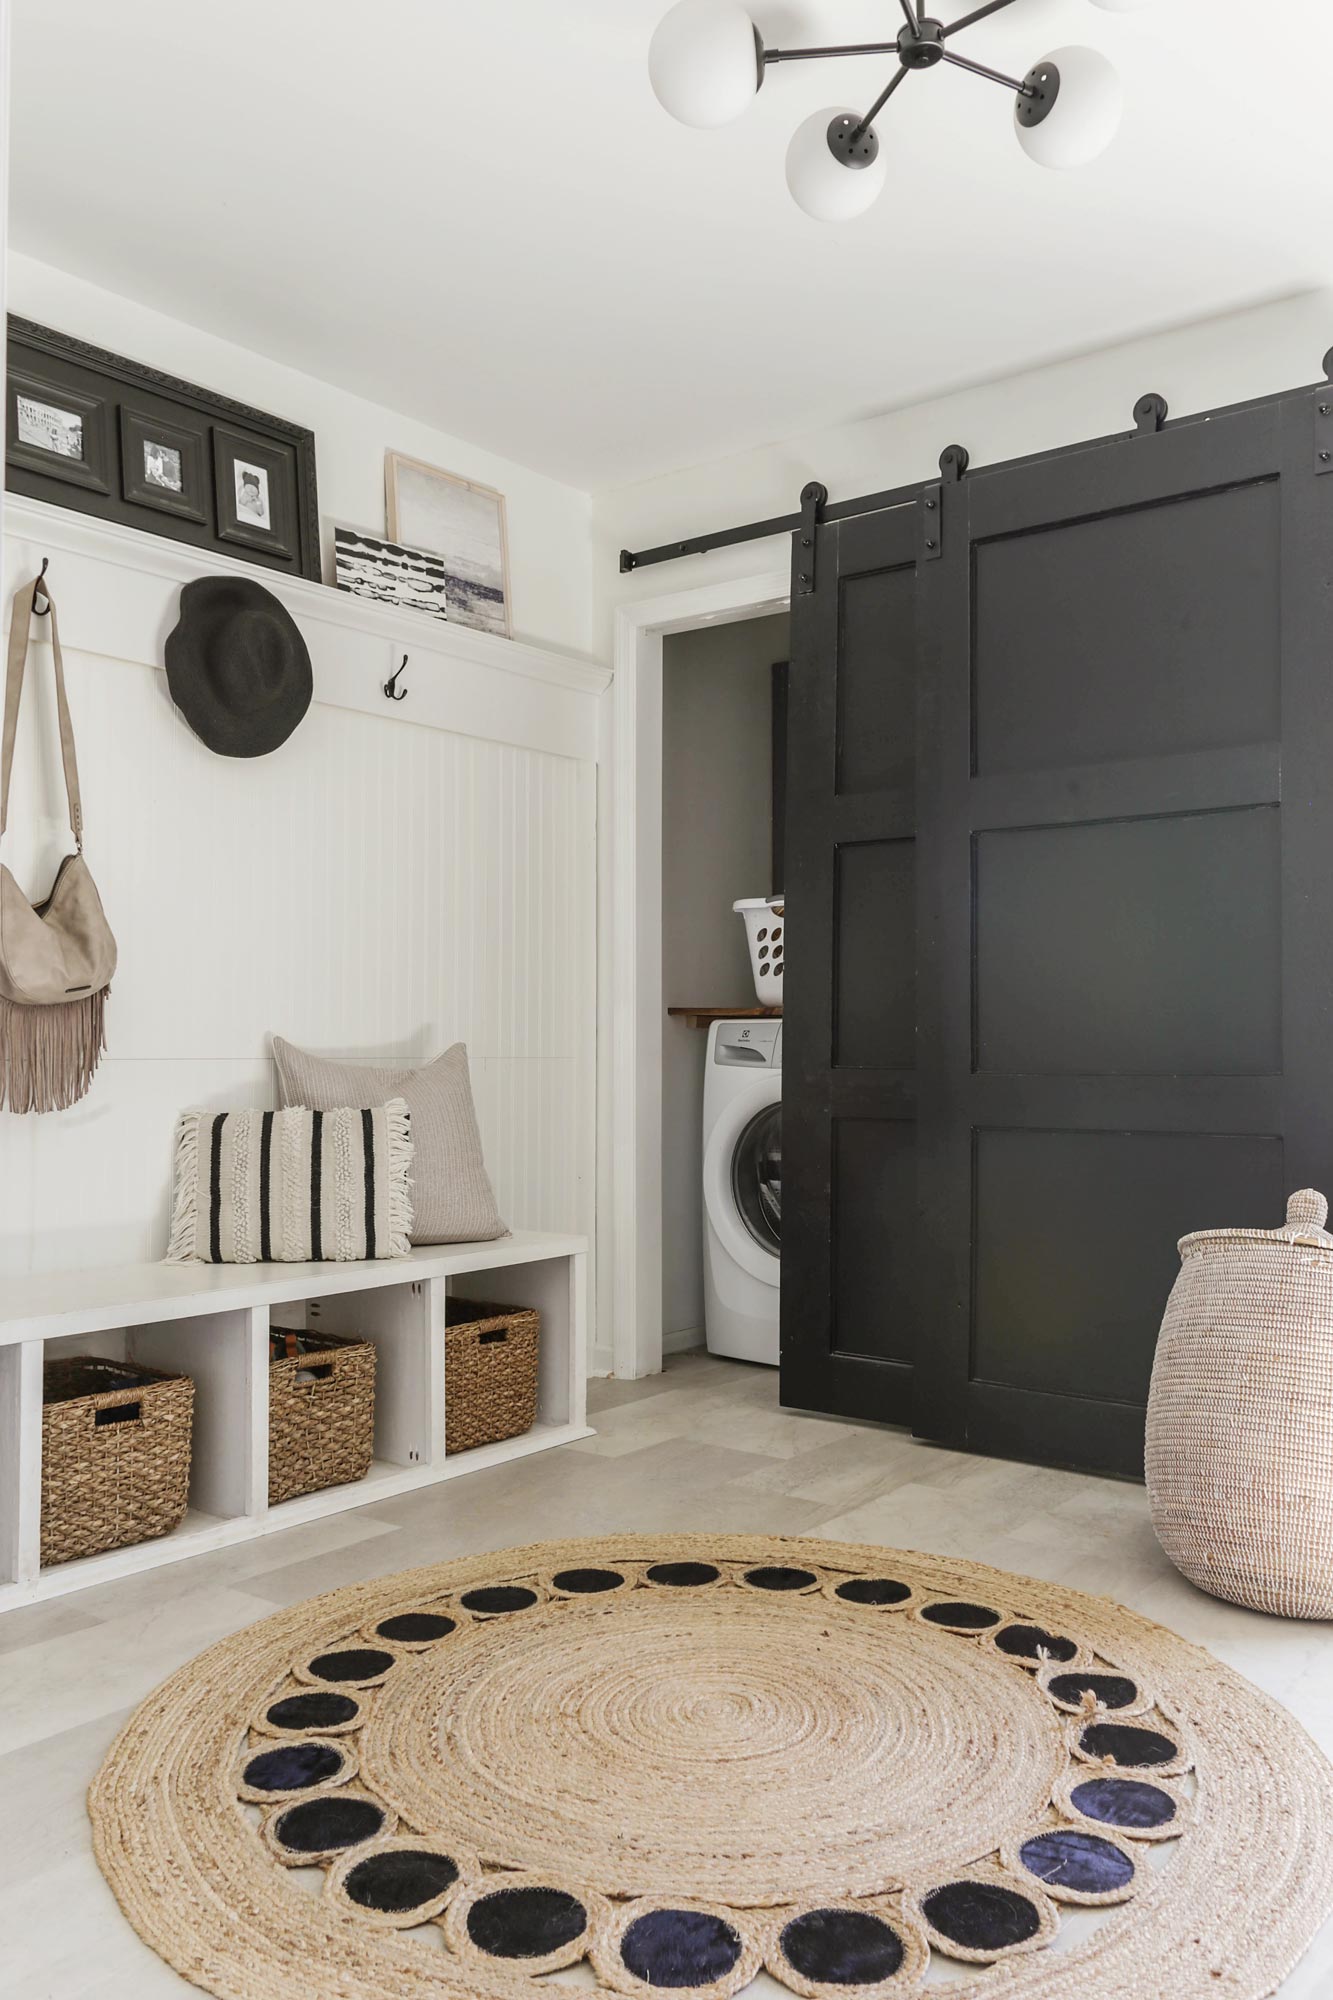
**Update June 2019** Here are some images of my newly styled DIY, mudroom bench (still holding up beautifully)..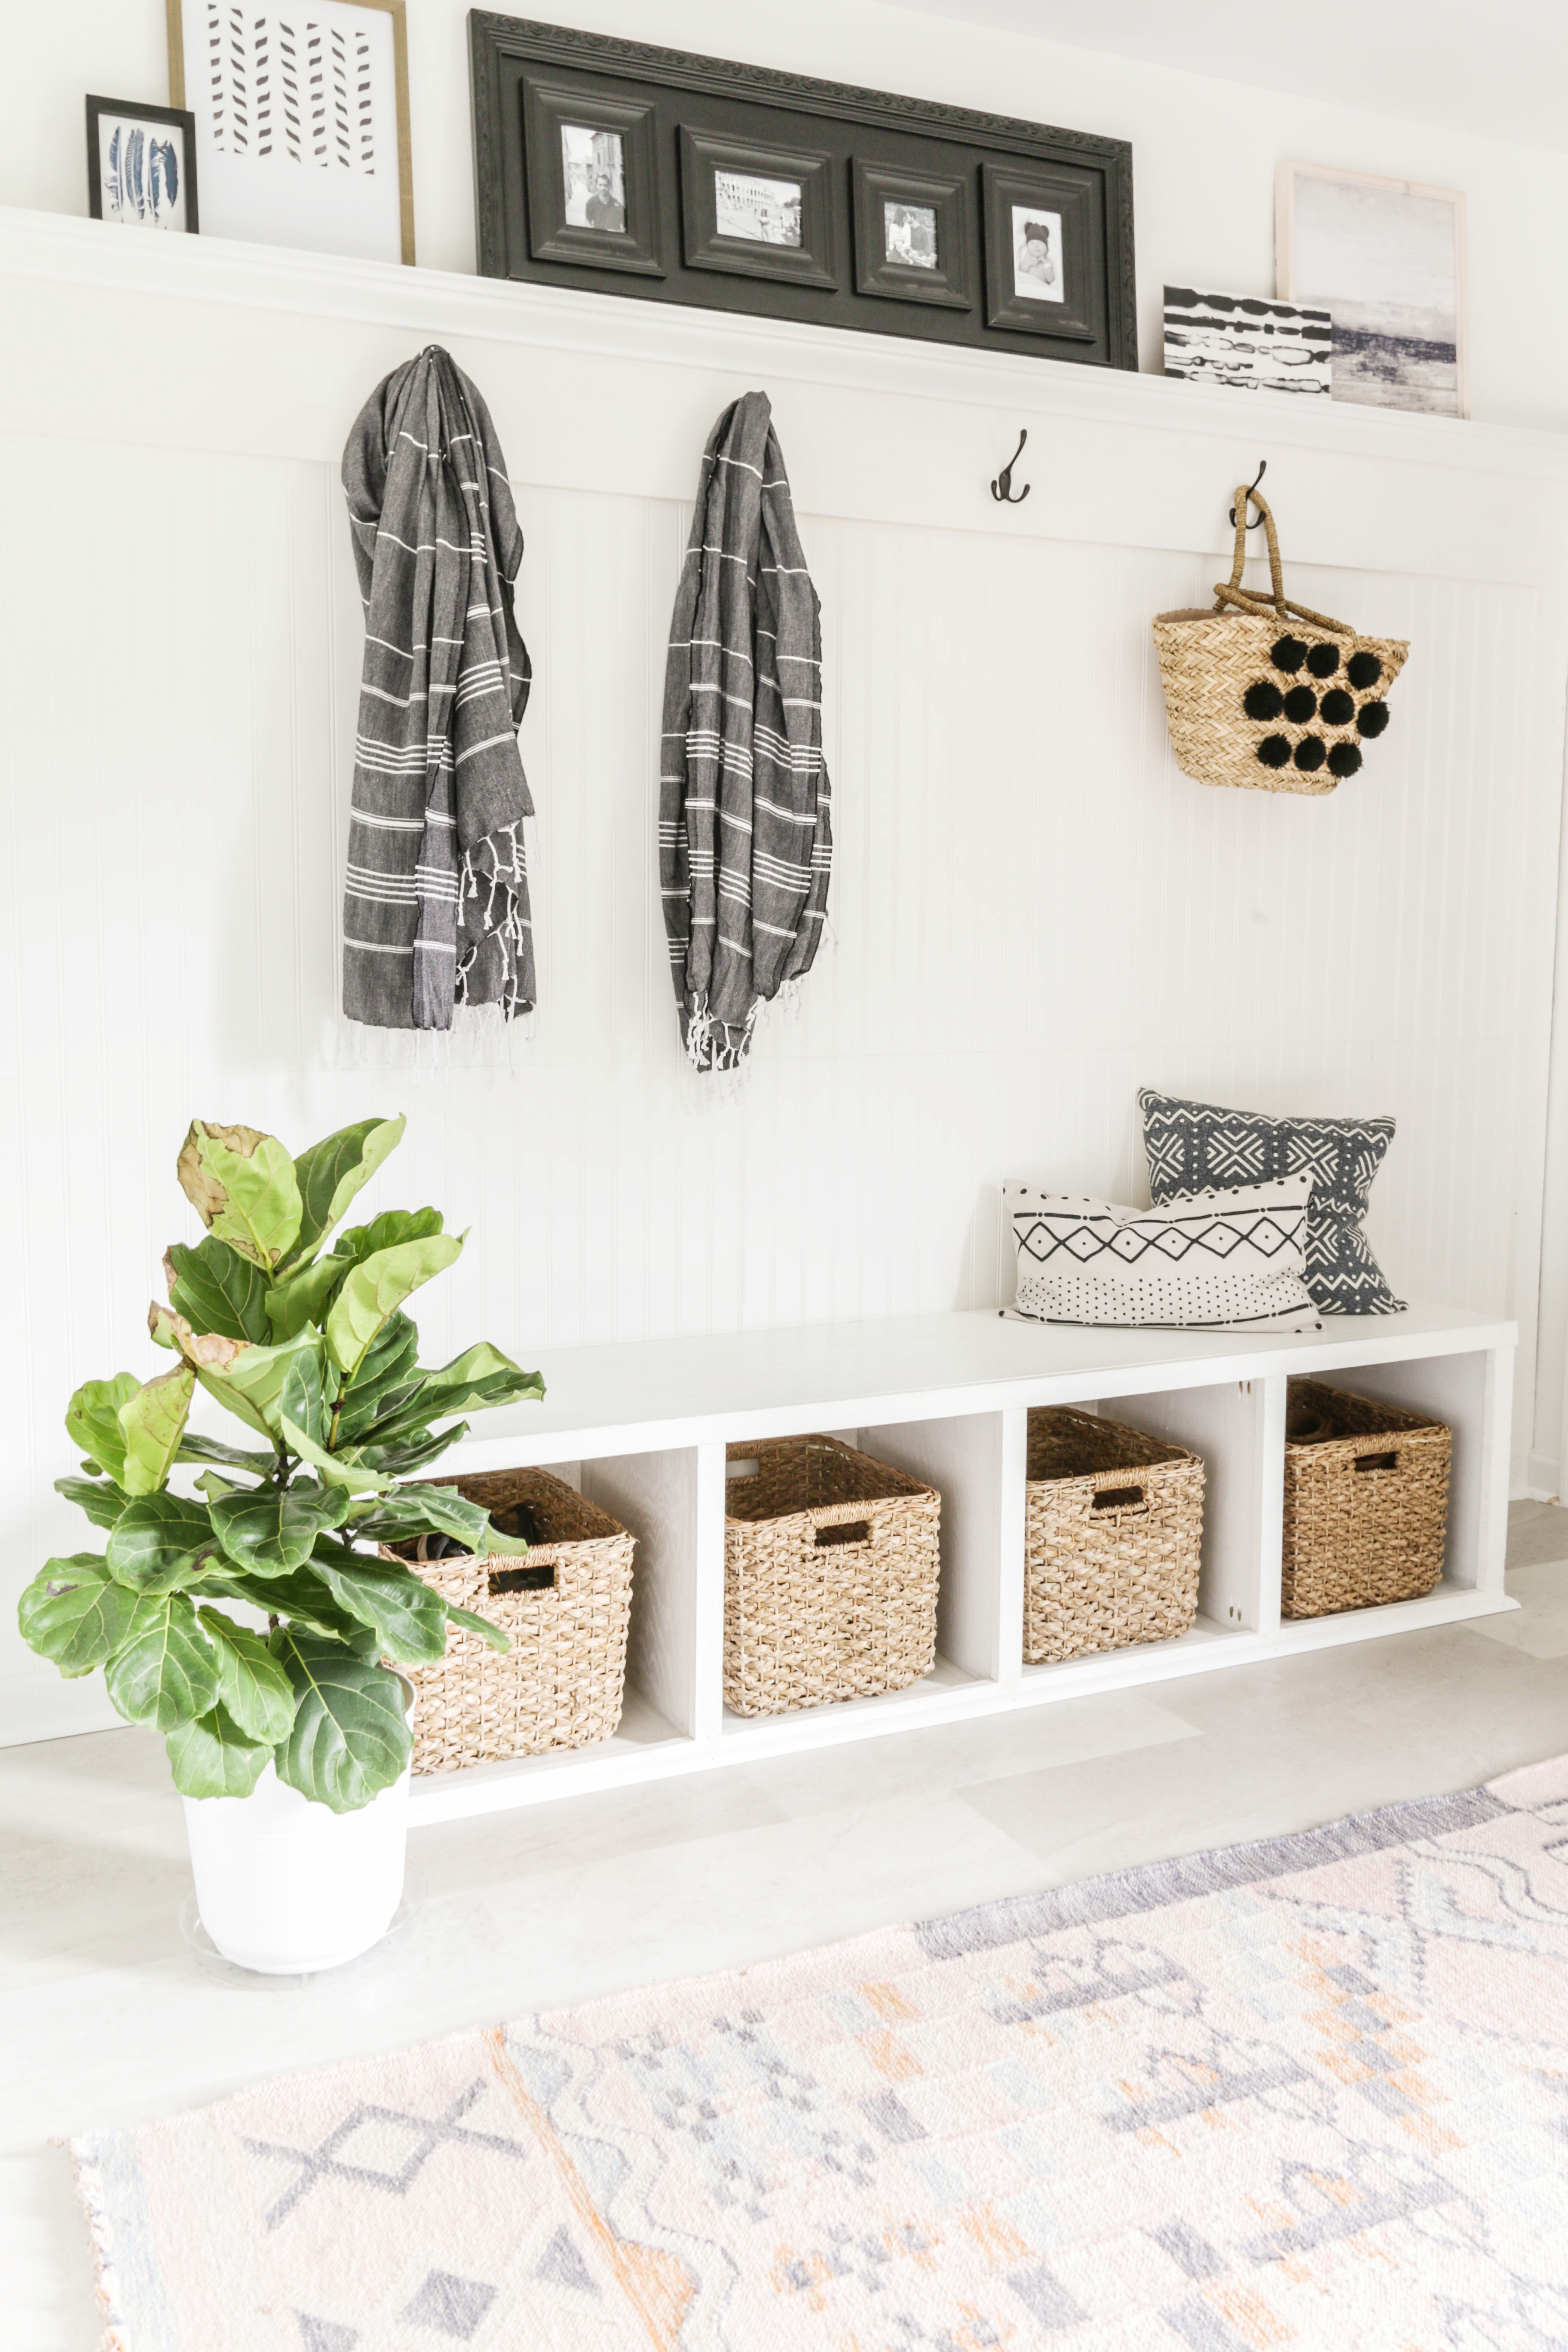
We were finally able to update the tiled floors and paint the walls in “Chantilly Lace” by Benjamin Moore.

If you are a lover of beadboard and Modern Farmhouse design, you may also want to check out a tutorial I created for covering popcorn ceilings with beadboard planks. You can click here to read that tutorial. Looking to add some budget-friendly barn doors in your home?
Read my full tutorial for building modern farmhouse pantry doors for under $90 by clicking here.
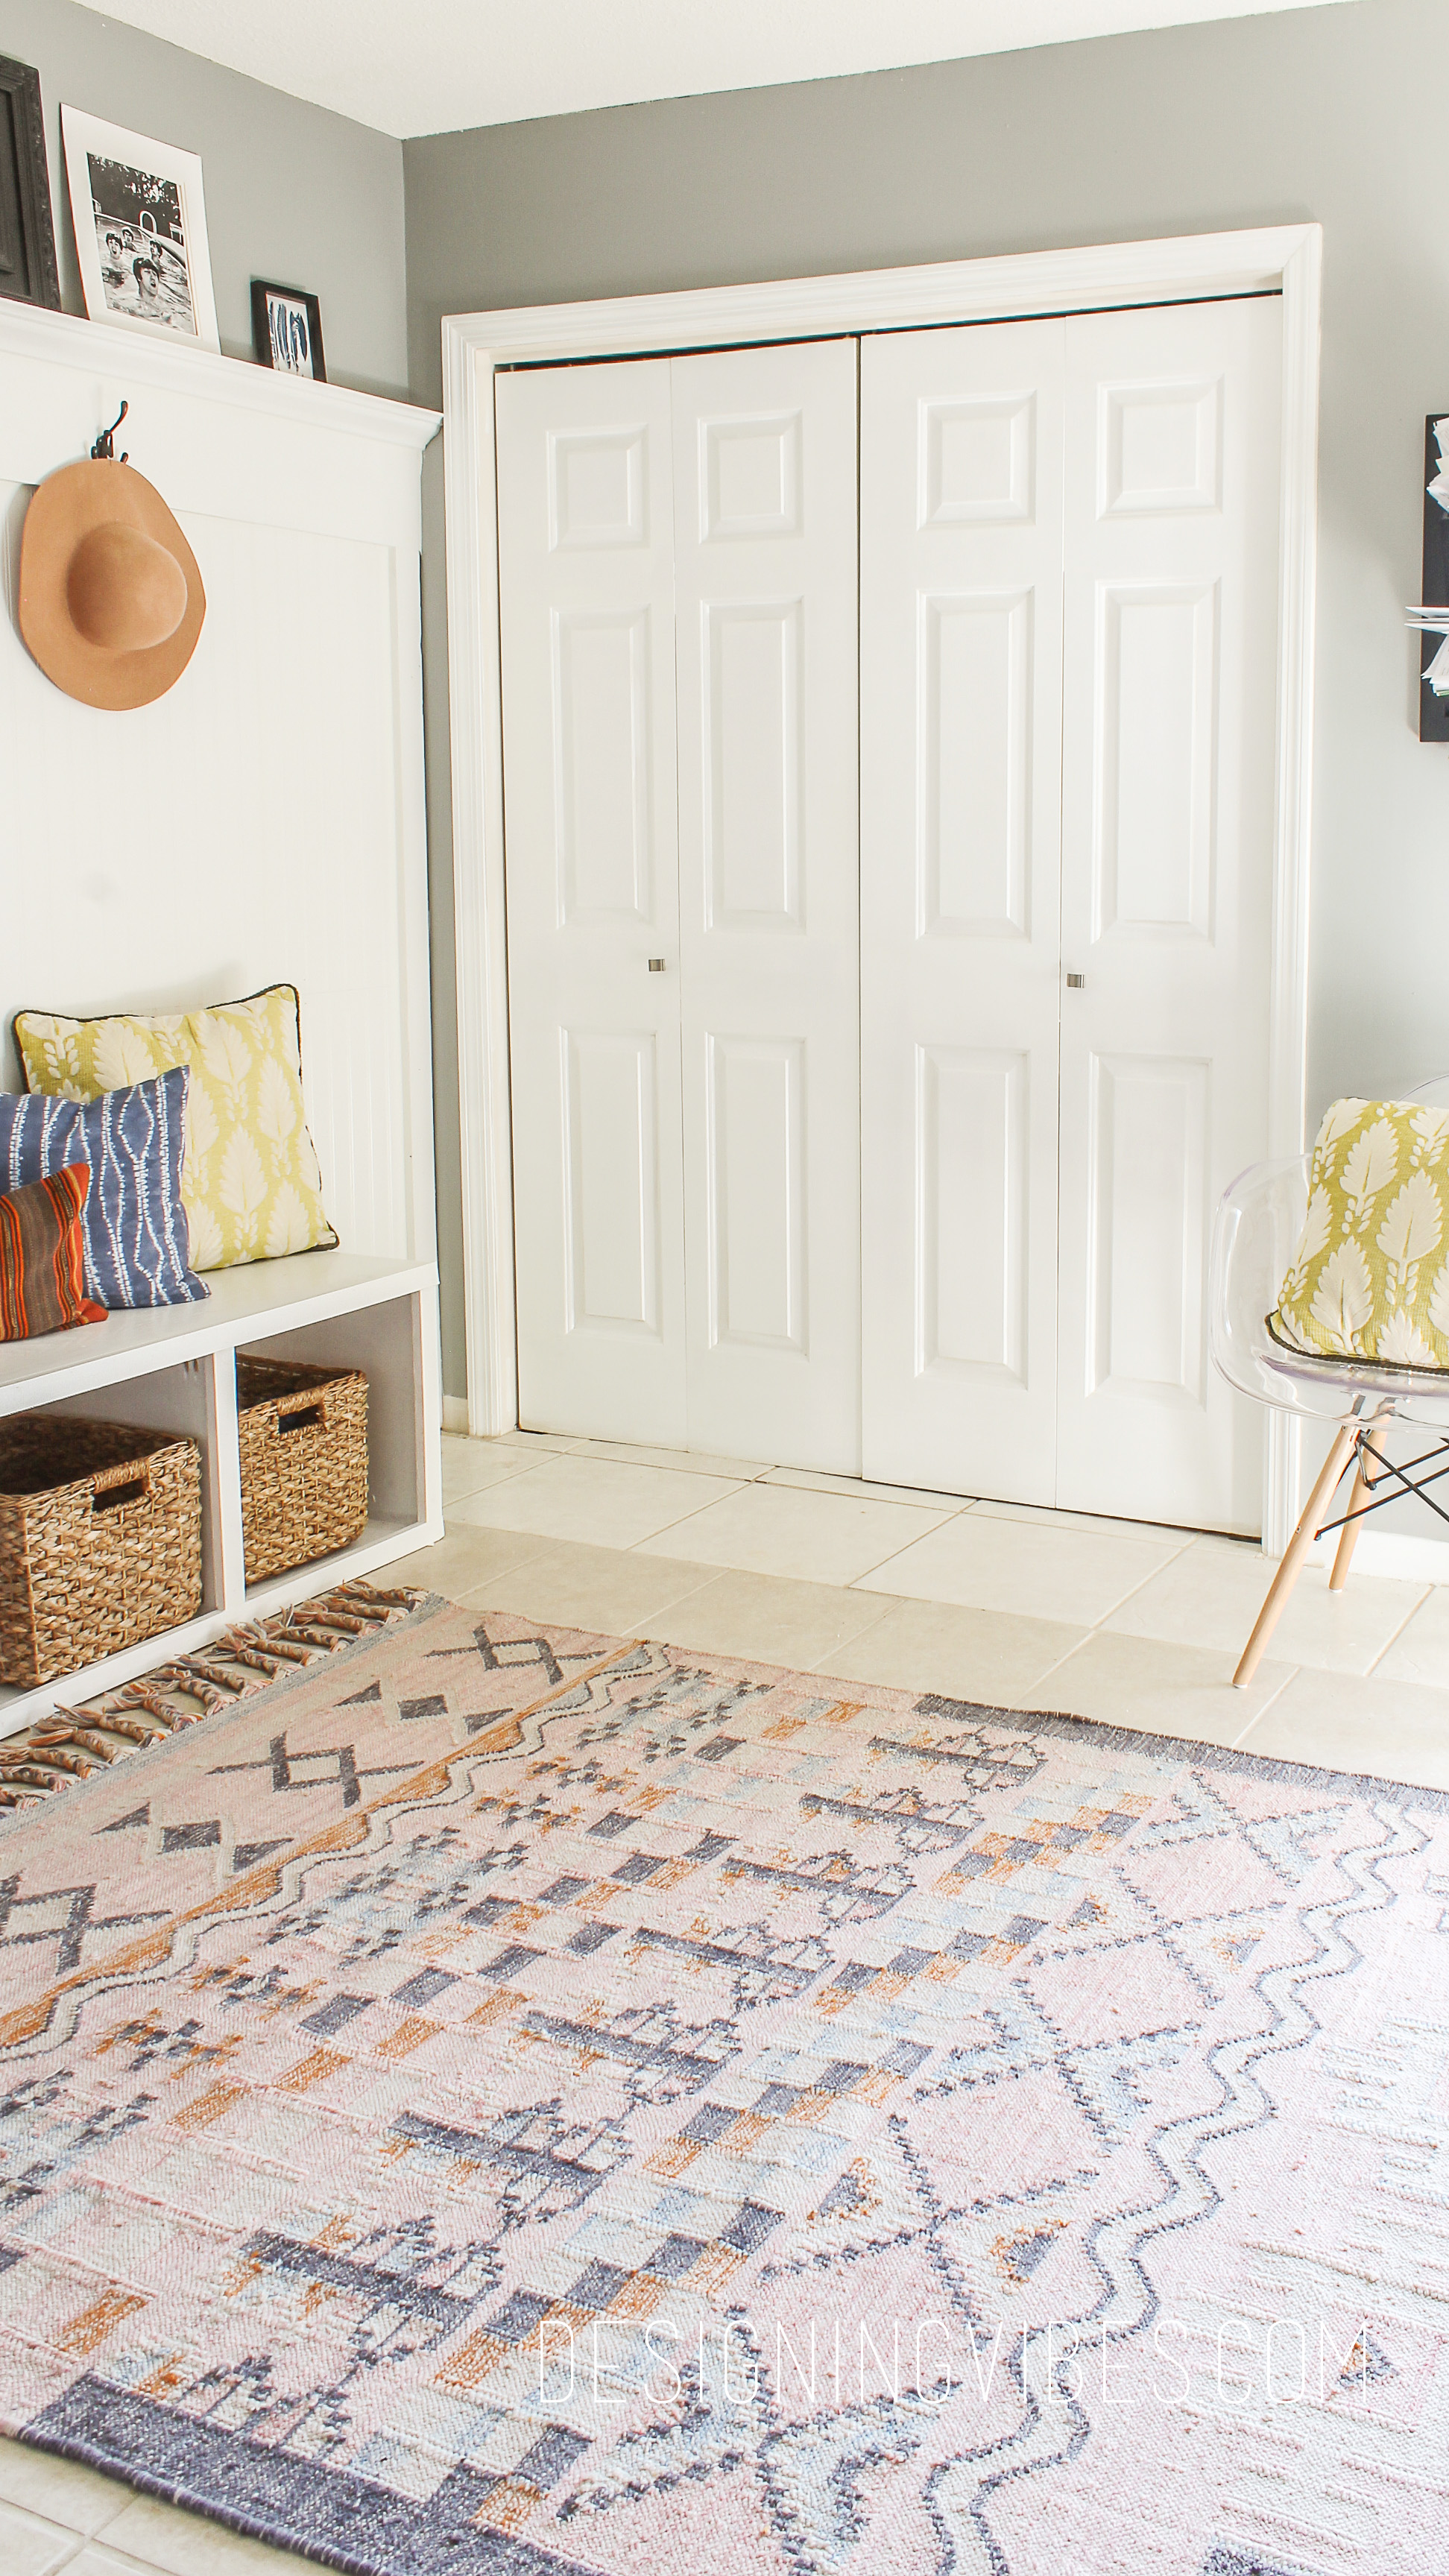
**Updated 6-30-22** – We were finally able to replace our boring, builder-grade closet doors with these custom sliding barn doors…
Thanks again to Minted for providing me with this gorgeous art. If you are looking for unique art on a budget, you have to check them out.
If you are looking for more custom bench tutorials, you should check out my DIY built-in dining bench tutorial by clicking here.
Related Wood-working Posts:
- DIY Sliding Barn Door
- How To Install Luxury Vinyl Tile Over Existing Tile
- DIY Cabinets for Under $200
- DIY Bench with Cubbies for $115
Now get out there and design some good vibes.
Be sure to spread the love and Pin…


Welcome!
My journey in interior design and home improvement began with transforming my first fixer-upper home, all while managing a budget and raising two young boys. My work, a reflection of my passion for creating beautiful, uplifting spaces, has been recognized by top publications like Better Homes and Gardens Magazine, HGTV, and more. I invite you to explore my site and witness the transformation of my home and the vibes we've designed. Read more...


Wonderful job Erica! I absolutely love it.
Thank you so much, Ashley! I really appreciate the sweet words.
Neat idea Erica!
Thank you! 🙂
It looks amazing, of course!! I’m jonesing to do our mudroom right now too! We ran out of money when we build our house and so we sacrificed the storage solutions for that room. It’s been a dump ever since ;)…. I love what you did with your room! Looks so bright and airy! Definitely fits your vibe with the color and textures! Now sit back and enjoy a cold bev!
Thank you so much, girl. We don’t have a playroom, and I guess we could have sacrificed this space for one, but I am really happy with my choice of making this a designated mudroom…with boys tracking dirt and mud in all of the time, it really comes in handy.
So beautiful Erica! And I lovvvvve the artwork! Makes me want to go swimming ASAP! Won’t be long now… ☺️
Thank you so much, Katie. Yes, the art work makes me so happy. Reminds me of warmer weather.
Great mudroom and I’m a sucker for all things beadboard! You guys did a great job. And I do love that artwork!
Hugs, Lynn
Thank you so much, sweet friend. Yes..isnt that art work fabulous?
Gosh Erica, what a stunning mudroom! Truly an amazing reveal!
Thank you so much, friend. I am really happy with how it turned out.
What a fabulous makeover!!! I love how you used the crowning at the top and created a little shelf to display all of you goodies!
Thank you so much, friend. I am really happy with how it turned out.
The artwork is perfect for that space Erica. And your choice of frames adds just the right touch of texture. I can only imagine what you guys could have done if you didn’t have any set backs.You did a fantastic job with such a limited budget.
Thank you so much, Mary. Yeah…budgeting is such a bummer. haha
Can you share the paint color on your walls in your mud room? I LOVE it!!
Thank you , Cheryl. The paint color is Sherwin Williams “Gray Matters”. The paint color on the beadboard and trim is white white.