
Beadboard Planks Over Popcorn Ceiling DIY
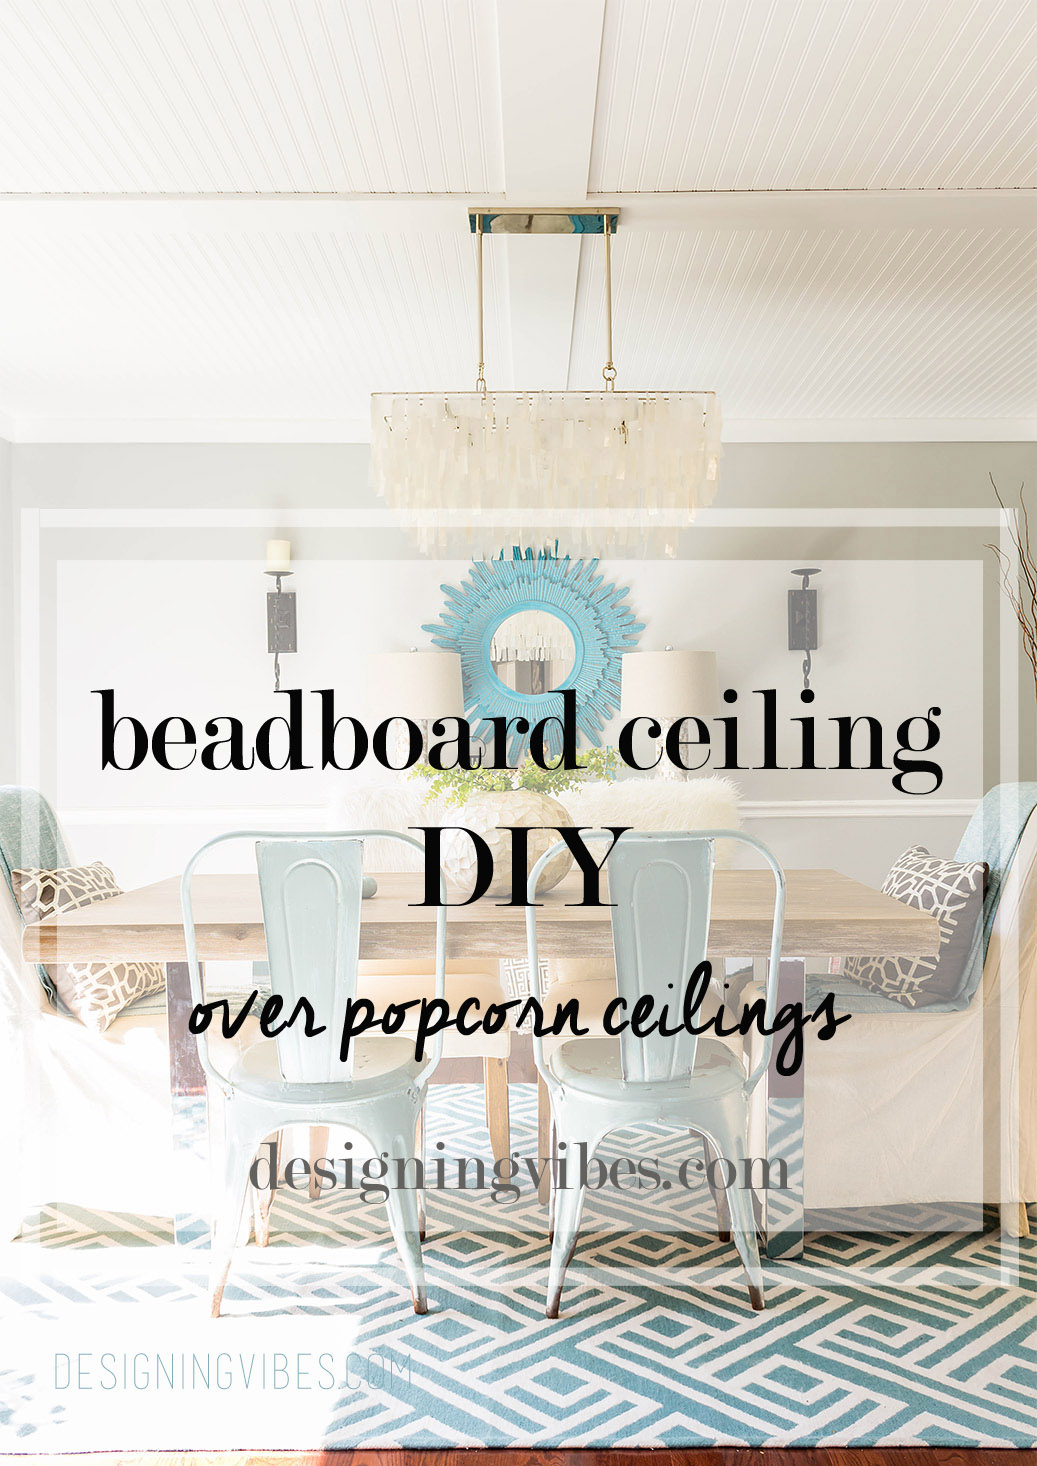
Looking for a way to cover those outdated, popcorn ceilings while also adding character to your room? You can install beadboard planking directly on top of your textured ceilings. This DIY gives you step-by-step instructions.
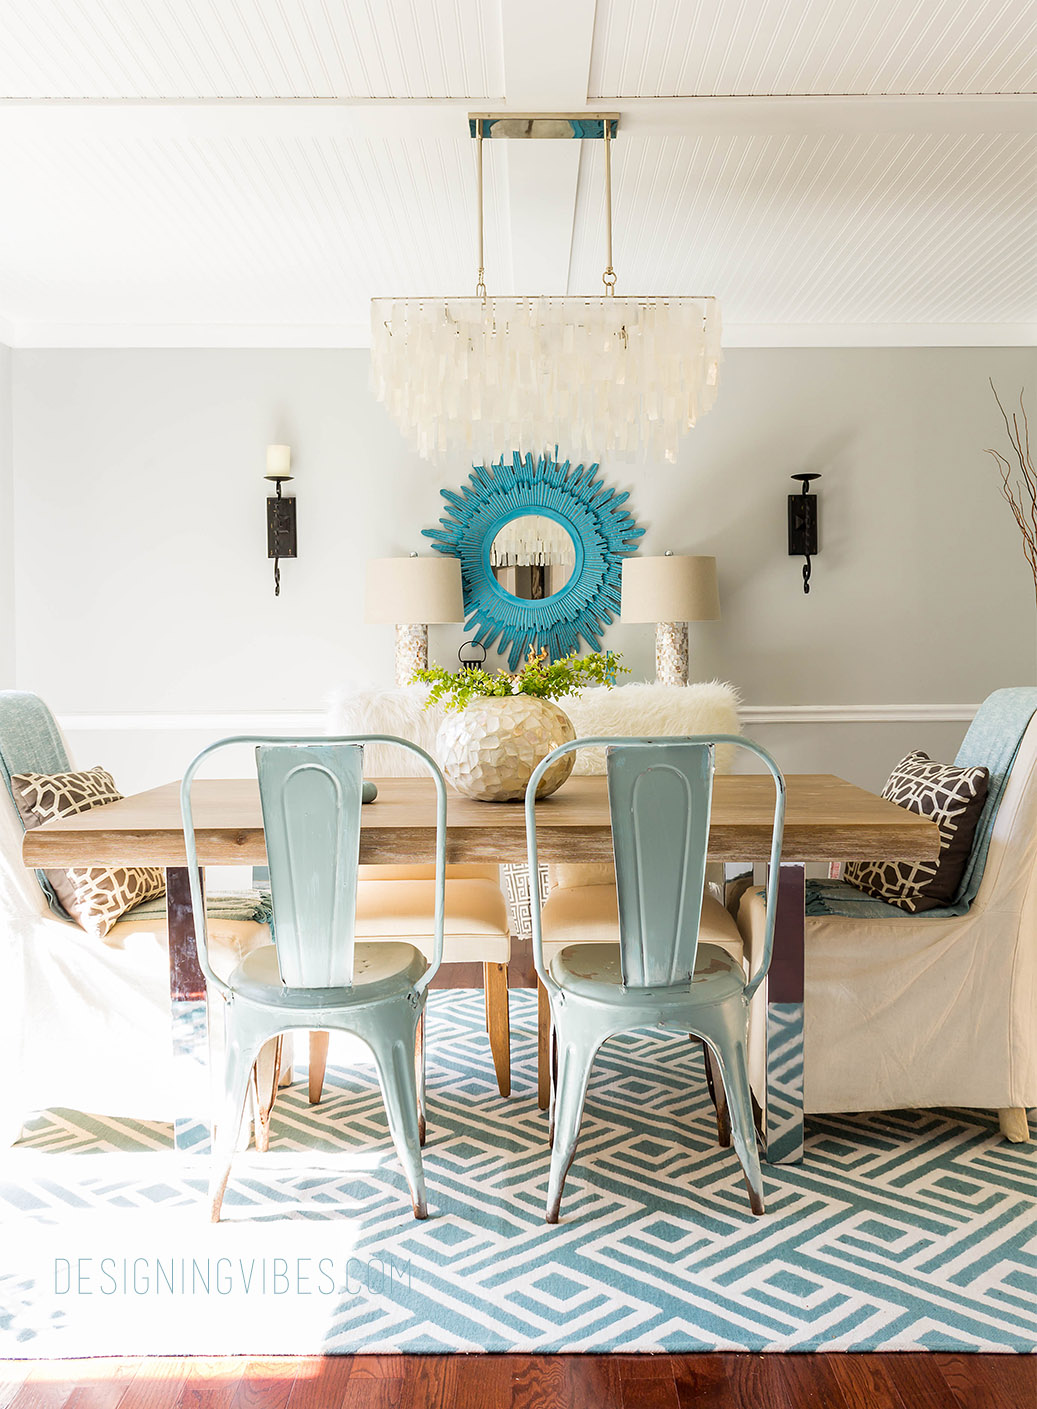
Look at our finished product…
To fully appreciate the transformation, let me give you a little bit of background insight. When we first moved in, this is how the dining room looked….
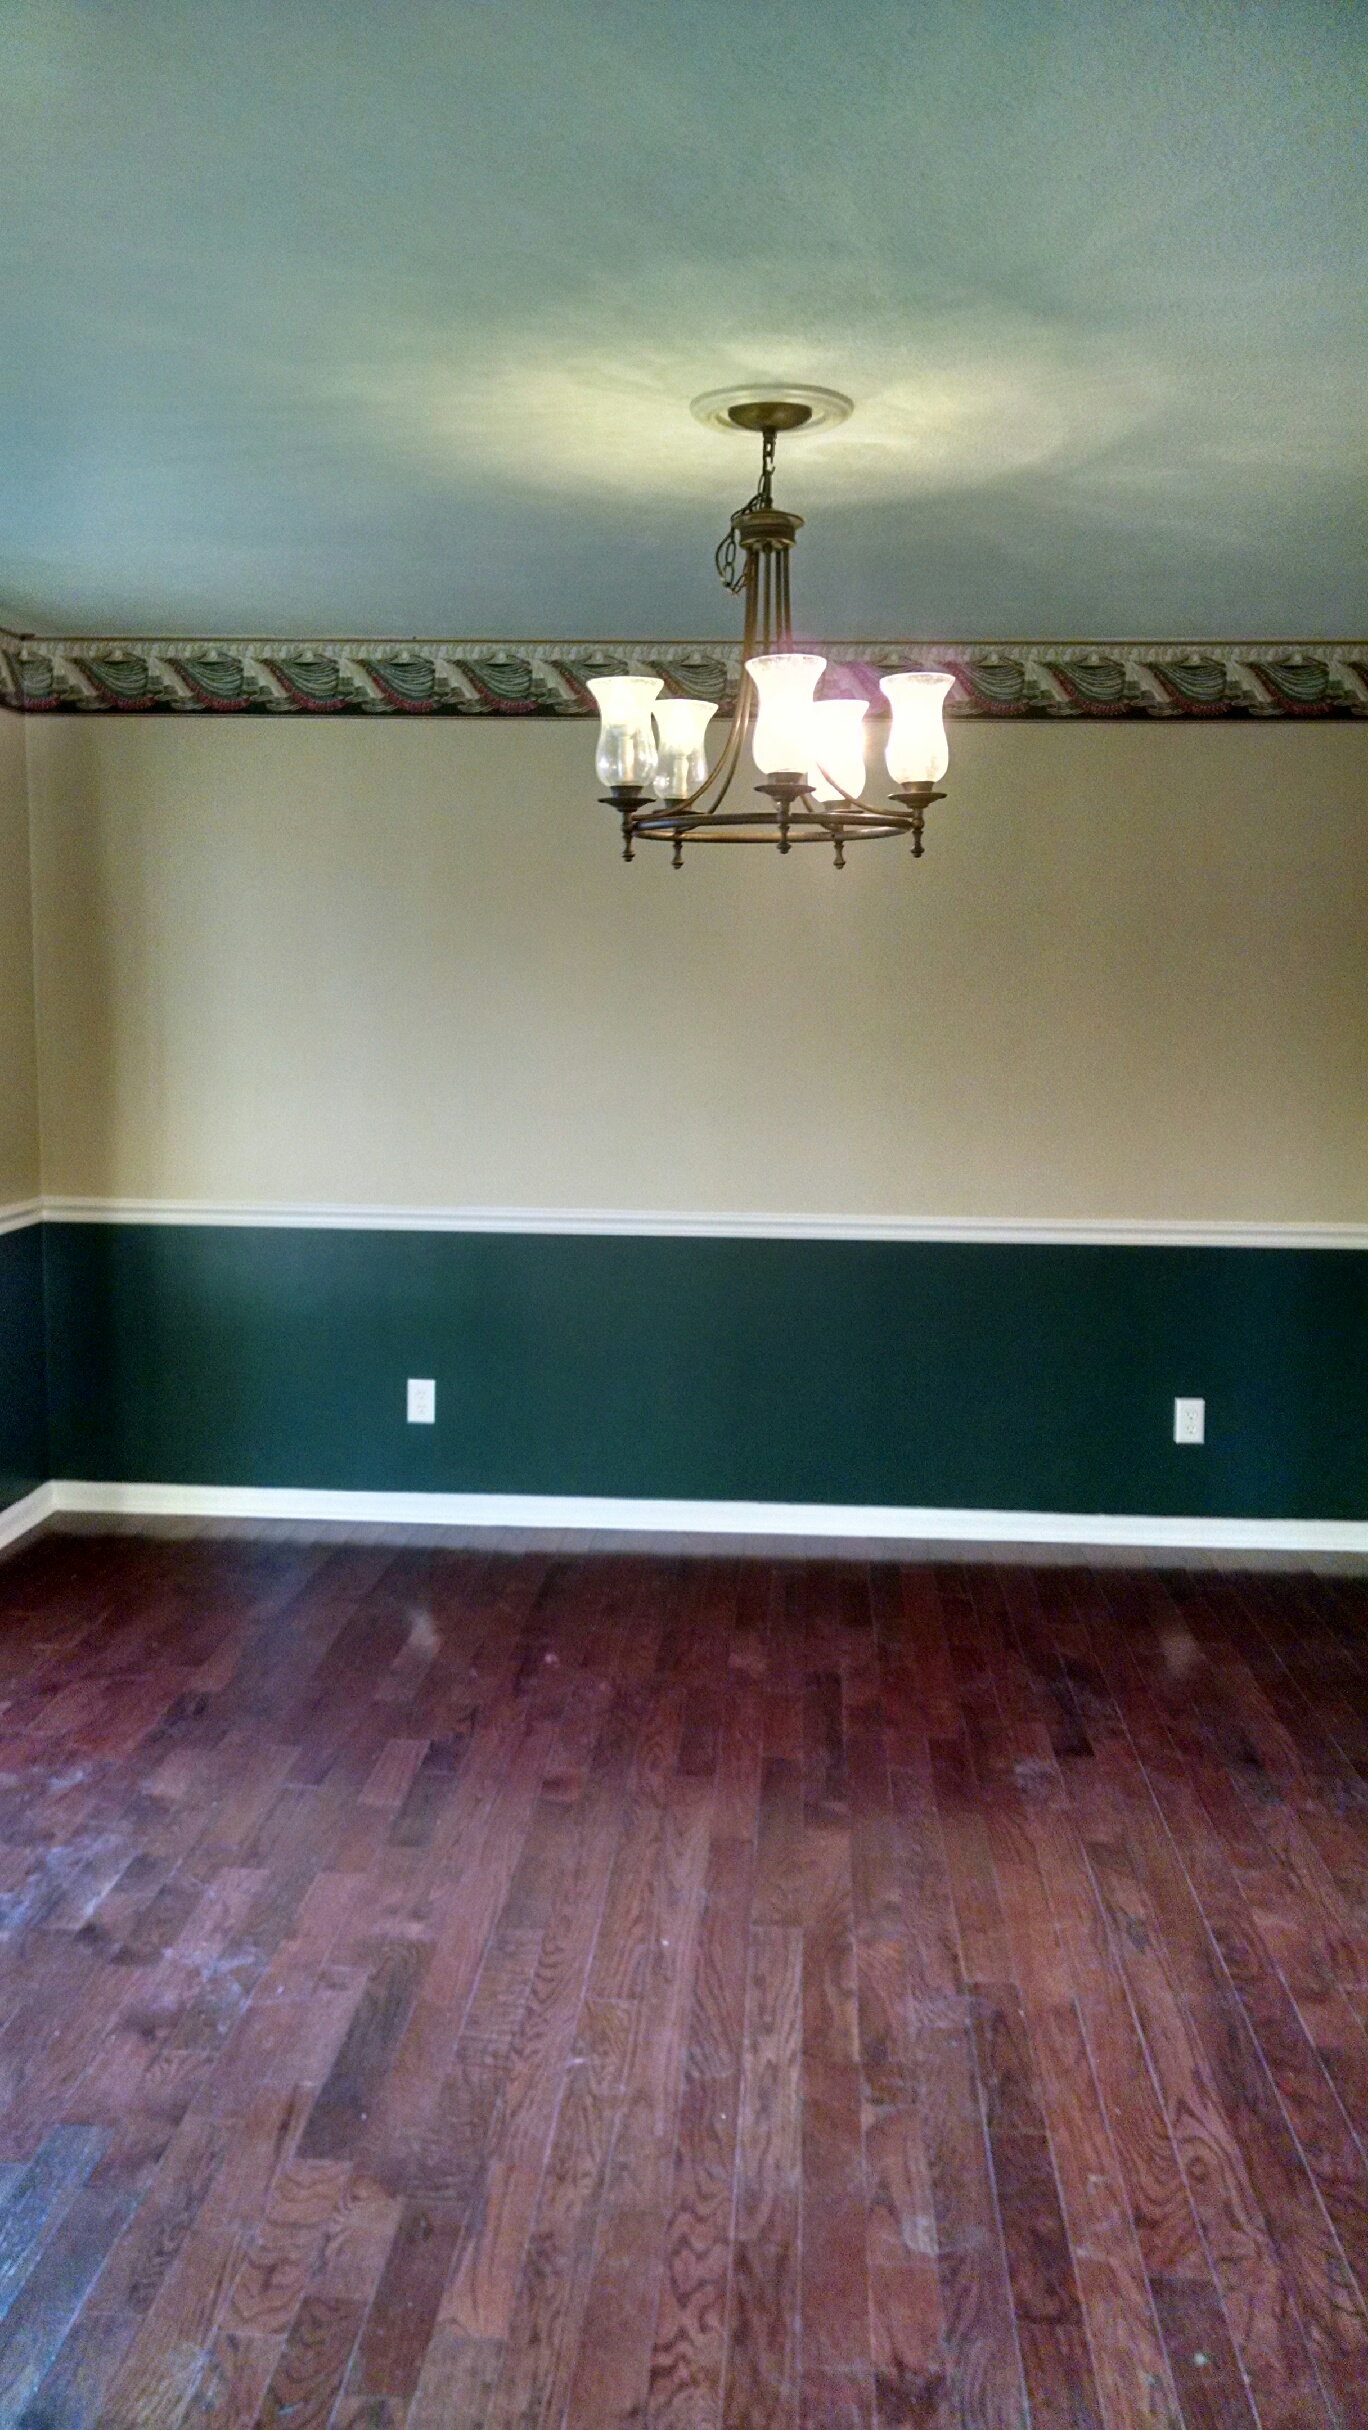
Check out those nasty, textured ceilings (and don’t even get me started on the paint and wallpaper). To see how we transformed our dining room up until the point of installing our beadboard ceiling, click here
Now let’s get on to the ceilings….
After painting our dining room, switching out the light fixture and adding modern/transitional decor, something in the room was still missing. I would tweak the decor and rearrange furnishings, but still was not getting the results I wanted. That is when it hit me…..we had to do something about the dingy, popcorn ceilings.
[embed_popupally_pro popup_id=”2″]
After witnessing what a mess it was to scrape off the popcorn in our living room (you can read my tutorial for removing popcorn ceilings here), I decided to try something different. I wanted to brighten the space and add some nice up-scale detailing to the space….beadboard ceiling seemed the best route to go.
For your convenience, I have included affiliate links. That simply means if you click on one of the links and buy something, I receive a small commission, but don’t worry… you won’t pay a dime more.
Materials Used
- 10 packs of tongue and groove beadboard planks(we purchased ours at home depot)
- for coffered ceiling look, 8 MDF boards (we used 1” x 4” x 8′). This also hides plank seams.
- 16 gauge finishing nails
- Finishing Nail Gun

- white caulk (to hide nail heads)
- Liquid Nails(to adhere mdf beams to beadboard ceiling)
- ultra-white, high gloss ceiling paint
- Circular Saw
The Process
I am just going to warn you guys…this project was a bit labor and time intensive, but the pay-off was so worth the effort! We had initially tried to use actual sheets of beadboard…..#fail.
Because we hate to ask people for help, it was just my husband and I…getting up on a ladder to help hold those heavy sheets of beadboard (while pregnant) was pretty much a freaking nightmare. That is when my husband decided to ax that idea and go with lighter,tongue and groove planking. Wow! This made such a difference- it went from being about a 4 man task to a 1 (sometimes 2) person endeavor.
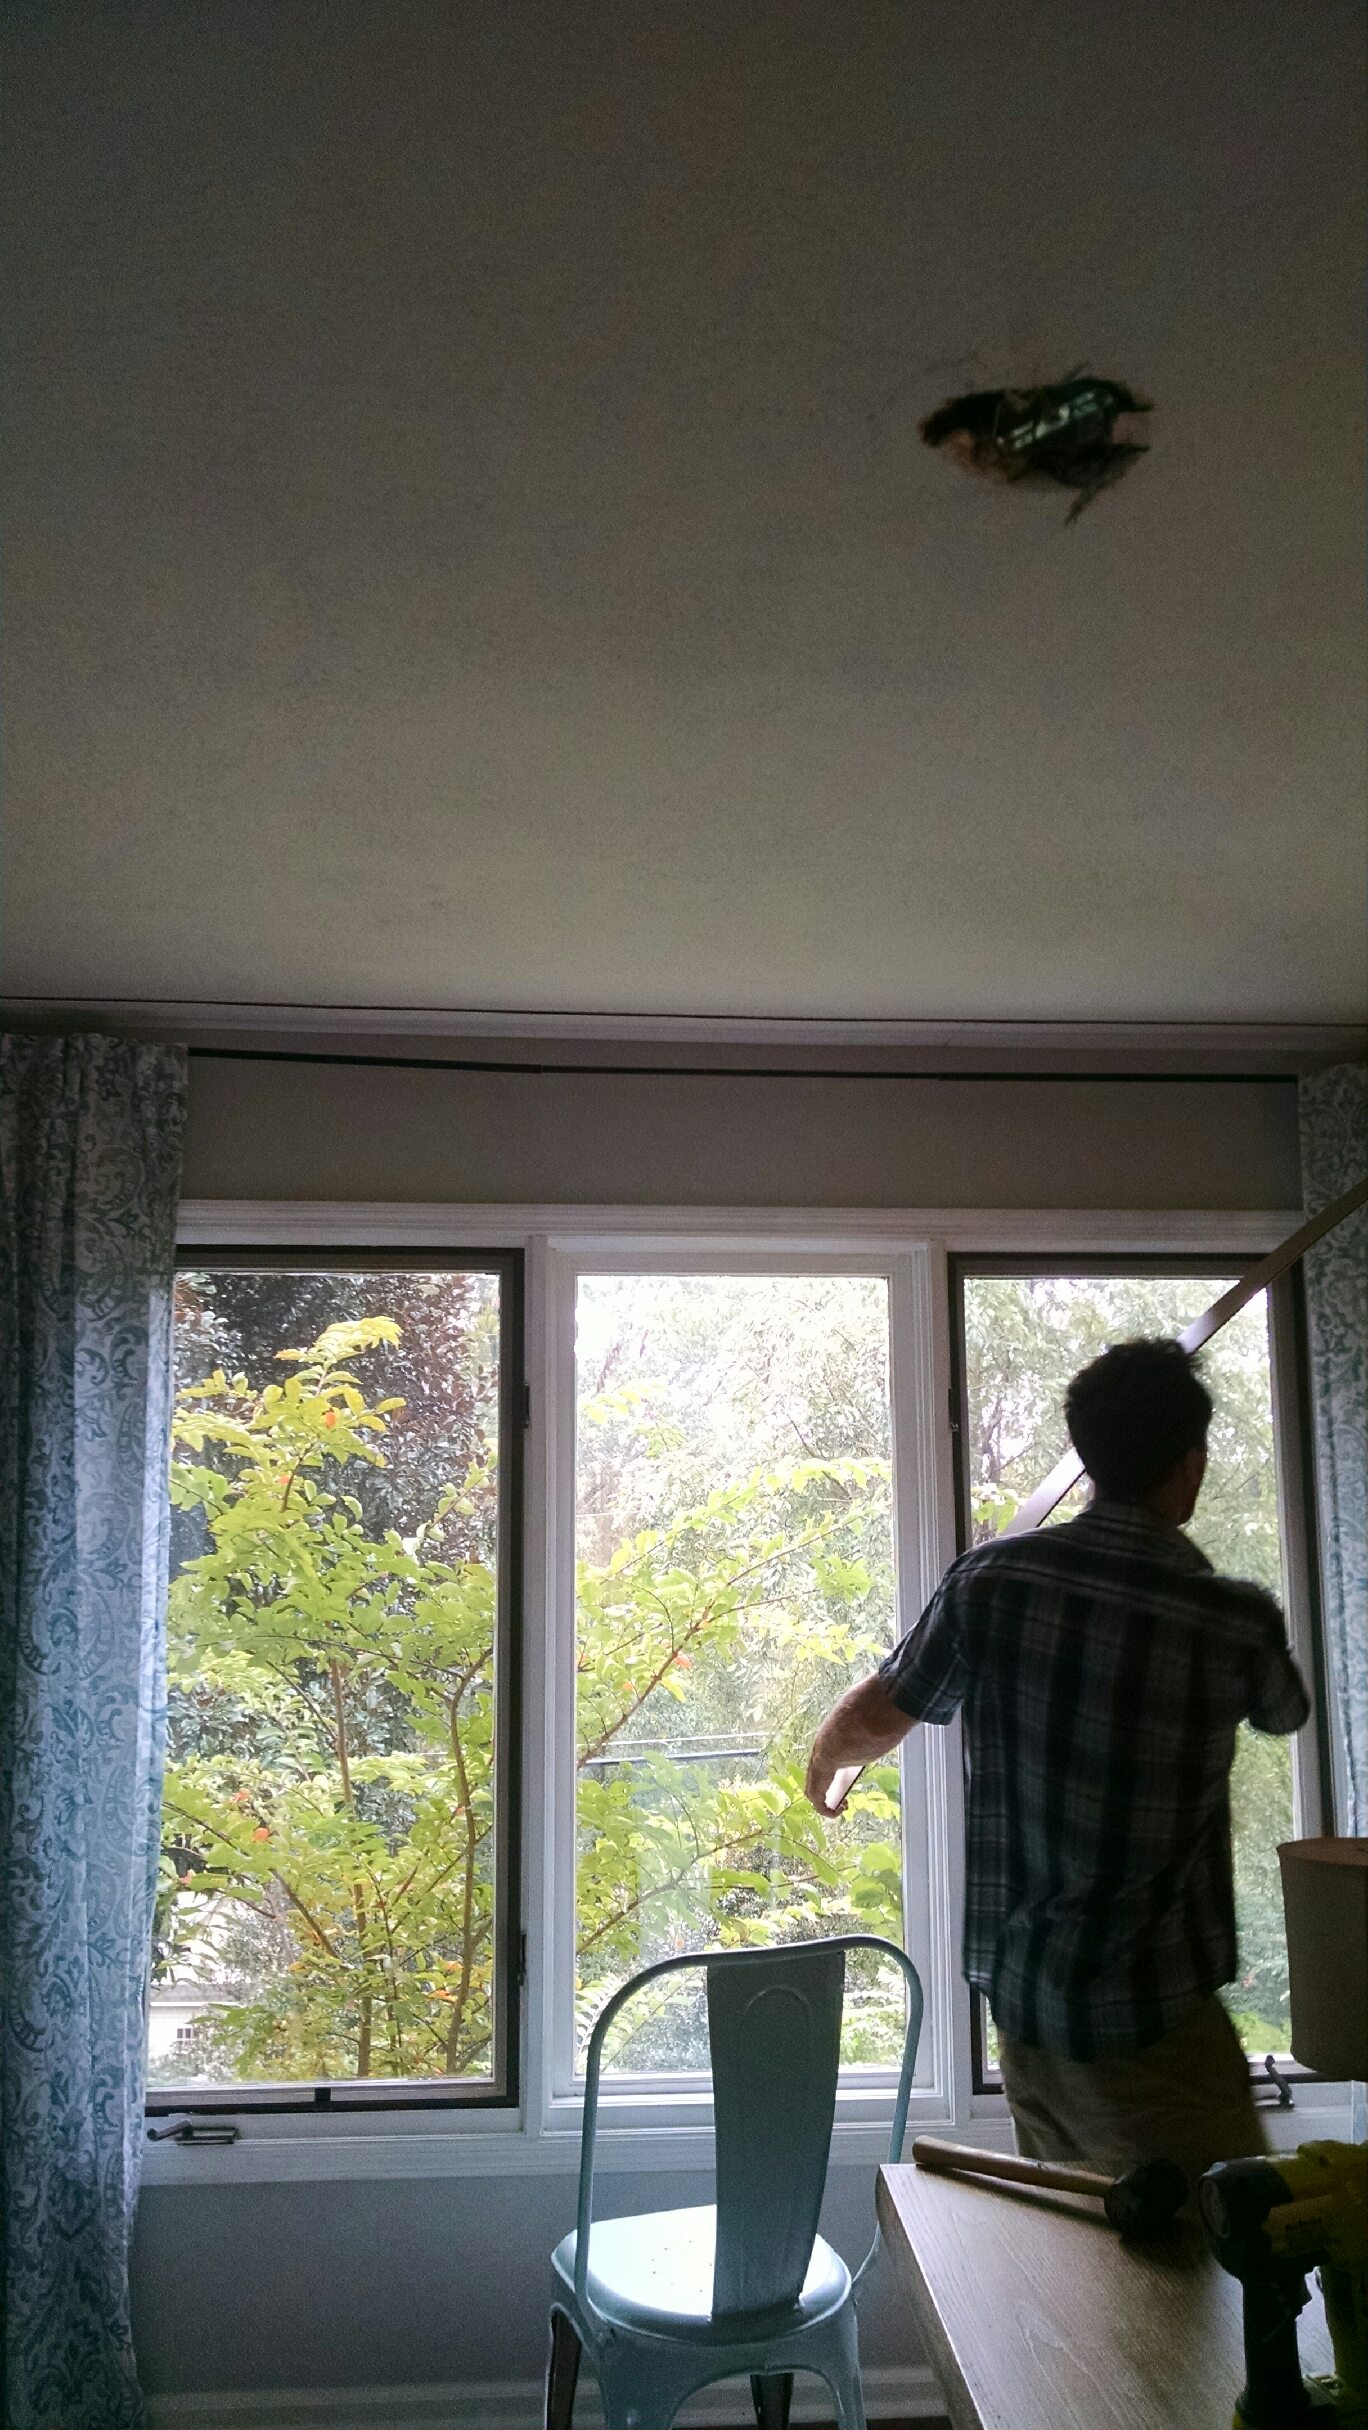
Prep:
The only prep we did with the ceiling was finding the studs and marking them with chalk. We also had to plot out a pattern (as you would when laying wood floor). We decided we would install the planking so that there was a center seam line (we knew we would be hiding this with our mdf “beams”). Also, the seams on the perimeter would be hidden by molding which we installed last. If you already have molding, I suggest removing it. Also remove any light fixtures.
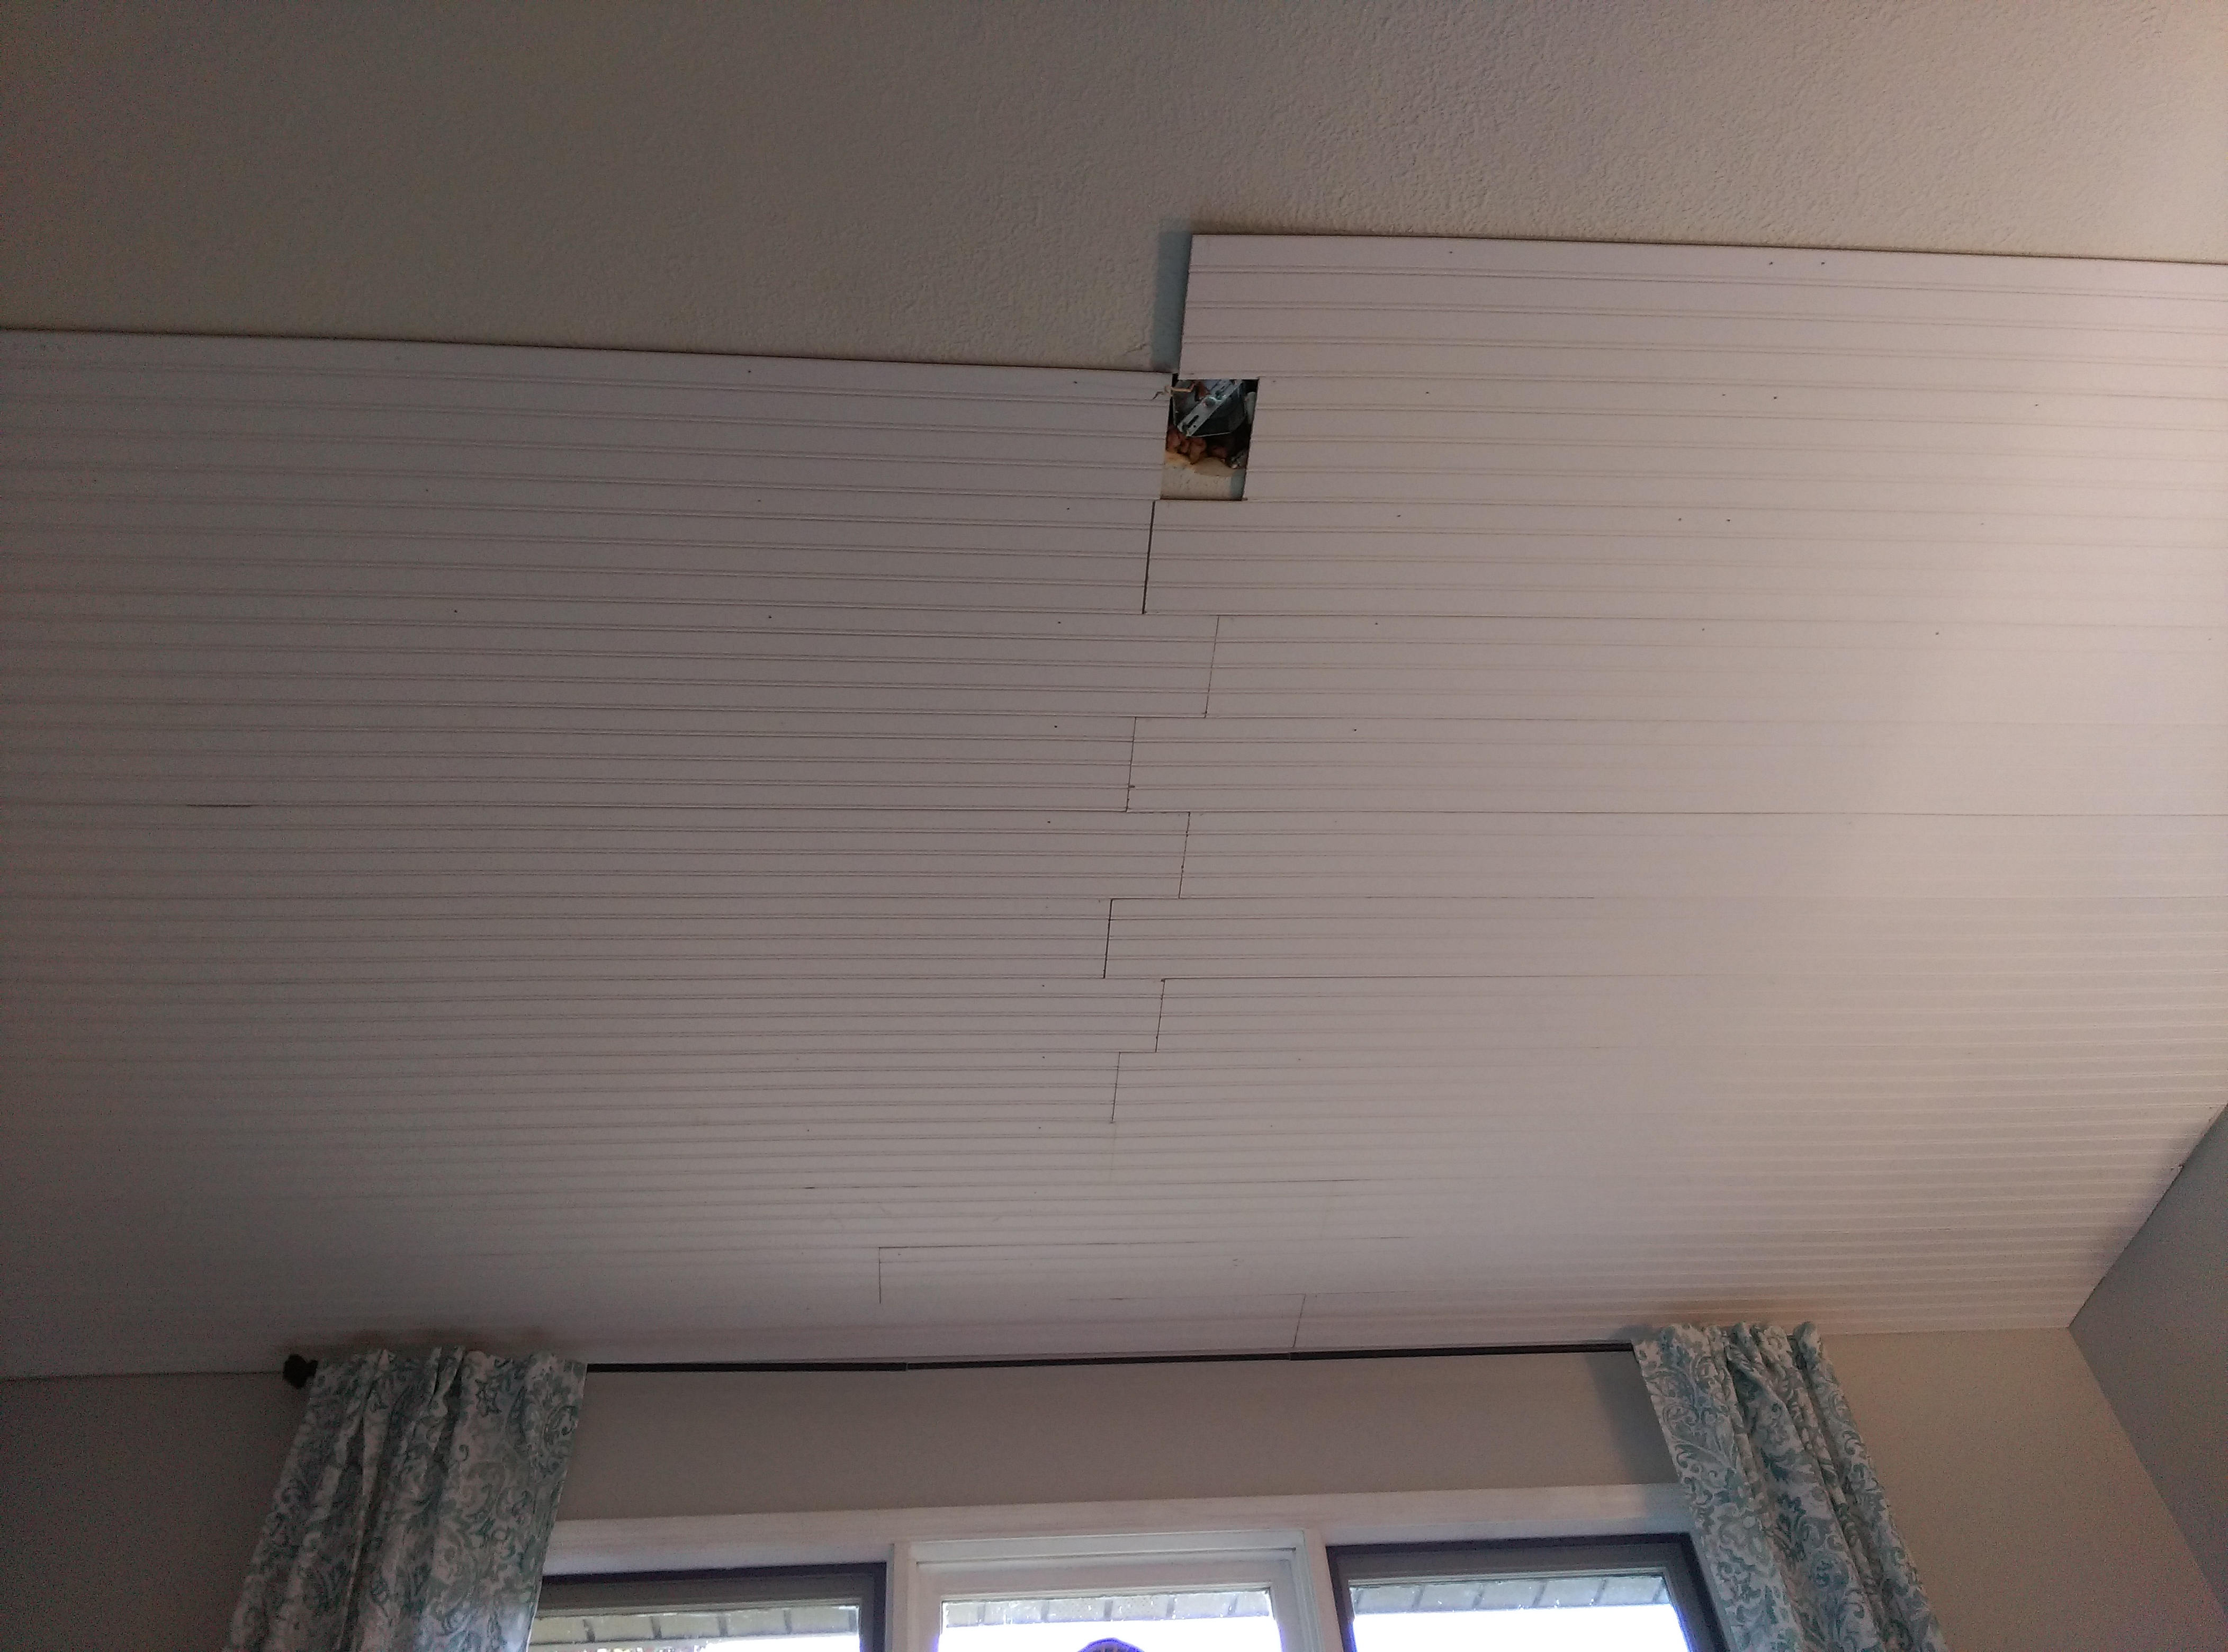
Covering popcorn ceilings with beadboard planks:
- Cut first piece of bead board plank to plus 7” of center line (where your seams are)
- Nail Every 16” into stud!
- Cut 2nd piece minus 7” of center line
- Alternate and repeat process so boards overlap 7” for strength as shown below..

- Cut hole for light fixture with jigsaw
- Cut mdf beams to length
- Secure mdf beams with liquid nails over beadboard.
- Reinforce mdf beams with 16 gauge nails every 16” into studs!
- Cover nail heads with white caulk and sand once dry. Also, caulk additional seams or gaps as needed. (This is when you can also install molding at the perimeter.)
- Apply ultra white, high gloss paint to ceiling (we used a roller on planks and brush on beams and molding). I went with a high gloss to really accentuate the beadboard and create a nice, reflective surface for light to bounce off.

- Pat yourself on the back and slam down a cocktail. It was a lot of work, but worth it!While it took us about a week to complete this project (we only worked on it a few hours at a time), I am thrilled with the dramatic results. Not only did it brighten up the space, it gave the room more of a custom, upscale look….it just “completed” the room.And the beams…not only did they hide the plank seams, it gave the room a bit of a coffered effect (which I love).Do you have a thing for beadboard detailing or Modern Farmmhouse projects? You may want to check out the tutorial I shared for creating a custom Mudroom Entry for under $200 using beadboard. Click here to read that post.

I would recommend this project to anyone looking to transform their outdated ceilings. Just know this project is a bit of a process and about a $300-$400 investment.
Hope this inspired some of you. Now go out there and design some good vibes!
And please don’t forget to spread the love and Pin!!!
Featured on Remodelaholic
More Posts Related to Popcorn Ceilings:

Welcome!
My journey in interior design and home improvement began with transforming my first fixer-upper home, all while managing a budget and raising two young boys. My work, a reflection of my passion for creating beautiful, uplifting spaces, has been recognized by top publications like Better Homes and Gardens Magazine, HGTV, and more. I invite you to explore my site and witness the transformation of my home and the vibes we've designed. Read more...


What a great tutorial. Now to find a helper! I would love to try this.
Thank you so much! Yes, I definitely recommend another set of hands. The planks allowed my husband to do most of it on his own, but the more helpers the better!
We have a single wide mfg. home and all ceilings are popcorn, UGH! Some of ceiling are in conjunction with other rooms like our living room with kitchen and on into mud room. How would love have bead board planks not ugly popcorn. Think hubs would definitely need another strong man to help him with this, and it could be kinda pricey with covering 3 rooms. Maybe we could start in front hallway.
Your room looks so incredible after bead board ceiling installed. Would absolutely be worth expense and labor. We have one long wall that stretches from living room. thru kitchen into mud room. We have painted our living room a very light gray and extended it into kitchen so far, just need to finish wall into mud room. My hubs isn’t one to rush into anything, he doesn’t see why it needs to be done at all so it usually takes me to get out paint and start. then hubs takes over cause after all what do I know. I just assist after that, lol.
It encourages me to see how your room turned out and you have lovely dining room, very classy. I like to improve our home to make it look better than a single wide mfg. home 16×80. Am always making things have seen on blogs, fixing up furniture, whatever it takes.
Our budget is not extensive, boy is that true, but am happy to do one improvement at a time, just so long as one does get done.
How do you get your hubs to snazzy things up in your home, is he happy to do work and see excellent results?
Happy improving. By way love pattern on your d/r drapes, very light and pretty. Did you make them or buy retail? Happy season
I am a bit of a drill Sargent when it comes to getting things done around the house…I think my husband gets so tired of hearing about it that he eventually gives in. haha But seriously, I think he enjoys staying busy and doing projects. I am also always motivating him by “resale value”. I got the curtains from homegoods. Hope this helps!!
I have this same problem except ours is a double wide MH. We’ve done a lot of remodeling but the ceilings have to go now. I hate having to look at them..This is my first glimpse of interest and I am loving at…I’ve looked at all the beautiful and resourceful idea’s from Designing Vibes and am loving them..All seems very doable even for us Seniors…Thank you so much…
I am so happy you found this helpful, Marlena. Using the planks is much more manageable than the full sheets of beadboard. It is just time consuming. Good luck with everything!
I need to do this- definitely pinning for later!
Thank you so much, Jessy! It was a lot of work, but so worth it.
This is such a great idea. I would love to do this in my home!
Thanks, Mary. It was a lot of work but I am so thrilled with how it turned out.
Did you do this on 8ft ceiling & did it make it appear smaller or larger?
It looks beautiful
Yes, we have 8ft ceilings in the dining room and although I was concerned it would make the ceilings look lower, I think it did the opposite. The room looks larger and brighter now. I think it is because of the white, glossy paint. Although, if it were a darker color, it may have made the ceilings look lower.