
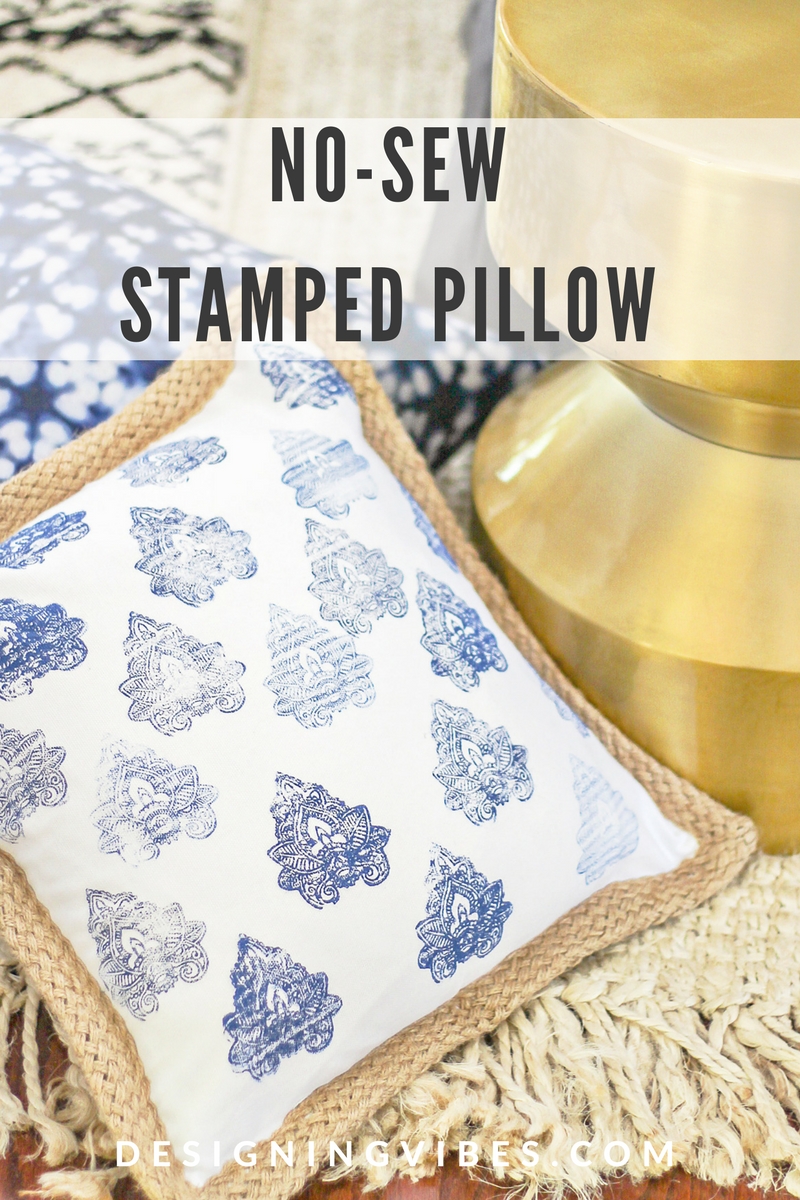
DIY No Sew Stamped Pillow
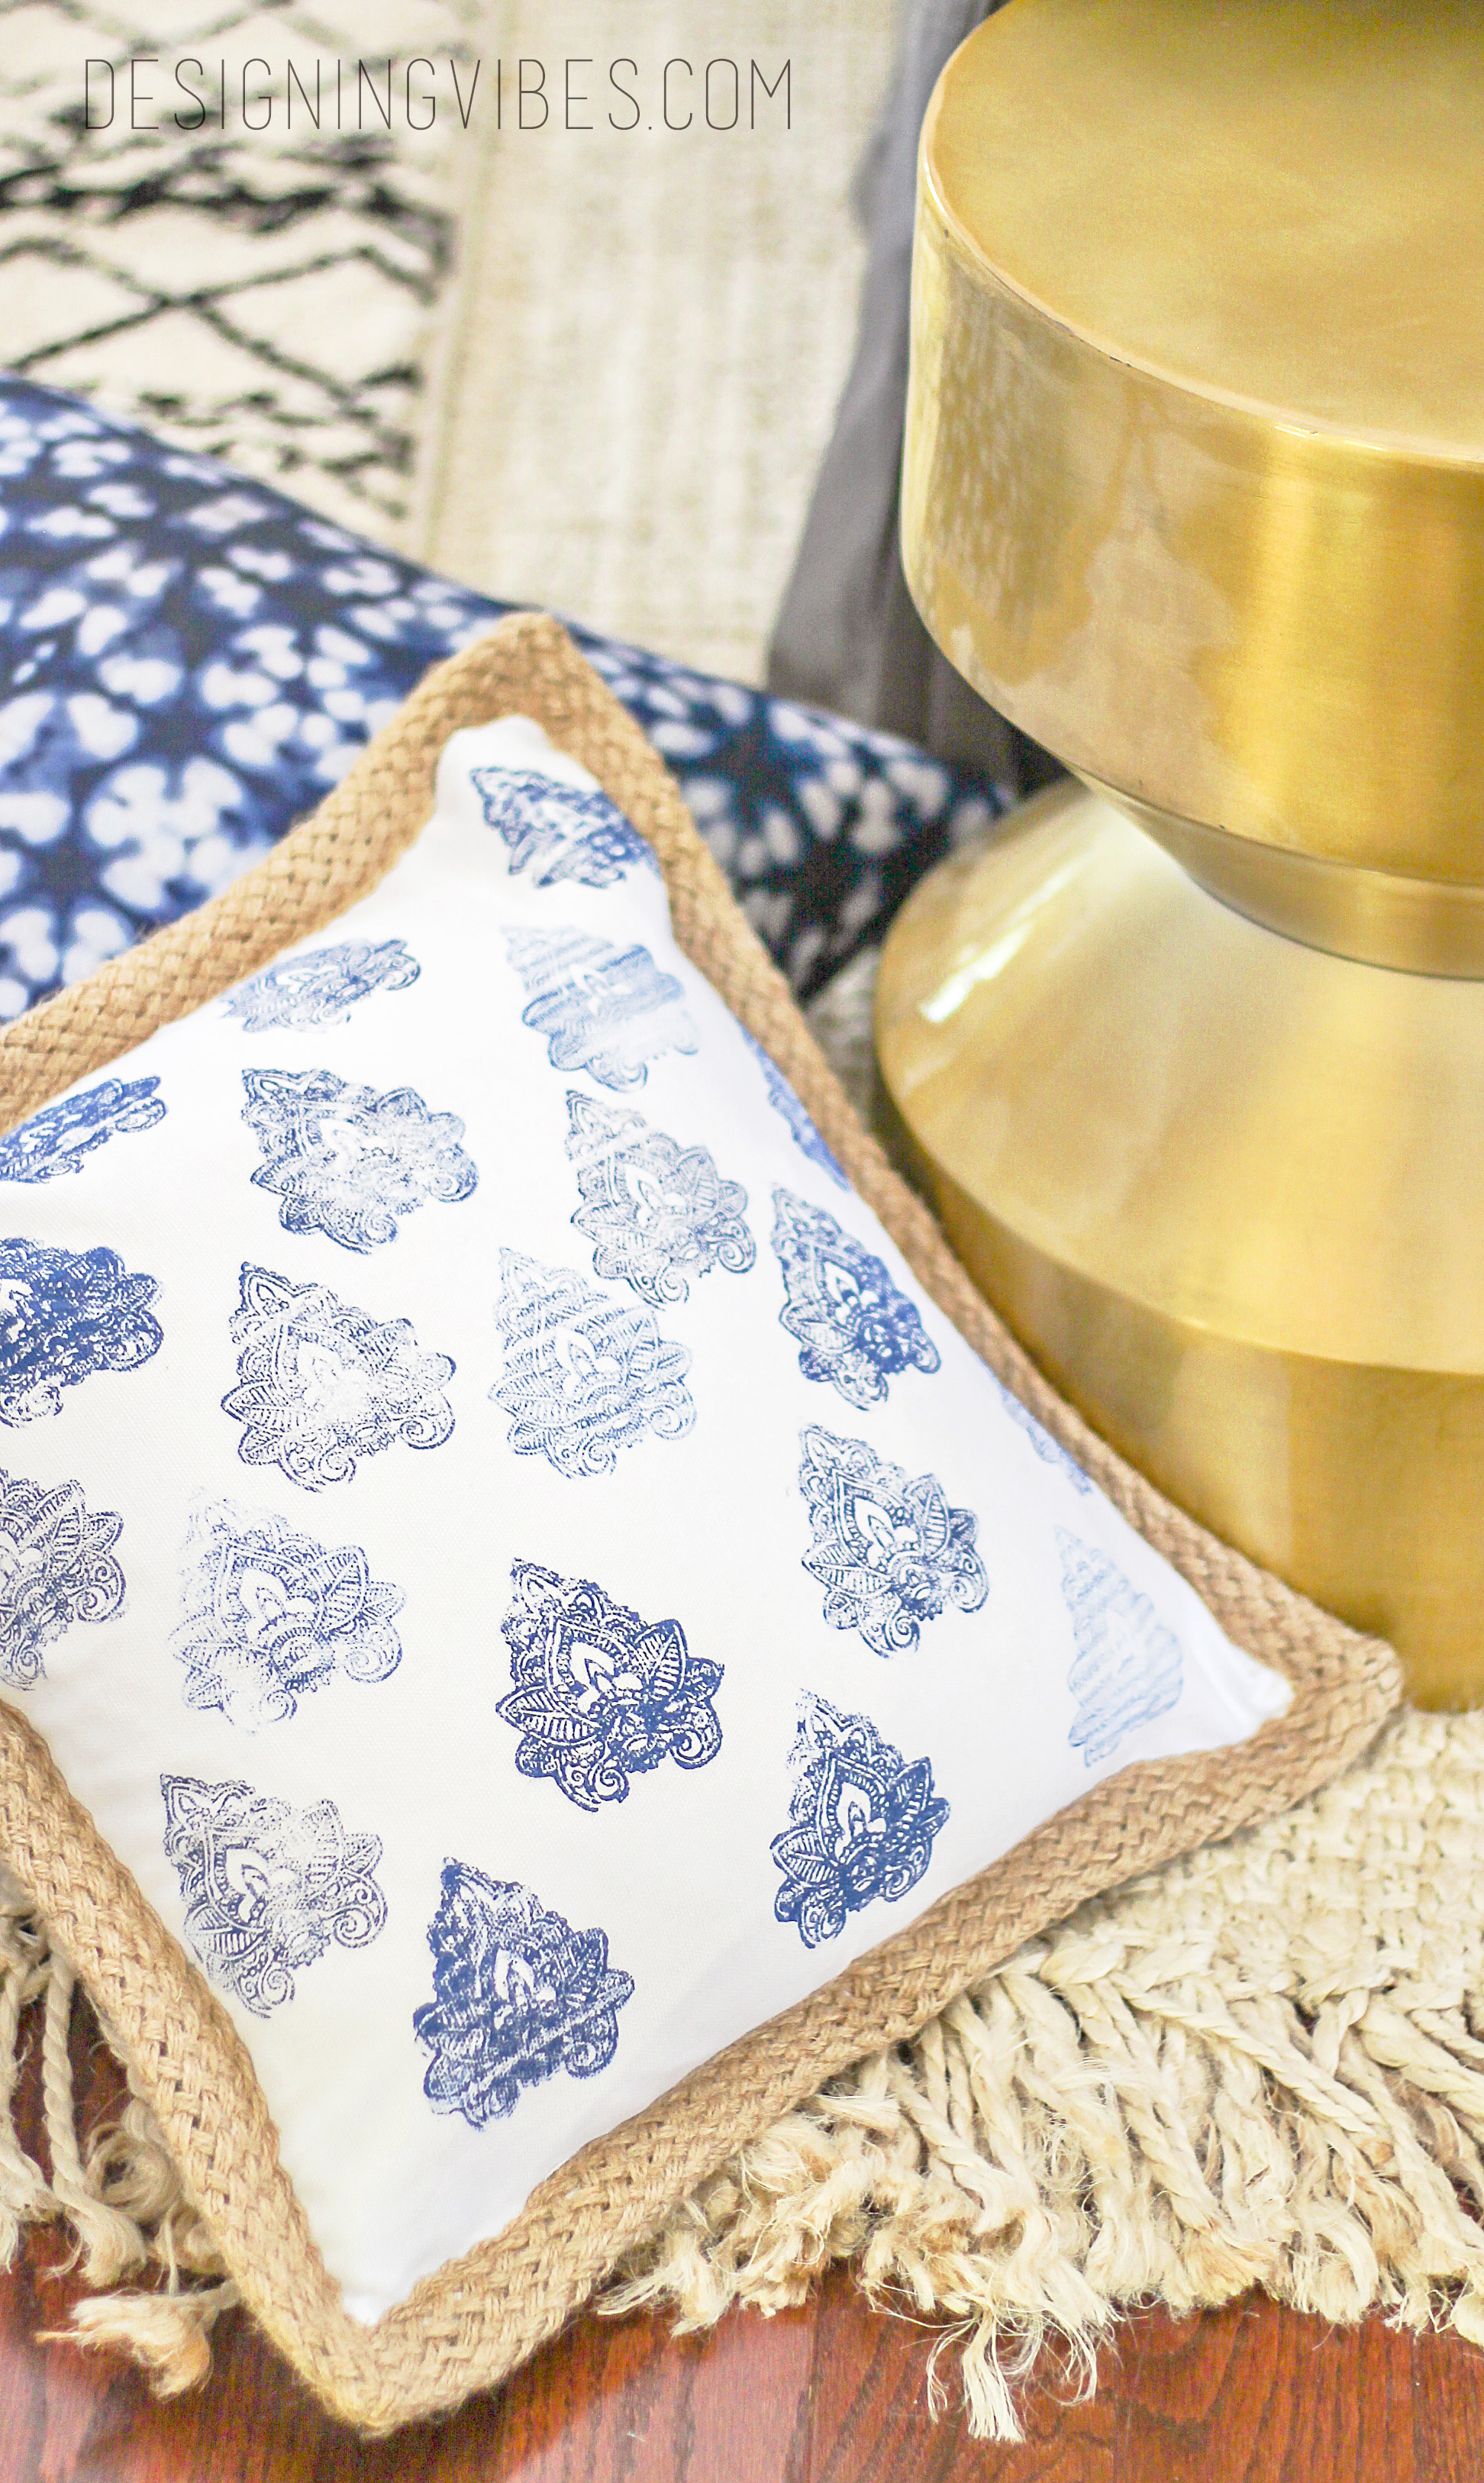
Aside from mud cloth and shibori, one of my favorite new trends in the textile realm right now is hand-blocked printed fabric. In fact, some of my favorite designers are incorporating this centuries-old tradition into their design schemes, and I cannot stop swooning over it. Today, I am going to show you how I made a hand-blocked (or stamped) pillow cover. Even better..there is no sewing required!

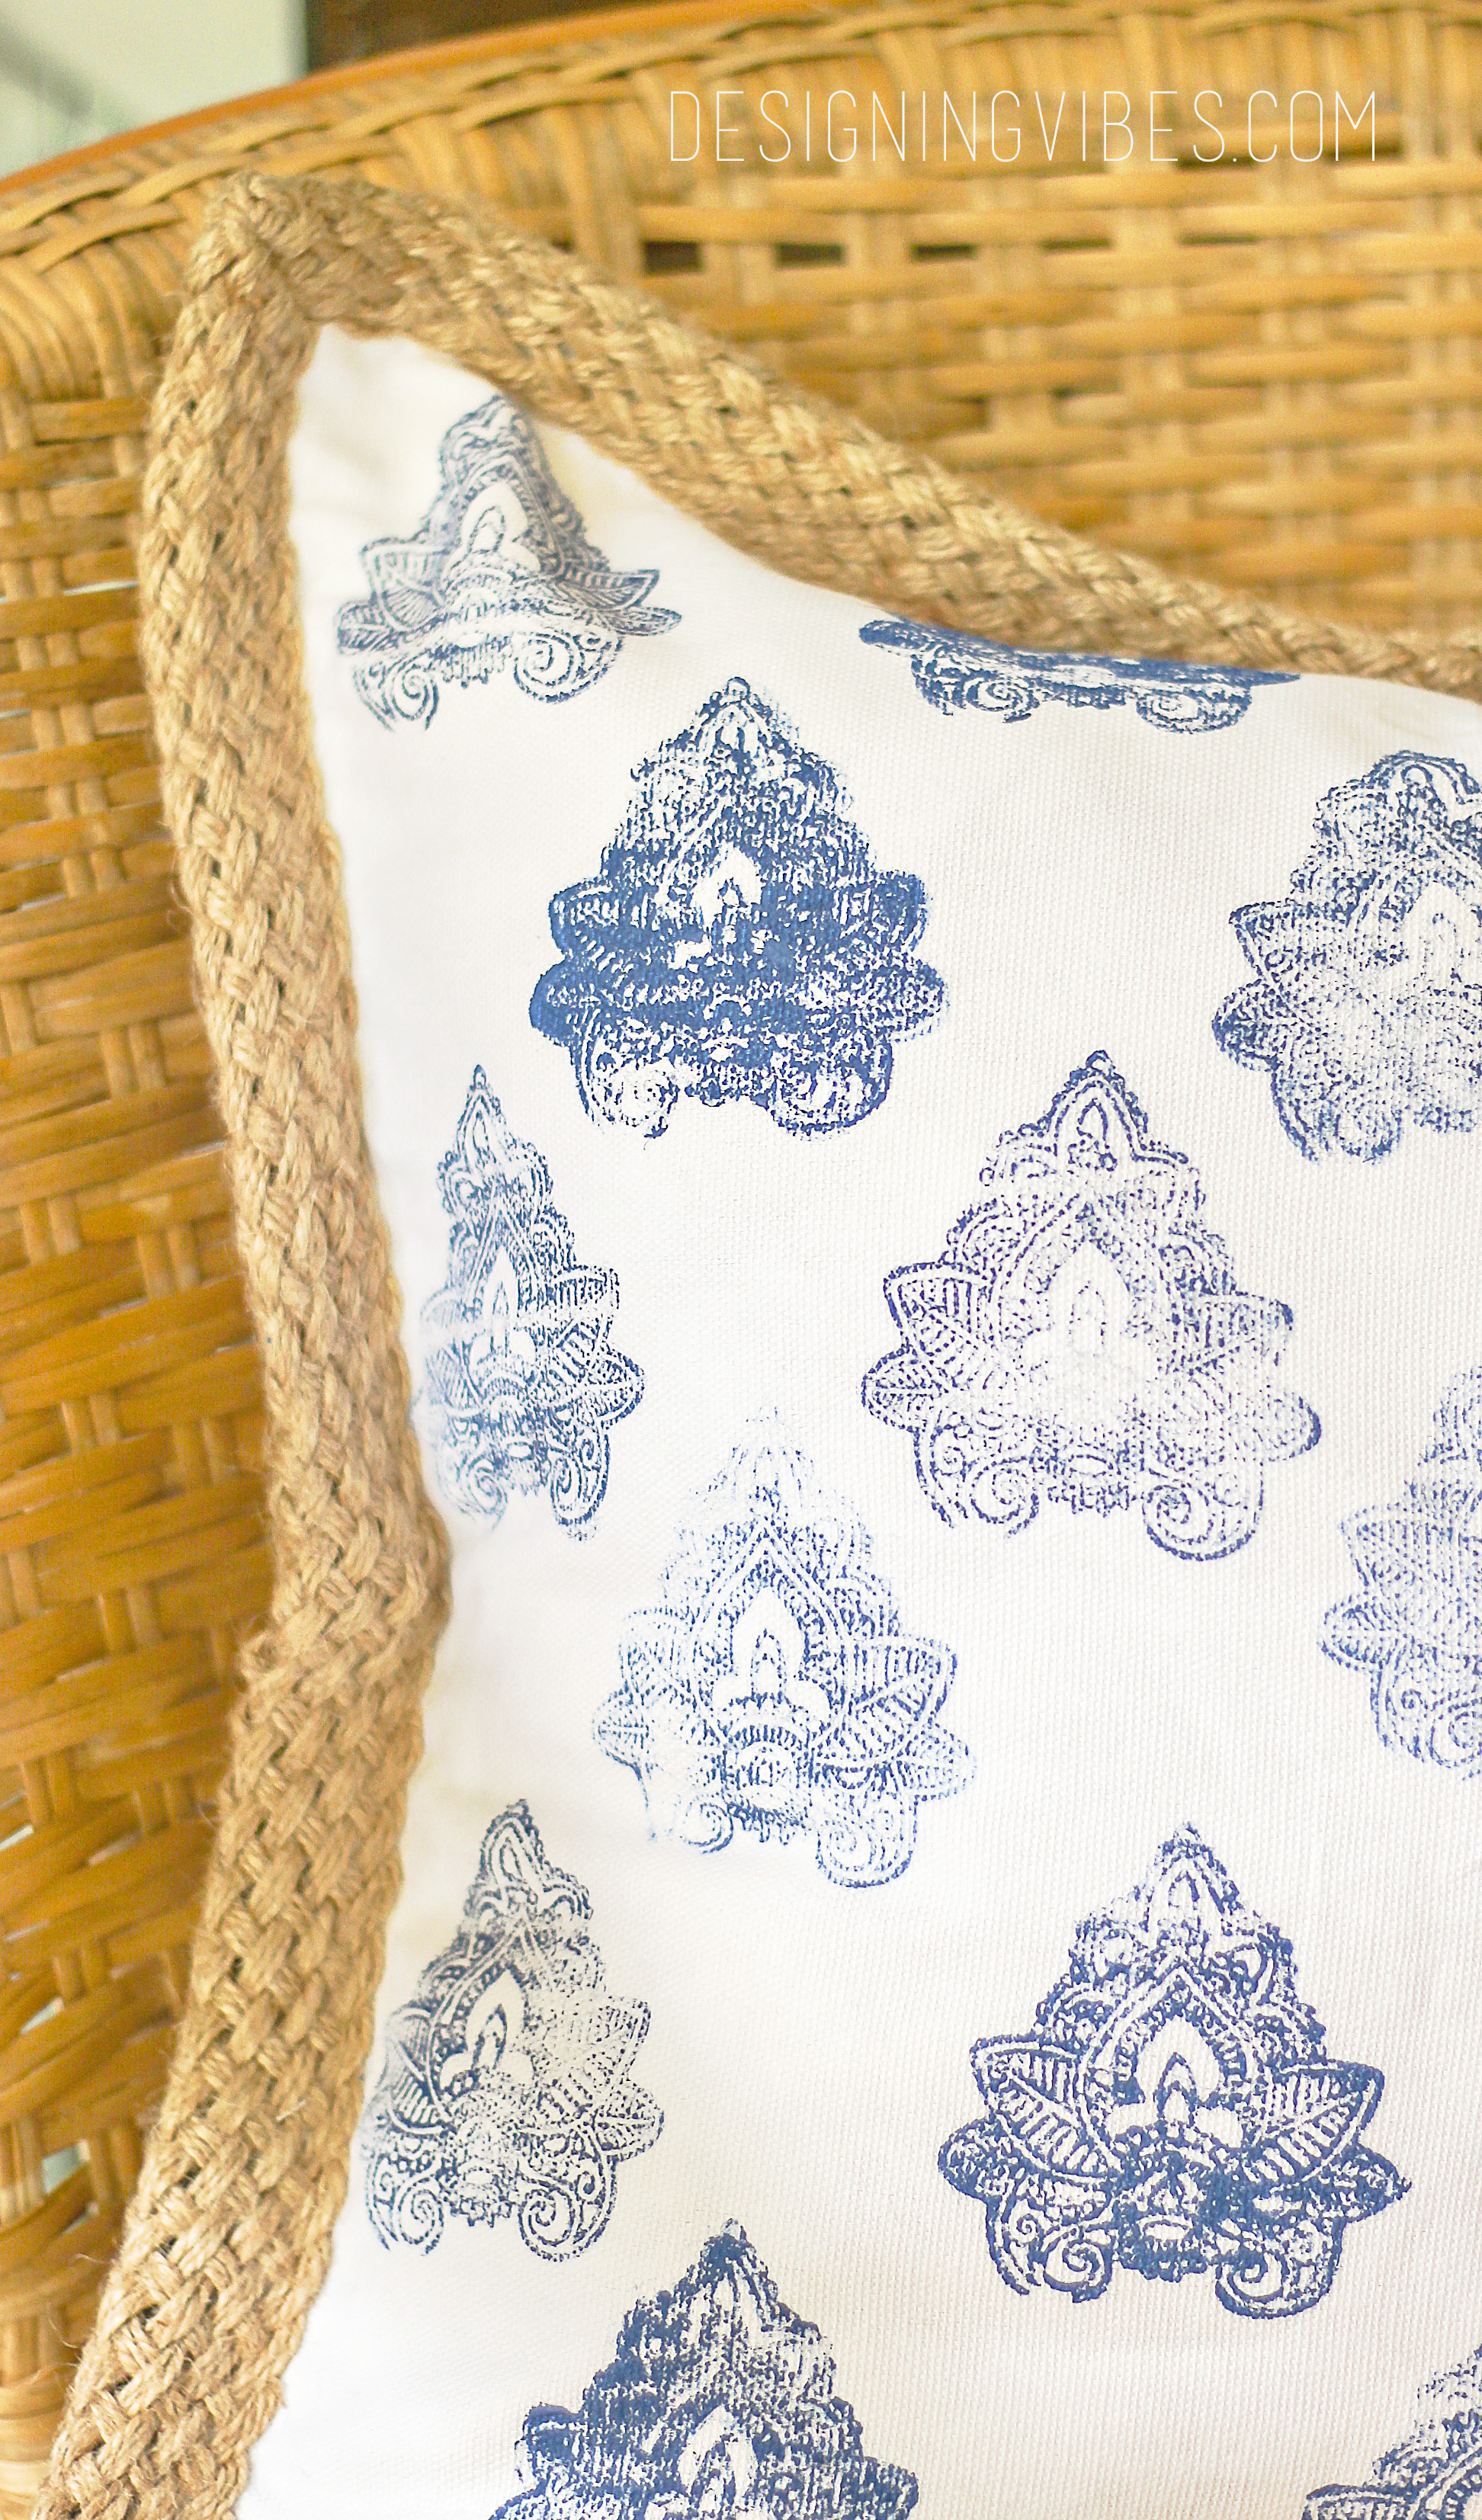
For those of you unfamiliar with the term “hand-blocked” , let me give you a little history lesson. Hand-blocked printing is an ancient Indian art form that involves a hand-carved, wooden block ( or stamp) which is dipped into dye and then stamped directly onto fabric for decorative purposes.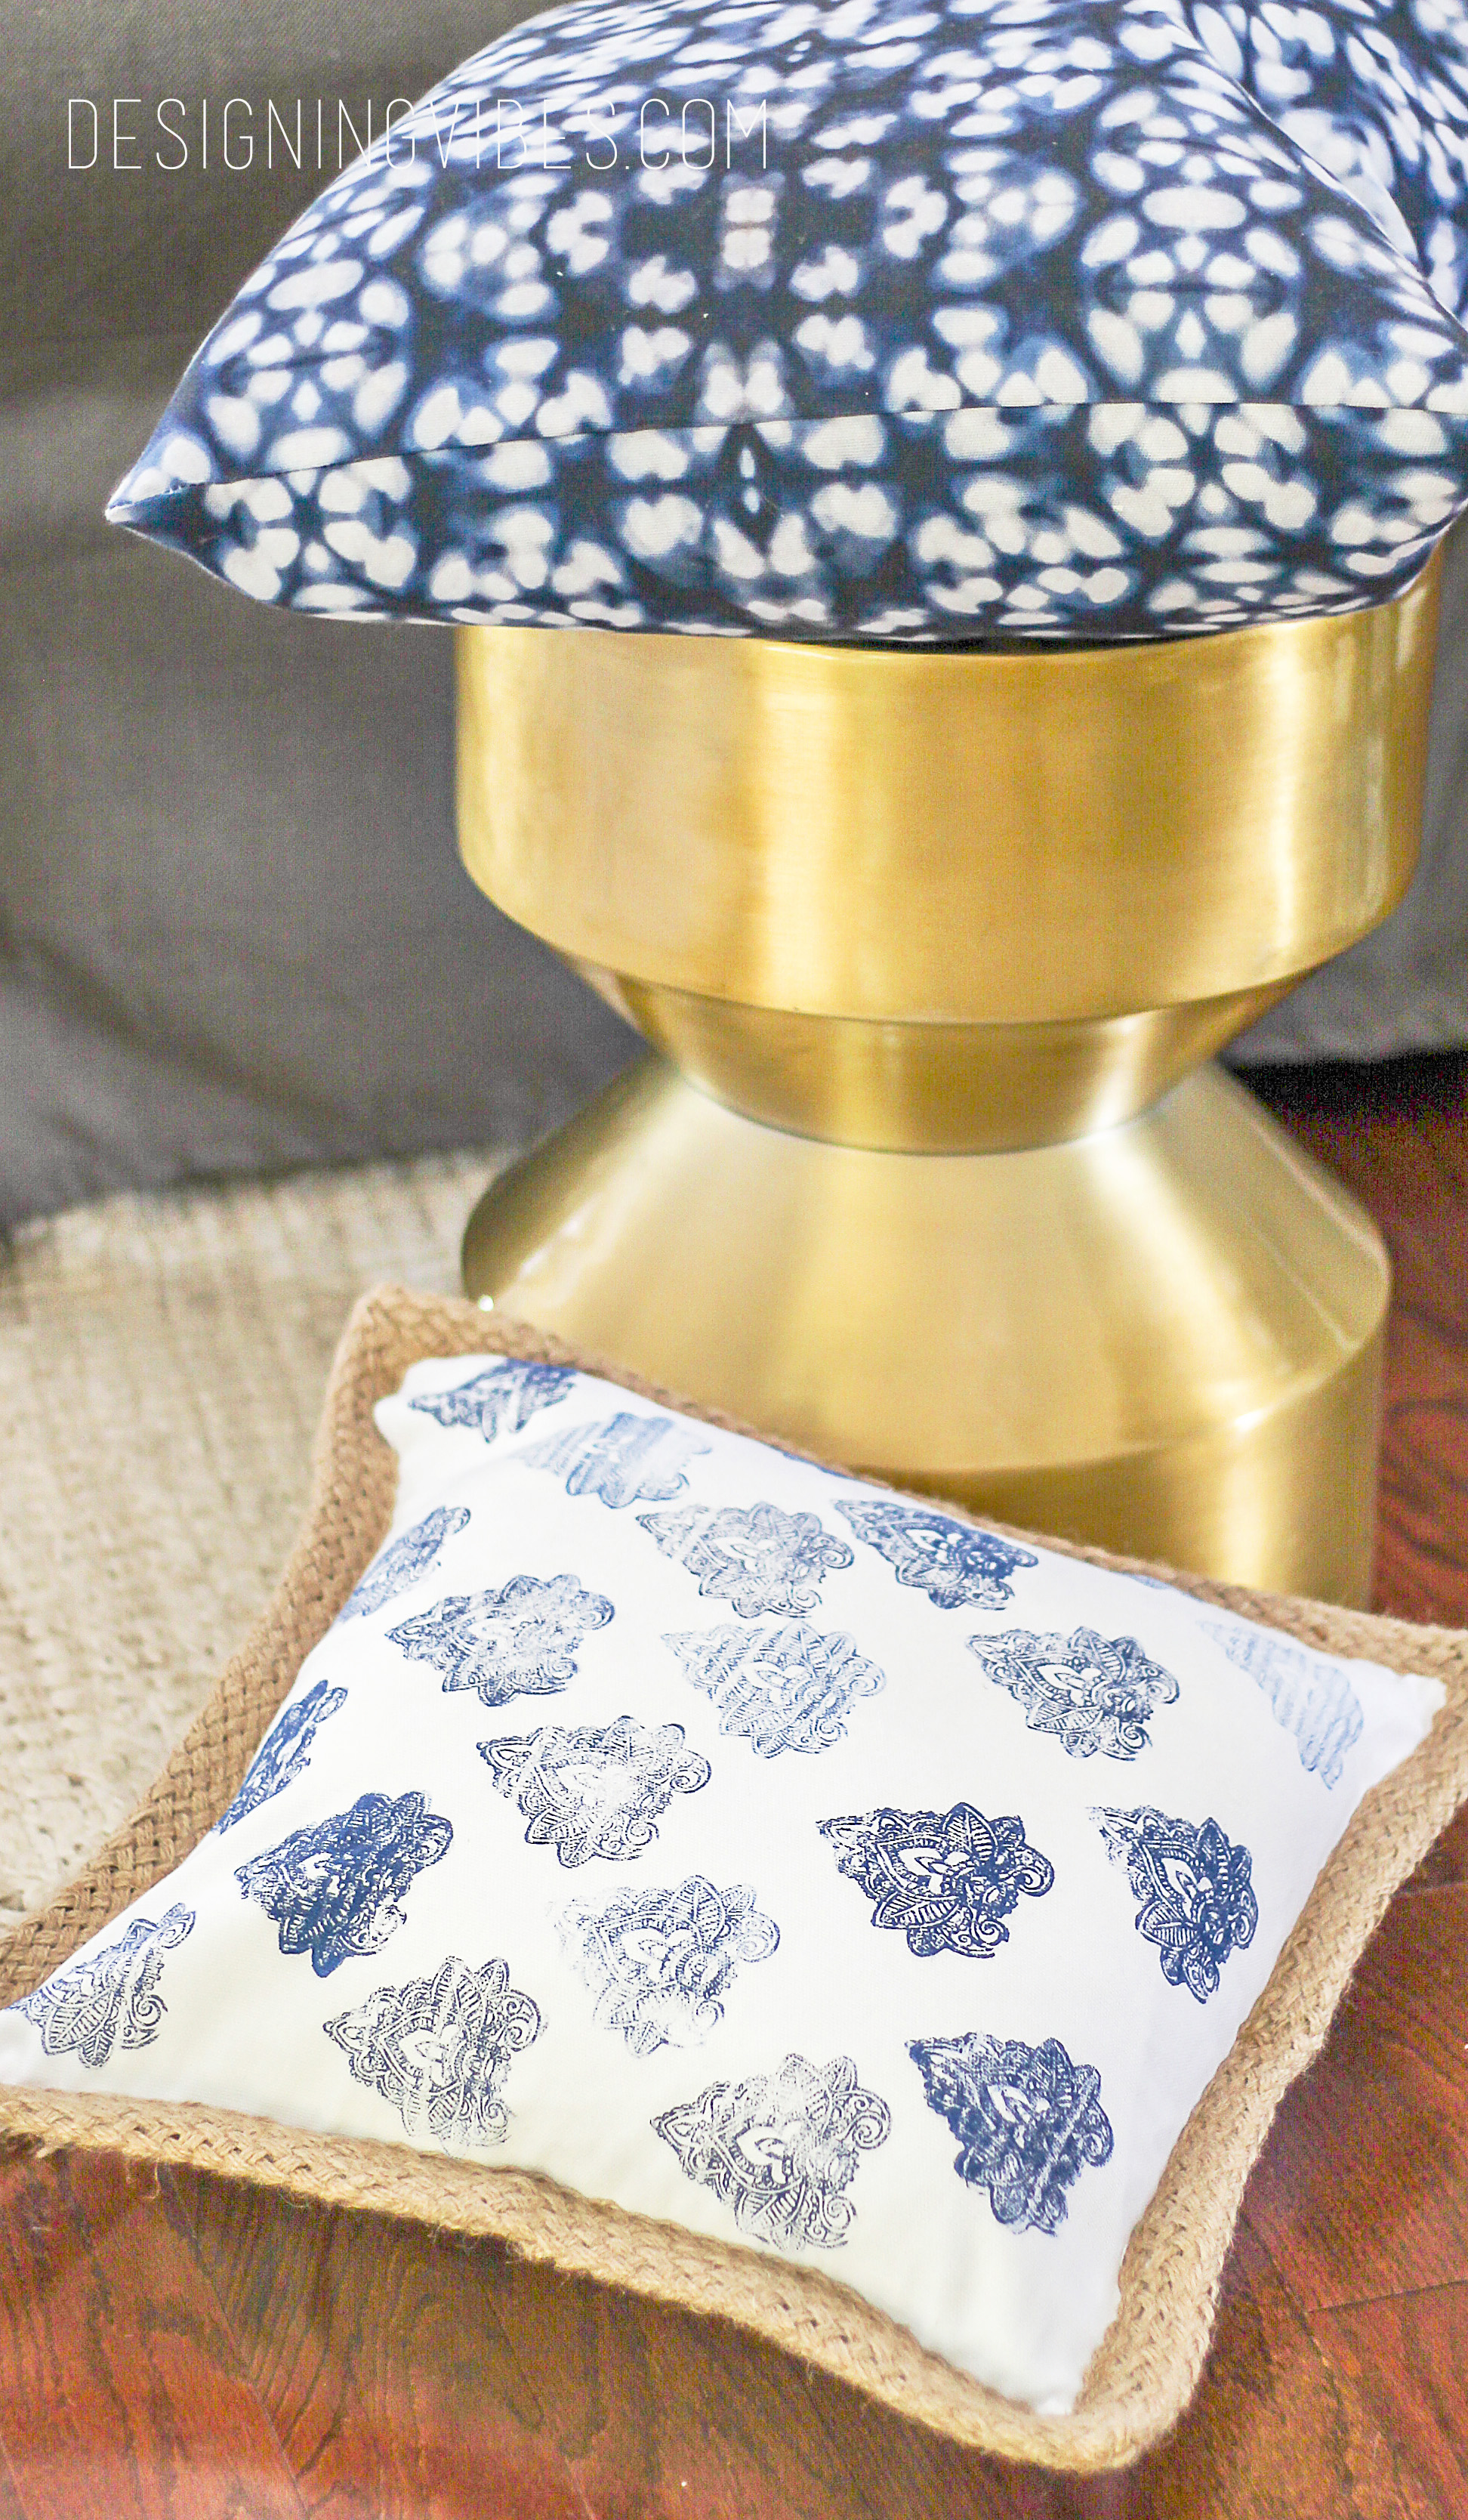
And while in India, skilled artisans dedicate their lives to this art, I decided to casually take a shot at it while jamming to Grateful Dead’s Europe ’72 and sipping brewskies. As you can see, my prints did not render as uniform and precise, but I think the imperfection of it all gives it character and a bit of a worn, vintage vibe.

Or maybe I am just making excuses for my half-assed, slightly tipsy attempts at hand-blocking? I cannot decide yet.
For your convenience, I have included affiliate links. That simply means if you click on one of the links and buy something, I receive a small commission, but don’t worry… you won’t pay a dime more.
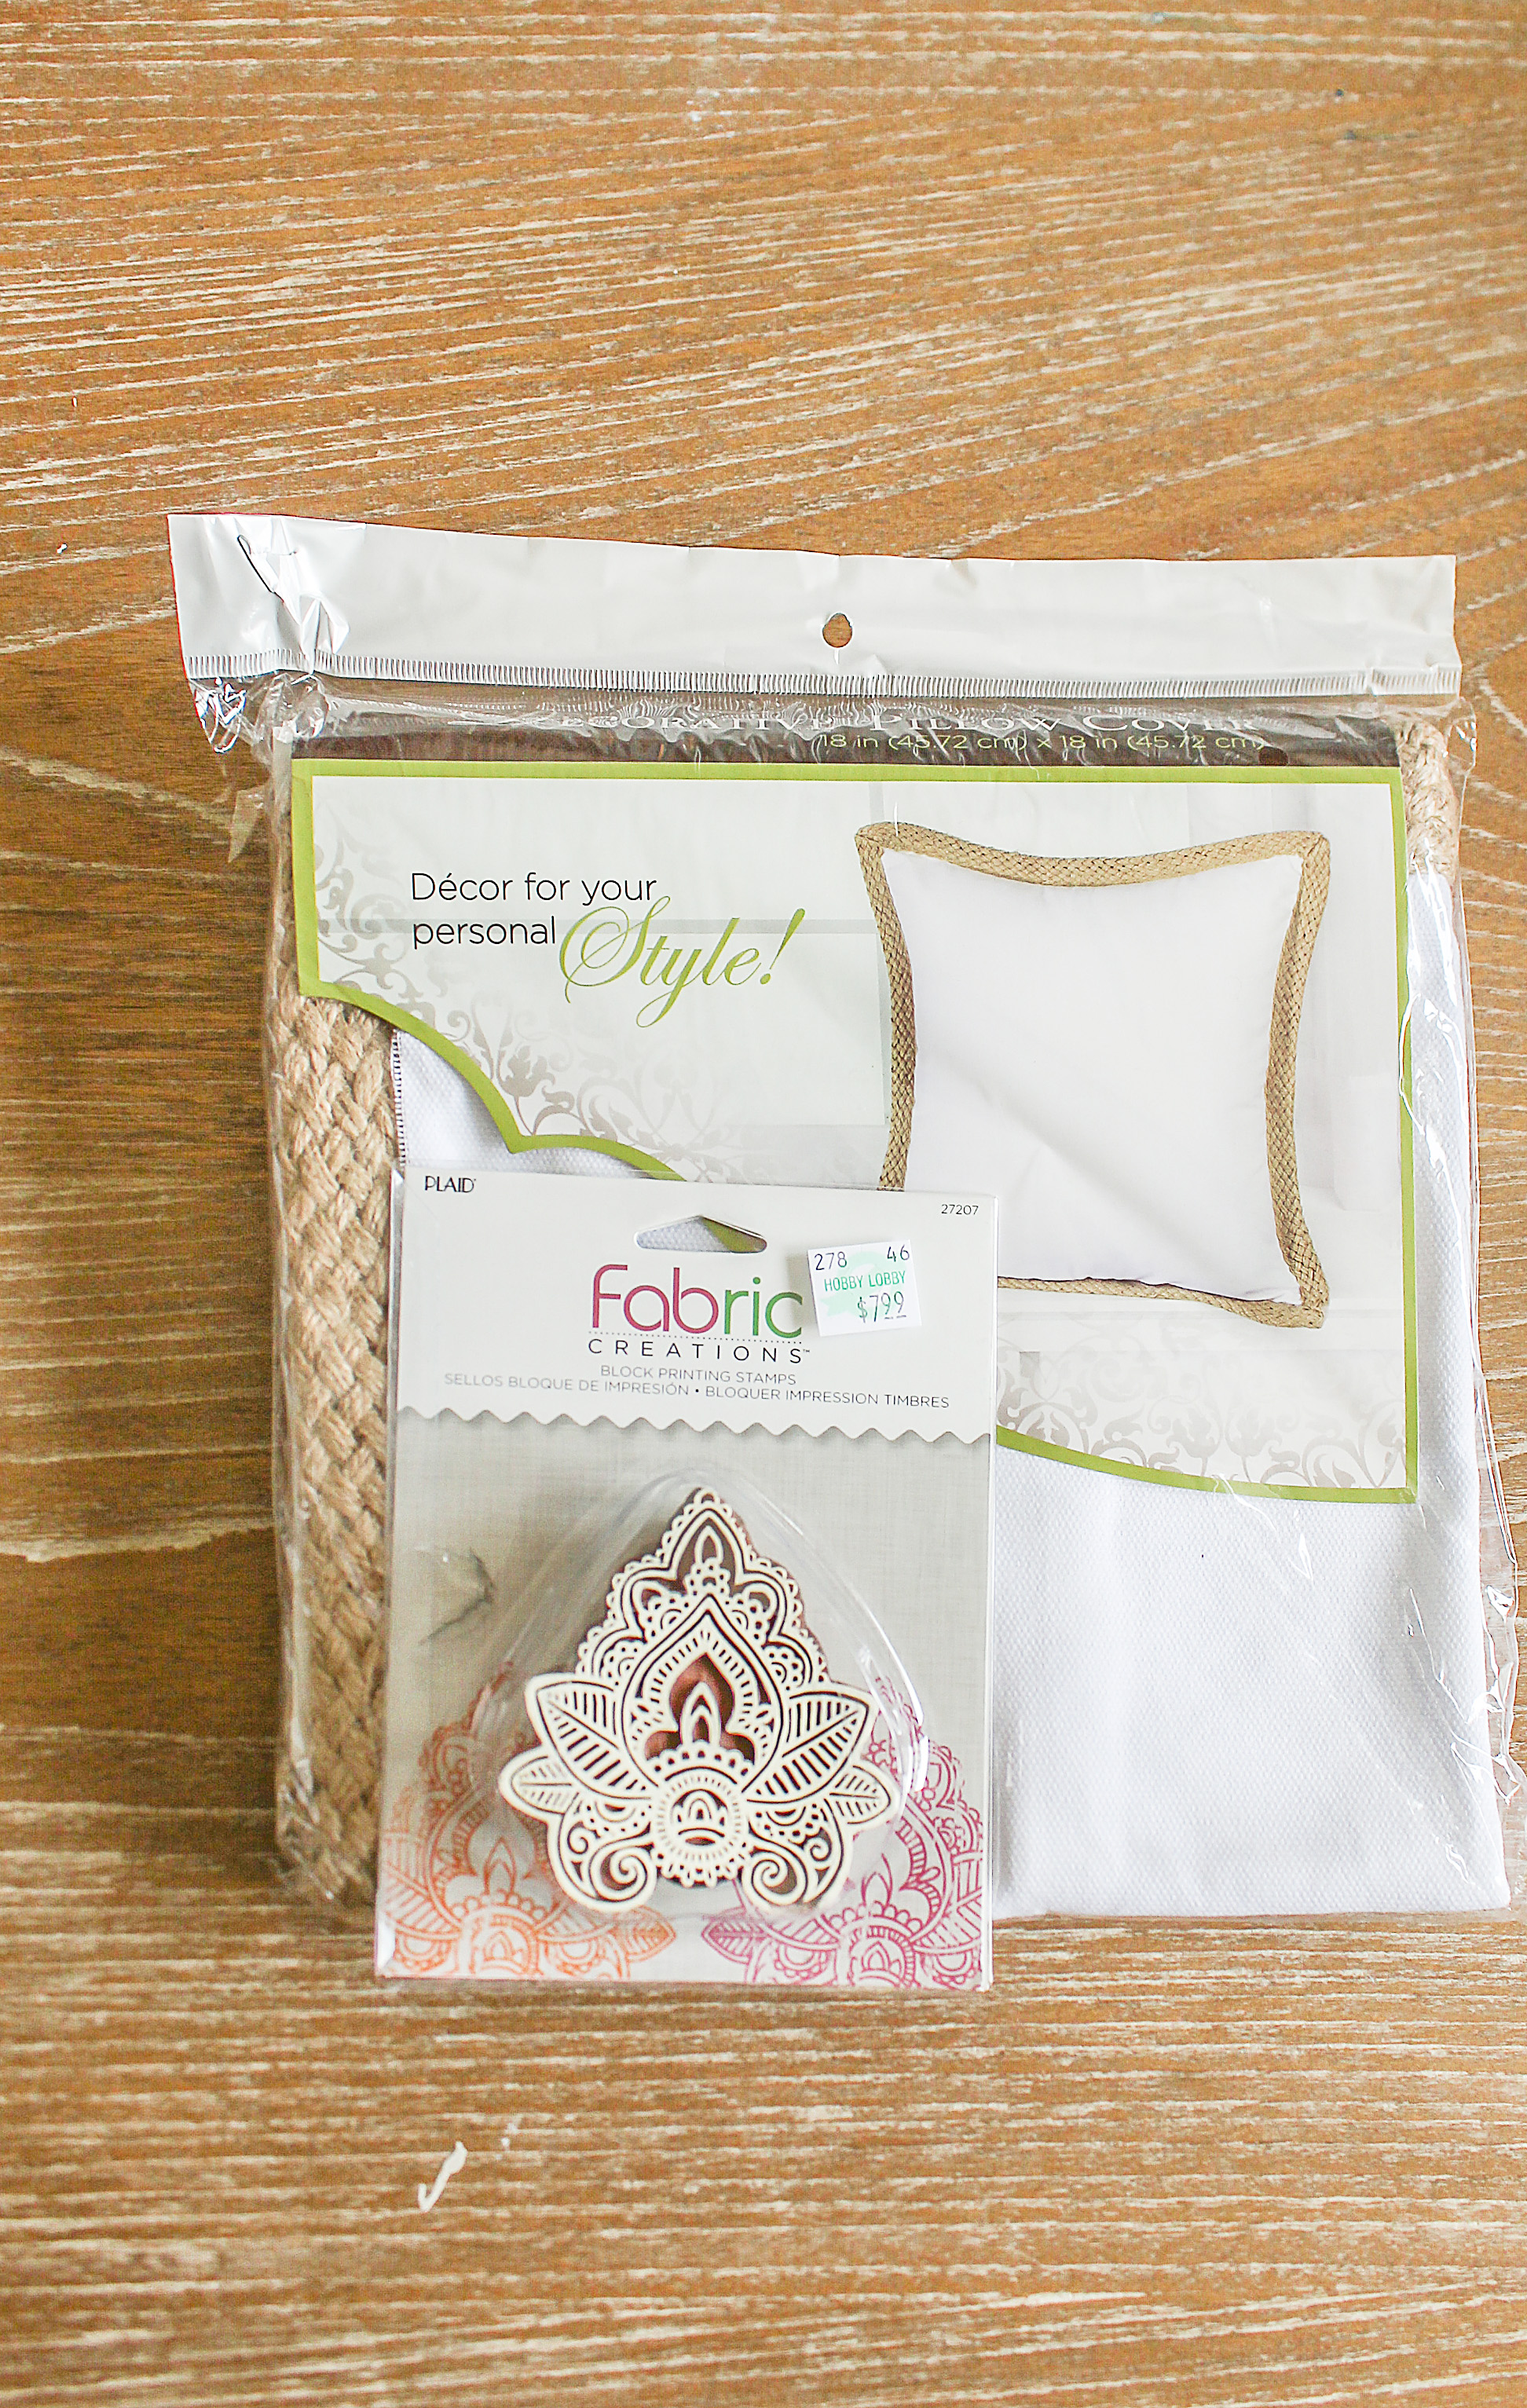
No Sew Stamped Pillow Cover Materials
- block printing stamp (you can buy one similar to mine here)
- solid color pillow cover (you can buy a similar one here
 )
) - paint (I used this kind)
- if going for worn/variated look, fabric ink pad (I used this one)
- piece of cardboard (mine came with pillow cover packaging)
- foam brush
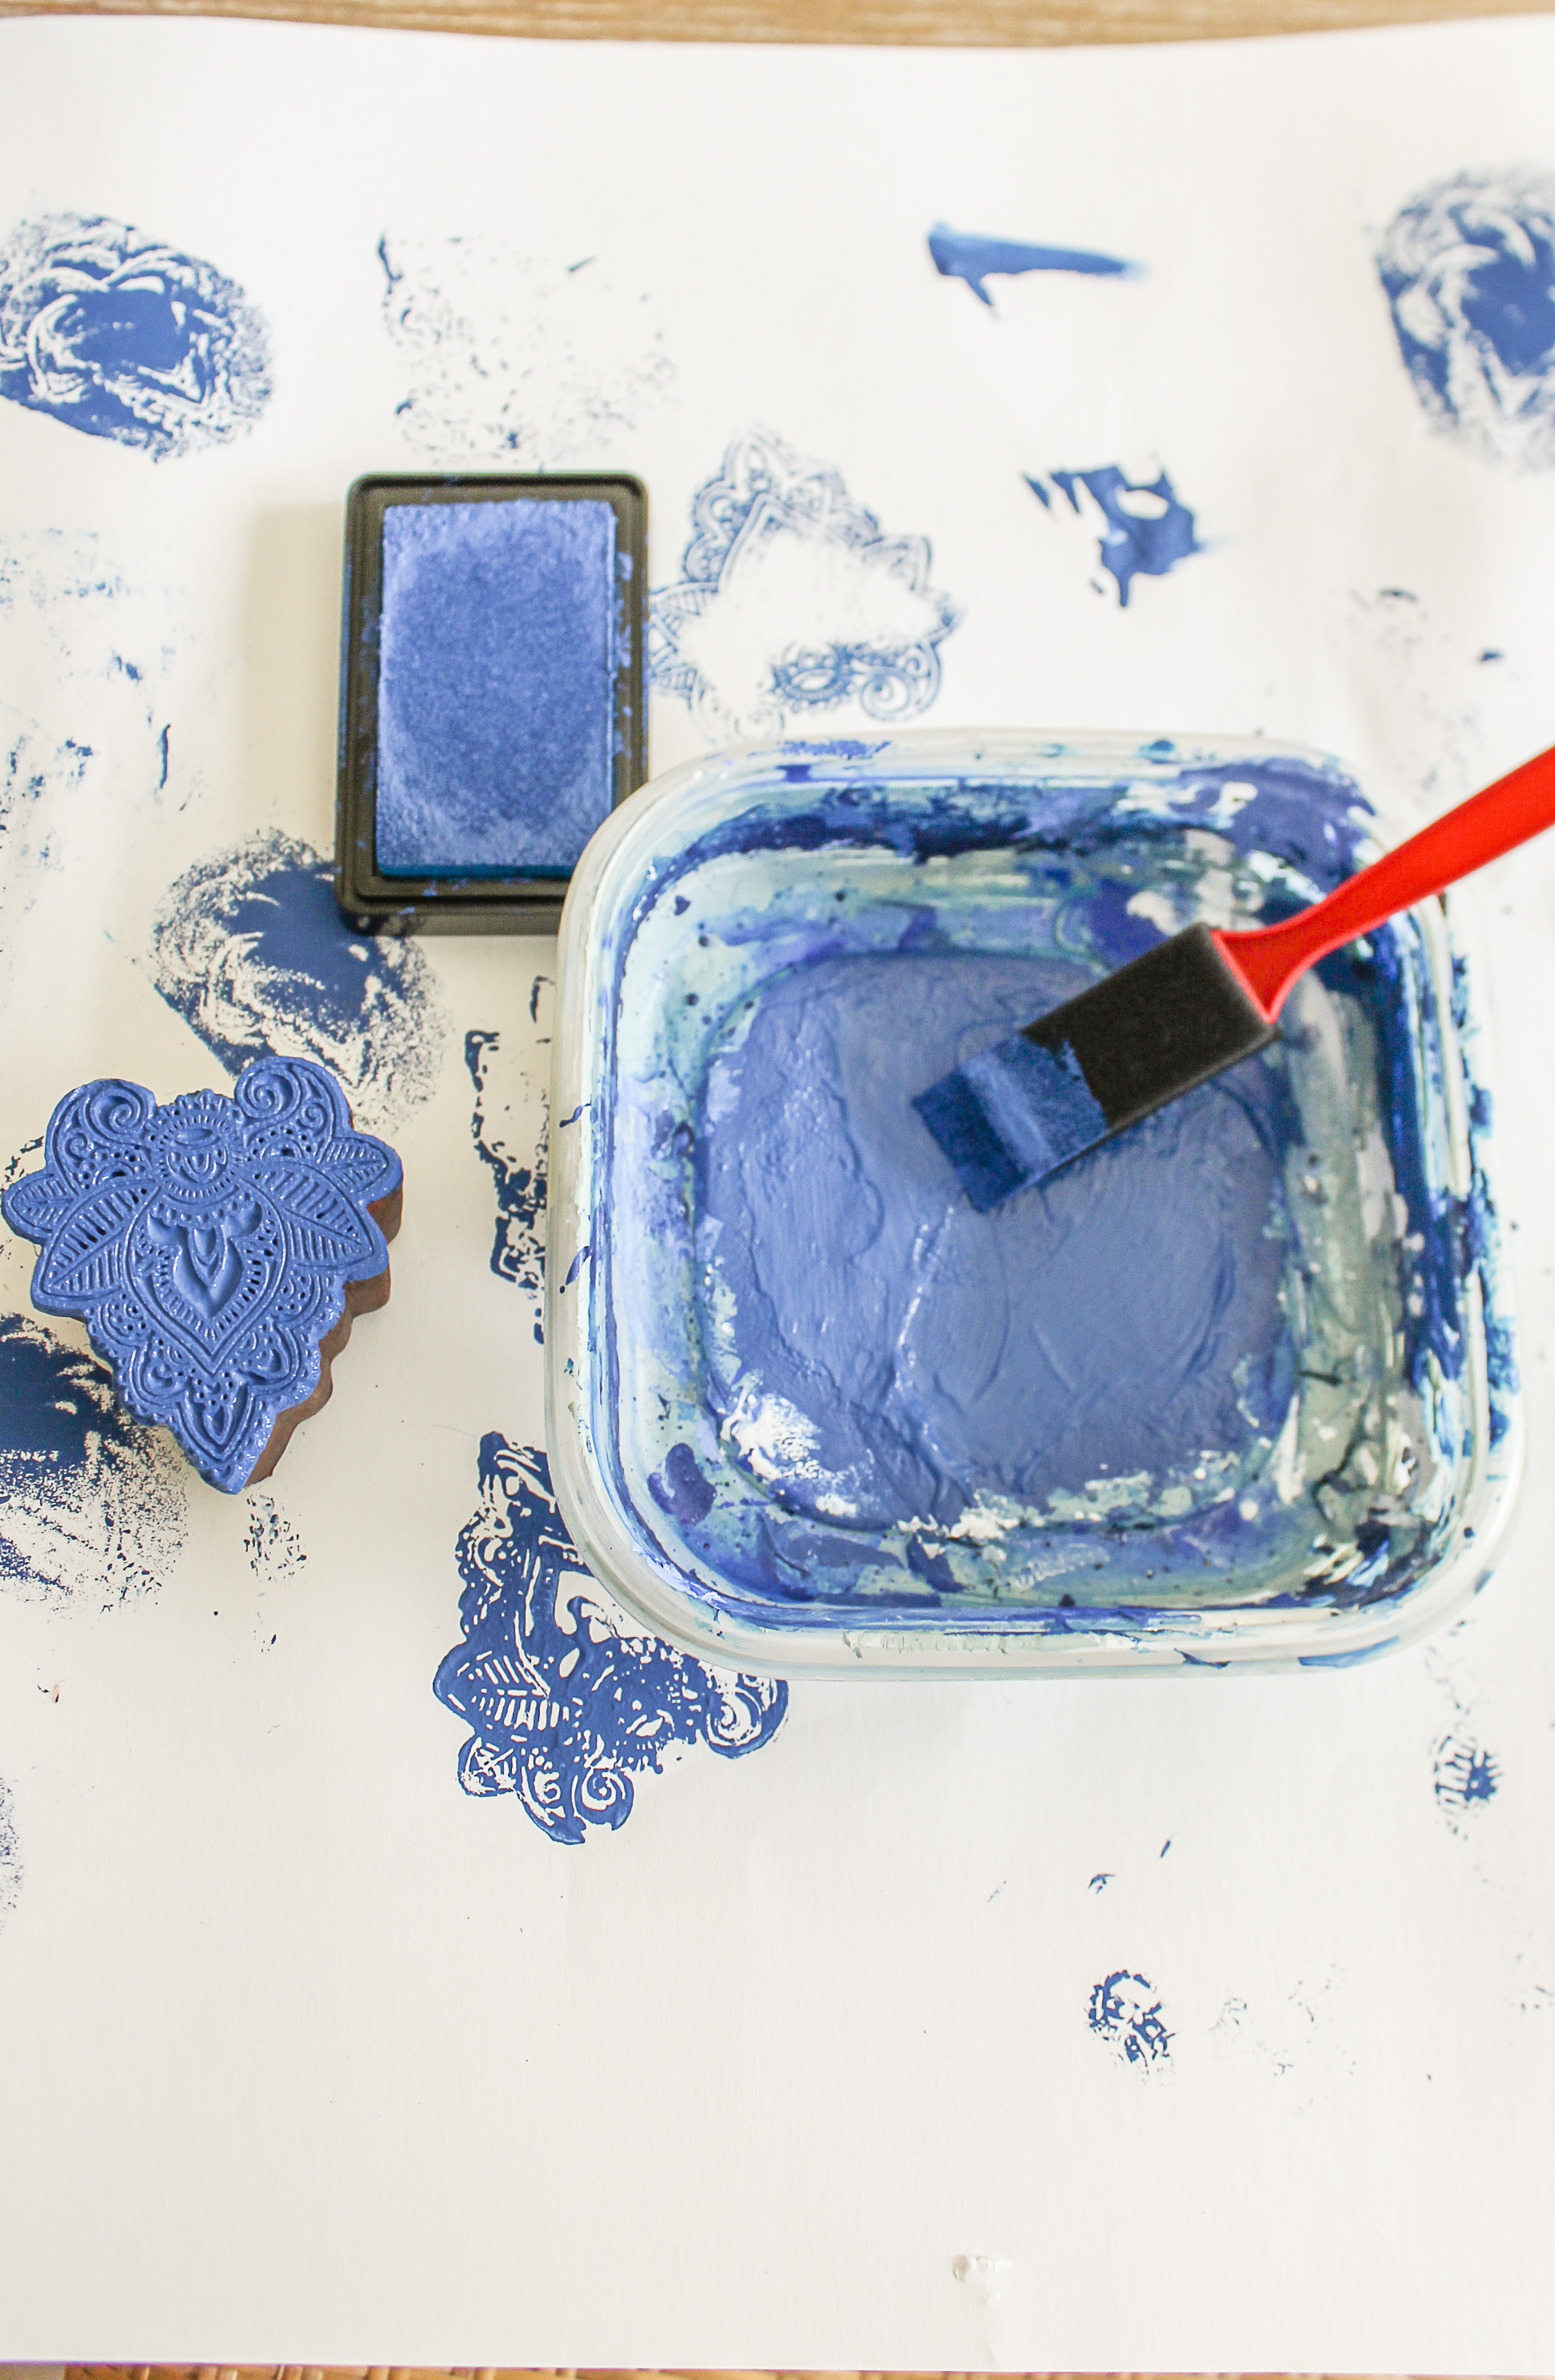
In an effort to avoid screwing up my only pillow case, I first decided to play around with my stamping technique on a scratch sheet of paper. I was surprised at just how much pressure I had to apply to the stamp/block(I basically had to beat the hell out of it). At one point, my husband walked into the room and gave me a crazy look, because I was karate-chopping my stamp. I think he was a little concerned for my mental well-being.

Once I was ready, I placed a piece of cardboard in the pillow cover (directly under the area I was stamping) and began actually applying the stamp to this pillow cover, which I purchased on sale at Hobby Lobby. I started off solely using the ink pad. However, I noticed not only was the ink not displaying very clear, the pad was drying out very fast. Remaining calm, I found some acrylic paint I had from another project and continued stamping away.
I applied the acrylic paint directly to the stamp with a foam brush, then I blotted the block into the ink pad (given the ink pad had dried out prematurely, the pad basically acted as a way to blot off any excess paint).
If you are aiming for a more uniform print, I would just stick with fabric paint or acrylic paint and not even bother with the ink pad. However, there is a part of me that finds the tonal, worn effect rather endearing. I definately have a new-found respecting for the art of hand-blocking. It takes practice to get each motif to display clearly and accurate….not too shabby for a tipsy beginner I suppose.
Now get out there and design some good vibes! Please also share the love and pin….


Welcome!
My journey in interior design and home improvement began with transforming my first fixer-upper home, all while managing a budget and raising two young boys. My work, a reflection of my passion for creating beautiful, uplifting spaces, has been recognized by top publications like Better Homes and Gardens Magazine, HGTV, and more. I invite you to explore my site and witness the transformation of my home and the vibes we've designed. Read more...


These are beautiful!!! I love the design and the worn look is perfection. There is beauty in the imperfection I say. 🙂
yay! That makes me so happy to hear. Thanks, friend!
Yep, you nailed it! The irregular prints look amazing! That’s what I love about block prints! Nice work girlie!
Yay! Thank you so much, pretty lady.
What a gorgeous pillow and so easy. I like that.
Thank you so much! Yes, I am all about easy. haha