
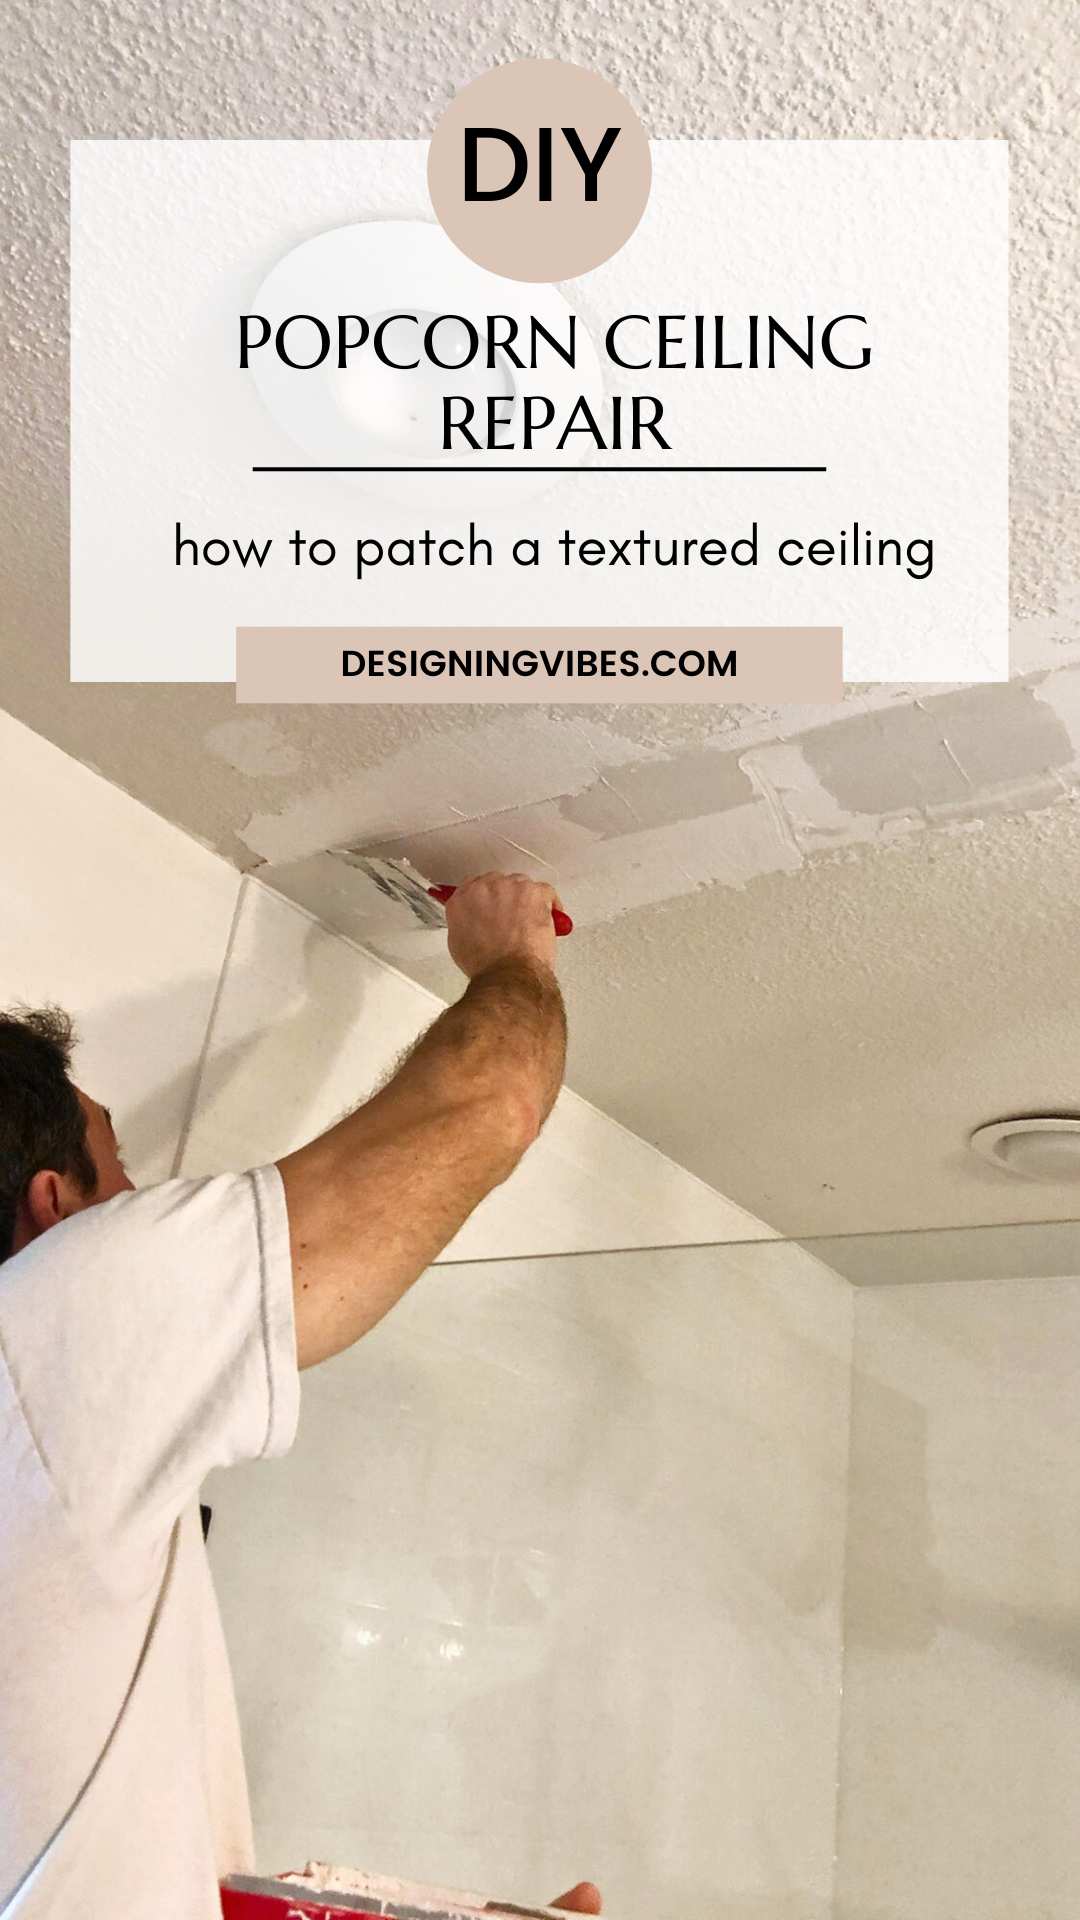
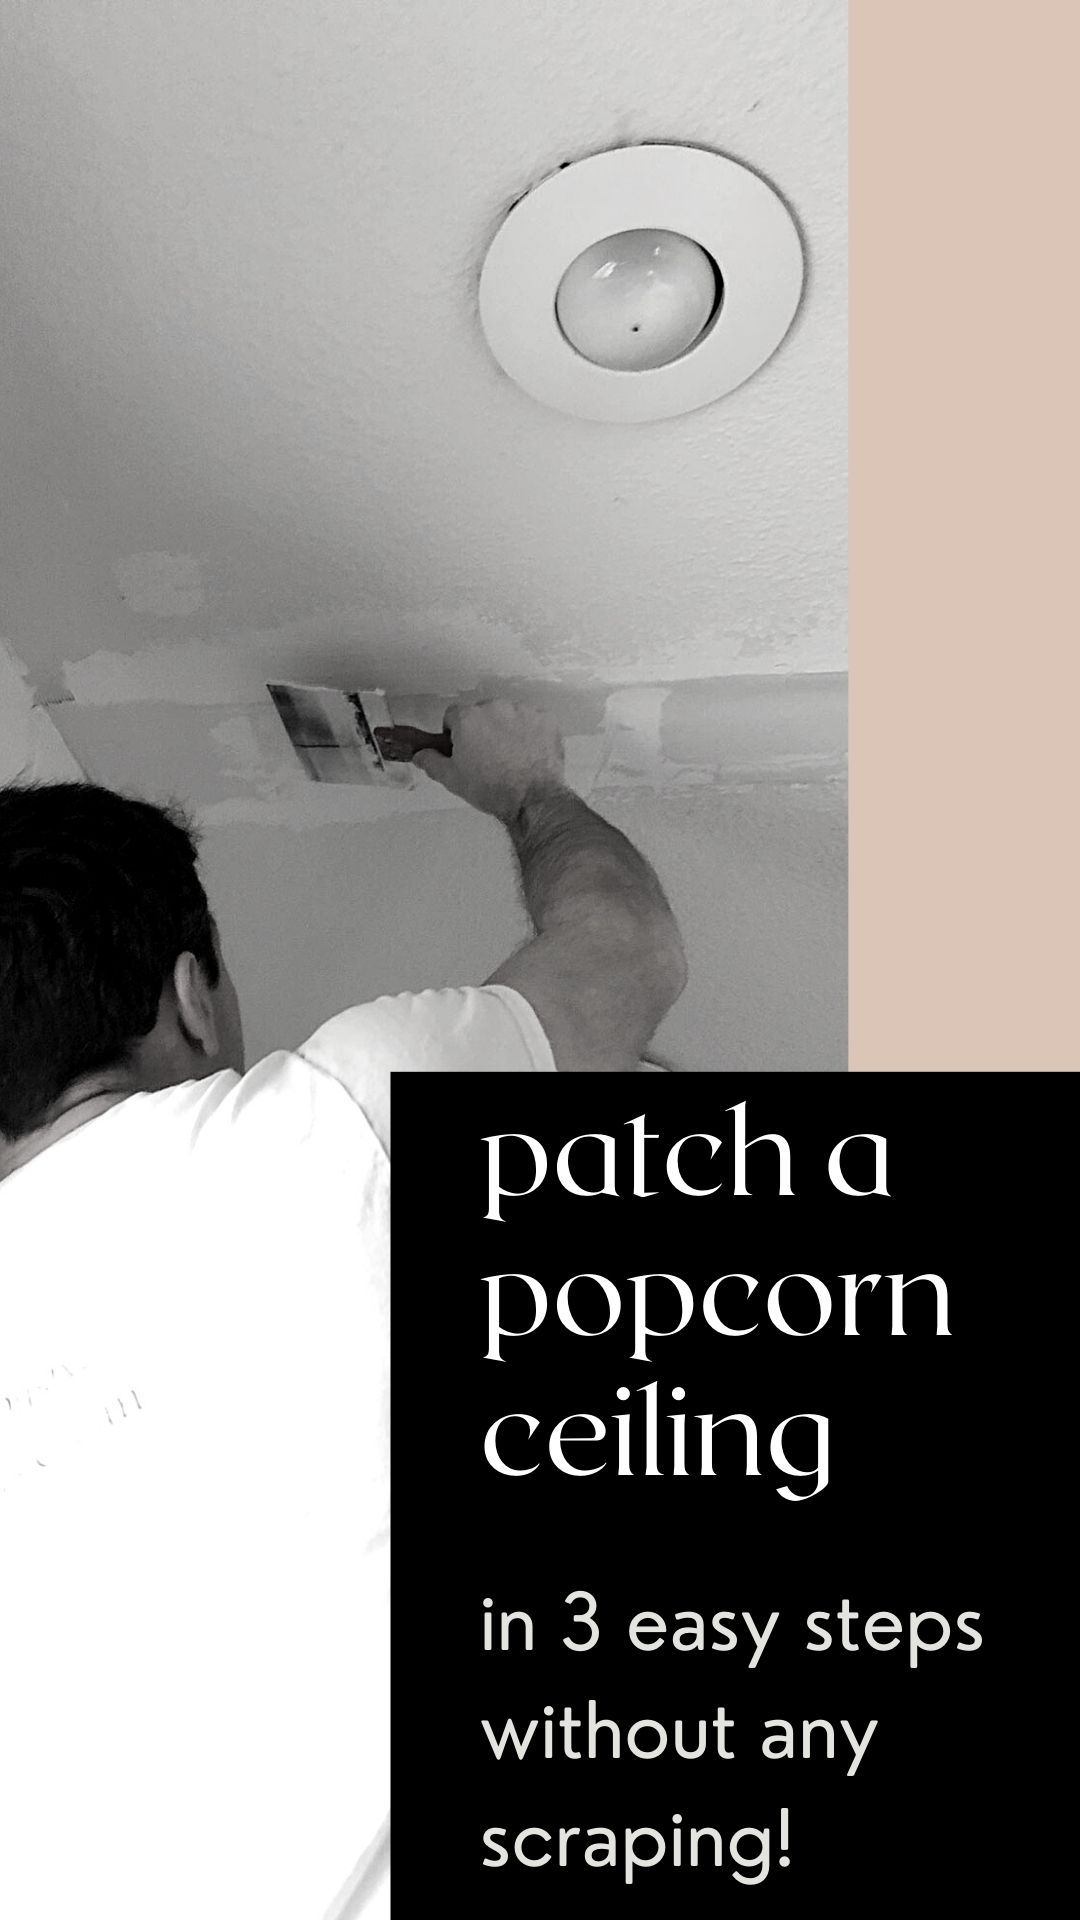
The Easiest Way to Patch a Textured Ceiling
In today’s post, I am going to share how to patch a textured or popcorn ceiling without having to scrape or resurface the entire ceiling…
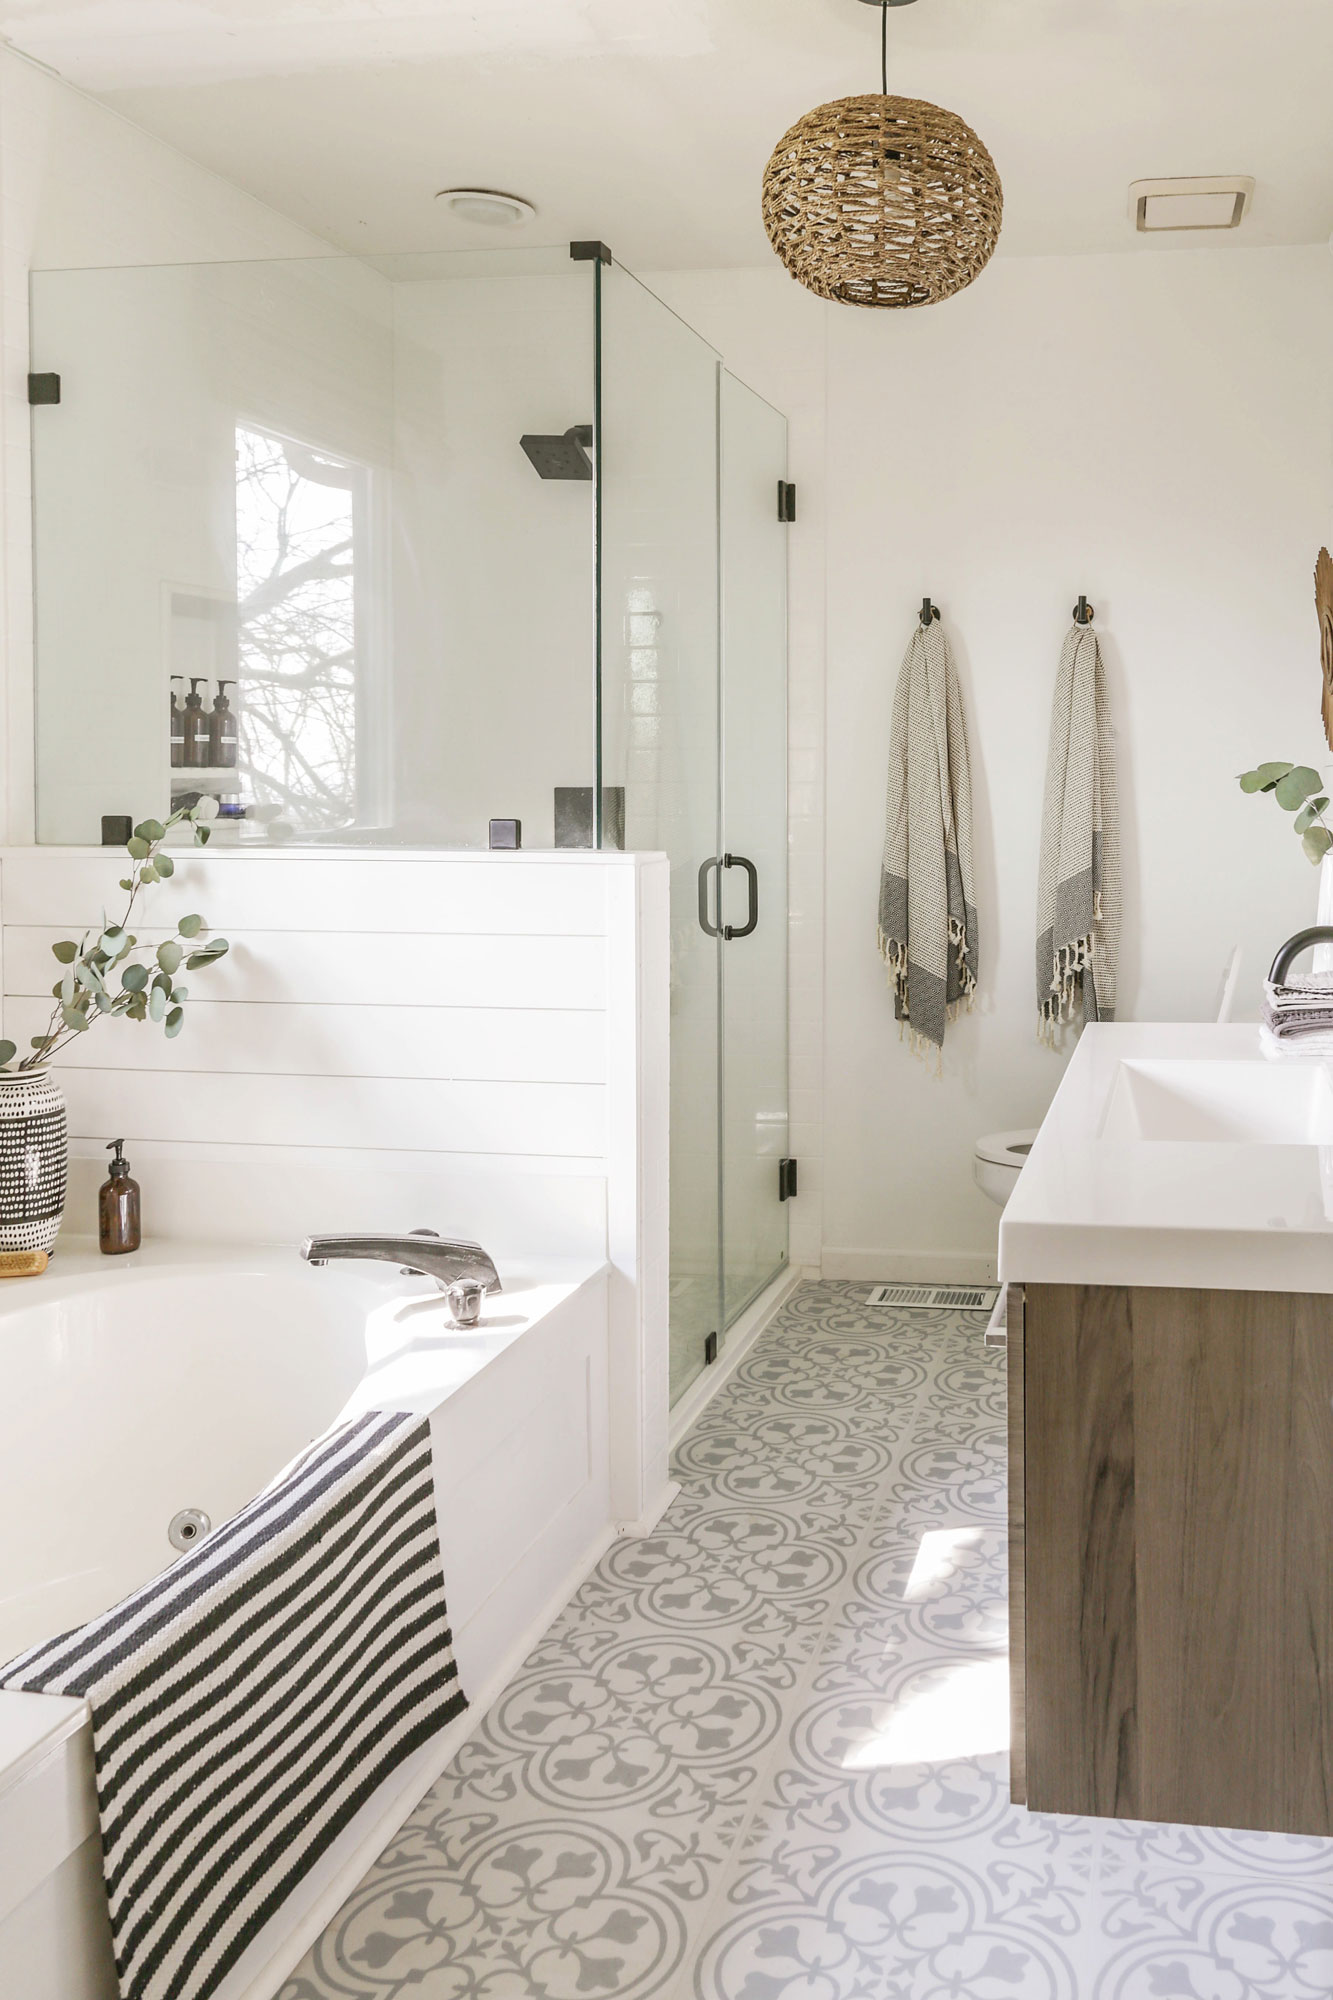
In our somewhat recent bathroom remodel (which you can read about here), we were faced with a design quandary when we knocked down the wall between our tub and shower…
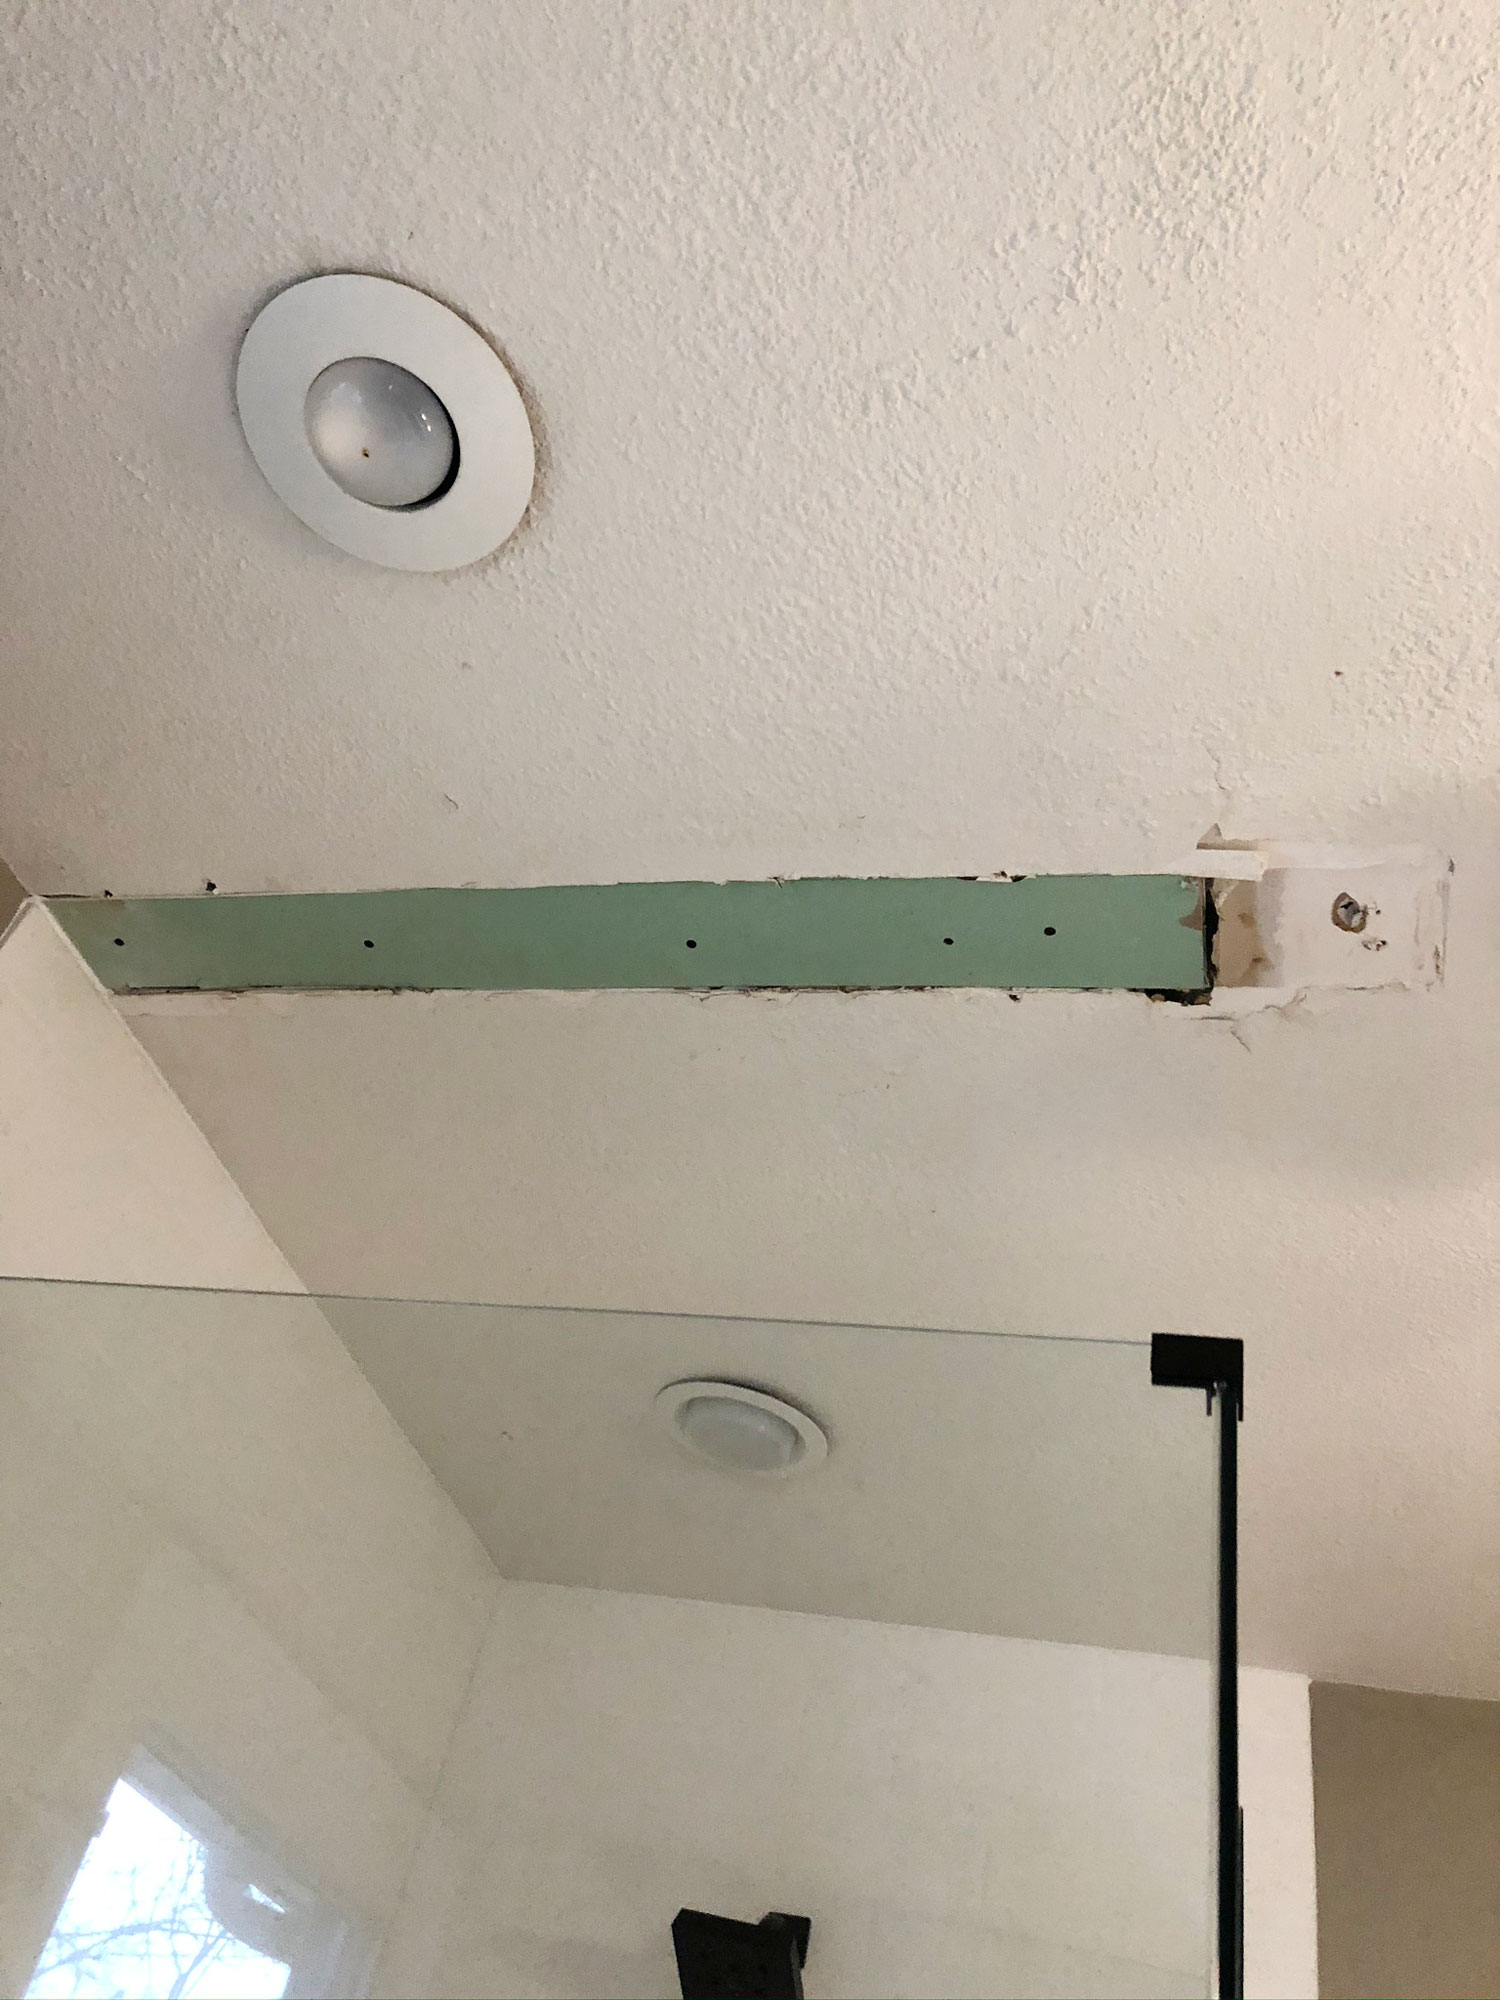
Not wanting to spend the extra money on supplies to cover the textured ceilings and hoping to avoid the mess of scraping them, we needed to figure out how to patch the damaged area of the ceiling so that there wasn’t an obvious smooth spot once we applied a few fresh coats of sheetrock mud to the area where the old wall used to be.
Many of you are probably wondering why the hell we chose not to do something about our dated ceilings , and here was our logic at the time:
1. I was weary of covering the bathroom ceilings with a wood surface (like we did years ago in my dining room) which may not fare so well in a steamy shower.
2. Given the ceilings were not technically popcorn (which I do truly despise), but instead a less offensive texture referred to as “knockdown” , it didn’t bother me enough to go thru the hell of actually removing the existing surface (as we had done in other parts of the house).
So with that being said, if you ever find yourself in a similar predicament and are looking for the easiest way to patch a textured ceiling, let me show you what we did…
*For your shopping convenience, I have included affiliate links. As an Amazon and RewardStyle Associate I earn from qualifying purchases. *
How To Repair a Textured Ceiling without Scraping the Popcorn:
Materials Needed:
- joint tape
- joint compound
- taping or putty knife
- sanding block
- popcorn ceiling texture
- dust mask
- stain blocker
- ceiling paint
So before I get into the details, I do need to give an obligatory warning about textured ceilings….
**Note: If your home was built between the 1950’s thru the mid 1980’s, you will want to test your ceilings for asbestos before disturbing any of the popcorn material on your ceilings. **

Once you have confirmed you are asbestos free, you can get started!
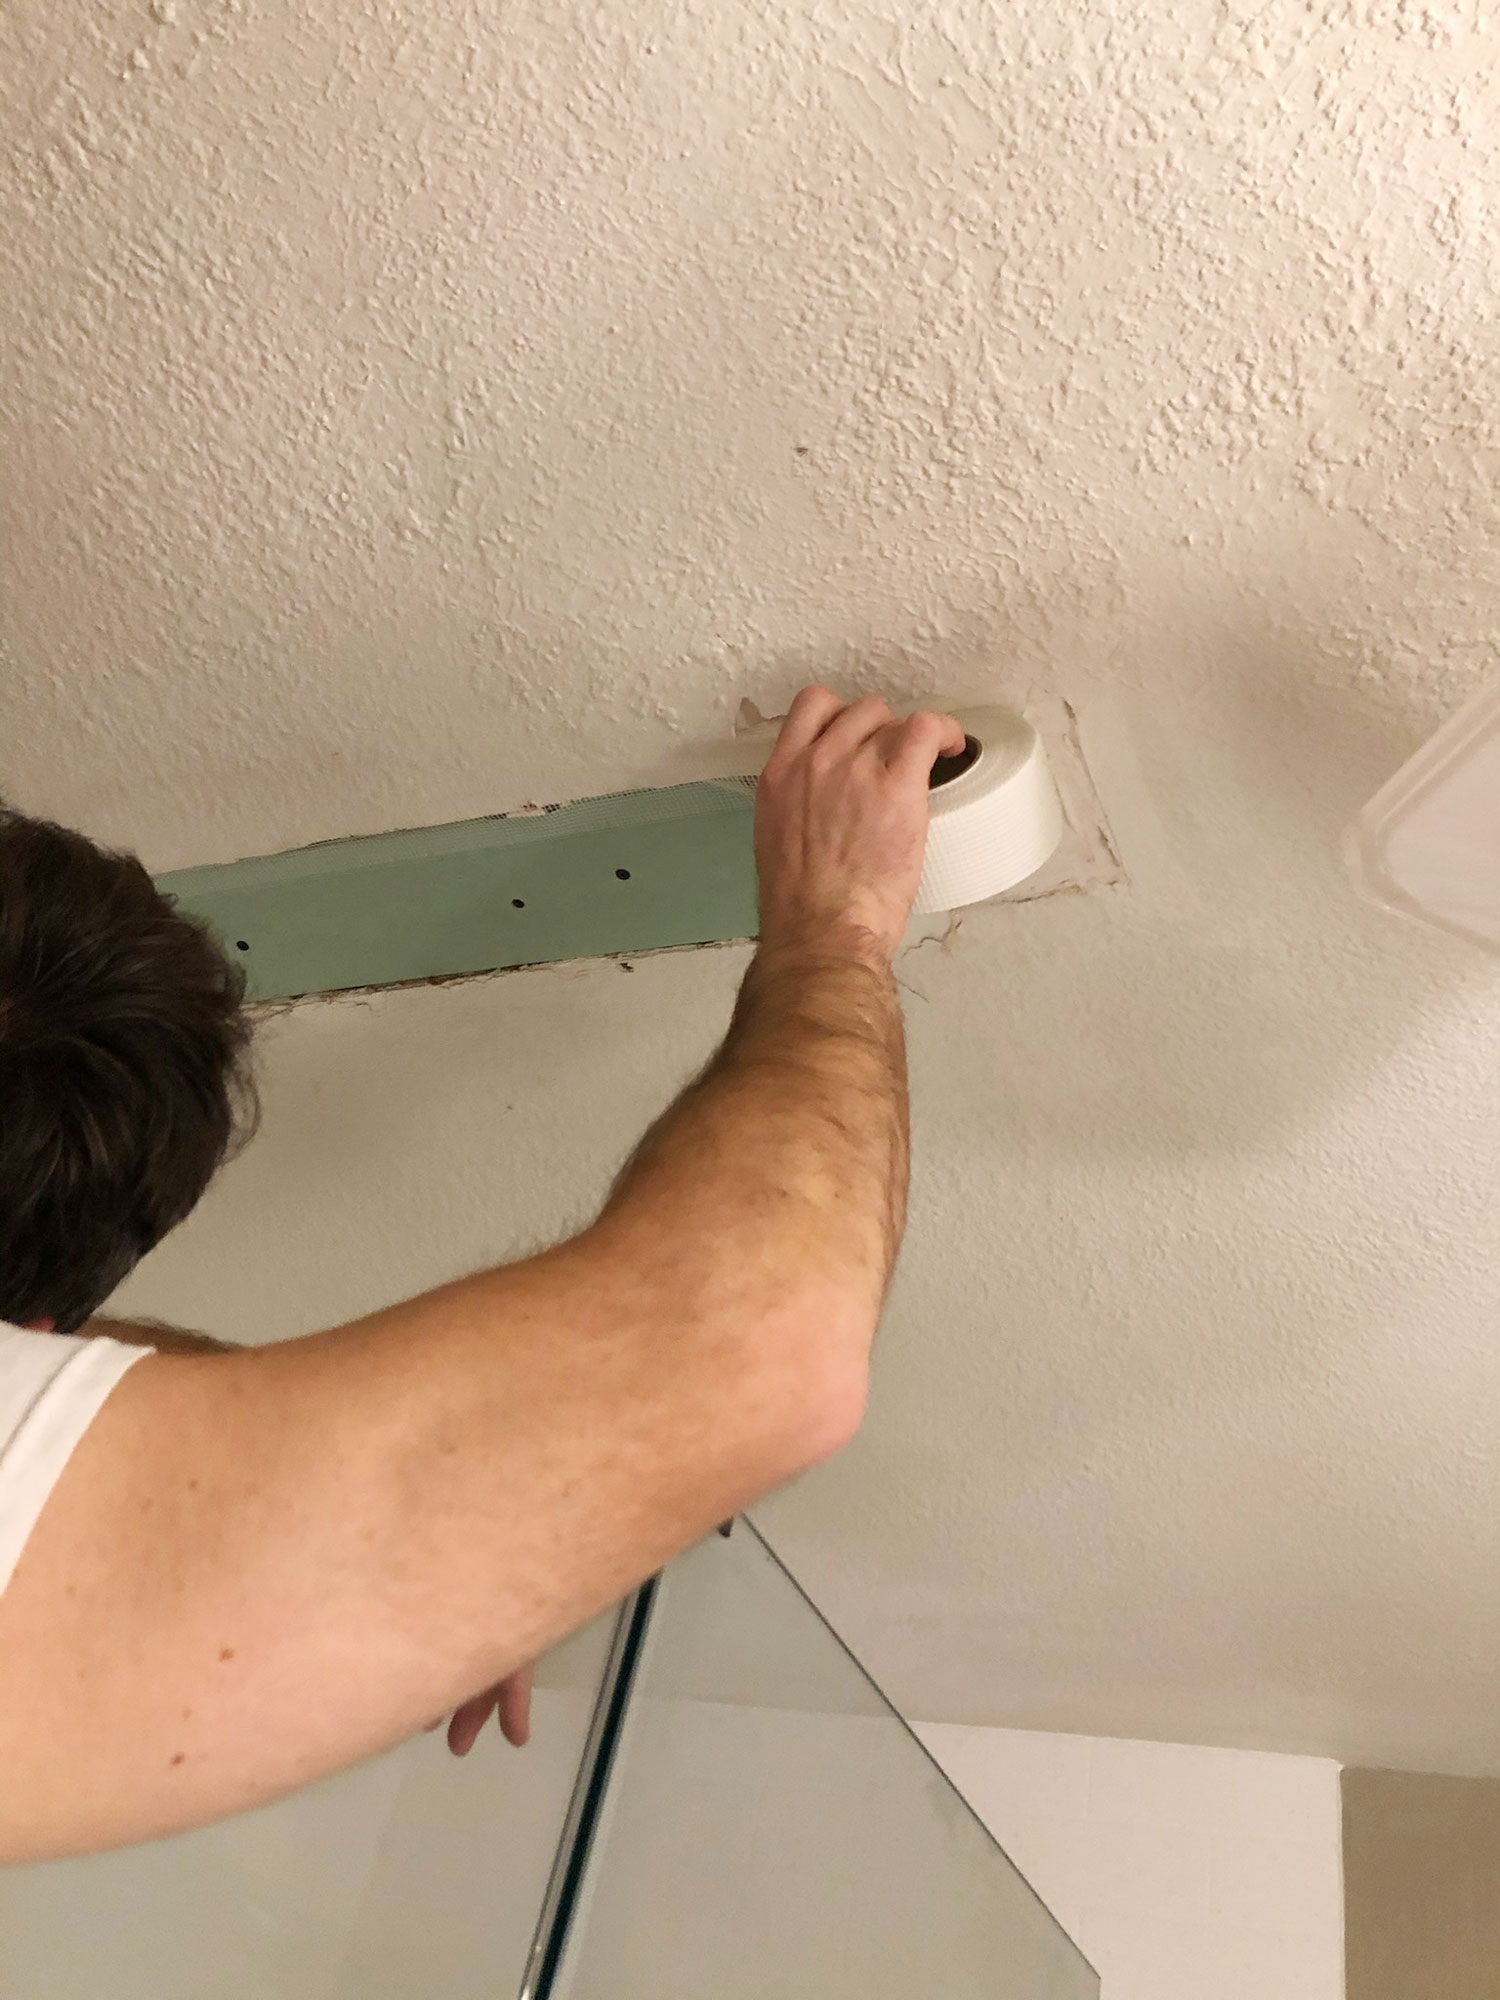
(Step 1.) First, apply joint tape over the area you need to patch. Note: If you are repairing a water-damaged popcorn ceiling, you want to be sure the underlying issue has been addressed to avoid any further water leaks.
(Step 2. ) Apply very thin layers of mud onto the joint tape (This takes a while as we had to do several coats). On a positive note, since the surrounding ceiling is textured, we didn’t have to obsess over sanding or making sure the mud was perfectly smooth.
(Step 3.) That being said, you will still want to use a sanding block in between your skim coat layers so that your new layer of drywall doesn’t protrude too noticeably against the rest of the ceiling.
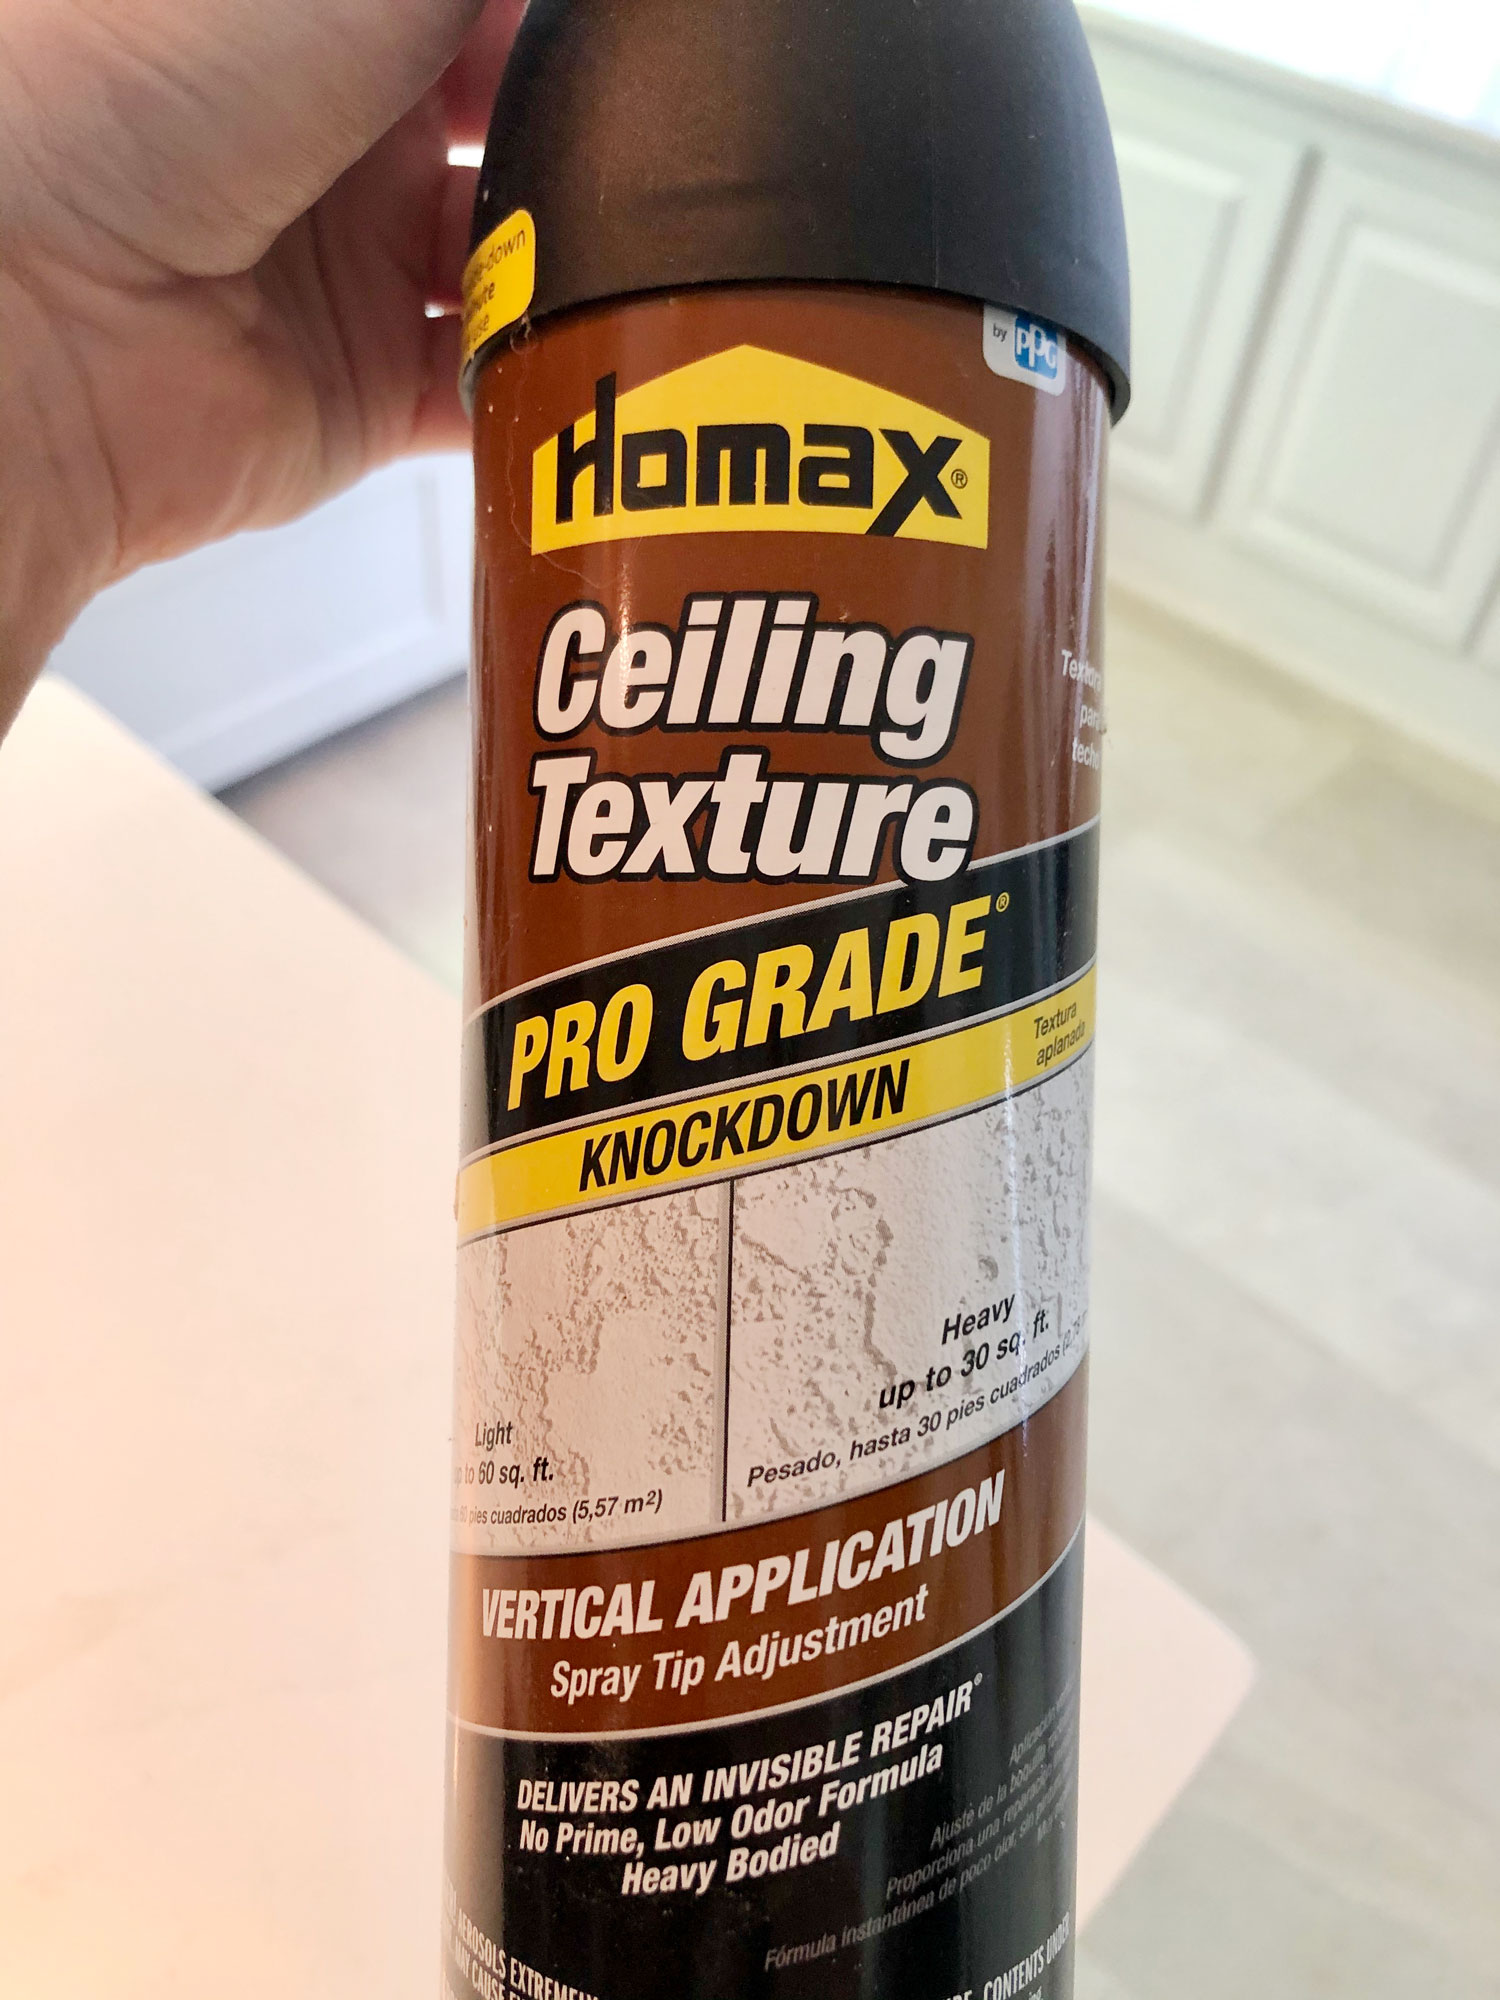
(Step 3.) Once the final coat of mud has dried and you are satisfied, you now get to spray your texture!
What is super cool about this product is that it comes in multiple types of finishes (and yes…there is a popcorn finish). To best match our ceilings, we went with the “Knockdown” option.

Helpful Tip: What I do suggest before you actually apply the texture to your repair patch, is going outside first and spraying the product on some cardboard so that you can get used to the flow of the nozzle. Ours initially made a big mess because the nozzle was somehow blocked. Once we cleared the blockage, the product went on easily.
If you don’t feel comfortable using a spray texture, Homax also offers a roll-on option as well (which some say is actually a little less messy). Either way, I recommend testing this finish out before applying it to your actual ceiling to make sure the product matches your existing texture. While there are several different application techniques to consider, to get the right ceiling texture type for your unique project will most likely involve some trial and error.
As for our unique needs, given the spray texture did not involve any mixing or fancy application, we assumed this would be the most beginner-friendly for small repairs. However, if you are working with a bigger surface area, a spray bottle application may not be the right popcorn ceiling patch product for you.
As you may notice in the photo above, when the product is wet, it is not entirely white.
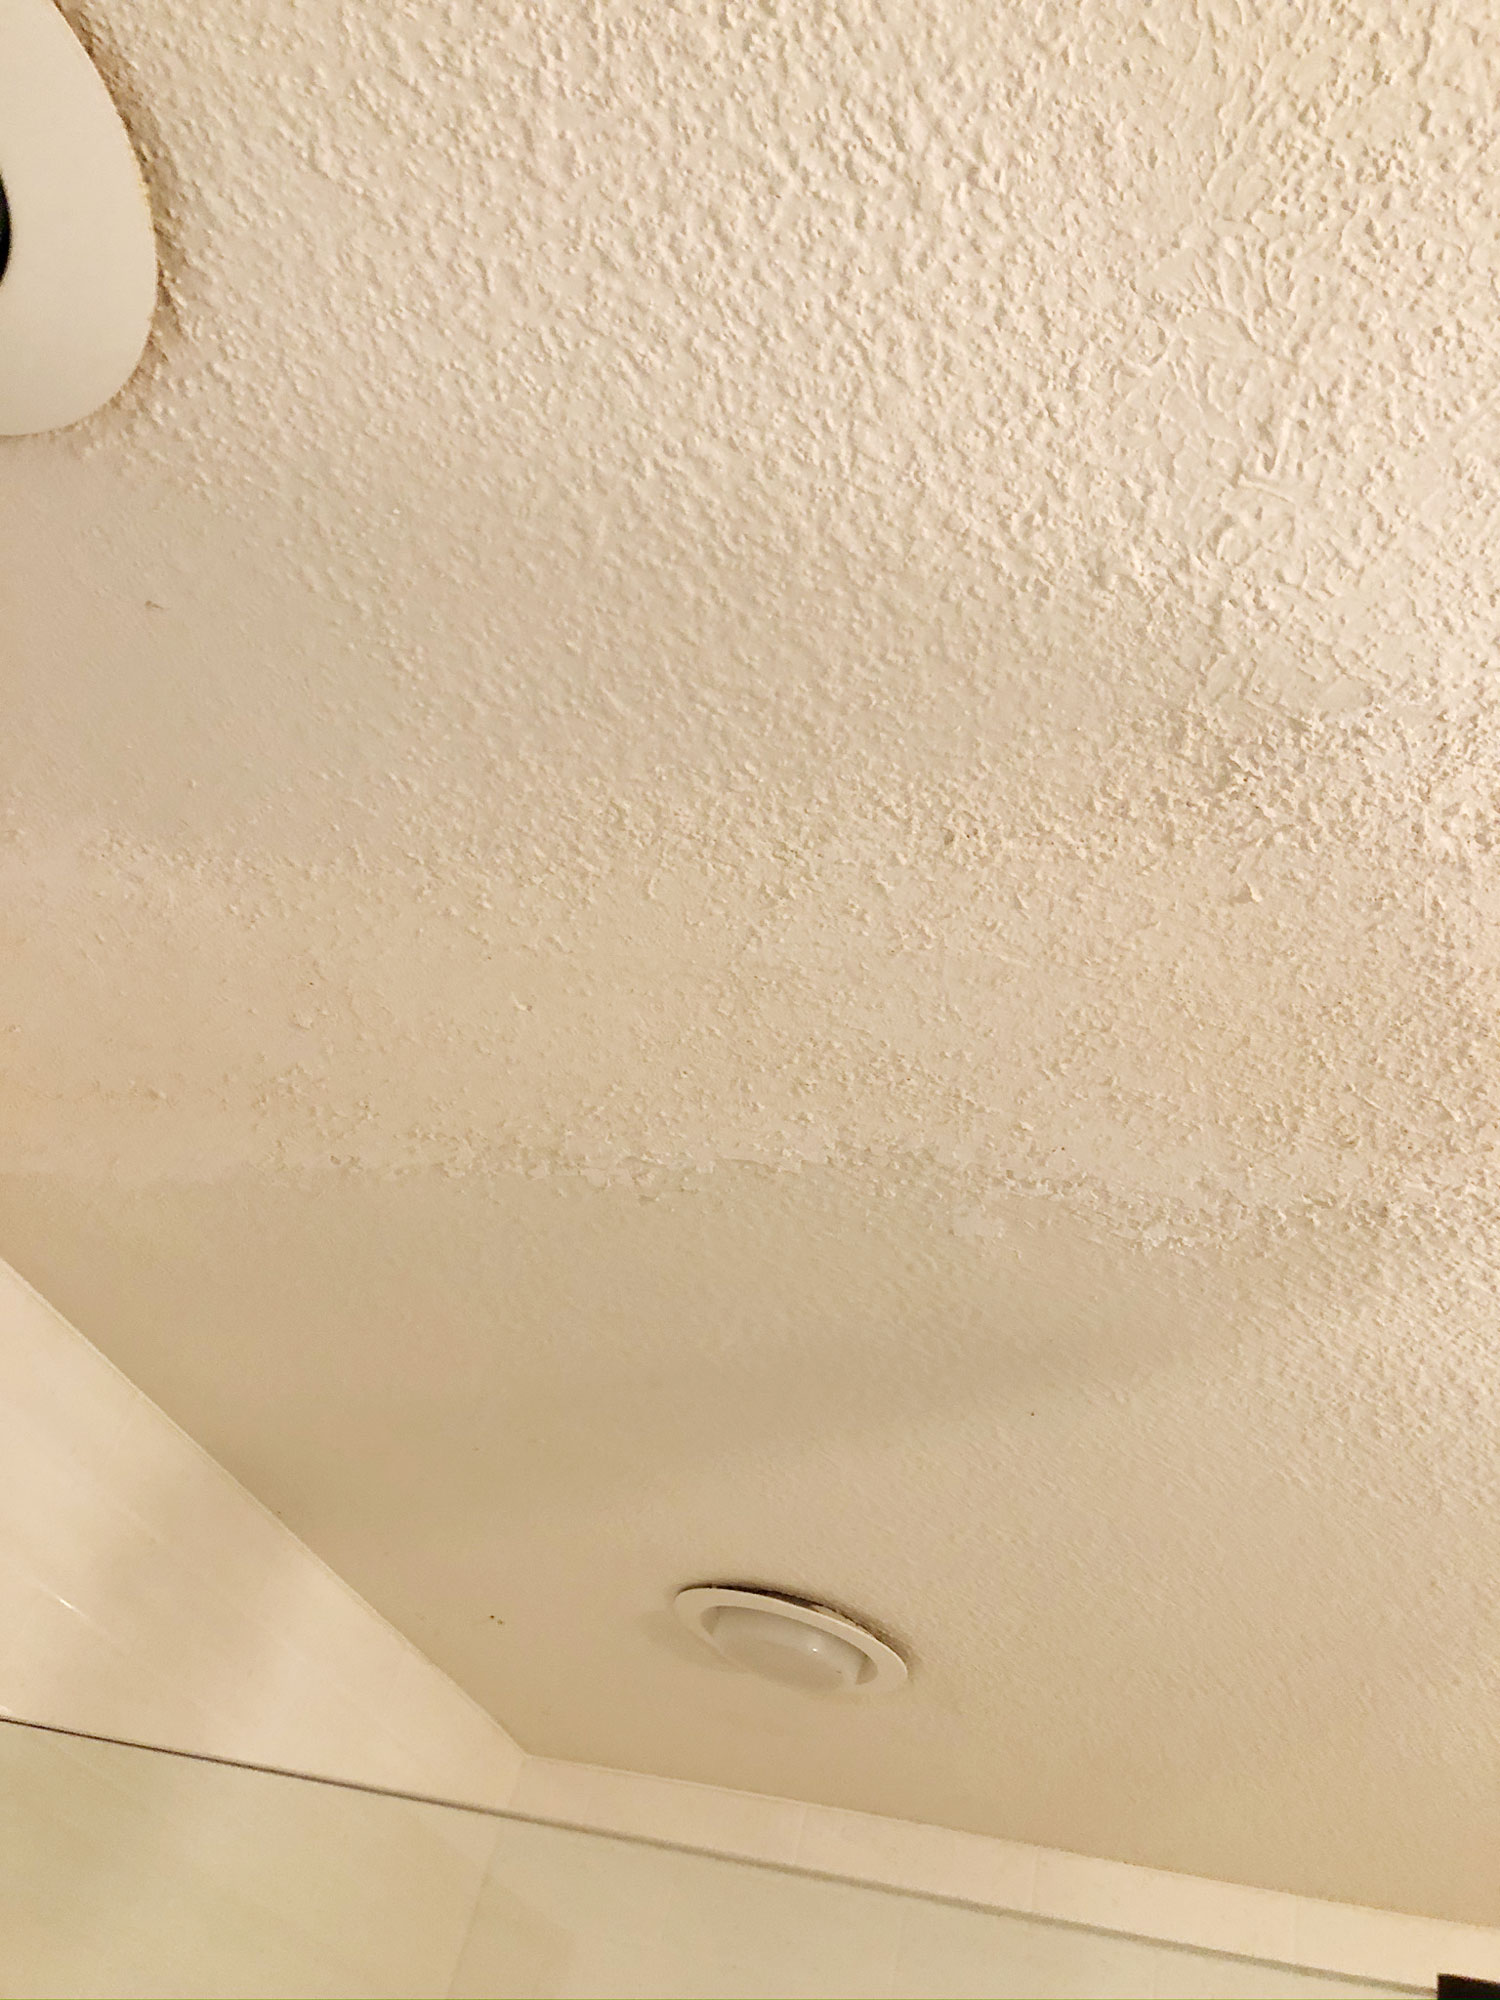
While the product (click here for product link) eventually did dry to a shade of white (pictured directly above), we still had to paint the entire bathroom ceiling as the mud we used did not match the color of our ceiling ( I don’t believe our ceiling had been painted a true white).
(Step 4). Once your repair is complete, to avoid any water stains in the future, you will want to apply a stain-blocking primer to it before applying your ceiling paint.
So there you have it! You can totally patch a textured or popcorn ceiling without having to scrape the entire ceiling!

While a smooth ceiling would have been my preference, at the end of the day, I found a popcorn ceiling repair to be a whole lot easier of a home improvement project than having to completely remove the original texture.
However, if you do want tutorials for totally doing away with the popcorn ceilings, I have got them for you below!
More popcorn ceiling related tutorials:
Thank you so much for stopping by this week!
Now get out there and design some good vibes along with a fabulous life.
PS. If you found this post helpful, it would mean so much if you could share this with a friend or on social media..


Welcome!
My journey in interior design and home improvement began with transforming my first fixer-upper home, all while managing a budget and raising two young boys. My work, a reflection of my passion for creating beautiful, uplifting spaces, has been recognized by top publications like Better Homes and Gardens Magazine, HGTV, and more. I invite you to explore my site and witness the transformation of my home and the vibes we've designed. Read more...


Erica-
That looks great! Thanks for the info. Though we have smooth ceilings, I can direct friends to your tutorial, if needed. Wow- there are products for almost every need, very different from years past. Thank you for all you do- have a great rest of the week!
Thank you so much, Donna! I hope you have an amazing rest of your week as well. 🙂
I am sharing this with my son! I had no idea there was such a product to use and he doesn’t either.
Thanks so much!!!!!
Dont you just love all the new home improvement technology they have nowadays?! I also saw where they have roll or brush on application products (probably should’ve mentioned that in my post).