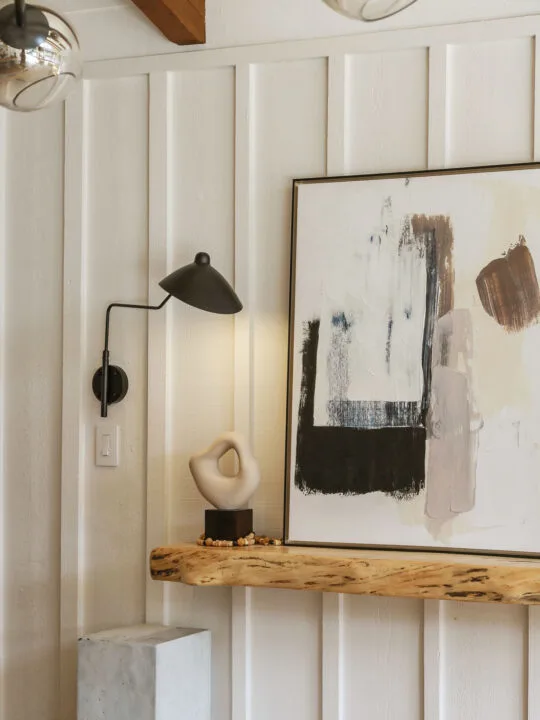
Looking to add additional sources of light in your home but lacking a power source or electrical box? In this DIY tutorial, I am sharing two easy ways to make any wall sconce completely wireless (no electrician required!).
While vaulted ceilings are one of my favorite architectural features in a home- they do present a bit of a lighting challenge.
Given the lack of attic access for installing additional electrical wiring and receptacles needed for recessed lighting and additional wall lamps, adequately illuminating a space of this nature can be tricky.
This was especially the case in my midcentury modern, A-frame dining room.
**For your shopping convenience, this post contains affiliate links. As a Reward Style and Amazon affiliate, I earn commission on sales at no extra cost to you.**
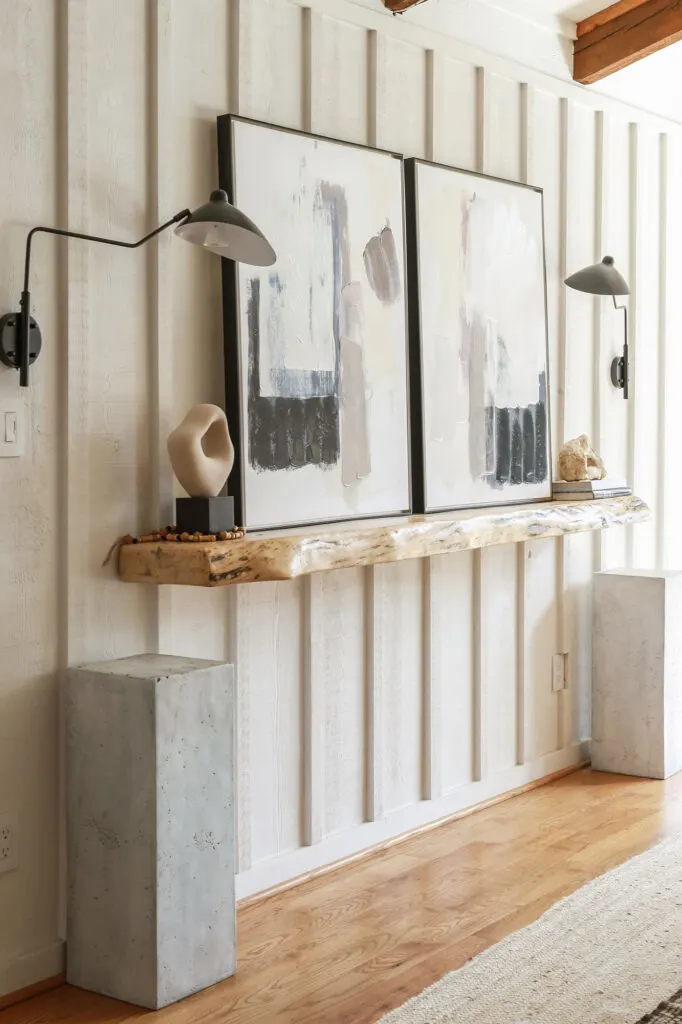
When I had first moved in, this being a time of long summer days paired with ample natural light radiating from all of the windows in the room, ambient lighting was initially not much of a concern for me .
But as the days got shorter this winter, I began to notice a major design faux pas – there was only one overhead source of light in the space. Being a sucker for proper ambience, I knew that sh*t was simply not going to work (not in my household at least).
To provide a welcoming glow when natural lighting is not an option , personally, I prefer multiple sources of light placed at various heights in a room (bonus points if the light is dimmable).
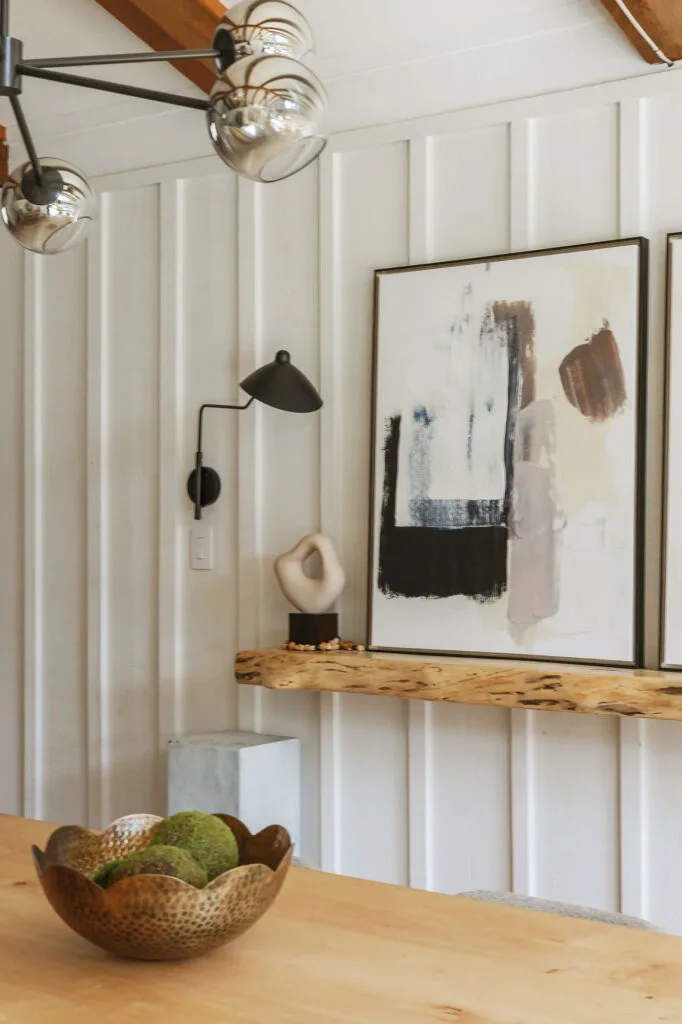
Not wanting to invest in a major electrical project, I determined that hardwired sconces were not a viable option. So as a compromise, I found a set of plug-in wall lamps that I figured could work as a temporary solution.
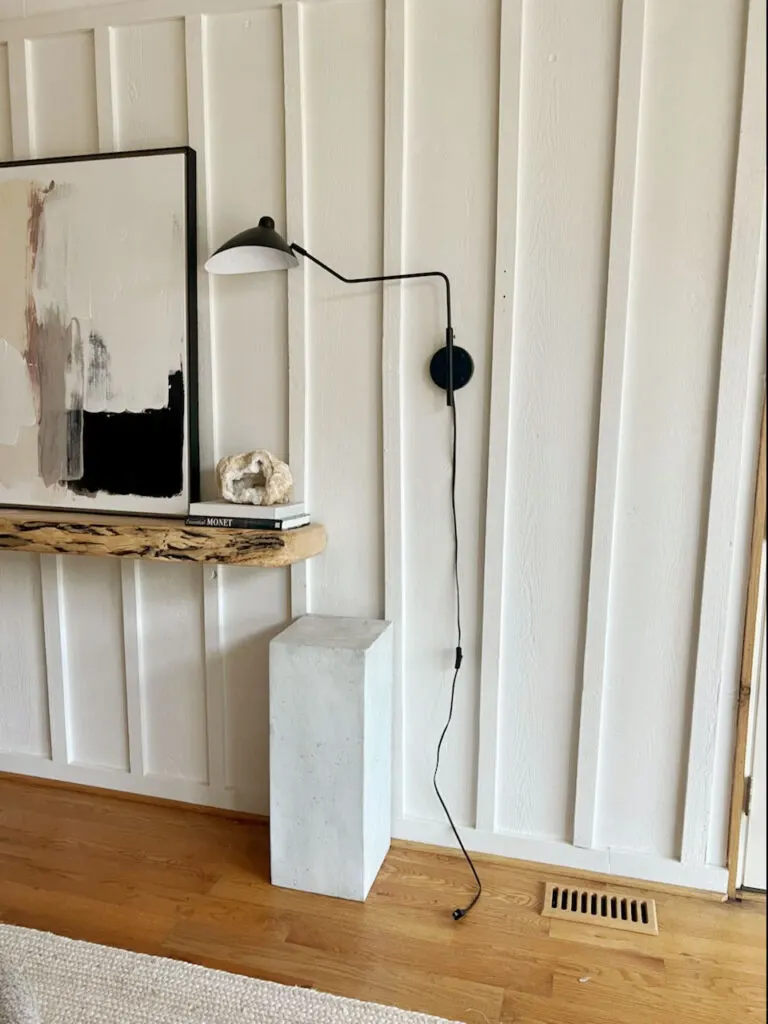
While the plugin sconces did brighten the room, the messy look of the cords started to drive me bonkers. For this particular application, I just wasn’t digging the industrial/Scandinavian vibes of exposed wire.
In a delightfully kismet moment, just as I had grown weary of all the cords, I saw an advertisement for these re-chargeable, battery-operated light bulbs…
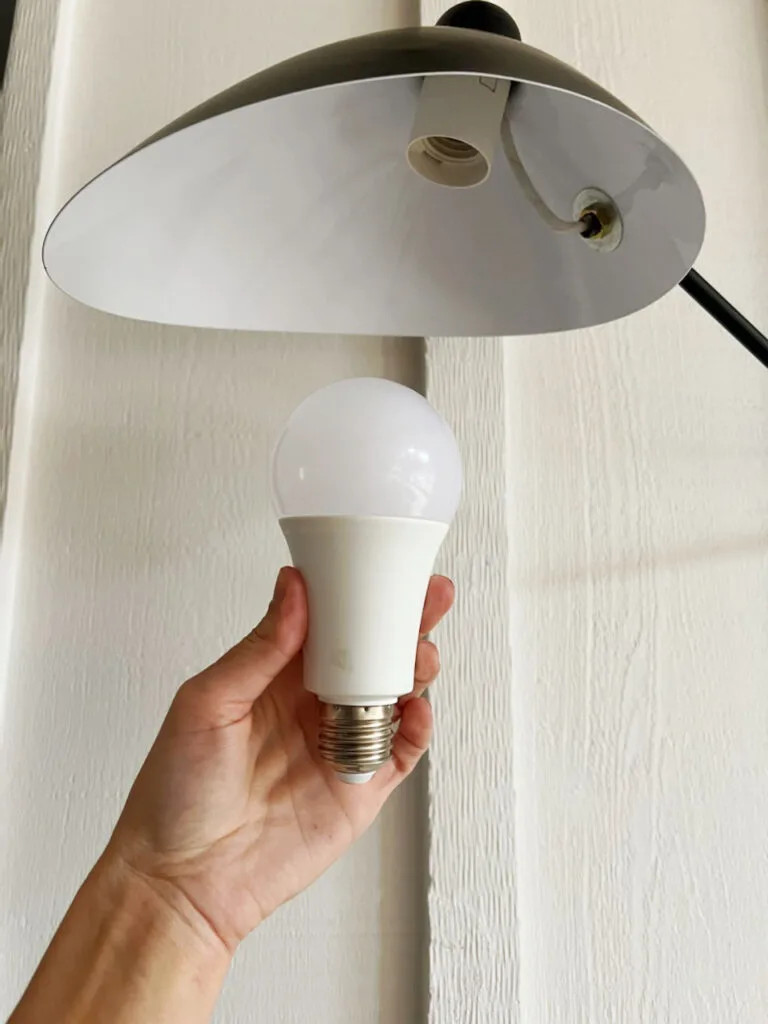
Even better, the LED bulbs have a dimmable function which can be accessed on the included remote control. I especially love how you could simply screw the bulbs in to an existing, standard lamp base (E26/E27) and not have to worry with any sort of electrical source again …at least until you need to re-charge it.
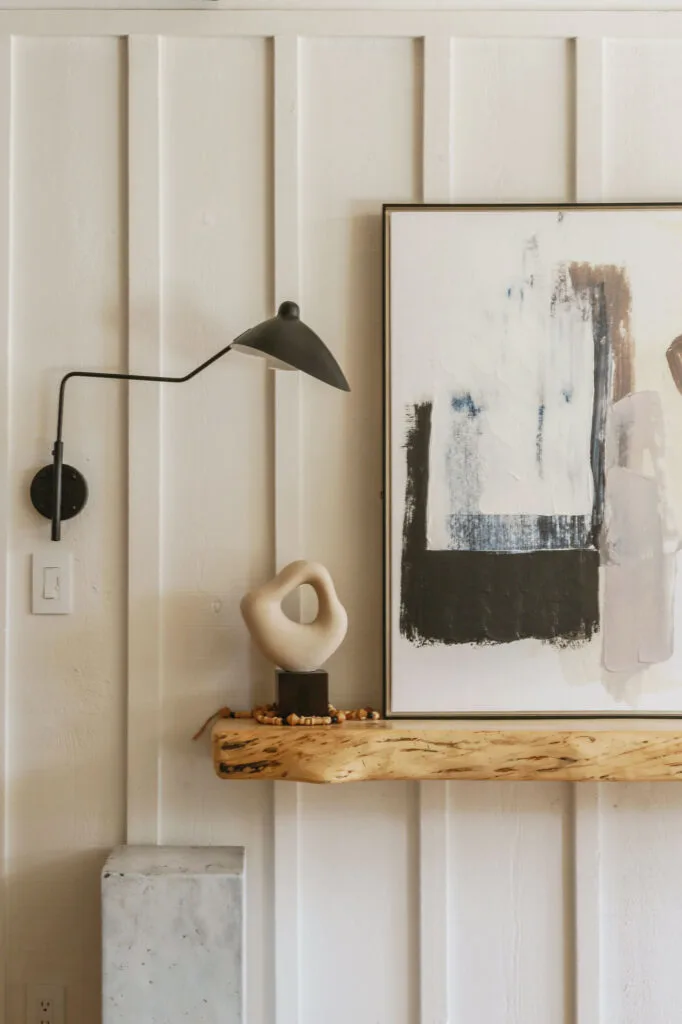
Let me show you how I converted my wired sconces (with a standard E26/E27 bulb base) to wireless wall lights using LED technology.
**Note: If you are not working with a standard bulb base, I have included another method below this first method. **
How To Make A Wall Sconce Wireless with Rechargeable Light Bulbs:
The only materials needed for this is a pair of wire cutters and these rechargeable light bulbs.
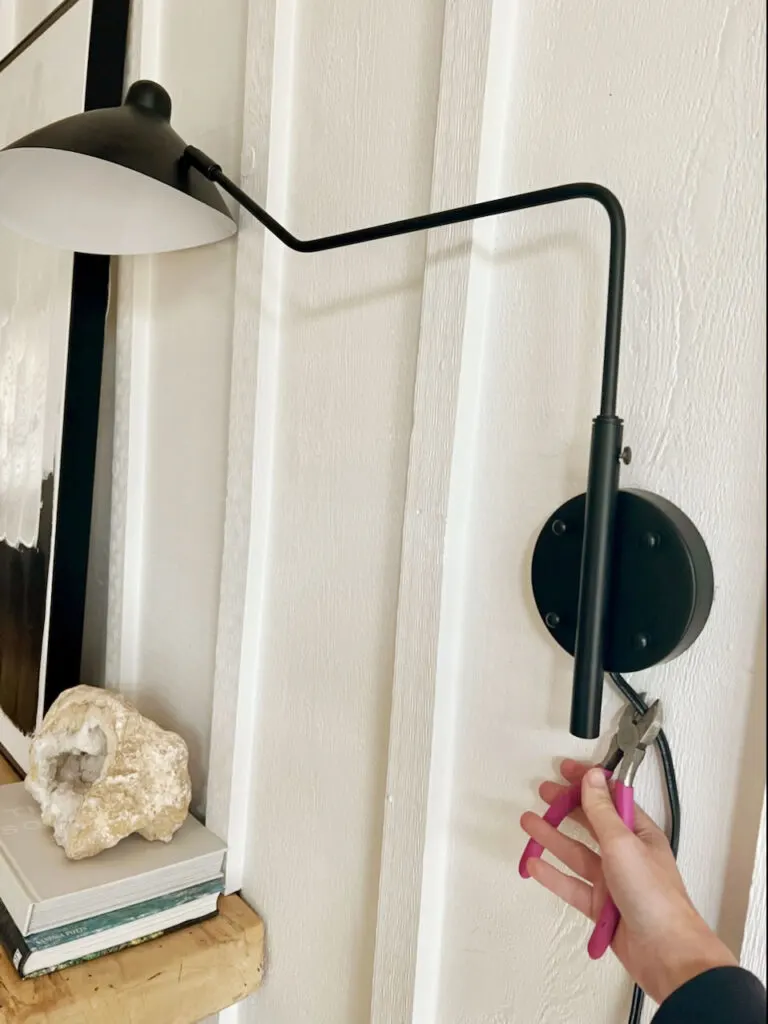
(Step 1). Using wire cutters, cut the cord or wire from your sconce (cut it as close the the base of the light as possible).
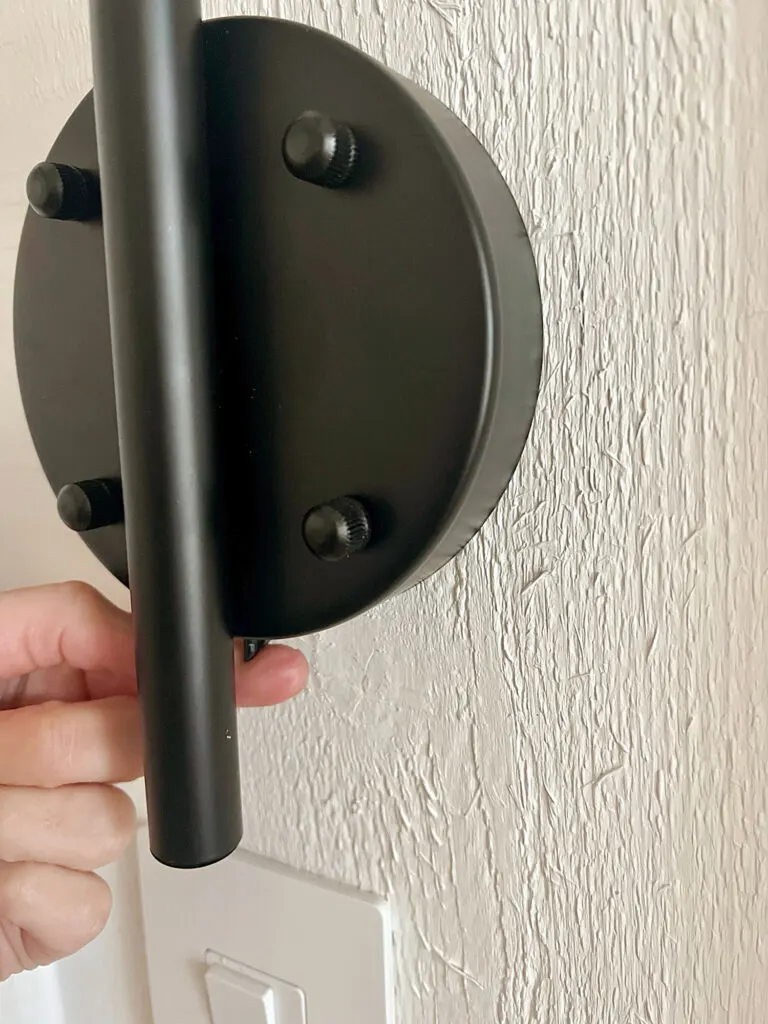
(Step 2). If you have any left over cord showing, you can simply tuck it back into the wire opening of the light.
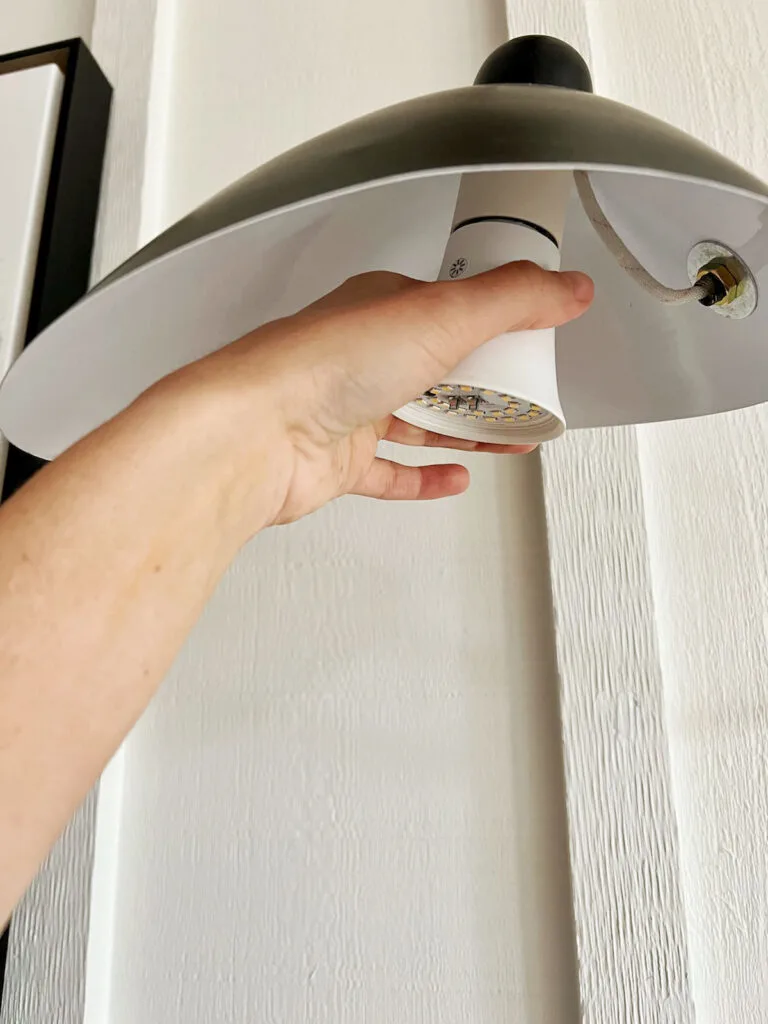
(Step 3.) Screw the rechargeable light bulb into the E26/E27 bulb base. (Because I wanted to take length off of the light bulb, I removed the “bulb” covering of it simply by twisting it off).
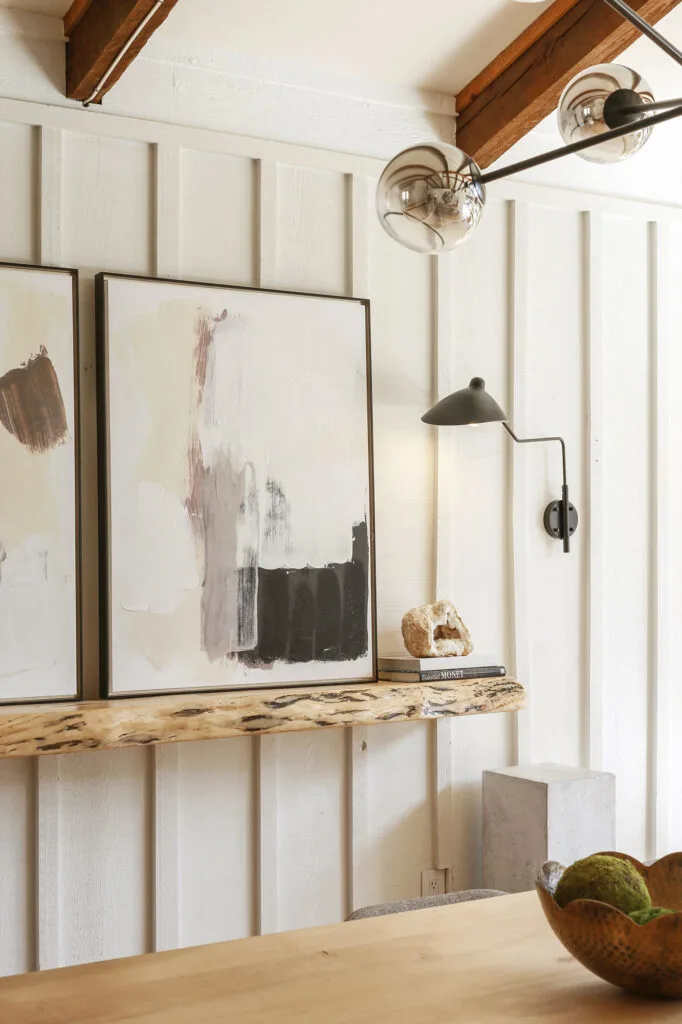
(Step 4). Turn on the light using the included remote. At 100% brightness, the bulb will work for 6-7 hours and at 50% brightness, it lasts for 8-10 hours. When the bulb needs to be charged, screw it into a power source with an E26 base (like a standard lamp that receives electric power).
That is all there is to it! And see how far LED lighting has come? I am truly impressed how the glow of these particular bulbs are truly warm (not the nasty blue of days long ago).
Not to fear, if your sconce will not accommodate an E26 bulb base, I have another option for you directly below…
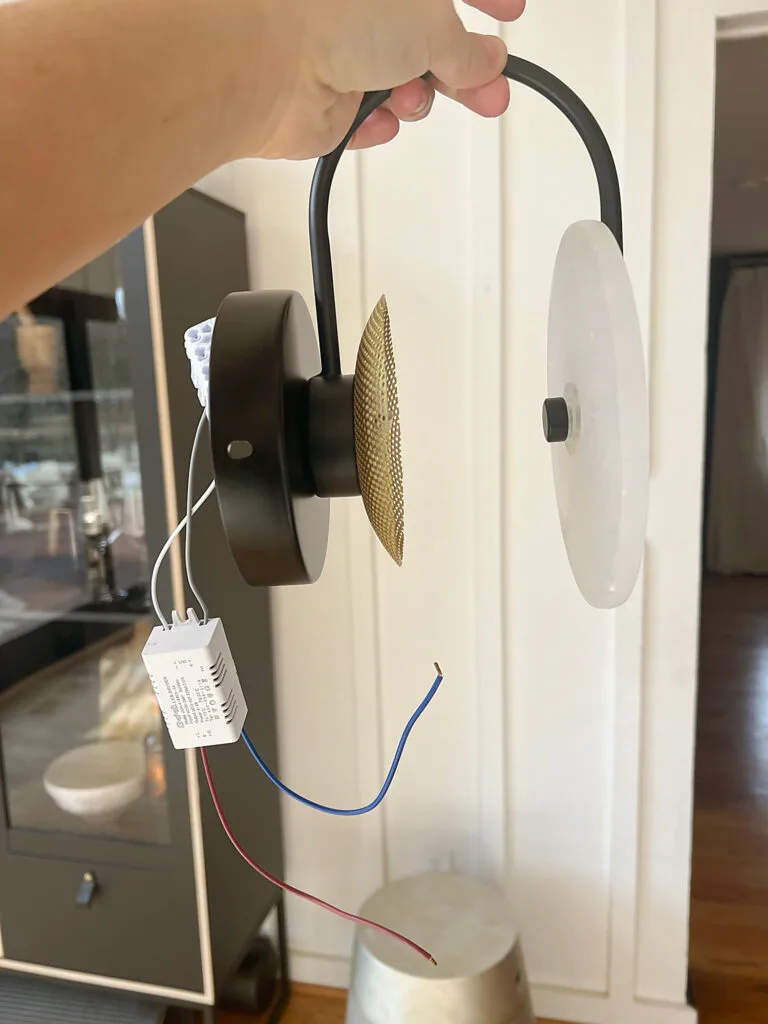
How To Make a Hardwired Wall Sconce Wireless with Battery Powered Puck Lights:
While using the battery powered light bulb method is certainly the easiest approach, if your sconce doesn’t have a receptacle for a standard bulb base, you will need to get a little more clever.
Using a battery powered puck light and some strong adhesive strips, I was able to convert these hardwired sconce lights to completely wireless functionality. Here is how I did it…
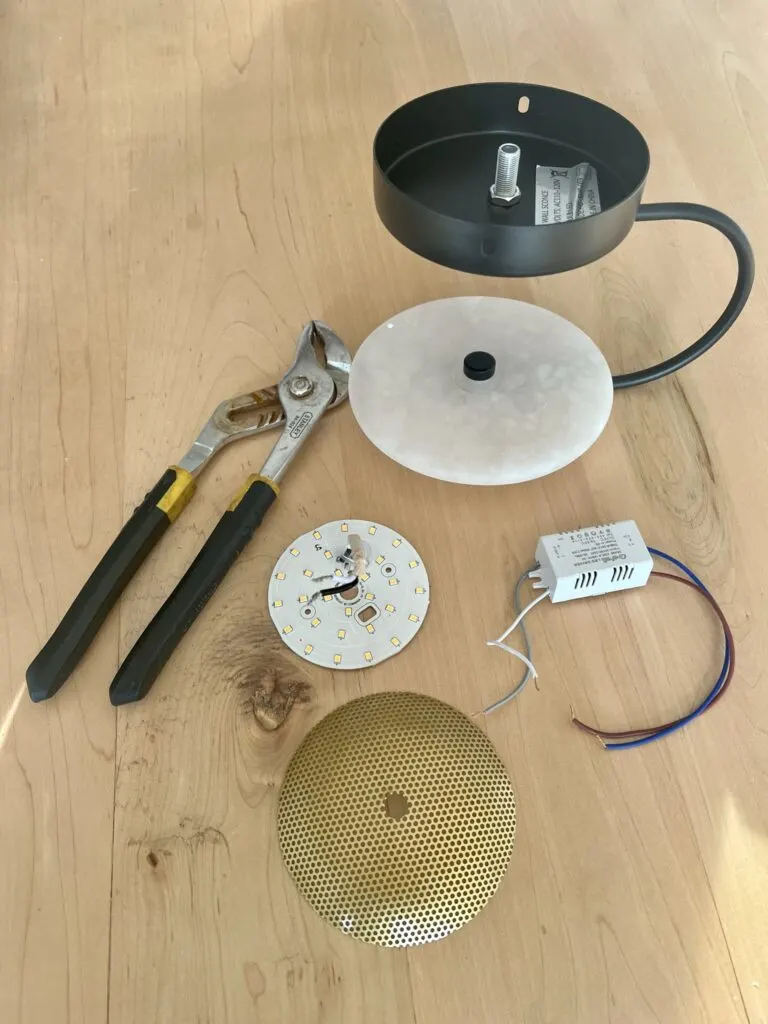
(Step 1). So that the puck light had a level surface to mount to on the sconce, I removed the existing LED bulb plate and hard wiring with pliers. To mount the actual light, I used the mounting plate hardware that came with the sconce.
(Step 2). Using gorilla tape strips, I mounted the battery-powered puck light to the sconce. While I initially tried magnetic strips, unfortunately the sconce was not magnetic so that was a no-go .
(Not pictured: I also painted the sconces antique gold to fit my aesthetic goals).
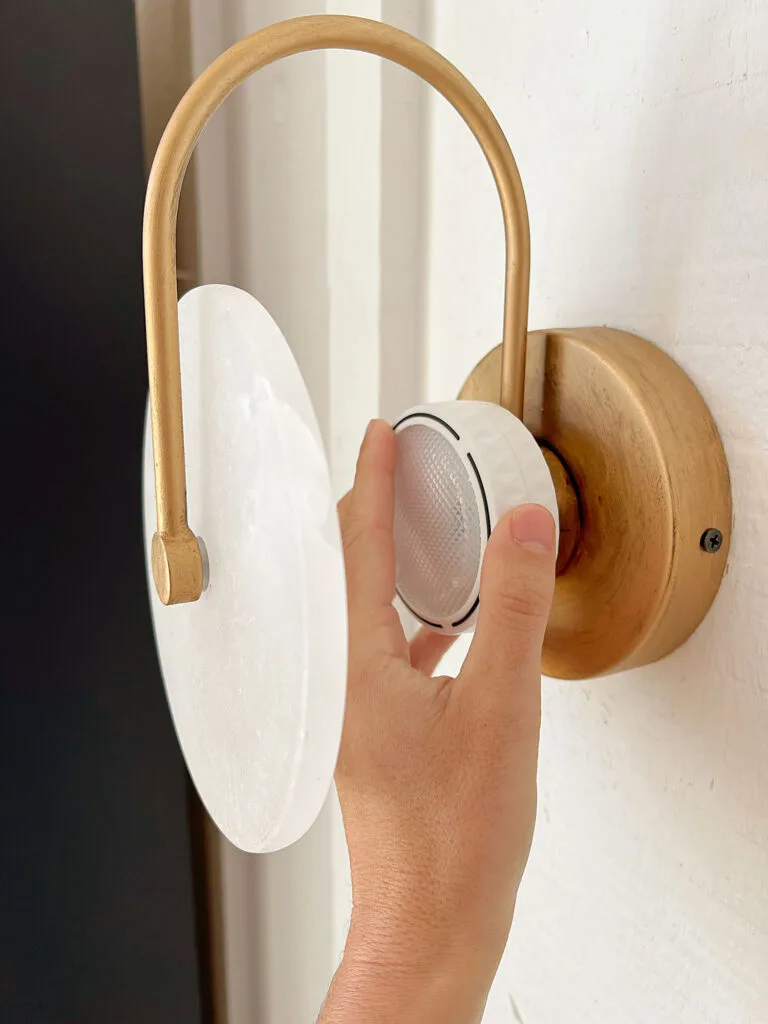
(Step 3). Using the included remote, turn on the light and and dim as needed.
Tip: So that the batteries don’t die prematurely, I set a timer on the lights when in use.
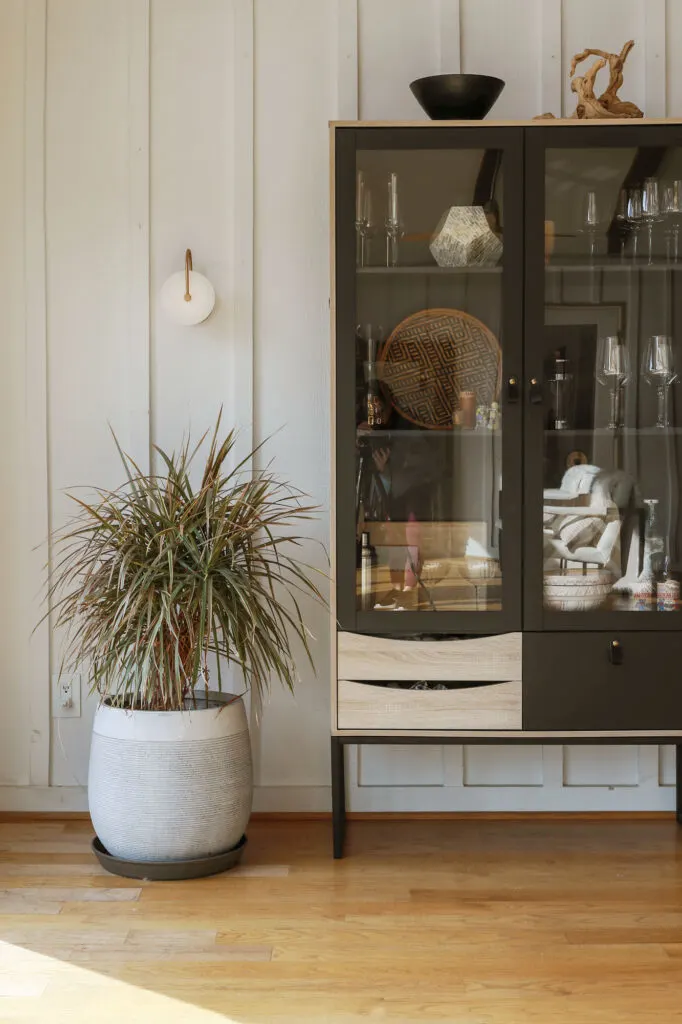
See how embarrassingly simple that was?
If you would like to shop any of the affiliate links to the products used in this post, you can do so directly below..
Shop the Products Used in this Post:
I hope you found one of these methods to be helpful for your own DIY application.
Battery operated LED options have truly revolutionized lighting for-ev-er! Who needs an electrician when you have such straightforward, user-friendly technology?
And while I am so happy with how both of these projects turned out for me, my only caution to you as far as LED bulbs are concerned is that not all are created equally. To ensure that you end up with a bulb that isn’t sterile and cold/blue-looking (yuck!), be sure to read customer reviews carefully.
Lighting Tip: If you want a warm glow, anywhere from 2700k to 3000k is what you should look for.
To my delight, both the puck light and rechargeable LED bulbs I purchased turned out to be winners!
If you are still not sold on battery-powered alternatives like the ones provided in this post, you can go to my separate tutorial for how how to install an electric box for hardwired sconces.
If you would like to read more details about this room and how I decorated it, visit My Dining Room Reveal .
Thank you so much for stopping by this week! If you found this tutorial helpful, it would mean the world to me if you could share it with a friend or on social media.

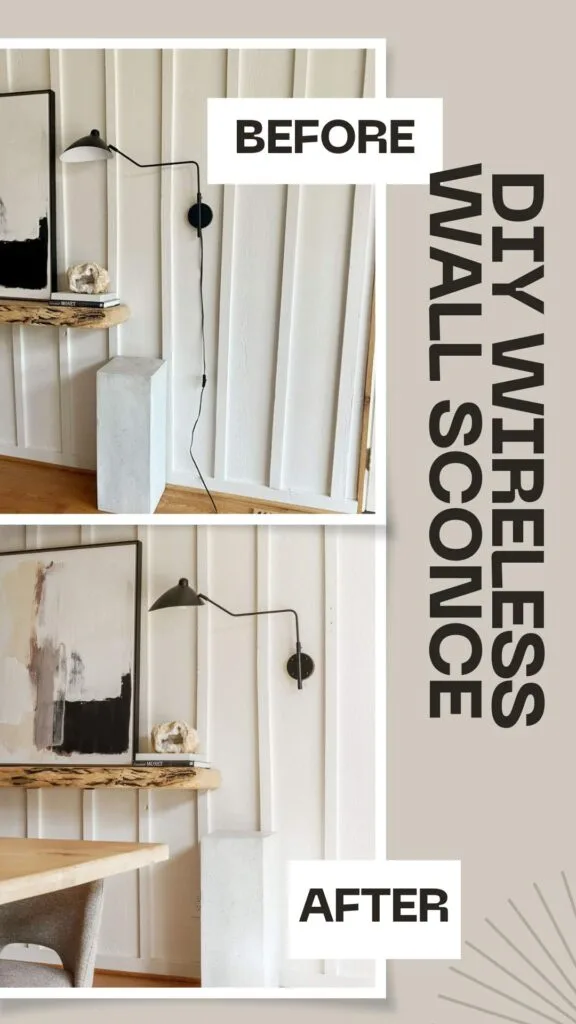
Now get out there and design some good vibes along with a fabulous life!

