
My Rustic Glam Christmas Tree – From Cheap and Fake to Fabulous
Hey ya’ll! I am back to share with you another holiday-inspired post. See how I turned this cheap and fake tree into a rustic glam Christmas tree.
I am honored to be joining the “My Home Style: Christmas Tree Edition” blog hop hosted by Casa Watkins. If you are joining me from Vintage Romance Style, I would like to extend a warm welcome to you.
*This post contains affiliate links. That means if you click on one of those links and buy something, I may receive a small commission, but you won’t pay a dime more. As an Amazon Associate I earn from qualifying purchases**
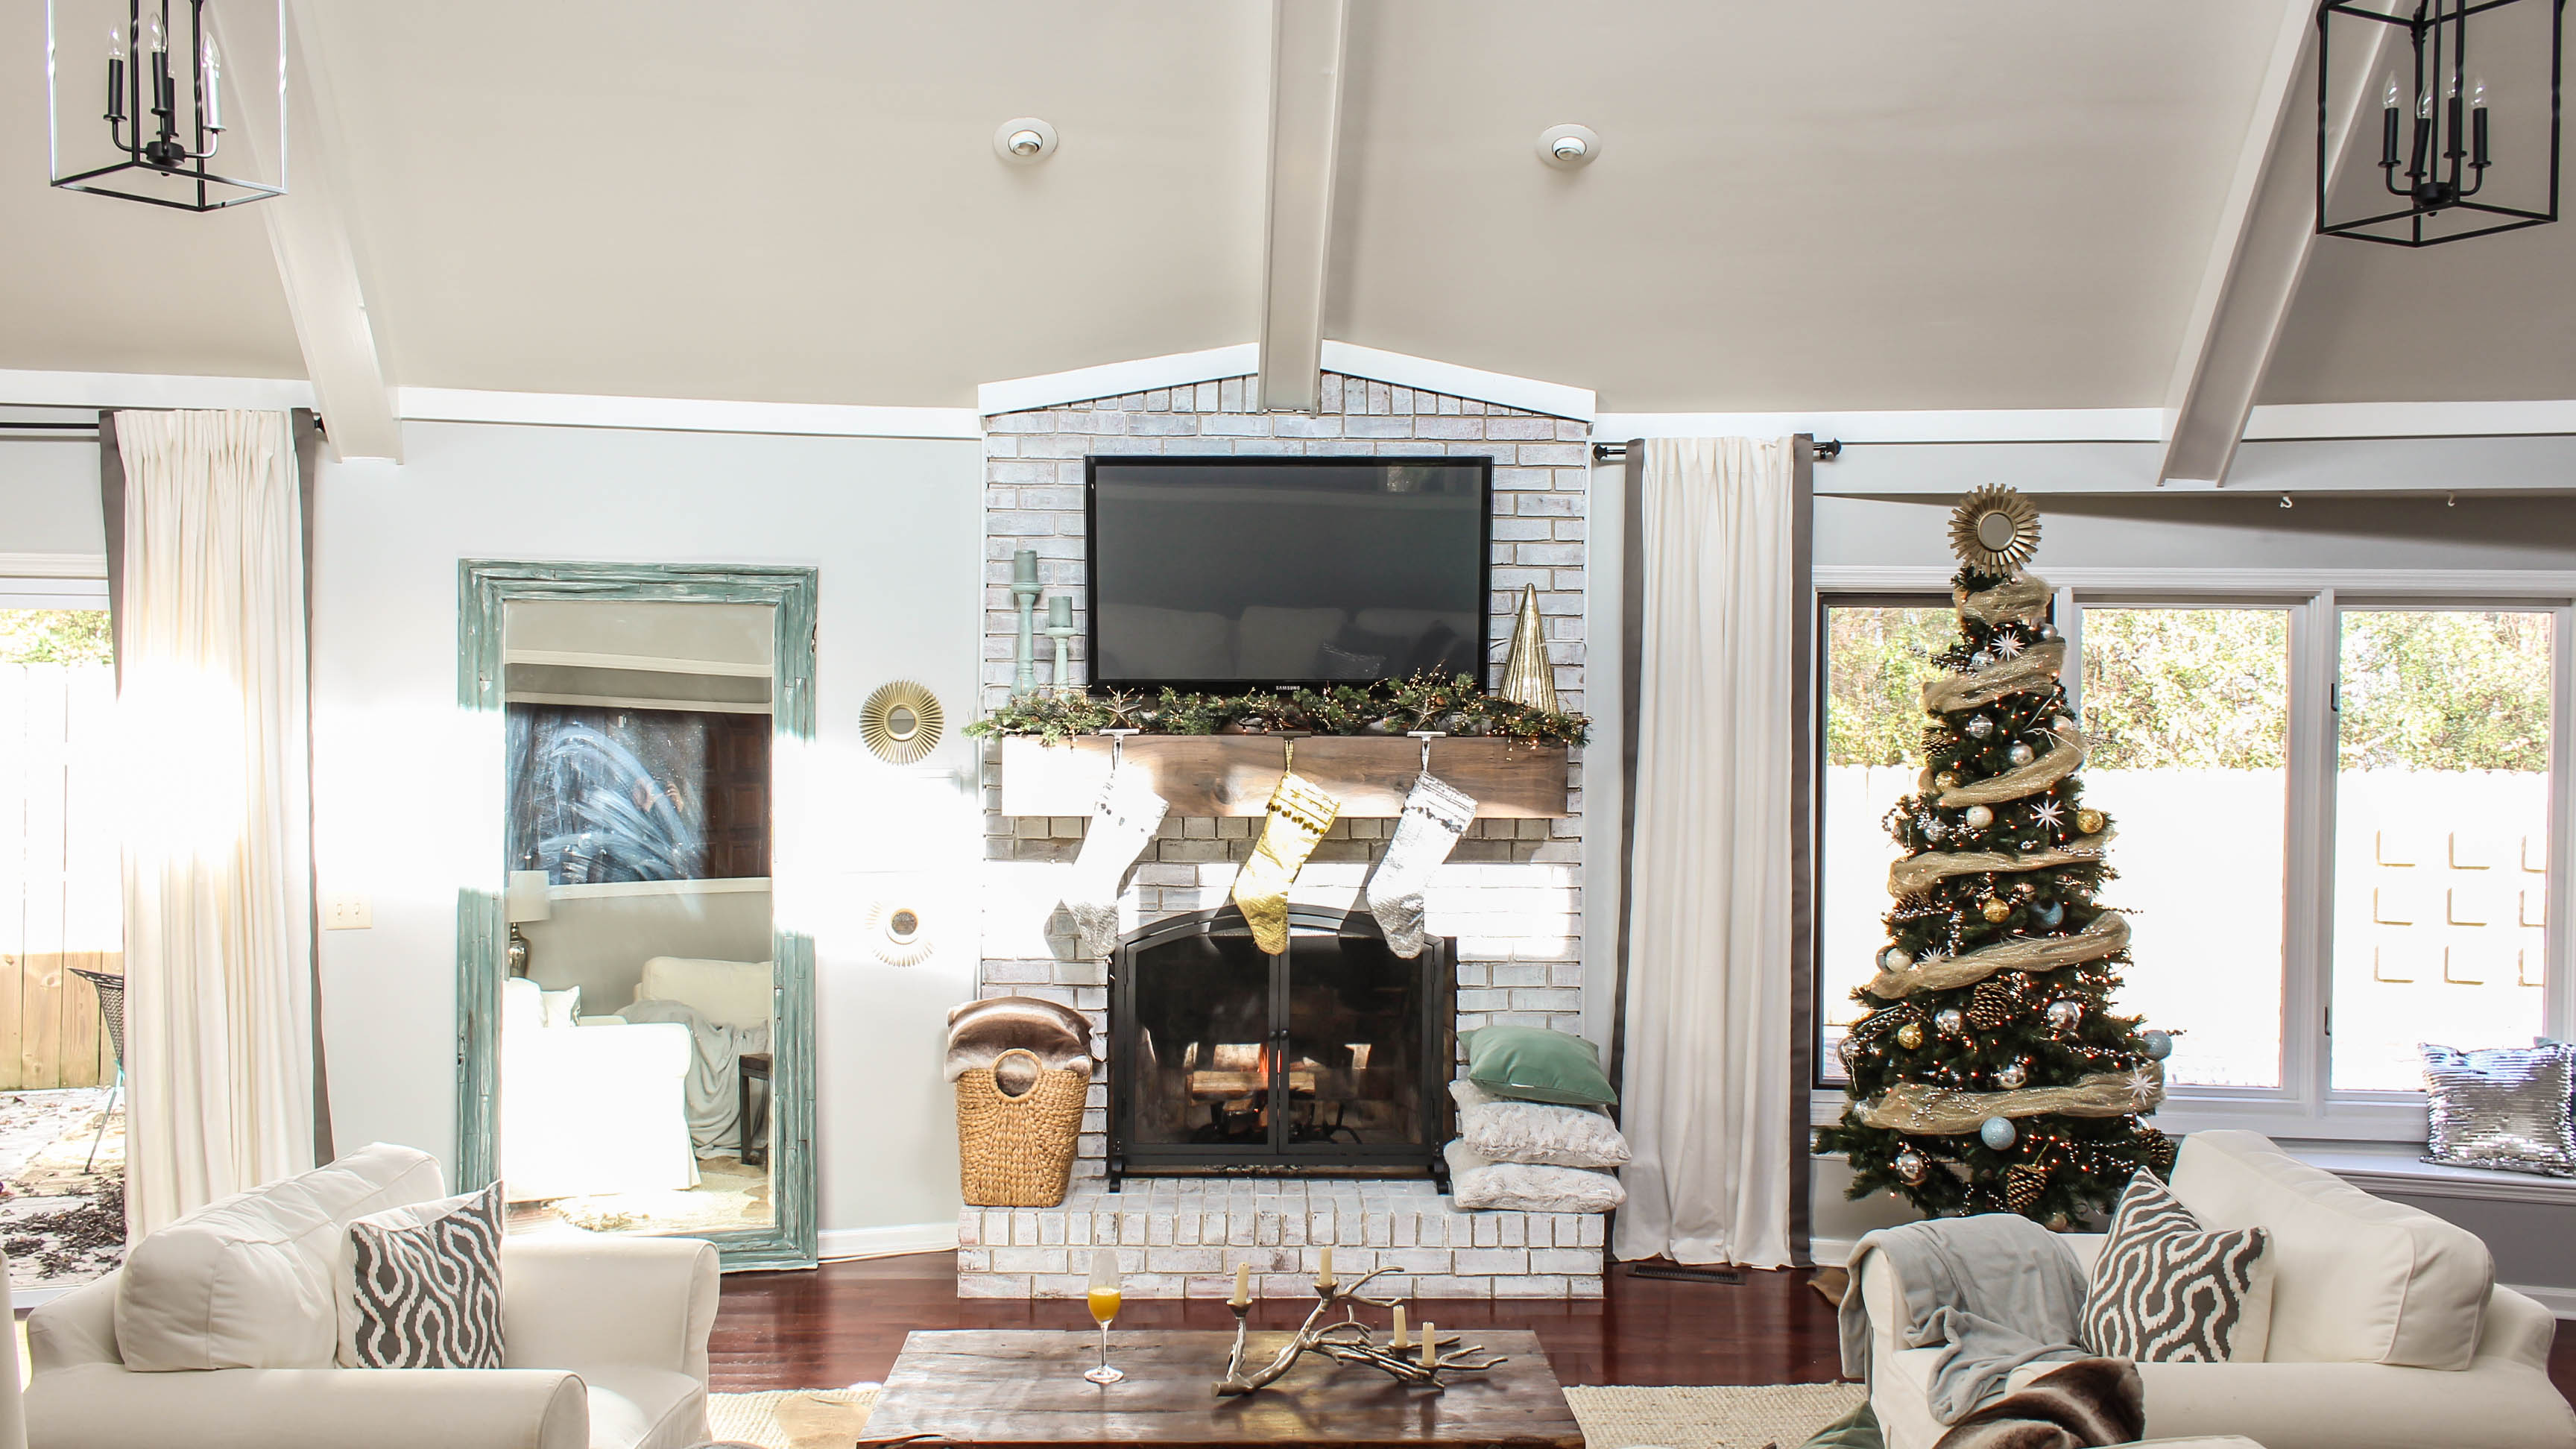
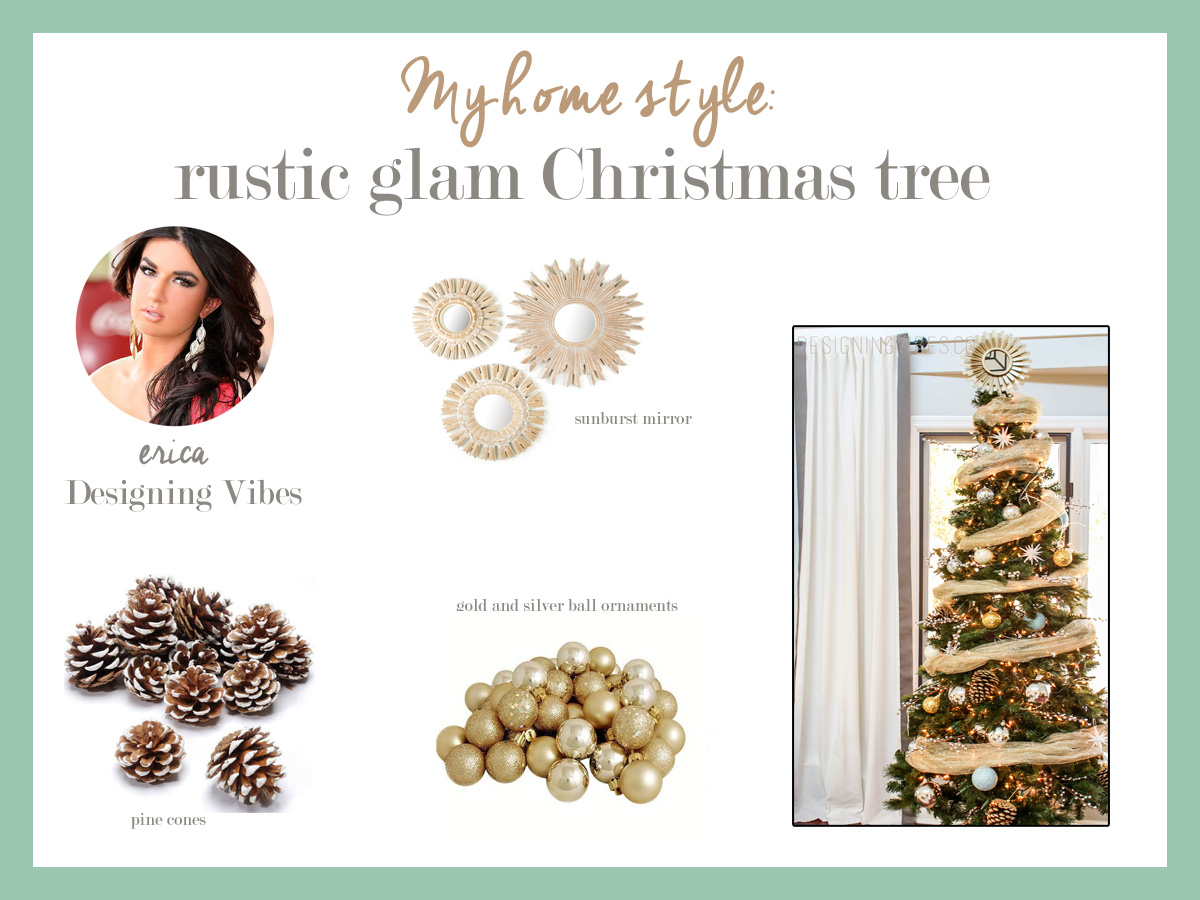
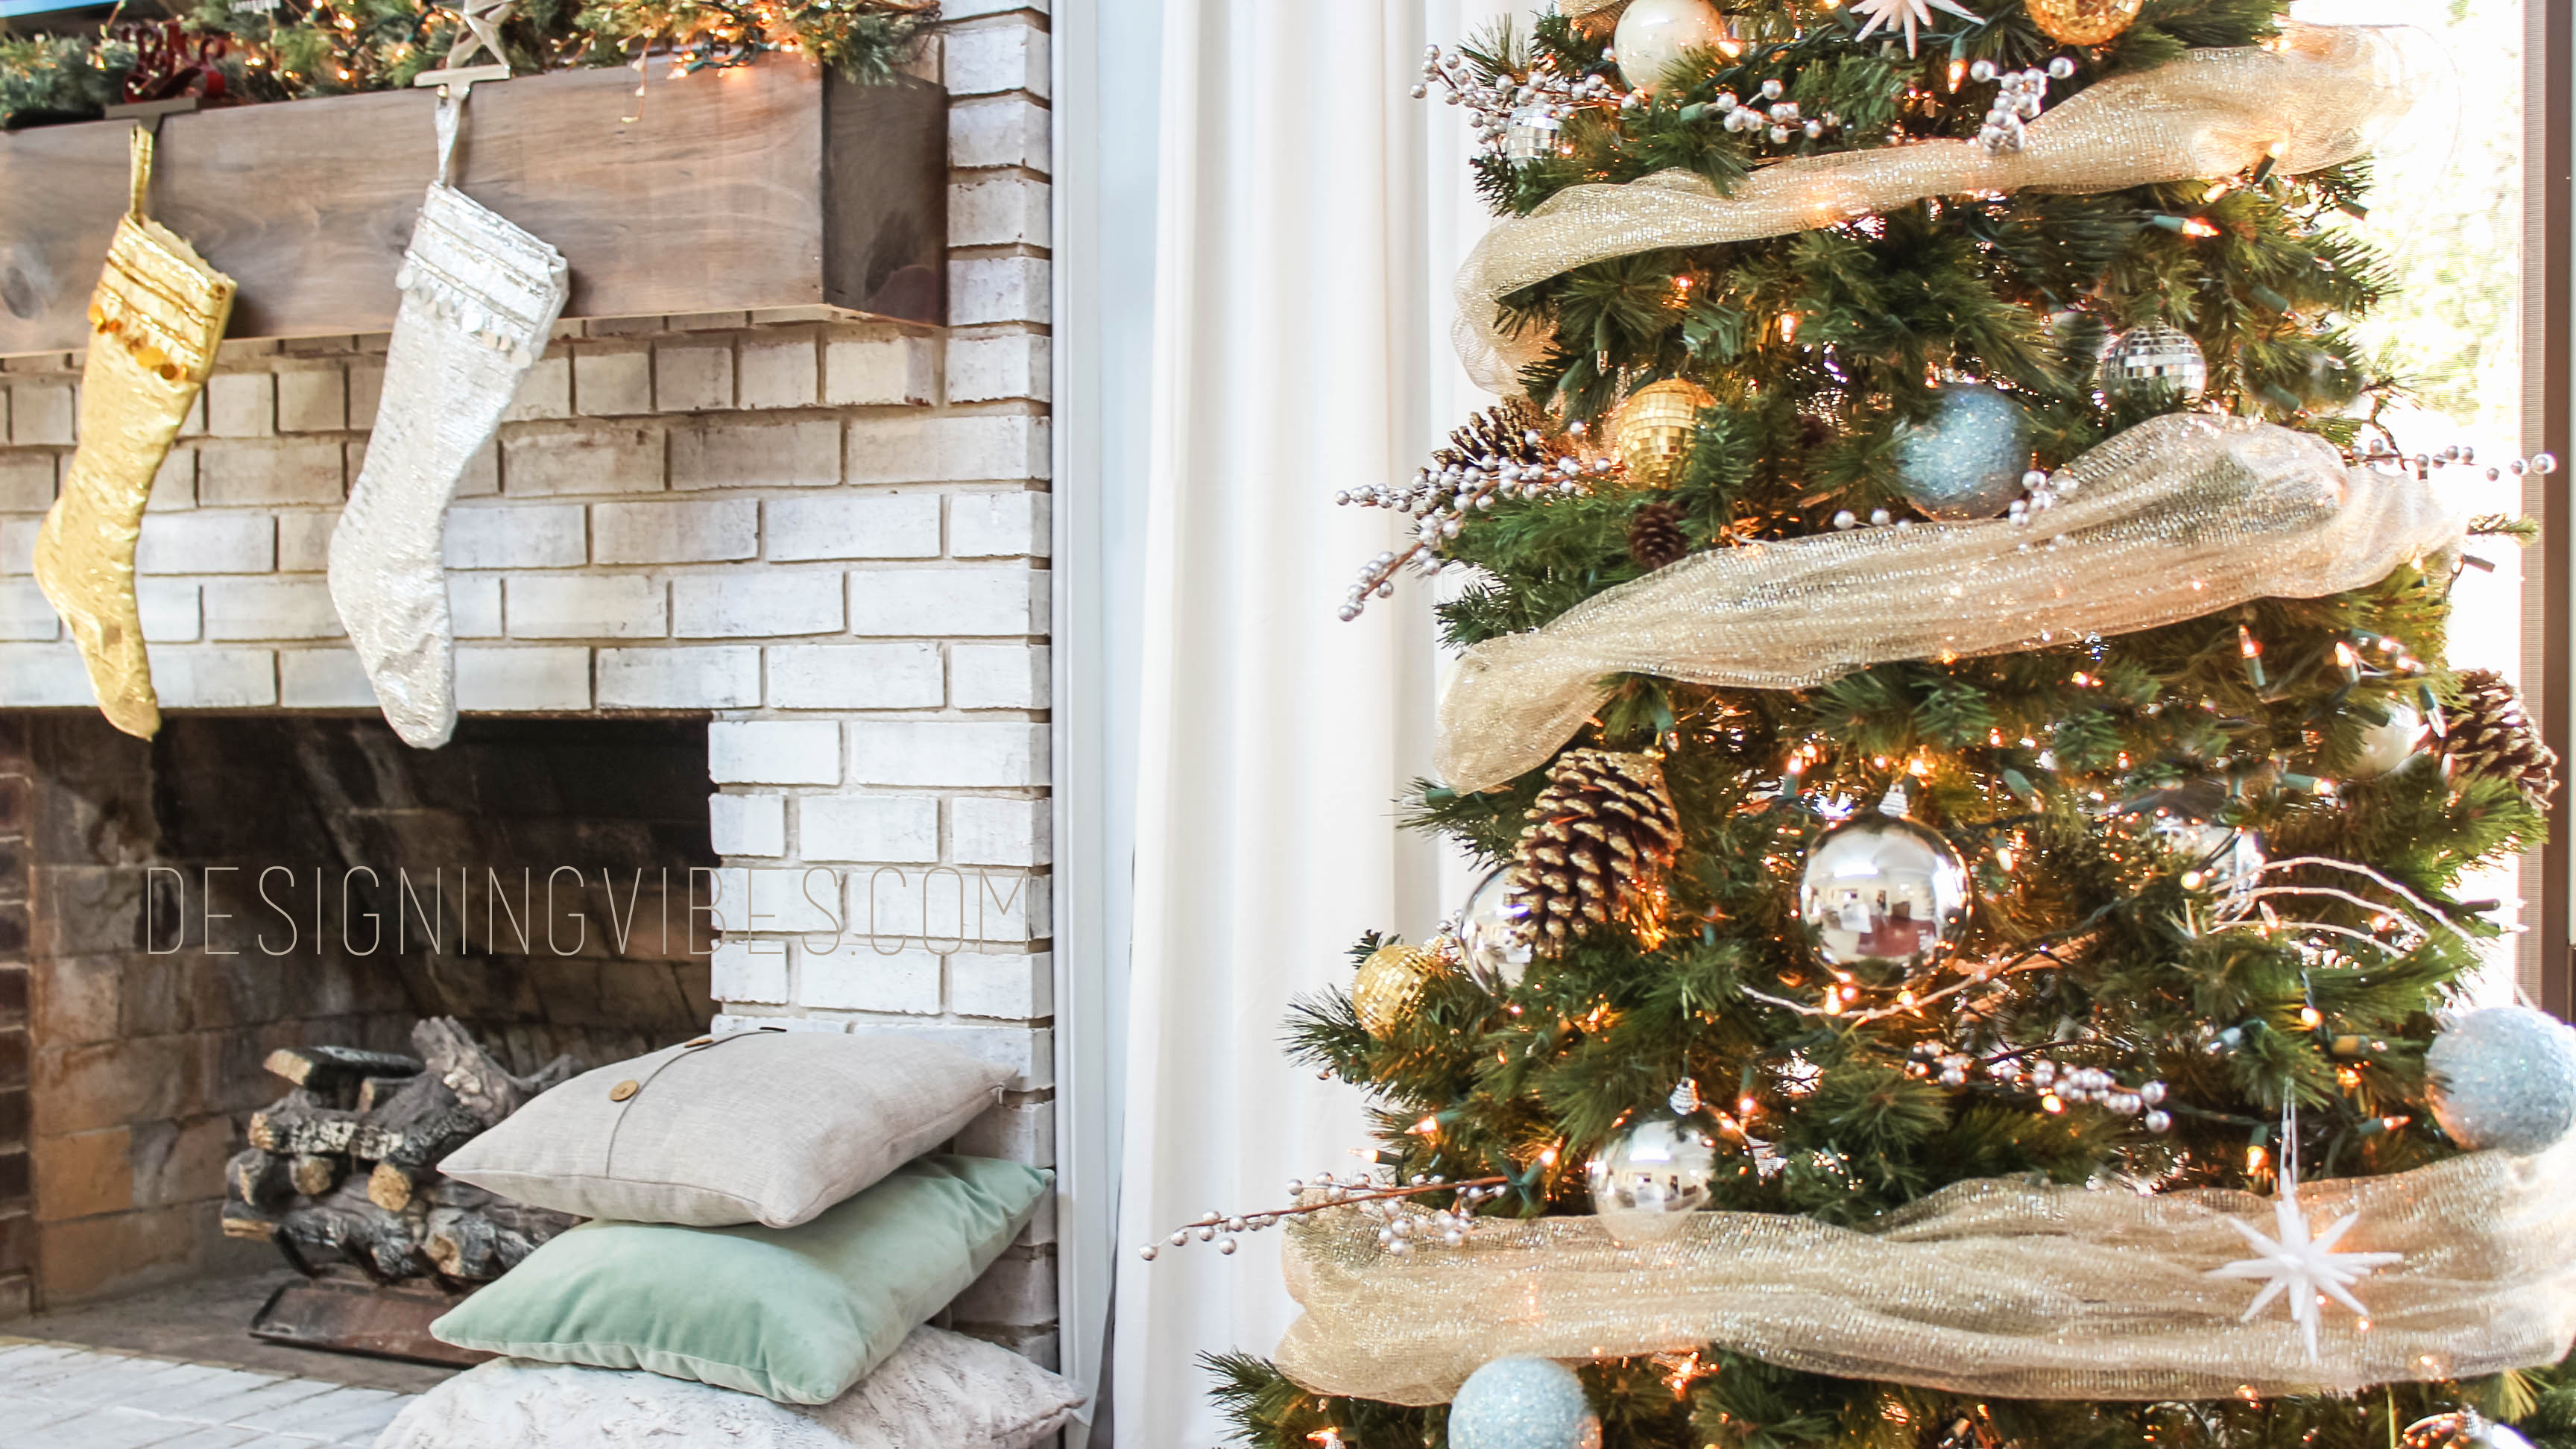
When decorating my home for the holidays, I prefer to incorporate my year-round decor into my theme. I would describe my style as rustic with pops of coastal elements all while trying to exude an underlying vibe of sophistication. I classify my Christmas decor as “rustic-glam”.
My personal tastes tend to be a contradiction of sorts, so why would my decor not reflect this? Rustic Glam is the ultimate paradox…a juxtaposition of earthy, rustic elements with pops of glowing glam.
This year I would have loved a real tree, but given my first holiday home tour was due in November, I had to go with the longest-lasting option (I did not want my tree looking like Charlie Brown’s once Christmas rolled around). And so, a faux Christmas tree from big lots it was .

Given this tree was cheap, I knew I needed to make it look fuller and more natural. So…..
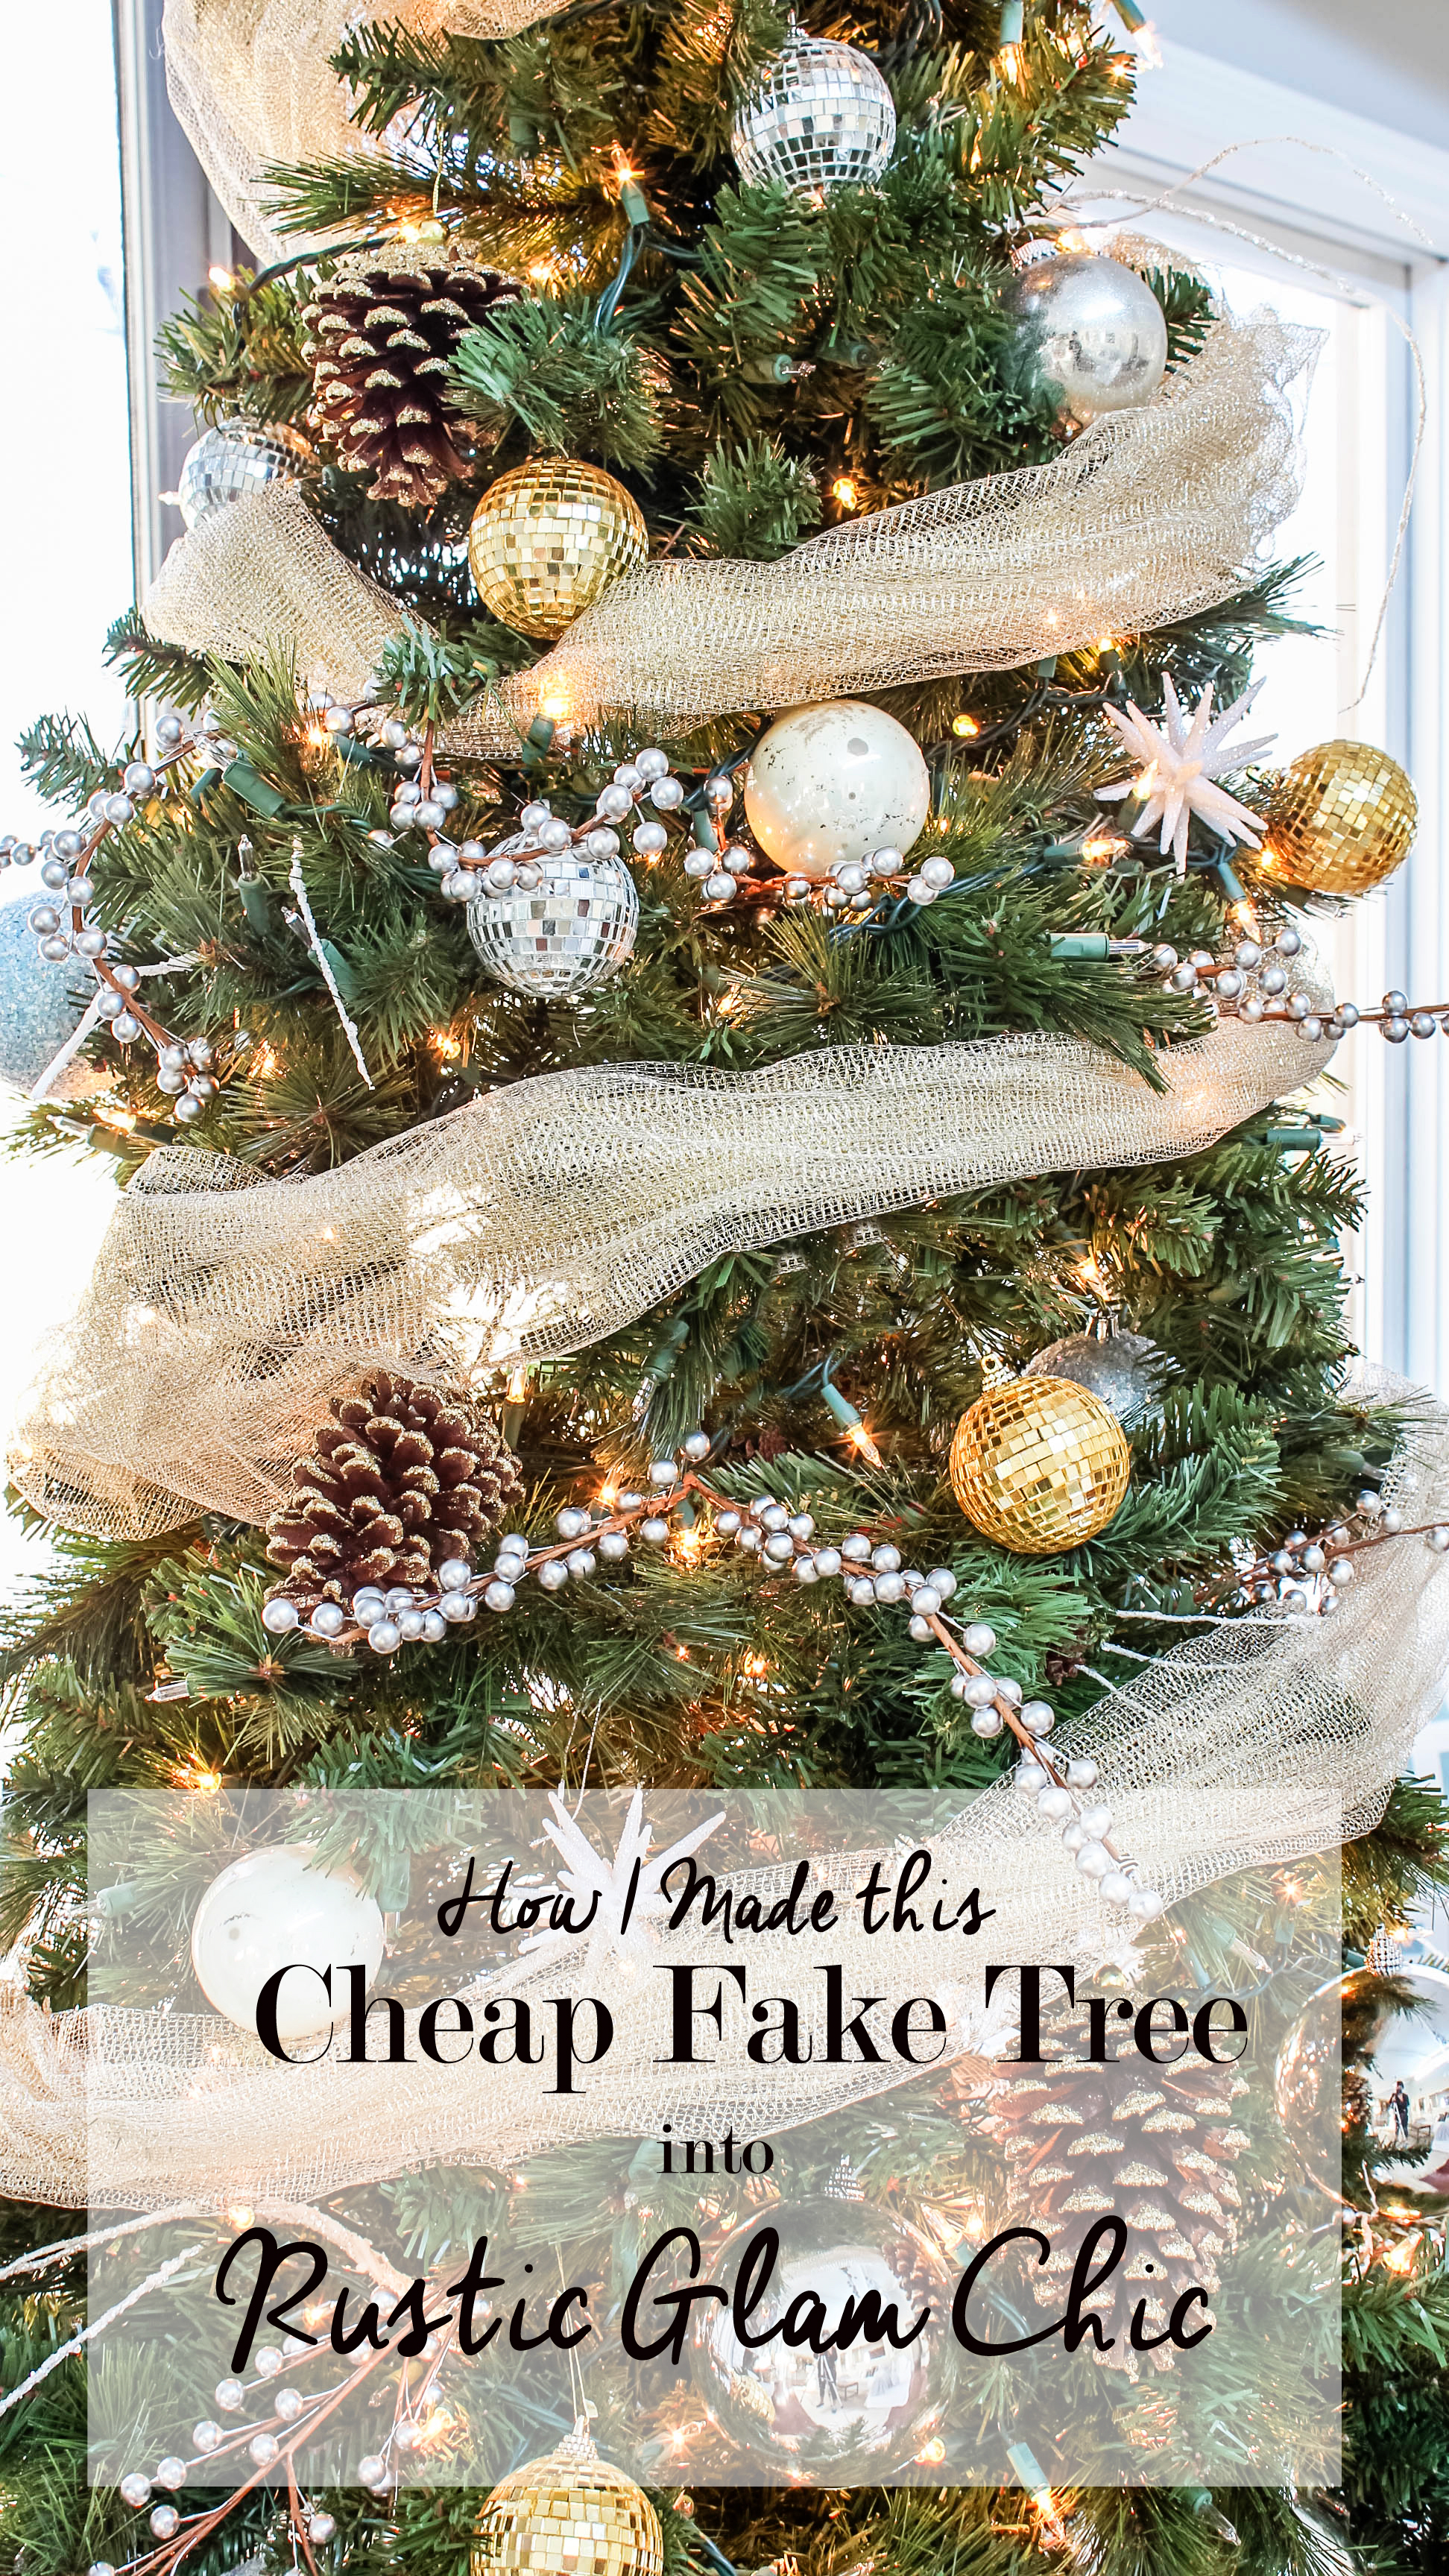
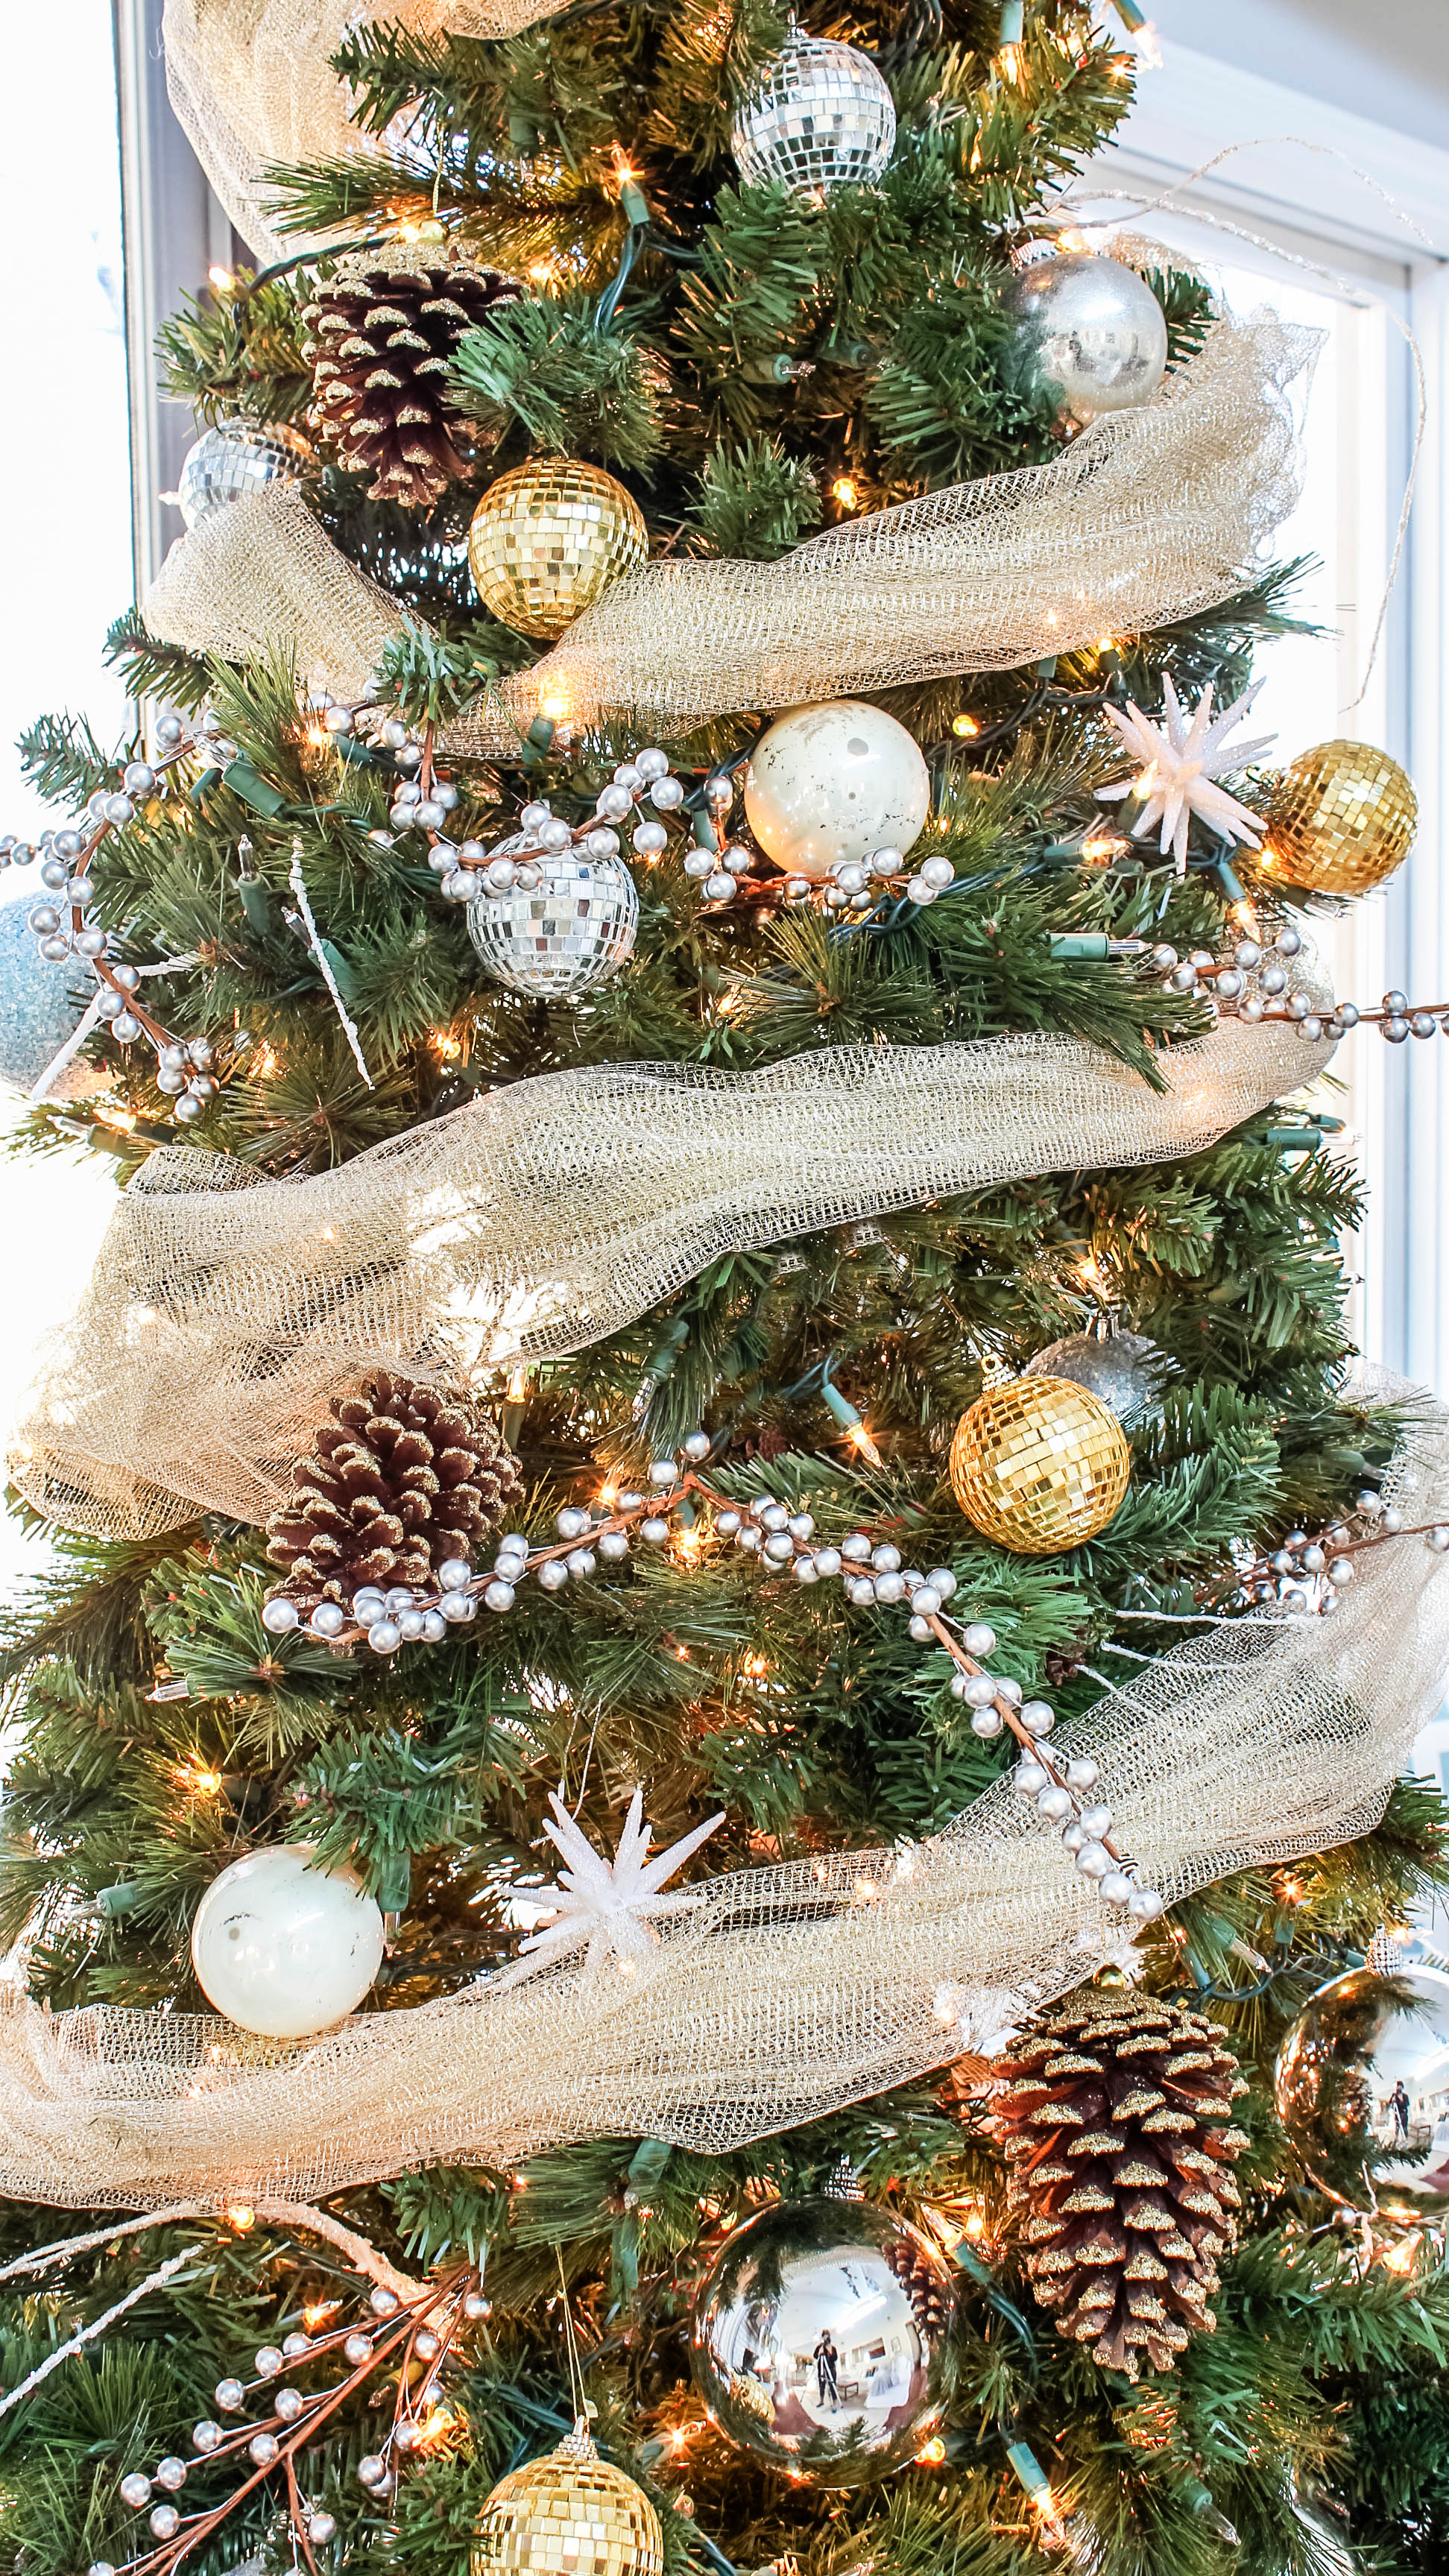
I started by “filling out” my el cheapo tree with faux pine sprigs![]() . I believe this had the biggest impact on my puny, artificial tree. To add some glam, I also inserted these metallic berry twigs (you can find similar ones here).
. I believe this had the biggest impact on my puny, artificial tree. To add some glam, I also inserted these metallic berry twigs (you can find similar ones here).

Continuing with the “rustic glam” theme, I then added large silver ball ornaments along with gold disco ball ornaments![]() . I have had these ornaments for years now.
. I have had these ornaments for years now.
Because I have a toddler in the house, all ornaments must be shatter-proof. I learned this the hard way after hanging some mercury glass ornaments. Within 5 minutes, two of the ornaments were shattered….my son thought they were actual balls. Away went the antque glass ornaments and out came my cheap, Big Lots “balls”.
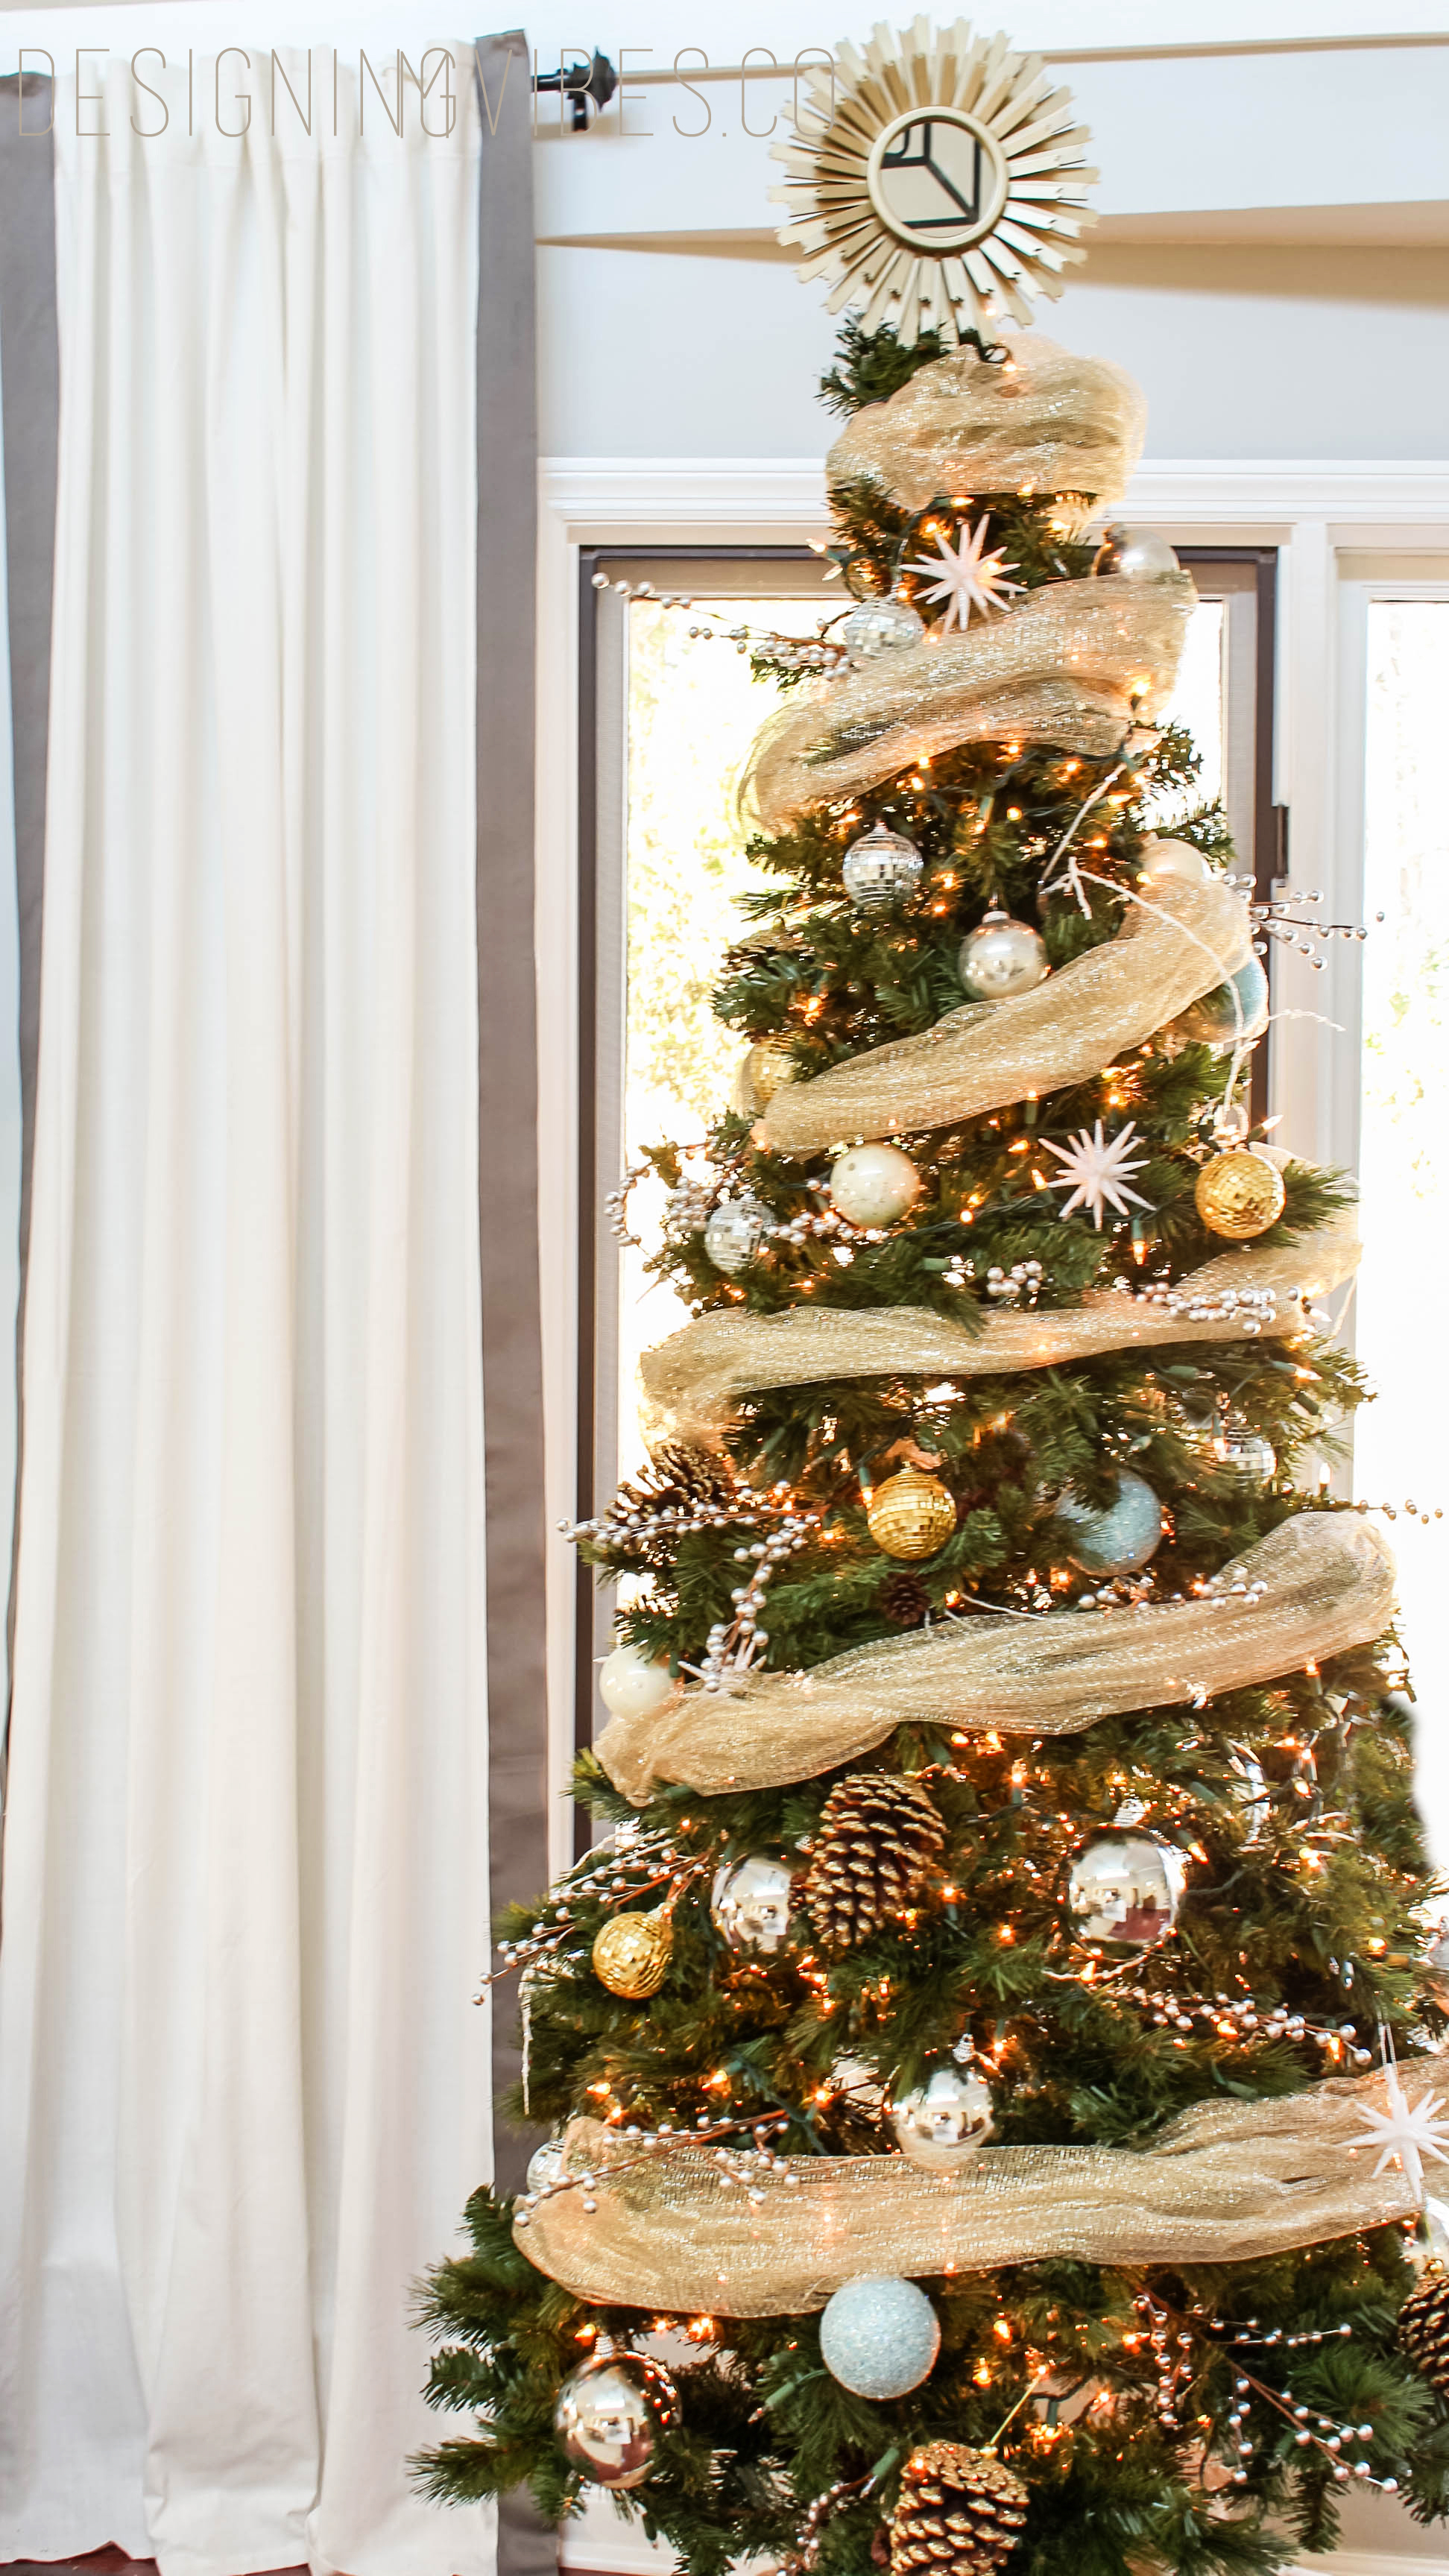
And please don’t judge the protruding light wires. A little side story…my pre-lit tree lights decided to stop working a few days after I decorated my tree. Being pregnant and lazy, I simply added string lights over the existing ornaments. Ain’t nobody got time to take down all of the ornaments and start from scratch.
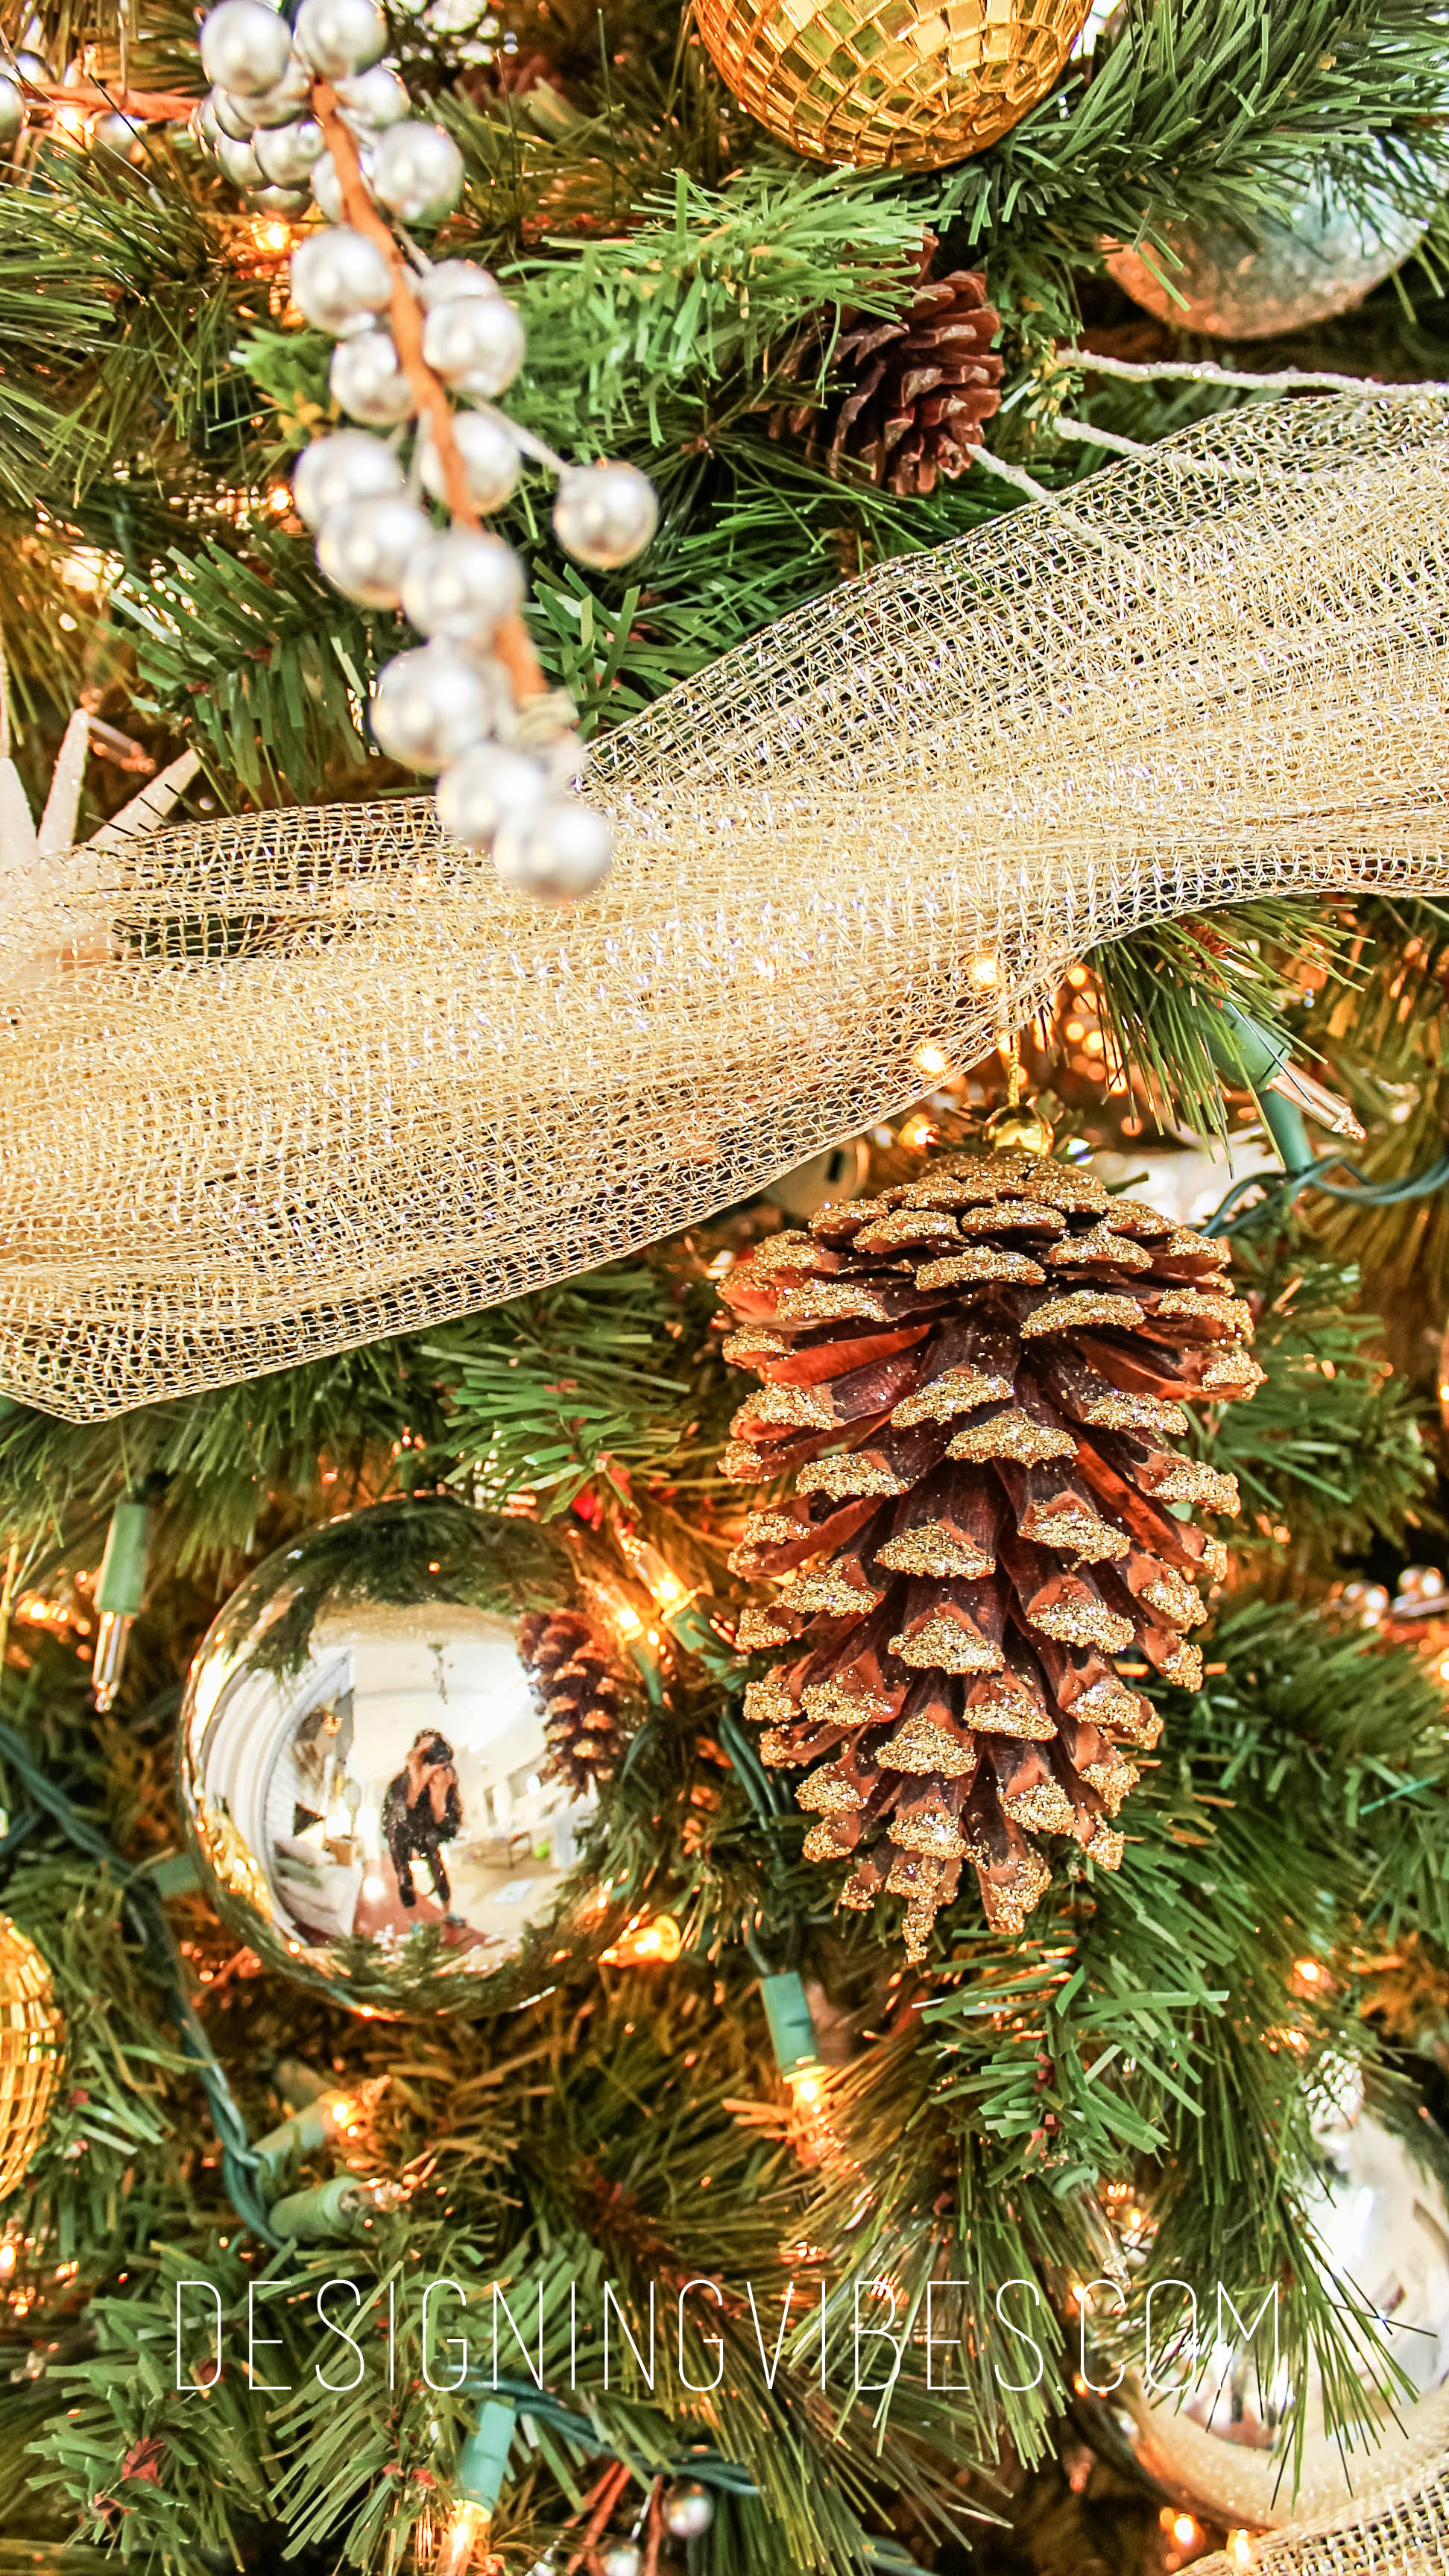
To add some rustic touches, I incorporated pine cone ornaments (buy similar ones here) into the mix.
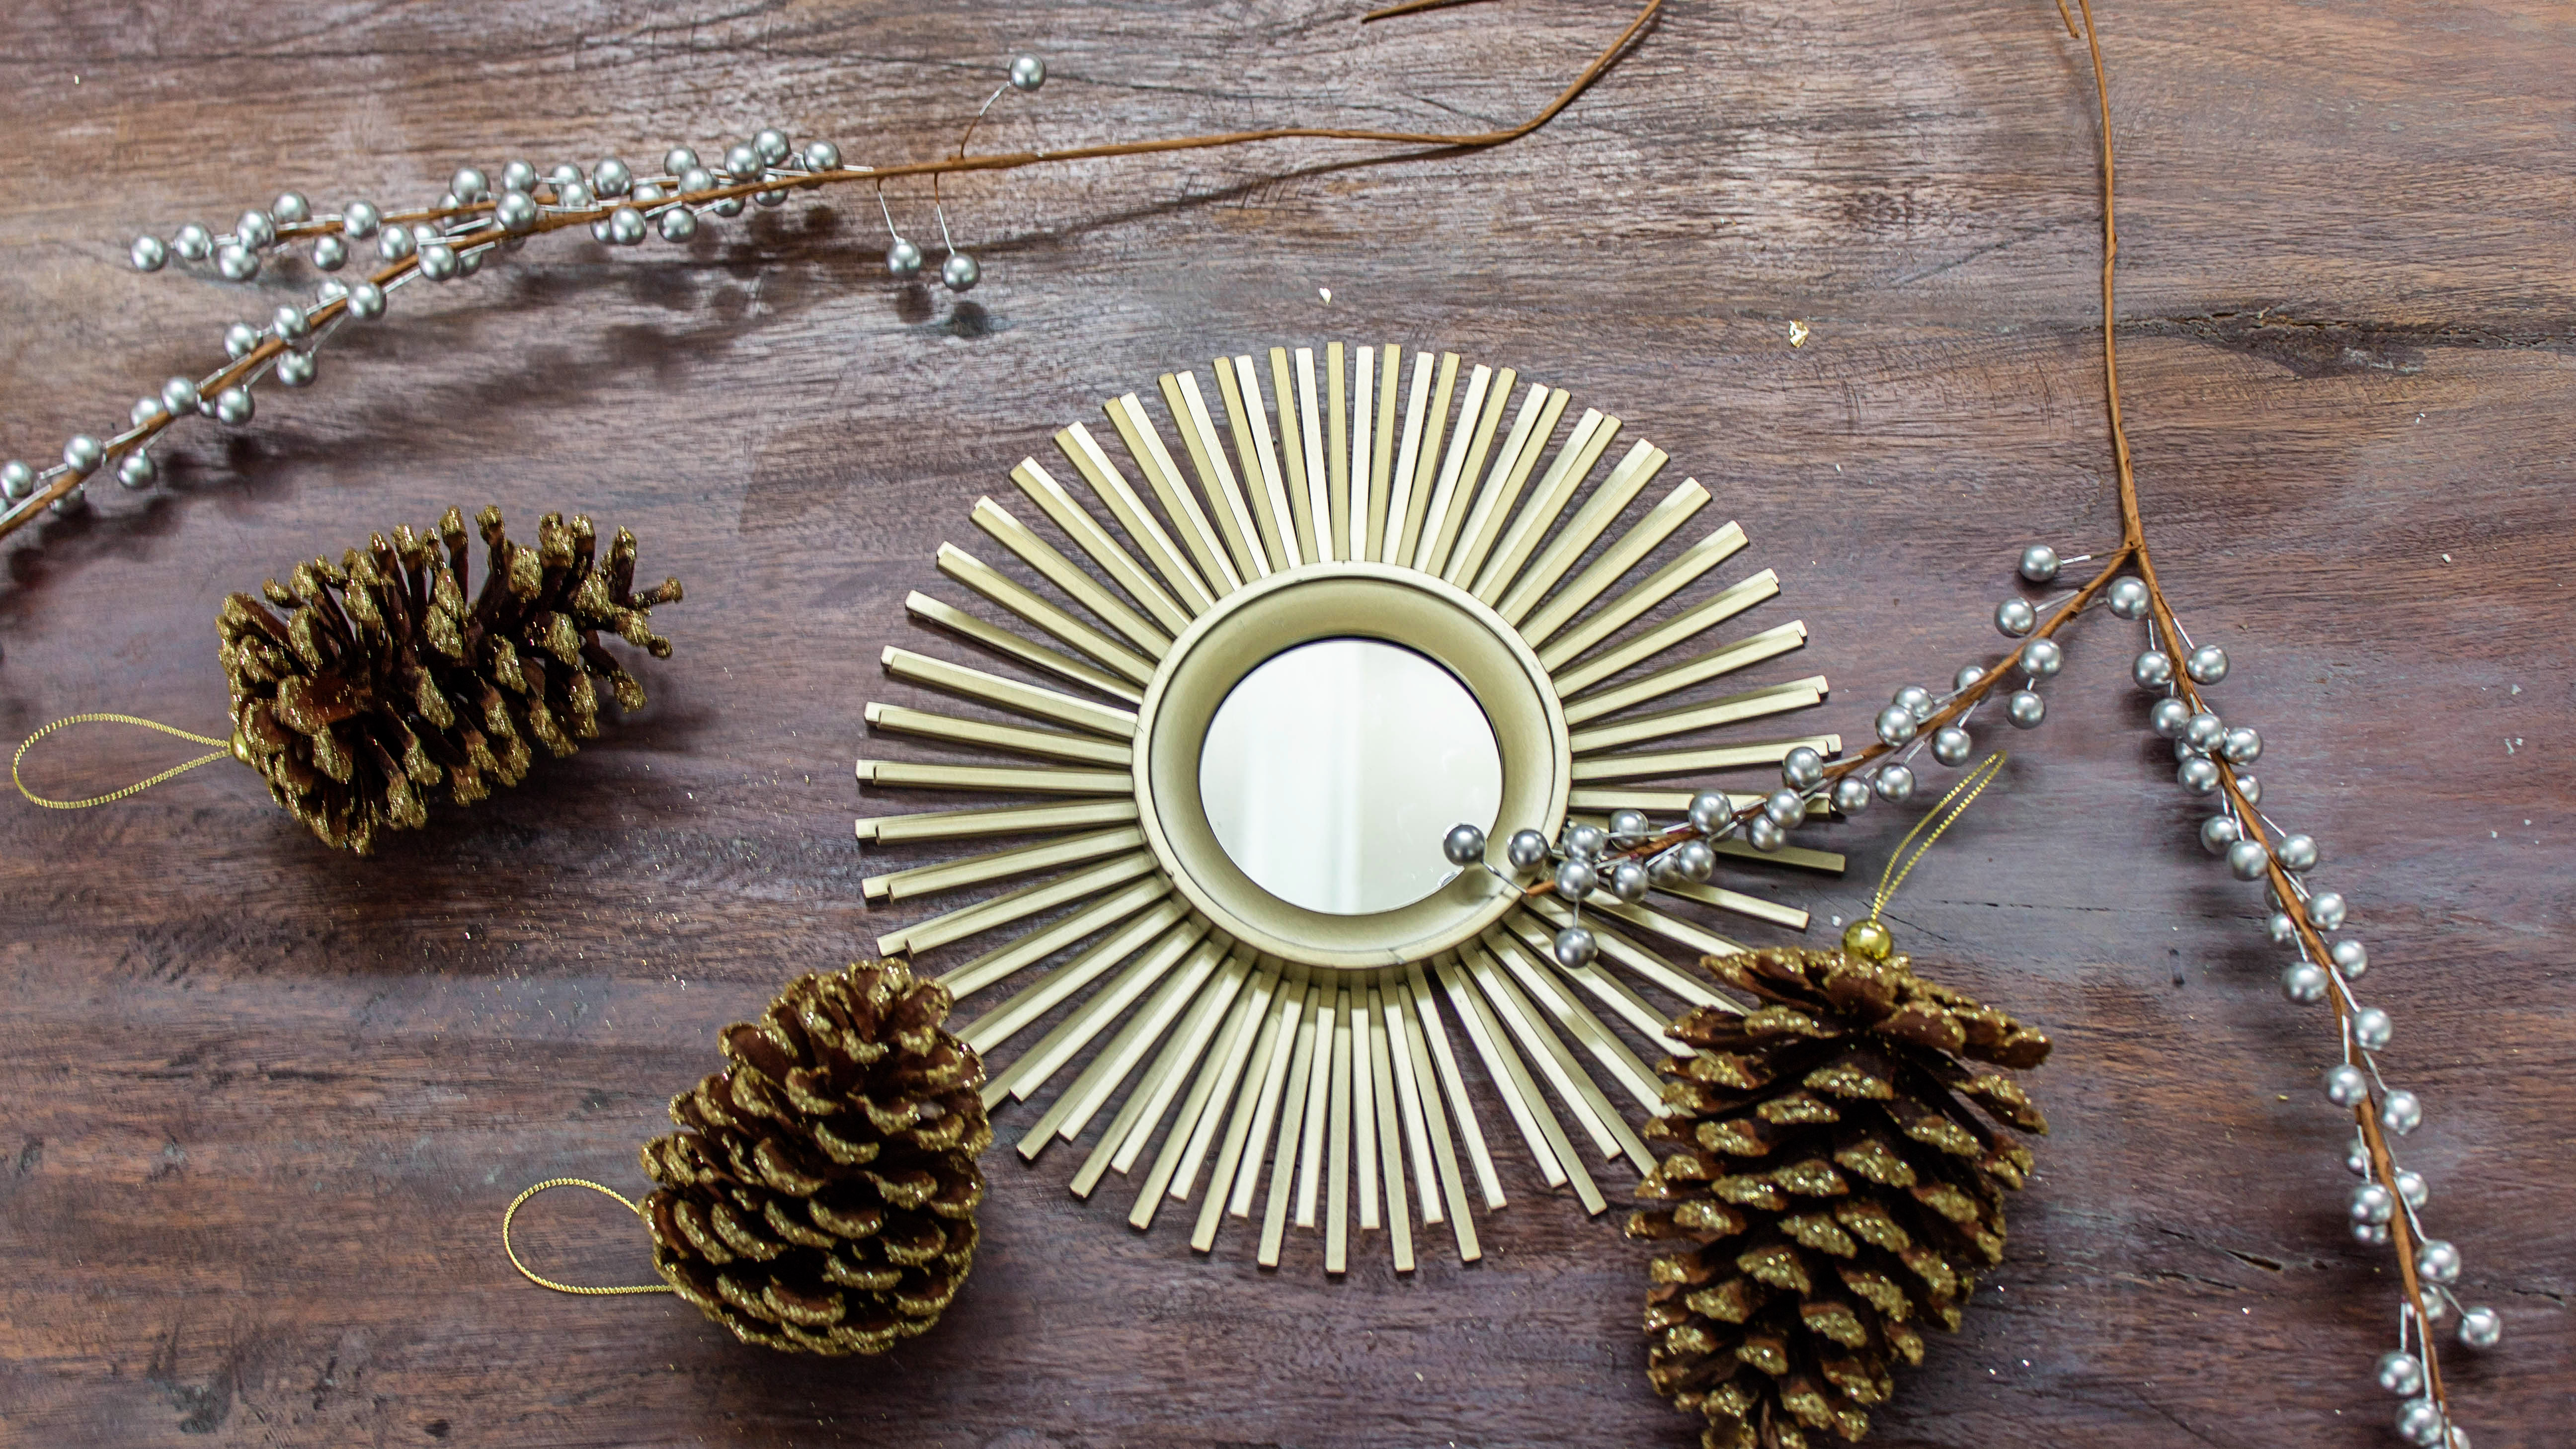
And to top the tree, I added this sun burst mirror I bought from Burlington for less than $5 (you can also get them here). It was actually wall decor, but after seeing a similar piece used as an ornament in Ballard Design’s, I was inspired.
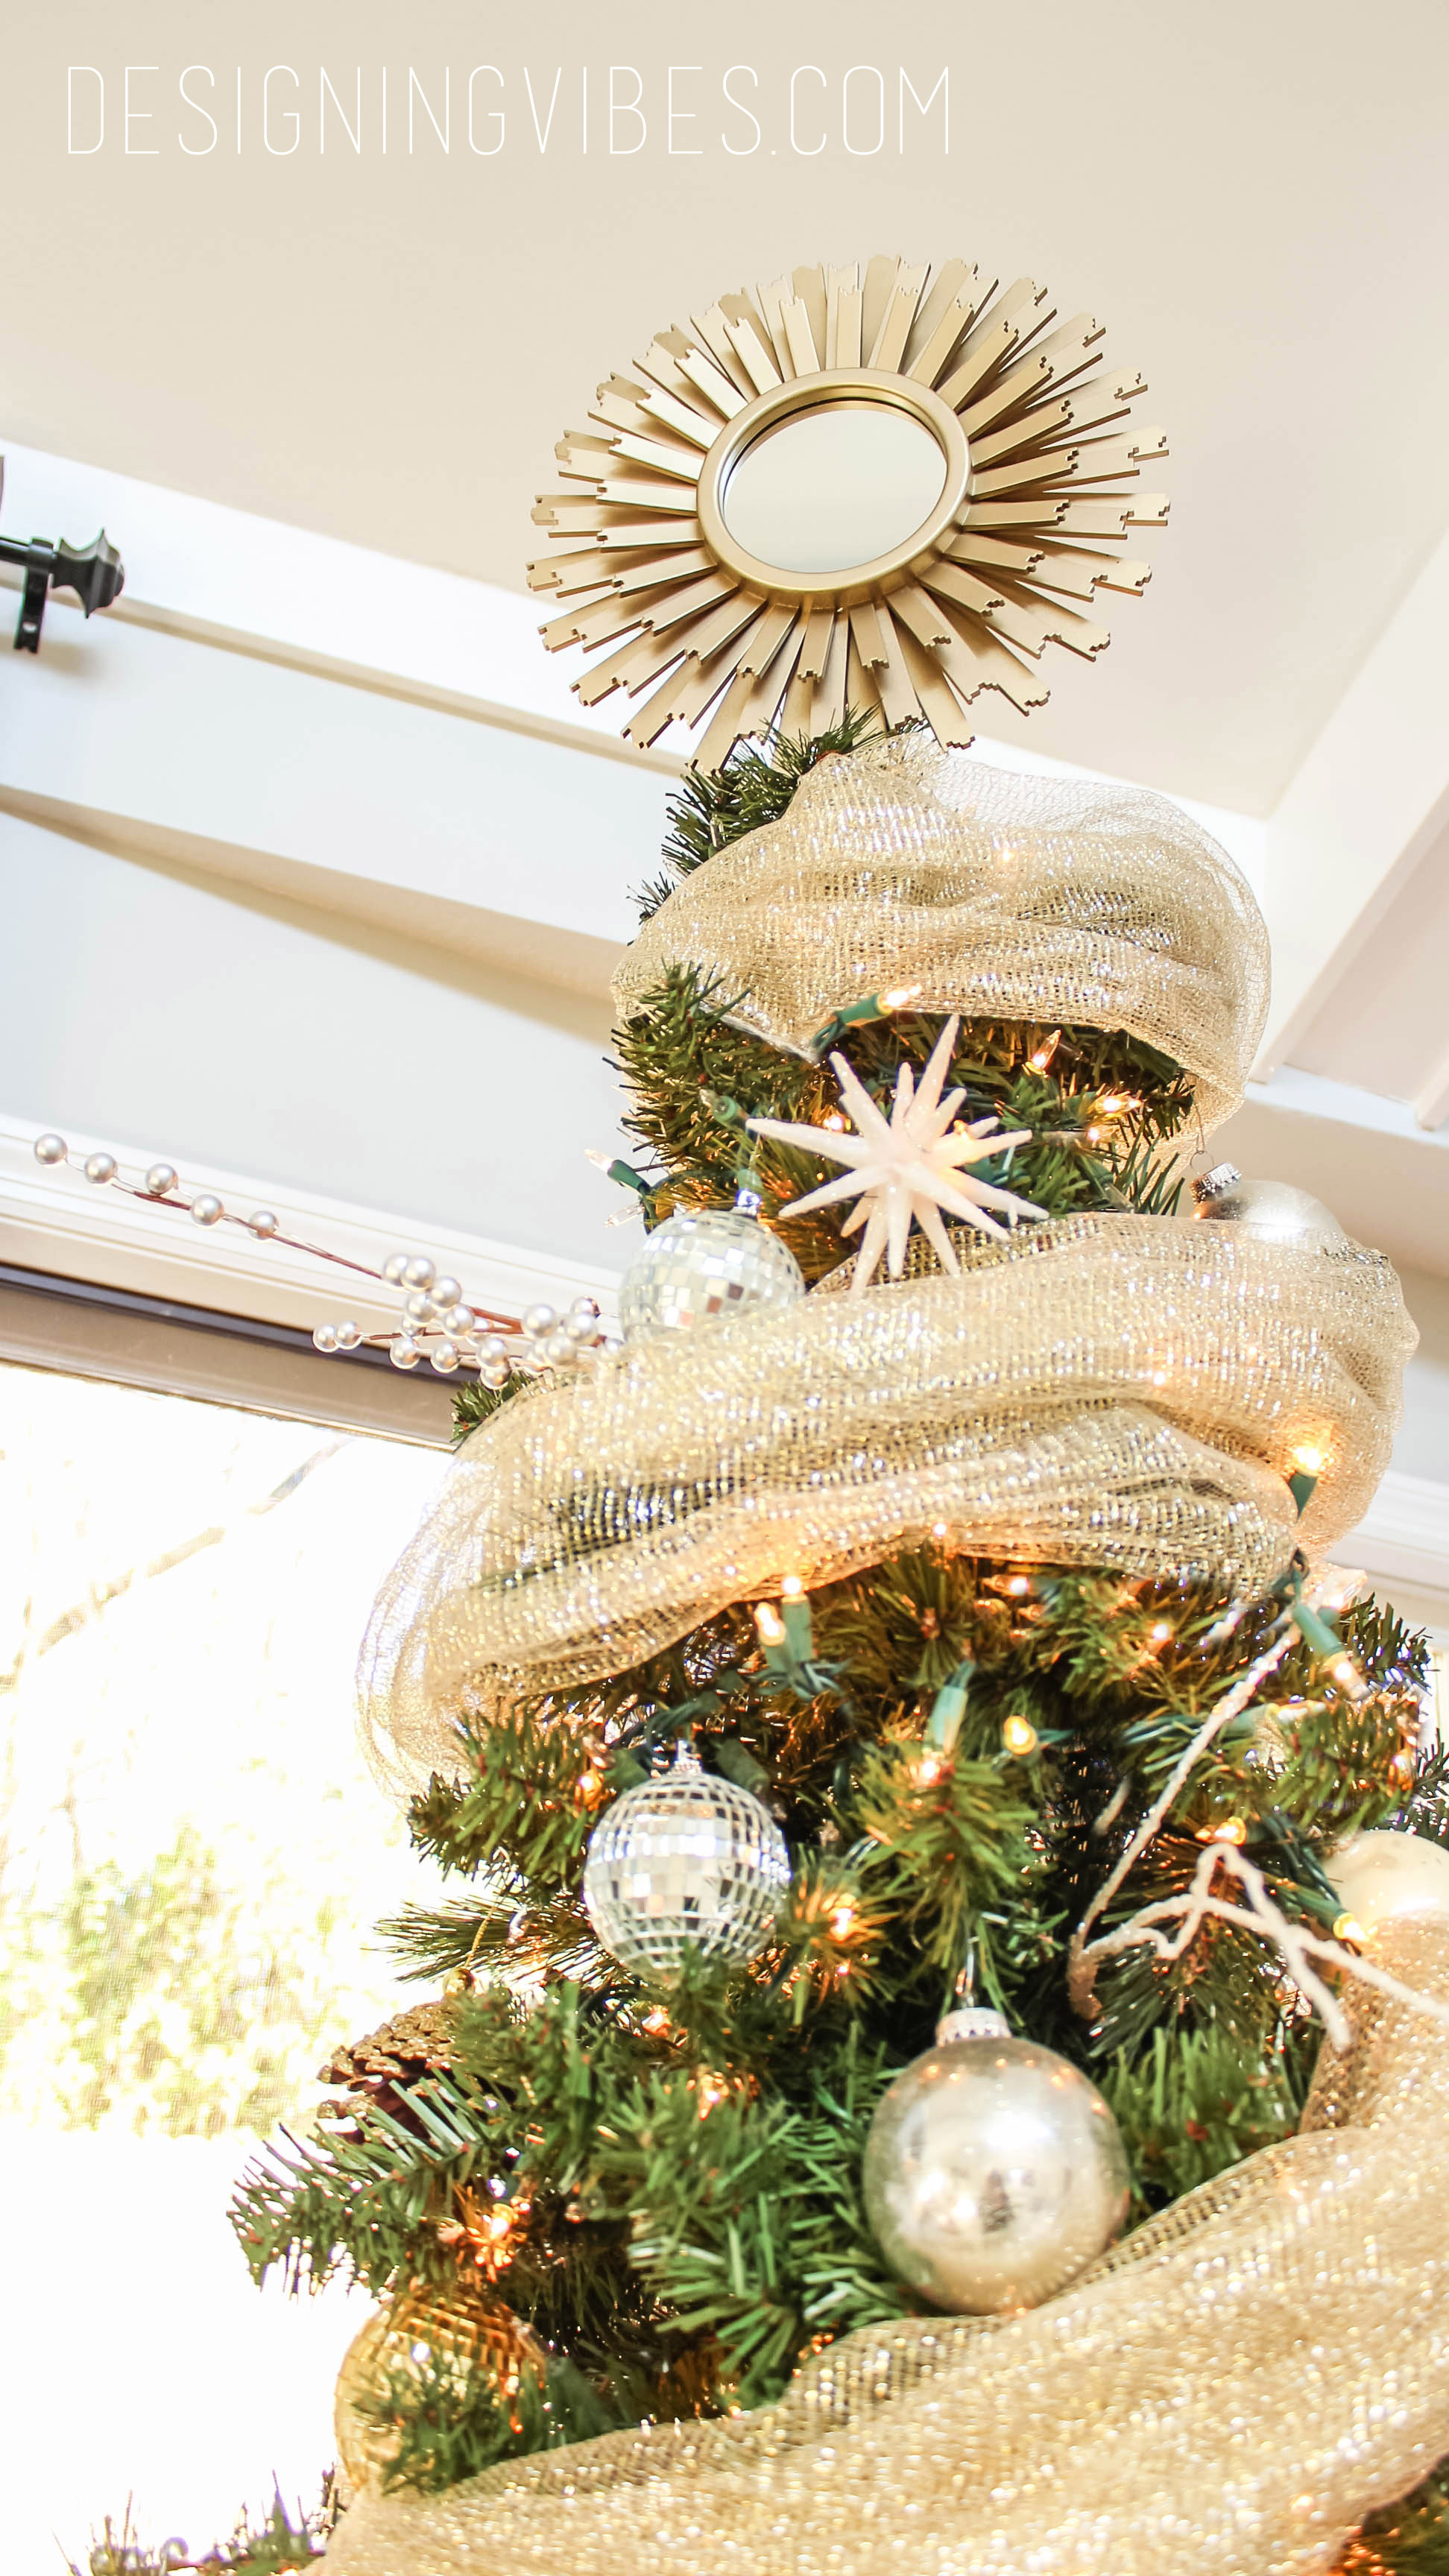
Oh…and I completely forgot about my ribbon. I have had it for years, but it was purchased at Hobby Lobby. It resembles burlap, but it is actually made of a shiny mesh material…perfect for my rustic glam vibe.
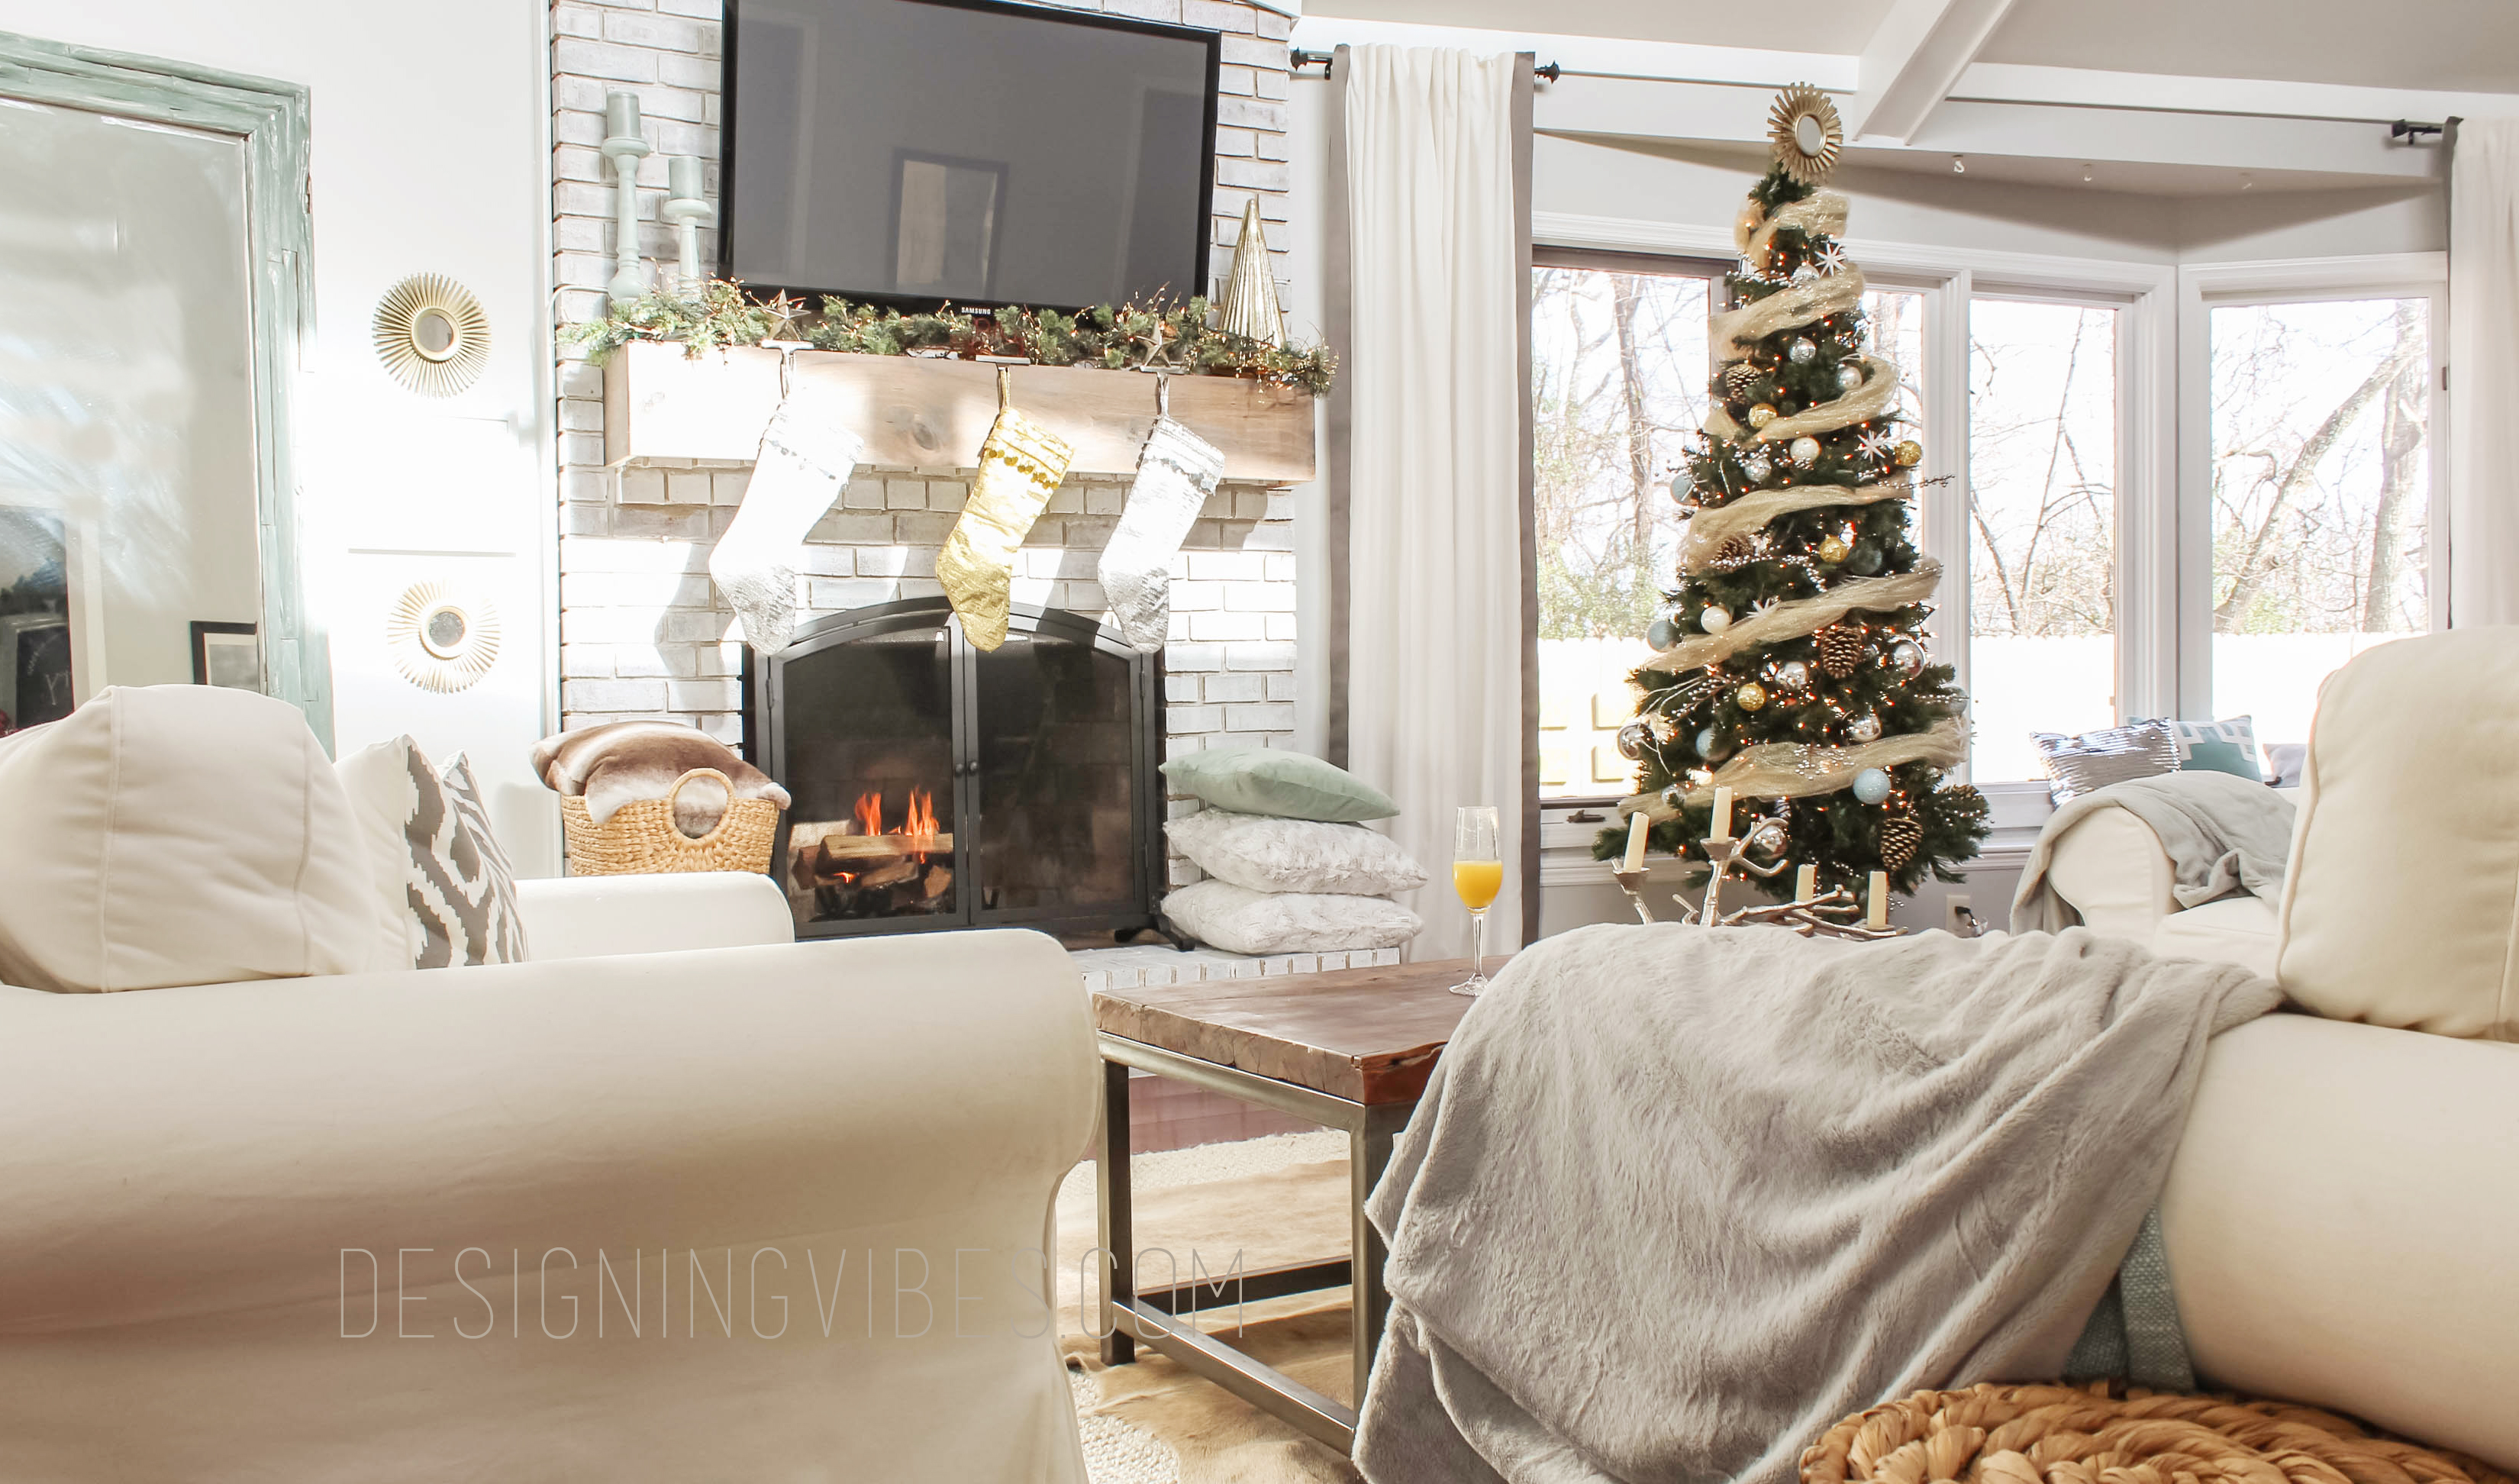
Hopefully next year I can get a “real” tree. Until then, I am going to burn a frasier fir scented candle and go cozy by the fire. And if you havent checked out my full Christmas home tour, be sure to click here.
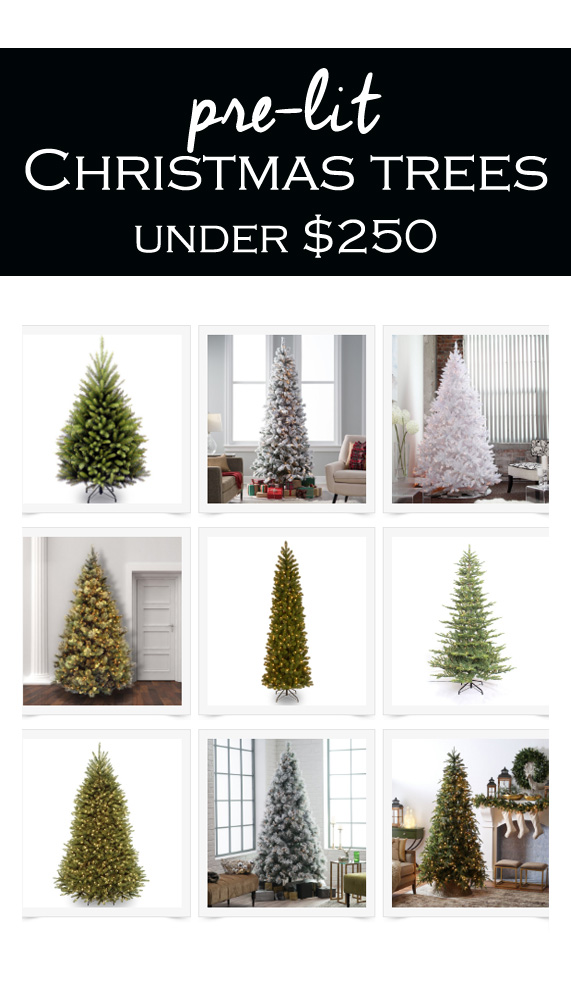
Update November 2017: I recently purchased a new artificial tree which I absolutely adore. If you are looking for a realistic, pre-lit tree on a budget, you need to check out the following round-up post….
[embed_popupally_pro popup_id=”4″]
Please be sure to spread the love and Pin!!!

[go_portfolio id=”go_portfolioidread”]
If you are following the blog hop, Little Red Brick House is next!


Welcome!
My journey in interior design and home improvement began with transforming my first fixer-upper home, all while managing a budget and raising two young boys. My work, a reflection of my passion for creating beautiful, uplifting spaces, has been recognized by top publications like Better Homes and Gardens Magazine, HGTV, and more. I invite you to explore my site and witness the transformation of my home and the vibes we've designed. Read more...


Hey, Erica! The tree looks fab, and I was cracking up about your lights. You’ve done a gorgeous job and the tree topper is my favorite! Our live tree is hanging in there, so I’ll let you know if it’s doable to have a live tree and do blog tours in a couple of weeks.
Thanks, Sharon. Yes, please let me know how your tree does so I know for future reference. I want a real tree so badly.
Filling it in with faux pine? Get out. Why didn’t I think of this! It looks amazing and I don’t blame you for just adding more lights. The mirror on the top is brilliant! Love it.
Thank you so much, Sara!
Beautiful tree and beautiful room! The details are perfection. Sympathizing with your pre-lit tree. After only three years, the top section of ours went out this year. Yes… after it was decorated! It’s still dark…
haha! Glad to know I am not the only one, Shelley. Yes, I believe we have only had ours for 3 years as well. Thank you so much for the kind words!
I just adore those swathes of shiny mesh! Your tree could be straight from the pages of a magazine. Beautiful! xo
Thank you so much, Karen!!! That is so kind of you. 🙂
It is stunning Erica!! I love it – such a fabulous combination of sparkle and natural elements!! Pinned and sharing!
Thank you so much, Krista!!! I really appreciate the pin!!!:)
Absolutely stunning Erica!!!! I loved the mix of rustic and glam. Thanks for sharing and participating in the My Home Style Blog Hop. Pinned and shared
Thank you so much, Stephanie! You rock!
Such a pretty tree – the perfect mix of glam with those rustic elements! Love it!
Thank you so much, Angela!
Erica it is such a beautiful tree. And you are not lazy. Being pregnant is a full time job in itself, at least that’s how it felt to me, lugging all that weight around. I love that mesh ribbon, it adds so much warmth to the tree, and the mirror is out of this world!! You have done an amazing job with the tree and your home.
Thank you for always being so sweet to me, Mary. Much love!!!
Your tree is beautiful! I love that mirror tree topper – such a smart idea! I can never seem to find a tree topper I love. I think next year I need to get creative!
Thank you so much!
I love how your filled in your tree with twigs and berries. I was always feel like my tree has too many “holes”. Totally did not notice the light chords in your gorgeous tree. 😉 Merry Christmas!
Thank you so much, Kathy!!
Love the tree, I plan to replicate it this year as we purchased a “fake” tree a few years ago and I’m always trying to glam if up. I have a question, was the ribbon put on before or after the ornaments. Thanks!!
Hi Brenda! Since I did this tree last year, I cannot remember. But I used the ribbon again this year and I put it on before the ornaments. Hope this helps!