
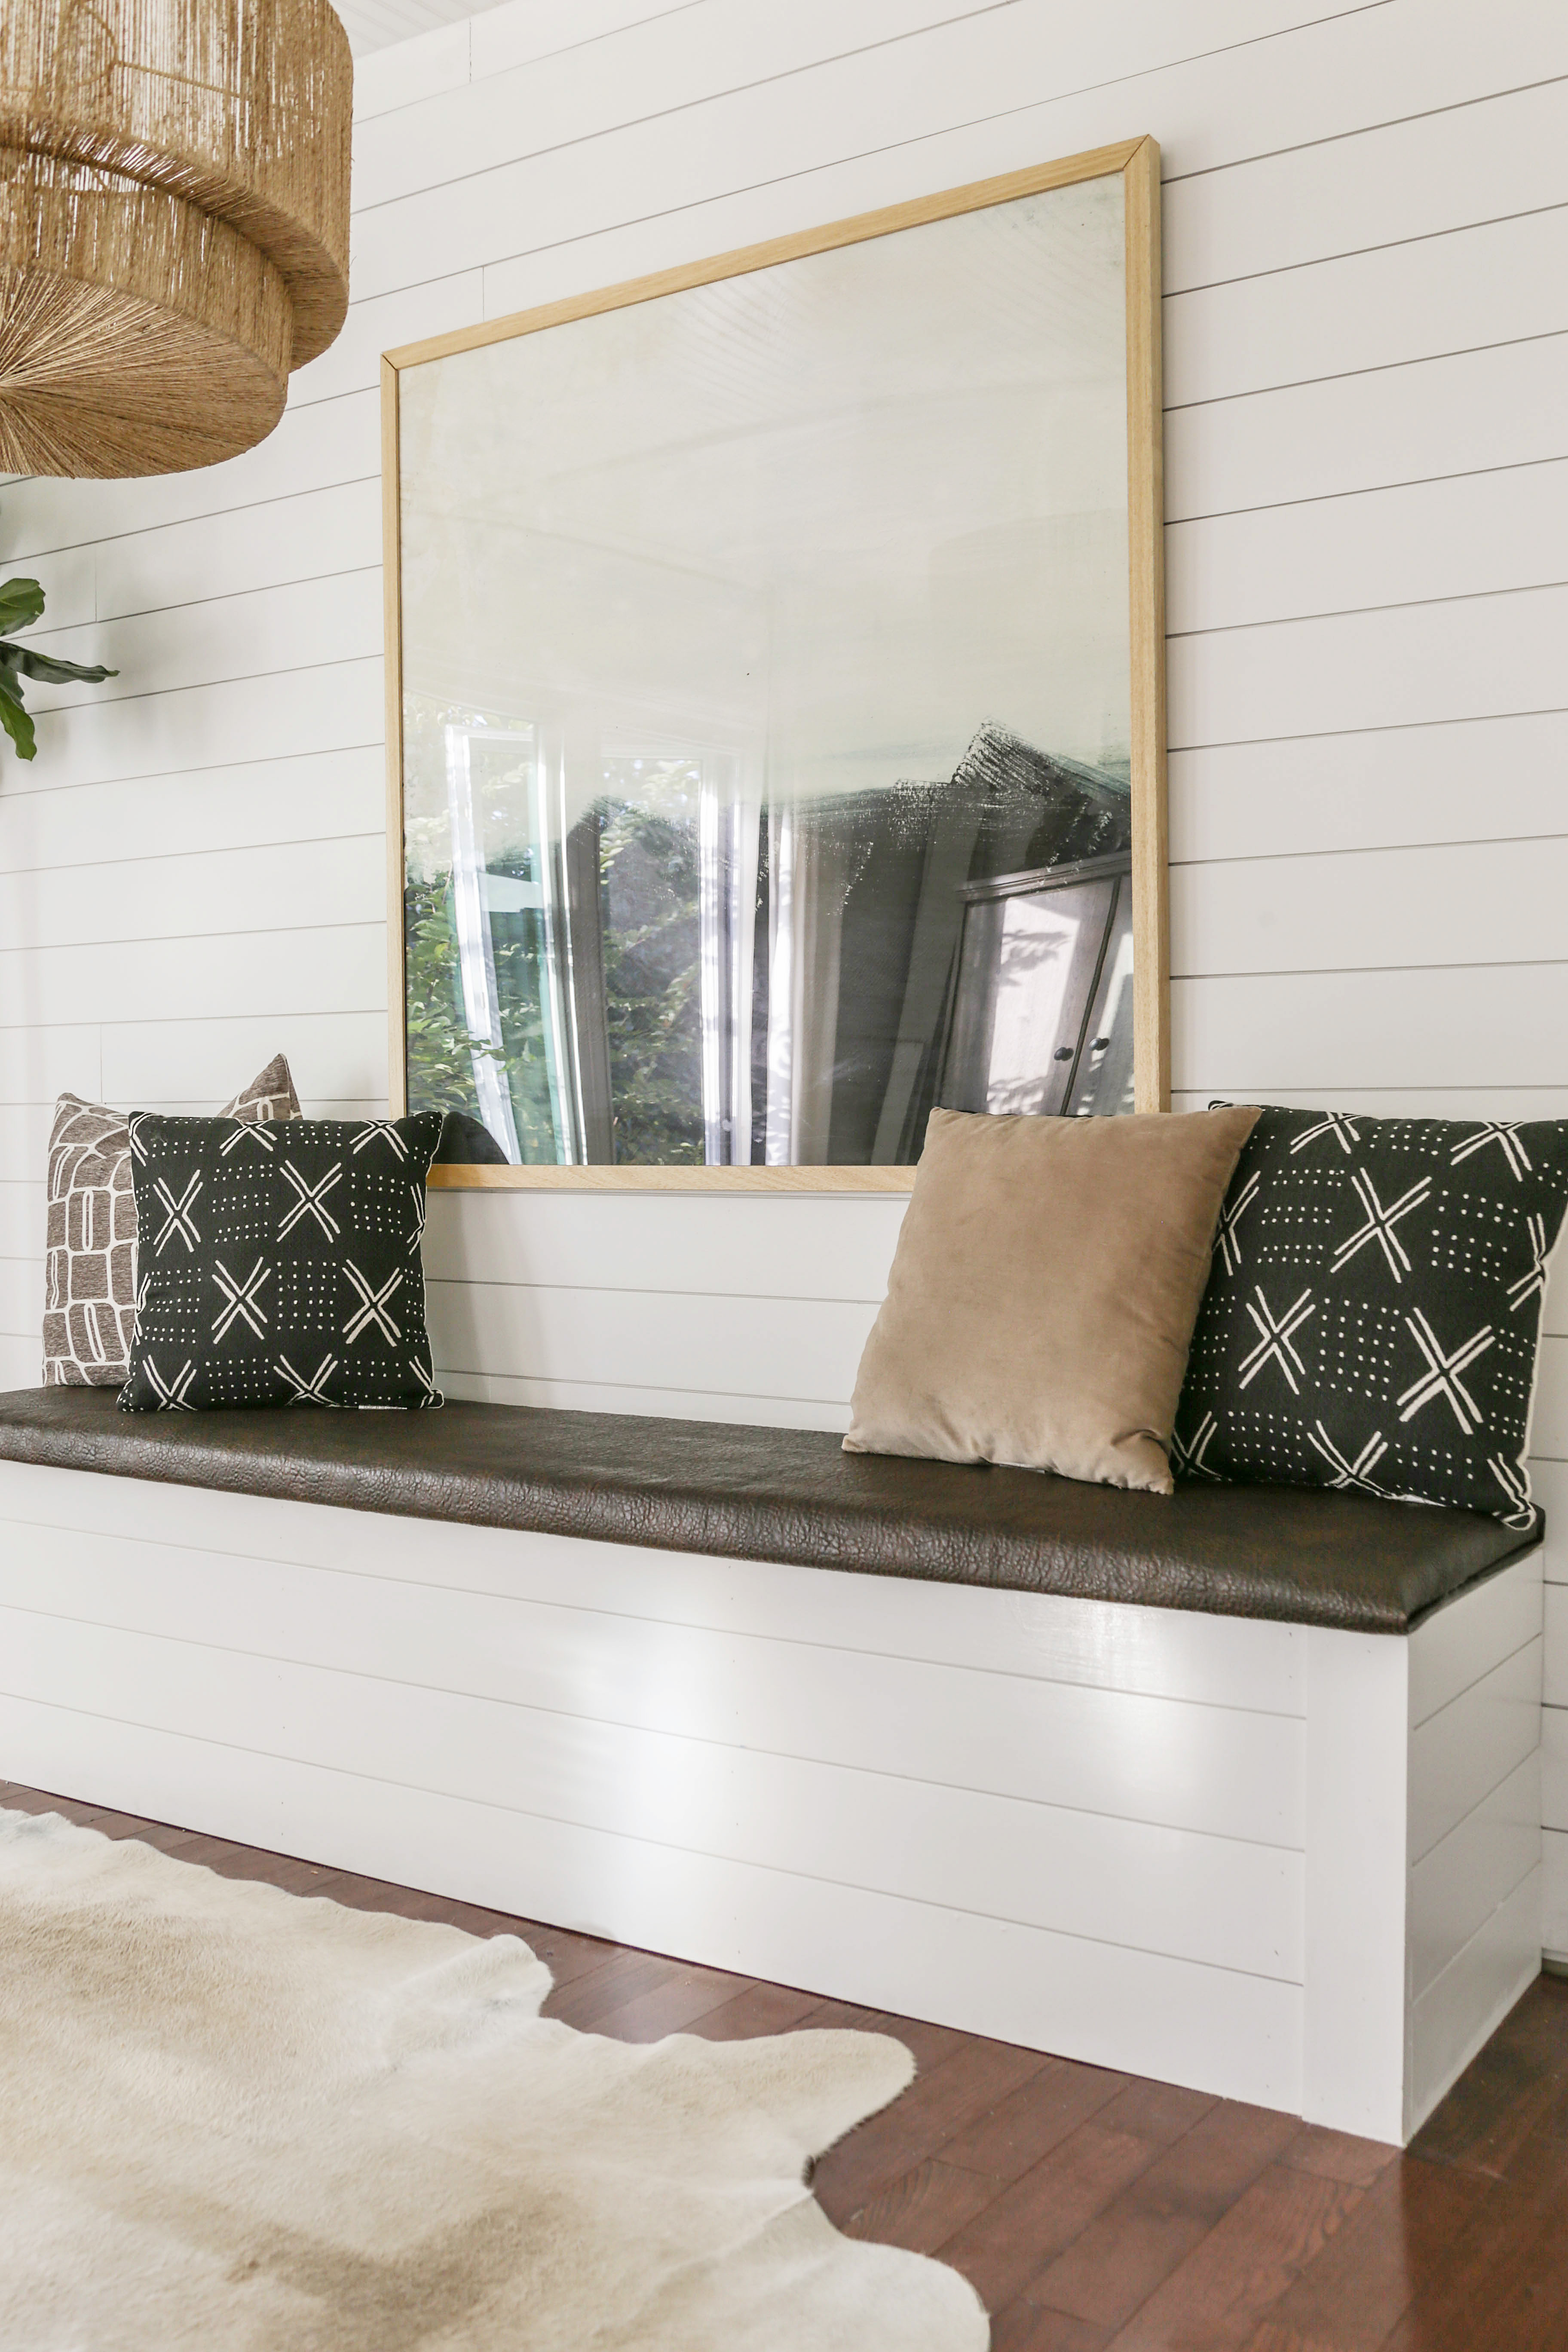
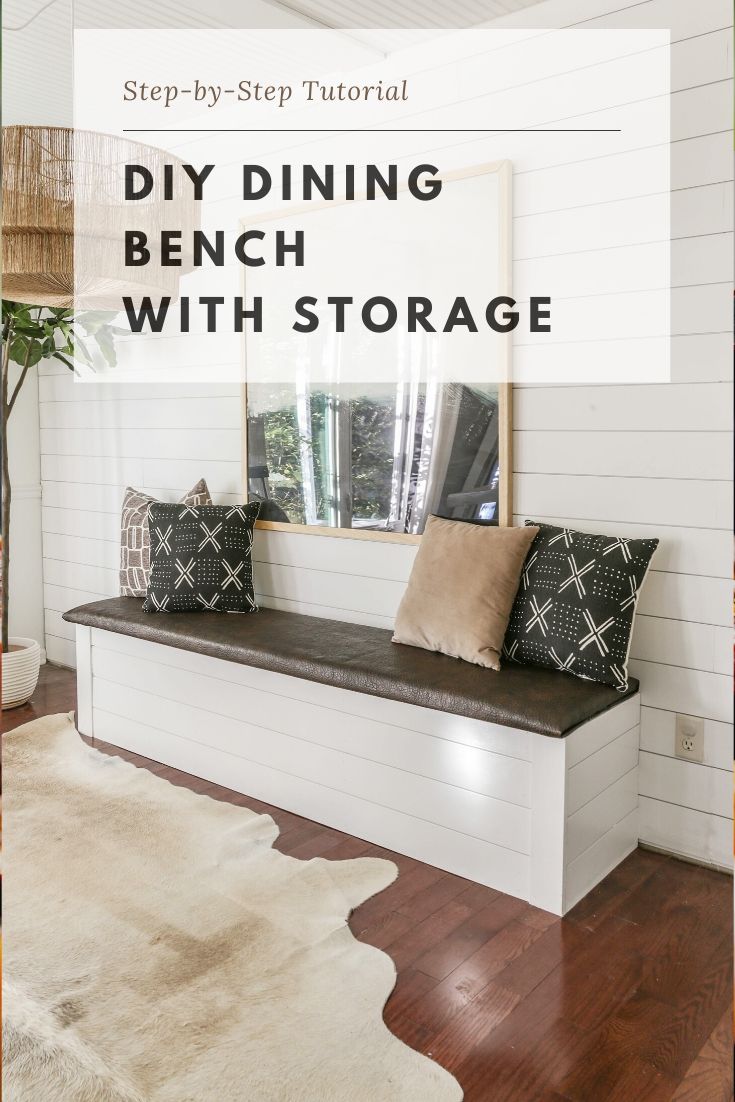
DIY Built-In Dining Bench with Storage
What now seems like freakin’ ages ago, I announced my plans for a complete dining room re-configuration (to see that original post, you can click here).
Well…I am thrilled to announce that my DIY, built-in storage bench is now complete. In today’s post, I will be giving you the step-by-step tutorial.
Before I get into the tutorial, I wanted to give you guys a little refresher of why I decided to implement a breakfast nook- type banquette in my once formal dining room.
Essentially, the idea of a formal dining room was no longer serving my family and I.
A traditional dining configuration, with the table placed in the center of the room, was majorly cramping the flow of traffic to the kitchen. Not only that, but after years of working from home, I realized that my favorite place to get sh*t done was at the dining room table (I never worked at my actual desk). So..
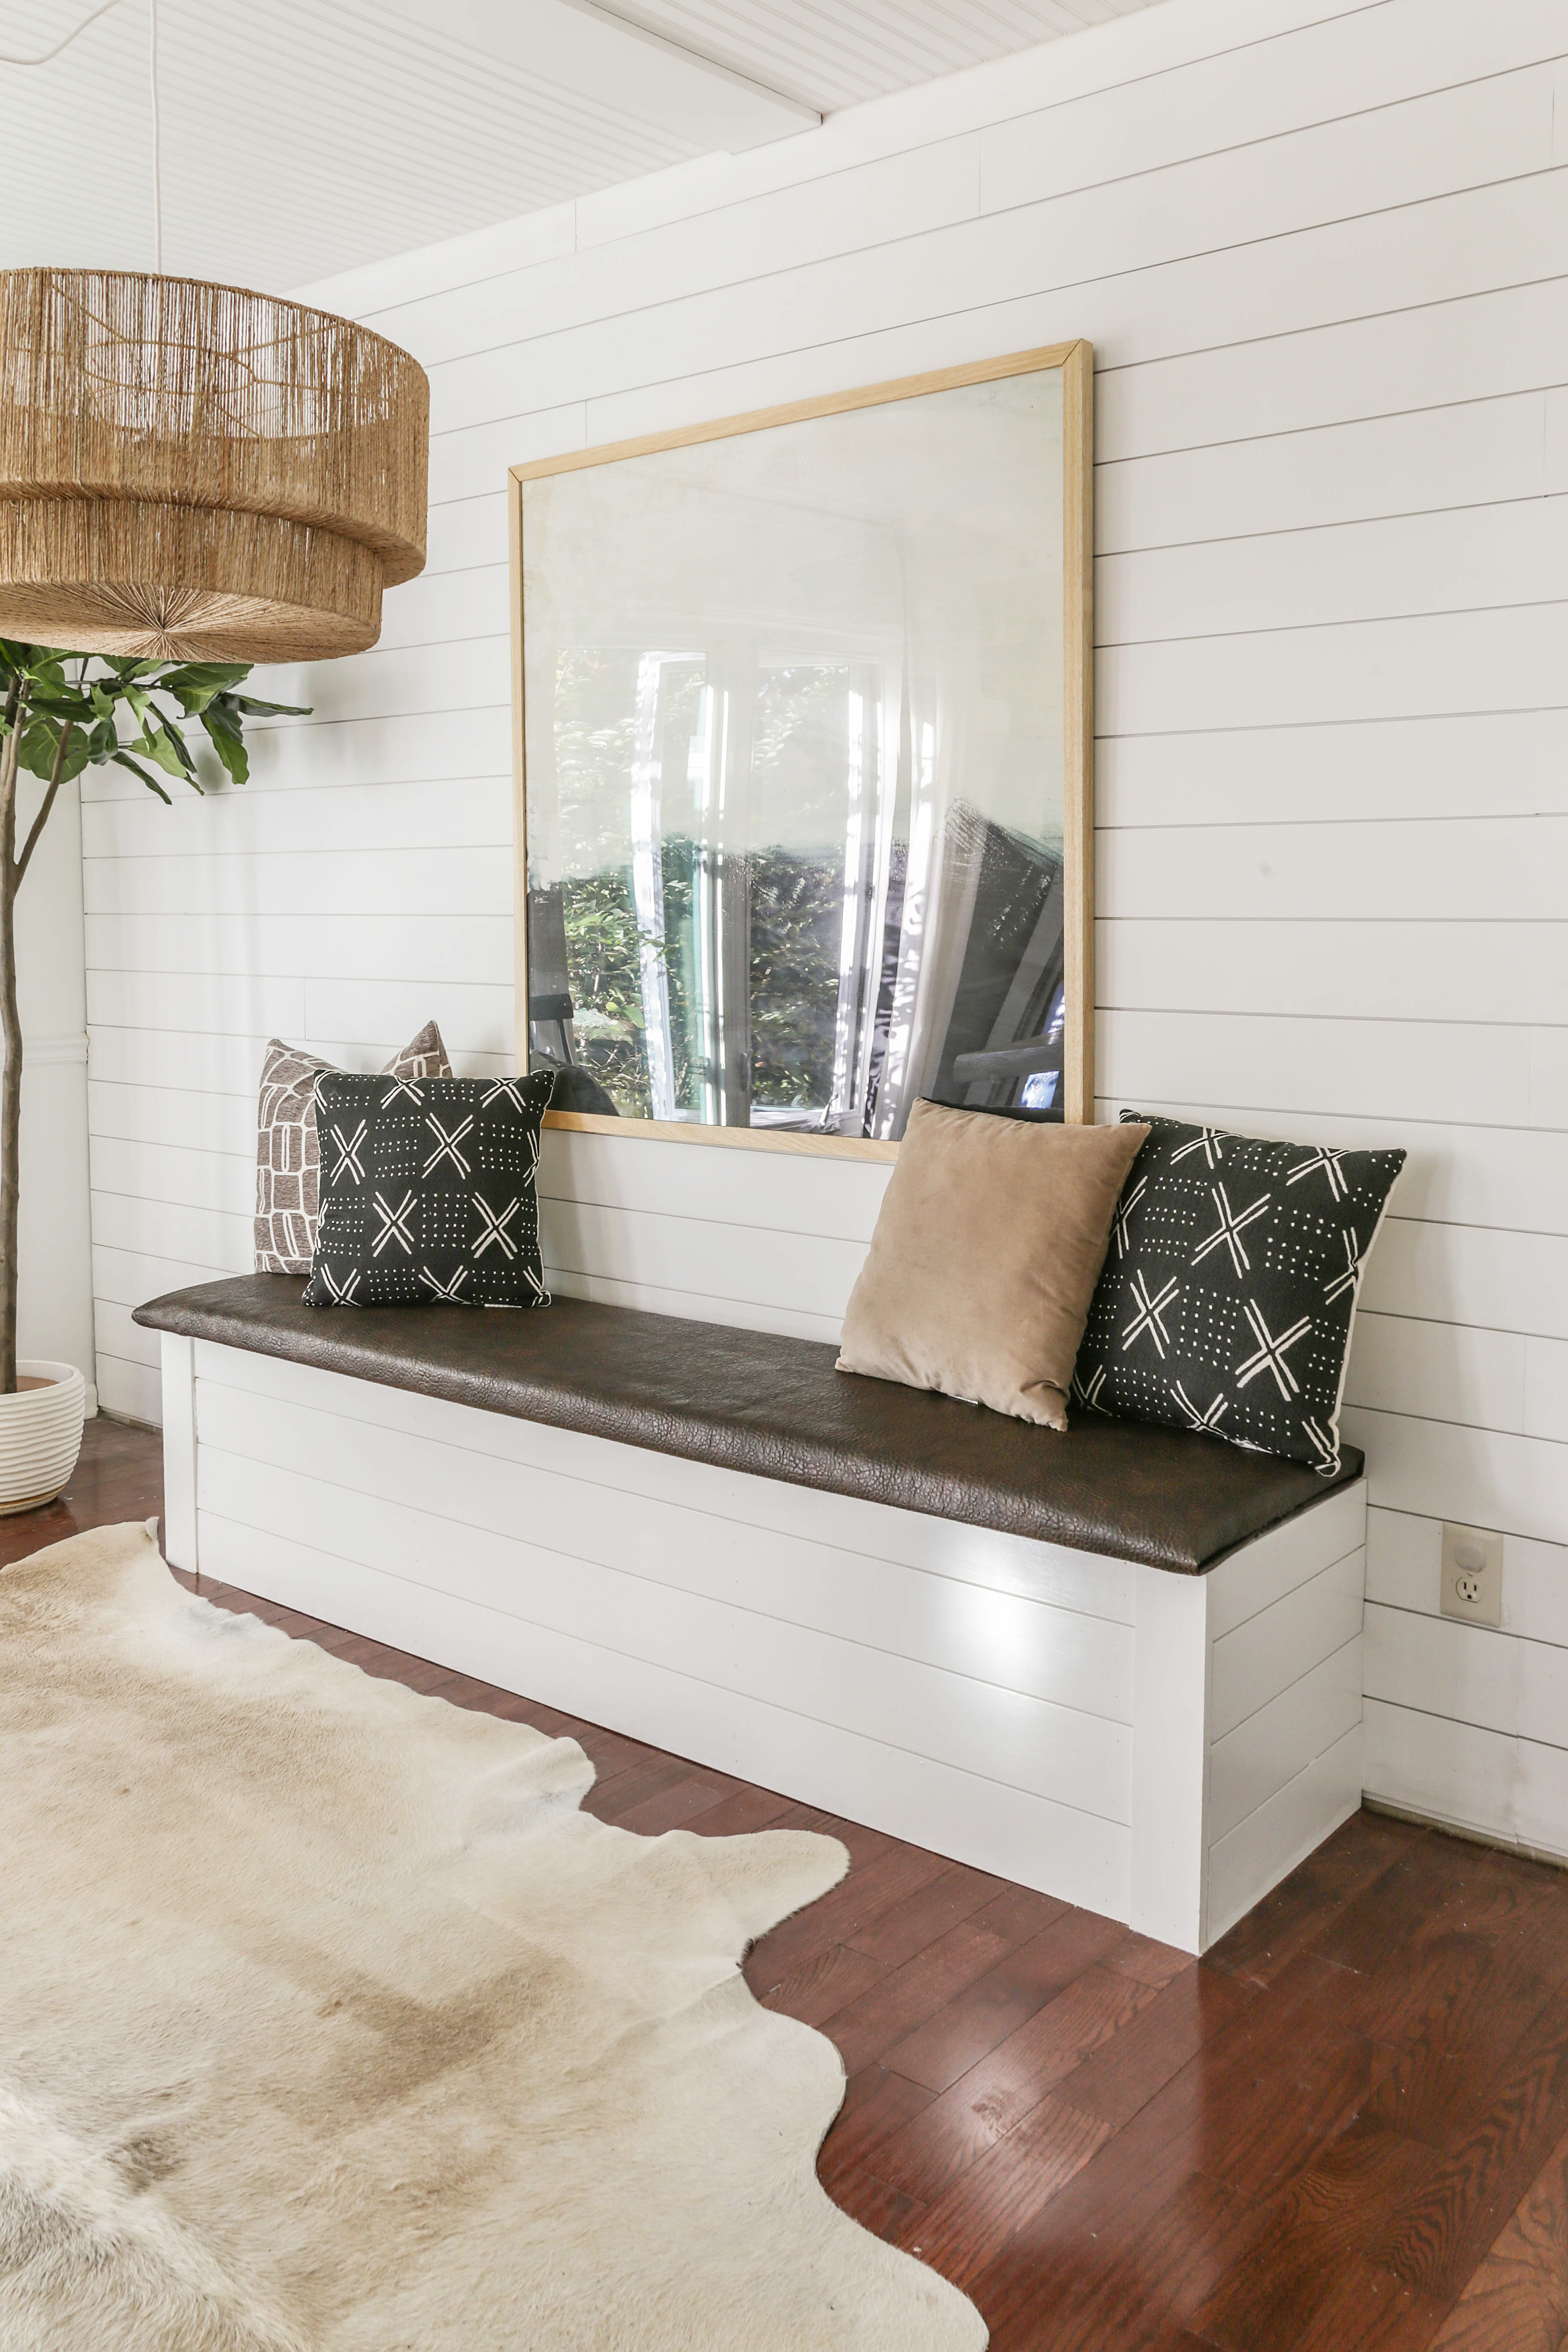
The concept of a built-in dining bench thoughtfully relocates the furniture to the focal wall of my dining room, while the storage component of the bench allows the space to be multi-functional.
By providing office storage (laptop, paperwork, etc), the dining table serves as a desk and a place to dine (once the office materials are stowed in the banquette).
So now that you know my rationale, let’s get to the tutorial.
For your shopping convenience, affiliate links have been included.
Built-in Banquette Materials:
*This material list is based on bench that is 80.5” wide x 18.5” deep*
- 2x4s (We used 6)
- 3/4 inch poplar board
- shiplap boards (we used 6)
- 3/4” thick plywood board (because of transportation limitations, we used 2 4×4 sheets)
- 2 12” piano hinges (You can get them here)
- table saw (or circular saw)
- drill/driver
- 18 gauge nail gun with compressor and nails
- construction screws
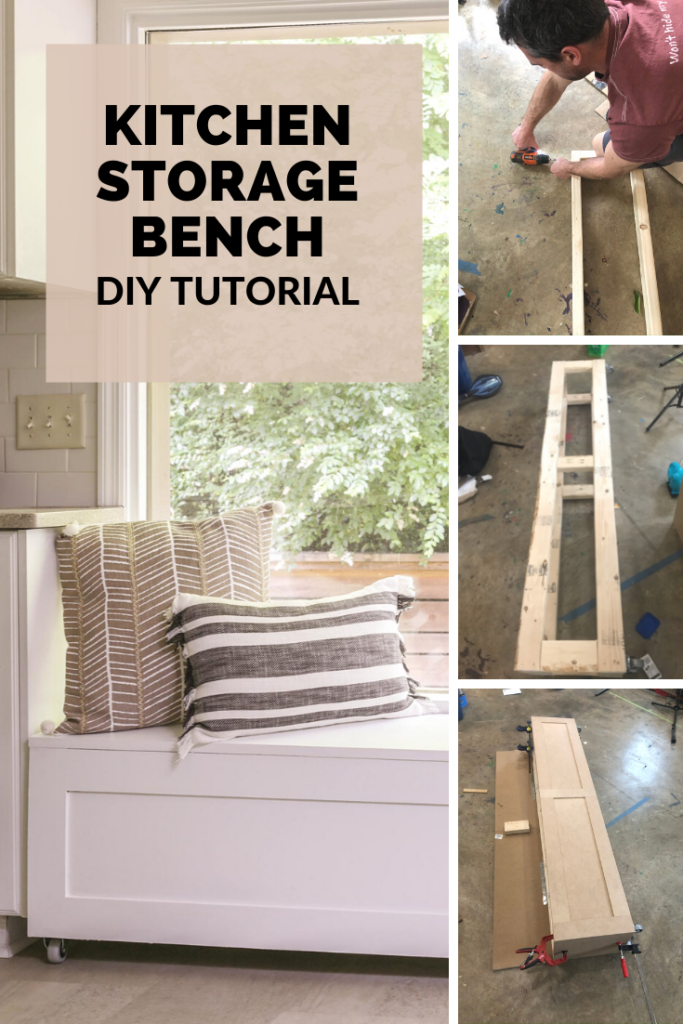
How To Build a Breakfast Nook Bench with Storage:

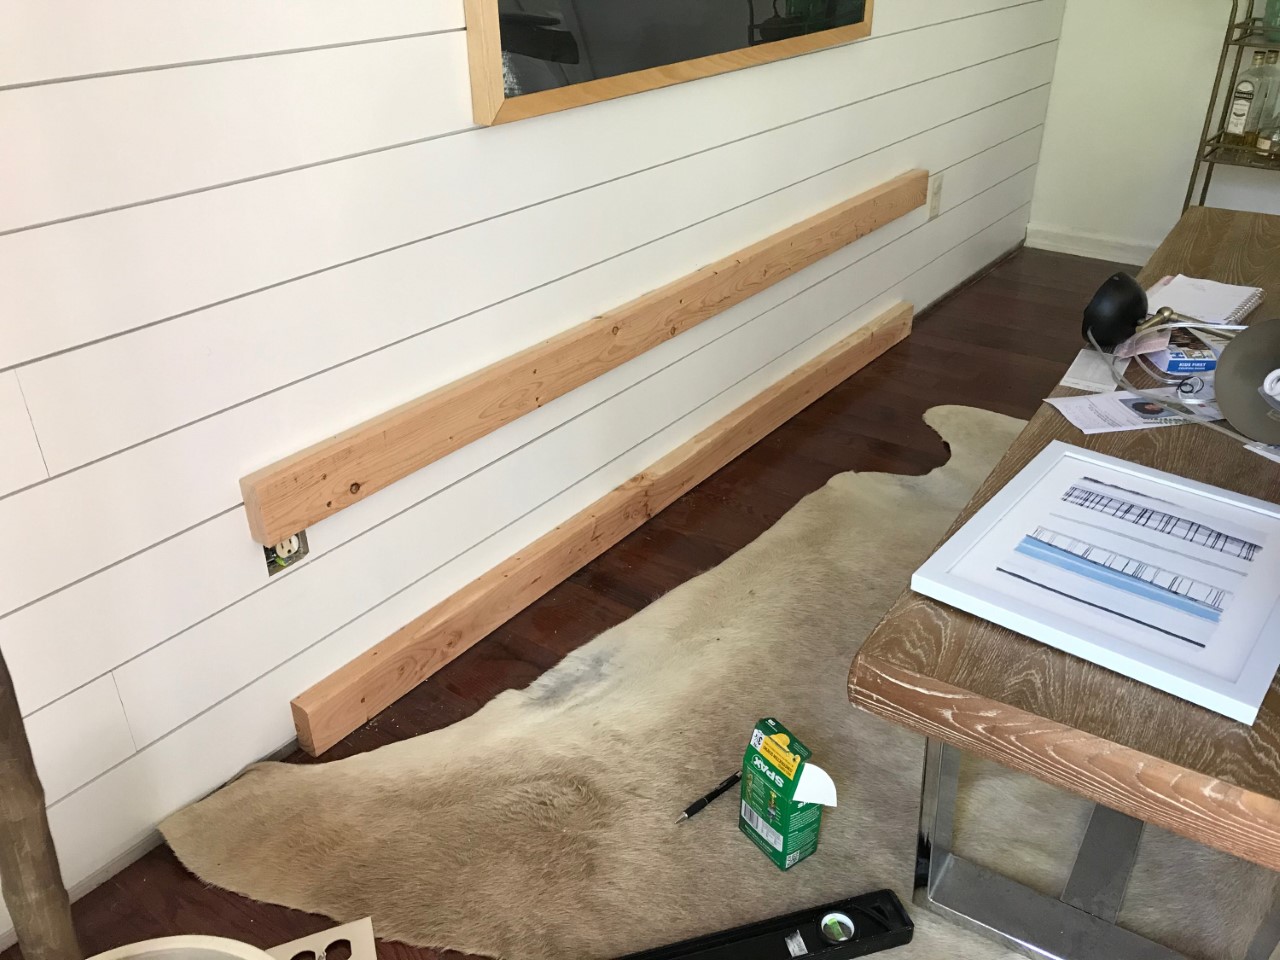
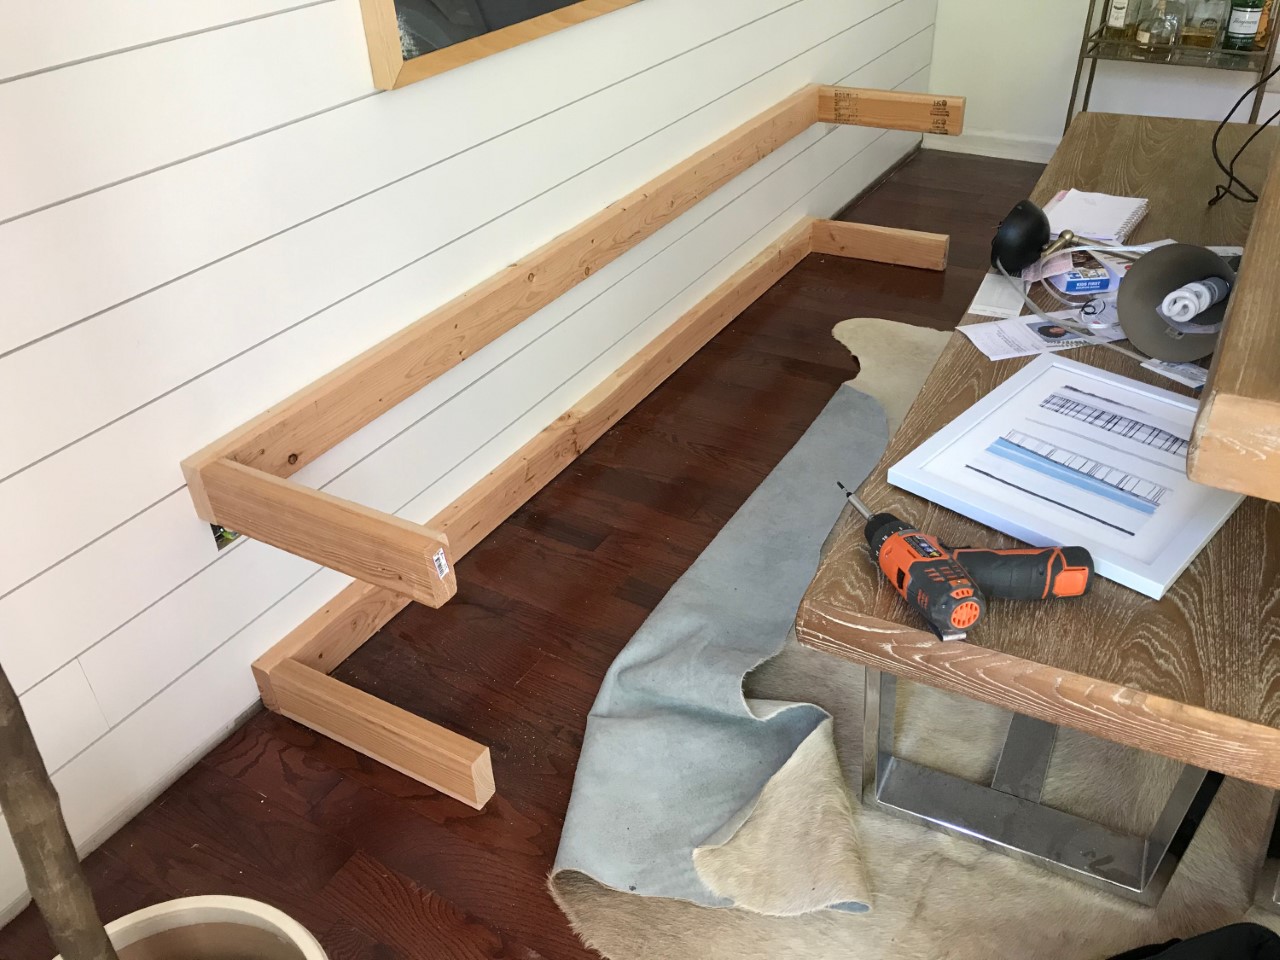
(Step 1). Locate and mark studs in wall. Cut 2×4’s (to desired length for bench minus 1.5 inches) and attach to wall for upper and lower frame work with proper screws to studs. I used SPAX 3 ¼ construction screws.The 1.5 inches is to account for the ¾ inch shiplap on the ends for the bench.
(Step 2). Cut (to desired depth for bench minus 2 ¼ inchs) and attach 2×4’s to the existing 2×4’s using the toe nail method with construction screws.
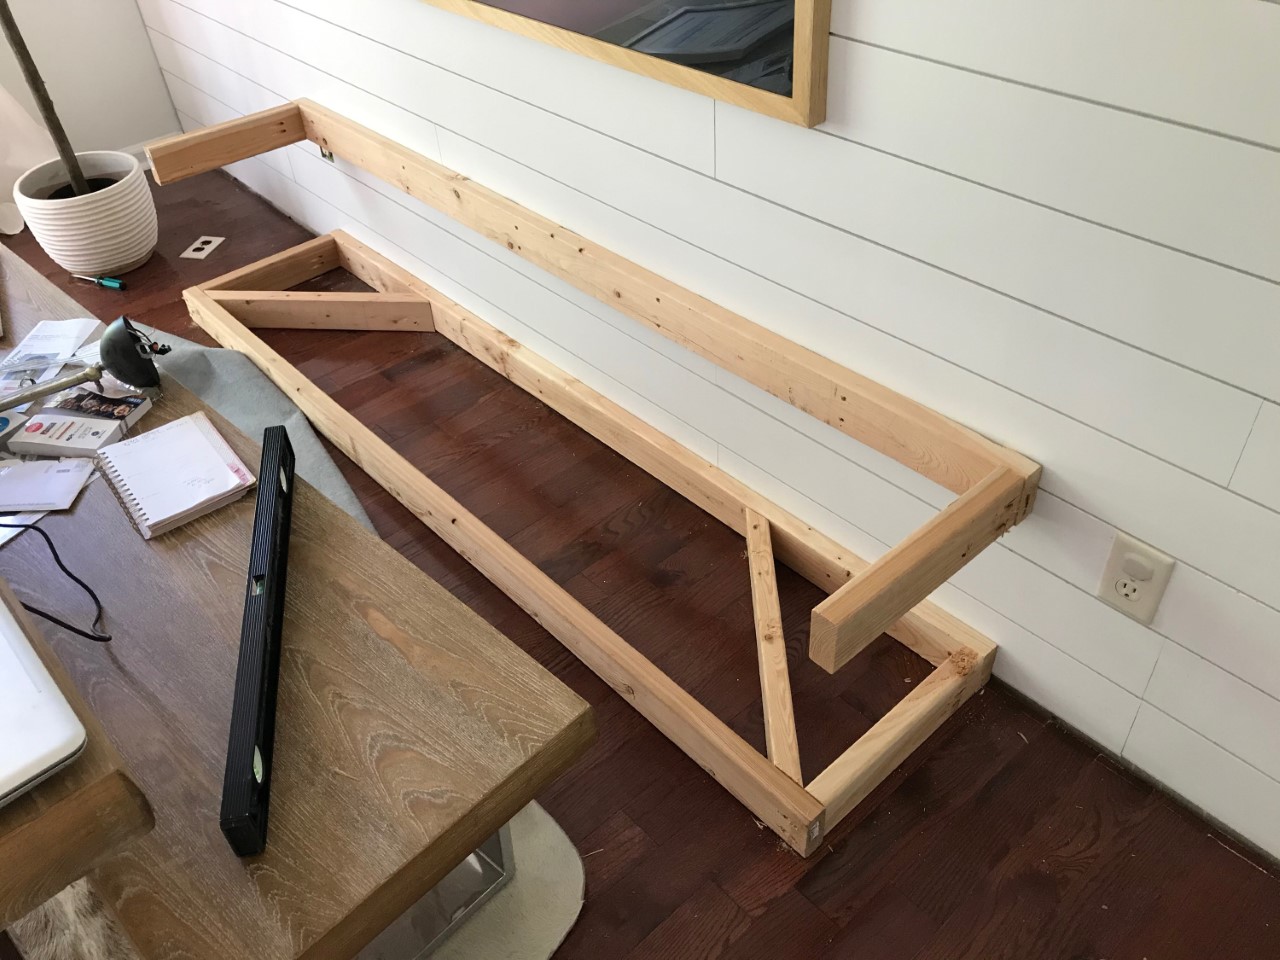
(Step 3). Attach bottom front 2×4 to frame work using construction screws.(Step 4). I attached two angled 2×4’s between back bottom board and front bottom board to increase lateral stability. See above photo.

(Step 5). Cut (to desired height minus 3 ½ inches) the outside corner vertical 2×4 to framework using pocket hole joinery.(Step 6).Repeat steps to build top frame work
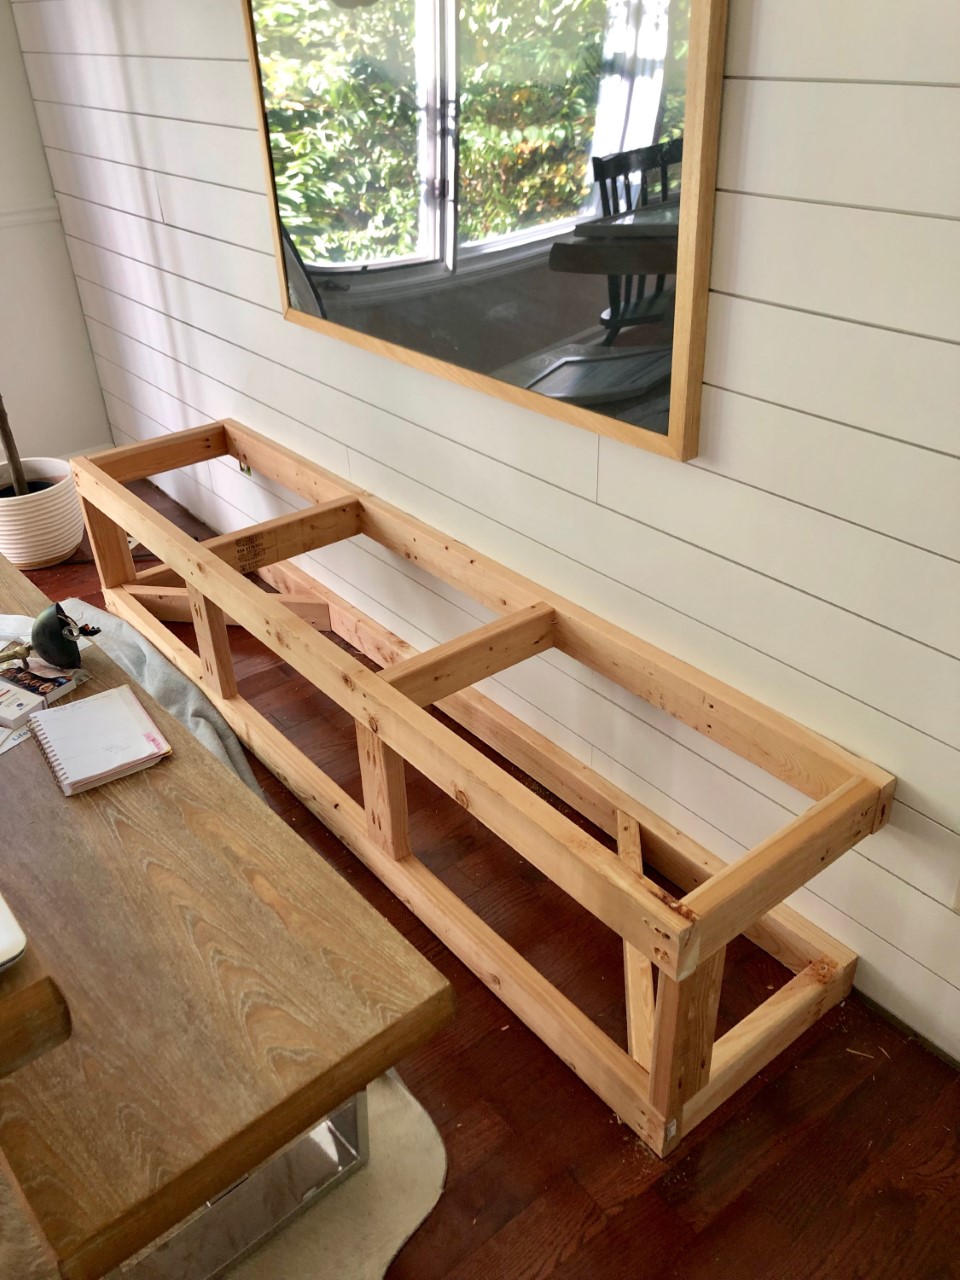
(Step 7). Next cut filler pieces from ¾ inch poplar board stock and attach to inside corners on the front and rear so there is a surface to attach the ship lap to. Use pocket hole joinery.
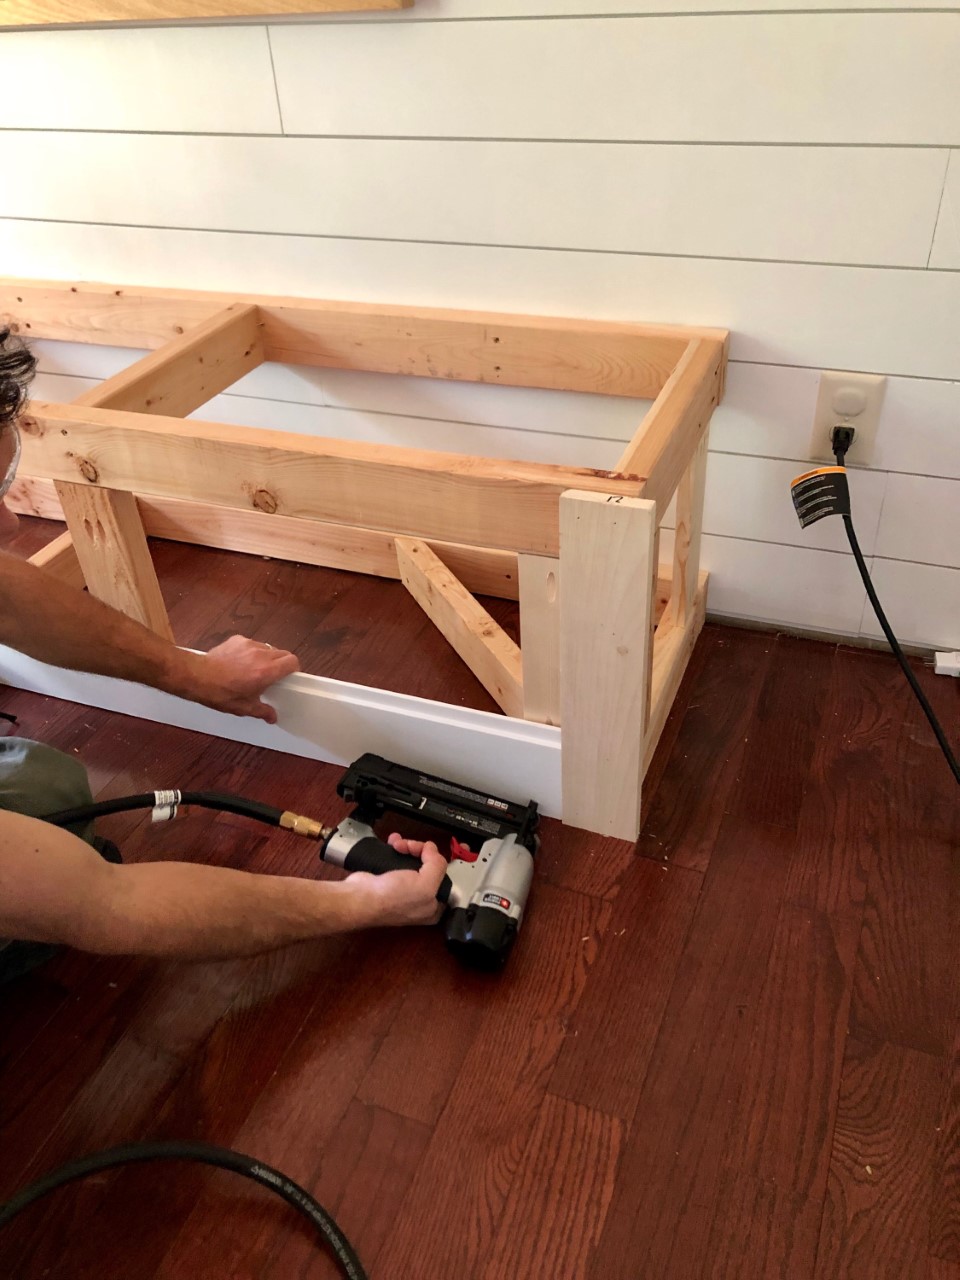
(Step 8). On the front side corners, attach ¾ stock with ¾ inch overhang to mate with perpendicular shiplap on ends. Use 18 gauge nailer to attach.
(Step 9). Cut ship lap to length for sides and front. Start at the bottom and work up. The last piece (top) will have to be ripped to necessary width. Use 18 gauge nailer.
Under supervision from my injured husband, this is me getting to use a table saw for the first time (I was super nervous)….
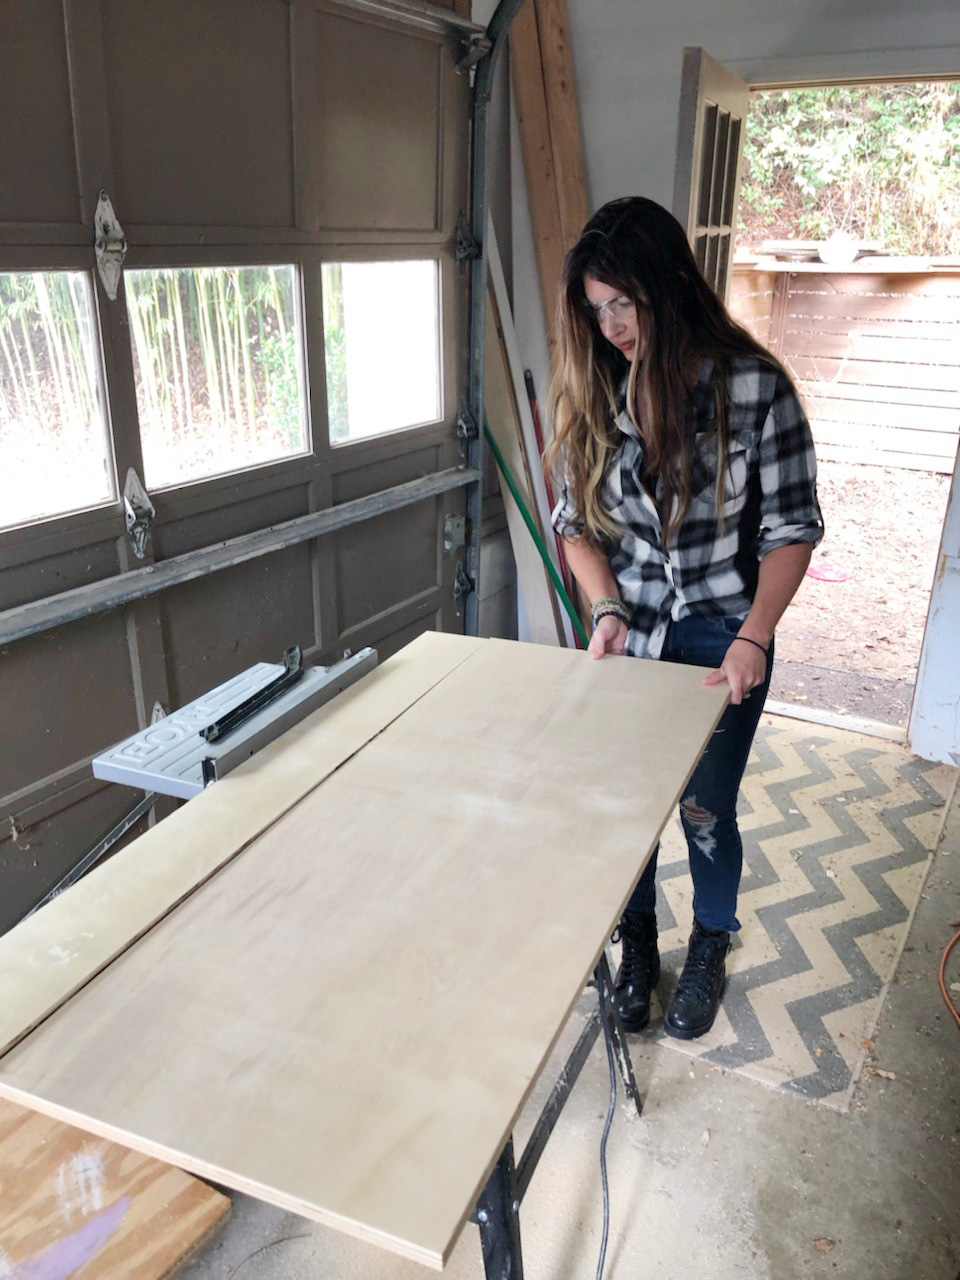
(Step 10). Cut top to desired width and length. I used ¾ inch veneered plywood. The cut will be made preferably with a table saw and extreme caution must be practiced when using this tool. (Designingvibes.com cannot be held responsible for any injury).
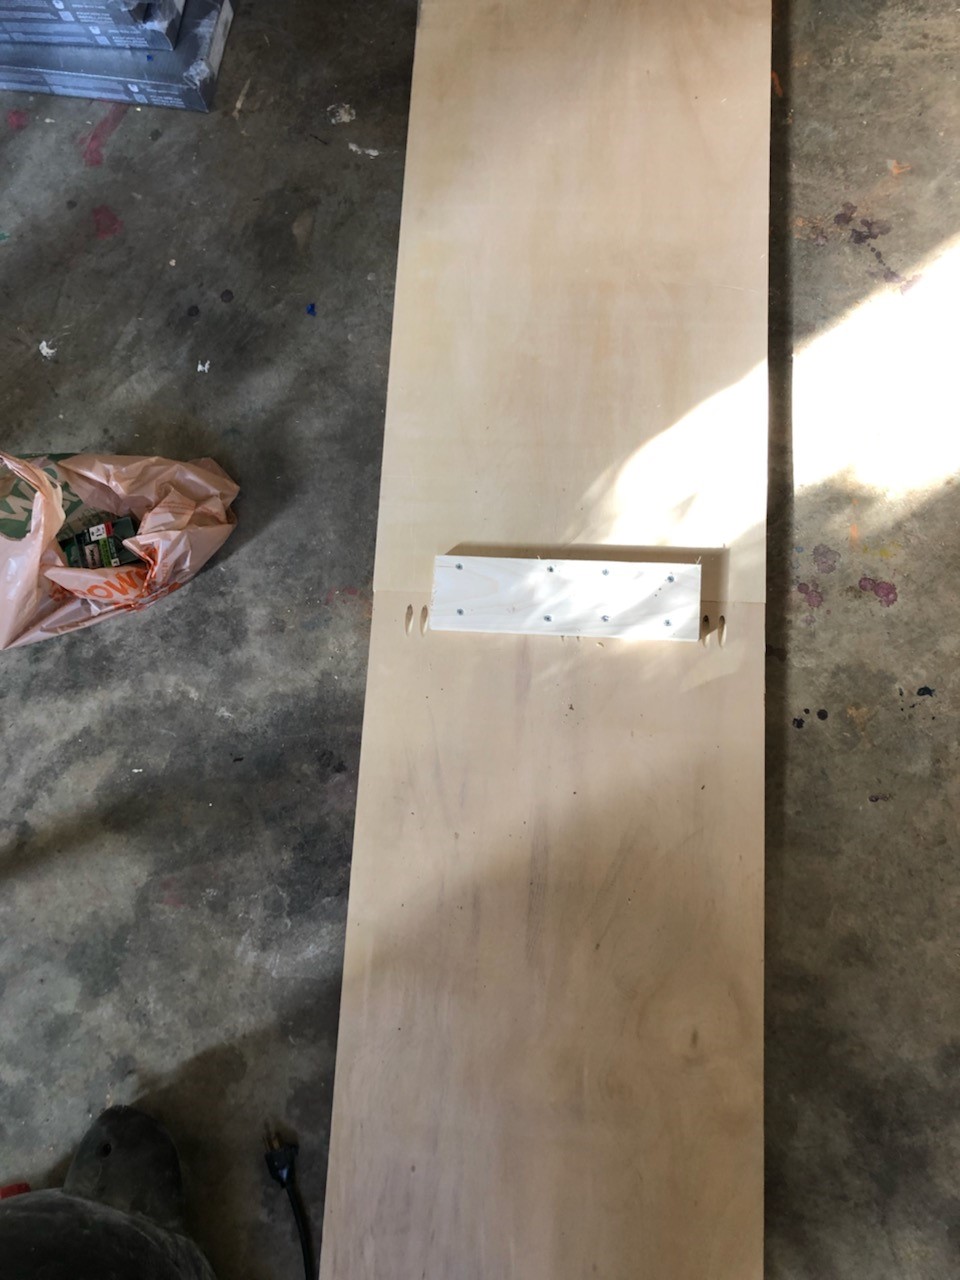
If a table saw is not available, a circular saw may be used. If two pieces need to be joined to get desired length, I seamed them together using pocket hole joinery and and addition brace attached to the underside.
This seam will need to be located as close as possible to one of the support braces of the frame work to maximize strength.
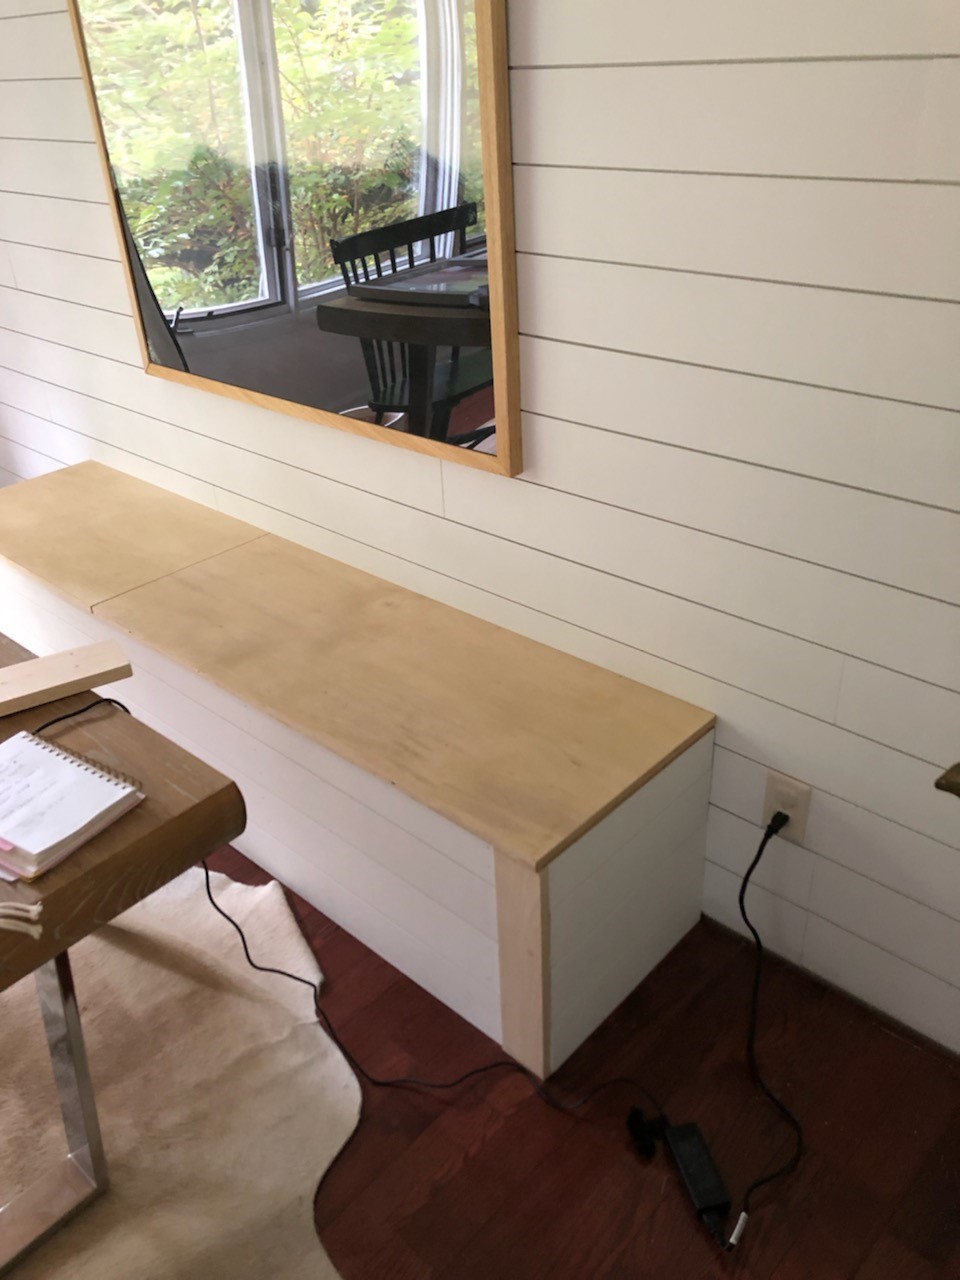
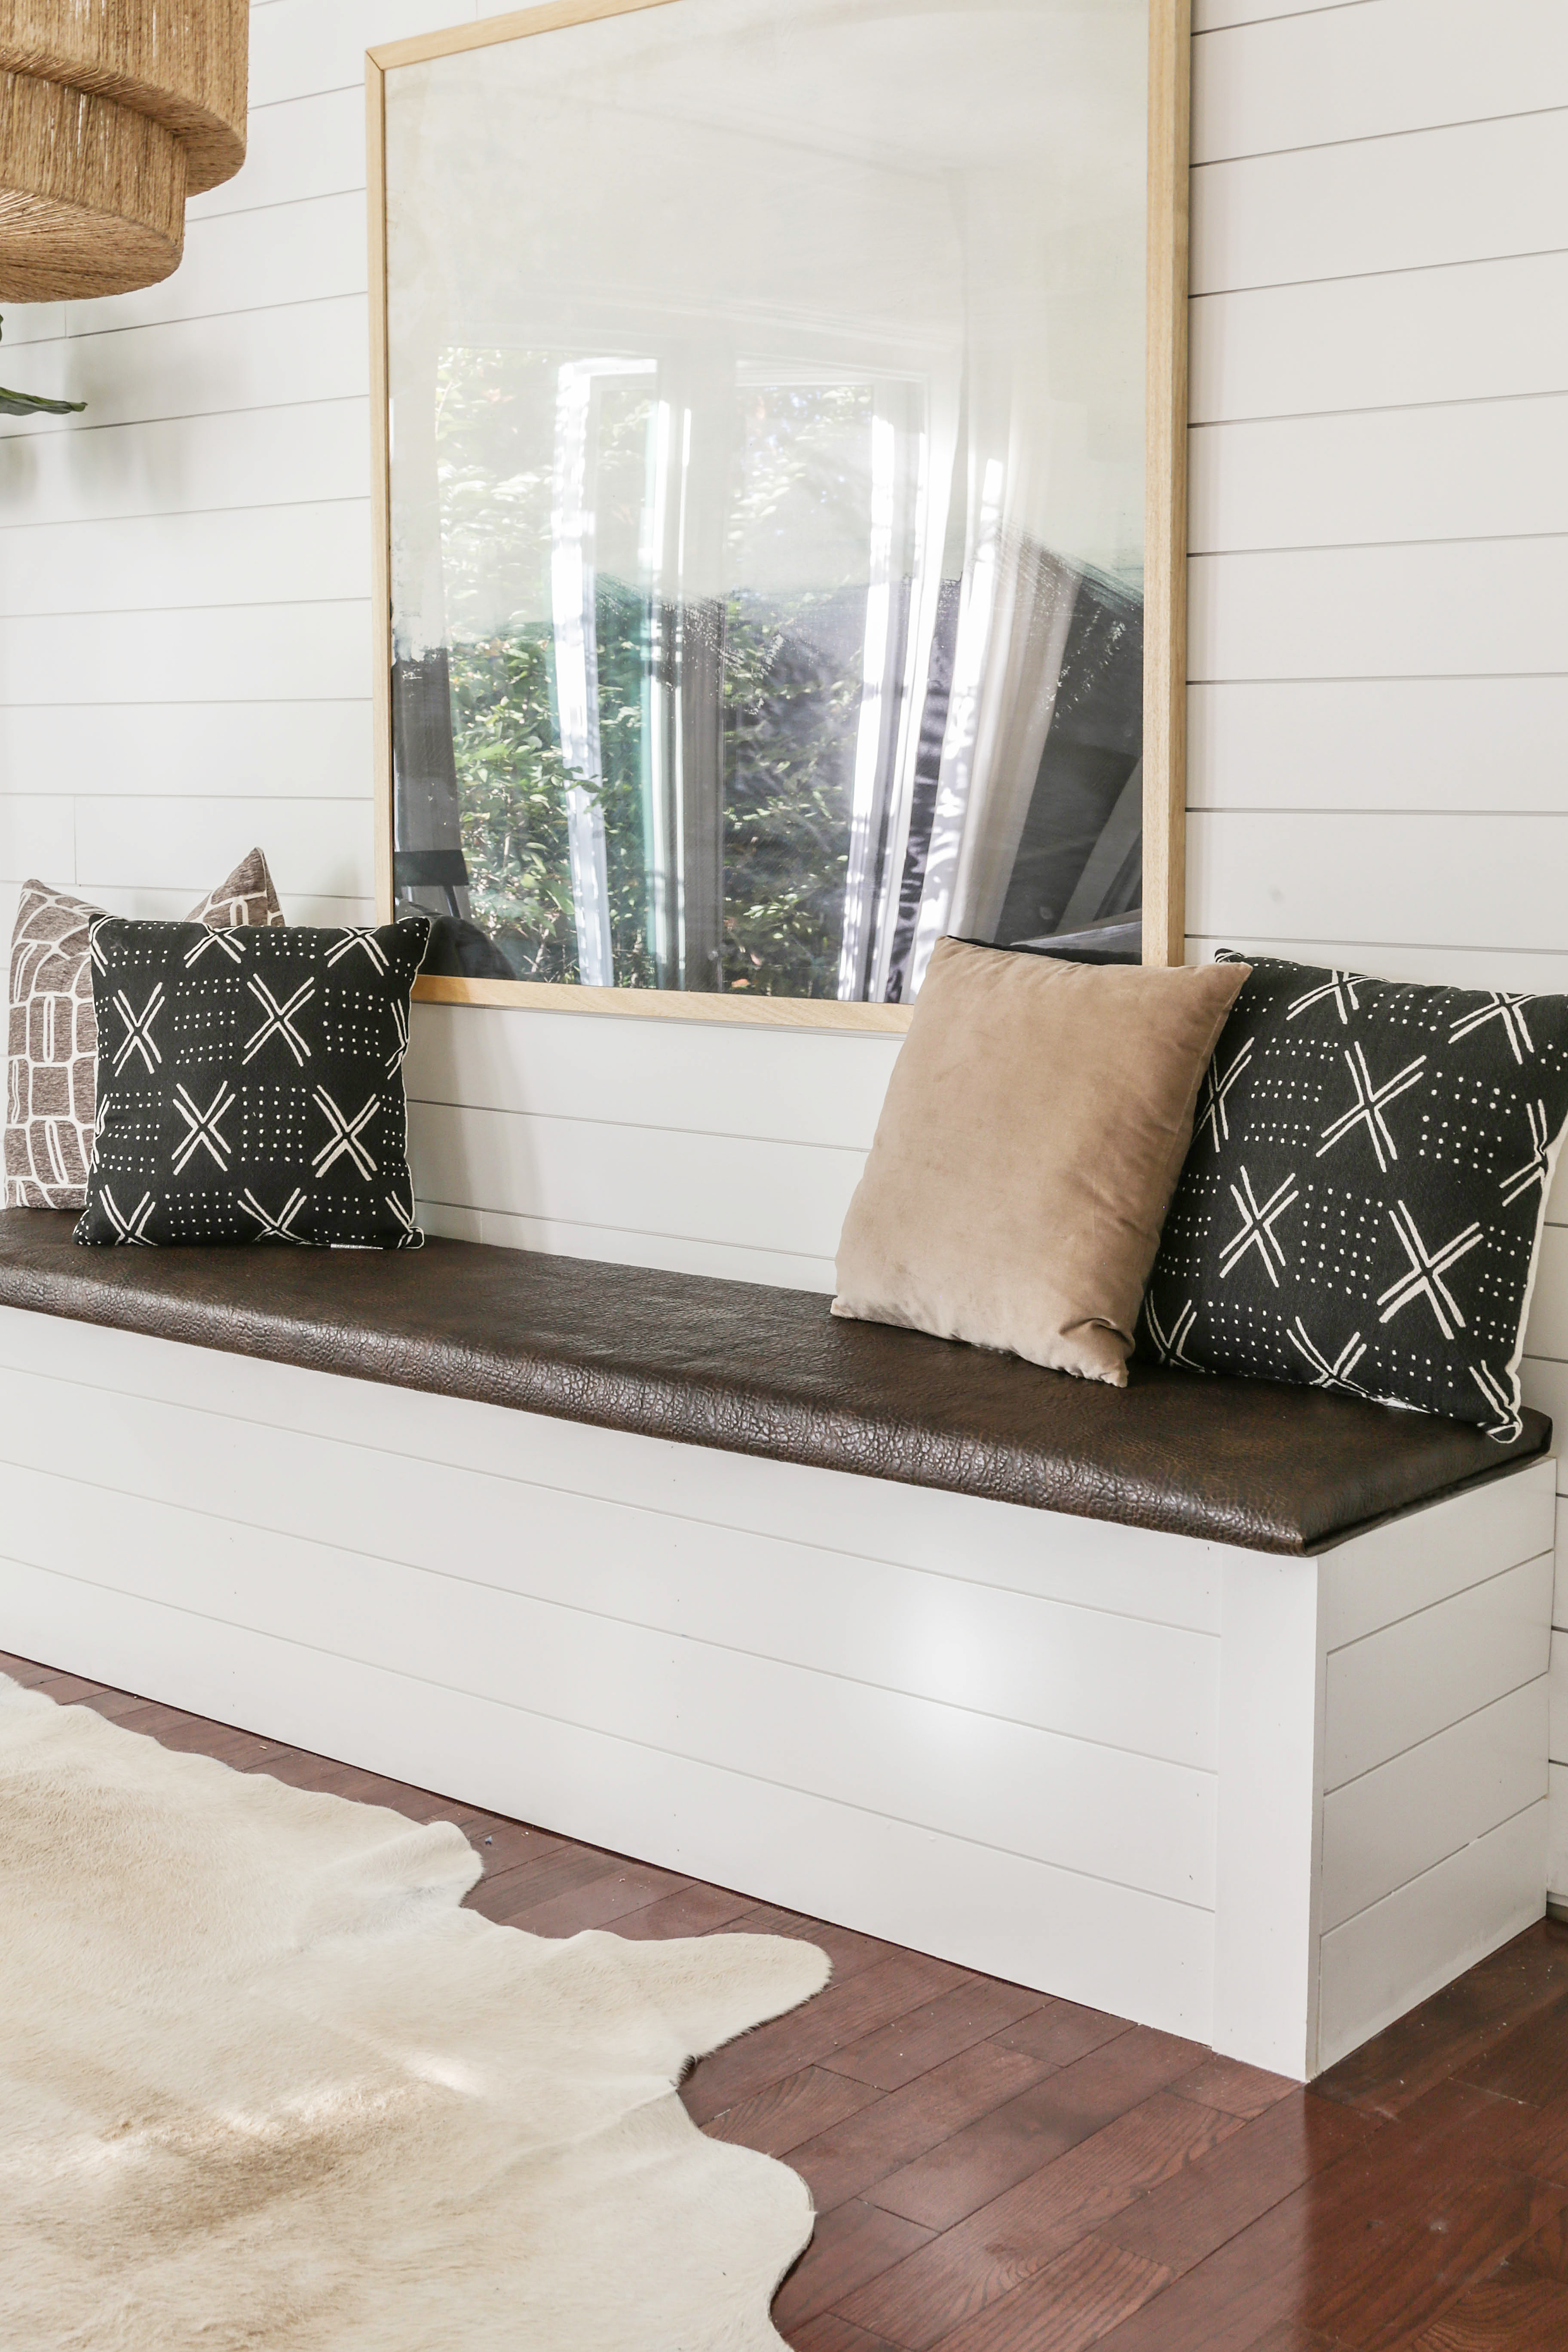
Here is the raw bench …
To see how I upholstered the bench for under $60, you can read that separate post here.
Now for the opening and closing functionality, it is time to attach your hardware…
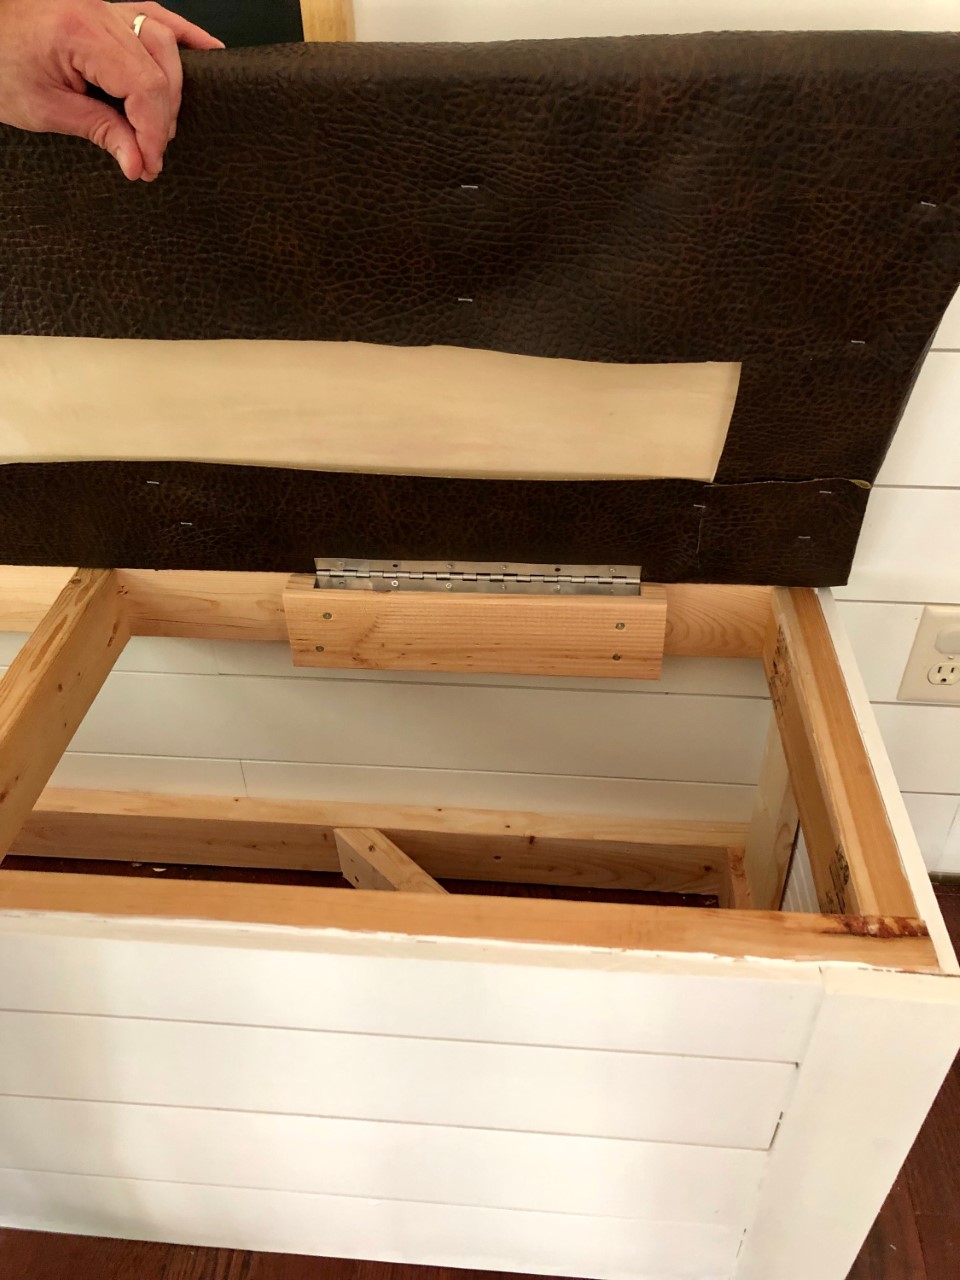
(Step 11). Set top on bench. Rotate top to the open position. Notice, due to the rotation, that the top now has a gap between the back edge and the wall.
This gap is necessary for proper opening of the bench. If no gap is present, the bench will bind when trying to open.
(Step 12). Attach hinges to the top and framework. I used 12 inch “piano” hinges on each side.
(Step 13). Spackle nail holes (I was lazy and skipped this part), prime with a stain blocker and then paint to desired color. For added comfort, you can upholster the bench top like I did (I will be sharing a separate tutorial for this in the future). …
Now that the bench is complete (and our new light fixture has been installed and swagged), we are getting super close to finalizing this new dining room configuration.
For those of you following along on my saga, my hubby’s torn bicep is still on the mend, so new hardwood flooring installation has been halted (I am thinking until after the holidays) .
Nonetheless, I found this project pretty special as I was forced to face my fears, and use one of the most dangerous power tools know to man..the table saw.
If my husband had been in full form, I doubt I ever would have mustered the courage to do it. So…there is always a silver lining.
If you would like more DIY bench tutorials, click here for the custom mudroom bench we built a few years ago. Also, click here to see how I upholstered this bench in less than thirty minutes.
I also have a tutorial for a window seat storage bench on caster wheels. For that post, you can click here or on the image below..
Now get out there and design some good vibes, and thank you so much for your comments and shares (with friends or on social media). It truly means the world to me.


Welcome!
My journey in interior design and home improvement began with transforming my first fixer-upper home, all while managing a budget and raising two young boys. My work, a reflection of my passion for creating beautiful, uplifting spaces, has been recognized by top publications like Better Homes and Gardens Magazine, HGTV, and more. I invite you to explore my site and witness the transformation of my home and the vibes we've designed. Read more...


Love it! I (not really…my husband is..I just come up with the stellar ideas) am currently building a bench for our kitchen as well. Our box looks similar to yours and we are covering it with ship-lap too. I am stalled at the top of the bench! Can you please share your secret of if you used foam and what material you used on top. Keep up the great work! xo
haha!…It sounds like you have the same arrangement as I do with my husband (we produce the stellar ideas, and the hubbies are the worker bees. ). As far as the top goes, I will be doing a separate post on it, but I used a mattress foam topper, some cheap quilting and a leather-like upholstery fabric. I stapled it all to the plywood top. Hope this helps, my friend. 🙂
Happy to see you using the table saw. I used to be afraid of saws, especially the miter saw. I have gradually built up my tool skills and confidence by watching lots women use power tools. Now I help my husband with every build and it feels so empowering.
That is so inspiring to hear, Nadine. You go girl! xoxo