DIY Kitchen Window Storage Bench on Casters
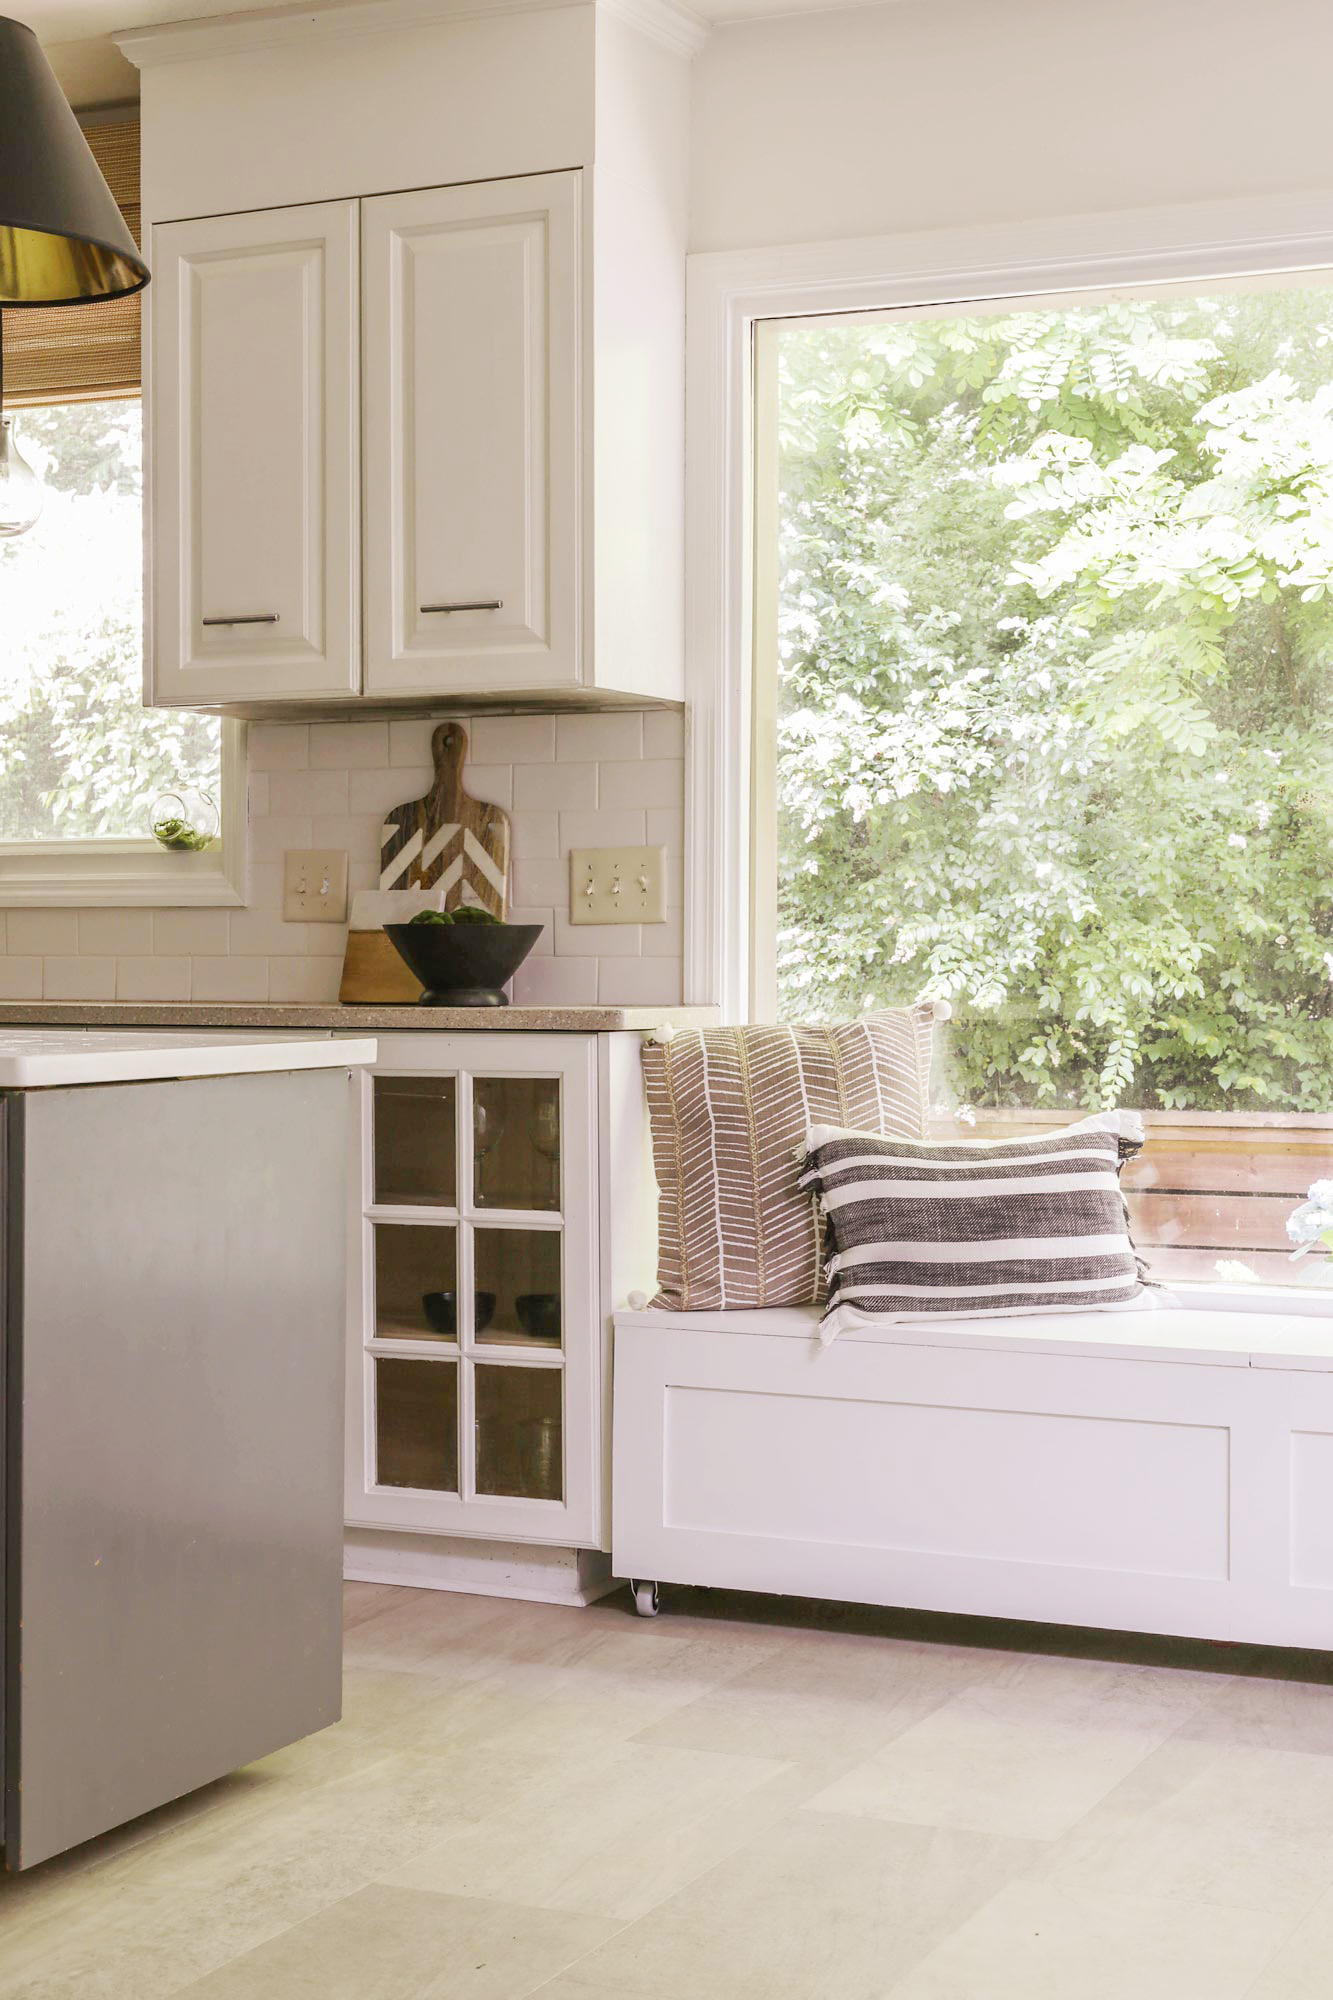
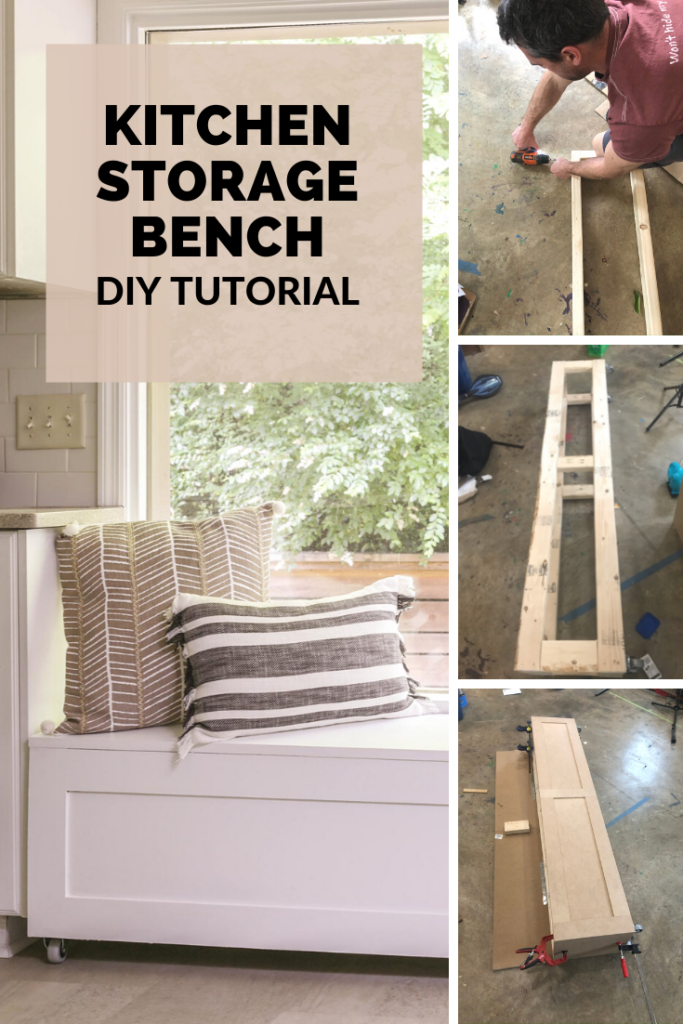
Awkward, blank space in your kitchen or dining nook that you are stumped on how to decorate? Perhaps you should consider a multifunctional piece like a storage bench. In this DIY tutorial, I am sharing how my husband built one for under $130. Even better? It was built on casters so that it is completely mobile and renter-friendly...
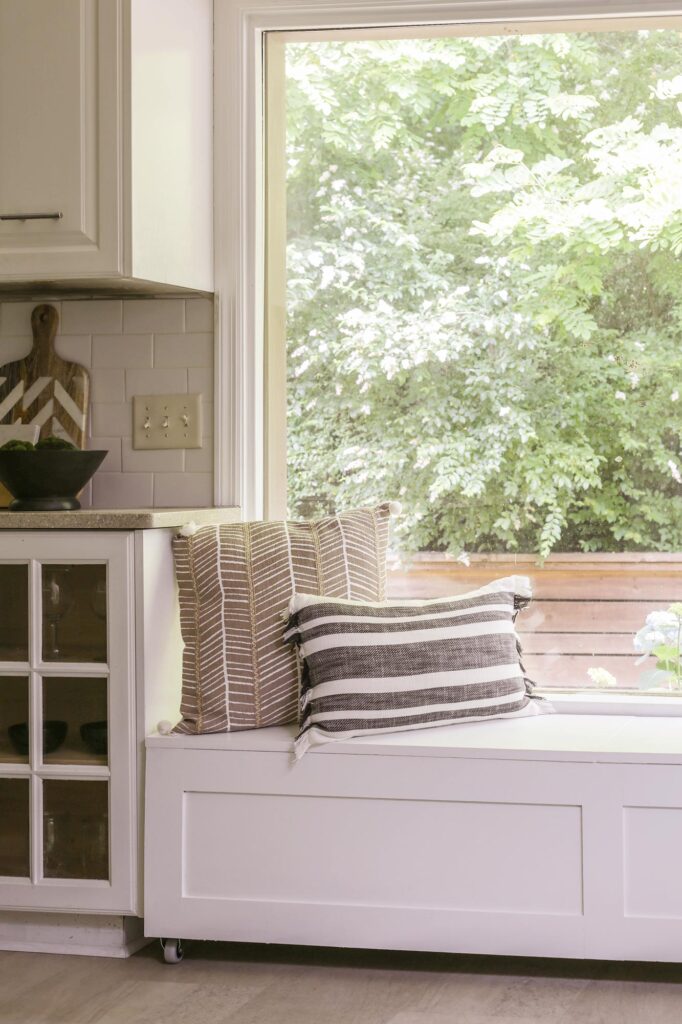
What do you consider to be the most vital elements of a kitchen?
In my humble opinion, aside from countertop space, I would have to say that one can never have enough storage or seating. Because… let’s face it… we are all hoarders who never actually use our formal dining rooms for dining. Or am I just projecting my bad habits onto everyone else?
At any rate, a window seat with storage addresses two key pillars of a high-functioning kitchen- storage and seating. Not to mention, it looks pretty effin’ good!
When we first moved into our fixer upper over six years ago, we had a redundant sliding glass door eating up valuable real estate in our kitchen…

I say the door was “redundant”, because just a few steps away, in our living room, was another set of sliding doors that basically led to the same damn place.
So… when my husband and I found out the wood frame on the glass door was rotting, we chose to replace the door with a custom cut piece of glass and frame it in like a window. You can read all about that clever window hack in this separate post.
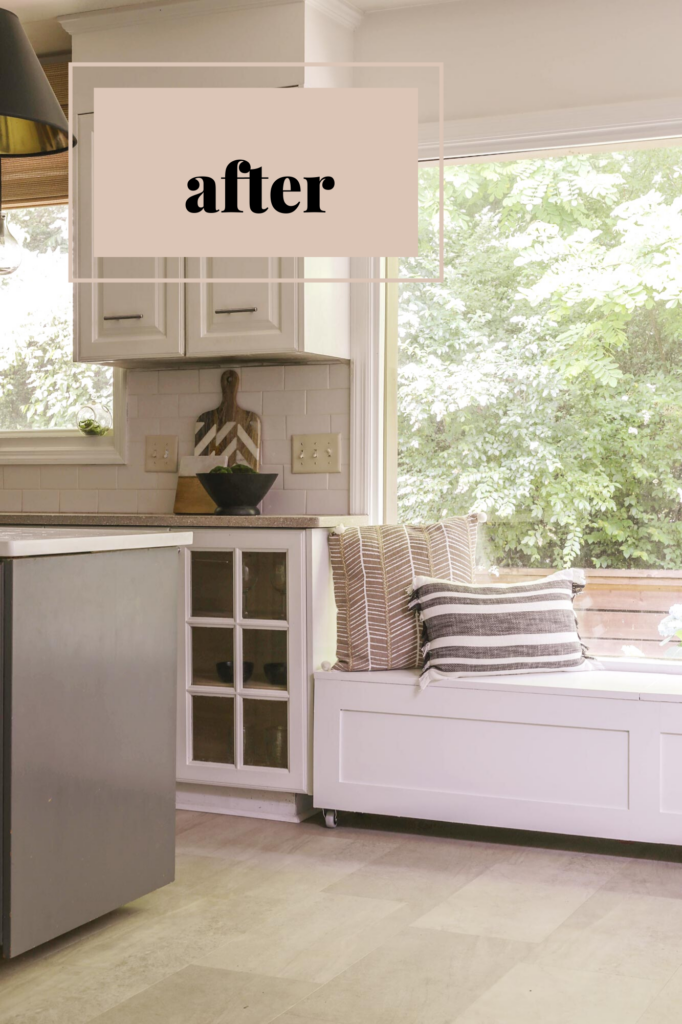
After years of indecision (I had actually considered extending the lower cabinets and countertops), I decided that the best (not to mention cheapest) way to “fill” the awkward gap in my kitchen where the door used to be, was by building a window seat with storage.
If I couldn’t acquire more counter space, I could at least create extra storage to accommodate my hoarding (hello kitchen gadget clutter). And because the gang mainly gathers in the kitchen when I am entertaining, I thought some additional seating would be nice.
While I knew I wanted the bench to extend the entire length of the window, there was a bit of a dilemma…
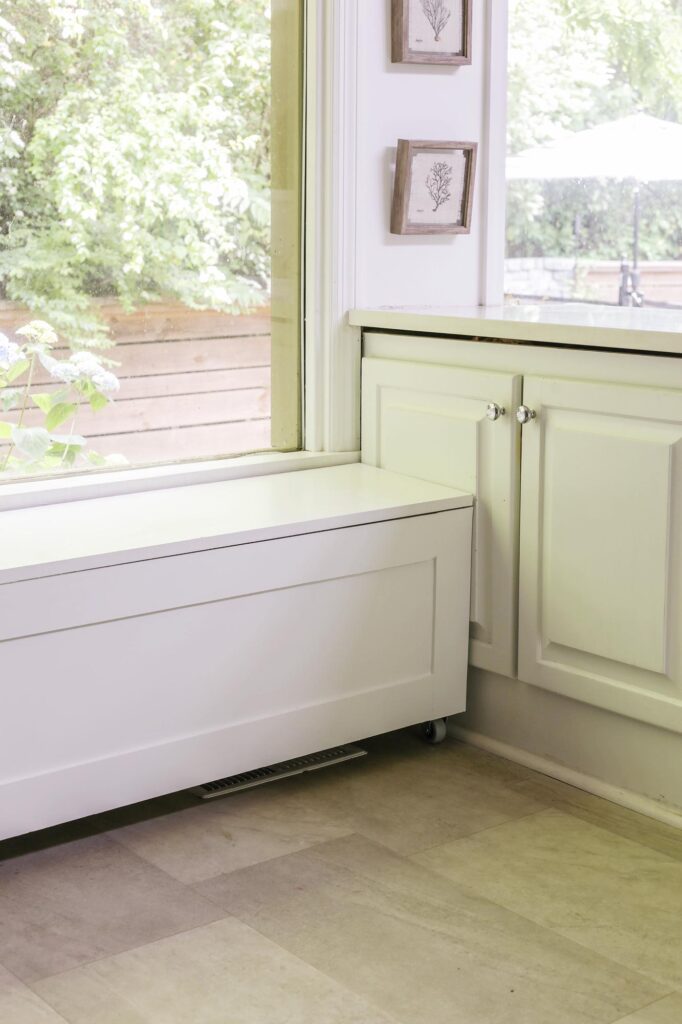
I would still need to access the cabinets of the adjoining bar. (pictured below)
And so…the window seat could not be truly “built in” , but adding casters (aka wheels) to the bottom of the bench was the perfect solution…
So let me show you how my husband built this mobile window seat for under $130…
How To Build a Window Seat with Storage in Kitchen:
Materials Needed for 74.5” wide x 12” deep x 15.25” tall bench:
- 2×4 calculated length, width, and height
- ¼ MDF board calculated to cover front, back and sides
- ¾ MDF board calculated for sitting area on top of bench and for bottom shelf
- Kreg pocket hole jig with matching screws to the lumber
- Driver
- Miter saw
- Table saw
- Piano hinges
- 4 Casters (we needed “rigid” casters, because with our narrow dimensions the swivel casters were not stable enough)
- 3” construction screws
- Wood glue
- Clamps
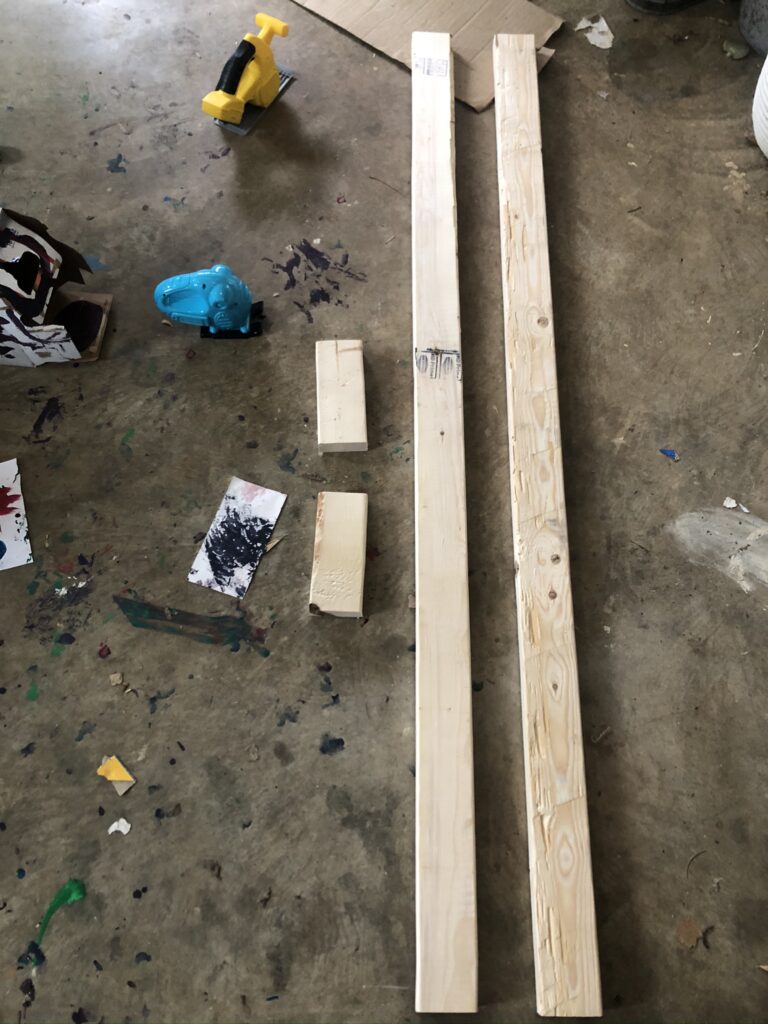
(Step 1). Cut 2×4’s to desired size for length, height, and depth using miter saw.
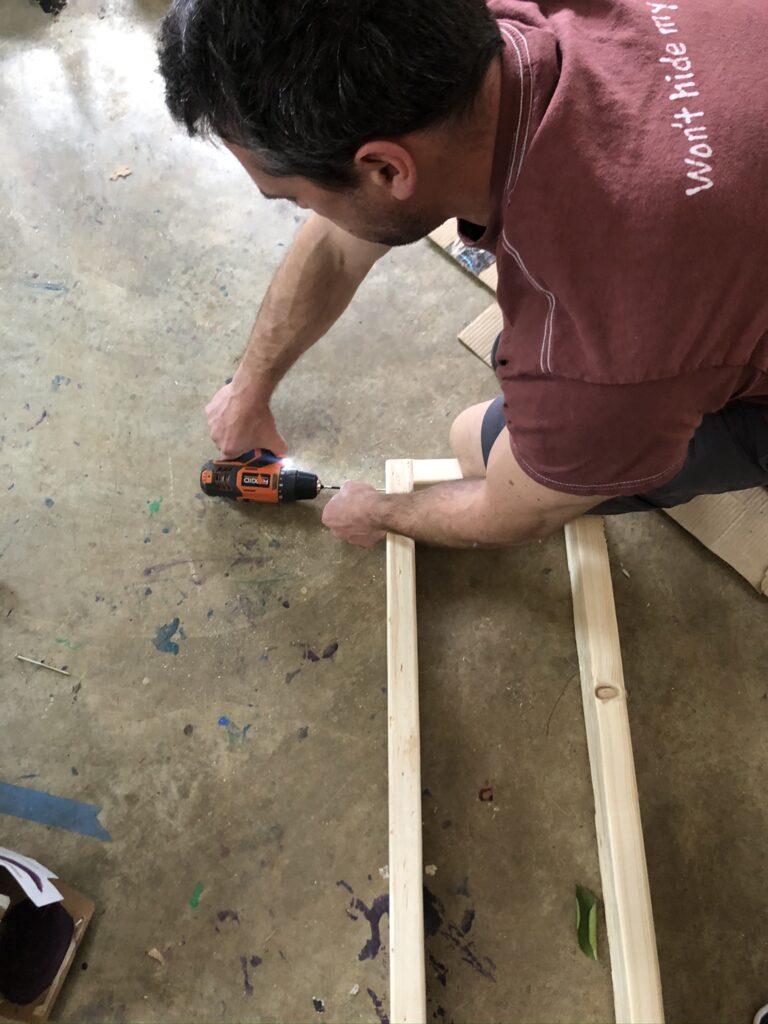
(Step 2). Build bottom frame by joining length boards to depth boards using 3” construction screws.
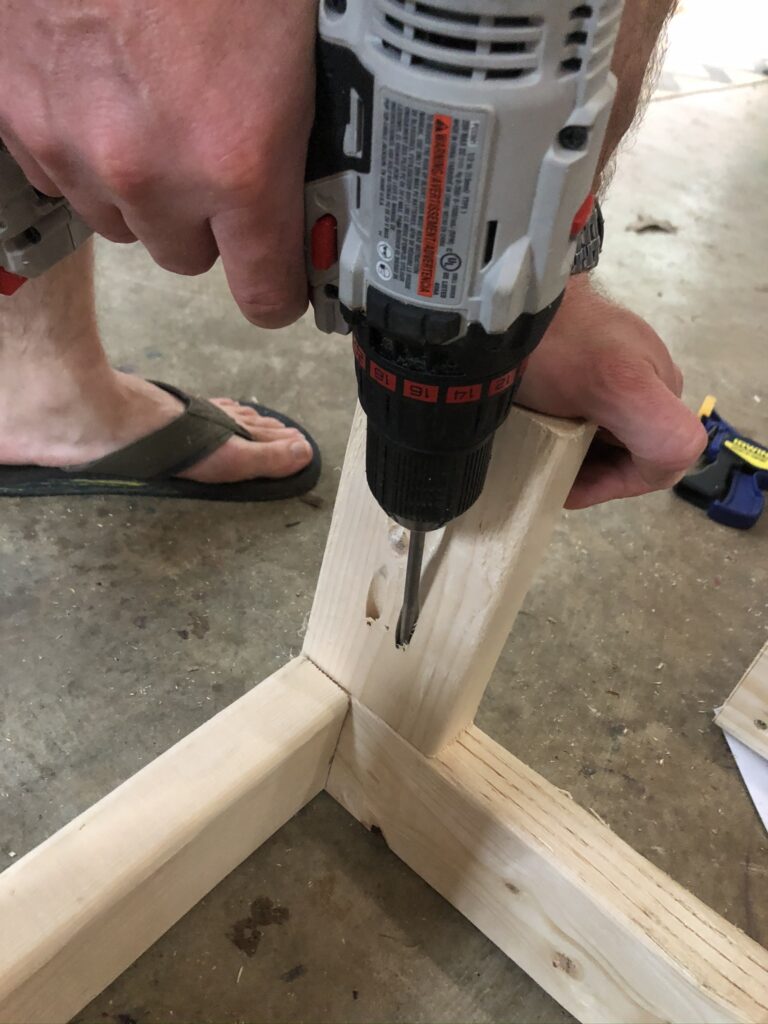
(Step 3). Attach vertical supports to bottom frame by using Kreg pocket hole jig.
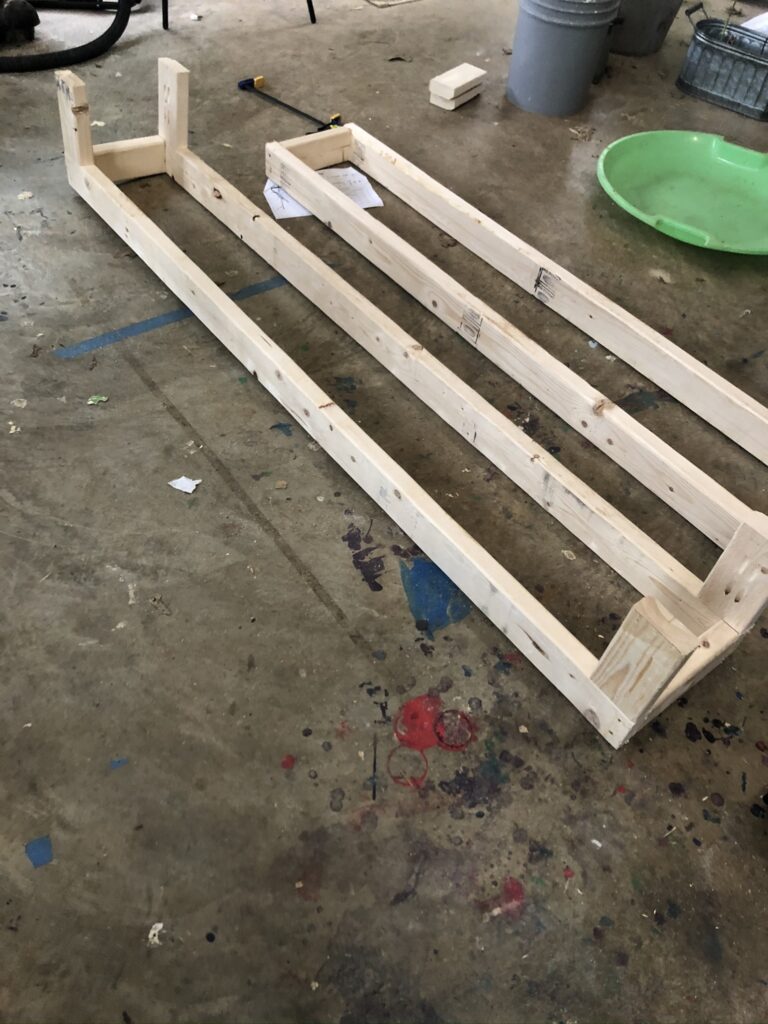
(Step 4). Build top frame in same manner as bottom frame.
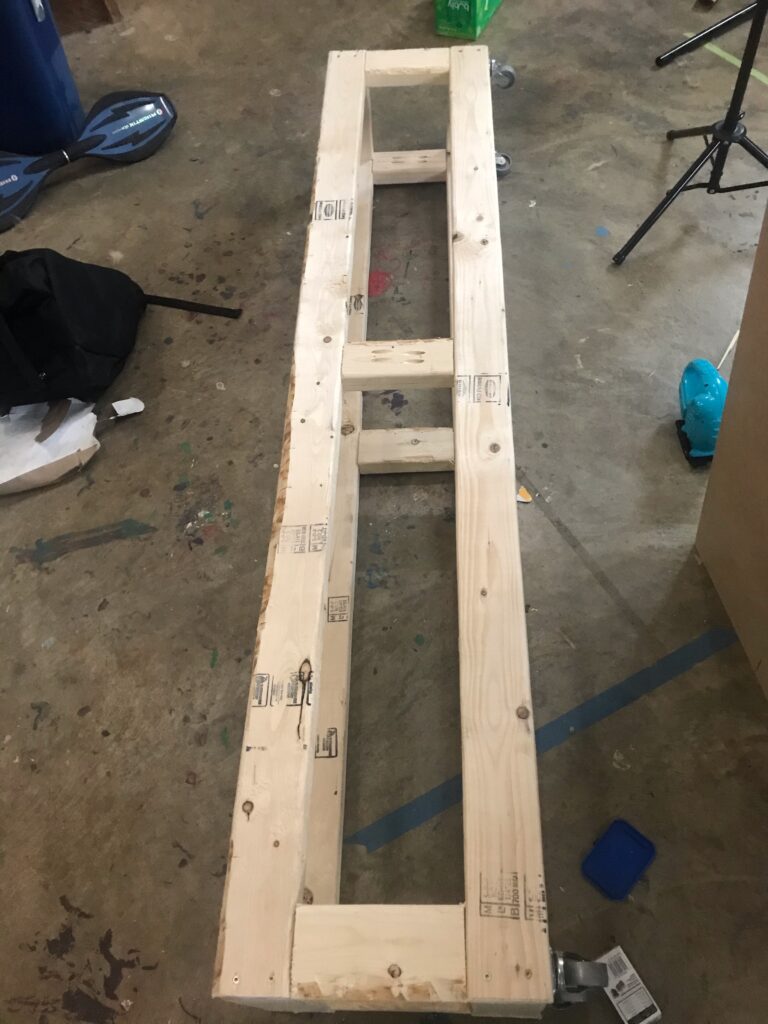
(Step 5). Connect top frame to vertical supports using Kreg pocket hole jig. (We messed up, and put casters on too soon as pictured above. It is best to do the casters later. )
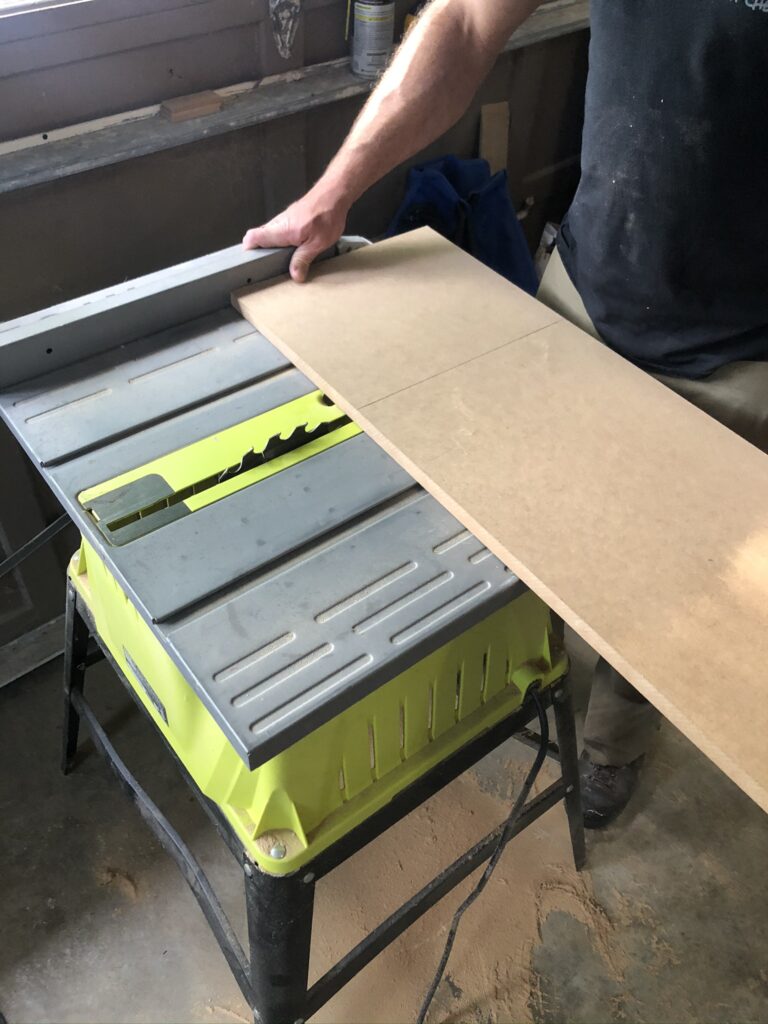
(Step 6). Cut ¼ MDF board to proper dimensions for face board, side boards, and back board.
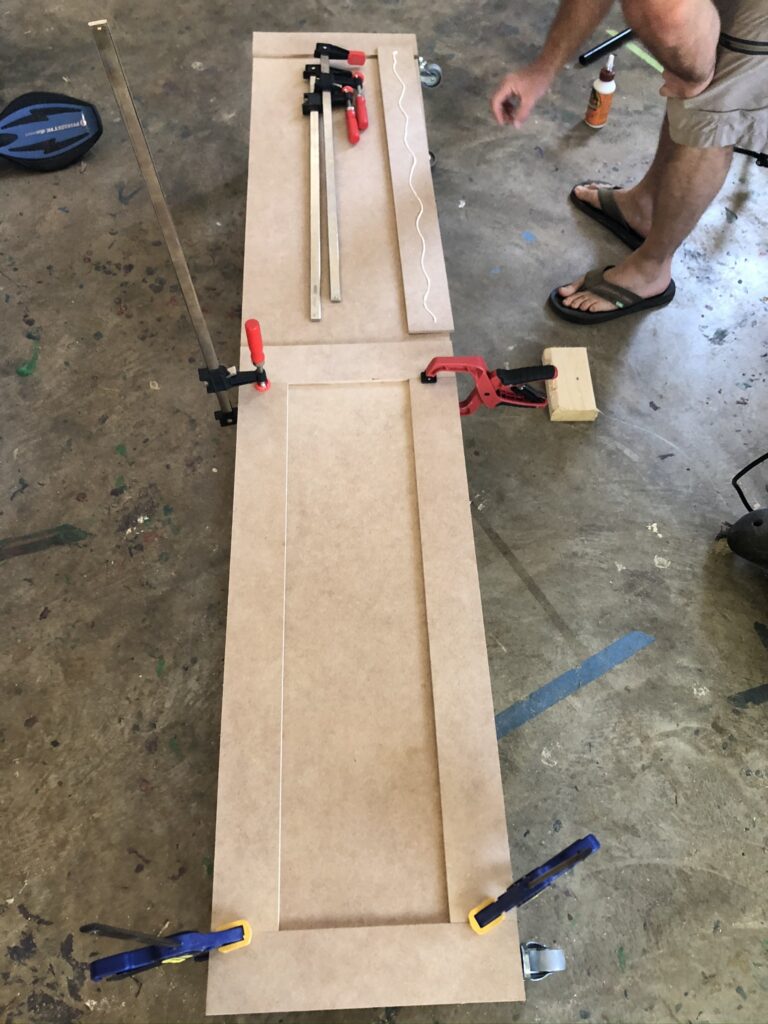
(Step 7). Glue MDF board to framing using wood glue and clamps. Let dry per instructions for wood glue.
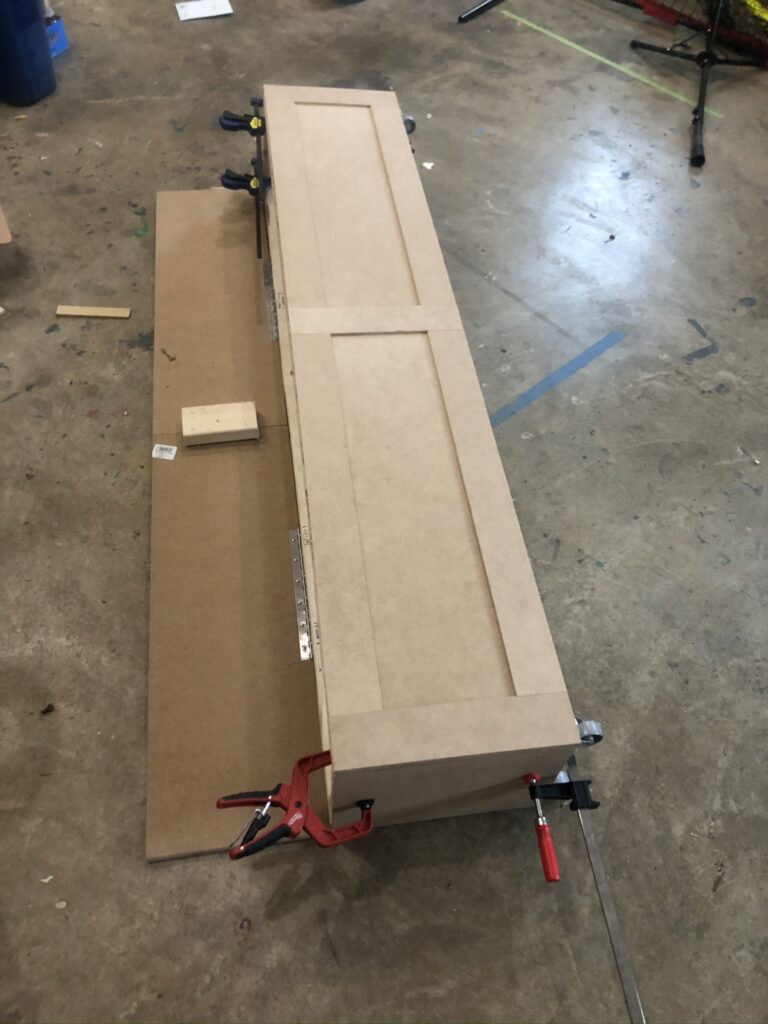
(Step 8.) Cut ¼ MDF board to dimension for face board pattern and glue/clamp. (we should have also waited to attach the top of the bench until the end, because we had to take it off to get the bottom shelf built).
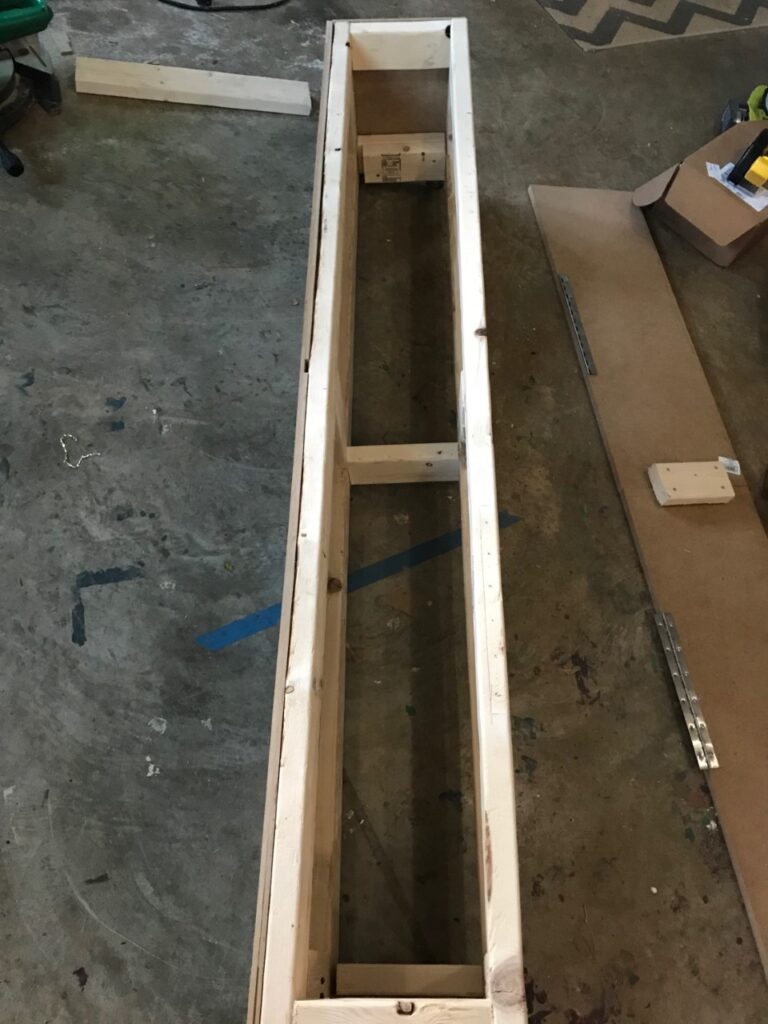
(Step 9). For bottom support framing, cut 2×4 (2) to interior dimension. Attach to inside bottom frame at ends. This will provide a bottom ledge for the bottom shelf to rest on.
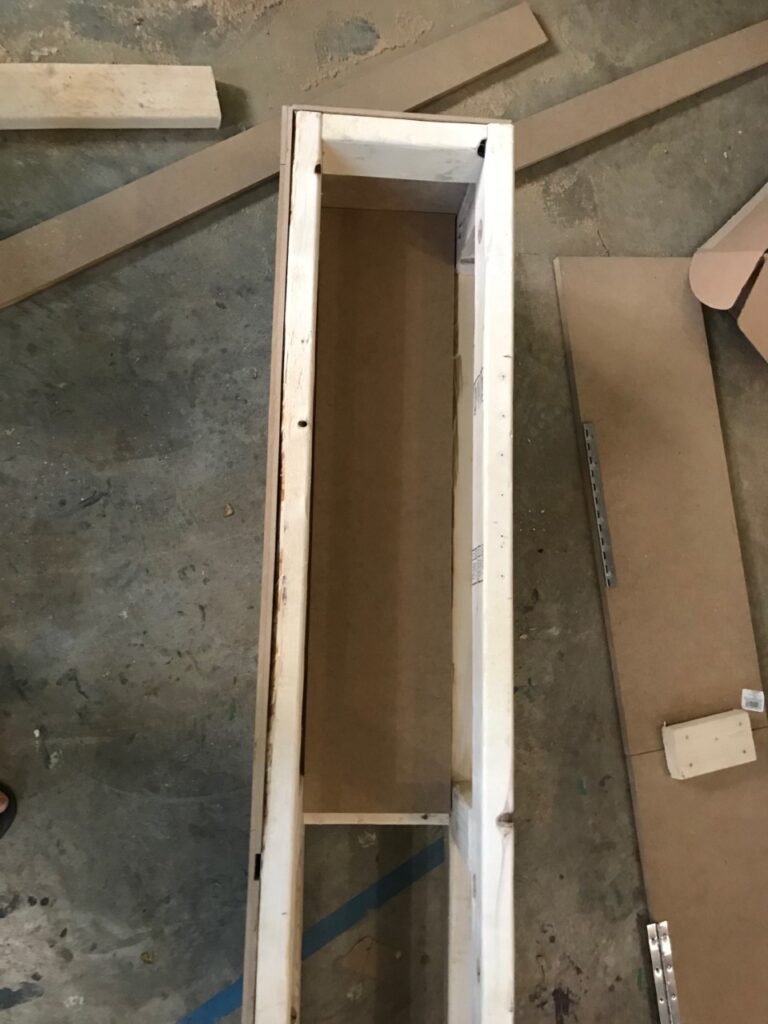
(Step 10). Cut 3/4 mdf to interior dimension and set inside the bench.
(Step 11). Cut ¾ MDF board to dimension for top/seating area.
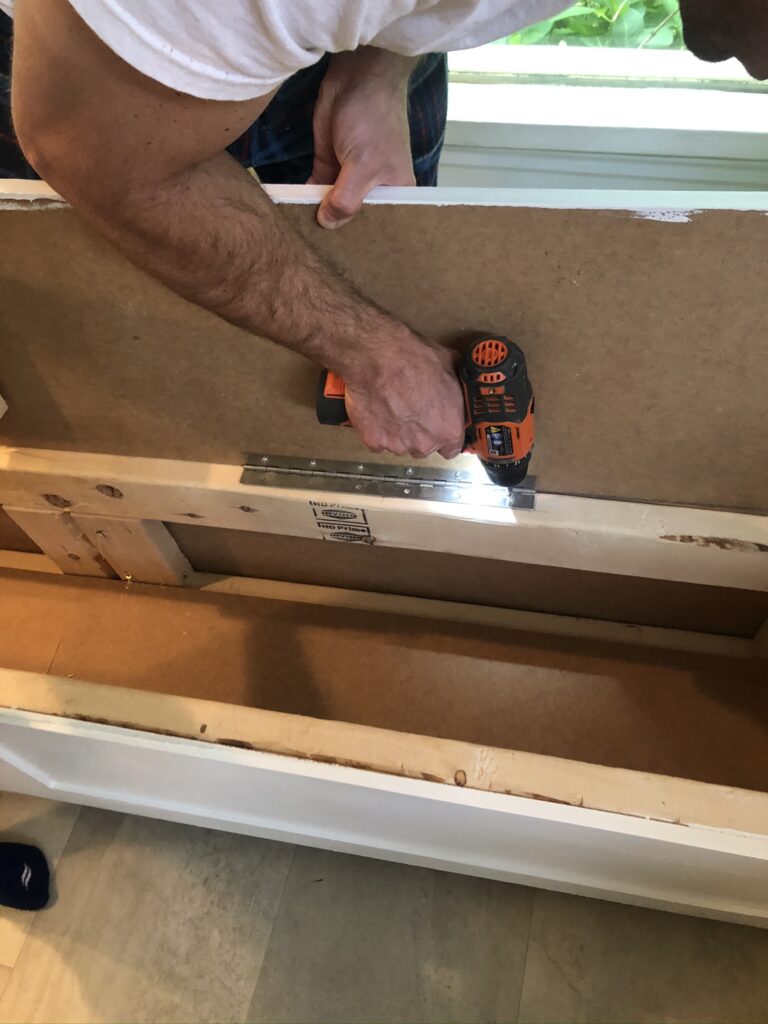
(Step 12). Attach ¾ MDF to top frame using piano hinges.
(Step 13). Attach casters to bottom frame.
(Step 14). Lightly sand, prime and paint desired color.

Not only did this new DIY addition nicely fill an awkward gap in my kitchen, it provided the space with better functionality and gave it a custom vibe.
While I chose to skip on the bench seat upholstery for now, I do have a tutorial for that here.
If you would like my step-by-step tutorial for an actual built-in dining storage bench, you can click here.
Thanks for stopping by my little corner of the internet this week!
Now get out there and design some good vibes along with a fabulous life!
PS. If you found this post helpful or inspiring, please support this small business by sharing with a friend or on social media! Thank you!



Nice idea . Great job The Kreg tool always to the rescue
Thank you so much, Mike!