
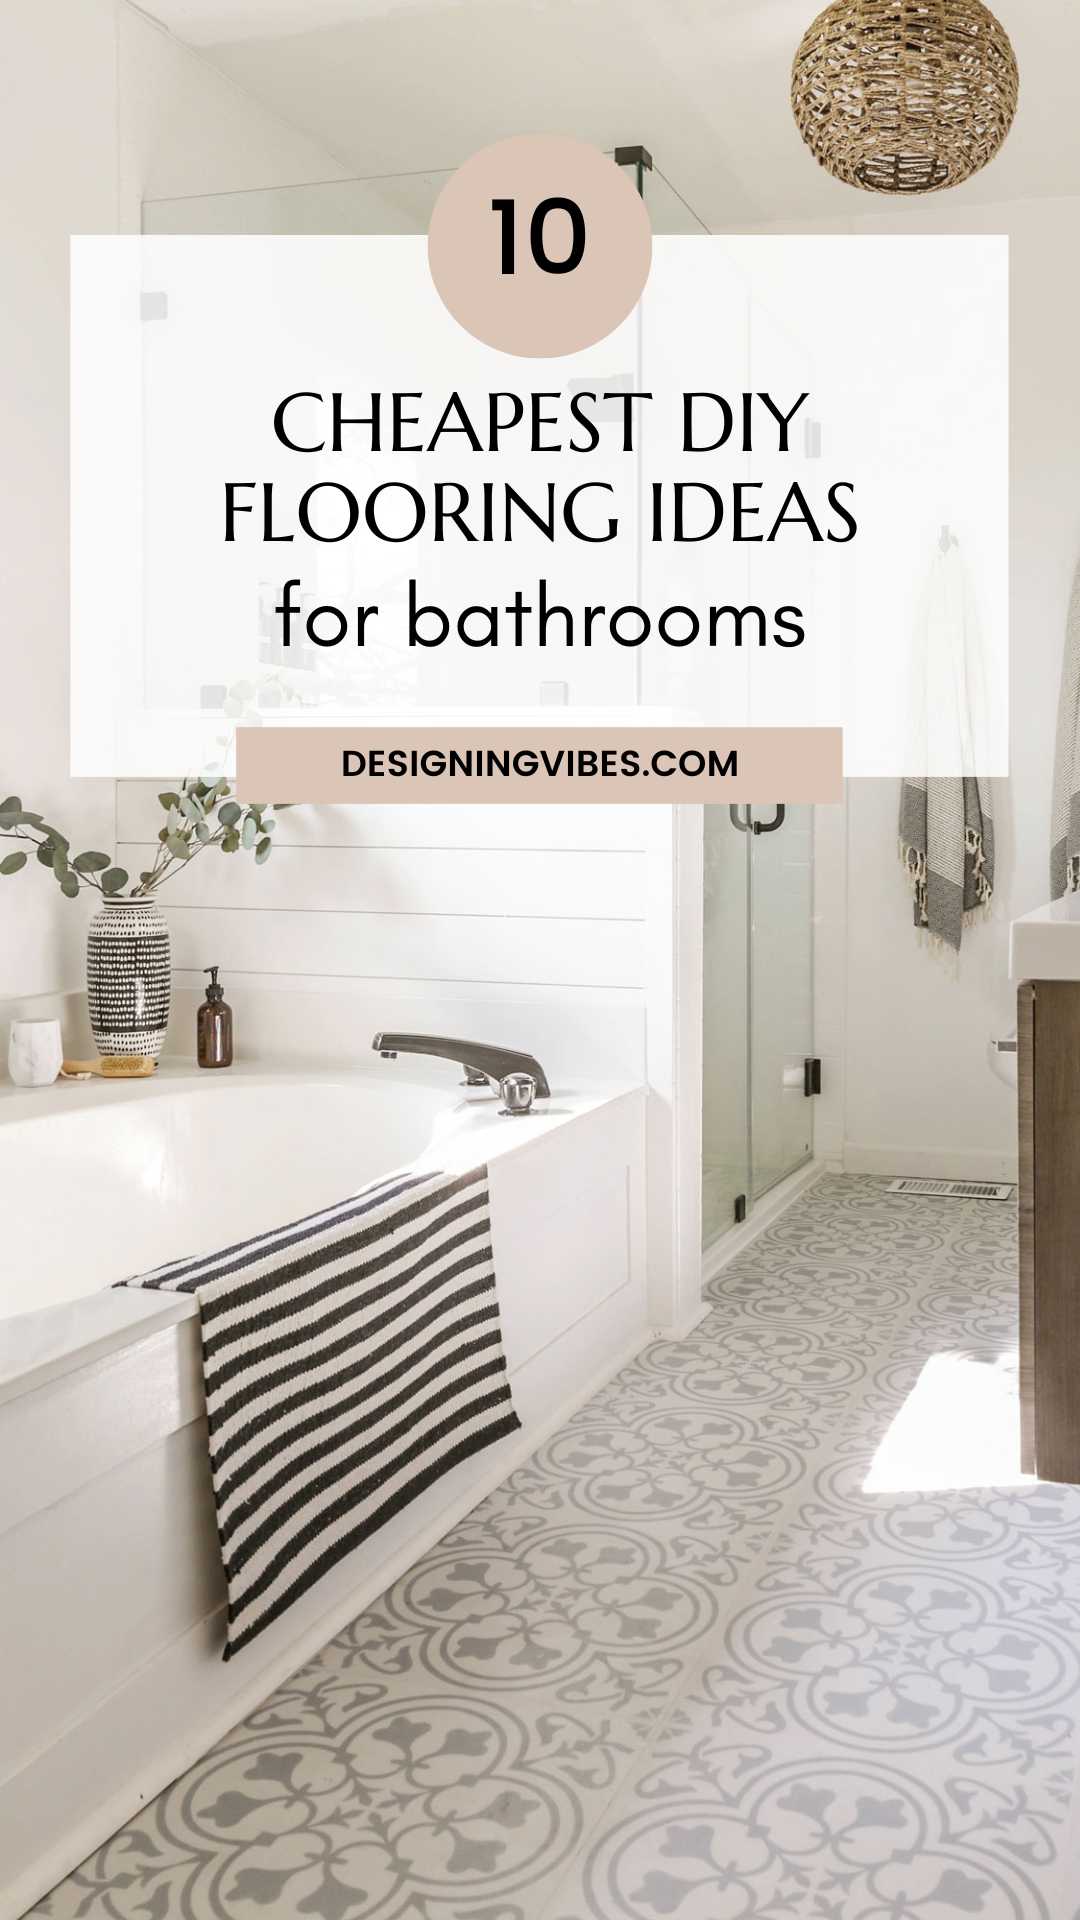
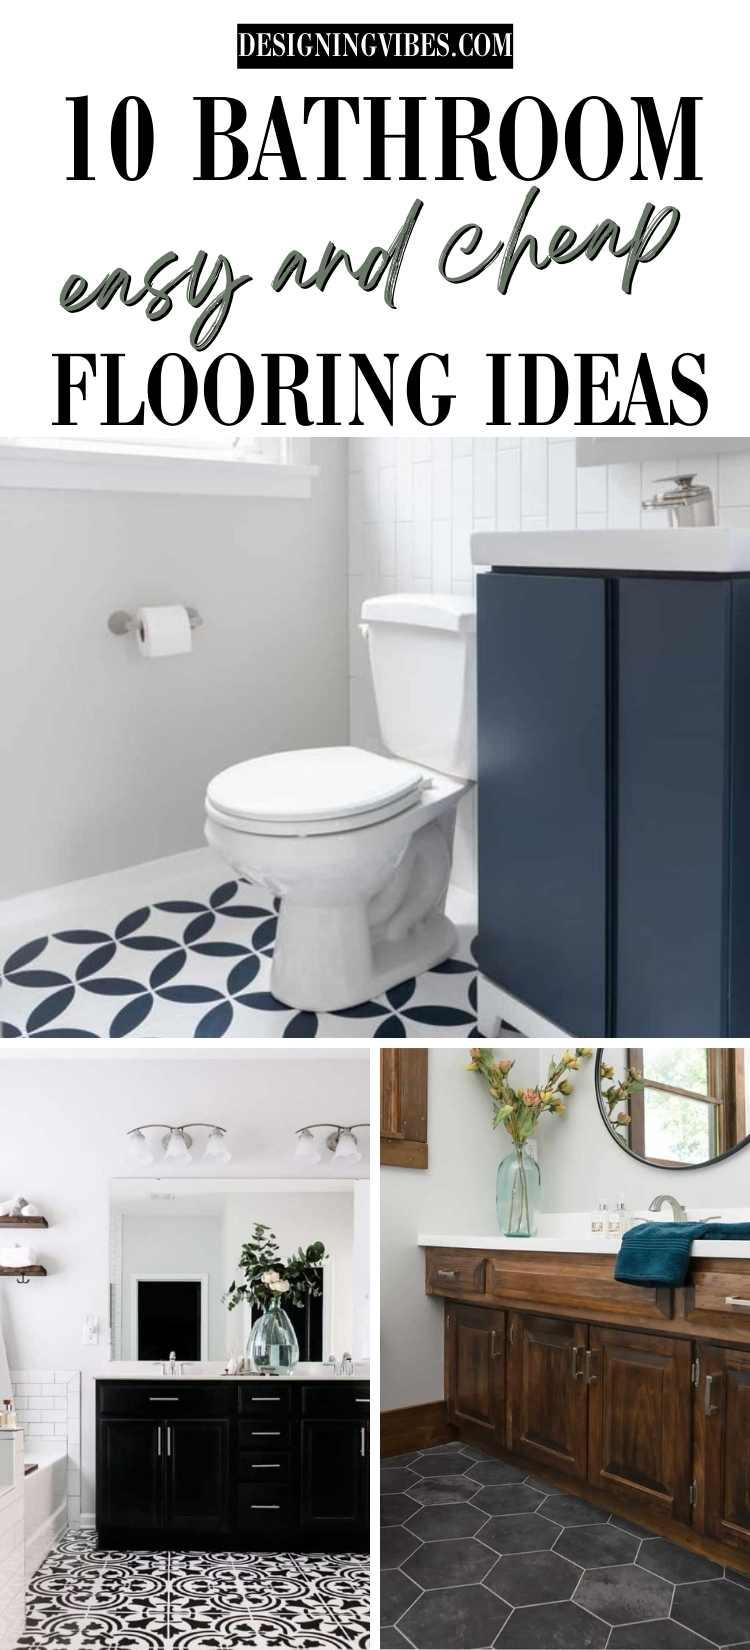
10 Cheap and Easy DIY Bathroom Flooring Ideas

Searching for budget-friendly ways to update your ugly a$$ bathroom floors? Today, I am sharing ten of the best DIY-friendly, flooring ideas to instantly transform your dated washroom…
I don’t really know how the whole builder-grade, ceramic tile trend got started, but I am here to proclaim to the internet- right freakin’now- that it has got to stop!
Now before you builders get your panties in a wad, please hear me out…
With the popular “function over form” maxim taken into consideration, in my personal experience, this flooring material satisfies neither criteria (yes..you heard me right).
I mean…
Sure….this manmade material might adequately protect your subfloors from water damage, but that’s about the extent of its appeal.
Not only does this tired flooring instantly date a space, but the porous material (most often complete with white grout) acts as a magnet for dirt and grime.
Don’t believe me? Check out exhibit A- the “before” photo of my old, 1980’s bathroom floors before I covered them up with luxury vinyl tile….
But now that you have seen the bad and the ugly, here is the good news…
Thanks to recent advances in both flooring technology and human creativity, there is no reason why you too have to live this way any longer!
The Best DIY Bathroom Flooring Makeover Ideas on a Budget-
With new products like water-resistant click and lock LVT, LVP and floating engineered hardwood (I have had great experiences with all of the aforementioned), not only is there no need for costly, labor-intensive demo, there is actually no need to spend on pricey labor at all!
In fact, the beauty of all of the bathroom flooring ideas I am about to share with you below is not only their affordability, but the fact that they are super user friendly- allowing for a fully DIY-style transformation.
So without further ado, here are ten DIY ideas to upgrade the look of your bathroom floors…
1. Click- and- Lock Luxury Vinyl Tile (LVT)-
Working with a relatively small bathroom remodel budget, back at my previous 1980’s fixer upper home, my husband and I decided to save some money by installing the flooring ourselves. Having just installed click and lock LVT in our kitchen with great success, given the particular LVT we went with was anti-microbial and water resistant, we knew it would also work well in our primary bath.
Because the manufacturer explicitly labeled this specific LVT as suitable for installation over preexisting ceramic and porcelain tiles, we skipped messy demo entirely- installing the new LVT directly over the old, nasty tile floor.
Living with the floors for three years without any issues, I can personally say this new flooring material was such a blessing to frugal DIYers like my husband and I . You can read the step-by-step install tutorial in my separate post Vinyl Flooring Installation the Easy Way.
2. Floating Engineered Waterproof Hardwood Planks-
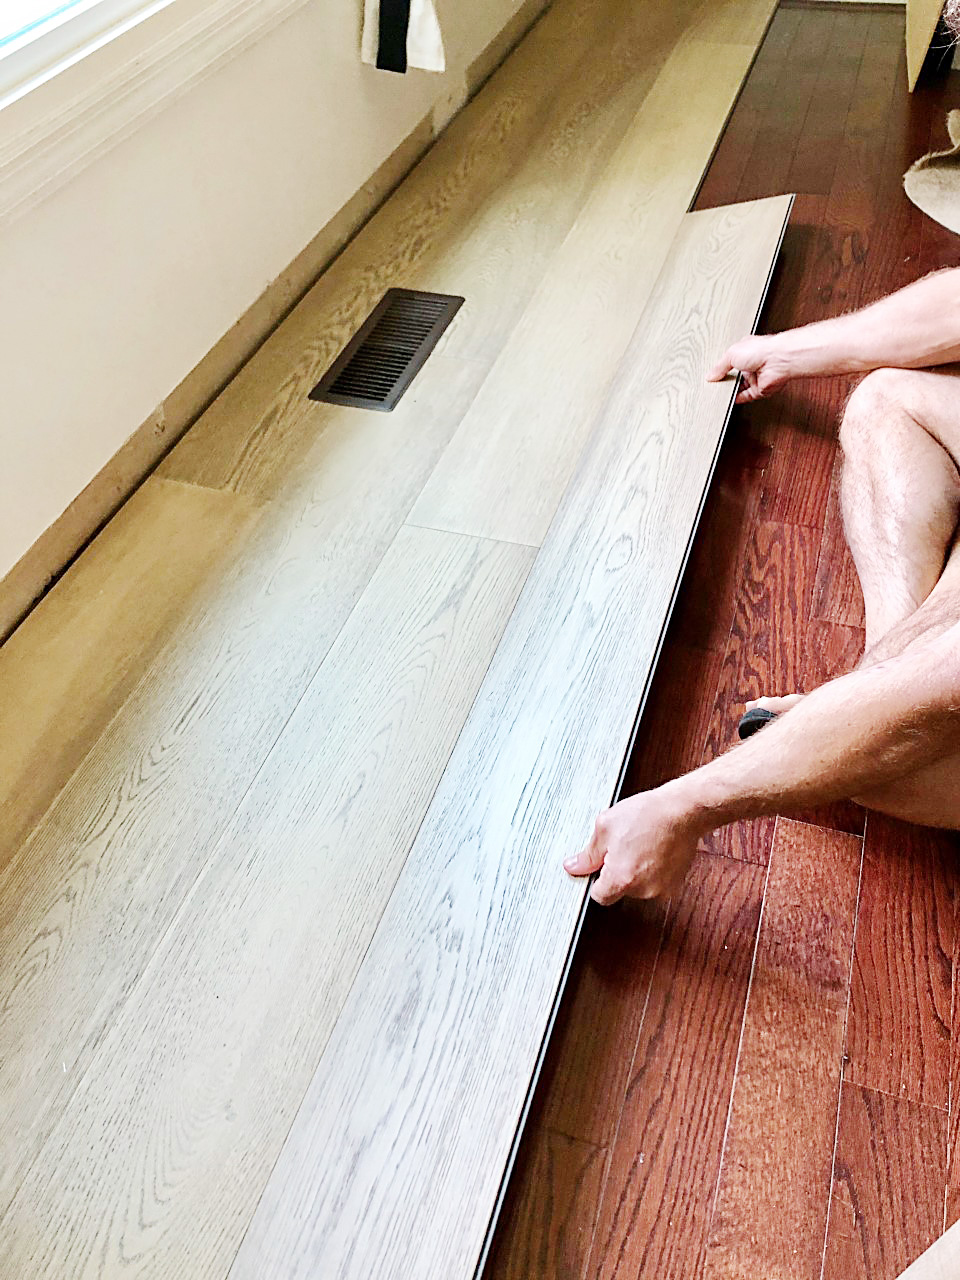
If you love the look of real hardwood floors but are concerned about their potential for water damage, you may want to consider waterproof engineered wood planks. Back at our old 1980’s ranch house renovation, my husband installed these floating engineered oak planks directly over existing tile and dated wood floors.
At $10 a square foot, this particular engineered wood is not quite as budget-friendly as LVT or other DIY alternatives, but the fact that it is super easy to install will save you the expense of having to source out a flooring contractor. In fact, in our experience installing this type of flooring, we found it even more beginner friendly to work with than LVT. Given it is also waterproof, it is a great choice for kitchens and bathrooms alike.
If you would like the full tutorial on how to install this engineered hardwood, check out my separate post How To Install Floating Hardwood Directly Over Existing Flooring.
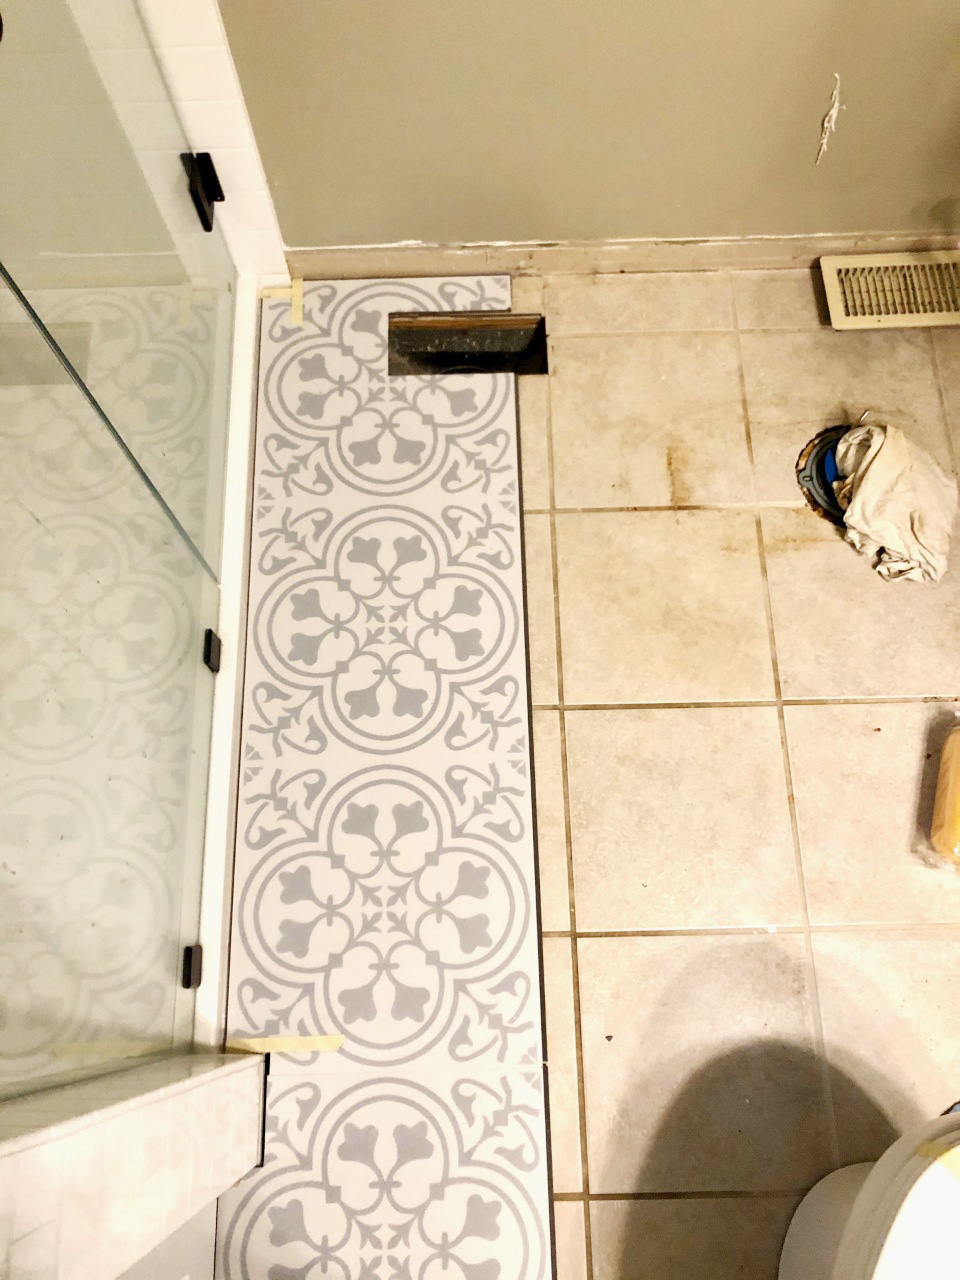
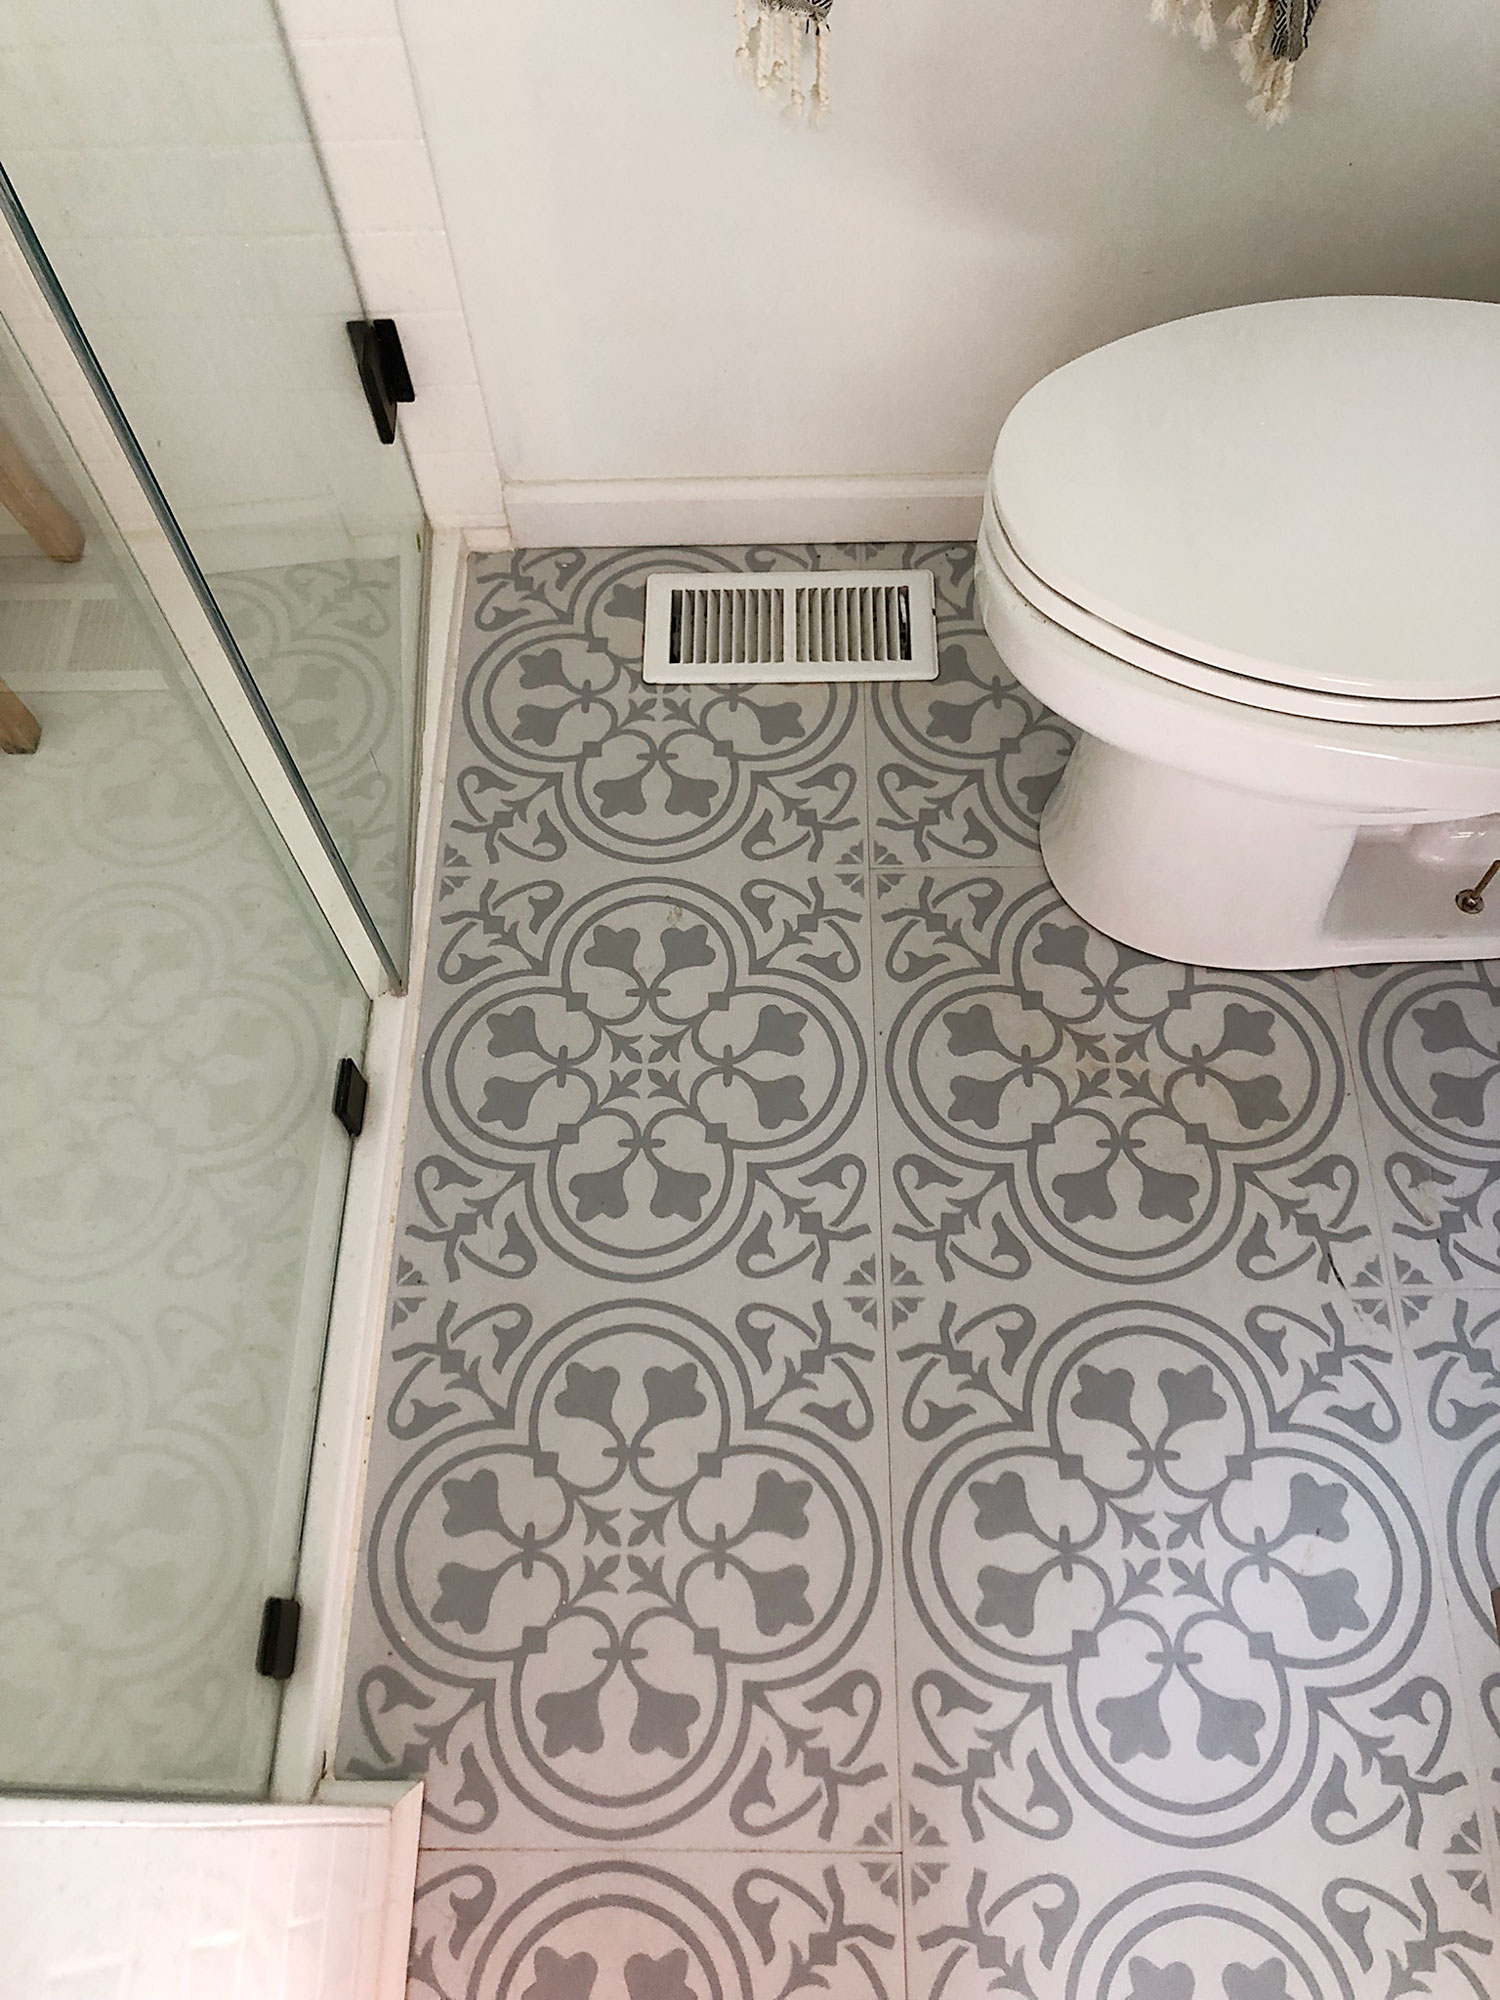
3. Painted Bathroom Floors that look like real Moroccan Tile-
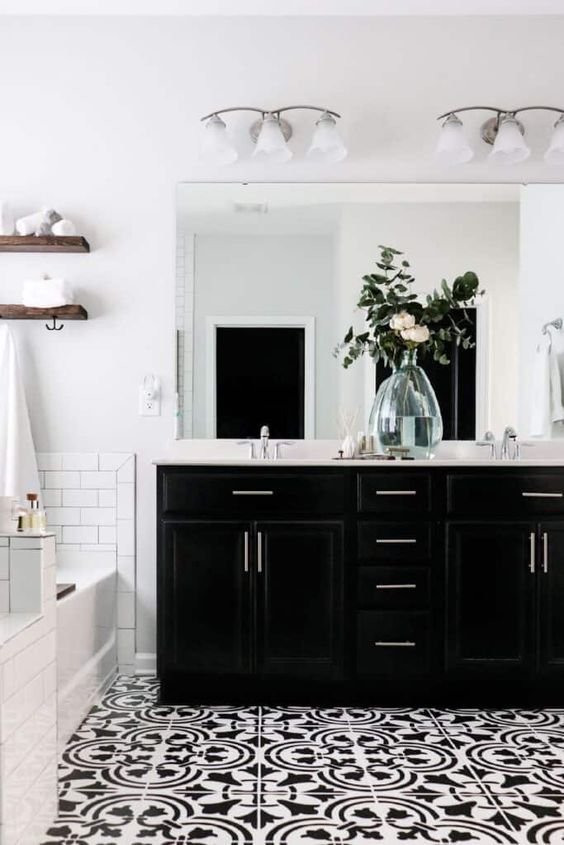
If Moroccan bathroom floor tiles make your heart go pitter-patter, but your budget just won’t allow for the real thing, take a cue from Pine + Poplar.
Using a stencil and some heavy-duty patio floor paint, this clever DIY-er painted her existing floor and completely upgraded the look of the entire space for under $100. When resources are limited, paint is typically the ideal choice, and this transformation is total proof of that!
4. Luxury Vinyl Plank (LVP)-
More budget-friendly than engineered wood planks, luxury vinyl planks are a great alternative to natural stone tile or other fussy grouted flooring materials. Requiring nothing more than a tapping block and utility knife, installing LVP is so straightforward that even a total newbie can do it!
Even more impressive, can you believe that Sustain My Craft Habit totally installed these vinyl planks directly over existing tile floors?
5. Vinyl Peel and Stick Tiles-
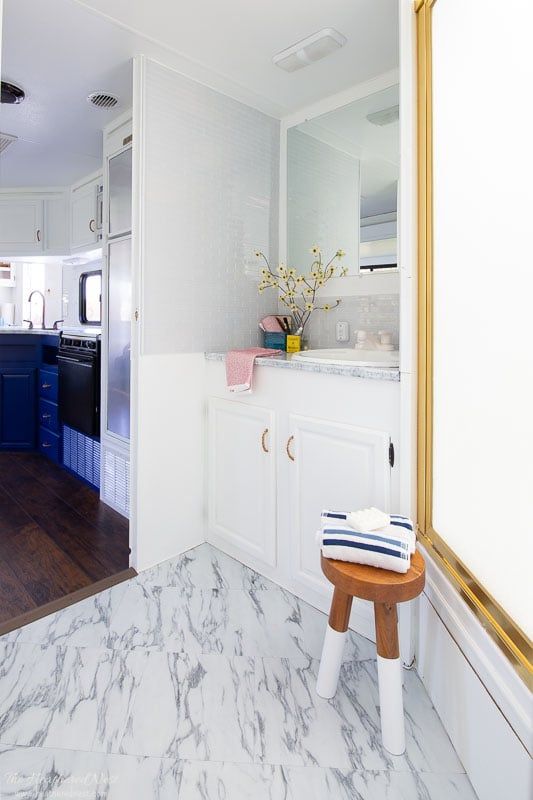
If you are in need of a product with water resistance, ease of installation and is even kinder to your wallet than most other composite materials, you may want to take notes from The Heathered Nest, who installed vinyl peel and stick tiles in the bathroom of her RV. I seriously never would have guessed these beautiful marble floors were actually just vinyl stickers. What?!
6. Stenciled Bathroom Floors –
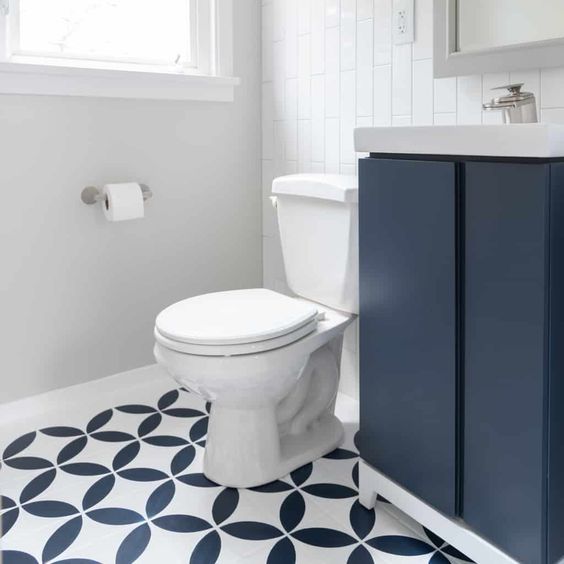
While you could certainly use just one shade of heavy duty floor paint to cover your outdated porcelain tiles, why not add some spunk to your floor design like The Handyman’s Daughter did?
Originally starting out with lots of smaller tiles that looked busy and dated, by using a larger patterned stencil , she brought better balance to the space. The simple, geometric stencil she used gave the illusion of larger tiles which ultimately modernized and elevated her bathroom- all for under $100.
7. Groutable Vinyl Peel and Stick Tiles-
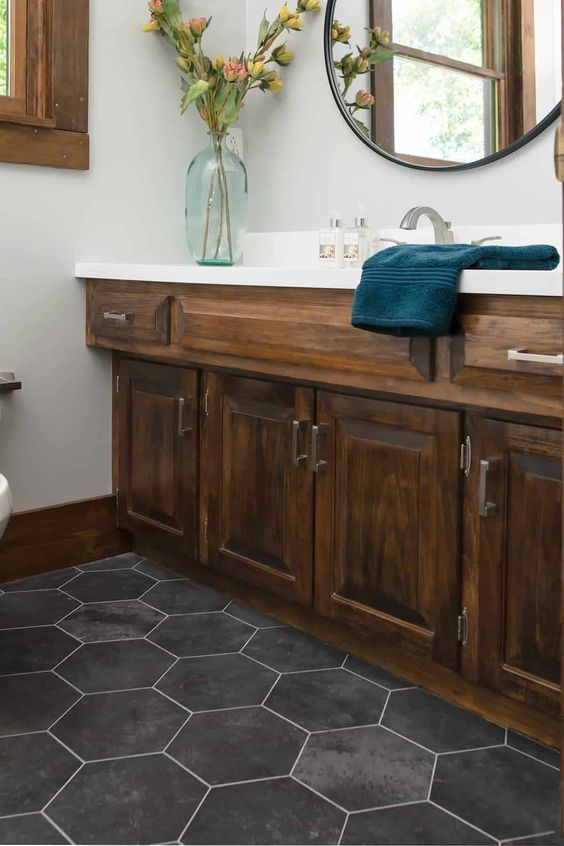
If you love the look of more traditional, grouted types of flooring but are in need of a super DIY-friendly and inexpensive option, groutable vinyl tiles are actually a thing!
With no tile saw required, not only is this natural stone alternative easier and faster to install, it is also way cheaper! For under $150, you can have the timeless look of grouted hex tiles just like these beautiful bathroom floors from Craving Some Creativity.
8. DIY Installation of Real Bathroom Tile-
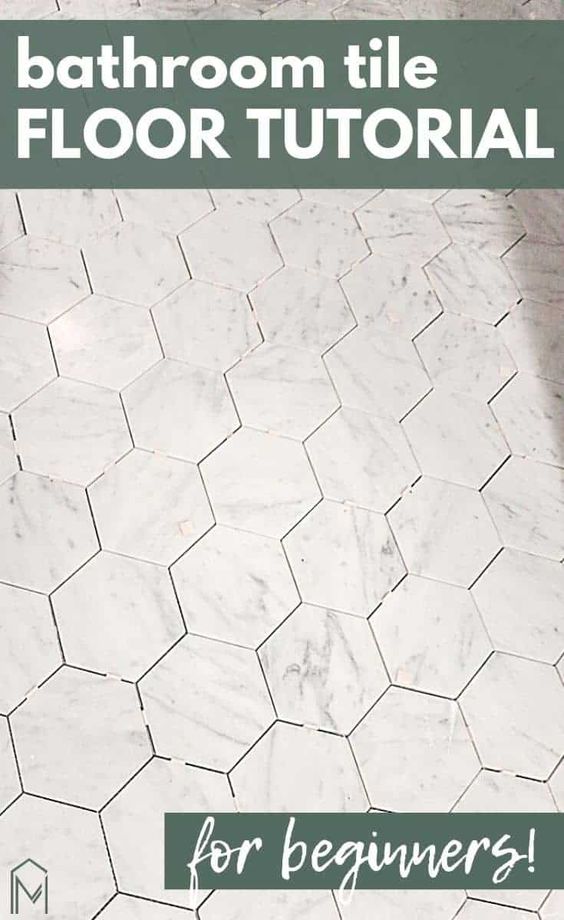
For those folks who are super particular about the tactile aspects of building materials, sometimes there is just no viable alternative to the real thing.
While it may sound intimidating, if you can muster up some patience and tenacity, you will save a significant chunk of money on your bathroom remodel by installing real tile floors yourself. If this will be your first time working with a real tile cutter and thin set mortar, Making Manzanita’s beginner’s guide to bathroom tile installation is a great place to start. You can do this!
9. Faux Wood Tile Installed DIY Style-
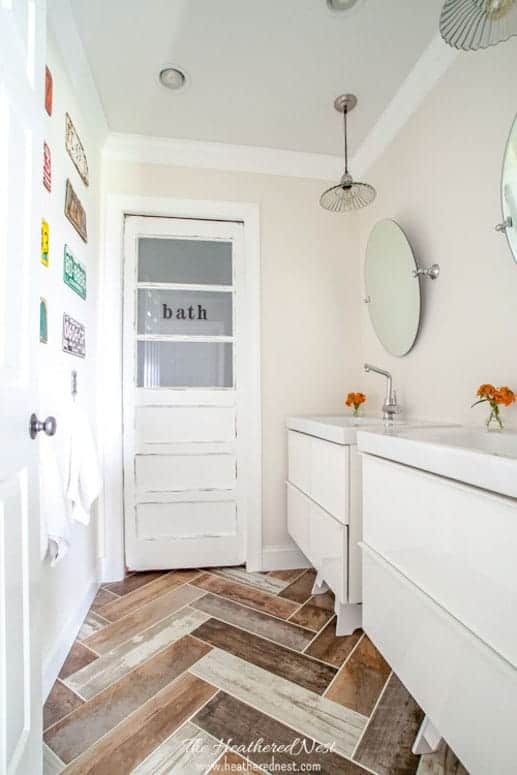
So now that you are feeling confident enough to install real ceramic or porcelain tile yourself after reading Making Manzanita’s helpful guide, to keep your remodel costs as low as possible, you are not only going to want to install your flooring DIY style, you are also going to want to select a super affordable material.
Adhering to a strict bathroom reno budget, Heathered Nest chose faux wood tile- which costs as low as $2 a square foot. Not only is this bathroom tile one of the most inexpensive options, it is also pretty much impervious to water.
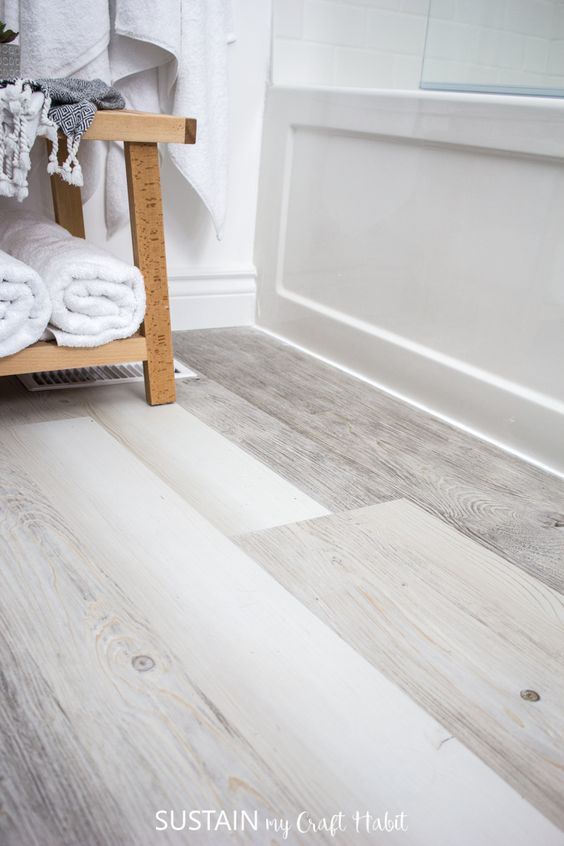
10. DIY Wide Plank Pine Floors-
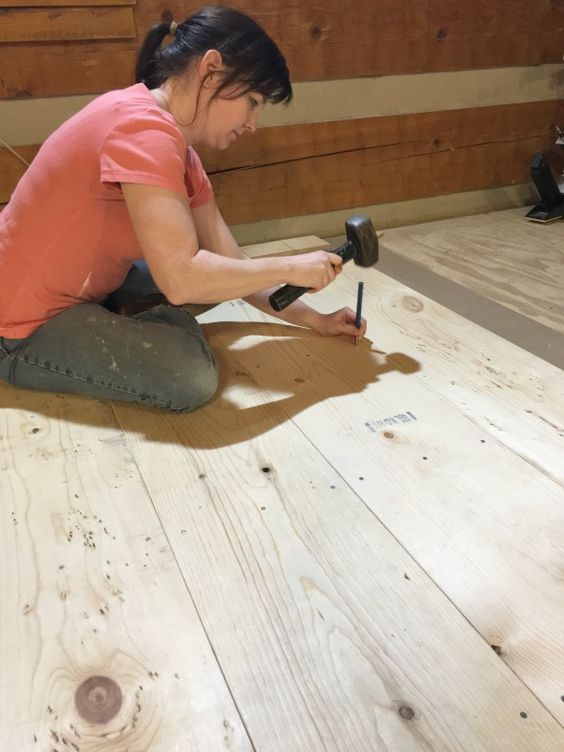
While real wood floors might not be the most waterproof selection on the market today, compared to all of the other flooring materials, besides actually painting over your existing tile floors, DIY wide plank pine floors will definitely be your most affordable solution.
For just $1 per square foot, The Roots of Home completely transformed the floors of her rustic cabin and after reading her comprehensive step-by-step tutorial, I trust you will be feeling empowered enough to take this project on yourself!
So there you have it-ten convincing examples of why you don’t have to live with dated, builder-grade tiles in your bathroom any-freakin’-more, sis.
Thank you so much for stopping by this week and spending some time with me!
It would make the biggest difference in the world if you could share this post with a friend or on social media. Thank you so much for helping out this small business!
Now get out there ad design some good vibes along with a fabulous life!

Welcome!
My journey in interior design and home improvement began with transforming my first fixer-upper home, all while managing a budget and raising two young boys. My work, a reflection of my passion for creating beautiful, uplifting spaces, has been recognized by top publications like Better Homes and Gardens Magazine, HGTV, and more. I invite you to explore my site and witness the transformation of my home and the vibes we've designed. Read more...


Erica-
Well, this plethora of information came along at the opportune time! I believe you covered every option in-depth and I appreciate that. The winner for me is- LVT for the bathrooms! I think that will be my next project (not to my husband’s delight), due to everything you highlighted.
As always, enjoy the rest of your week and thanks for everything you do.
Donna
I think you will be super happy with the LVT, Donna. It did not disappoint with us and we lived with it for almost four years. Good luck with your project!