Back at my 1980’s rancher, my husband and I installed floating hardwood planks and click-and- lock LVT over existing tile floors. In this post, I am sharing all of the nuances you should consider before attempting this sort of DIY flooring project yourself…
Before installing new floors in your home, there truly is so much to consider….
Light or dark?… Matte or gloss?… Trendy or classic?
But when installing flooring over a pre-existing subfloor (like old ceramic tiles or dated hardwoods as was the case for my husband and in our 1986 fixer upper home), there is even more to contemplate.
I mean…it was not long ago that this sort of installation method was only a thing of dreams. But thanks to advances in technology, certain flooring lines have made this a totally acceptable type of application.
This post contains sponsored flooring products from Shaw Floors, however all opinions are 100% mine.
While you can read the actual DIY installation tutorials in this separate blog post and this seperate blog post, inspired by many flooring questions I have received over on my Instagram lately, today I want to simply address all of the tricky little nuances you have to be mindful of before ever even ordering your floating floor system. So here it goes…
1. Product must be intended for installation over existing subfloors. – You cannot just install any ol’ luxury vinyl tile or floating hardwood planks over old tiles. If the product is not thick enough, with time, telegraphing (AKA outlining of the old floors) could rear its ugly head . To avoid this potential eye sore, you must make sure the manufacturer explicitly states that their product is suitable for application over existing subfloors.
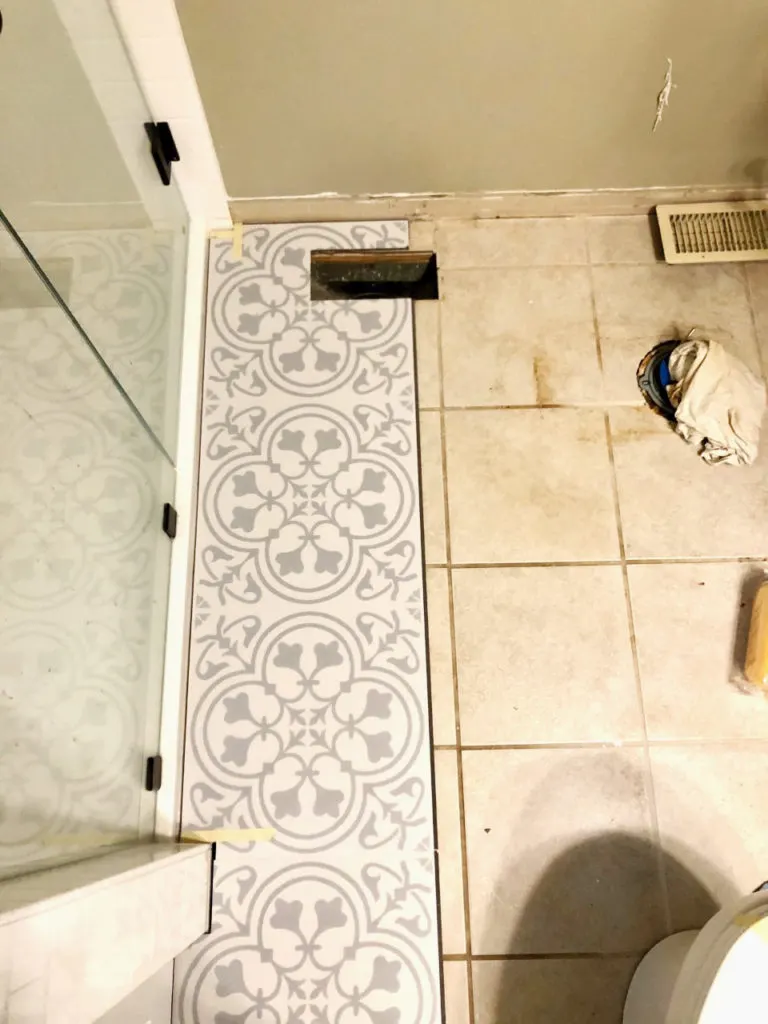
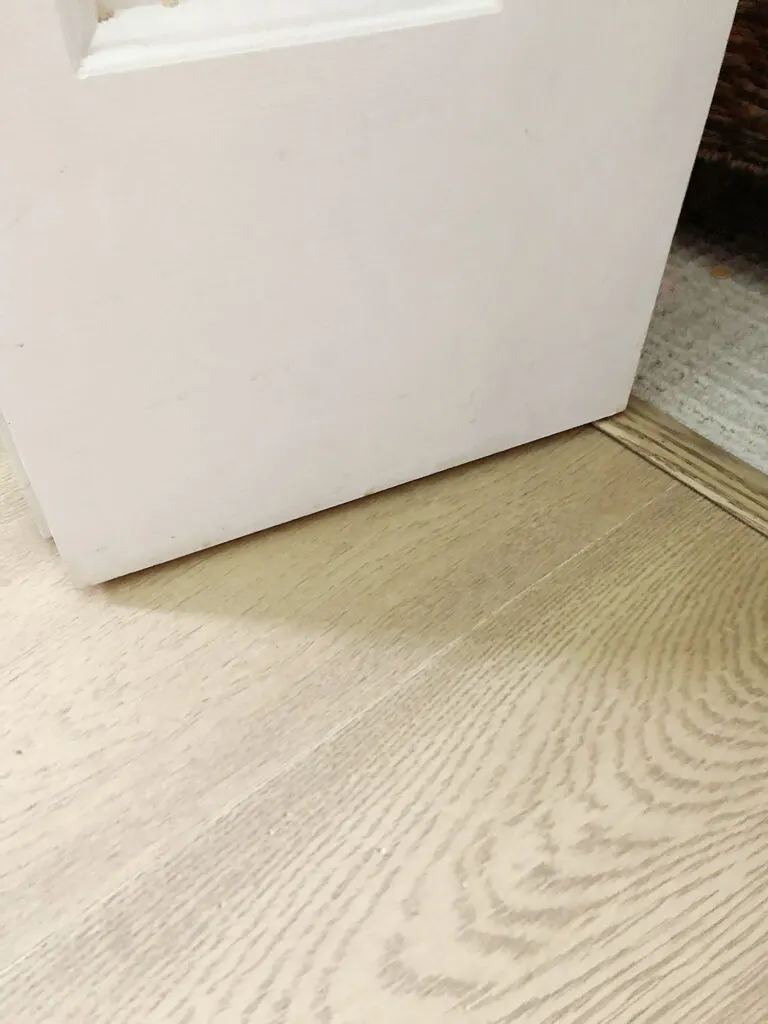
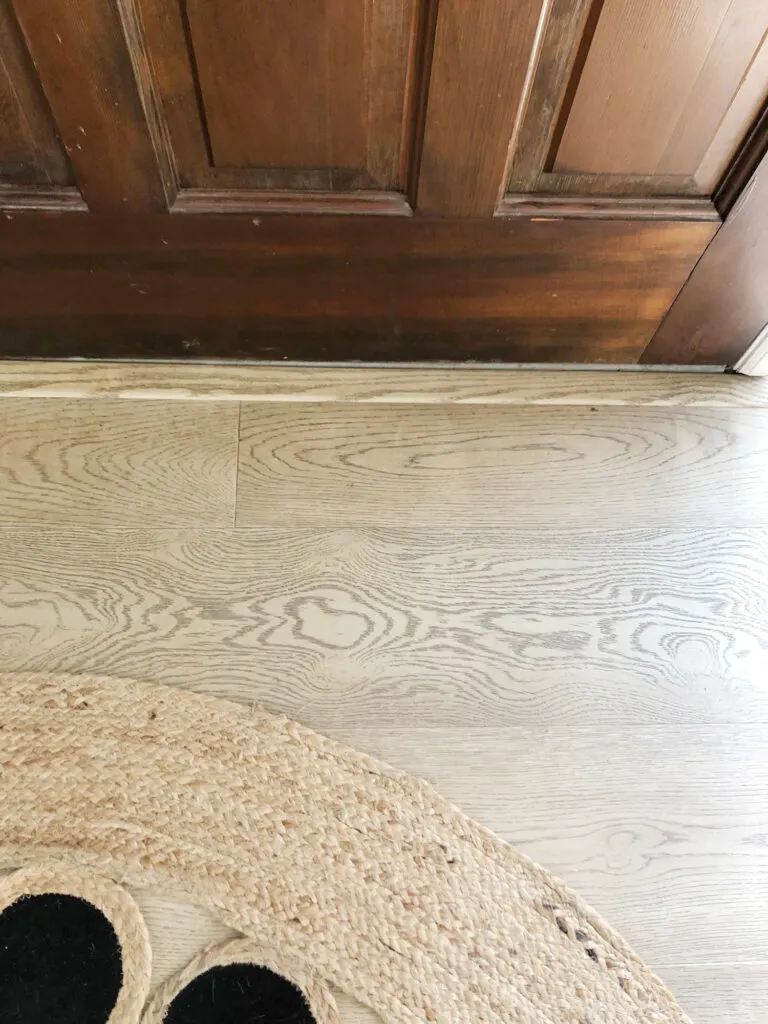
2. Will your doors have enough clearance with the additional height of a new flooring layer?– When installing flooring over existing flooring throughout our entire house, some of the doors still had ample clearance, while some inconveniently did not. In the case of our bifold closet doors, we were able to simply adjust the height with the bottom pivot pins. However on some of our standard doors, we had to remove the actual door from the casing and trim off some height (you can use a table saw or circular saw for this). Ultimately, this was not a huge deal for us.
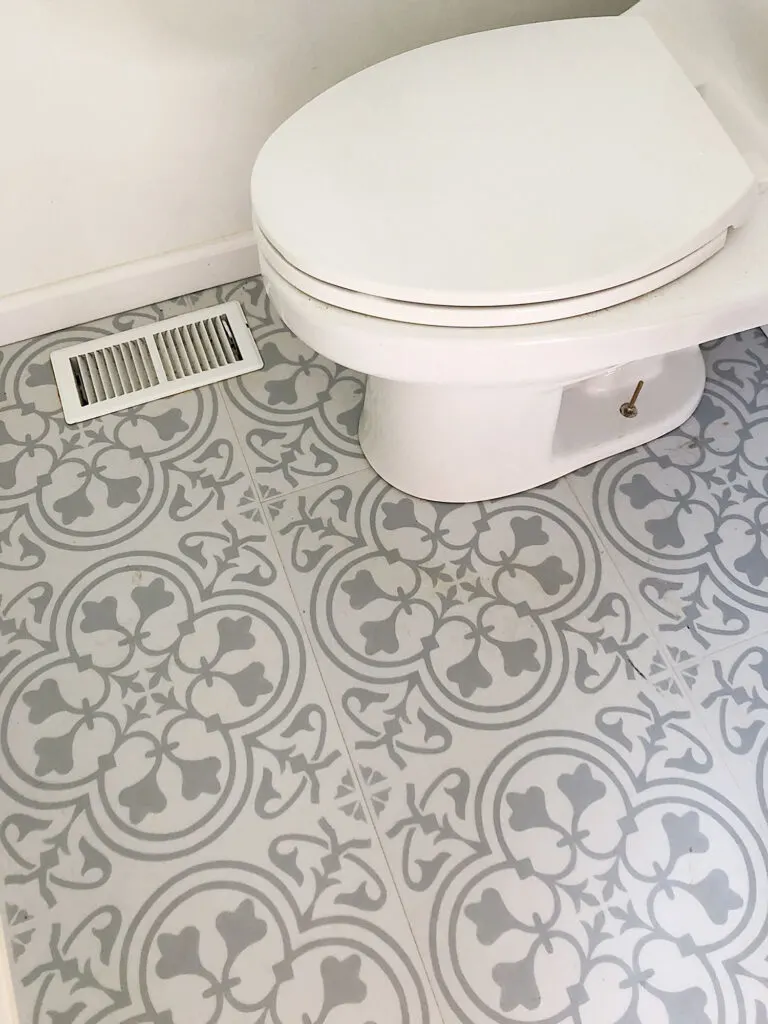
3. Making special cuts for air vents and toilets slows down the install process.– Who would’ve thought a tiny bathroom would have taken longer to install than a decent sized dining room? While it’s easy to get into a flooring install groove in rooms that are relatively straightforward, our little bathroom took longer than we expected. Truth of the matter? When you have to stop your work flow every so often to take measurements for special cuts (like base cabinets, air vents and toilets), you will need a little more time and patience. Luckily, the only tool required for making these special cuts is a trusty utility knife or a jigsaw (depending on the particular floating flooring you choose). For bathrooms, keep in mind that you will need to remove the toilet, but this isn’t anything Google University can’t instruct you on how to do. Given we aren’t professional plumbers or builders, we have to “google” quite a bit!
4. When ordering your new flooring, don’t forget the transition pieces! – When transitioning your floating flooring from room to room, you will need to be sure your manufacturer provides transition pieces (technically known as T-molds).
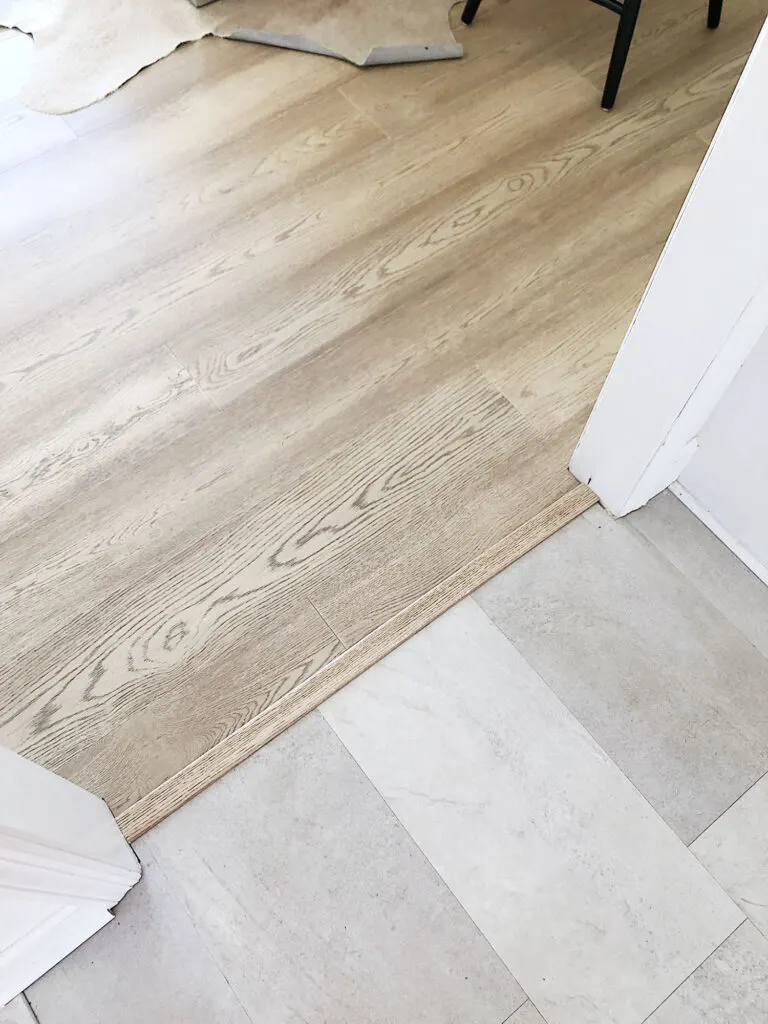
Bonus Tip: Given many of these transition pieces are not as durable as the material the actual planks and tiles are made of, it wouldn’t hurt to order extra T- Molds just in case they begin to scratch like mine did (despite the fact that the actual floors I installed were scratch resistant).
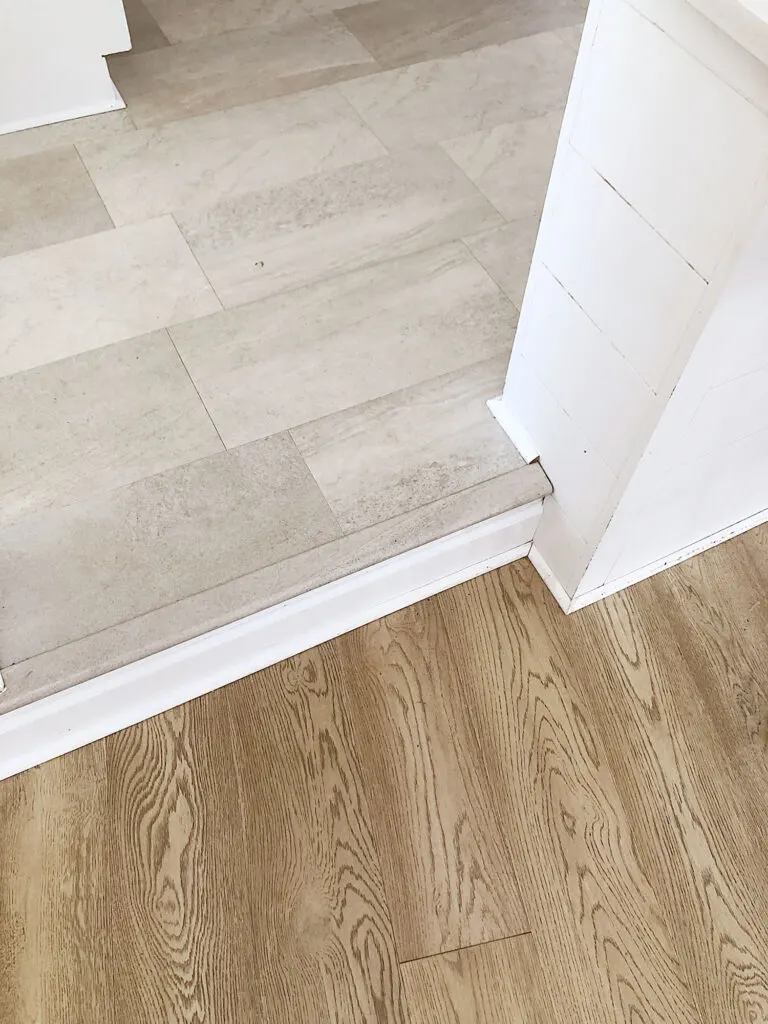
5. You will need to order bullnose pieces for stairs. – While my old fixer upper was one level, my living room was a sunken room, so we had to order bullnose pieces for the step down. Most LVT and floating hardwood suppliers offer bullnose pieces to match your floating planks or LVT. For the “riser” portion of our one stair, we simply used a painted white baseboard. For standard stairs, you could use white painted wood for the riser portion or you could even use a piece of the actual flooring. It all just depends on the look you are going for. At any rate, do your design research and have a plan in mind before ordering your floors!
While we no longer live in our 1980’s home, we were super happy with our floating floors for the many years that we did live there.
As long as you do your research and select a product specifically designed for this sort of application (like my Floorté Hardwood Series in the color Brightened Oak), you should be satisfied too!
If you would like to read more posts and tutorials related to Luxury Vinyl tile and other floating flooring, be sure to click the links below…
More Floating Flooring Posts:
- How To Install Luxury Vinyl Tile the Easy Way
- The One Year Review of My LVT
- 5 Things to Consider Before Installing Floating Flooring Over Existing Tile
Thank you so much for stopping by the blog this week. If you found this post helpful, it would mean the world to me if you could share it with a friend or on social media…
Thanks to Shaw Floors for providing the hardwoods featured in the post!
Now get out there and design some good vibes along with a fabulous life.



Monica
Wednesday 16th of March 2022
Could you possible provide the link to the "Floating Pattern Tile" you used in the bathroom (to cover the old beige tile...). Love your blog : ) Thank you
Designing Vibes
Saturday 19th of March 2022
Hi Monica! Thanks for your kind words. All of the details and shopping sources to my bathroom can be found in this separate blog post. https://designingvibes.com/reveal-boho-farmhouse-master-bathroom-remodel/ Let me know if you have any issues. :)