
How To: Upholster a Banquette Dining Bench on the Cheap
Remember the DIY Built-in dining bench tutorial I shared several weeks ago?
Well in that post, I promised to also share how I upholstered the top of the banquette bench.
Then, the sh*t storm furry of the holidays rolled in, and I totally put that tutorial on the back-burner. Not to fear though, because today I am totally rectifying my negligence.
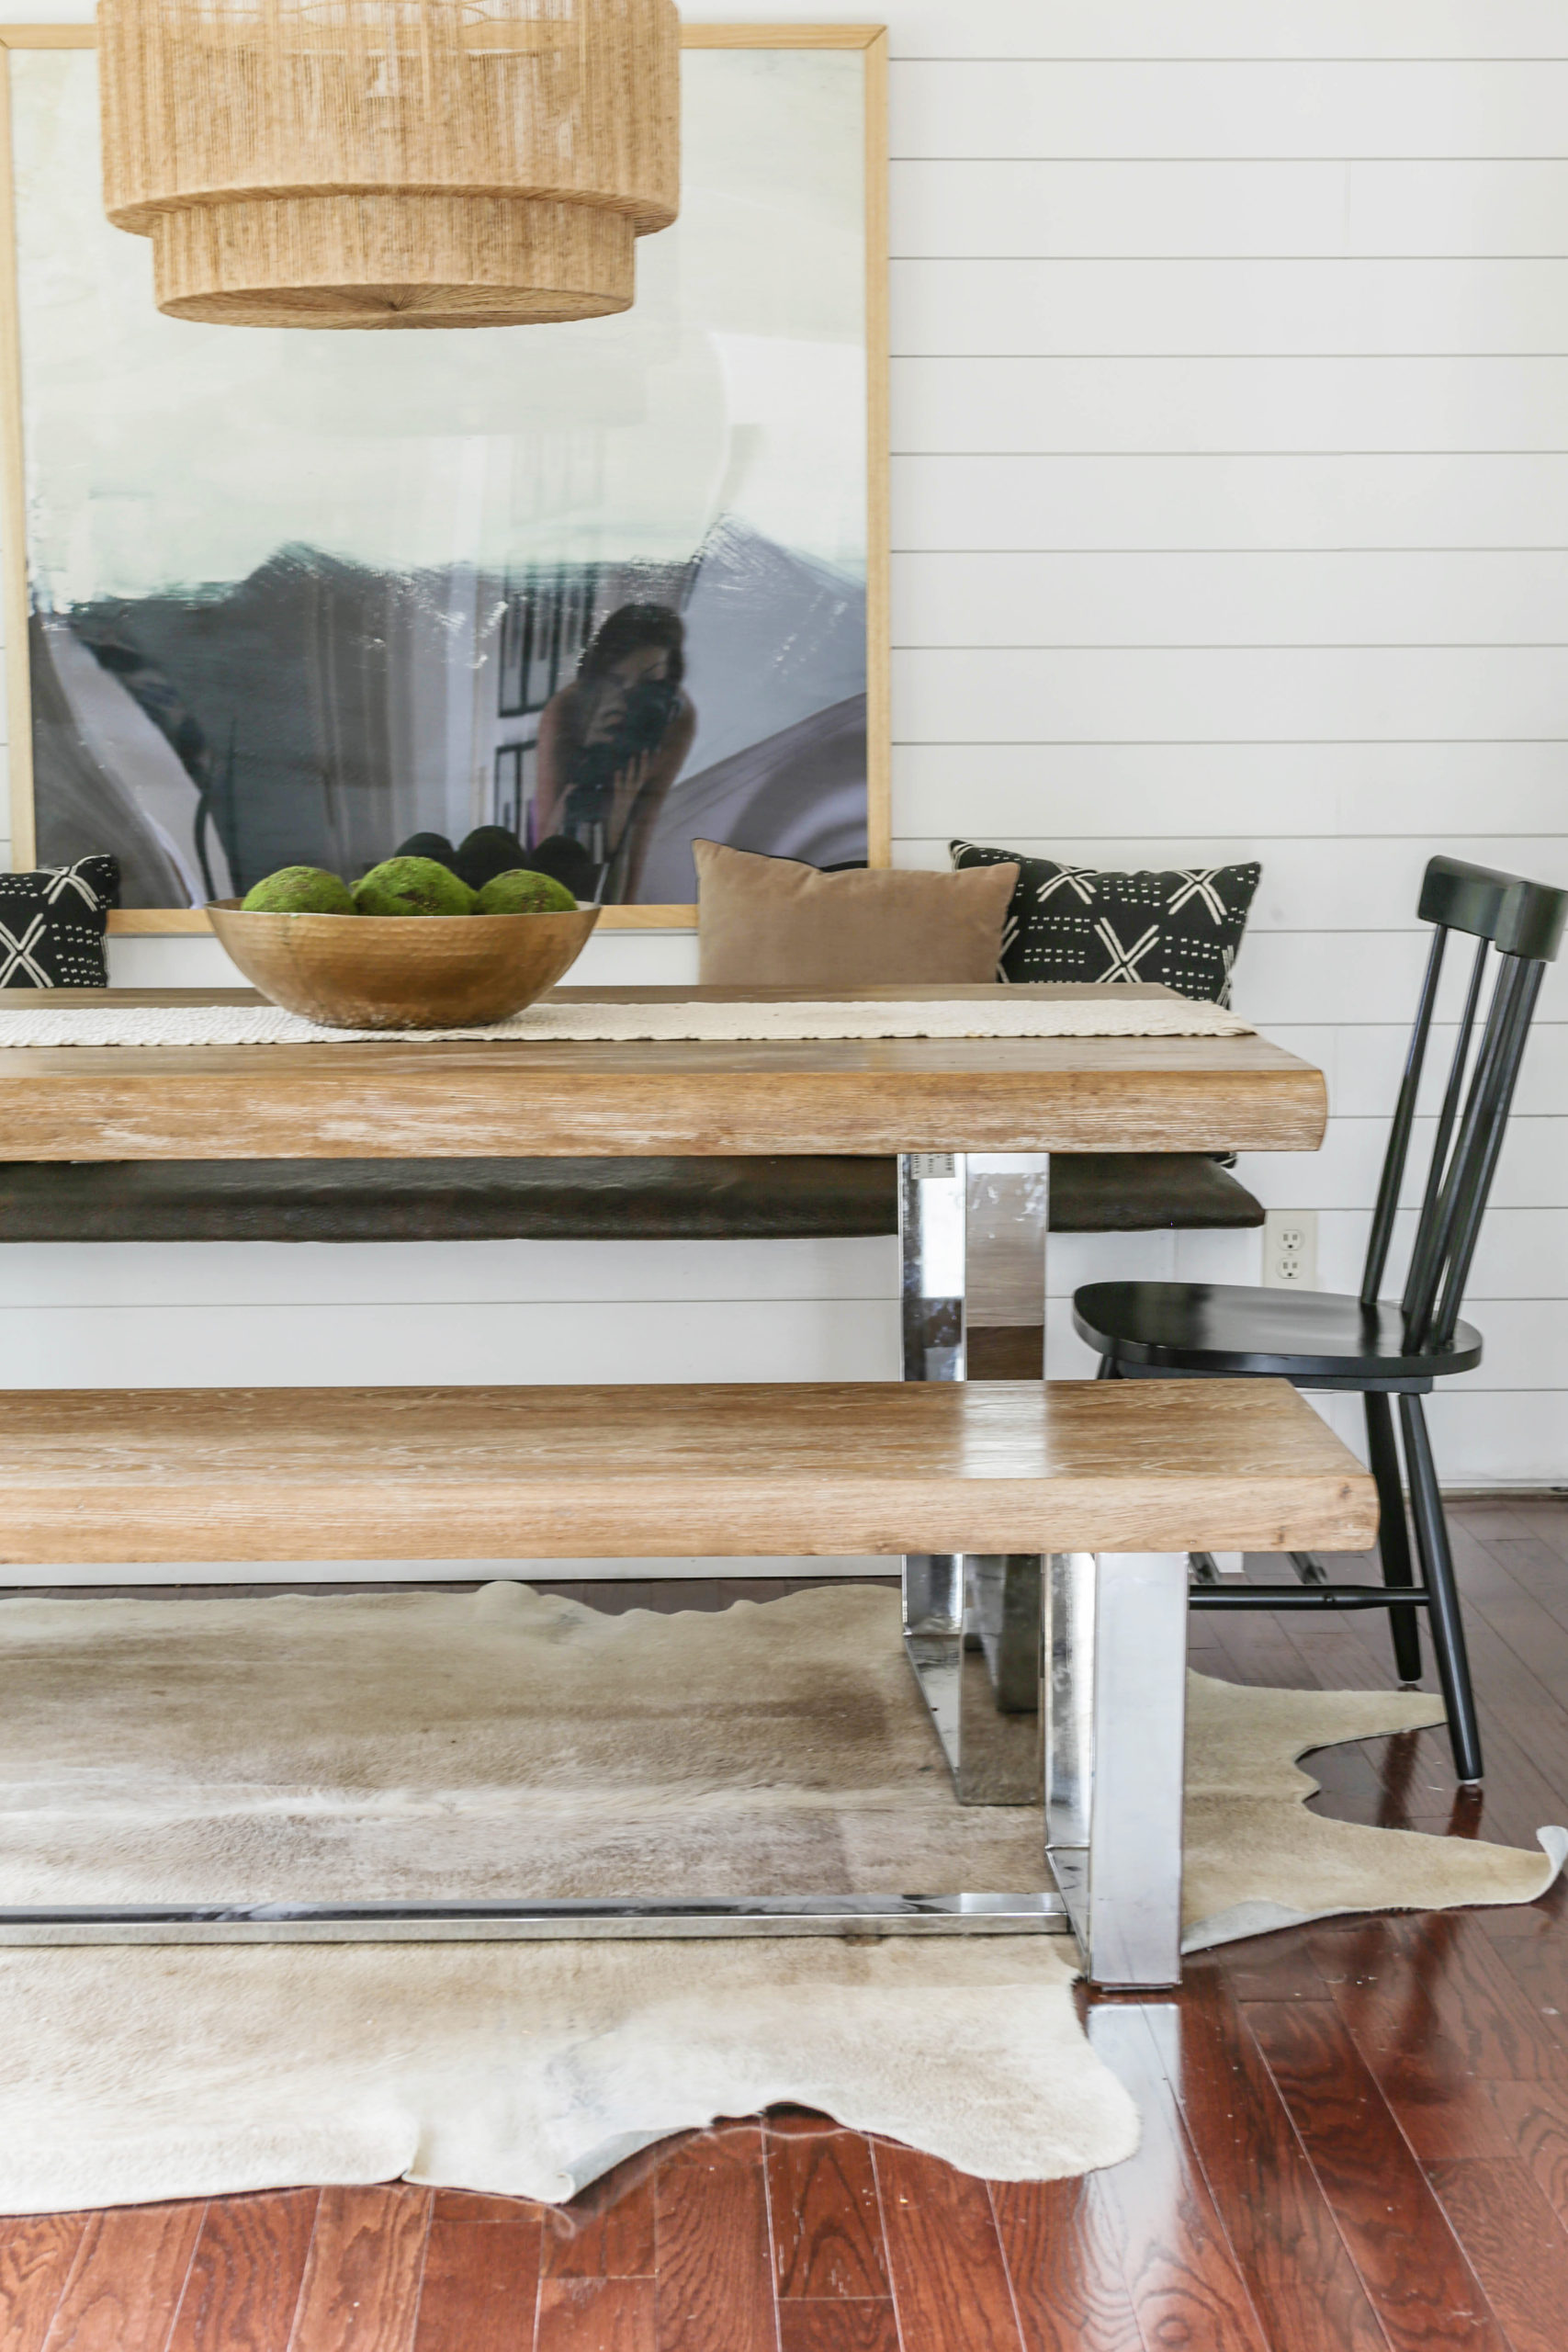
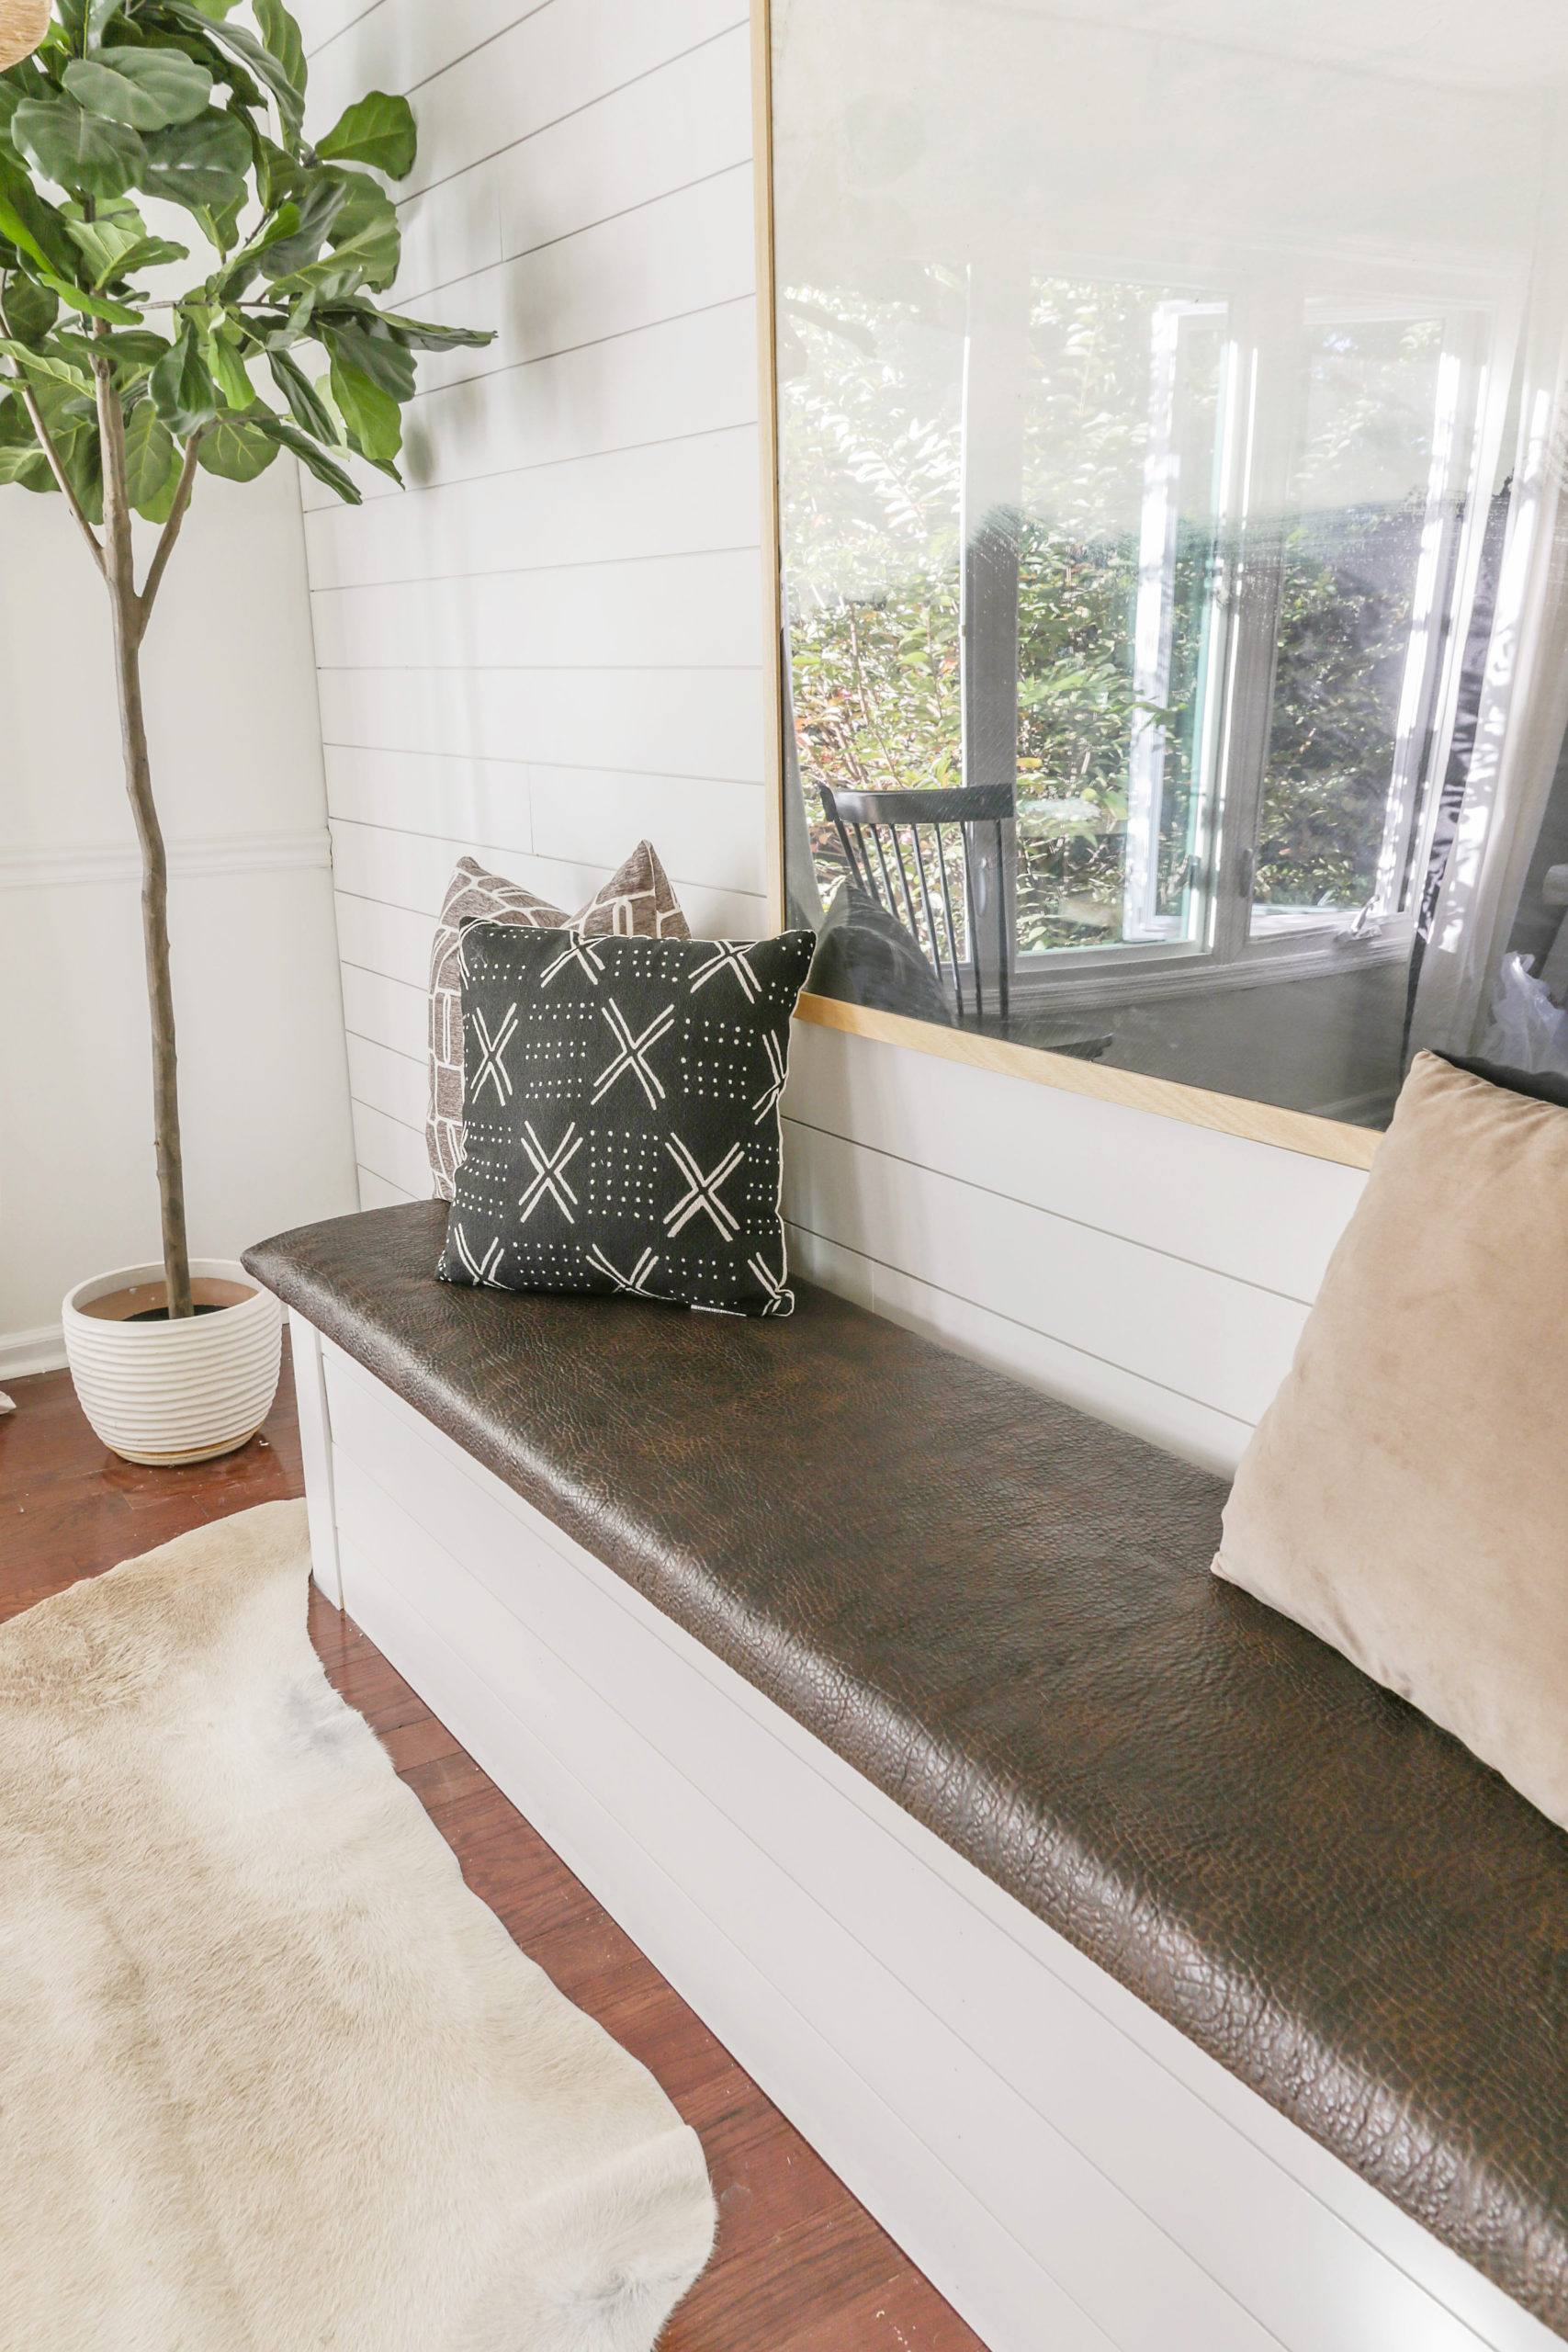
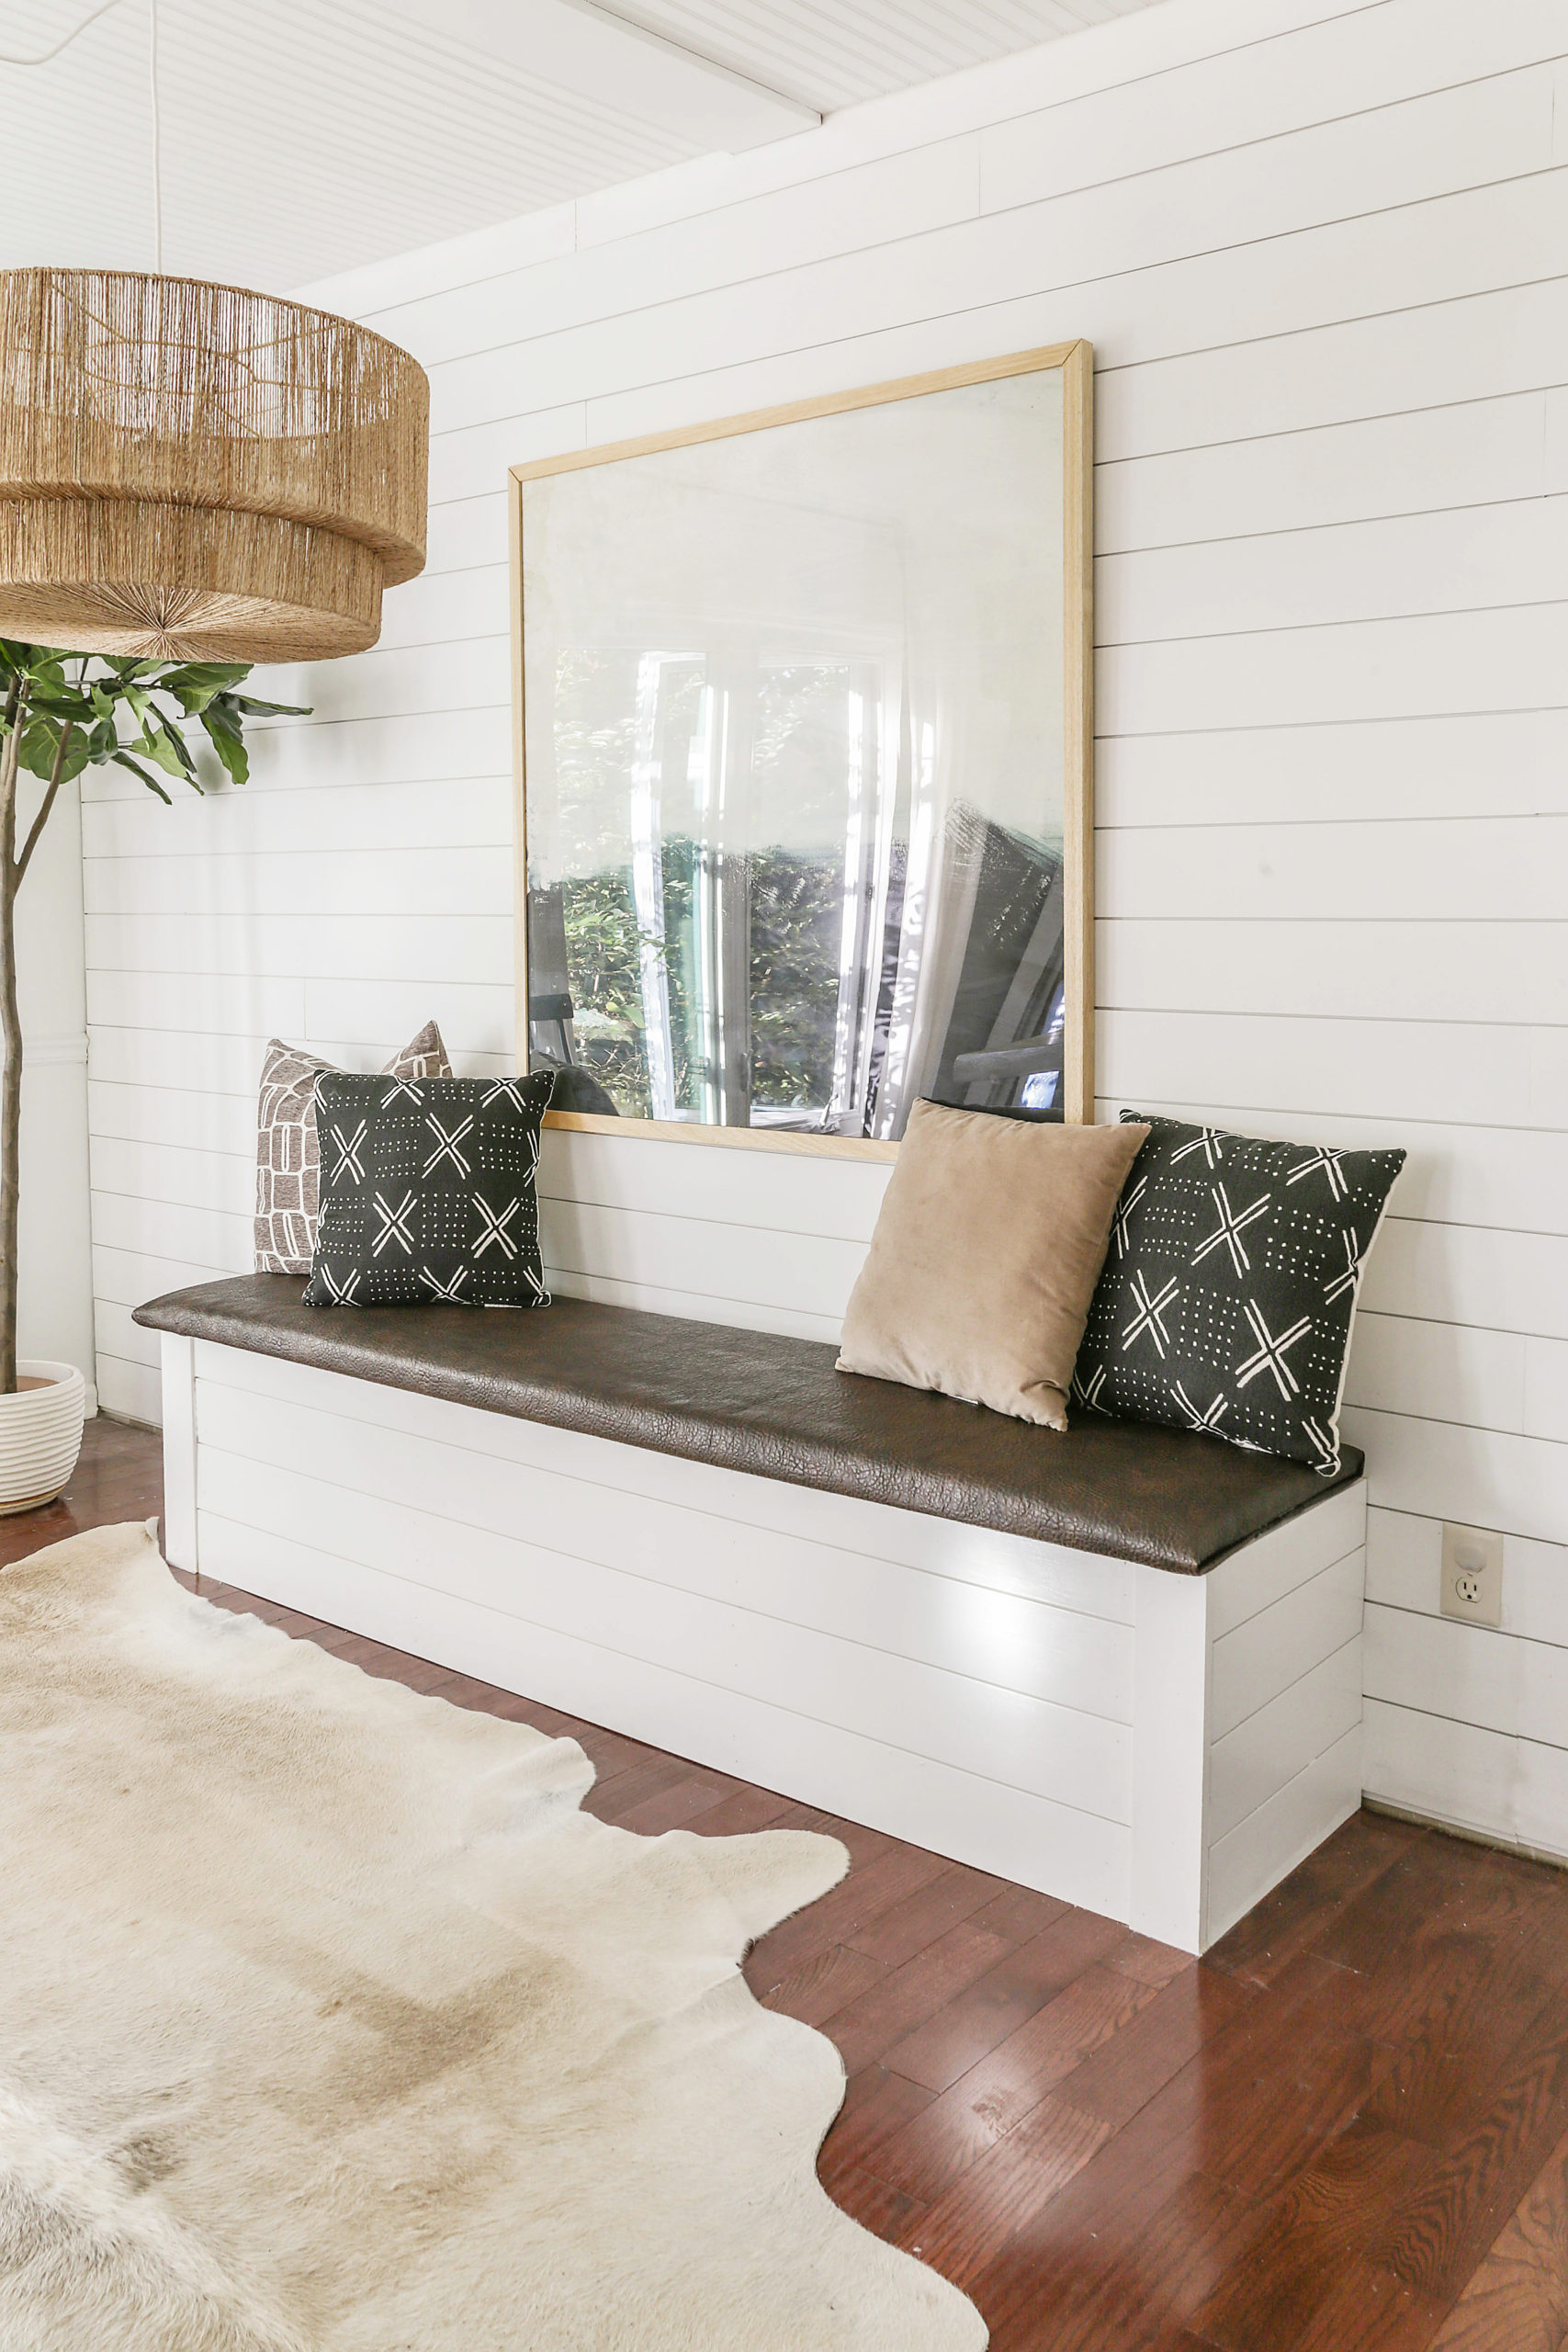
Today I am going to show you how I upholstered this dining nook bench for under $60, and in less than thirty minutes.

Sorry it took so freakin’ long , but I suppose late is better than never…right?
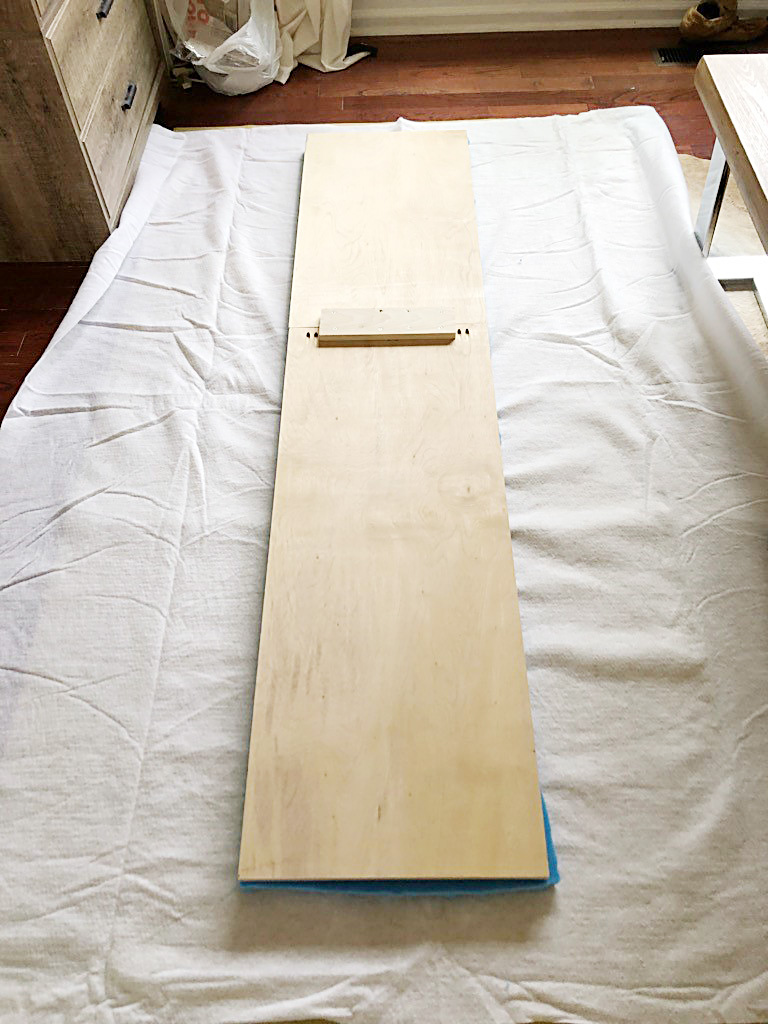
So here is the top of the bench before I worked my DIY upholstery magic on it..
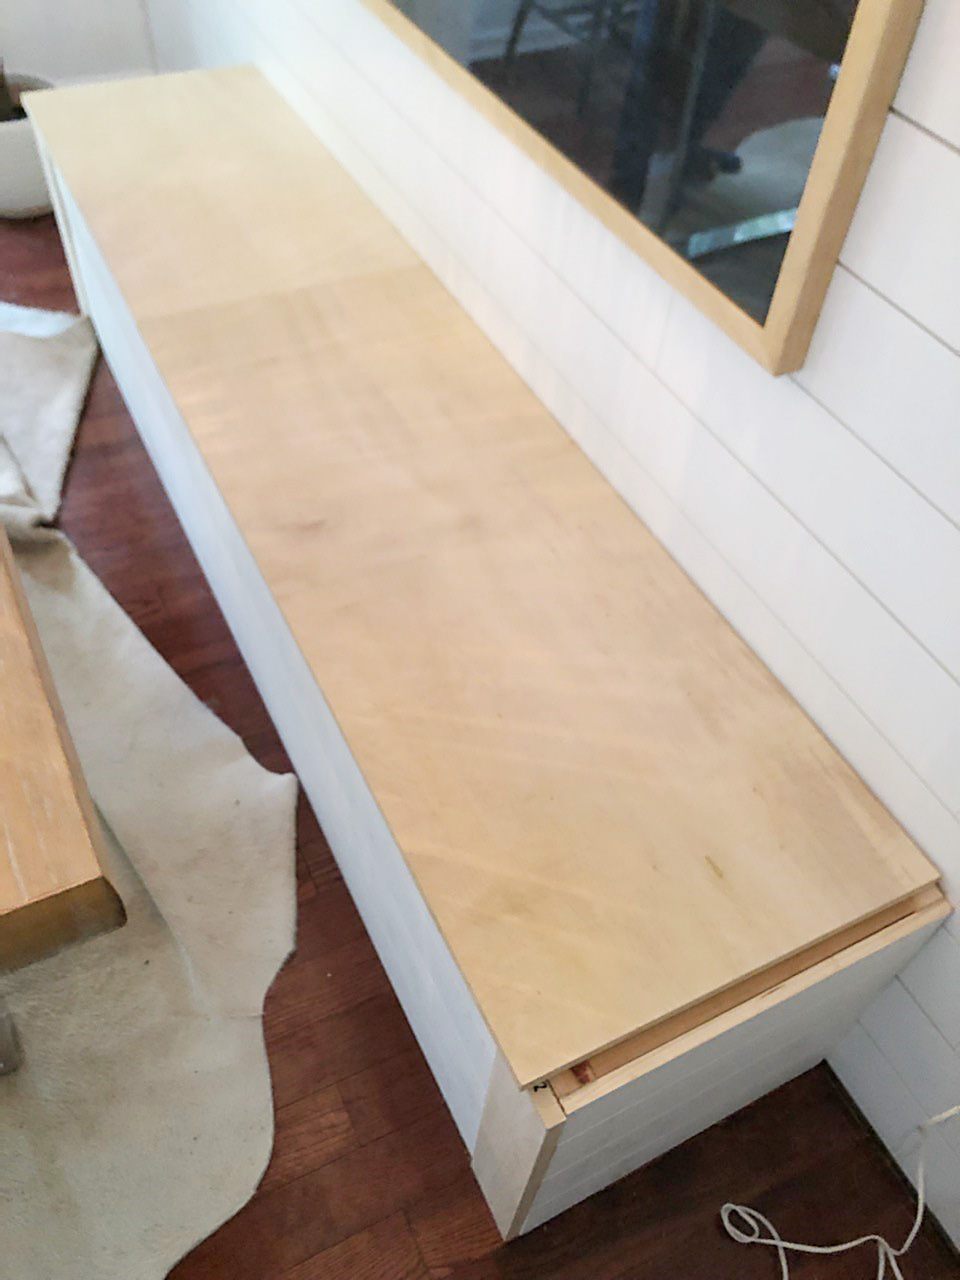
The top of the bench was pretty darn basic… ¾ inch veneered plywood to be exact. Nothing fancy.
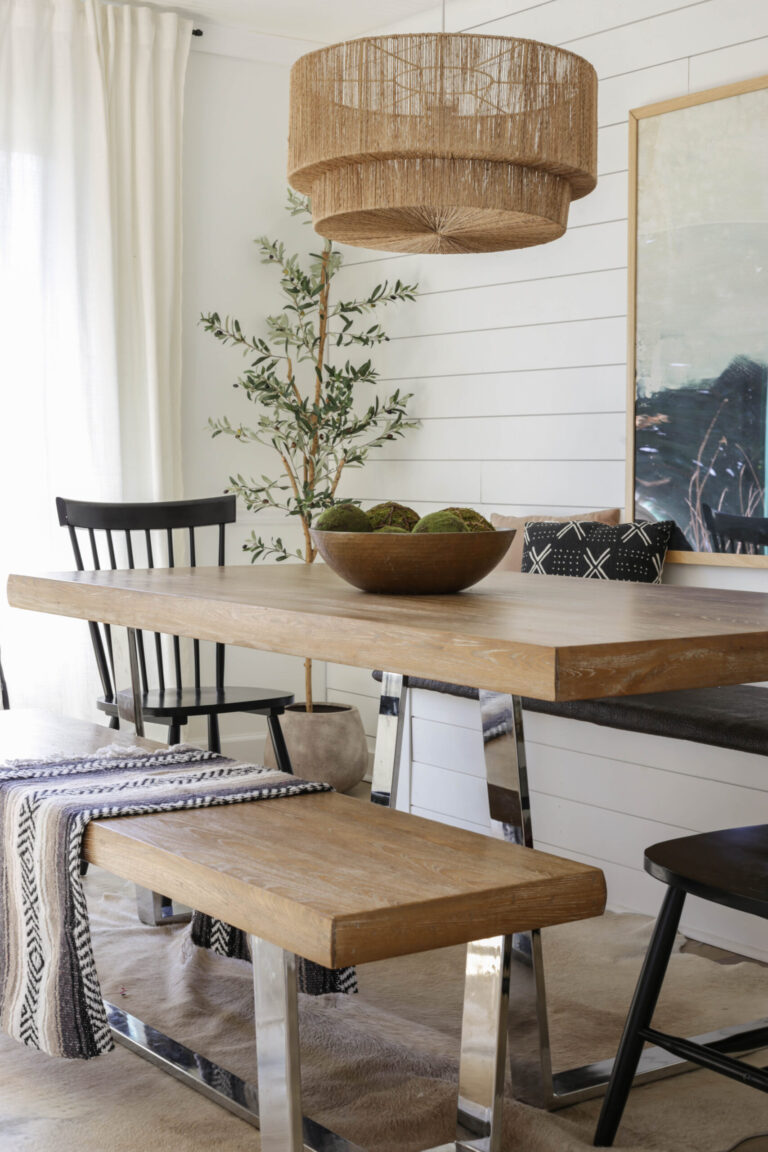
Given this nook was serving as a multi-functional space (not only was it a dining room, but my office as well) , I really wanted to make sure that the fabric I chose for this banquette was not only comfortable, but cleanable and forgiving.
Then when I made a trip to the fabric section at Hobby Lobby, I knew I had found the perfect upholstery when I laid my eyes on this leather-looking fabulous-ness..
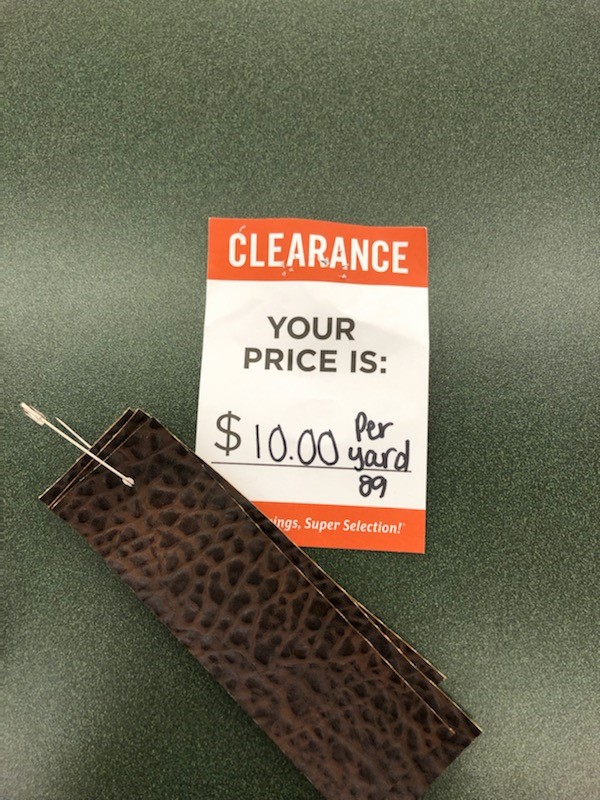
Not only would this pleather material be durable and practical, it was on clearance for only $10/yard. Given the feel of this fabric was pretty thick and substantial (not to mention super modern farmhouse vibes), I could not believe the price.
With my bench dimensions of 80.5” wide x 18.5” deep, I only needed 2.5 yards. Woot woot!
So now let’s get down to the nitty-gritty..
For your shopping convenience, I have included affiliate links. I am an Amazon and RewardStyle affiliate partner.
DIY Upholstered Banquette Bench Materials:
*Note that quantity of materials is based on a bench with following dimensions: 80.5” W x 18.5” deep x 3/4” thick*
- Heavy-Duty Staple Gun with plenty of staples
- 2 foam toppers (I used these)
- 2 yards insulating fabric (I used this one)
- upholstery fabric of choice (I bought 2.5 yards to make sure I had plenty)
- utility knife
How to Upholster a Dining Nook Bench

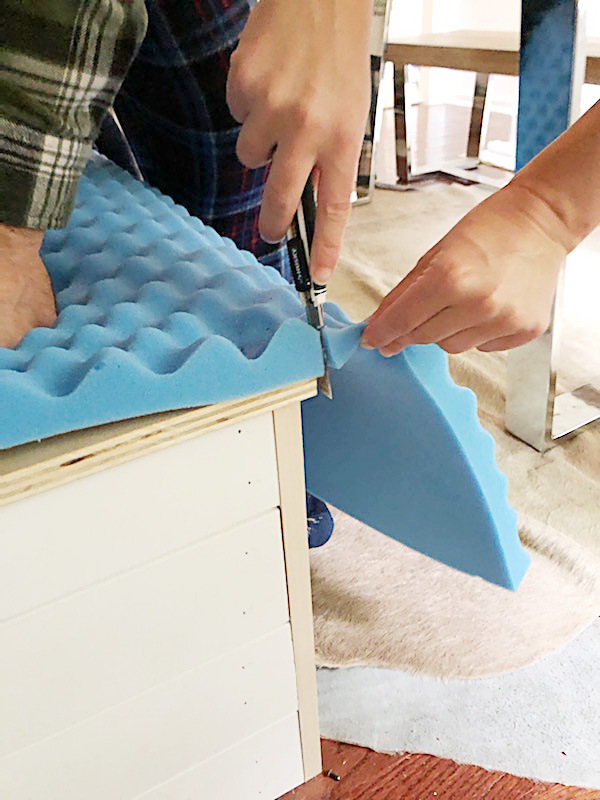
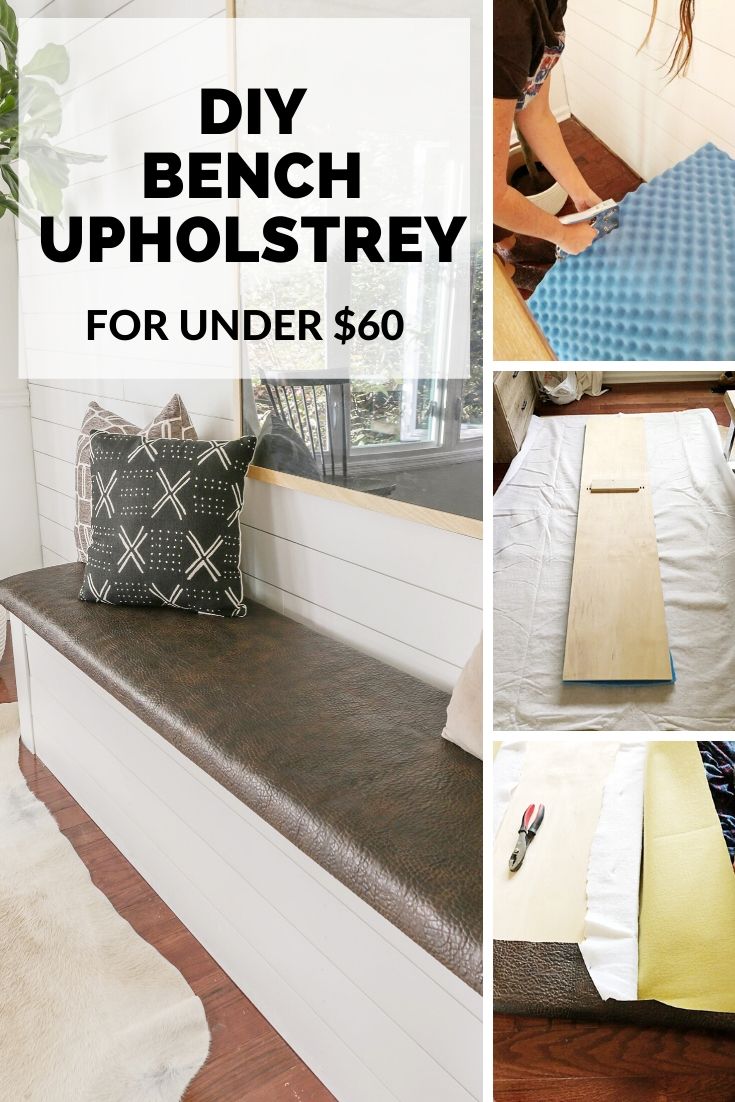
(Step 1). Staple your foam toppers to the plywood bench top. Note that there will be excess overhang.
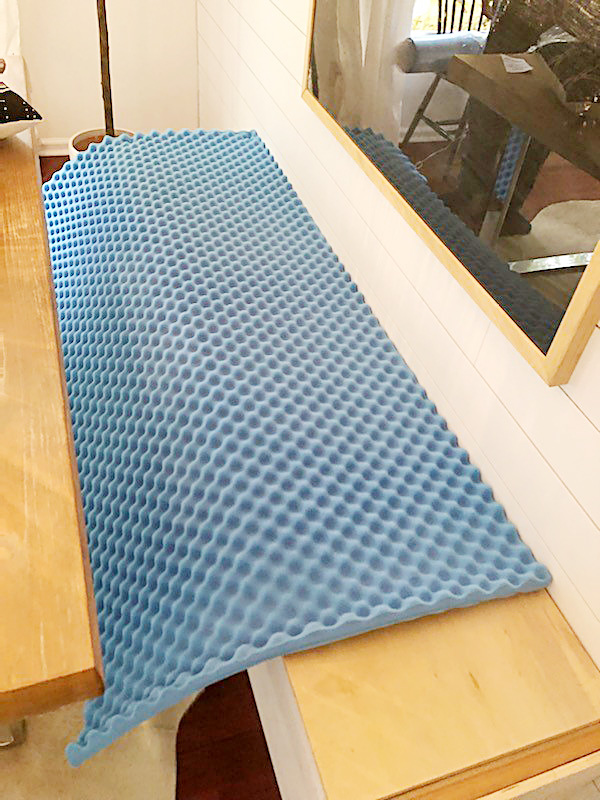
(Step 2). With utility knife, carefully cut off the excess overhang of the upholstery foam.
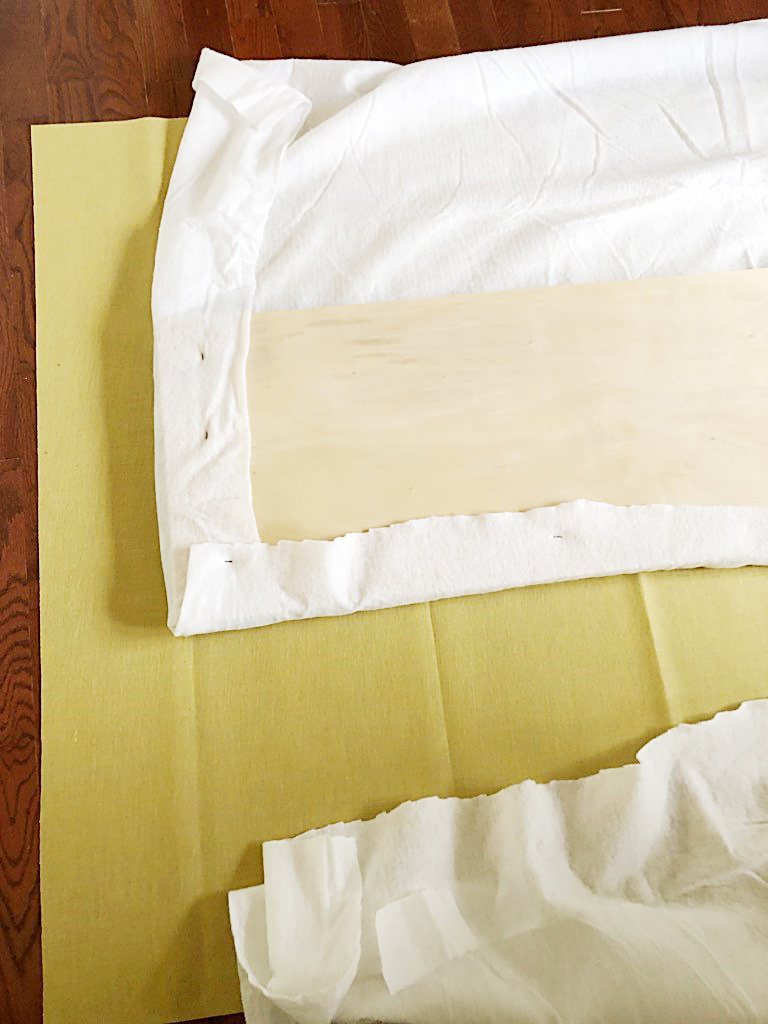
(Step 3). Place upholstery fabric face down, then insulating fabric, then bench top (all face down on a large, flat working surface).
(Step 4). Wrap and staple the insulating fabric to the plywood bench top.
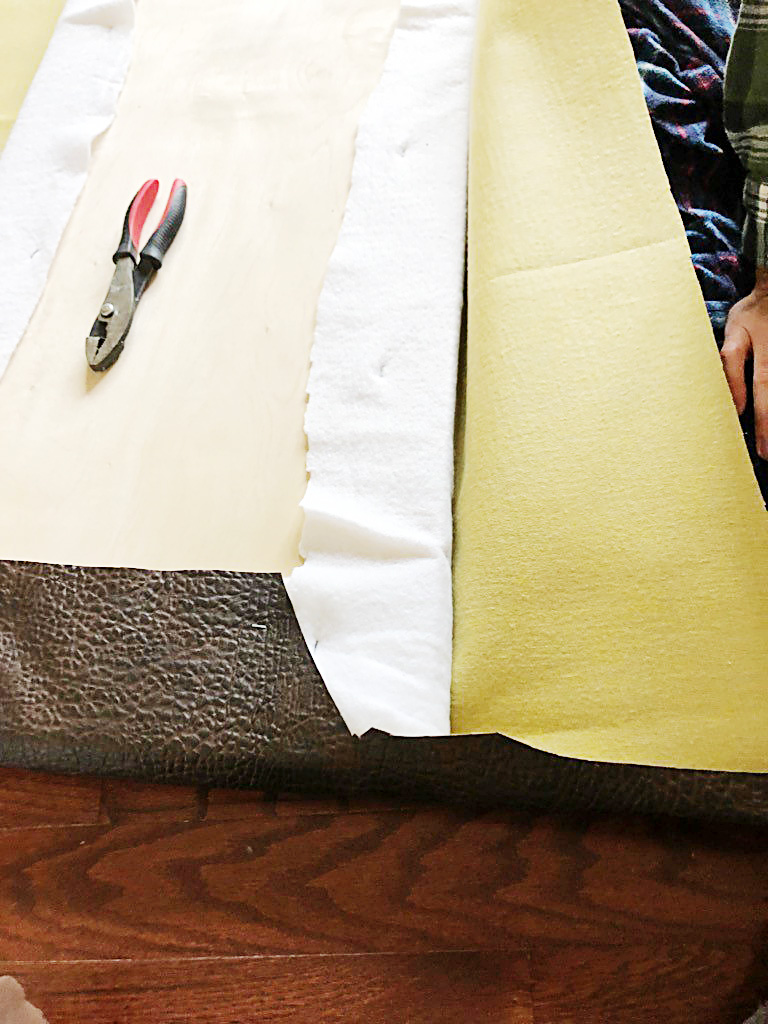
(Step 5). Now that insulating fabric has been stapled smoothly and somewhat tightly, you can now wrap and staple your upholstery fabric.
With the thick, vinyl material I used, I will say that getting the corners to look sleek was a bit of a challenge.
After a few failed attempts (notice the pliers. where I had to remove some staples), I had to cut some of the excess fabric from the corner folds (kind of like wrapping a present).
Despite the thick fabric being a bit more challenging than other fabric mediums, I am still happy with how it turned out…
And if you are more of a visual learner (less of a reader), be sure to watch the tutorial video which I embedded into the post.
If you would like to see how the entire bench was built, you can read that separate tutorial here.
For less than $60 and a half-hour of my time, I am thrilled with how my DIY upholstery turned out. Why spend hundreds of dollars on at outsourced job when you can do it all yourself?
Thank you so much for stopping by! If you found this post helpful, please share with a friend or on social media. It truly makes all of the difference in the world.
Now get out there and design some good vibes!


Welcome!
My journey in interior design and home improvement began with transforming my first fixer-upper home, all while managing a budget and raising two young boys. My work, a reflection of my passion for creating beautiful, uplifting spaces, has been recognized by top publications like Better Homes and Gardens Magazine, HGTV, and more. I invite you to explore my site and witness the transformation of my home and the vibes we've designed. Read more...


I love this area and the leather look fabric was such a perfect choice. Your tutorial is great.
Thank you so much, Marty! I love how durable the fabric has been thus far. I hope you have an awesome rest of your week.
Love the fabric choice and multifunctional use! Thanks for sharing!
I am so glad you found it helpful! 🙂
Late is better than never!! I would not have thought of using a mattress topper for the foam. What a great idea and probably much cheaper than at the craft store!!
Looks awesome…thanks for sharing;)
Thank you so much, Maria. Yass…the mattress toppers were much cheaper (that was the motivation). I hope 2020 is treating you well so far.
It looks fabulous and I appreciate the tutorial! I have 6 dining chairs in my kitchen waiting to be finished and this is good motivation to get back to that project. The prospect of installing the cane chair backing scares me silly! Lol. My husband is so over waiting for me to get the nerve to finish them, poor thing. ?
Thank you so much, Kas! I am so glad to hear you found it helpful. Installing cane chair backing does sound a bit intimidating, but I know it will all be worth it when you are finished. Good luck! xoxo
Thank you, I am currently building my bench. Do you feel the poky foam through material?
You are so welcome! No..it all smushes down under any sort of pressure. And the insulating material prevents any of the texture from being seen through the upholstery .