Pining for the look of custom, high-end drapes, but only have an Ikea-esque budget to work with? Well, I totally have your back in this no-sew, DIY tutorial…
Brace yourselves for this cutting-edge, Ikea curtain hack tutorial as it’s quite intimidating, my friends.
I mean…it’s so advanced that you may not be able to handle it. You see…
This DIY decor tutorial requires the highly evolved skill of hot glueing sh*t together. Appreciate my attempt at sarcastic humor?
All joking aside, this is actually one of the easiest DIY projects on my blog to date!
In fact, it’s so embarrassingly simple that I have had this project hidden up my sleeve for years now (I literally completed this hack over 5 years ago) and kind of forgot all about- that is- until I published a recent round-up post titled Where to Buy Window Treatments on the Cheap (click here to read that separate post!).
Ages ago, I was consulting a design client who showed me an aspirational photo from her Pinterest board…
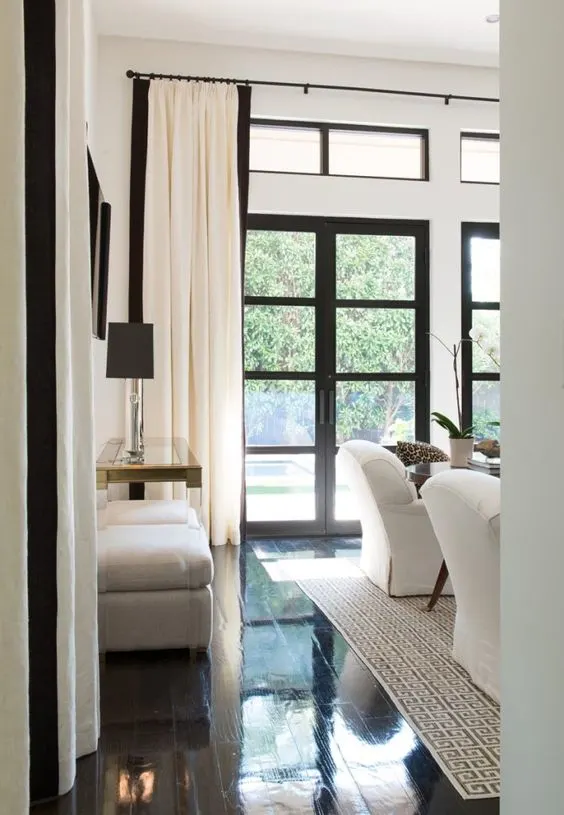
She was going for this Classy AF vibe, while also working with a pretty tight budget.
Having already invested so much in renovations and furniture, there simply wasn’t much leftover for window treatments.
As usual, the DIY-er (aka cheapskate) in me surfaced to save the day.
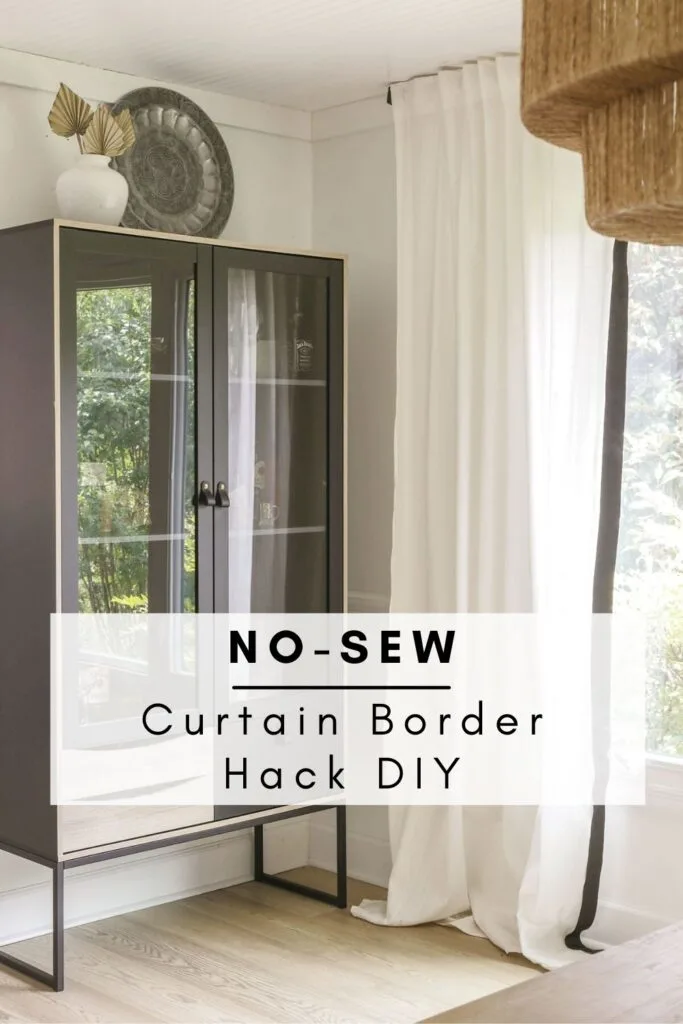
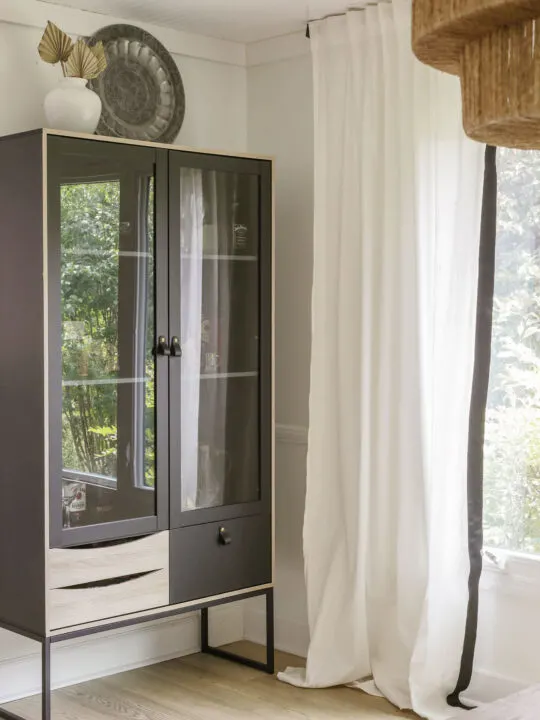
Using Ikea curtains, ribbon and a hot glue gun, I was able to replicate this look for a fraction of the cost ($50 per pair, pre-inflation era). Let me show you how I did it.
Note: The images of the curtains were taken in my home as I failed to document my client’s transformation (and i am kicking myself in the rear now for not doing so).
How to add custom border to your cheap curtains without ever having to sew:
(Materials Needed:)
- cheap white curtains (I used Ikea’s Ritva Panels)
- grosgrain ribbon (I got mine at Hobby Lobby)
- hot glue sticks
- hot glue gun
- scissors
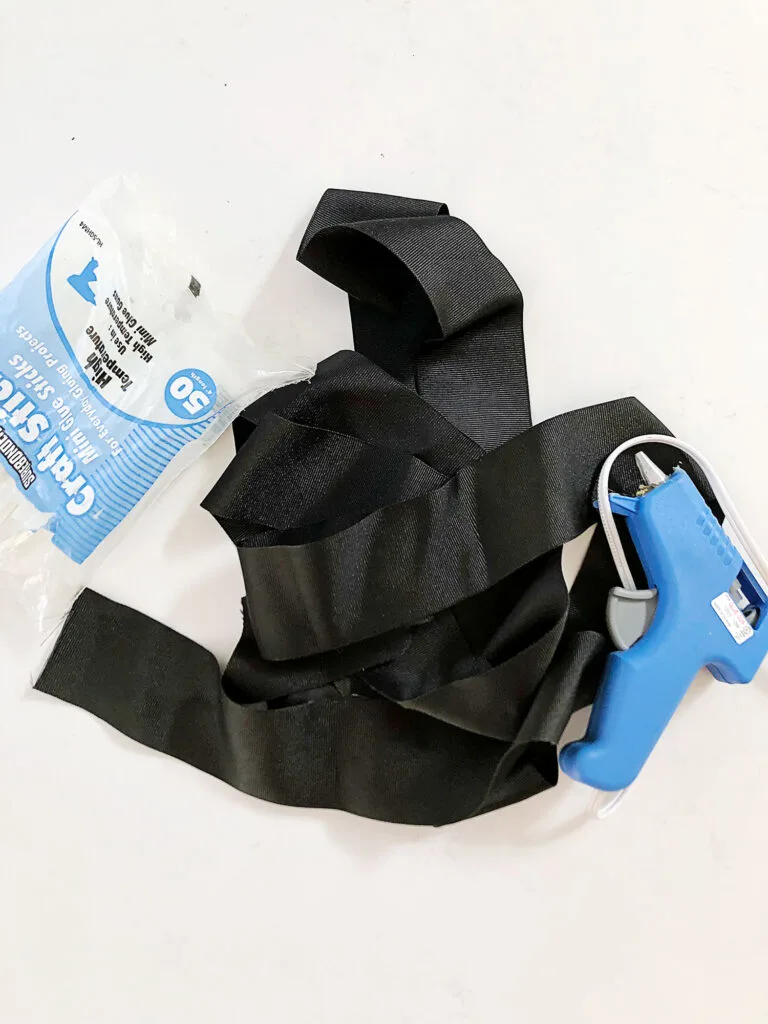
(Step 1). Hang your curtains from a mounted curtain rod. (I found it easier this way).
(Step 2). Determine if you want want border on both sides of the drapes or only on one side. For a more casual, airy look, I decided to only go with one side of border.
(Step 3). Based of the length of your curtains and how many borders you want (1 or 2), calculate how many rolls of ribbon you will need. Since I hate math, I totally omitted this part. I simply bought an excess of ribbon and held on to my receipt- returning what i didn’t need after the project was complete. So that I didn’t have to worry about seams in the border, I used one roll of ribbon per panel.
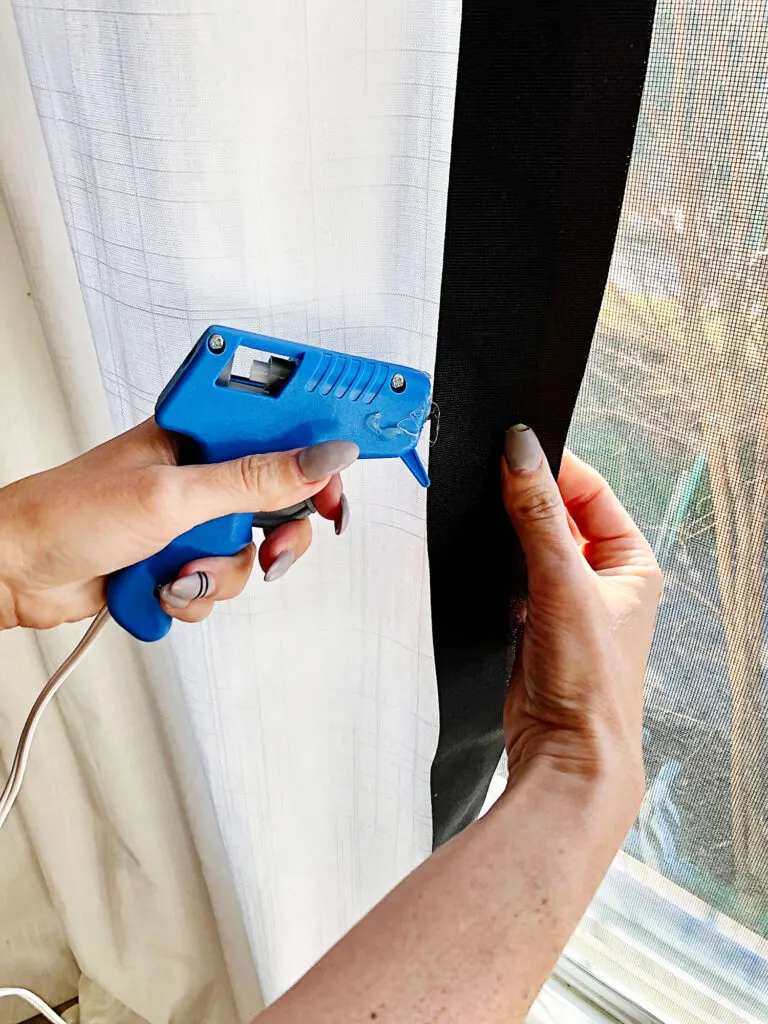
(Step 4). Starting from the top of your panel, hot glue the ribbon to the curtain. (You will need a step stool). Working your way down, continue gluing in intervals close enough to provide a secure attachment. I placed the actual ribbon roll in the floor and then grabbed the slack with me (all of the way to the top).
(Step 5). Once the ribbon has been fully glued to the perimeter of the panel, cut off the excess ribbon. To avoid seams in your border, you need to plan on using one roll per side.
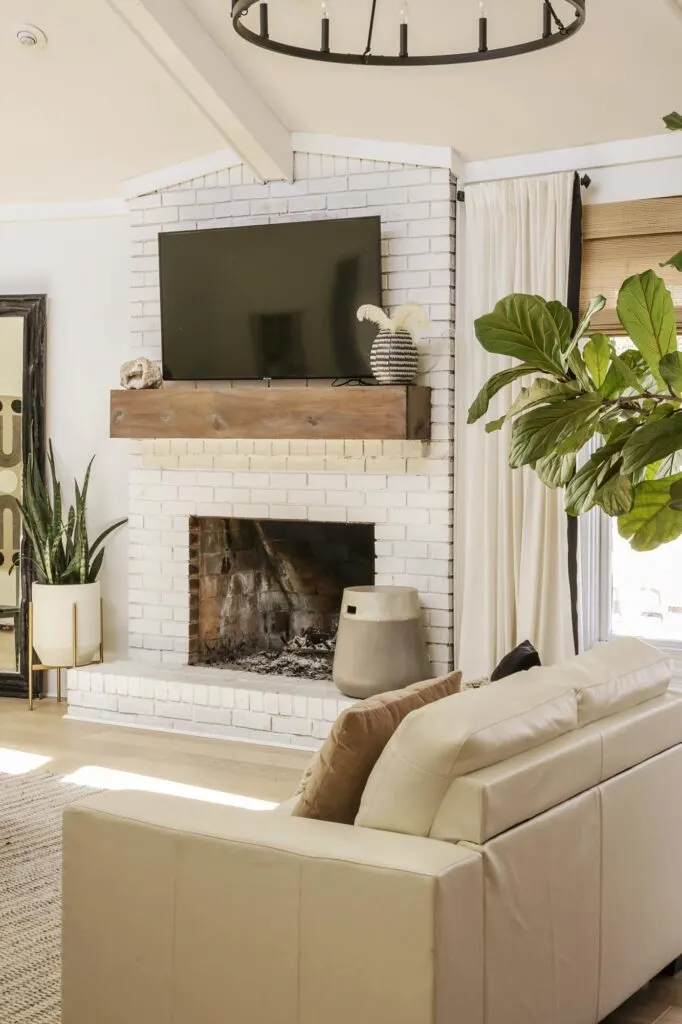
While I cannot precisely recall how long this project took me to complete, I am pretty confident it took me less than an hour to do three windows ( 2 in my living room and one in my dining room).
I hope this simple tutorial has expanded your mind to show you all the possibilities that exist- even when you don’t have much money to work with.
If you found this post helpful, it would mean the world to me if you could share it with a friend or on social media…
Now get out there and design some good vibes along with a fabulous life!



Nadine
Wednesday 16th of February 2022
Copied this idea from you a while back. Glad you wrote this tutorial because it definitely would have been better to hang curtains from a mounted curtain rod instead of laying it on the floor.
Designing Vibes
Wednesday 16th of February 2022
Sorry it took me so long to get around to the tutorial, Nadine. xoxo
Carmen Sambursky
Wednesday 16th of February 2022
The curtains look beautiful and that black edging gives them a very chic look! Thanks for the great tip!
Designing Vibes
Wednesday 16th of February 2022
Thank you so much, fabulous lady! Hope you are doing well. :)
Donna
Wednesday 16th of February 2022
Erica- they are gorgeous! Thanks for the great tip and I’m with you on the math.
Designing Vibes
Wednesday 16th of February 2022
haha! I really appreciate it, Donna. Yeah...I had a really mean math teacher in middle school who basically scarred me for life. I hope you had a nice V-day!