DIY Sliding Barn Door to Replace Bi-Fold Closet Doors
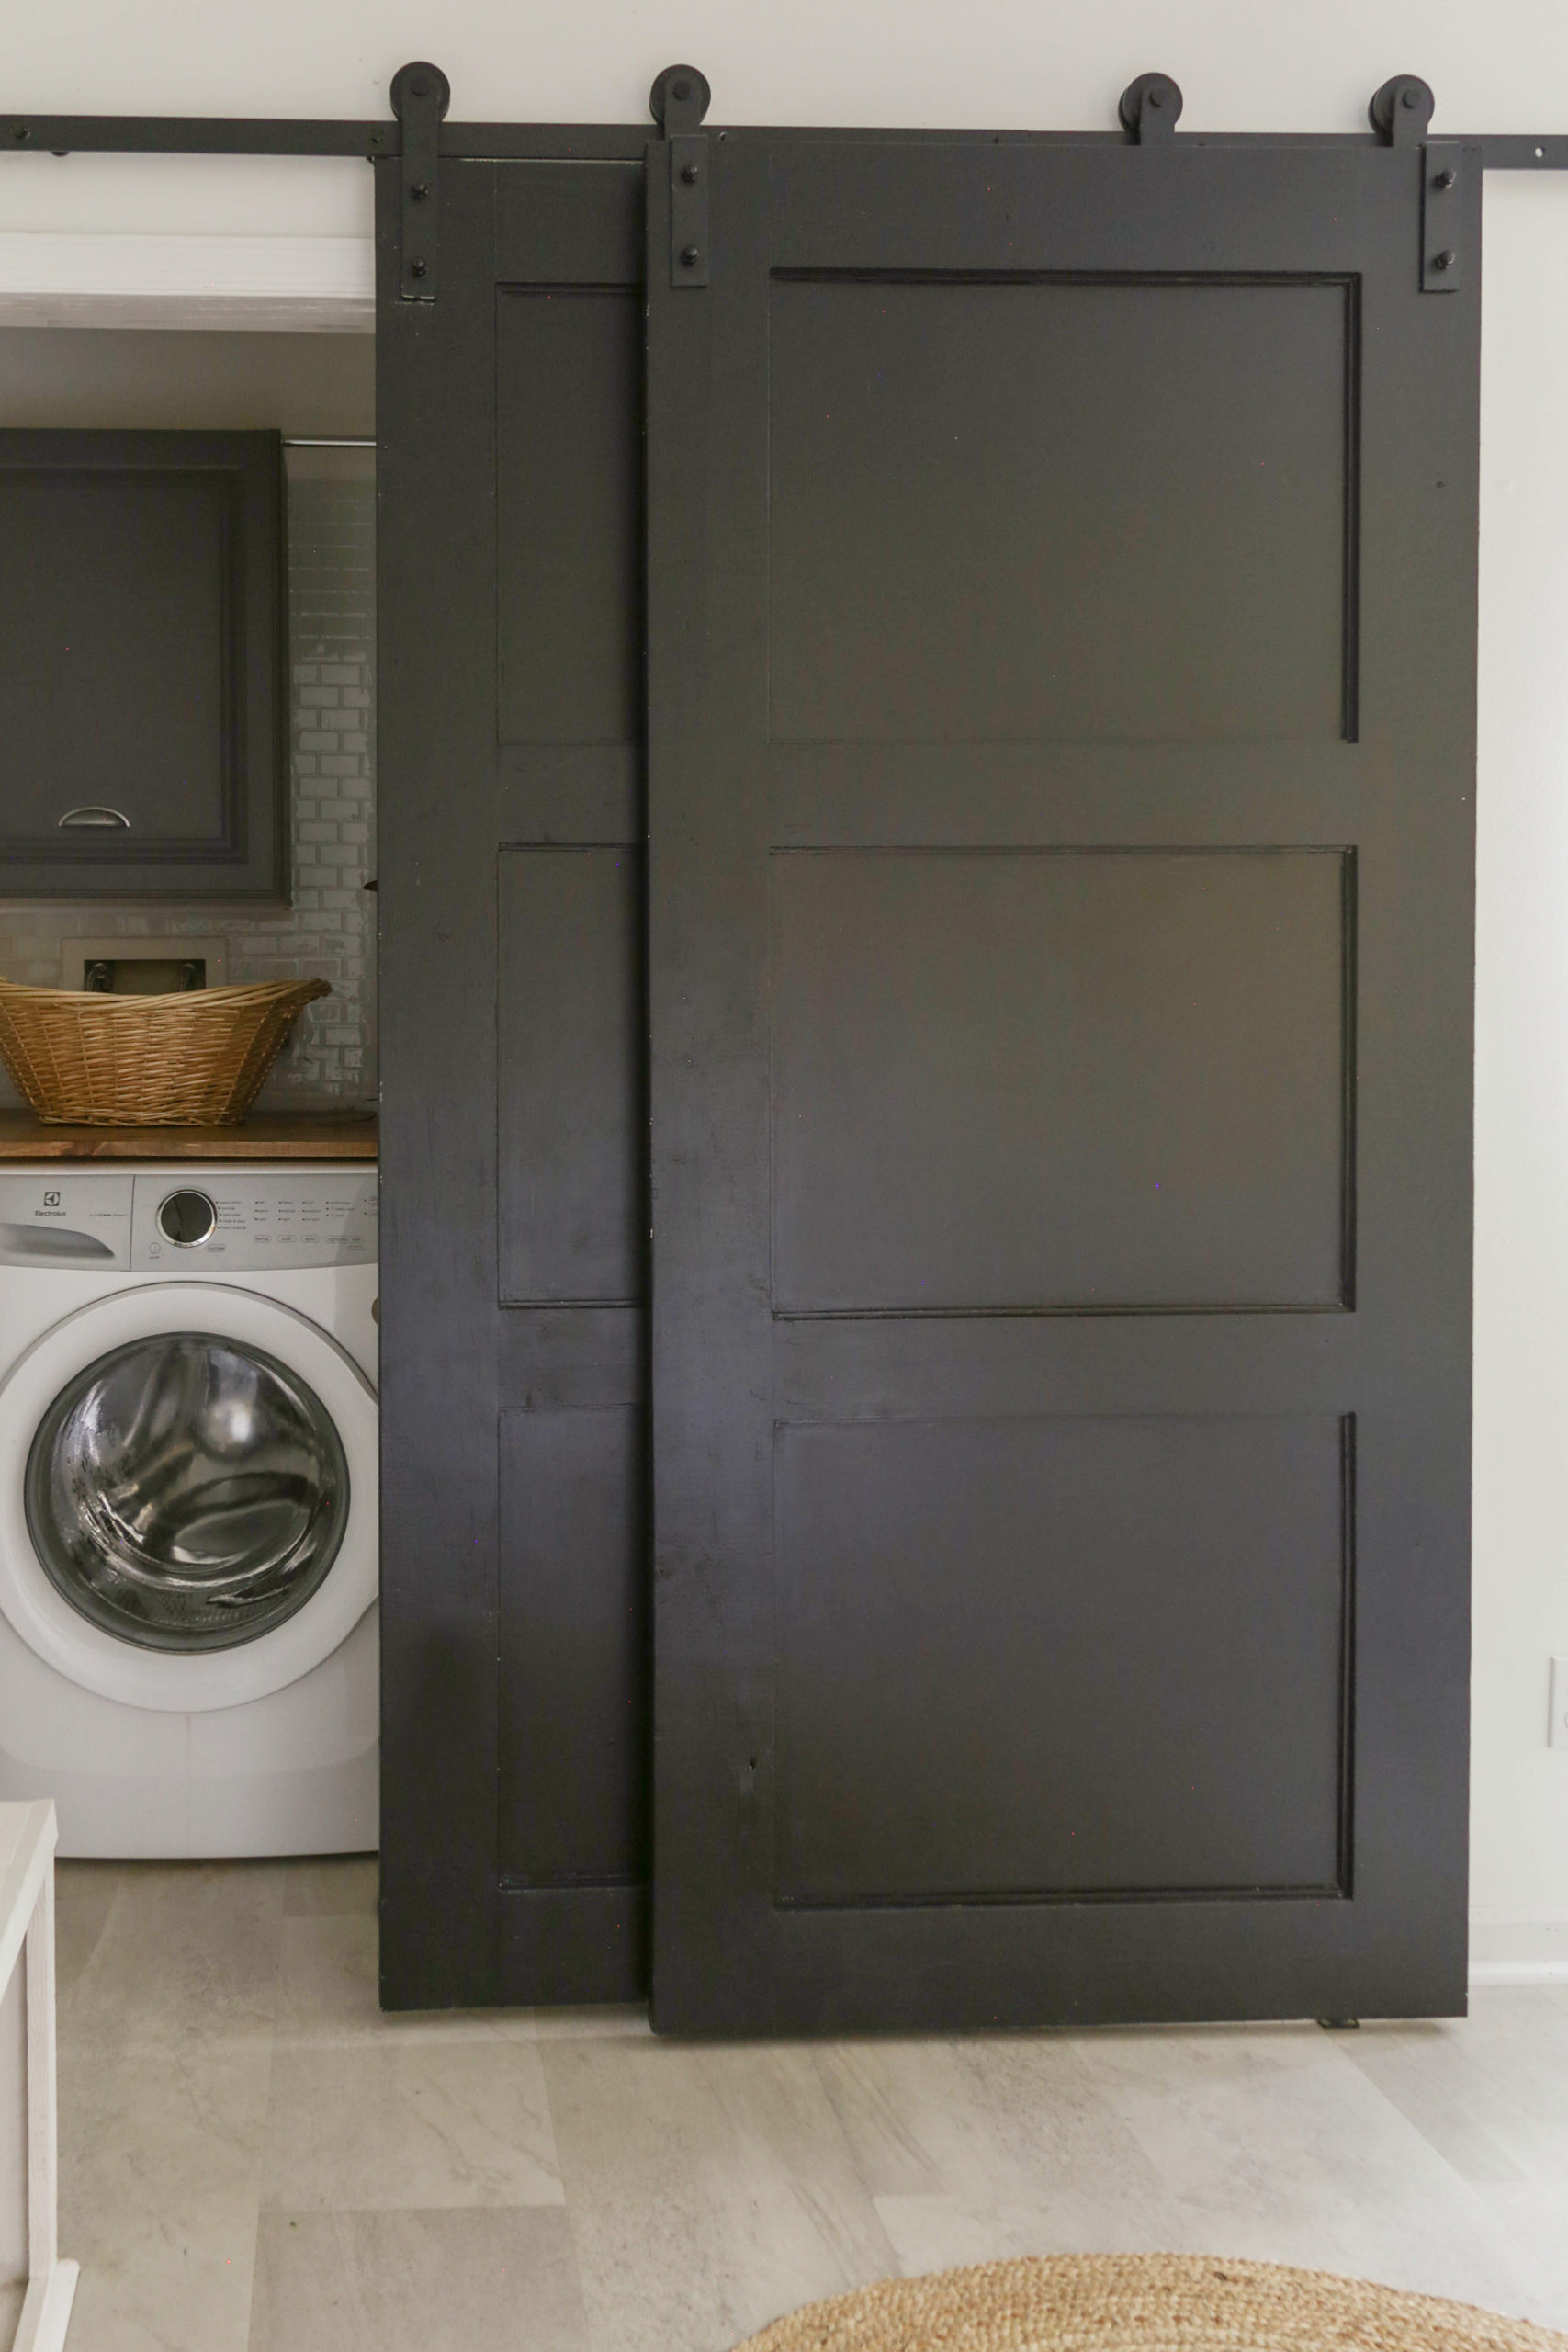
Two months ago, before all hell broke loose, my husband and I were facing a list of some pretty major home improvement projects to tackle. Well…
Now that our home is serving as a makeshift school, gym, office, restaurant and Karate studio, in an effort to maintain some shred of sanity, we have decided to halt any invasive interior projects until the world somewhat returns to normal (whatever that may be).
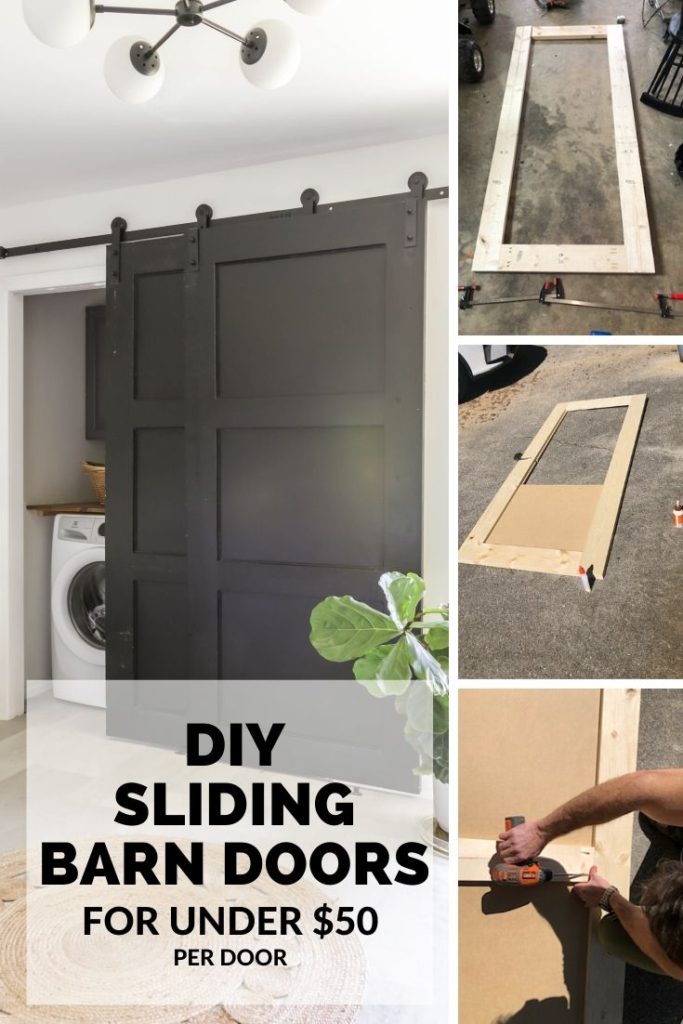
The DIY sliding barn door project I am sharing with you today is an ideal endeavor for such crazy times as we were able to build the doors in our garage and outdoors without ever having to disrupt the flow of our now mutli-functional home.
Not only is the project relatively straightforward, but it is budget-friendly as well. For $50 a door (not including the sliding track kit), we were able to replace our boring bi-fold closet doors with custom, sliding barn doors.
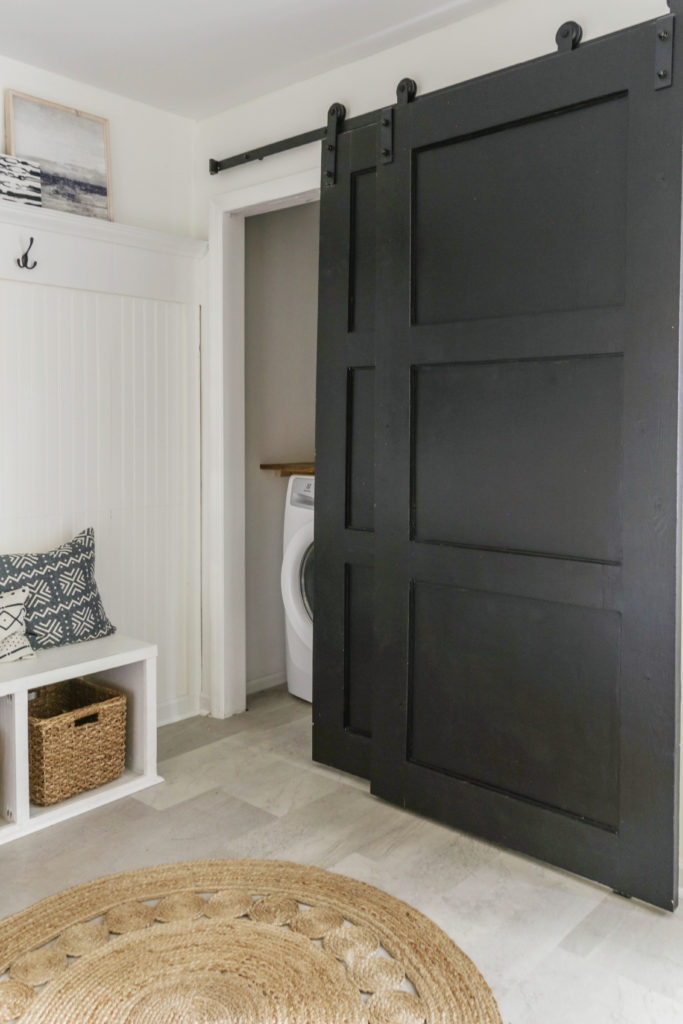
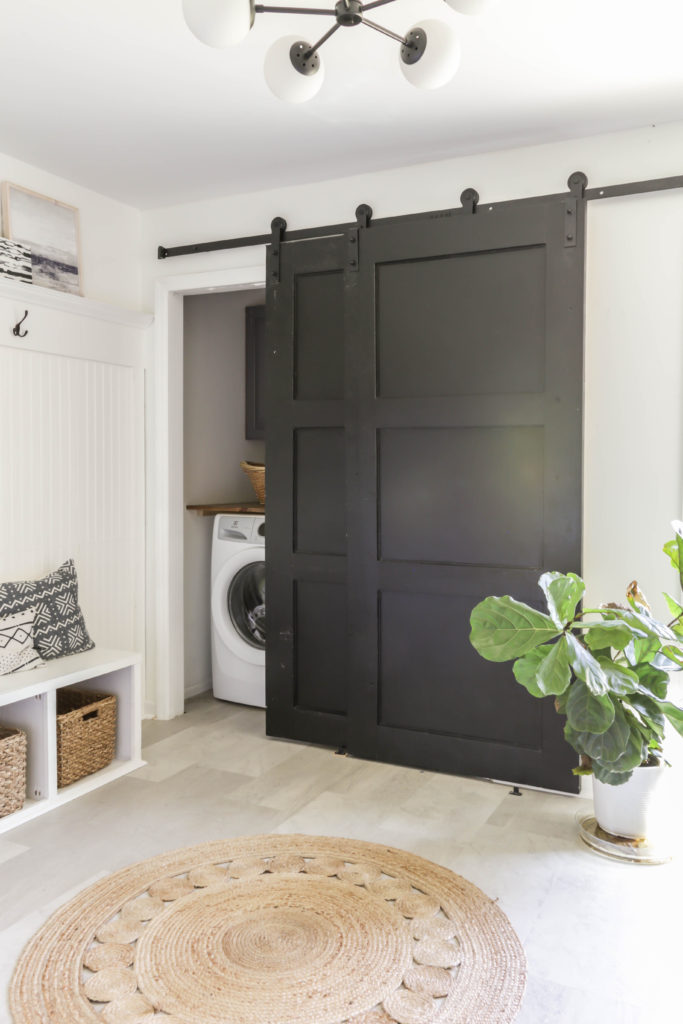
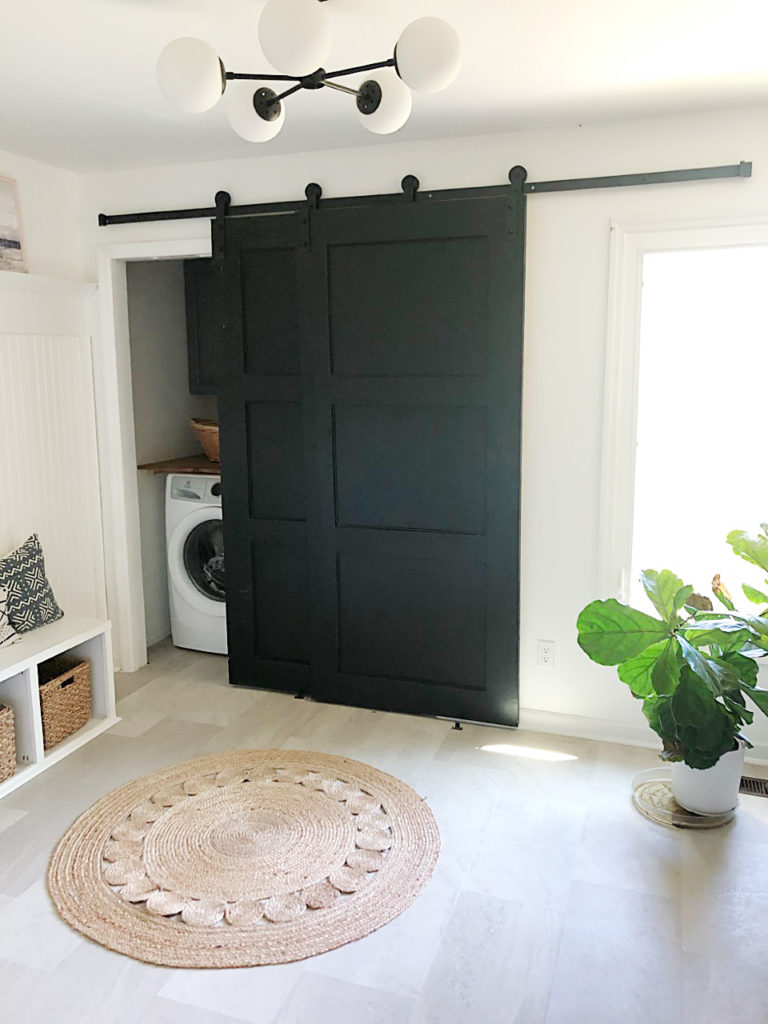
Custom design and functionality was particularly crucial to this space, not only because of the mudroom bench located so close to the door opening, but also because this is our laundry closet and I needed to be able to access the washer and dryer simultaneously.
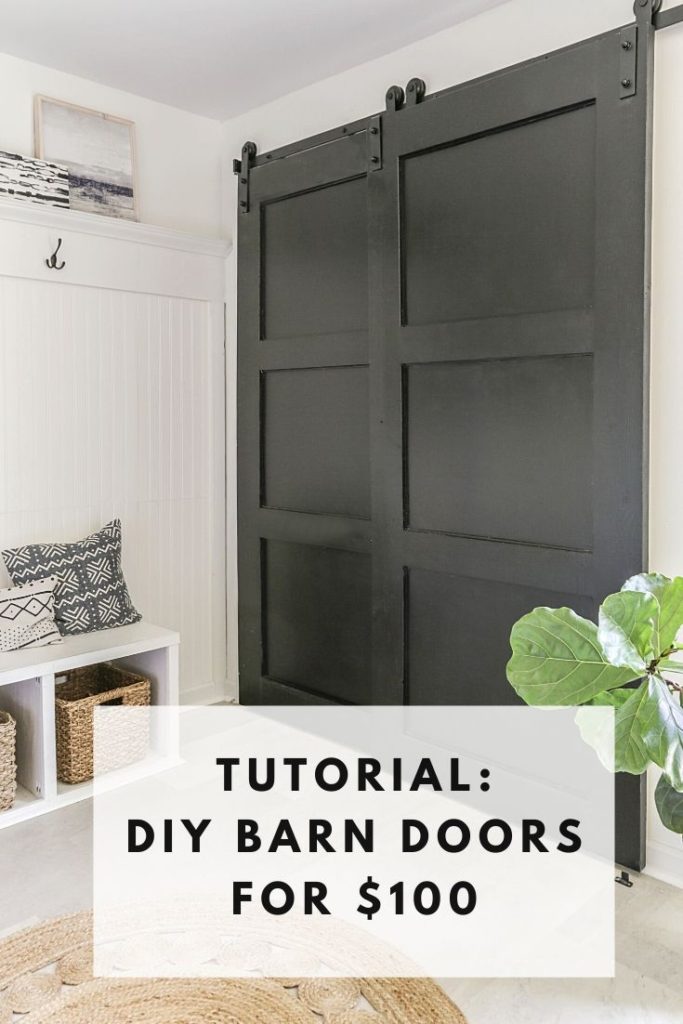
With a paneled design and a sleek, satin coat of black paint (Sherwin Williams “Tricorn Black” to be exact), the usual rustic, farmhouse door is given a bit more of an elevated edge- perfect for the whole Modern Farmhouse aesthetic.
While I had originally purchased long, contemporary handles to install on both doors, considering the overlapping functionality of our design , the handles made everything seem visually unbalanced. But as the saying goes, sometimes less is more.
Nonetheless, I am happy with the more minimalist result. Now let me show you how to build these paneled doors yourself.
*For your online shopping convenience, I have included affiliate links in this post. That means if you click on one of those links and buy something, I may receive a small commission, but you won’t pay a dime more. As an Amazon Associate I earn from qualifying purchases*
DIY Modern Sliding Barn Doors Materials:
Materials and instructions for one door
- Kreg Pocket Hole Jig
- Kreg Pocket Hole Screws 2.5” for soft woods
- Kreg Pocket Hole Plugs
- 16 Gauge Nailer
- Wood Glue (I used this one)
- 12 Volt drill/driver
- Miter Saw
- Table Saw
- 2×6
- 1×5
- 1/4” MDF
- 1/2” Square Dowel
- 1/4” Square Dowel
- Trigger or Clutch Clamps
- wood filler
- Sliding Barn Door Track Kit (I used this exact one)
- Orbital Sander
- Stain Blocking Primer (I used this one)
- Sherwin Williams’ Emerald Urethane Enamel Paint (I used the color “Tricorn Black” in satin finish)
How To Build Paneled Sliding Barn Doors for Closet:
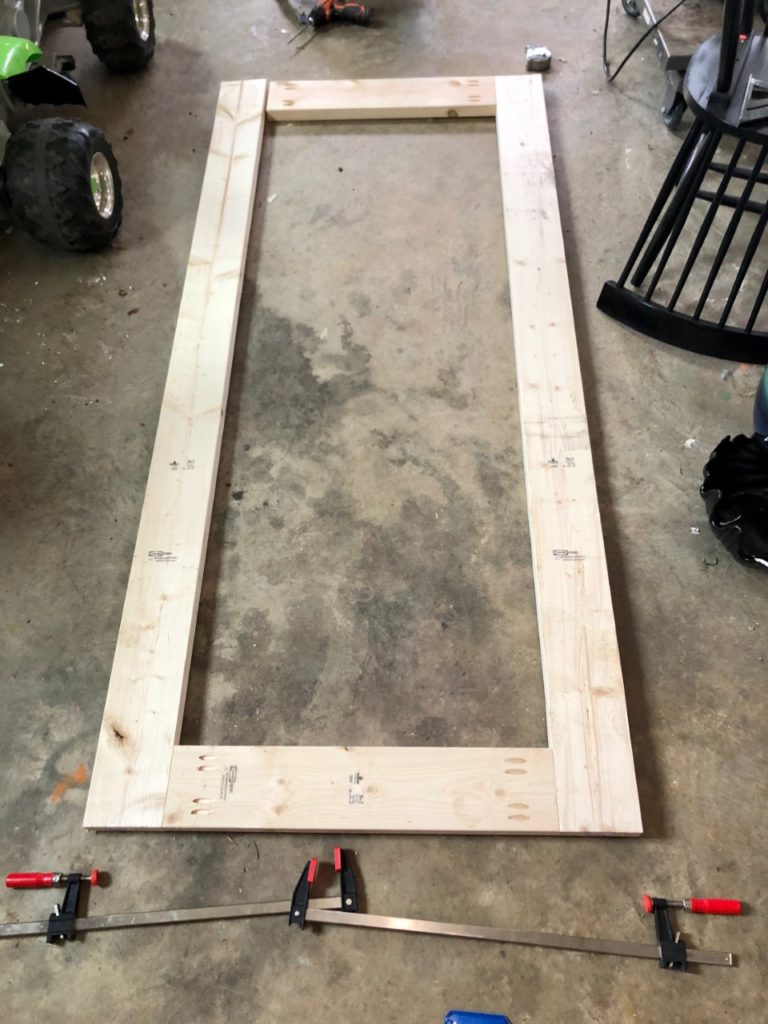
(Step 1). With miter saw, cut stiles and rails (aka the frame of the door) to desired dimensions (I used 2×6’s).
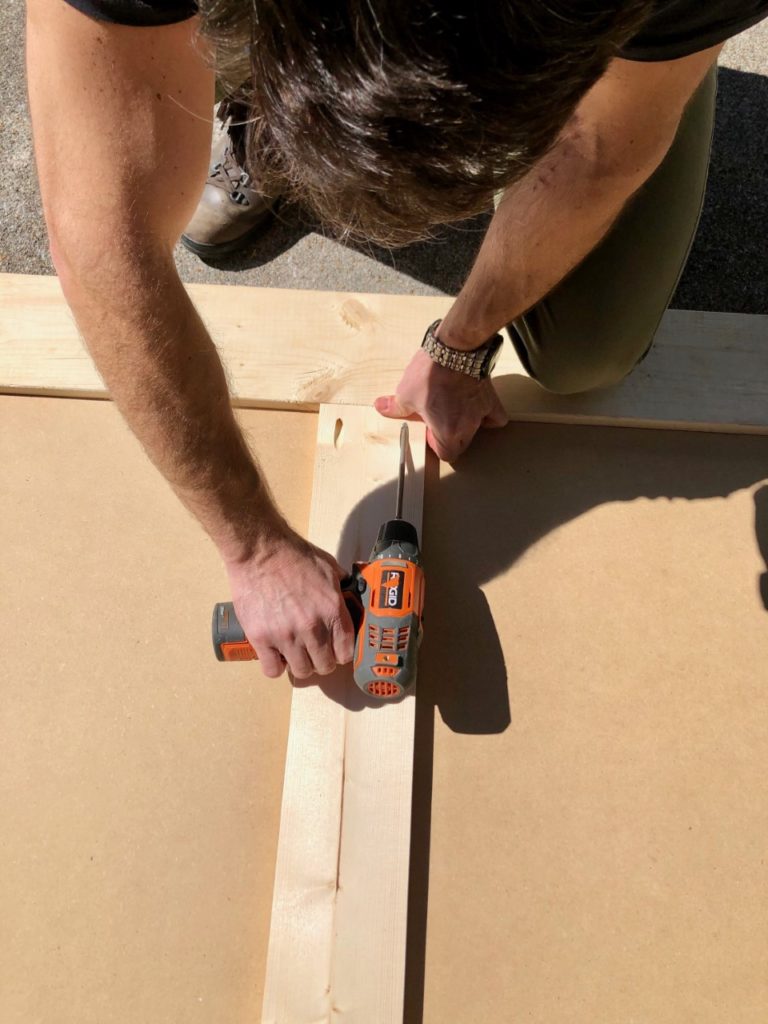
(Step 2). Attach rails to stiles using pocket hole jig.
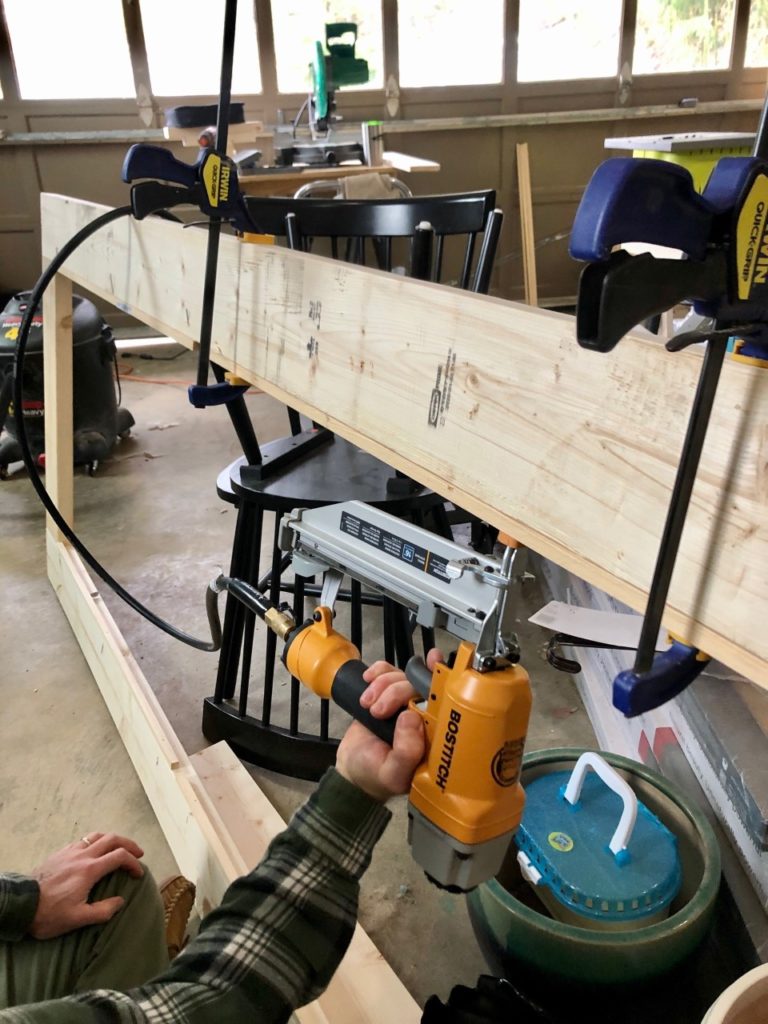
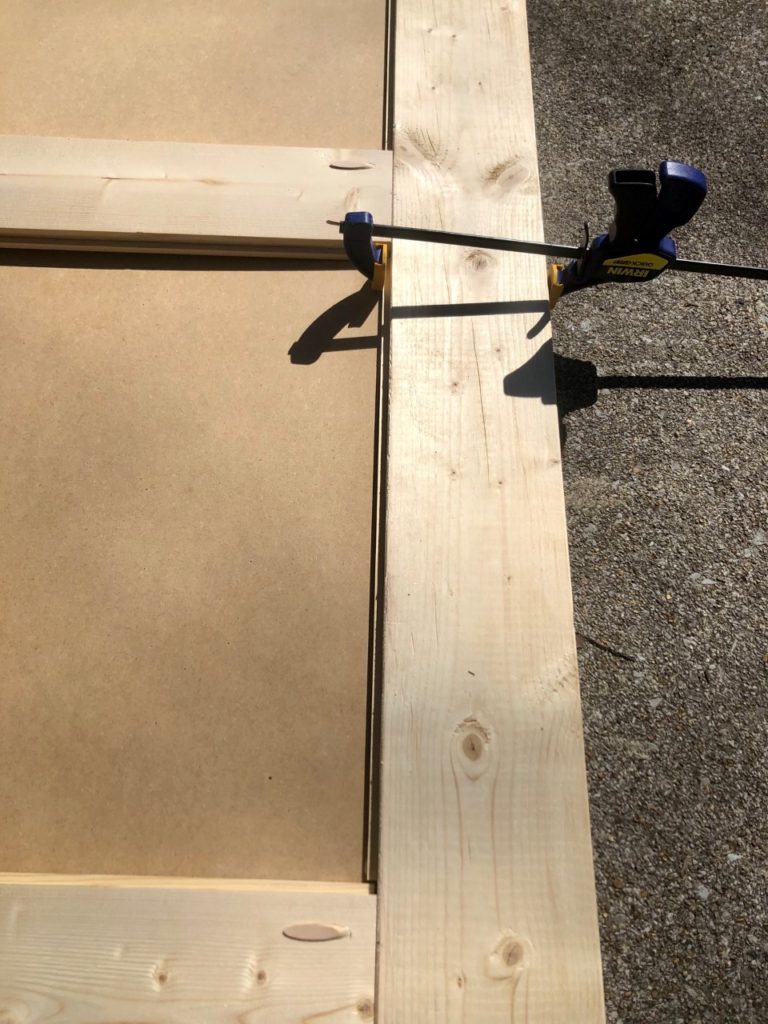
(Step 3.) Attach square dowel (1/2”) to inside perimeter edge using 18ga or 16ga nailer. Clamp the dowel in place then nail it.
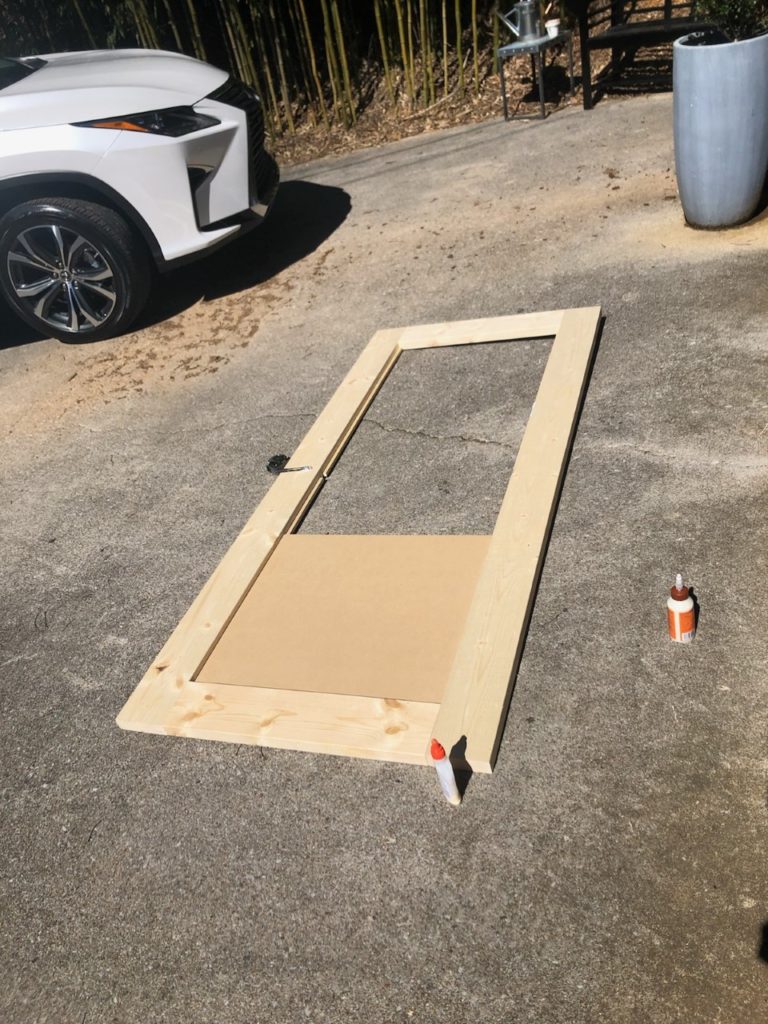
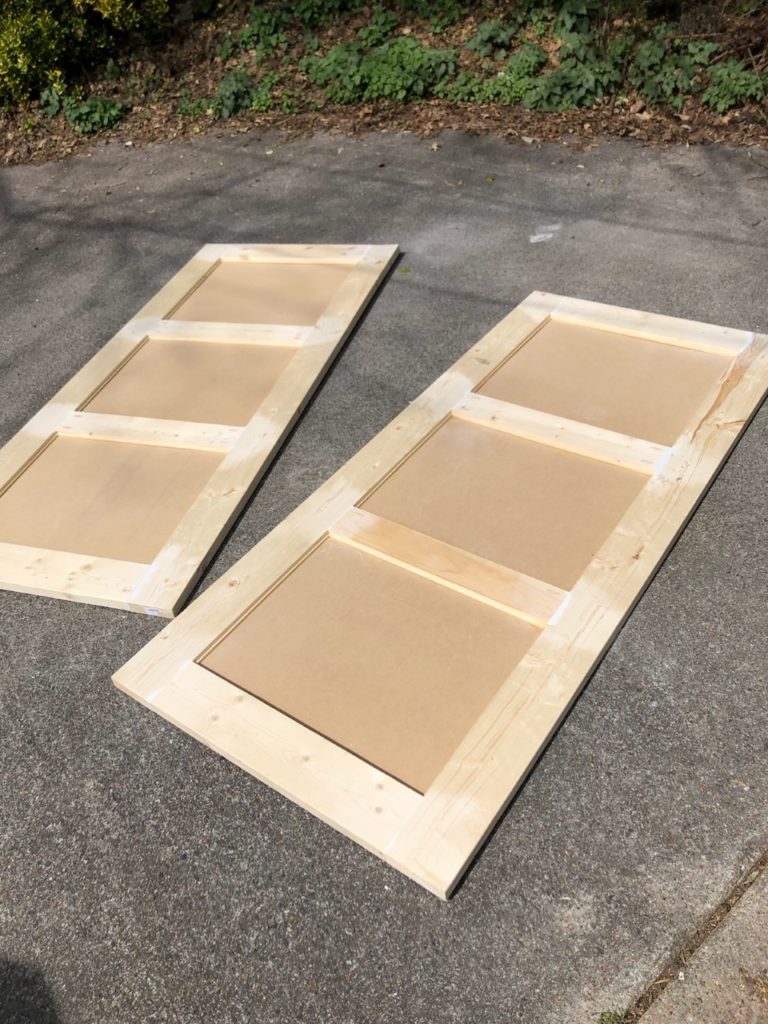
(Step 4). Cut MDF panel to fit inside dimensions with table saw. Make sure seams of the panels are located so the two middle rails of door frame will hide the seam.
The attached square dowels will provide an edge for the panel to rest on. Then, attach mdf panel to ½ dowel using wood glue.
(Step 5). Measure out correct spacing and attach two middle rails (I used 1×5’s) using pocket hole jig. 1X lumber is necessary to make sure the rail sits flush with the stile.
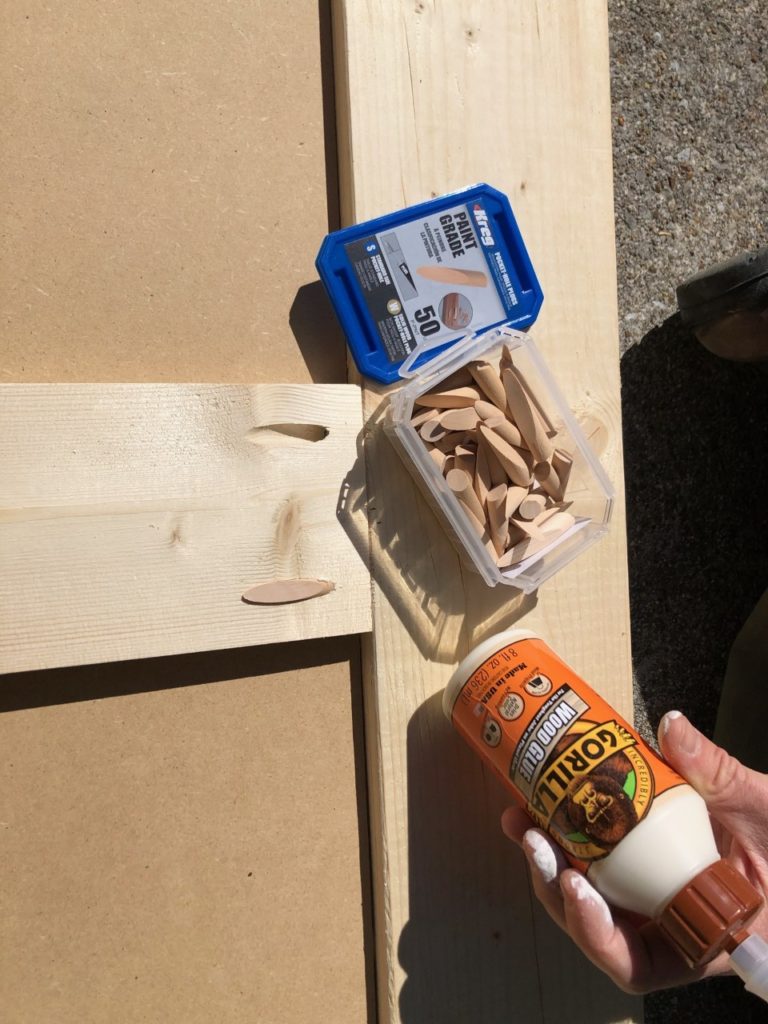
(Step 6). Use pocket hole plugs and wood glue to cover the exposed holes in two middle rails. If the plug protrudes from the pocket hole, use an oscillating saw to cut flush.
(Step 7). Attach 1/4” square dowels with wood glue on inside perimeter edge to cover seams where mdf panels meet rails and stiles. They also add detail to the project.
(Step 8). Use wood filler to smooth out seams. If needed, use oscillating saw to make kreg plugs flush with the rest of the door. To smooth out imperfections on the surface of your doors, use orbital sander.
(Step 9). Now you can prime and paint your doors. I used this primer. For paint, I used the Emerald Urethane Enamel Paint line by Sherwin Williams in satin finish (the color is Sherwin Williams “Tricorn Black”).
(Step 10). Install the sliding barn door kit (I used this one) using the manufacturer’s instructions.
I love just how much these custom closet doors elevated the feel of our mudroom/laundry room.
If you are looking for more DIY barn door tutorials, you can also check out these below:
More DIY Door Tutorials:
- Pantry Barn Door to Replace Bi-fold Closet Doors
- Easy DIY Upgrade for Cheap Bi-fold Doors
- 15 DIY Bifold Door Makeover Ideas on a Budget
I hope all of you guys are staying healthy and sane! Thank you so much for stopping by.
Now get out there (or stay safe inside) and design some good vibes !
PS. Thank you so much for supporting this small business of mine by sharing this post with a friend or on social media…
Your support truly makes a difference!






I love these. What a super great idea and they are beautiful.
Thank you so much, Marty! You are the best. xoxo
Great idea! And I have to say, I can’t believe how you keep being creative and working on projects when your kids are home and life is so crazy! Thanks for inspiring all of us our here in social distancing land! Always love your honest, realistic attitude about life with kids!
Oh, my friend…I totally have you tricked. haha! My kids are very much driving me crazy, and my motivation has been in the dumps. Thank you for the sweet words though. Have a great rest of your week and take care of yourself.
Those doors look awesome:) I know why you wanted to change out the bifold doors…I have them too. I want to throw them out the window. The look and function of these barn doors is so much better than a bi-fold. AWESOME!!!!!
haha! I totally know the feeling. Now to tackle all of the bedroom closet doors. Have a great rest of your week, sweet friend.