Paint it Black-How to Paint Your Door Black
When I came across an image of a black door on Pinterest, a lightbulb went off in my head. You see, I had been contemplating if I should replace a dingy, white door in my kitchen. The door leads out to the garage and has a window. I was not crazy about the view of the garage through the window nor was I crazy about the bland, white paint on the door. I decided to be adventurous and paint my door black- queue in The Rolling Stones “Paint it Black”. Love that song. Anyhow, let me tell you how I did it.
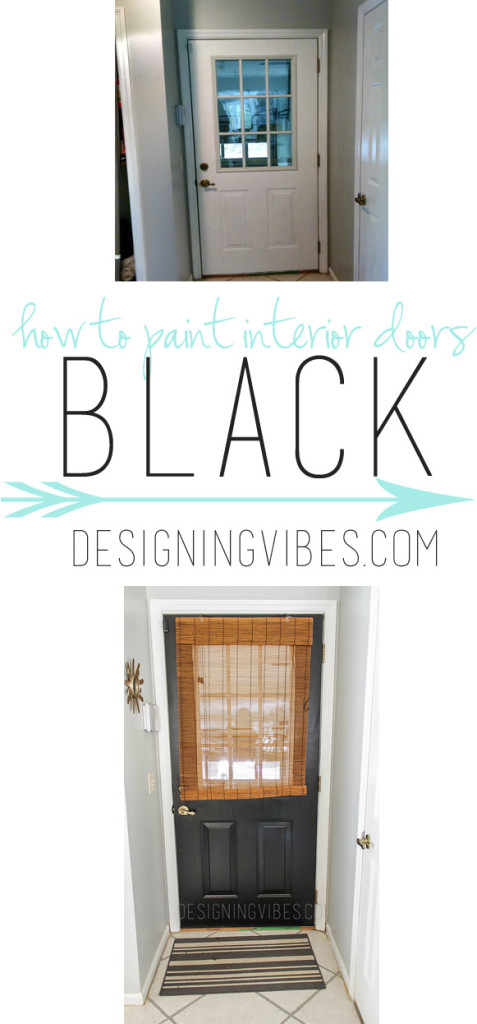
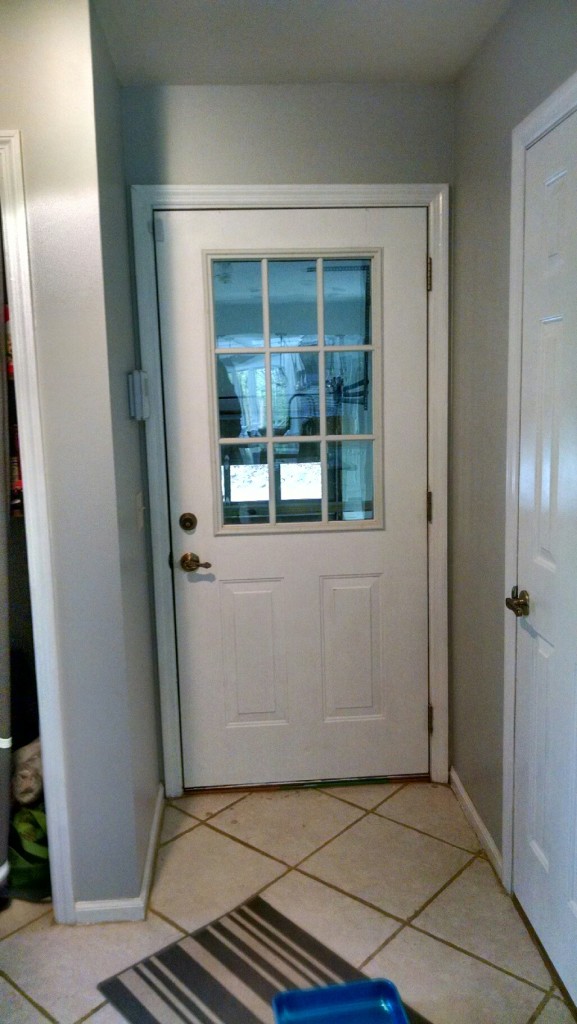
Let’s first take a look at the original state of the door.
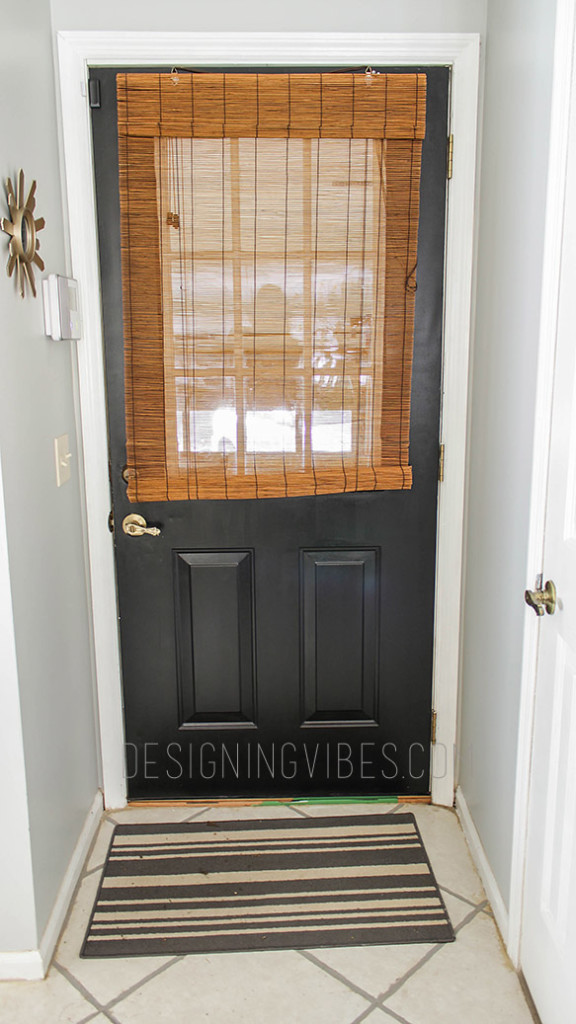
Now let’s take a look of the door after adding bamboo shades and about 4 coats of black trim/door paint.
Supplies Needed to Paint Your Interior Door Black
- black semi-gloss door/trim paint. I used Valspar’s Paint and Primer Trim Paint
- sandpaper 120-180 grit
- paint roller frame
- foam roller (the package on mine said “recommended for cabinets and doors”
- paint tray
- paint brush
- painter’s tape
How I Painted My Kitchen Door Black
This project is pretty self-explanatory. First, I lightly sanded the door with sandpaper. I then cleaned off the dust with a wet rag. I actually was a major slacker and did not use any painter’s tape. Don’t be half-assed like me…use the tape to protect the areas you don’t want to paint. After prep is complete, get to painting. I first took my brush and painted the detailed creases of the door and the borders. Then, I took my foam roller and went over the entire door making sure to try to smooth the brush marks as best as I could. I had to do repeat this process about 4 times (4 coats of paint) to completely cover the pre-existing white. This was a super easy diy project. I like the pop of warmth the black added to our light and airy kitchen.
I let the paint dry overnight. Then, my husband bought some bamboo shades (from Lowes) and installed them over the window of the door. Voila! Door transformation complete.


