From Trashy to Classy: How to Build a Custom Boxed Wine Dispenser

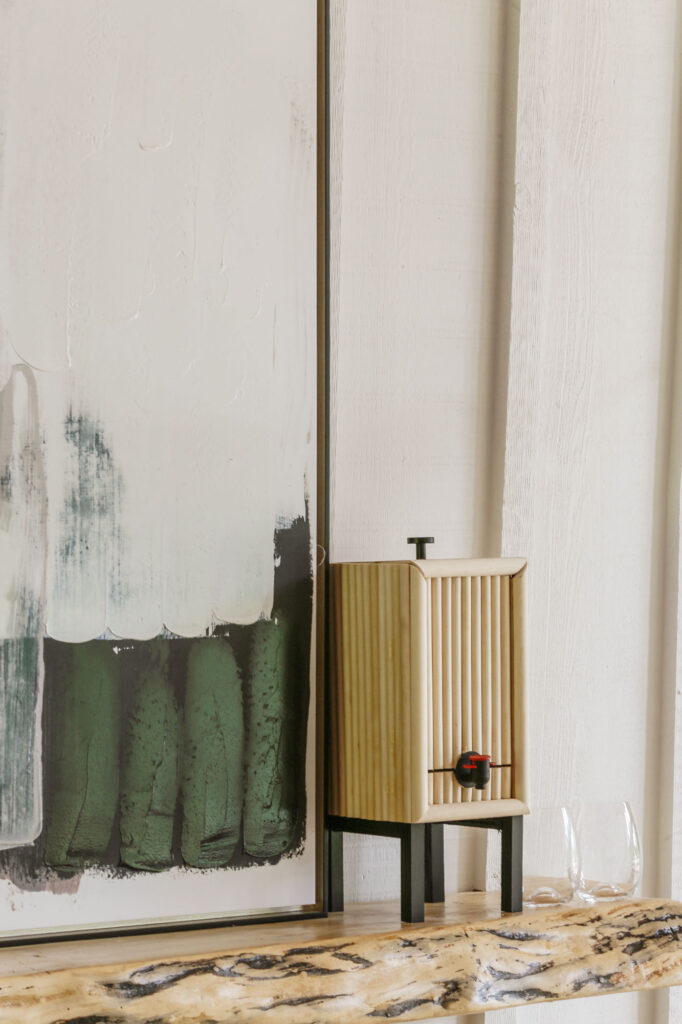
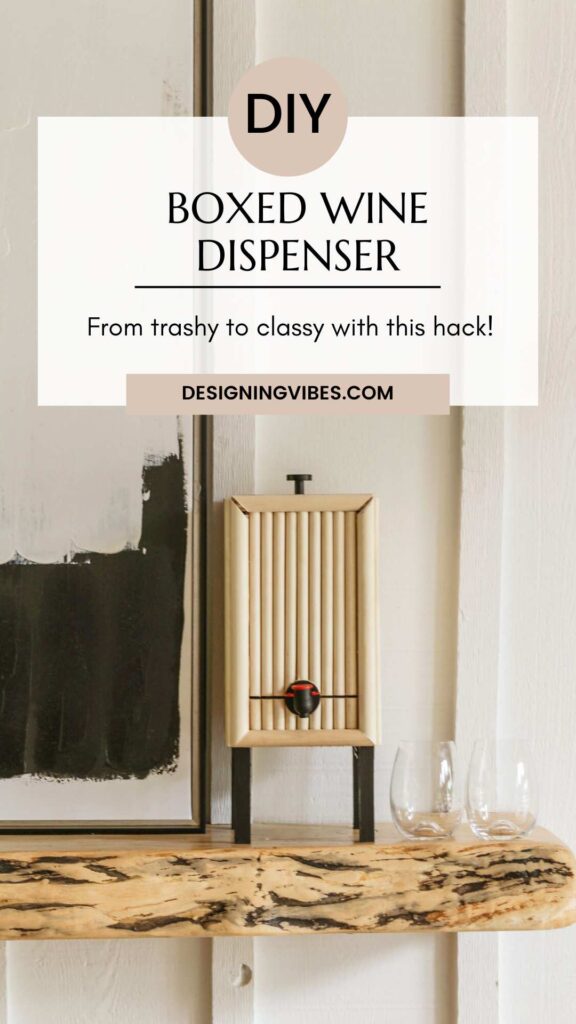
Have you ever been torn between your love for boxed wine (not necessarily the taste… but the price tag) and your desire to sip in style? What if I told you, you can have the best of both worlds? Today, step-by-step, I am going to show you how to build this DIY fluted wine dispenser…
Between grappling with the impacts of inflation and navigating the turbulent waters of owning a small business in today’s volatile environment (with AI and a plethora of industry changes, trust me, digital publishing isn’t exactly a stroll in the park these days), I’ve been forced to find ways to tighten the belt, as they say.
While I certainly love the ritual of uncorking a nice bottle of wine and letting it breathe before pouring the contents into a pretty glass, sometimes you just gotta do what you gotta do to get by. And so…Black Box (or Bota) it is, baby!
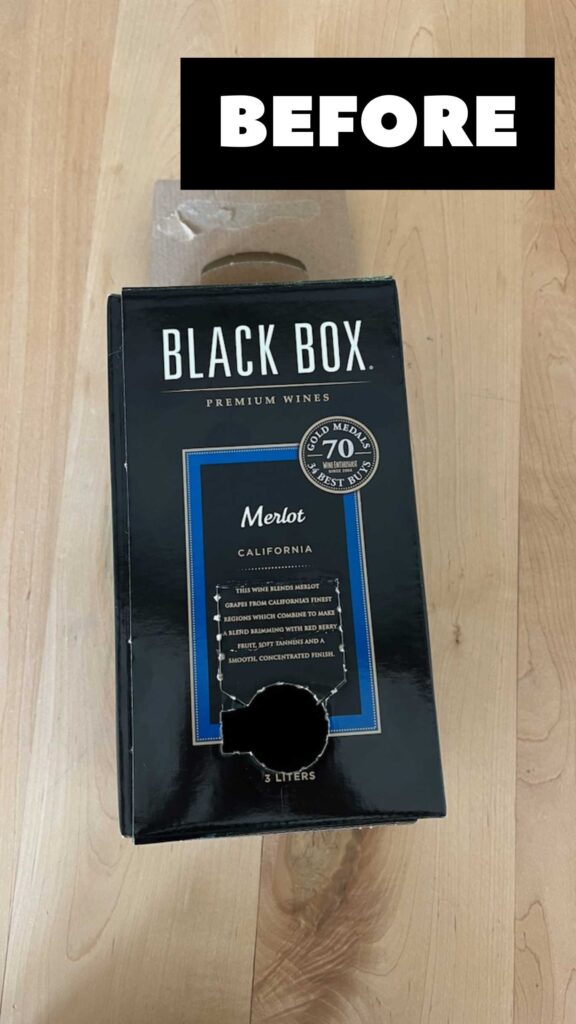
But just because I may opt for budget-friendly wine, does not mean I am ok with compromising on style while consuming it. So, to infuse my evening glass with a sense of celebration, I devised a solution – a way to elevate the mundane into something more refined.
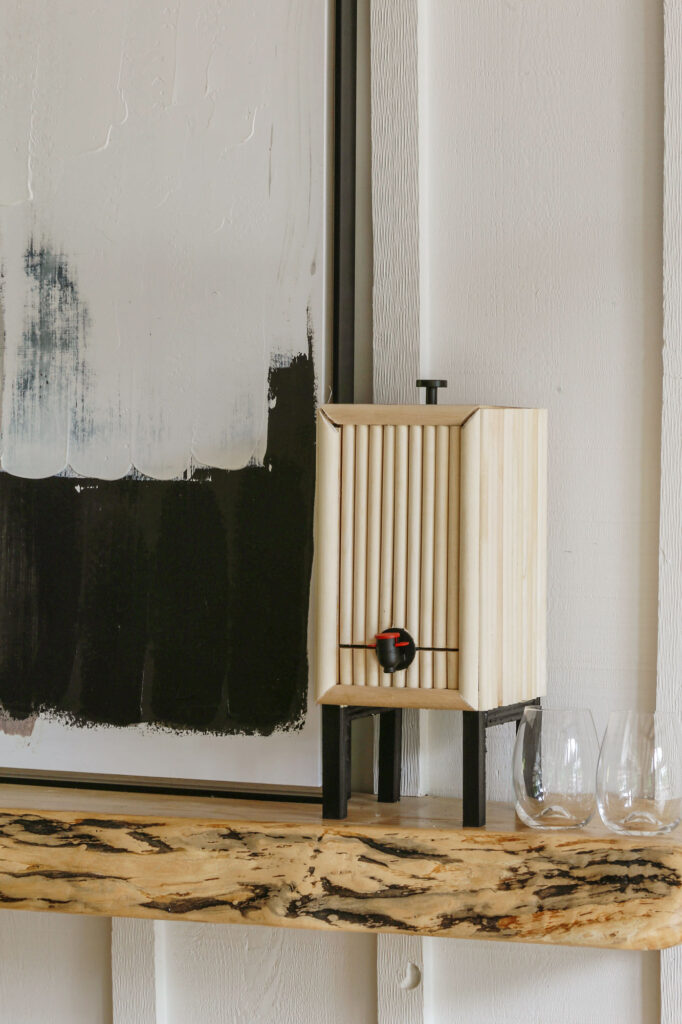
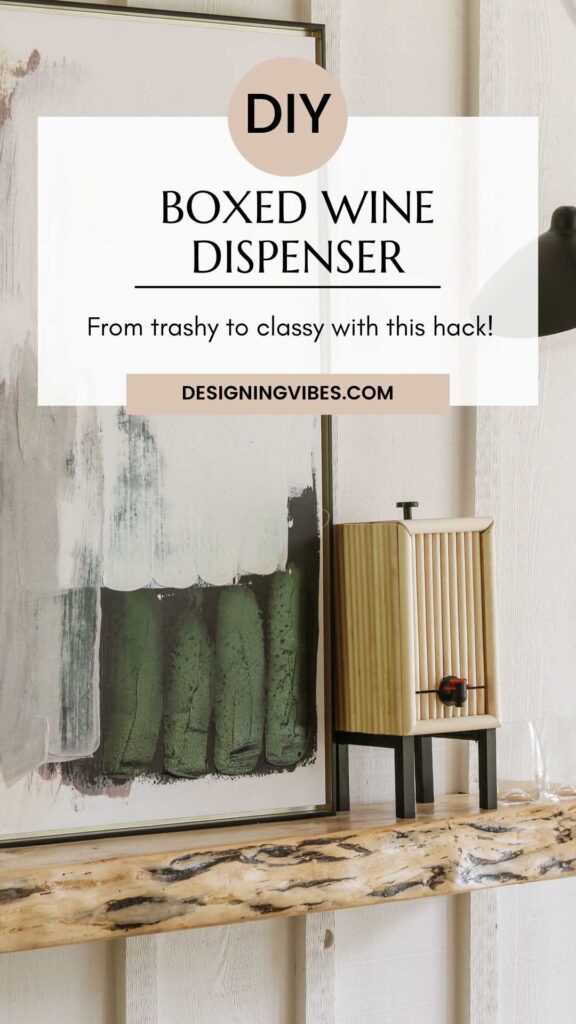
With my penchant for modern aesthetics (fluted and reeded accents are super hot in home design right now) and my husband’s knack for reverse engineering those visions, while we hit some snags along the way, ultimately I’m super pleased with what we were able to concoct for $50.
Let me show you how to re-create this DIY boxed wine dispenser for yourself…
**For your shopping convenience, this post contains affiliate links. As a Reward Style and Amazon affiliate, I earn commission on sales at no extra cost to you.**
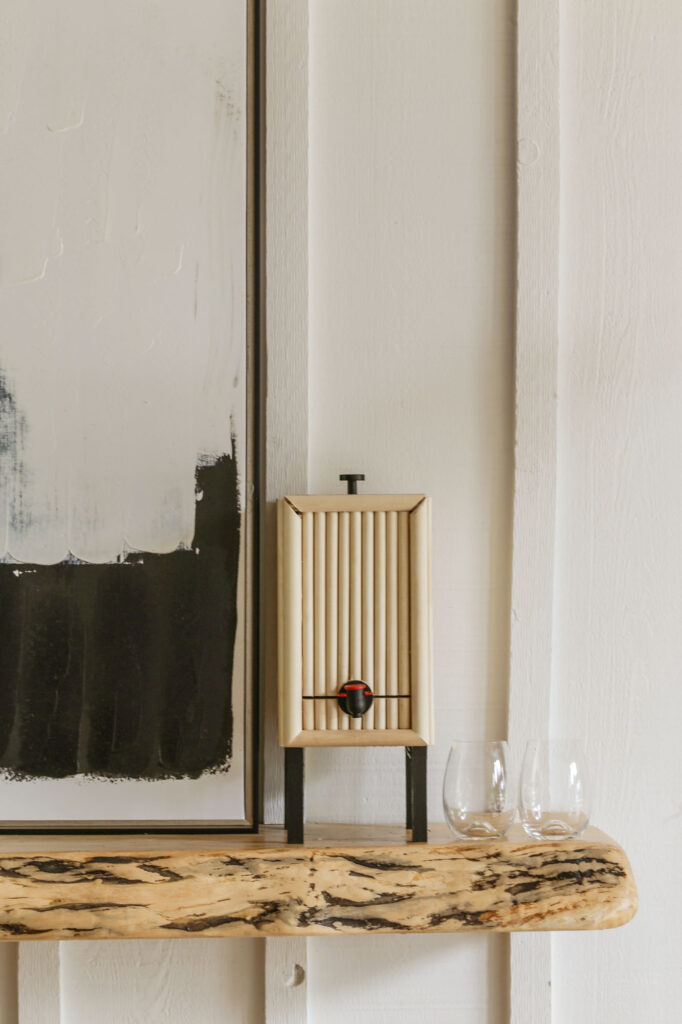
DIY Boxed Wine Dispenser Tutorial:
Materials Needed:
- Miter saw
- Table saw
- Circular saw with Kreg Jig Accu-cut system.
- Drill
- Hole saw
- Wood Glue
- Clamps (I used Bessey)
- 1/2” half round dowels (I used one 50 pack of these dowels)
- 3/4” half round dowels (I used one 25 pack of these, but I only needed 4 pieces total)
- 3/4” Stock (I used leftover veneered plywood from another project)
- 1/4” MDF
- Miter box
- Oscillating saw (for trimming dowels)
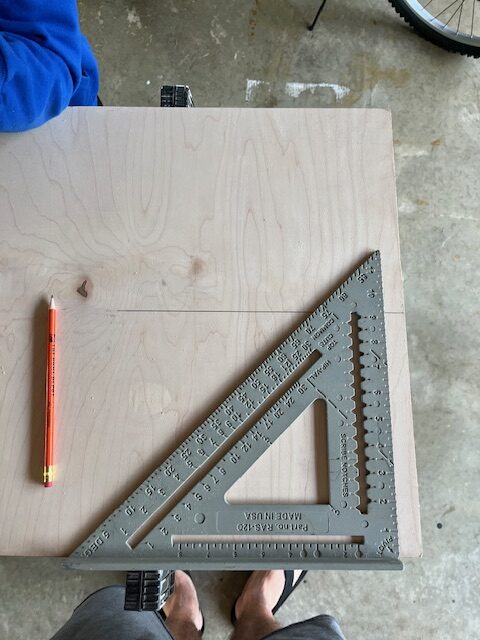
(Step 1). Determine the desired dimensions for the wine dispenser box. I used the dimensions of the cardboard box of the Black Box wine.
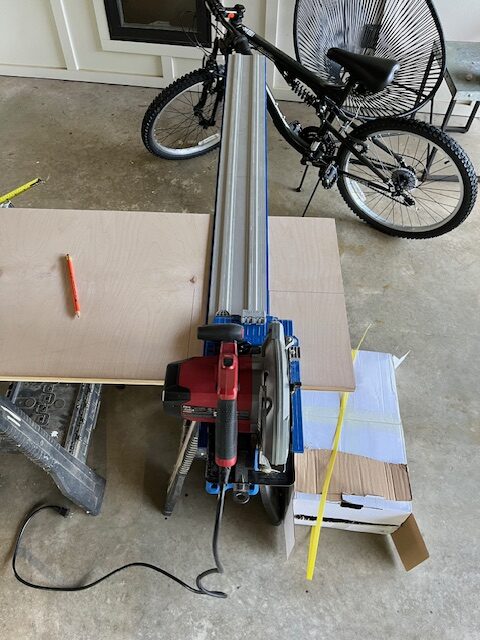
(Step 2). Using ¾ stock ( I used leftover veneered plywood from another project), cut the three walls,bottom, and top of the dispenser box using the Kreg Jig Accu-cut circular saw system. The track system is used for larger pieces (the smallest size of plywood stock you can buy comes in a 2-foot x 2-foot sheet). For the front wall (or sliding “door” mechanism), I used 1/4” MDF.
Note: Make sure you use a circular saw blade and miter saw blade designed for plywood.
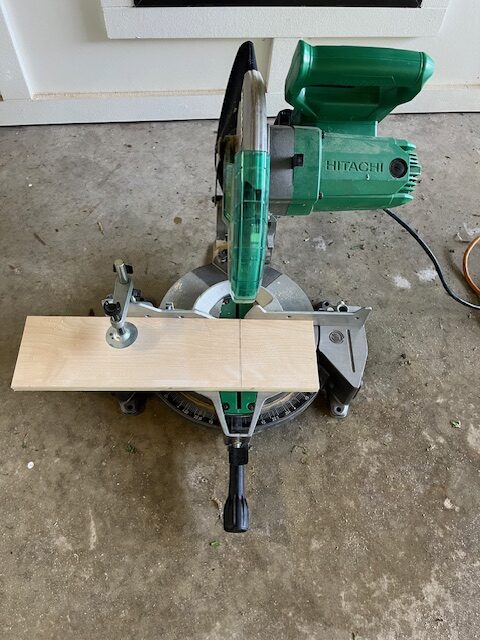
(Step 3). Once you have the plywood reduced to smaller pieces, you can now use the miter saw to cut the walls of the frame into exact dimensions.
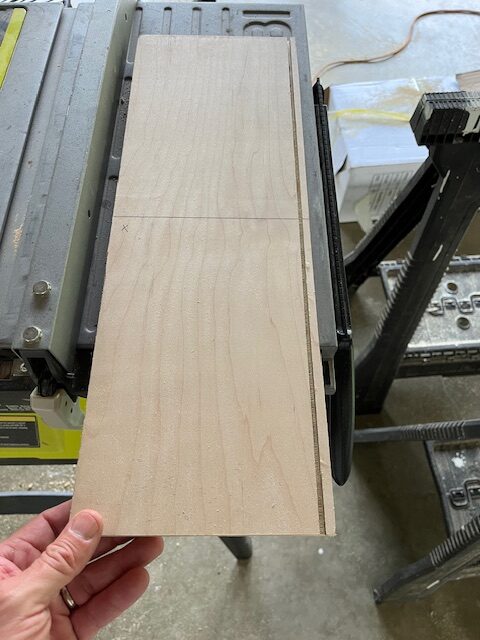
(Step 4). Now you need to cut grooves into the left and right side walls so the removable front-facing wall has a guide to slide into.
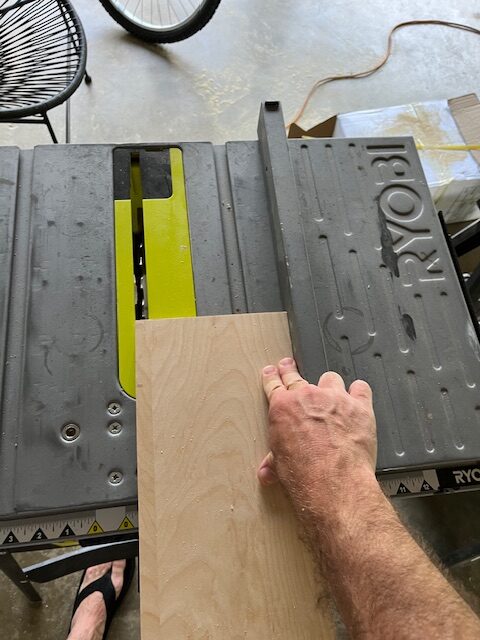
Set up the table saw so the grooves are .25” deep.
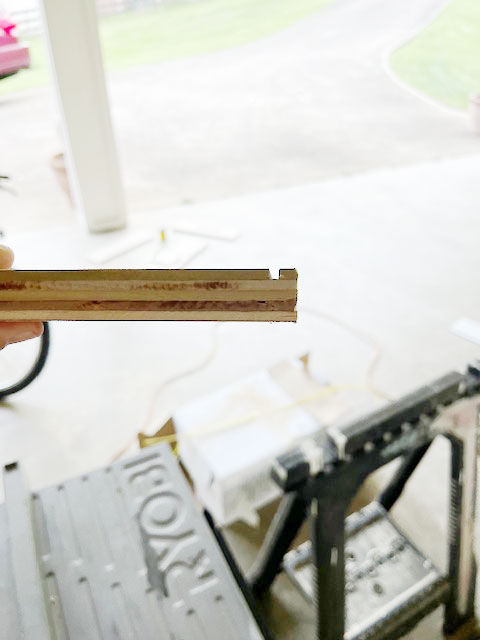
Pictured above is the finished groove to allow for the front piece to slide in and out when you need to replace your wine bladder.
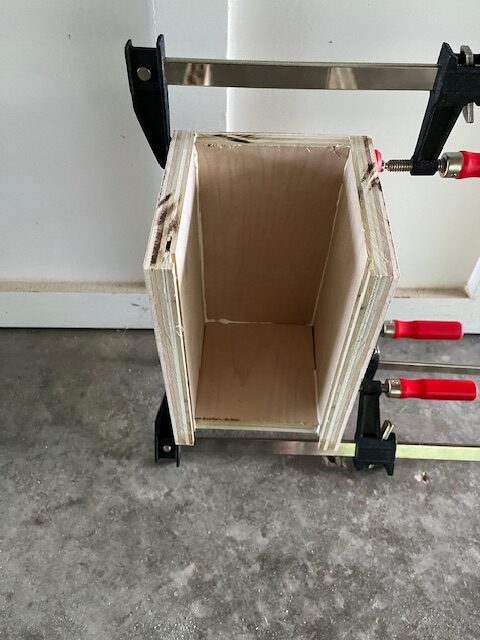
(Step 5). Glue and clamp the three walls and bottom together. Wait for the wood glue to cure.
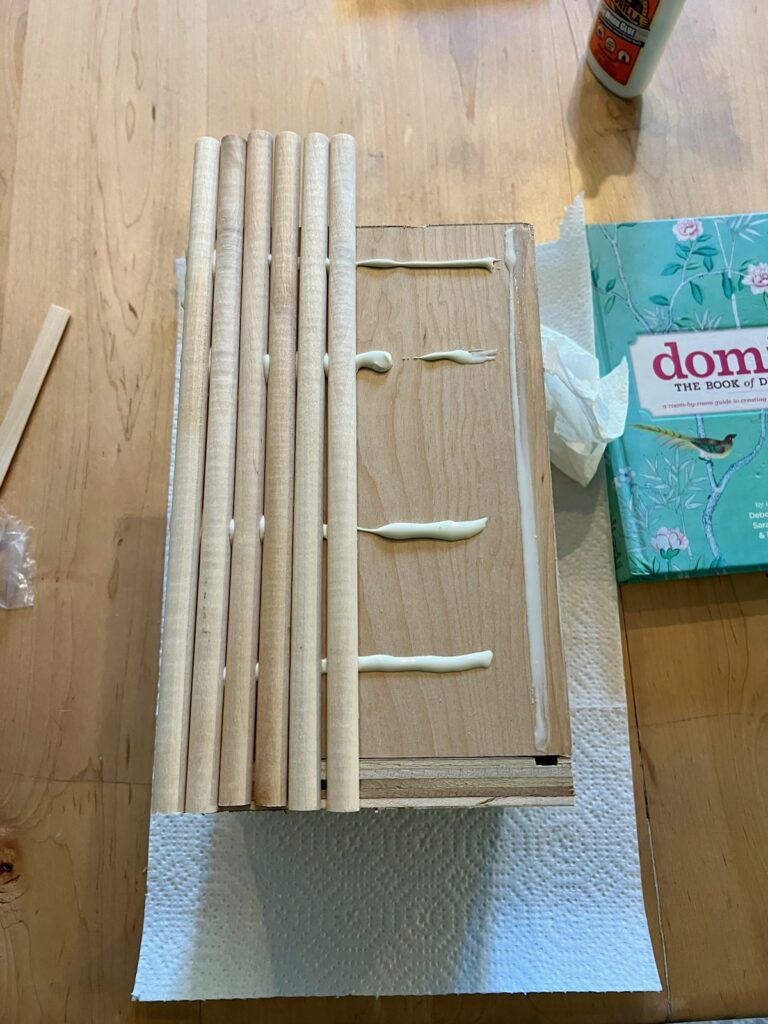
(Step 6). For the fluted facade, attach the half-round dowels (I used 1/2” size) with wood glue to the exterior of the wine box on the side and back walls. (For drying purposes, so that the dowels don’t slip off, we only did one side/panel at a time).
Note: You will also apply the 1/2” dowels to the removable front piece as well, but I would save this for last (this will make it easier to see how you will need to space the dowels of the sliding front piece to ensure it is functional and unobstructed).
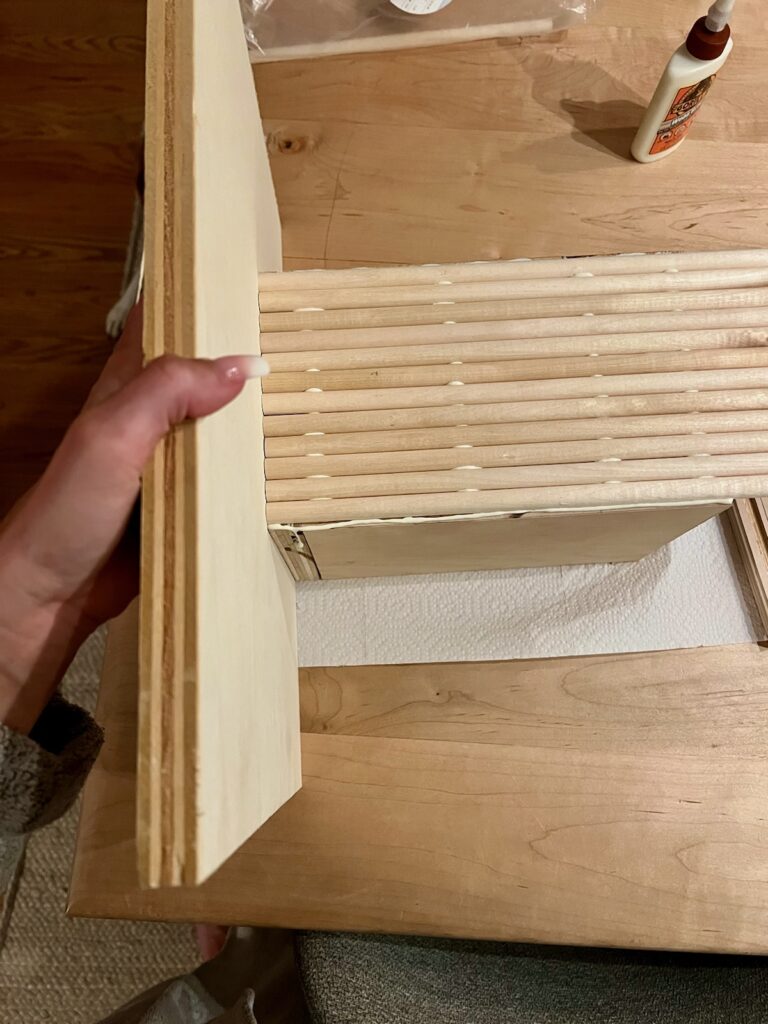
(Step 7). Use a scrap piece of wood to make sure the dowels are flush. Once they are properly positioned, allow the glue to dry according to the manufacturer’s instructions.
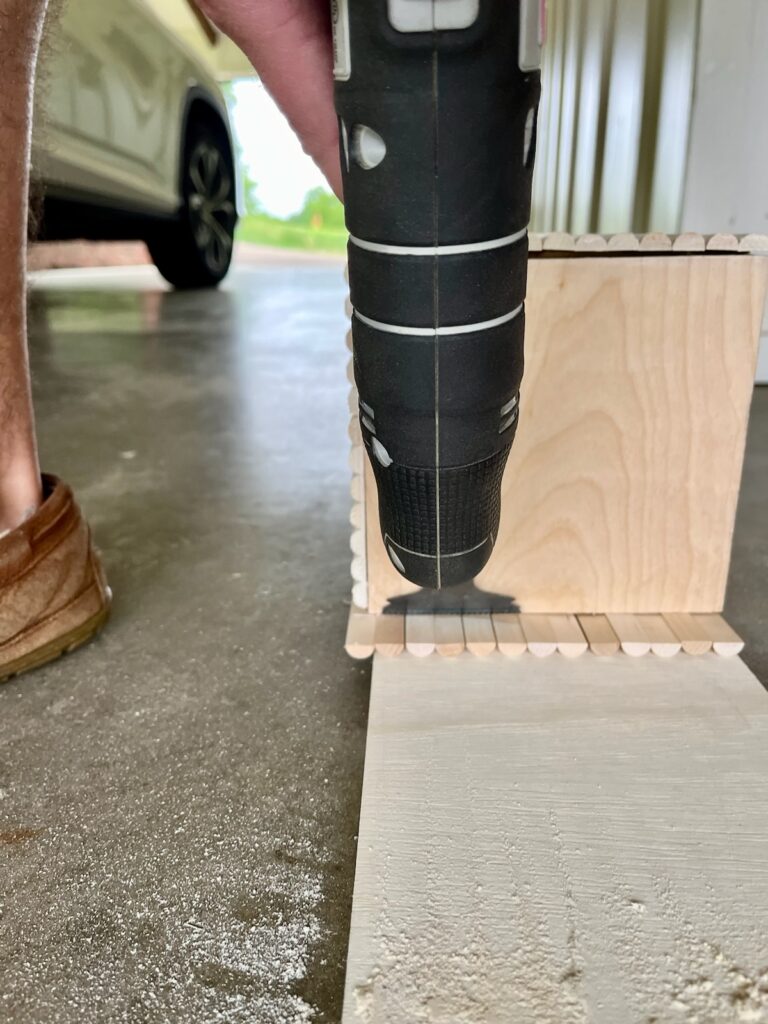
(Step 8). Once the back and side walls have dried, you can now use an oscillating saw to cut the excess height of the dowels.
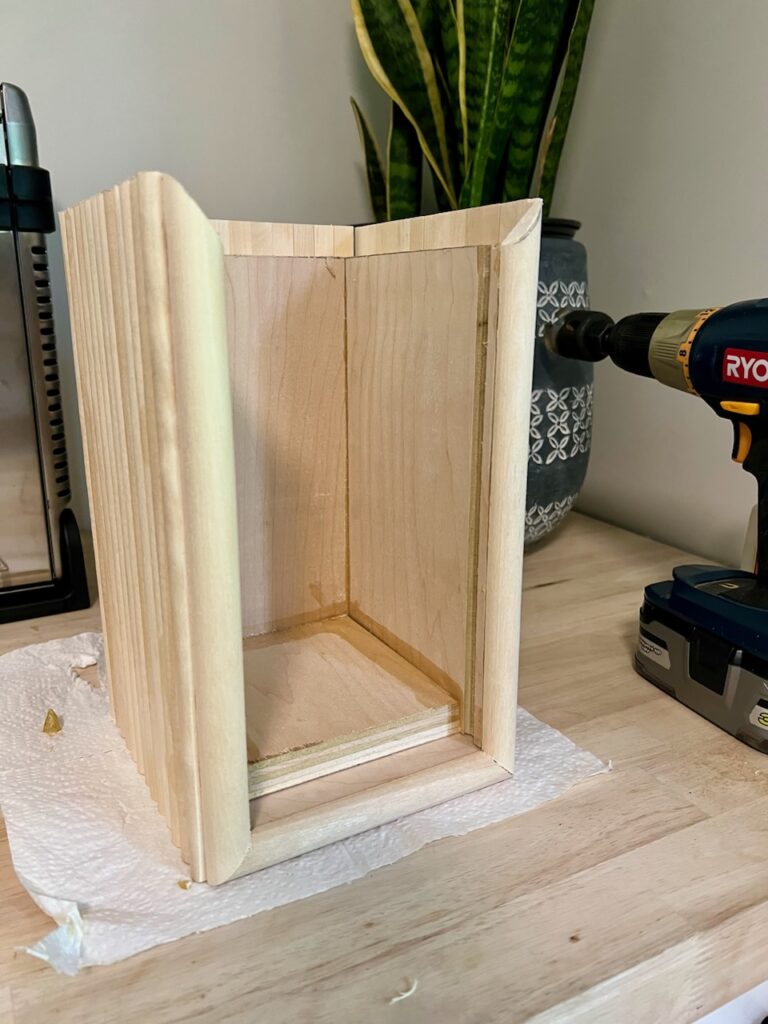
(Step 9). Frame the front edges of the box with 3/4” half round dowels. Cut them at a 45 degree angle to give a seamless 90 degree transition.
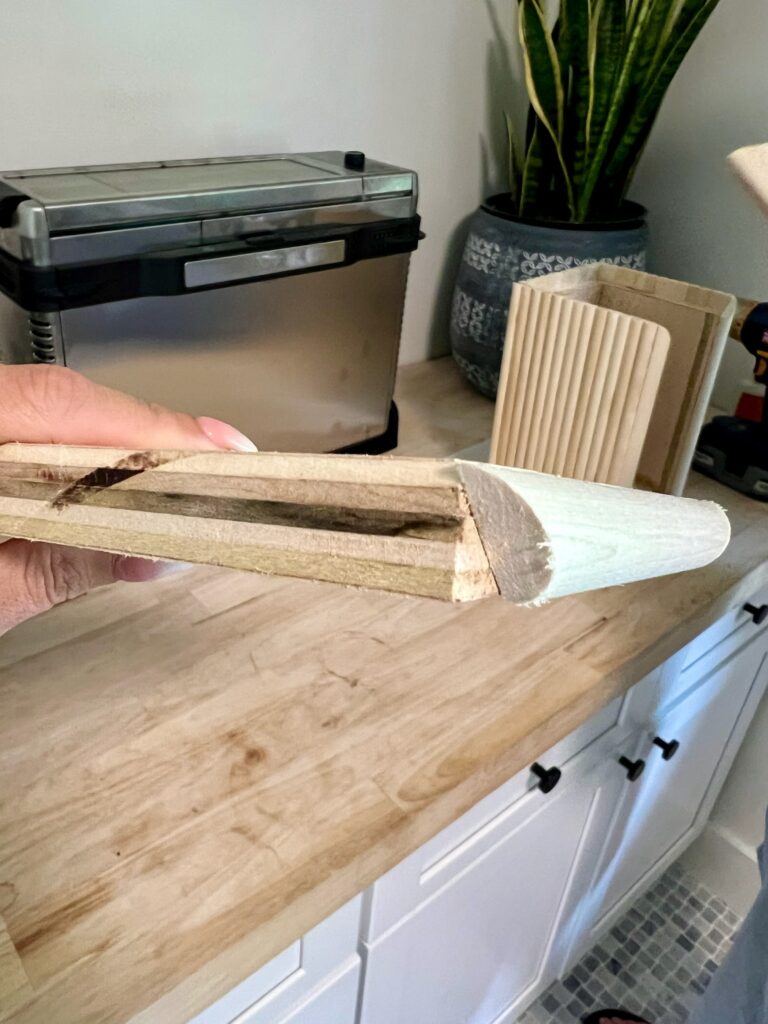
You will do this for the top piece of the wine box as well.
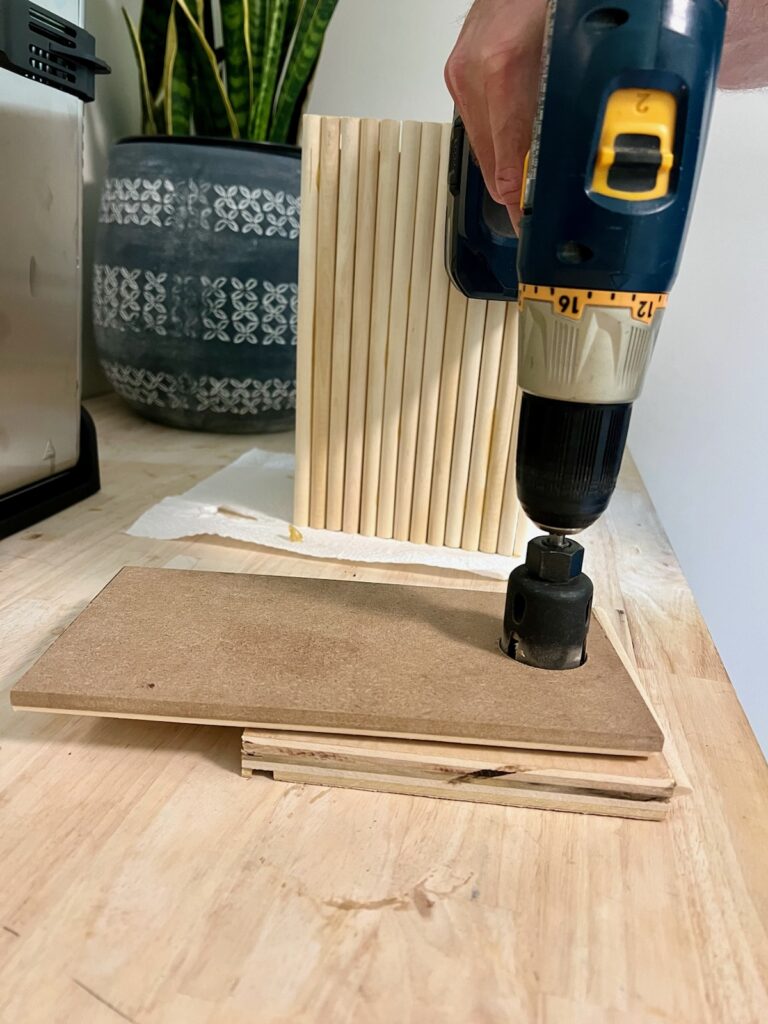
(Step 10). For the spigot opening, using the appropriate size hole saw, cut a hole in the front wall of the dispenser. I measured the hole on the cardboard box of the Black Box and used that specific sizing. The 1/2”dowels were already applied to the piece when the hole was made.
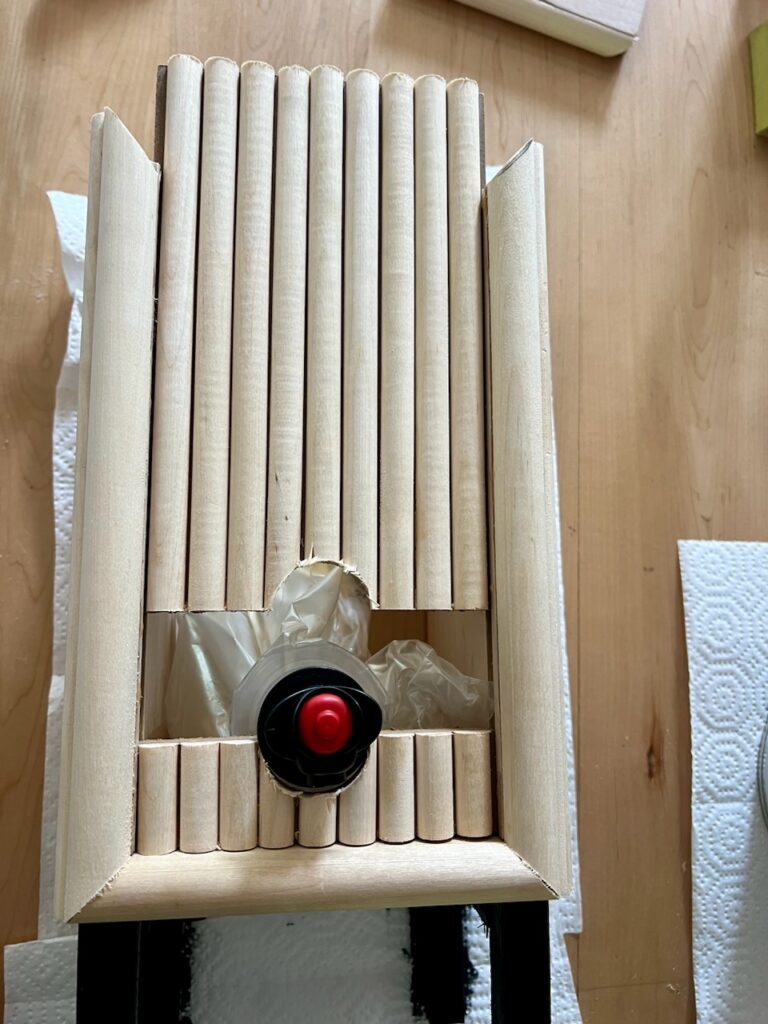
(Step 11). Using a miter box (hand saw), cut directly across the hole on the sliding door so that it can separate to allow for the spigot to fit thru.
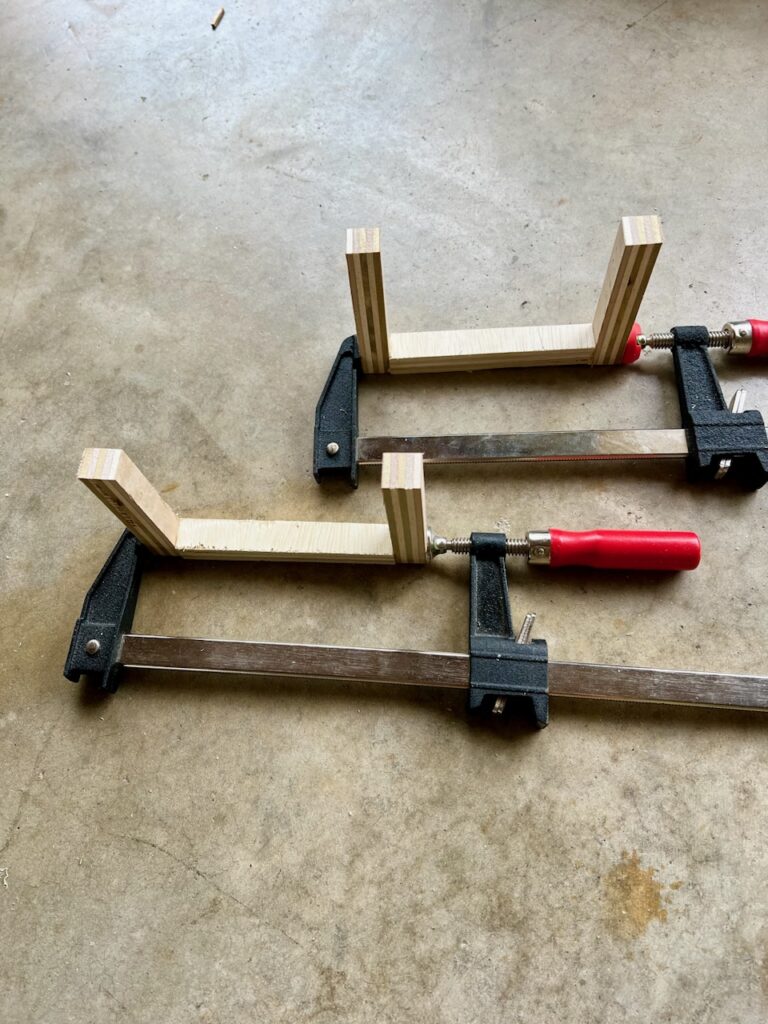
(Step 12). For the legs, I made them from scrap 3/4” plywood. I trimmed each piece to 3/4” width. The legs are 4” in height. Glue and clamp the leg pieces and allow to cure.
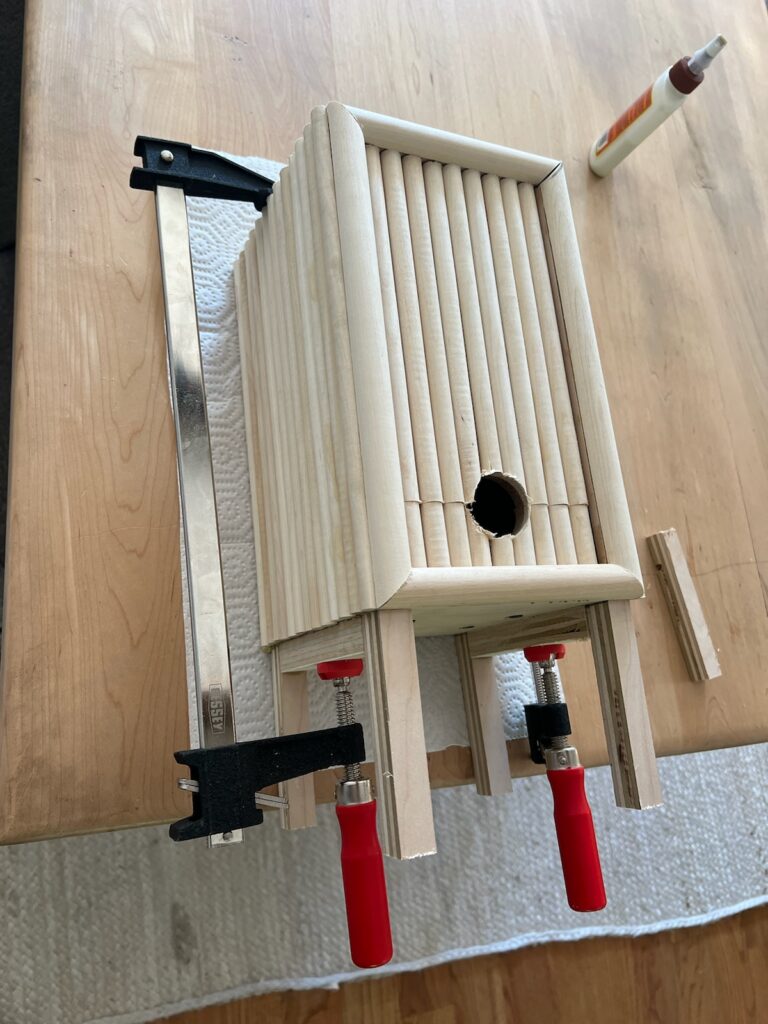
(Step 13). Once the legs have fully cured, glue and clamp them to the wine box. Once again, you will need to let cure according to the manufacturer’s instructions.
Optional: Once the legs have dried, you can sand them and paint them black using spray paint or cabinet paint. For added functionality, I also decided to screw a left-over cabinet knob onto the top of the wine dispenser.
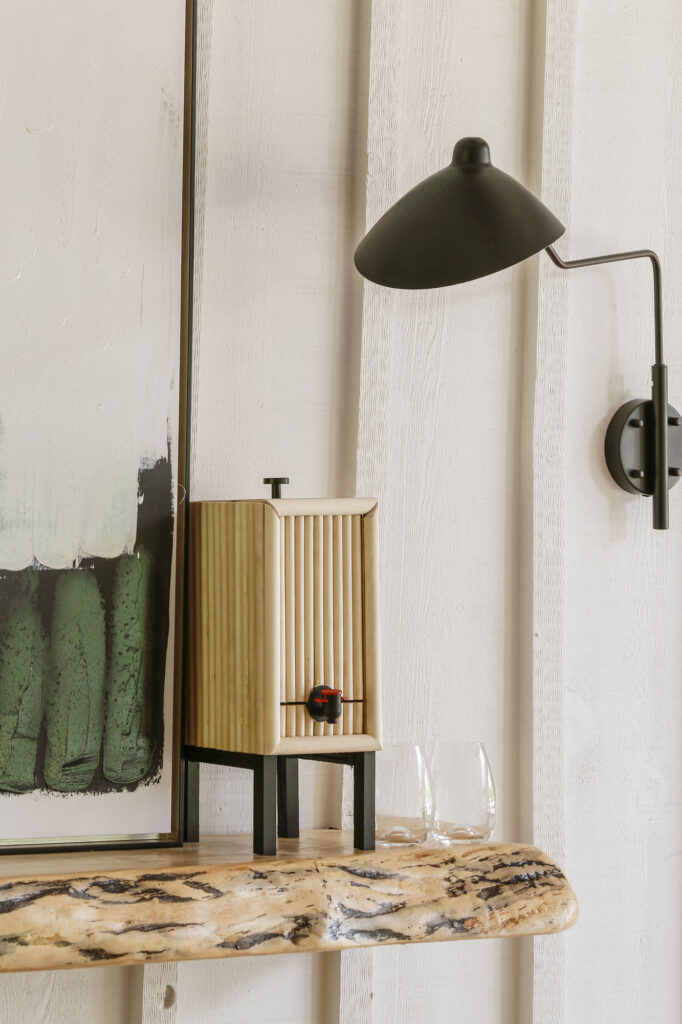
With my new custom wine dispenser finally complete, I now get to keep it classy while drinkin’ trashy- no eyesore of a tacky a$$ cardboard box to kill my vibe!
Box don’t kill my vibe! Box don’t kill my vibe!
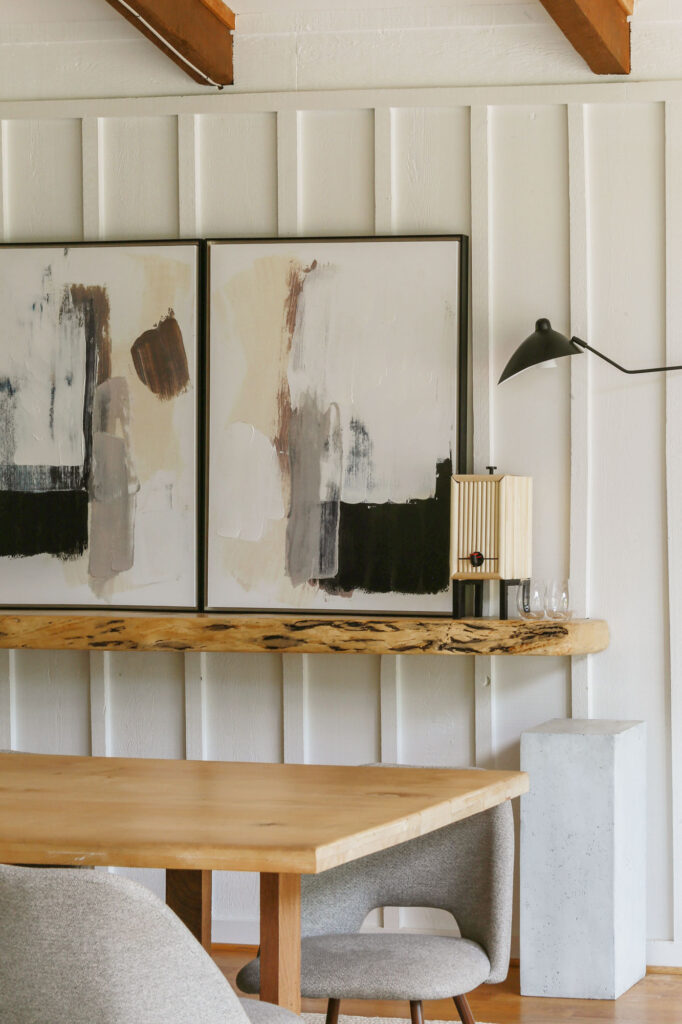
And even if you don’t ever attempt to build this DIY dispenser yourself, at the very least, I sincerely hope that if you are a fellow boxed wine enthusiast like me, this post alleviates any sense of shame regarding your choice of beverage. After all, it’s not easy making ends meet in this crazy world we live in!
Thank you so much for stopping by and spending some time with me today!
If you would be so kind to support this small business of mine with a “share” (either with a friend or on social media) I would be so incredibly thankful…

Now get out there and design some vibes along with a fabulous life!


