
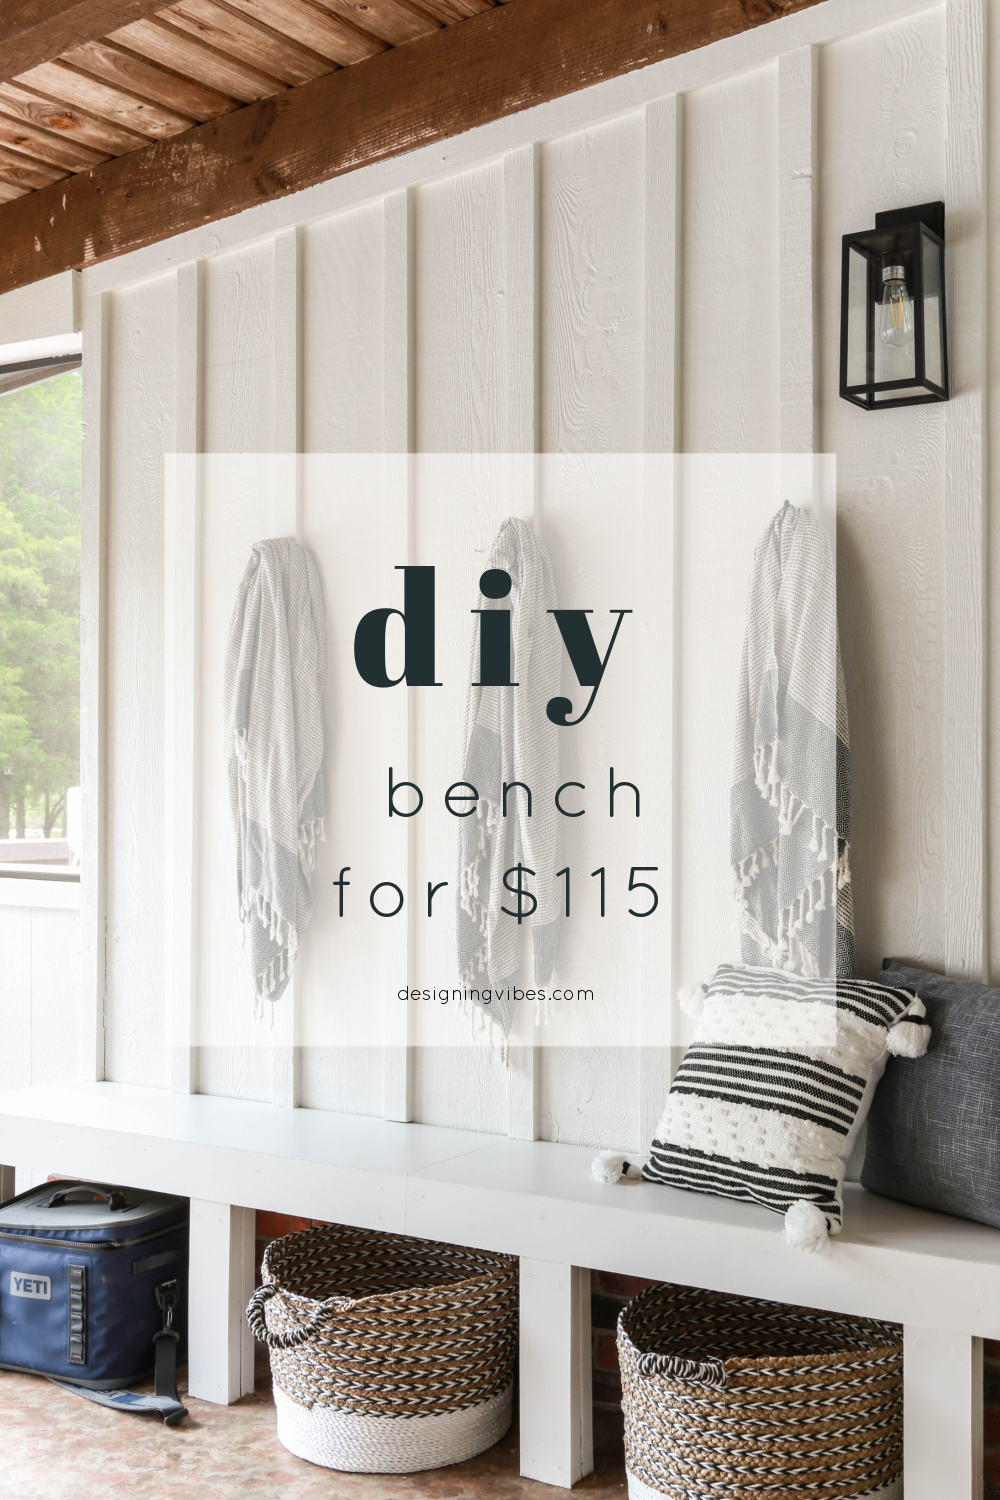
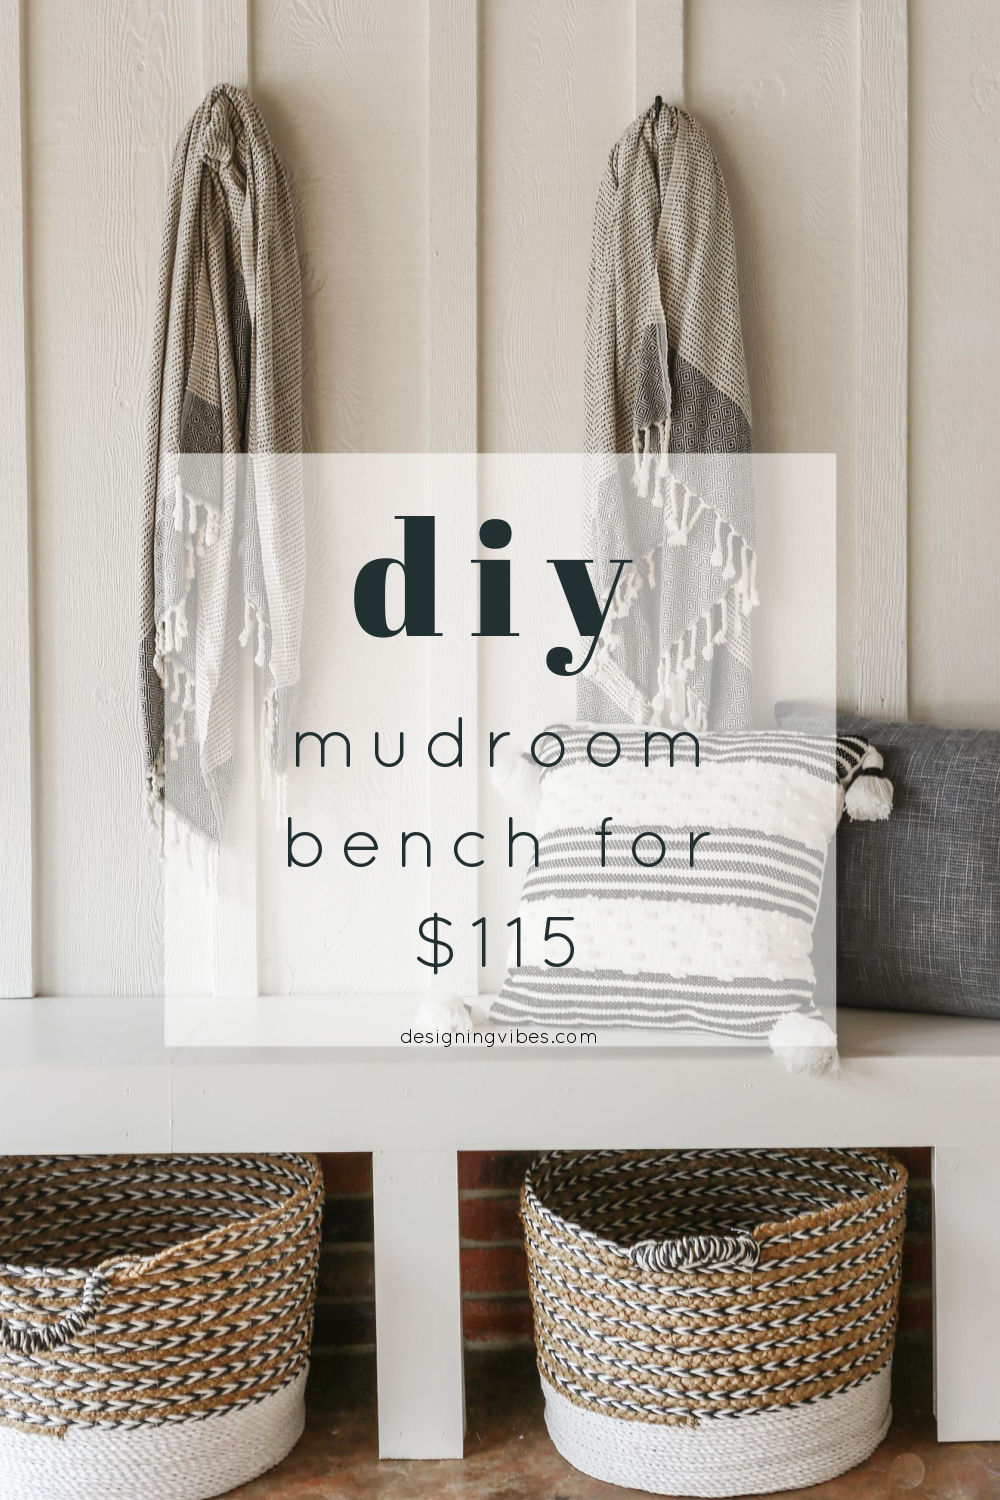
DIY Mudroom Bench With Cubbies for $115
Need an aesthetically pleasing catchall for shoes, jackets, towels, backpacks or even coolers? In today’s DIY tutorial, I am sharing how we added additional seating and storage in our screened- in porch with this built-in, mudroom-style bench.
Although I must say that it takes some time to figure out how you will truly utilize certain spaces when first moving in to a new house, shortly after settling in to our lake cottage, it became pretty apparent that our screened-in porch was going to serve as a catchall for coolers, towels and beach bags.
Not only is the covered porch in closest proximity to the pool (making it the most practical location to hang wet towels versus our actual laundry room), but our beloved little Yeti has become a staple for our weekend water activities.
Loading our cooler with ice-cold Corona, every Saturday, we’ve gotten into a ritual of setting out on the lake (booze in tow of course) to explore our new surroundings for the first portion of the day and then, once the heat becomes a little too oppressive, finishing out the afternoon cooling down in the pool and grilling something yummy .
To keep the cooler out of the blazing heat and to keep pool towels from the occasional pop-up shower, our screened-in porch naturally became the most convenient place to house our summer essentials.
When guests came over with their own coolers and beach bags, they seemed to follow suit.
It didn’t take long until the quaint little area looked like white trash central, and the clutter was too much for this crazy, OCD lady to bear.

Always a fan of a good built-in feature to elevate a space, I decided that an outside mudroom configuration would not only be the most functional solution, but also the prettiest (or at least for how I needed this space to serve our needs). I mean…who says that a mudroom must go inside anyhow?
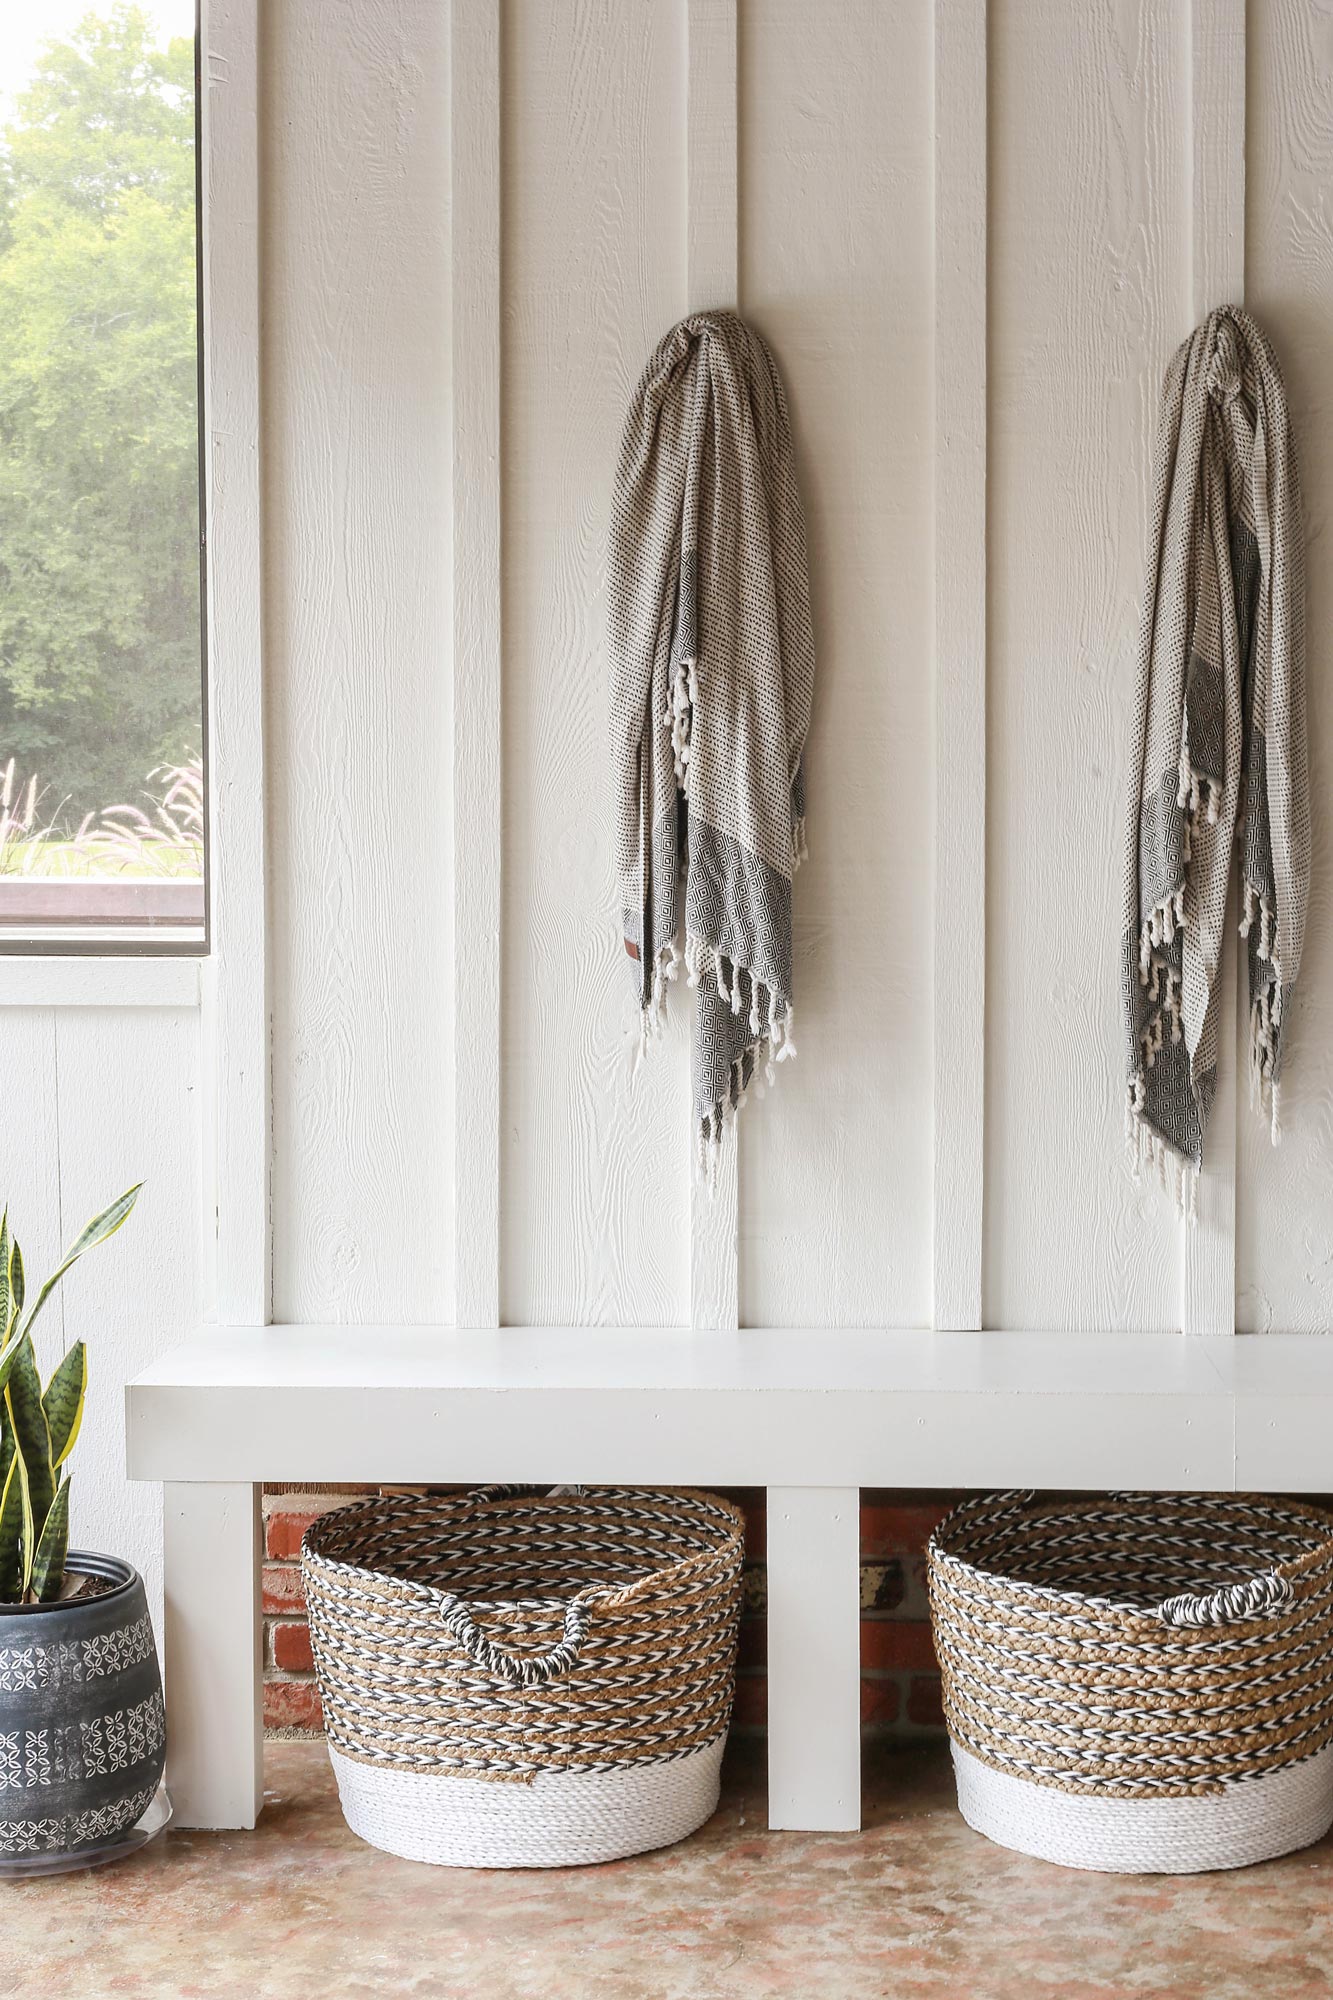
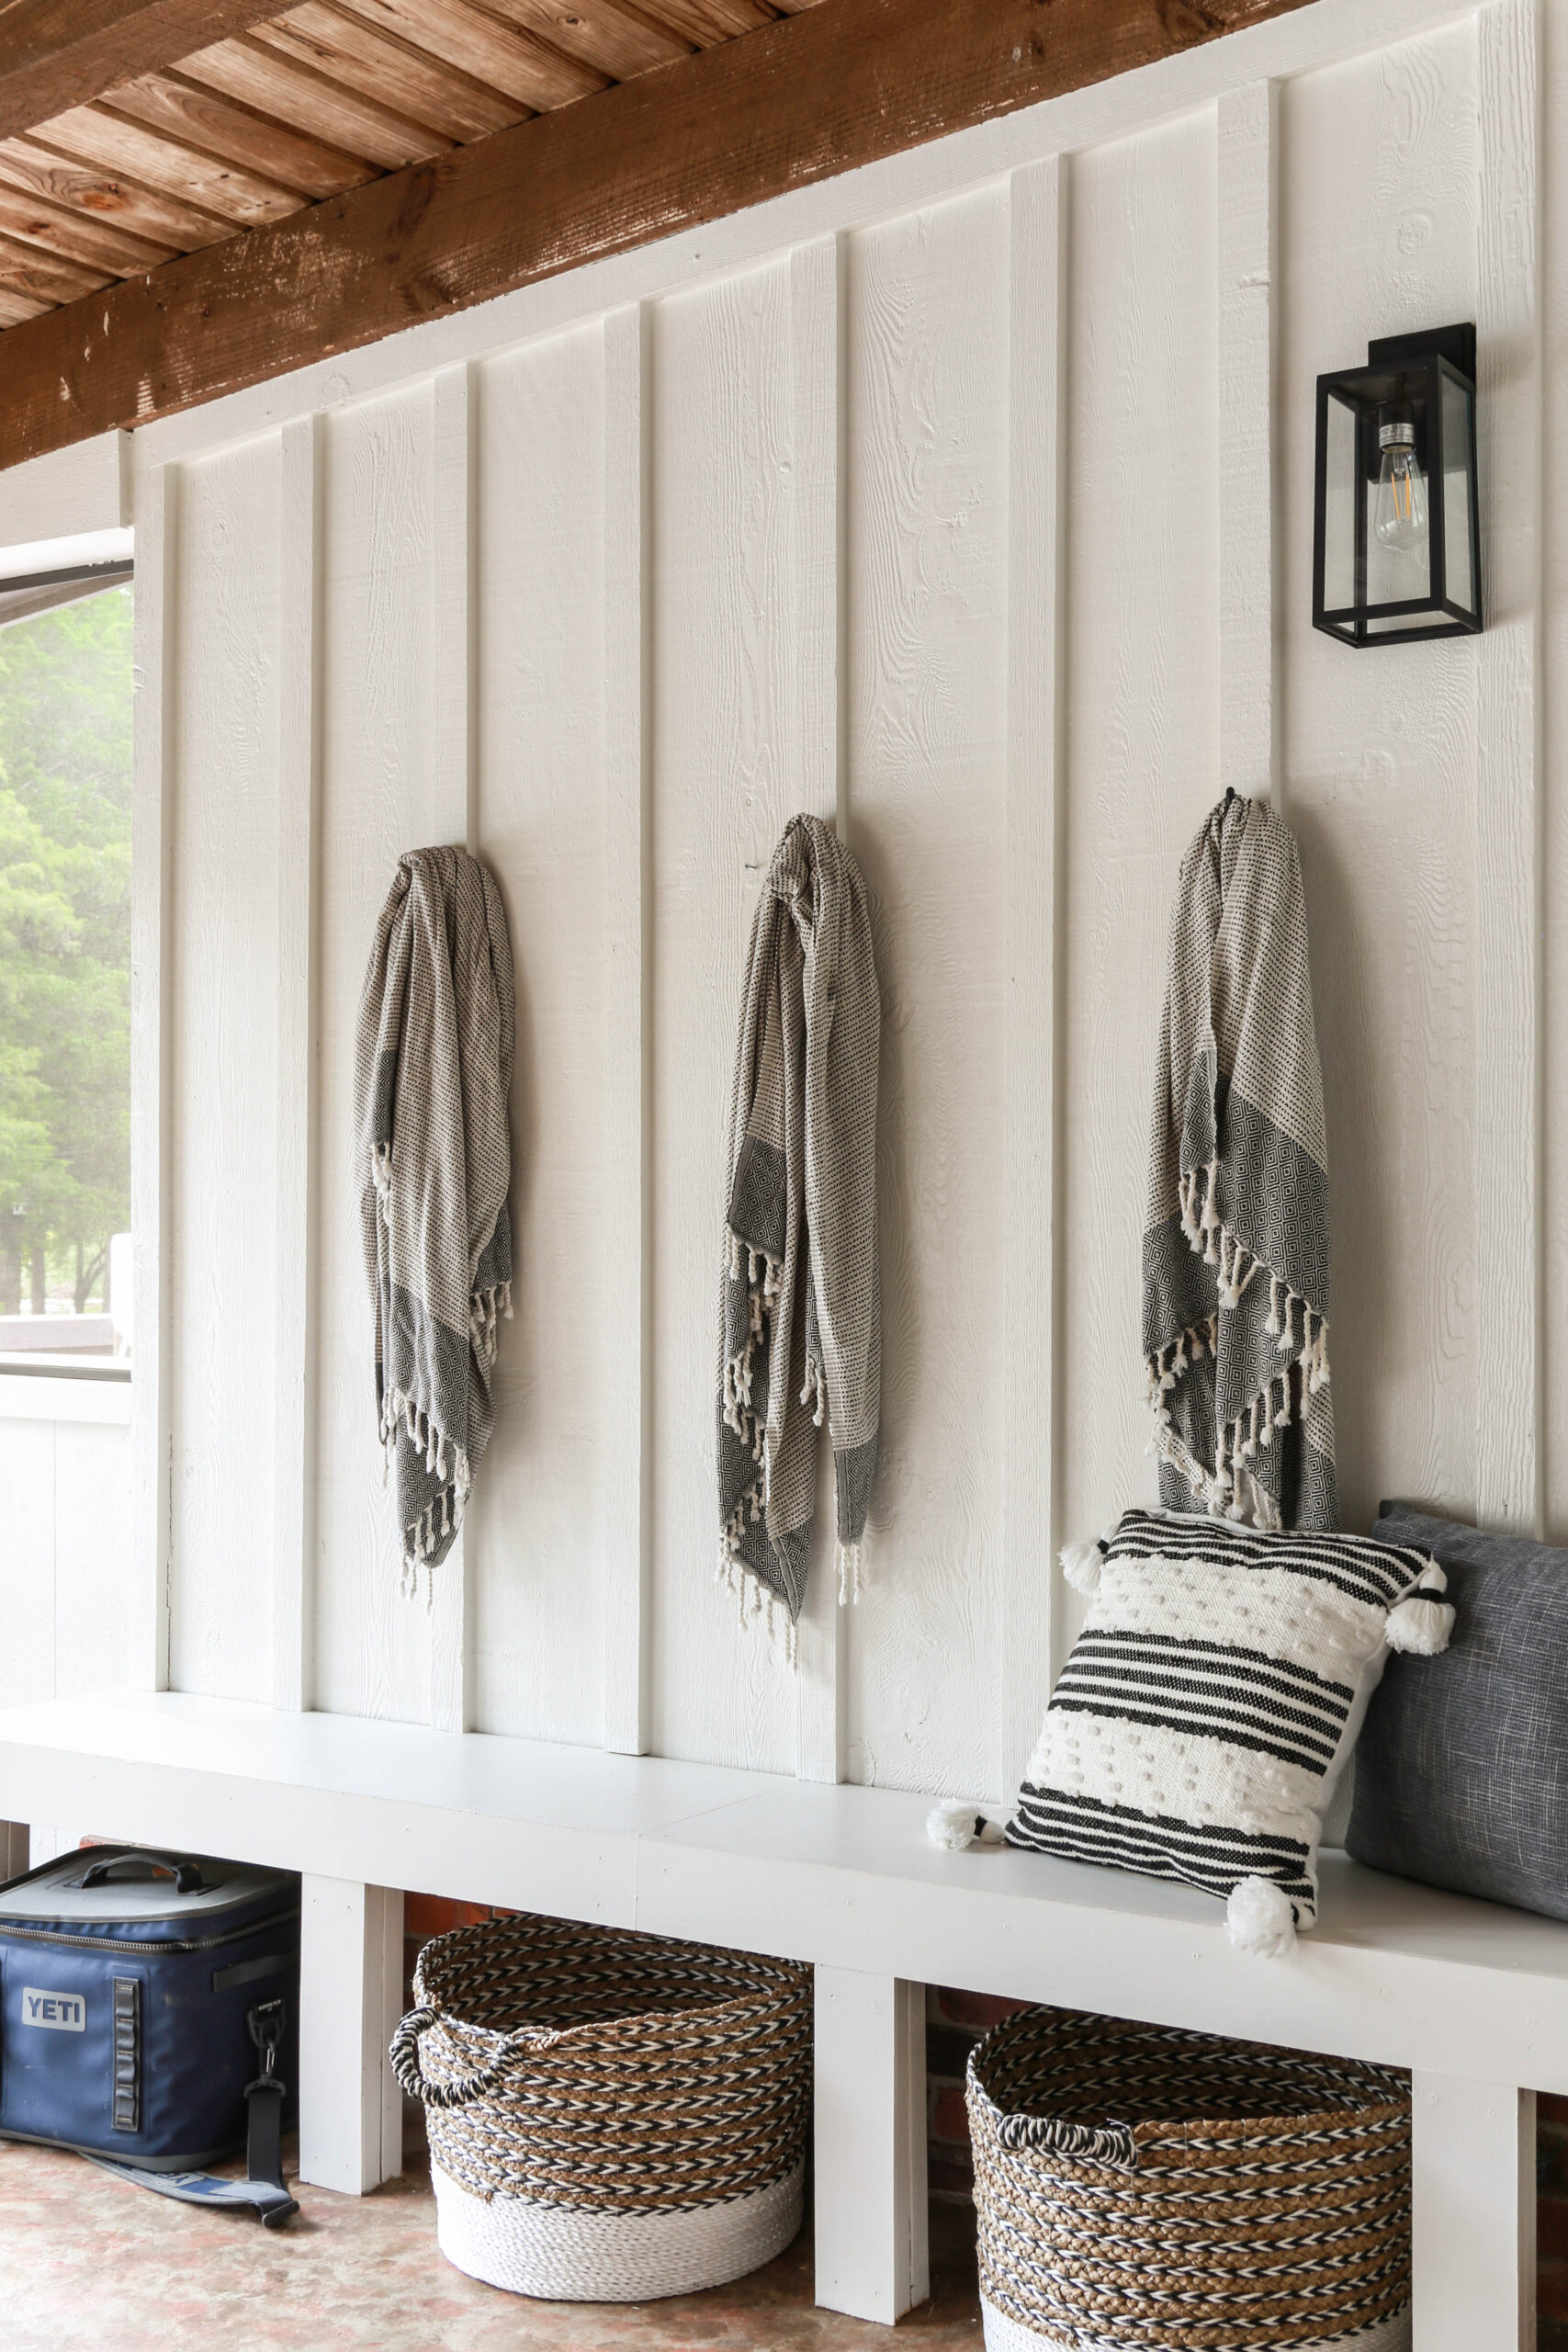
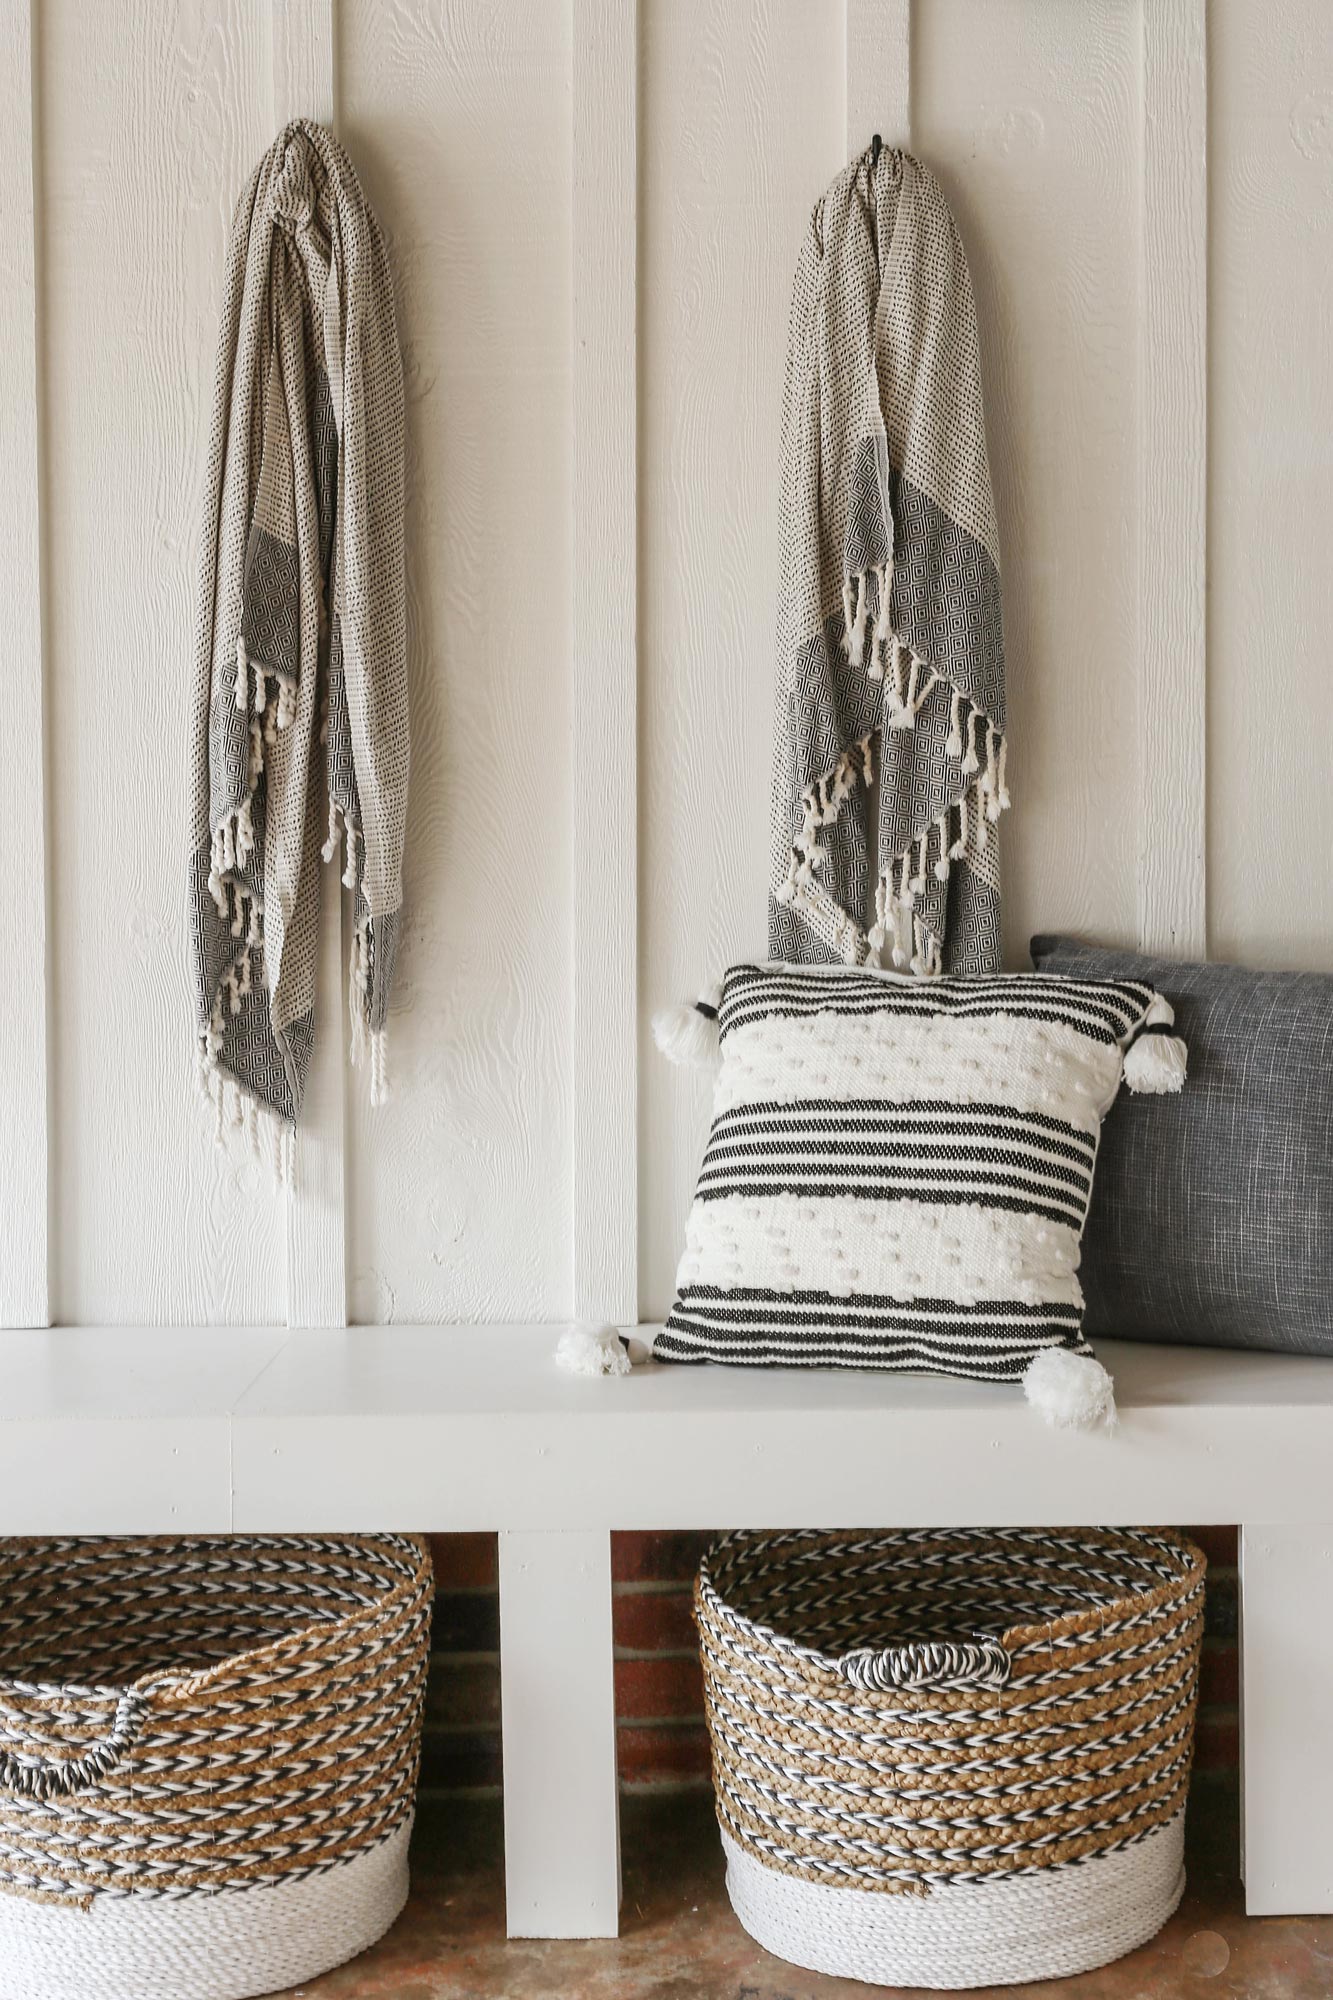
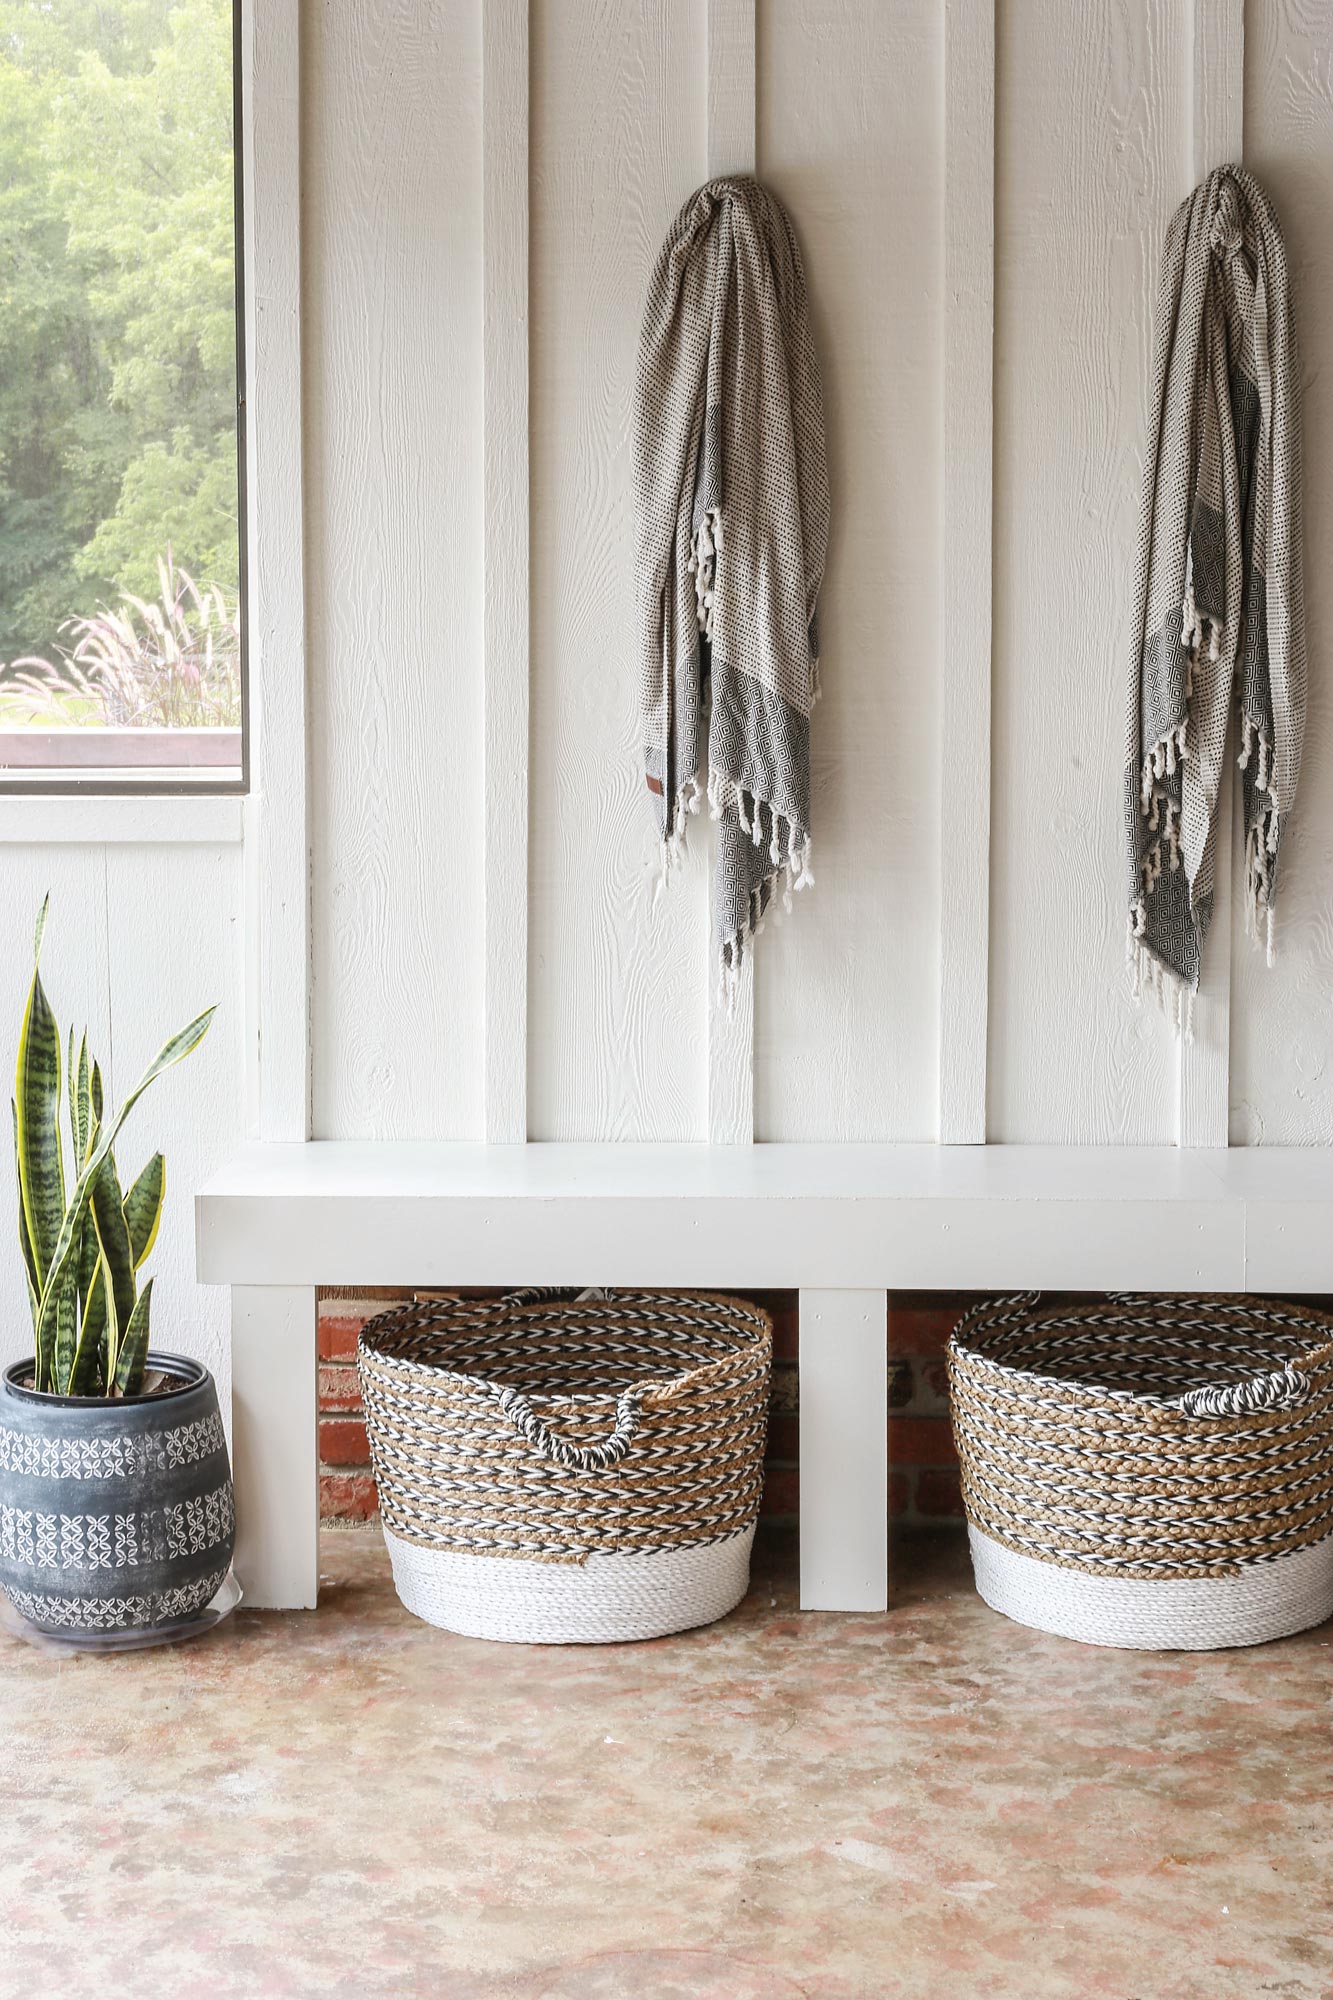
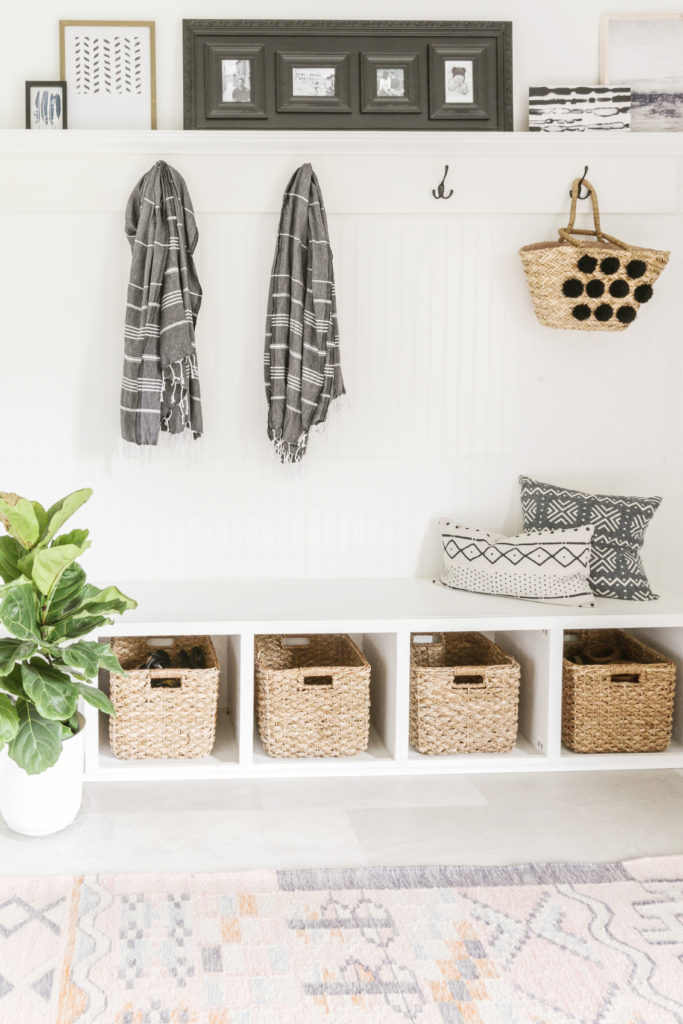
Not only allowing for additional seating with a built-in mudroom bench alone, the cubby dividers below added more intentional-looking shoe storage and the coat hooks I added overhead not only filled the void of a blank wall, but served an actual purpose (the hooks have been great to hang wet swimsuits as well).
And while you may not have a need for a covered outdoor application of this sort, you could always apply this same easy tutorial to an indoor space (think foyer, family room, garage or laundry room).
So enough of my blabbering. Let me show you how to replicate this simple diy mudroom bench for your own needs…
How To Build a DIY Mudroom Bench:
Materials Needed:
- ¾ MDF sheets (Note: our screened-in porch is completely covered and enclosed. If your area is exposed to any rain, you will need to use a treated wood).
- ½ MDF sheets
- 2×4’s
- #10 4 to 5” Wood or lag screws
- #8 2.75” wood screws
- Level
- Stud finder
- 1.5” trim head screws
- Miter or circular saw
- Reciprocating saw
- Table saw
- Driver or impact driver
(Step 1). Determine the dimensions and exact measurements for your storage bench.
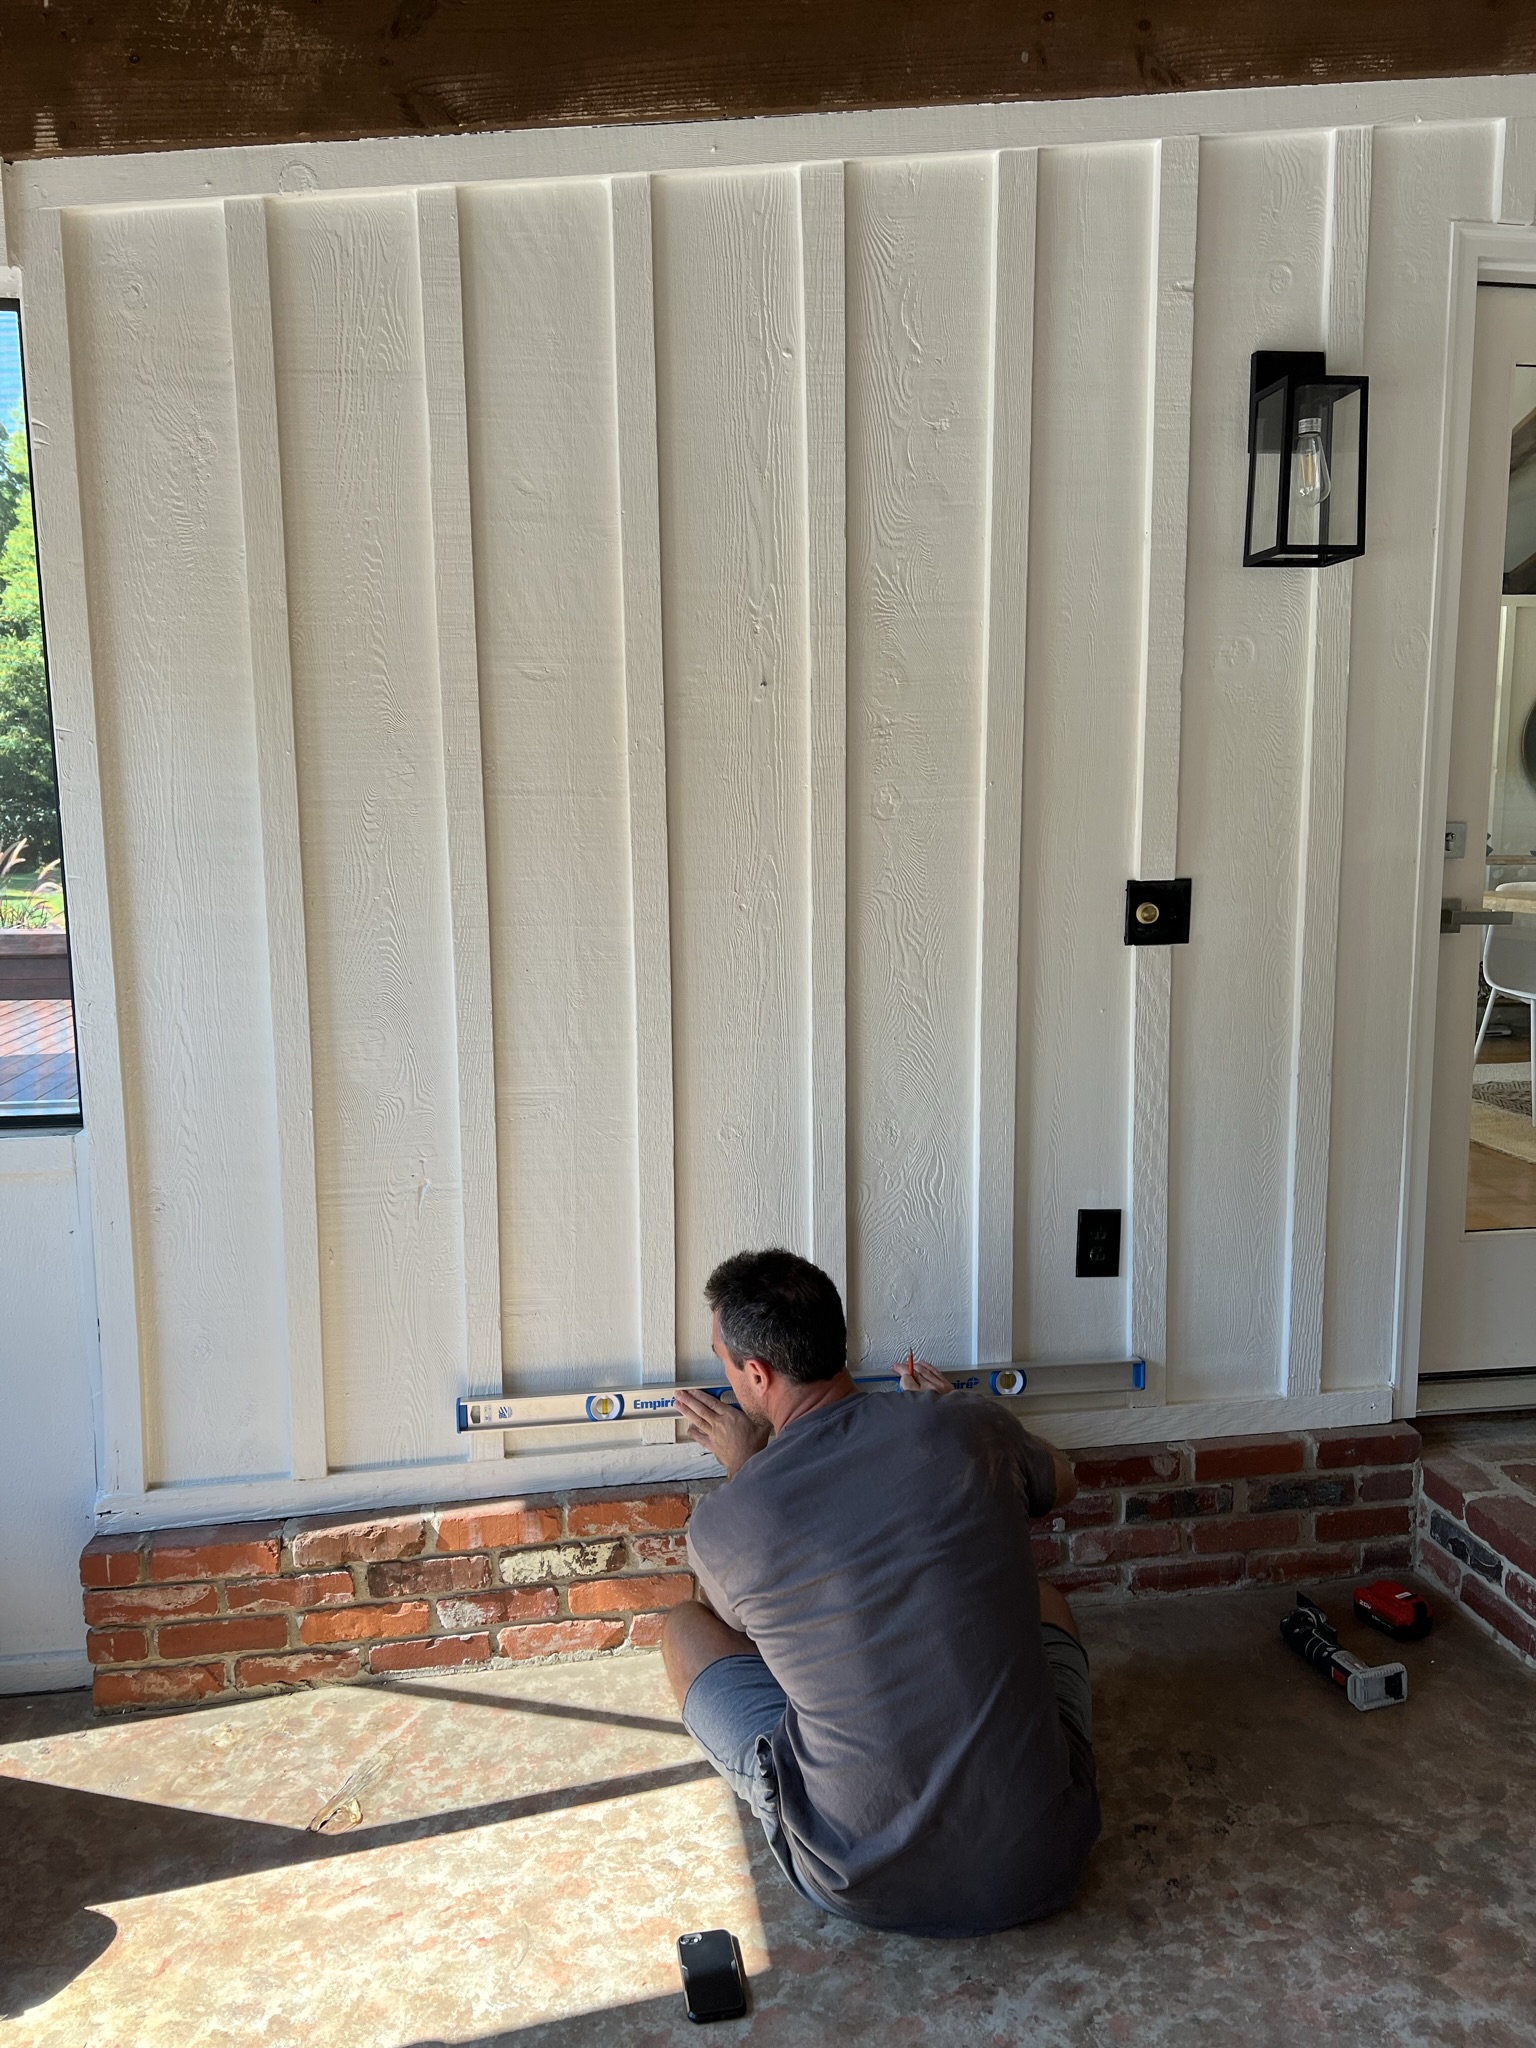
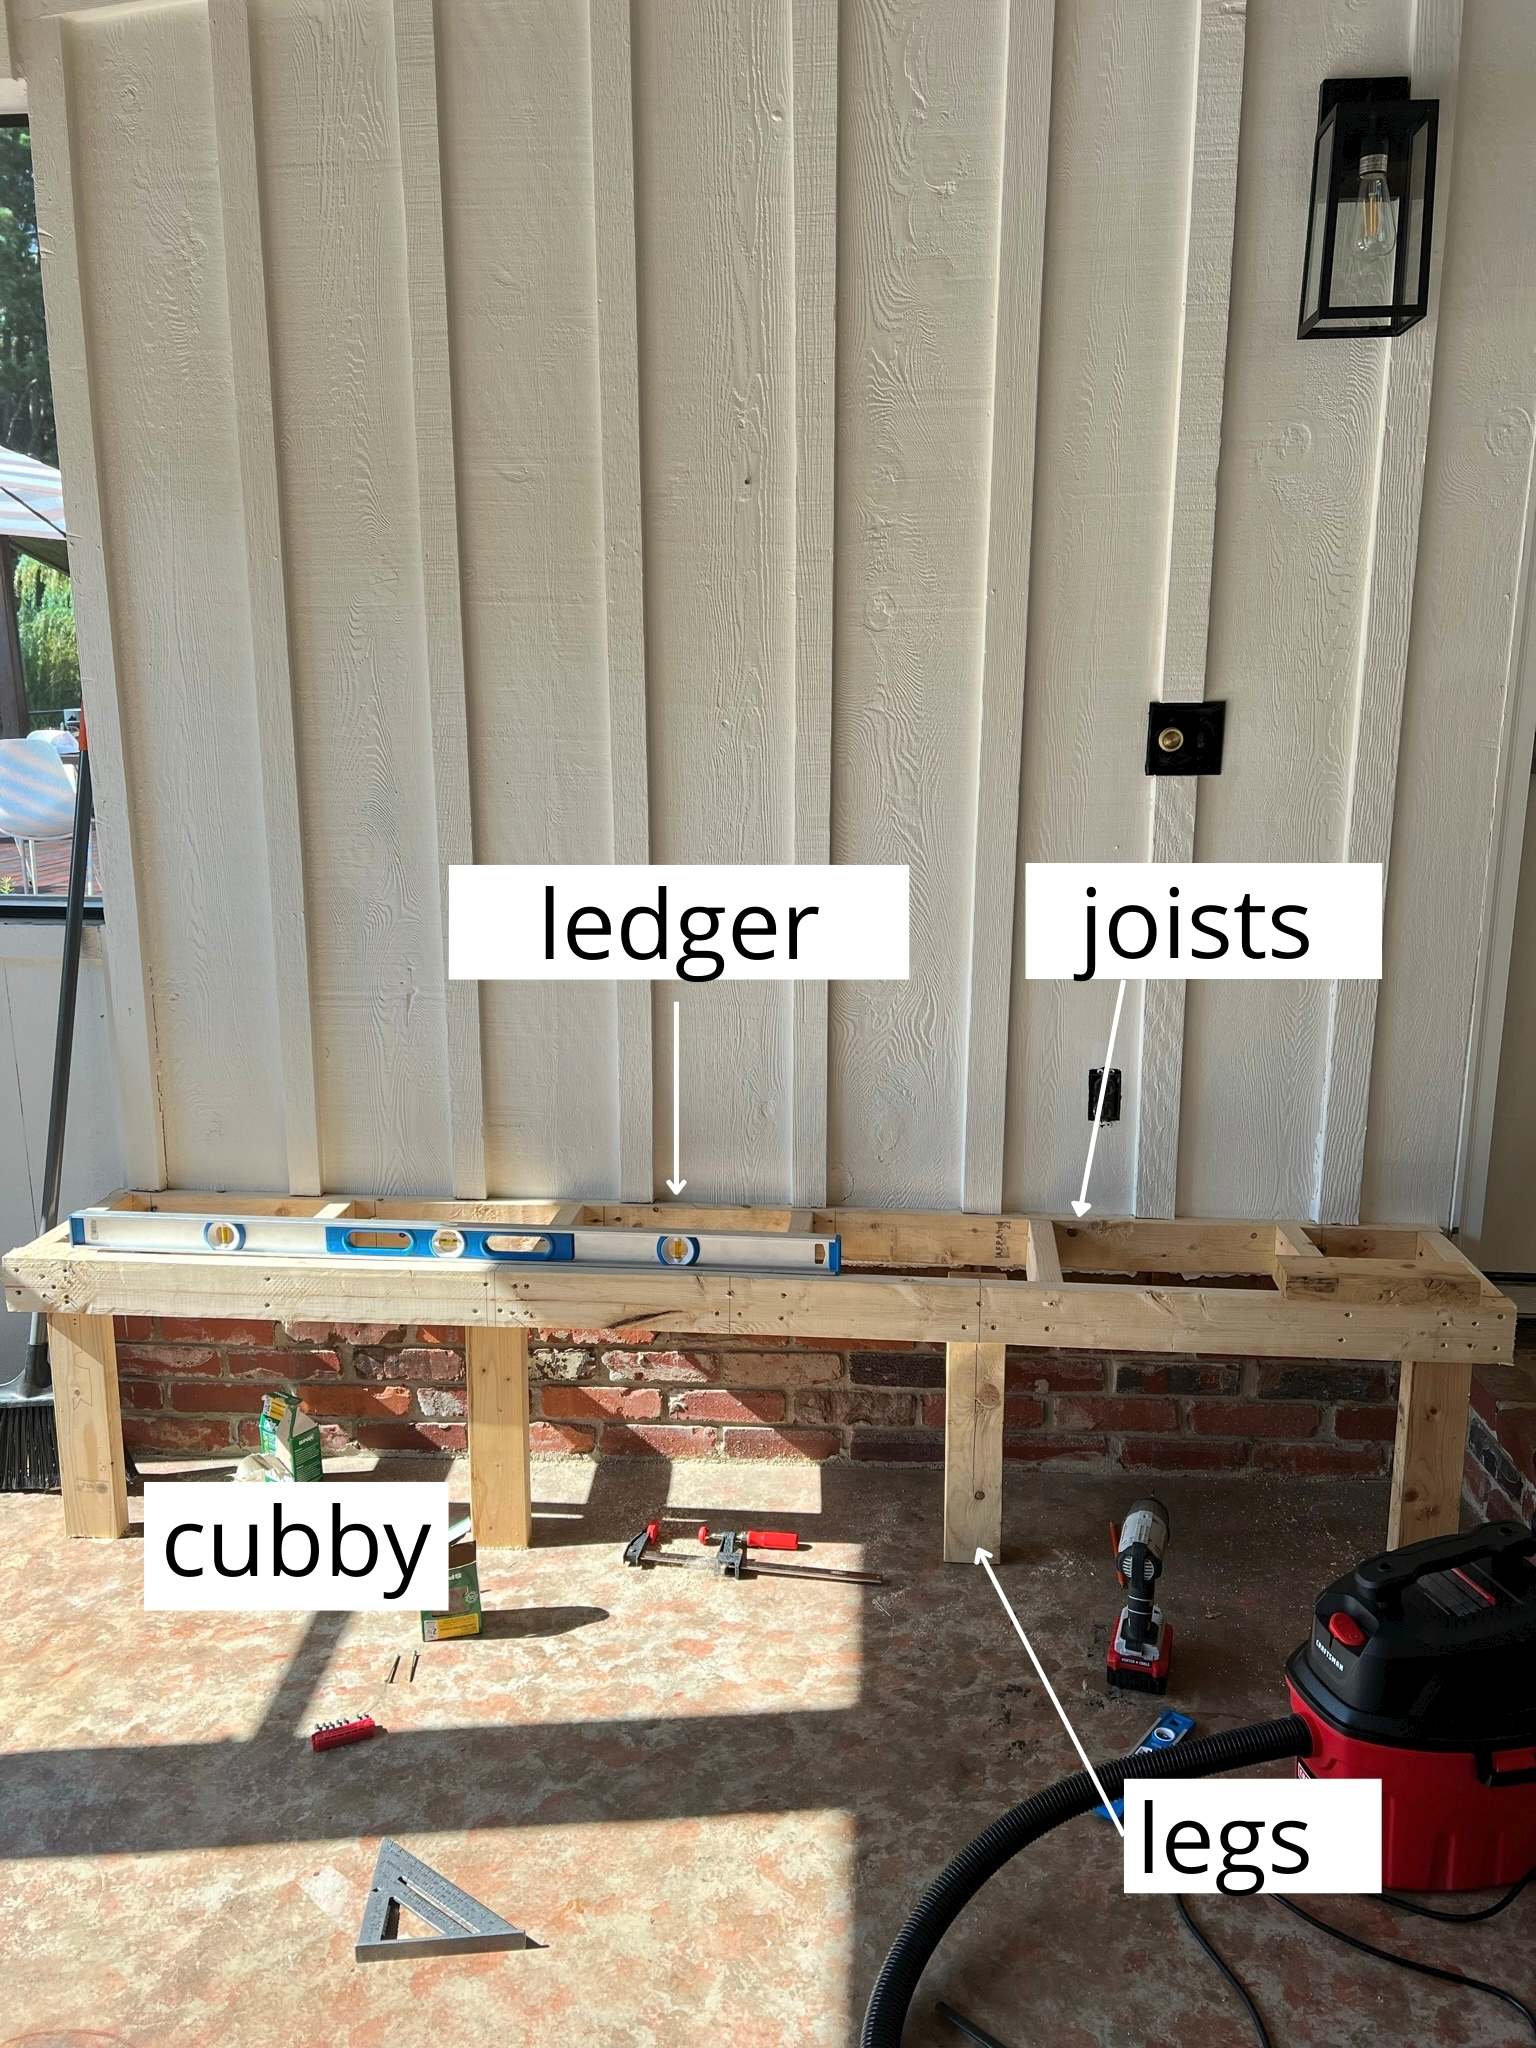
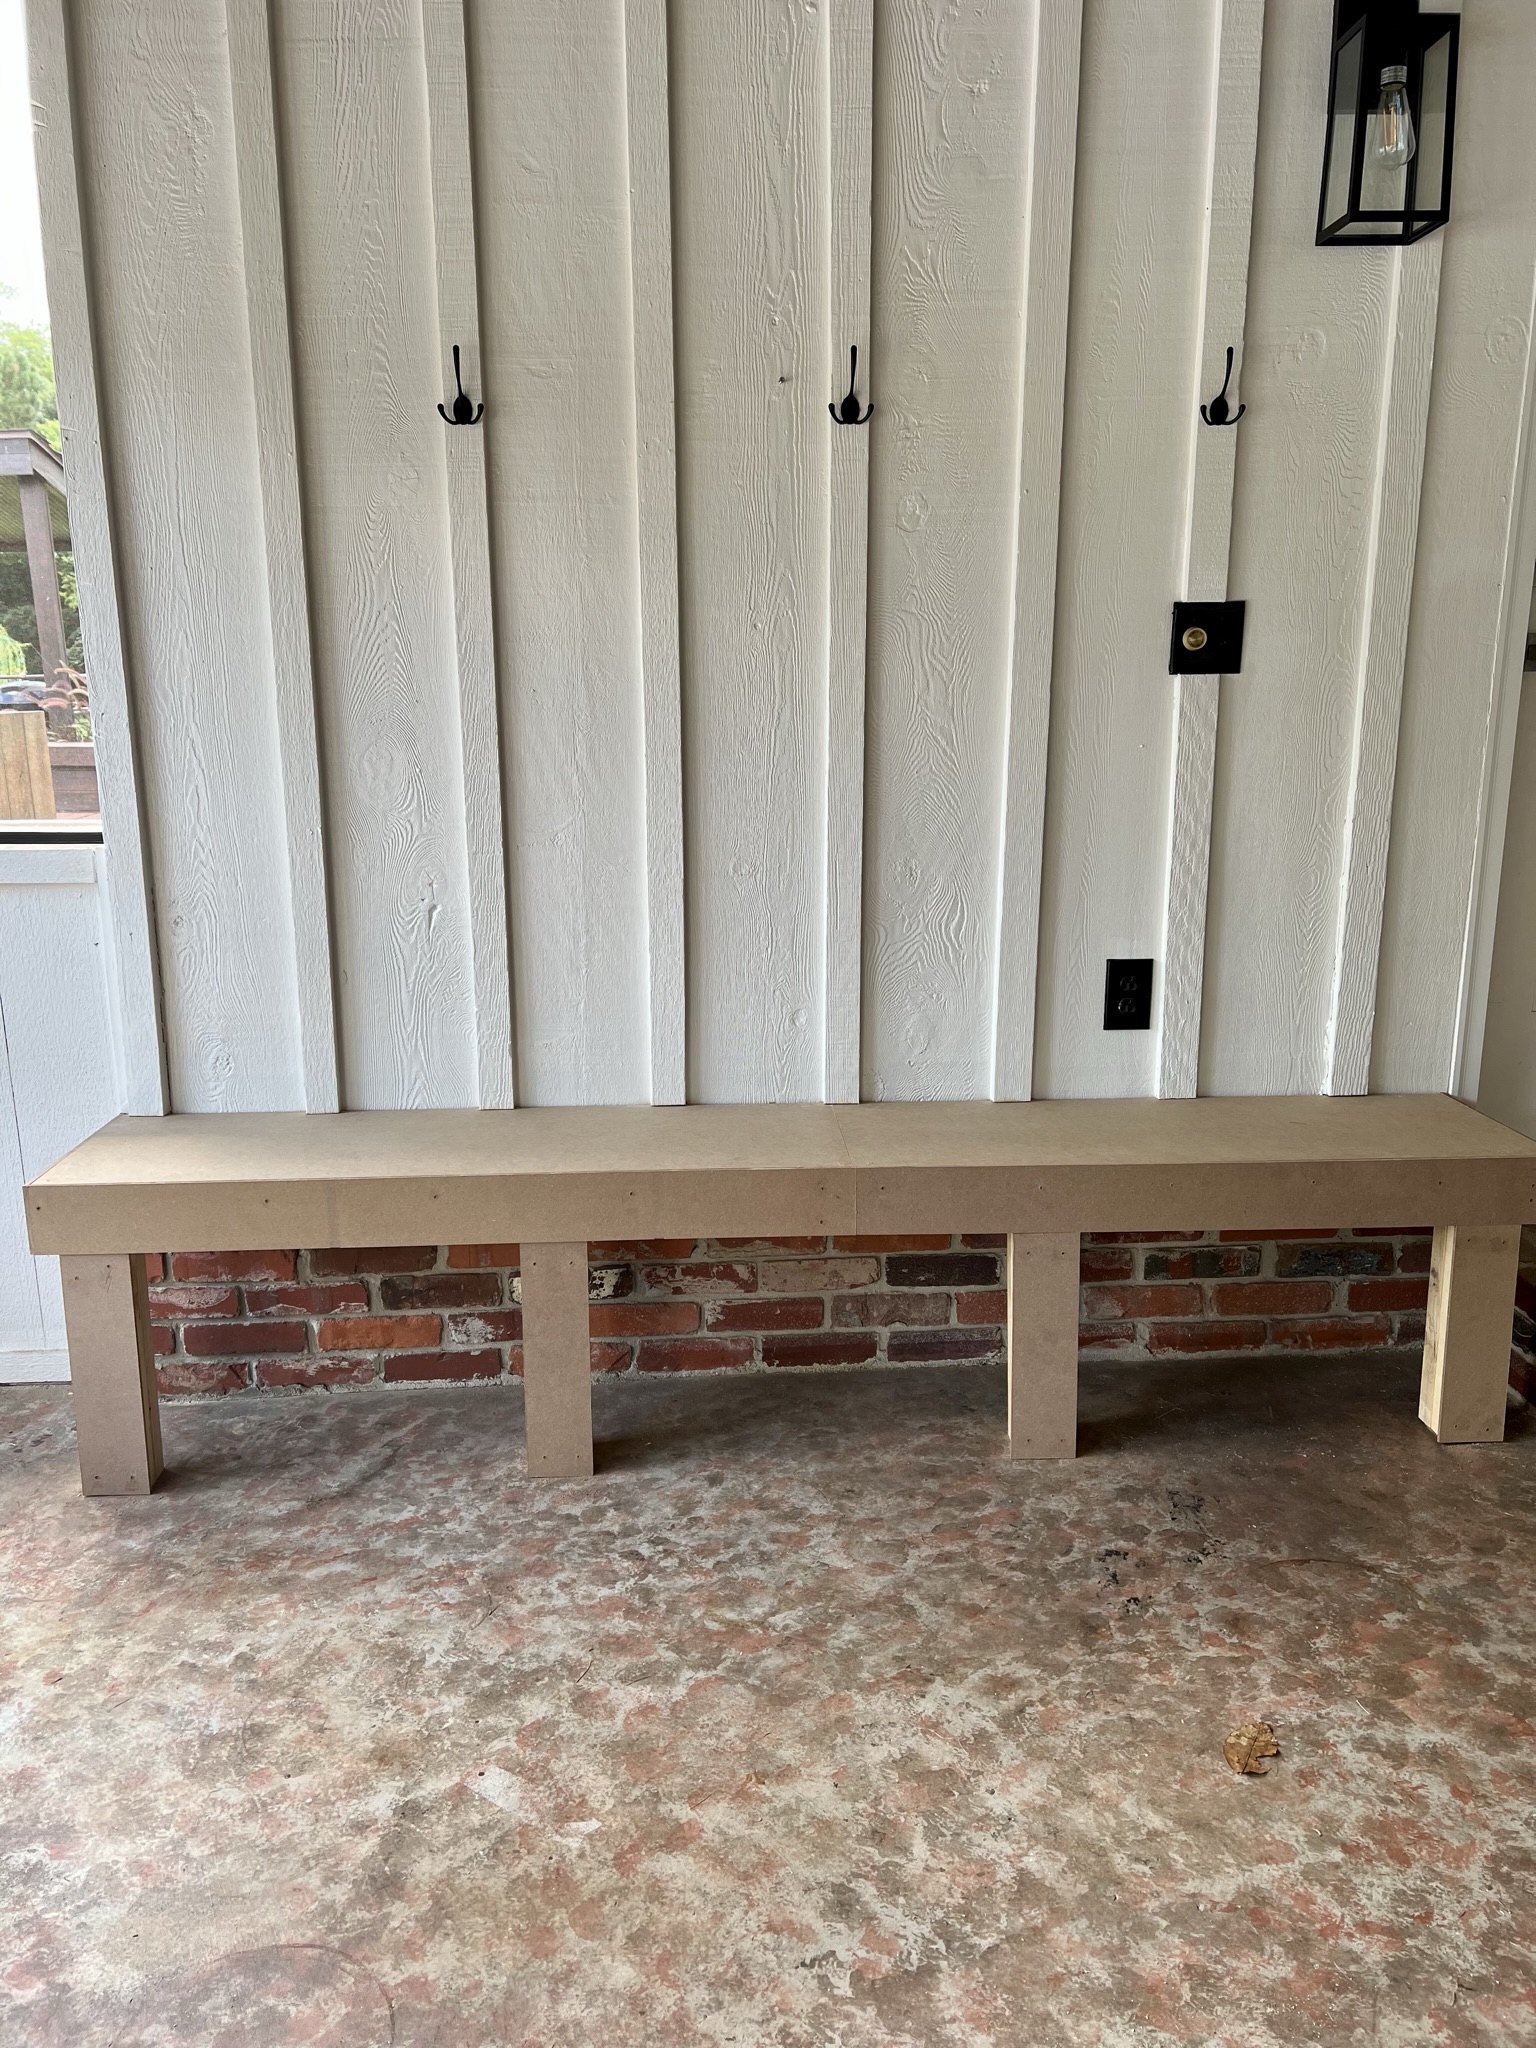
(Step 2). The frame work of this open bottom mudroom bench will consist of the ledger (the part that attaches to the studs of the wall, the sitting area, and the legs). Because the wall was already constructed with board and batten, we had to first use an oscillating saw to remove the batten to make room for the ledger.
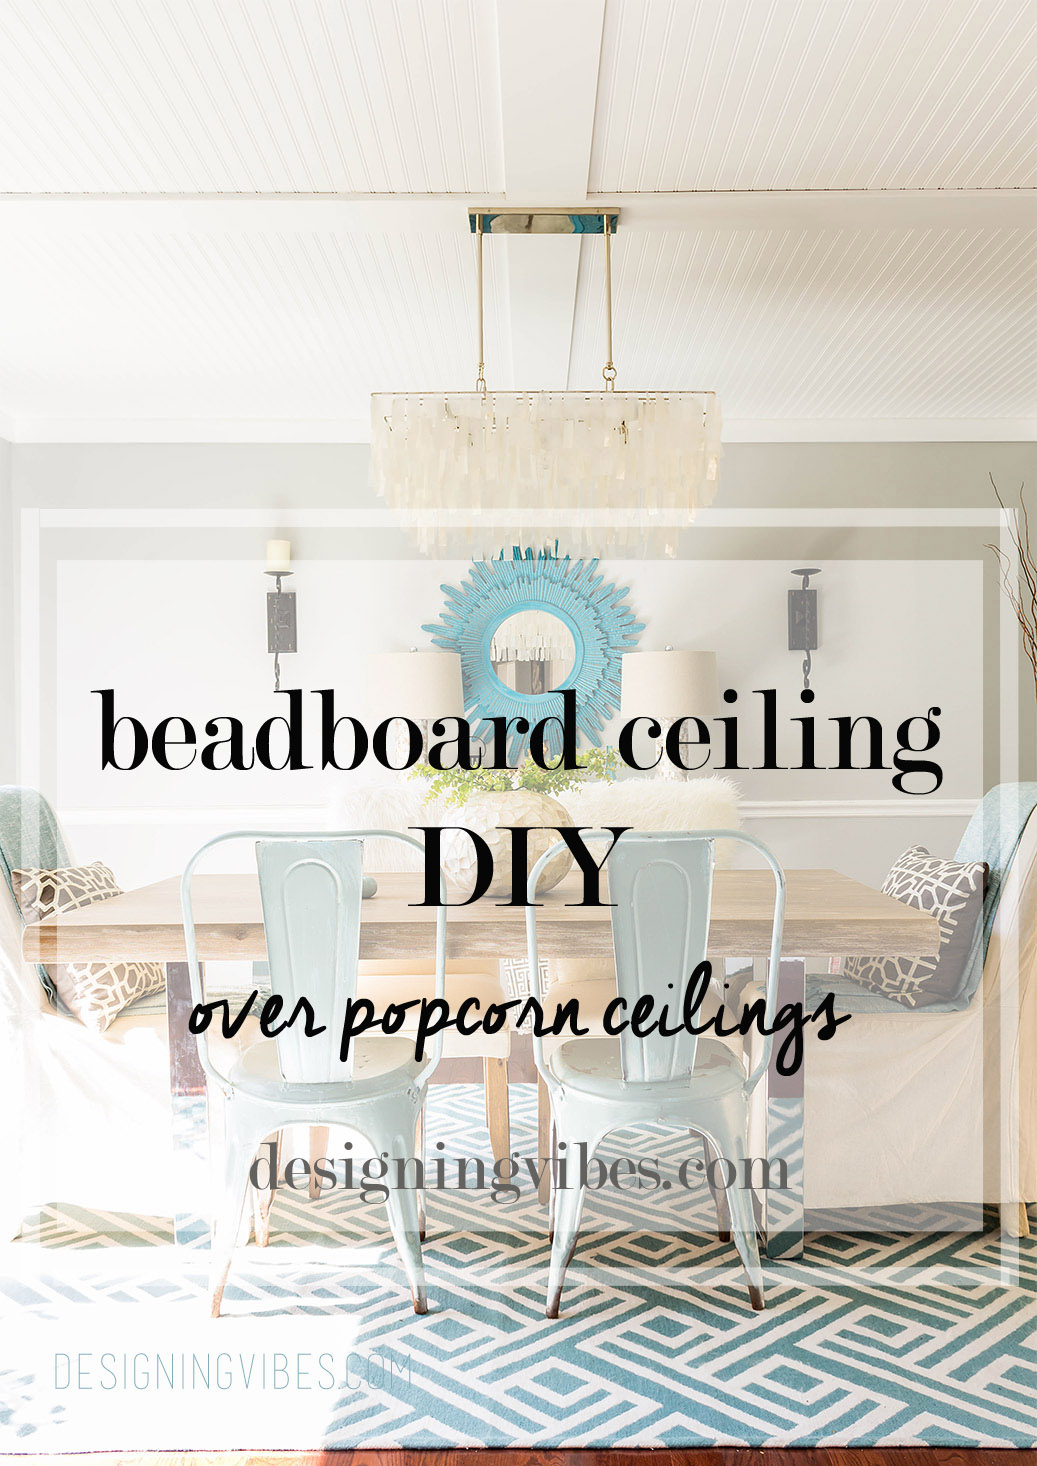
(Tip: If you prefer a mudroom bench with a bottom piece and a beadboard back wall, you can read that separate tutorial here.)
(Step 3). Cut the ledger (the 2×4 bench supports) to desired length of bench with miter or circular saw.

(Step 4). Locate and mark studs in the wall that the ledger will attach to.
(Step 5). Level ledger against the wall and attach with #10 or lag screws into wall studs. Calculate screw length by determining drywall or in our case cedar plank thickness. Drywall will either be ½ or 5/8” in thickness. Our cedar plank is 1”. The thickness of 2x lumber is 1.5”. So in a common scenario, you have 2x thickness of 1.5”, ½ drywall, and the the wall stud (which is 3.5” wide). I would recommend a minimum length of 4” in this case. You could go up to 5”.
(Step 6). Determine depth of the bench top. Cut joists 3” less than desired depth because the ledger and header will make up the 3” (remember, the thickness of 2x lumber is 1.5”).

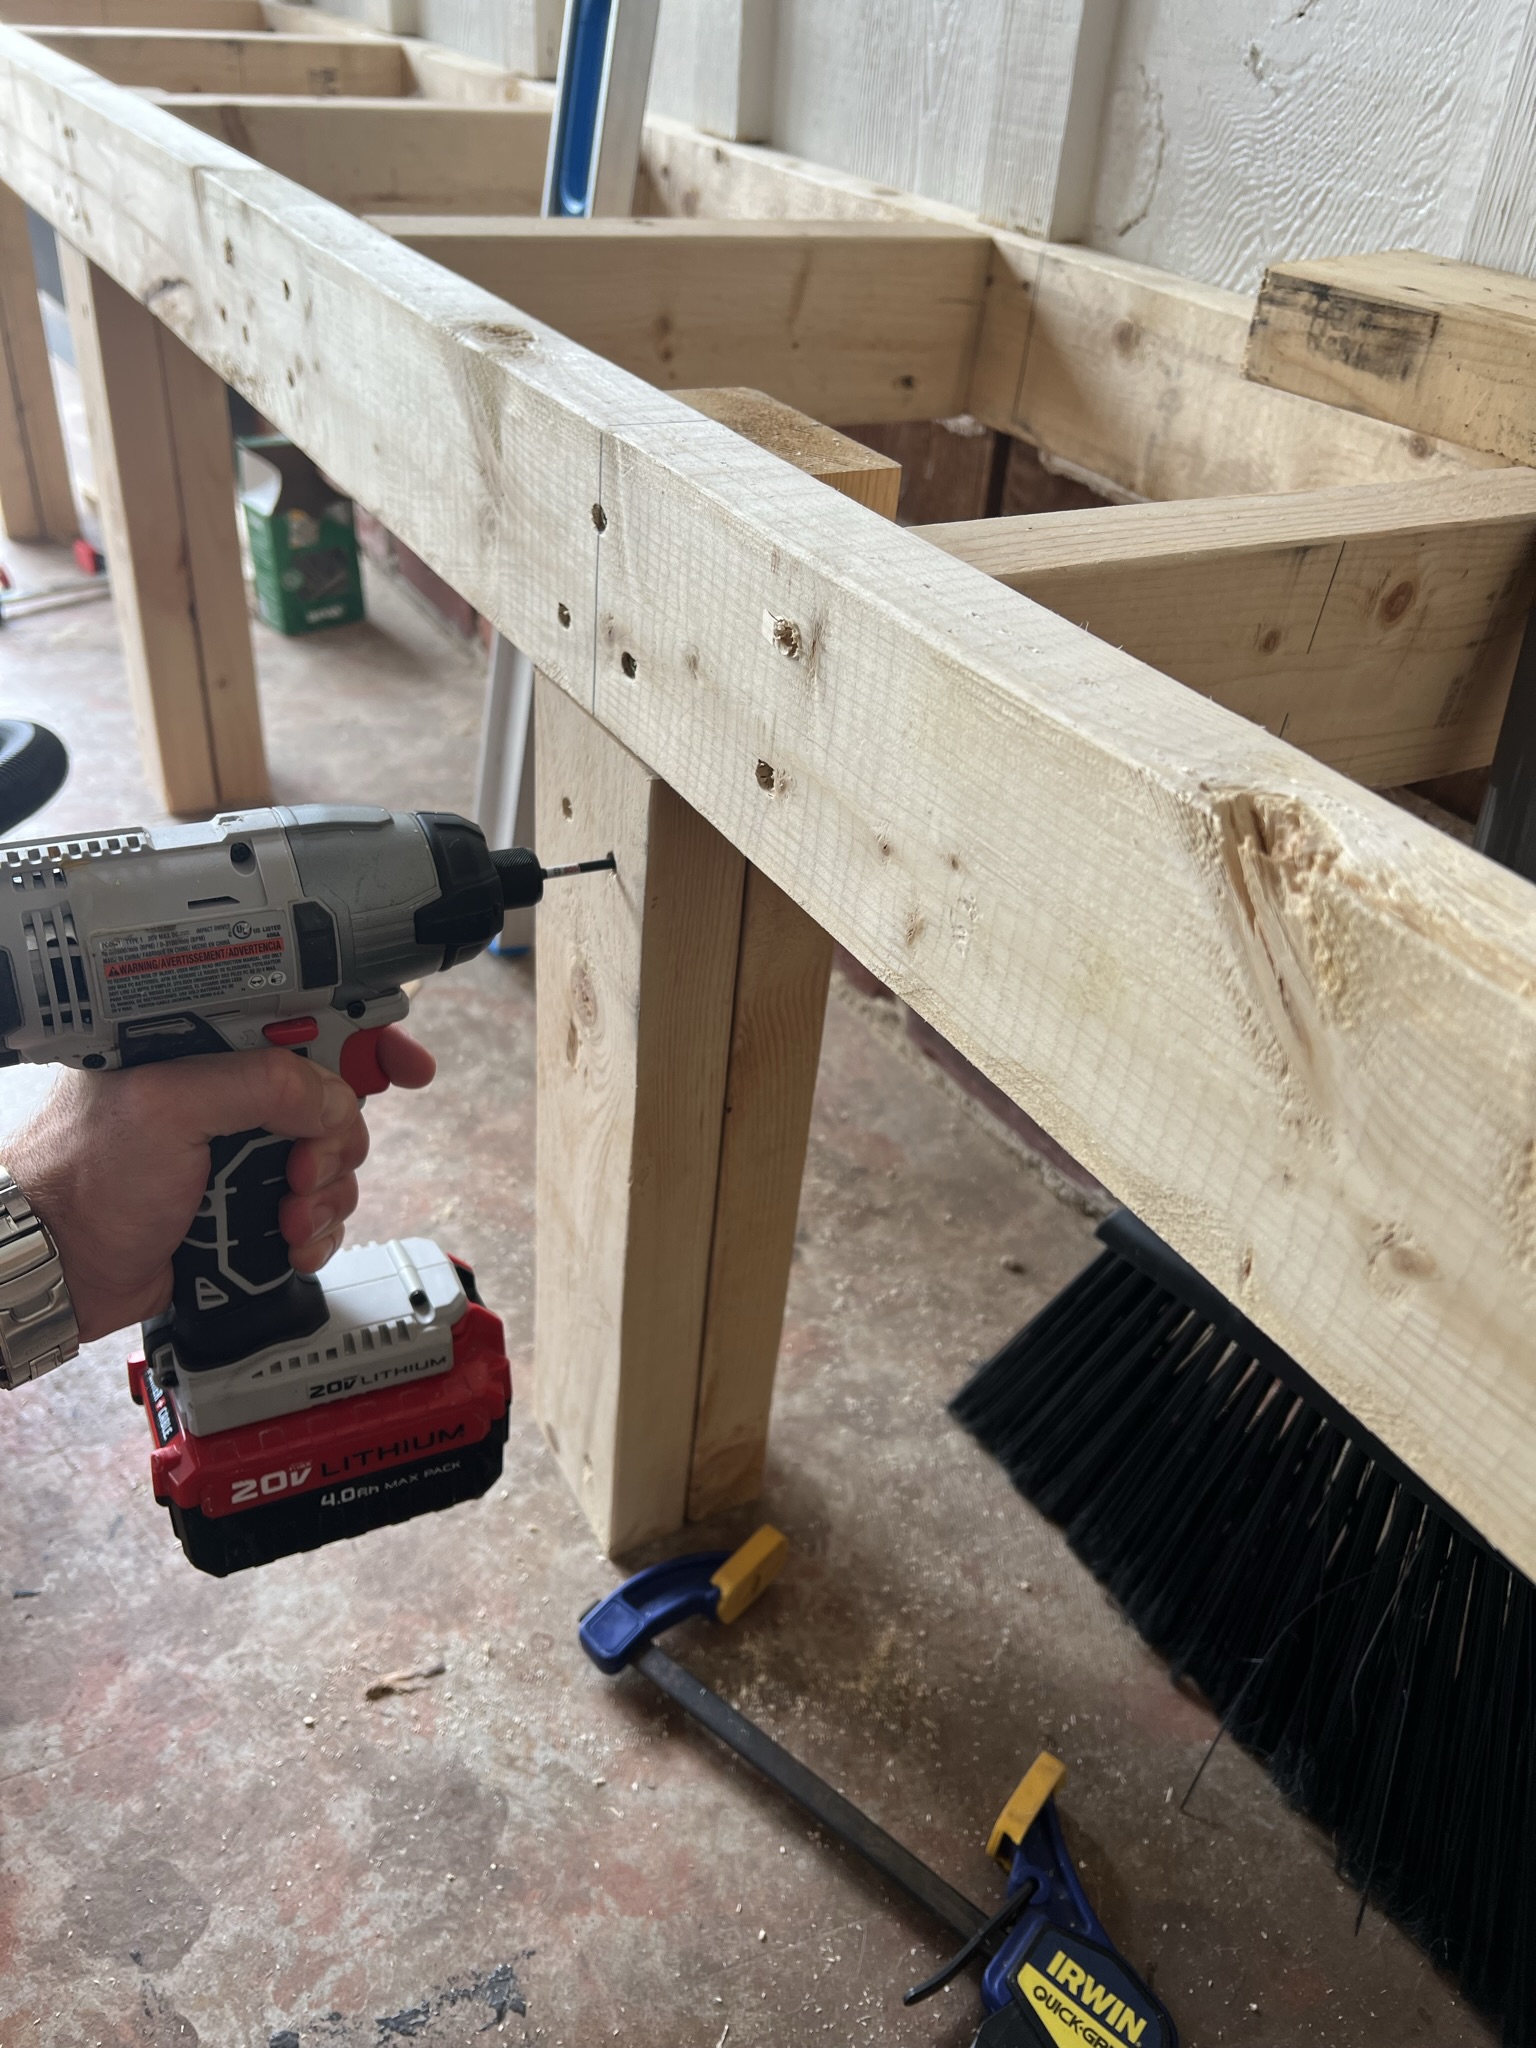
(Step 7). Attach joists to ledger with 2.75” #10 wood screws using the toe nail method. Space joists 16”on center.
(Step 8). Attach header to joist at the end joists first so it’s supported while you attach the remaining joists. Use the #10 2.75” screws to attach to header to joists. Screw through the header and into the end of the joists, using two screws per joist.
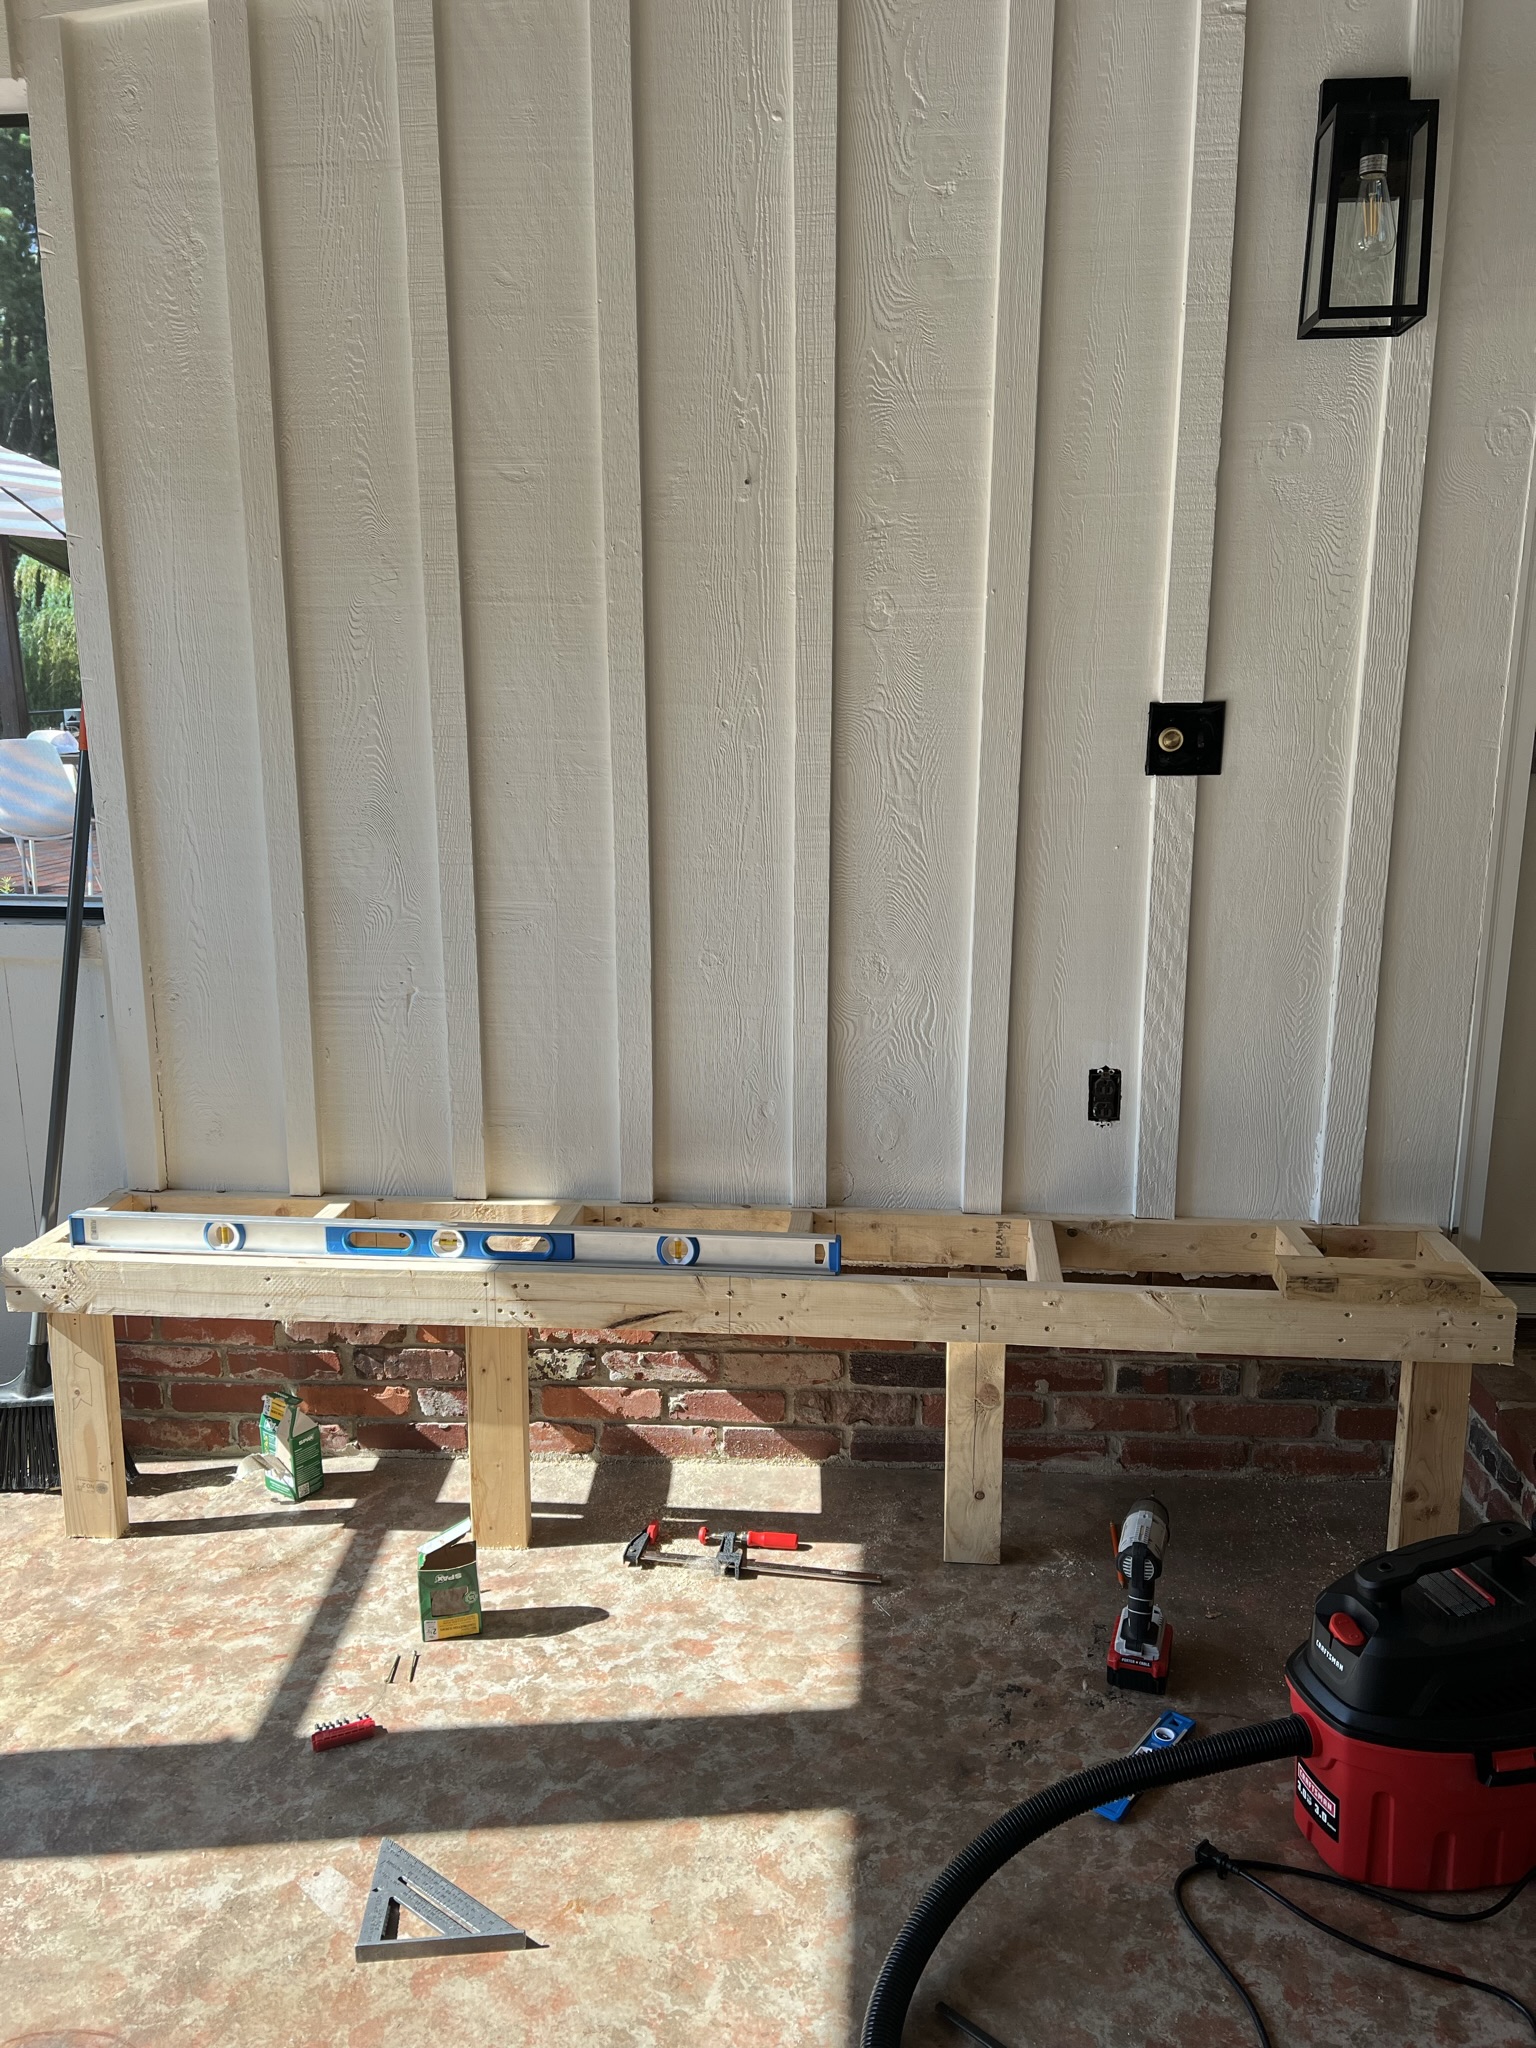
(Step 9). Determine the spacing of legs (this depends on how many storage baskets you will want). Cut legs a few inches longer than the top edge of the header. This will allow some adjustment to make sure the bench is level. Place legs at each end and level both length and depth wise. Attach legs with 2.75 #10 screws. Attach remaining legs.
(Step 10). Now cut excess height of legs using a reciprocating saw.
(Step 11). Measure distance between floor and bottom header and cut 2×4’s accordingly. This allows the face boards (MDF) to be flush on the legs and header. Attach to legs with 2.75” screws.
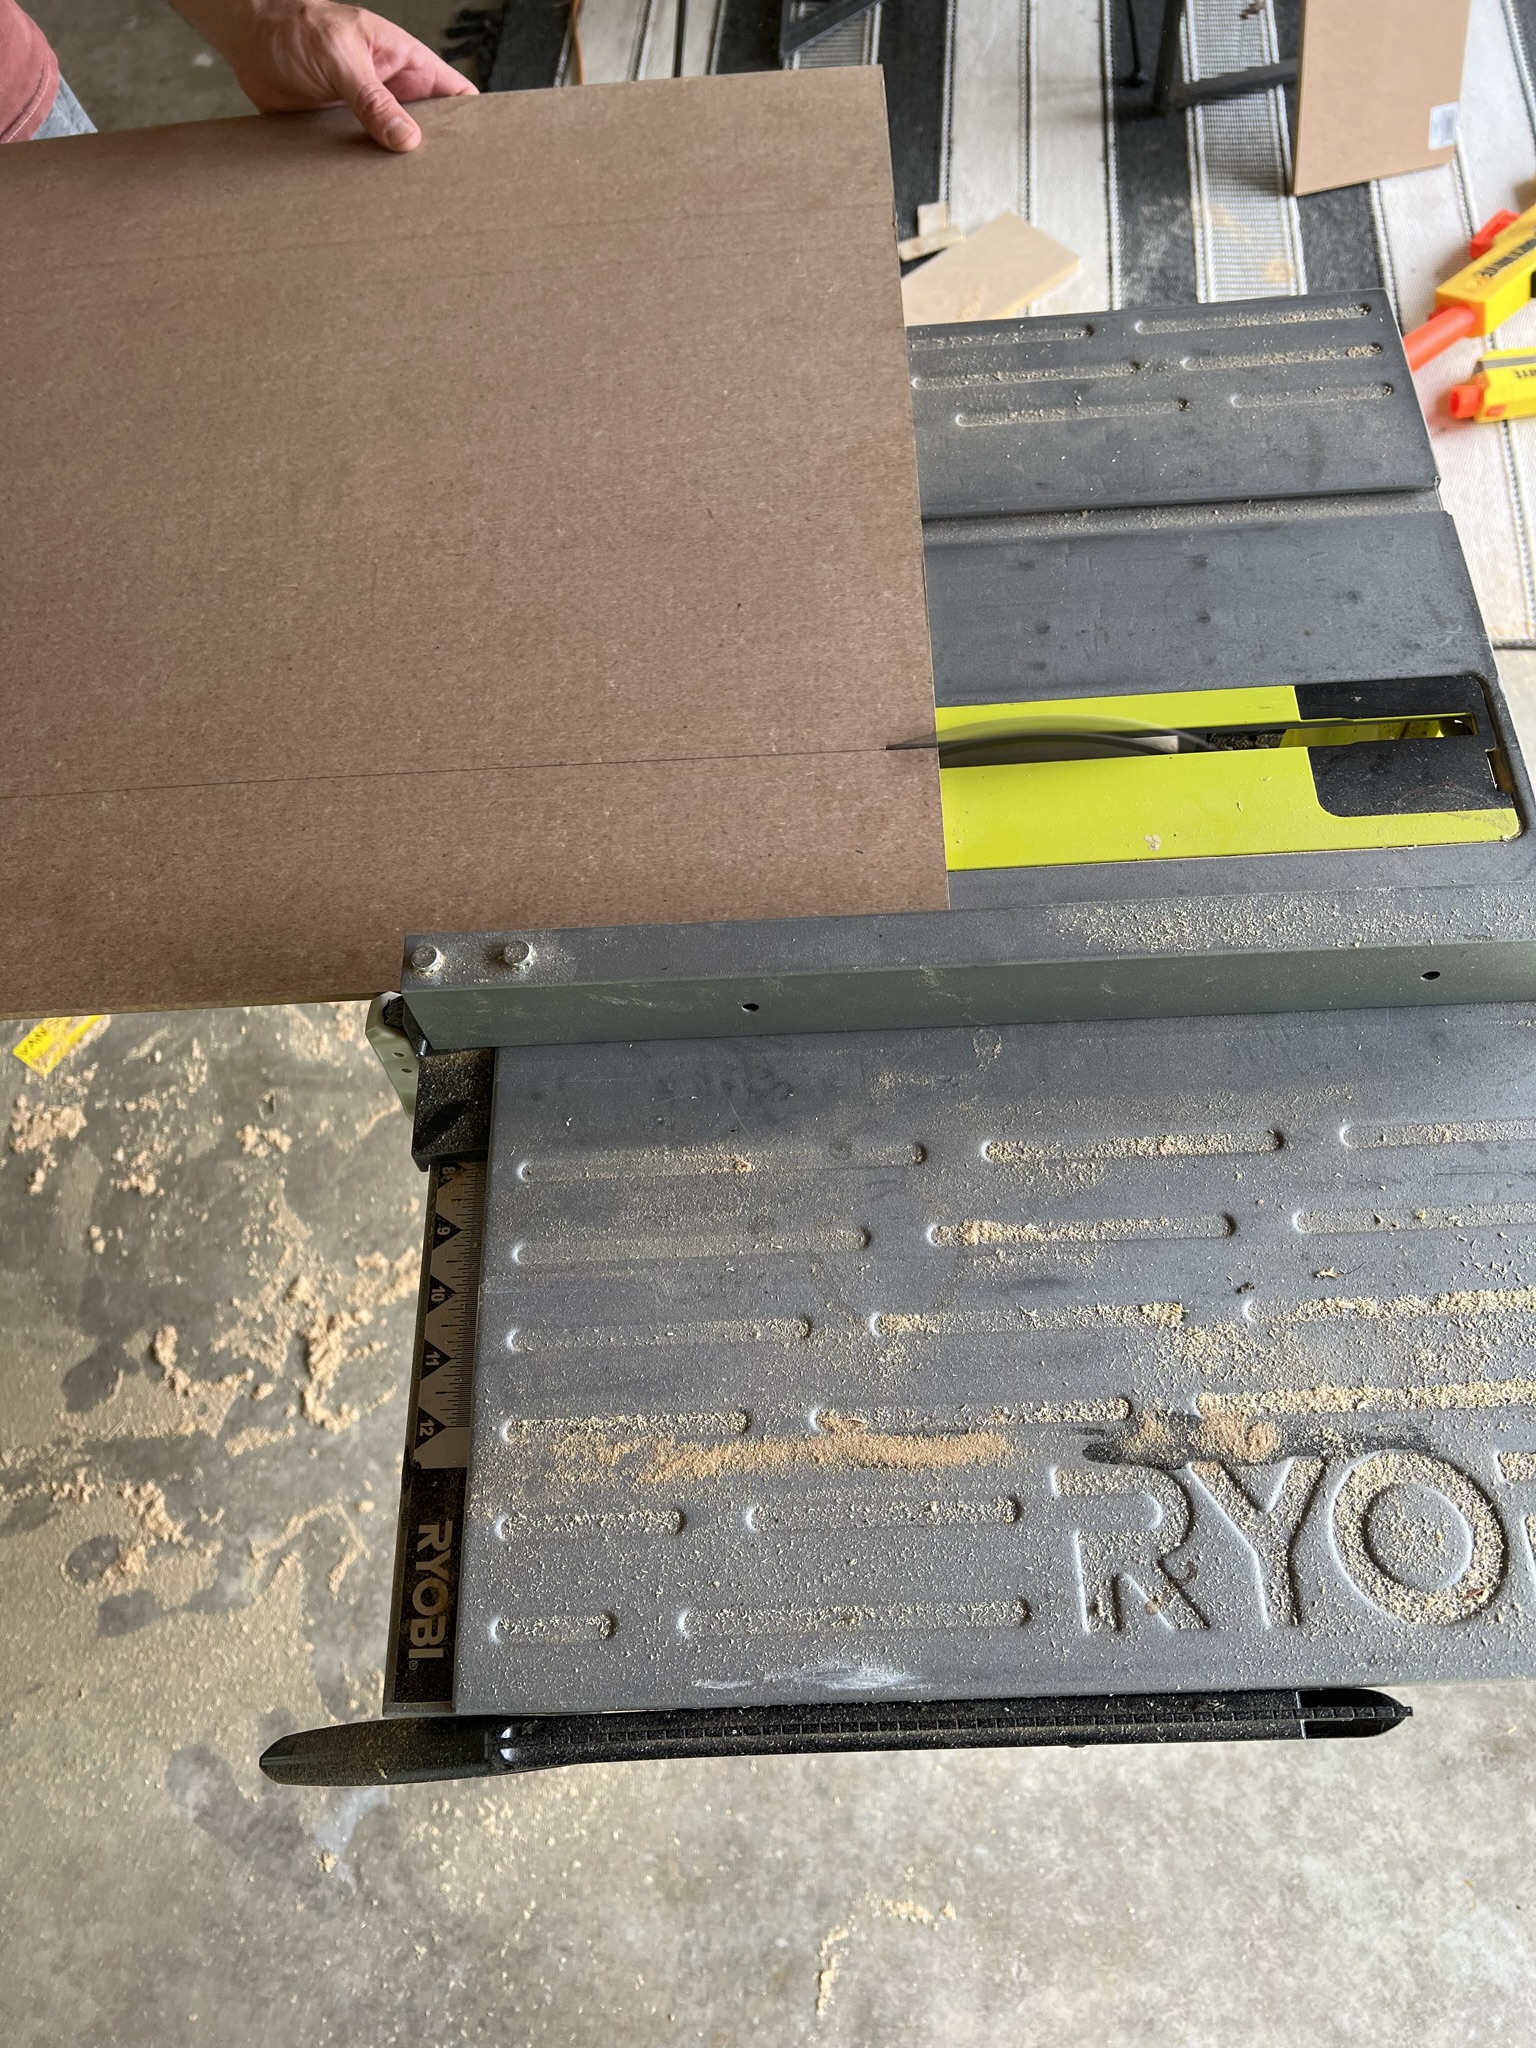
(Step 12). For the top of the bench, cut ¾ MDF board to length and width with a table saw. I had to buy (2) 2′ x 4′ sheets of MDF since the bench was longer than 4′. For a sturdy bench, it is imperative that the edge of the MDF sheets land center on a joist. If this does not happen, you will likely seed the edge slightly concave when heavily weighted since it has no support. Attach using using 1.5” trim head screws at four corners.
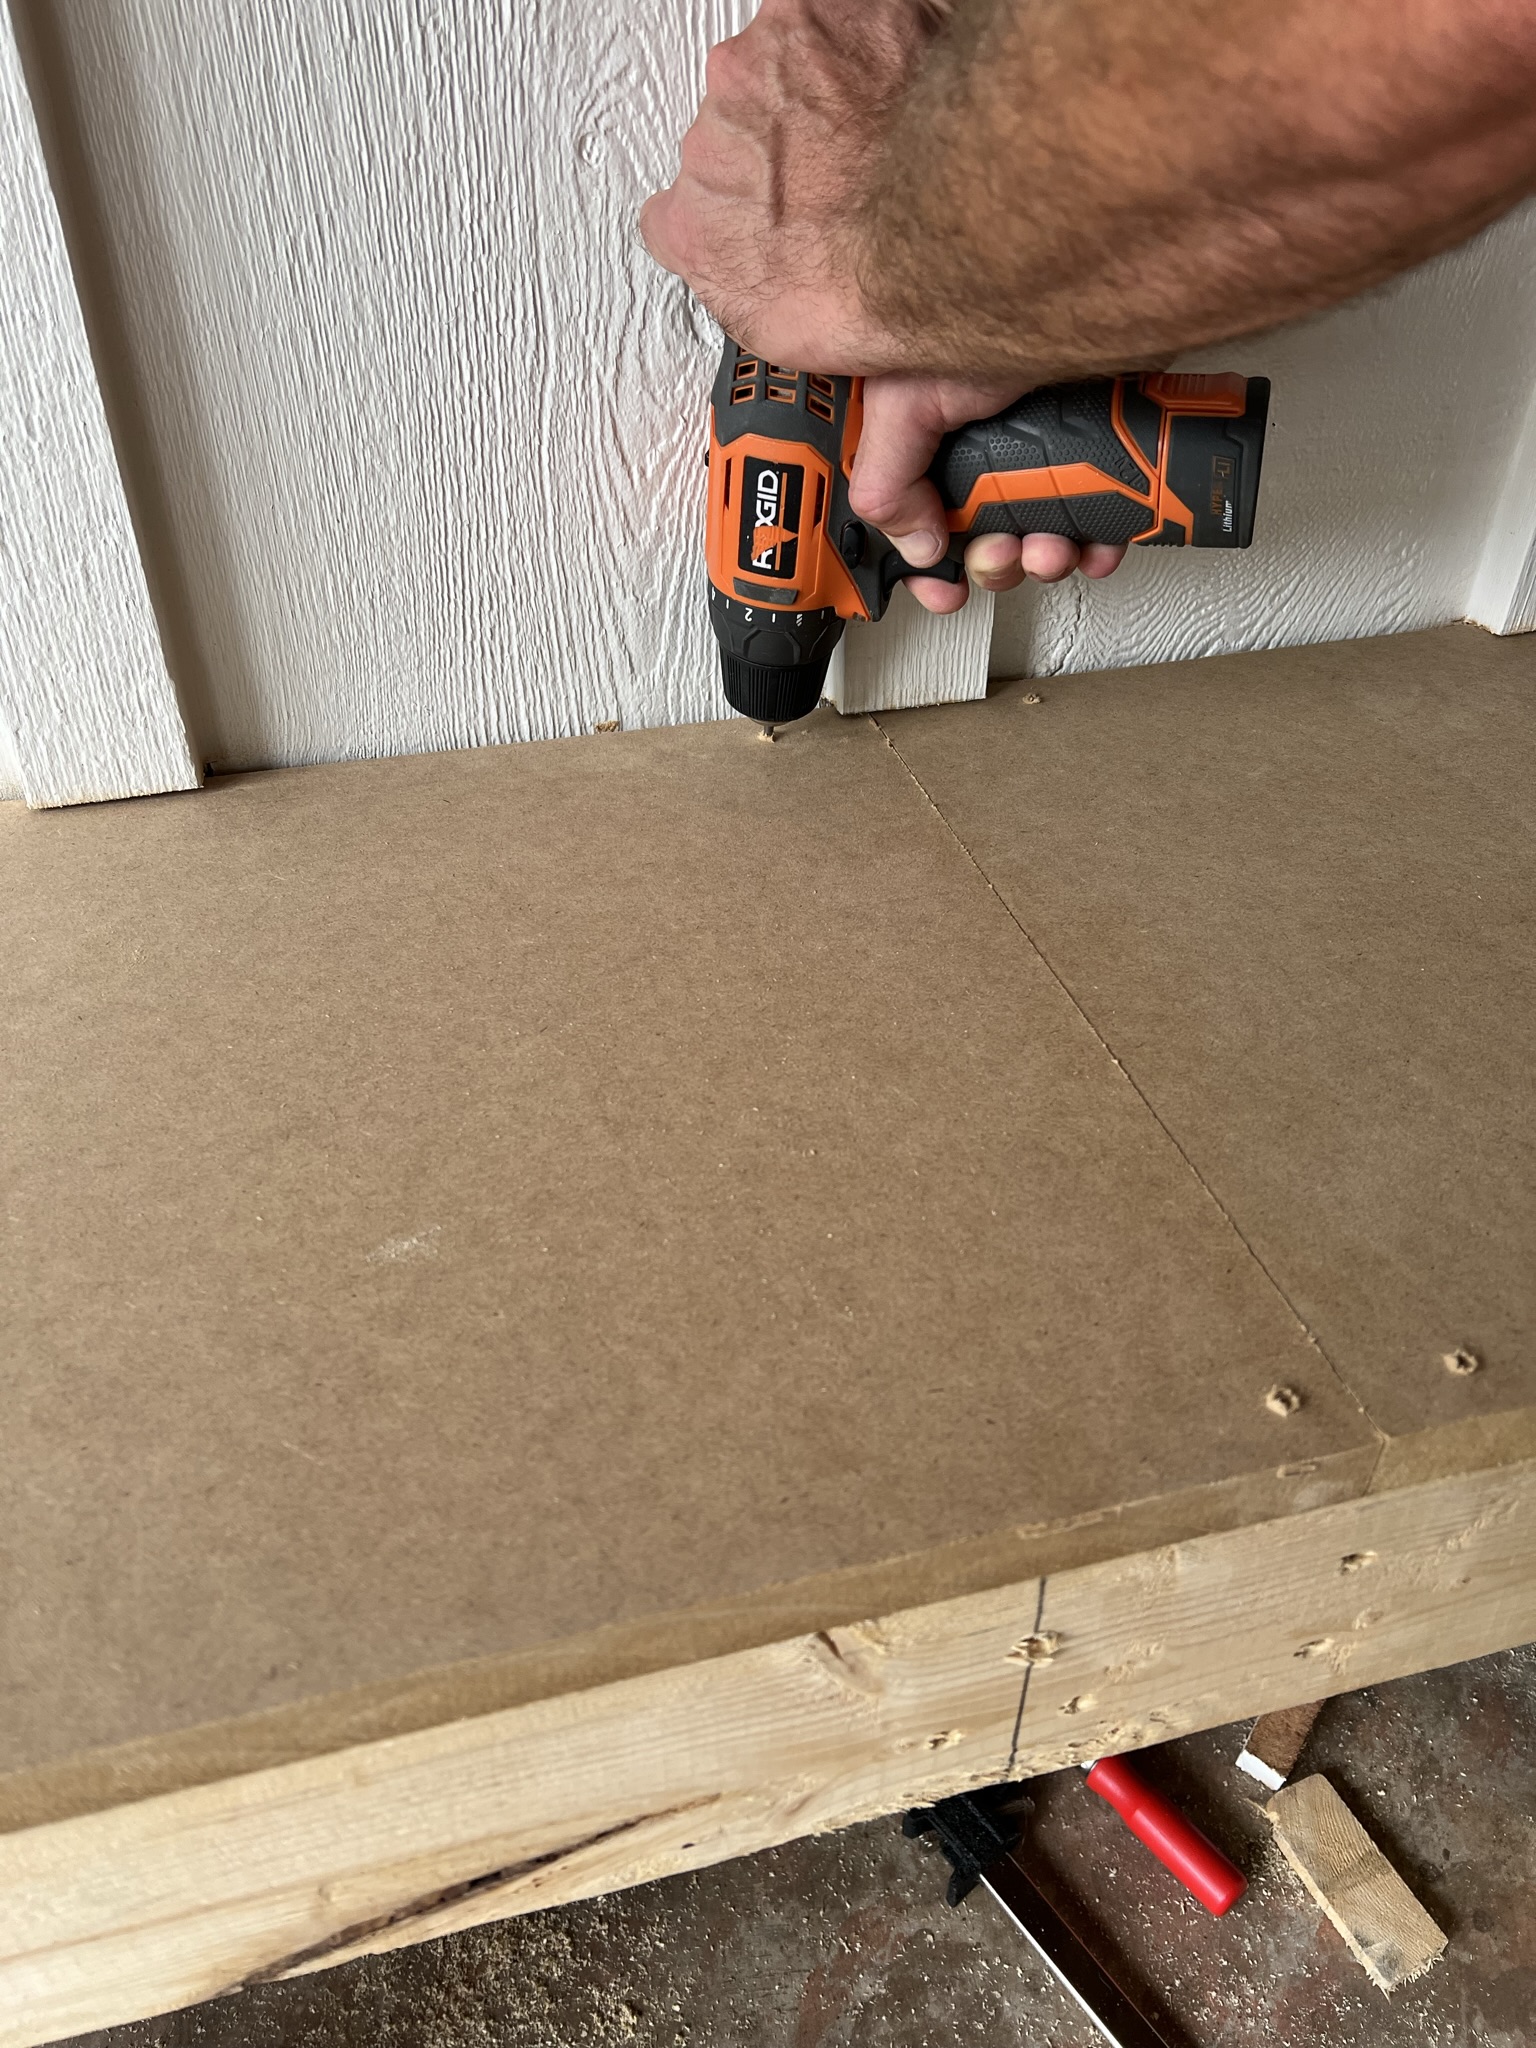
(Step 13). Where the MDF raises a ring around the trim head screw, use an orbital sander to sand flat.
(Step 14). Use same methods to cut and attach face frame boards to header and legs with ½ MDF board.
(Step 15). Now you are ready to prime, caulk, and paint! You will probably need to apply some wood filler to the nail holes as well.
Note: Given this was going in a screened in porch, just to be safe, I used an exterior paint on the bench. Lucky for me, there was some leftover paint from where the previous owners had painted the entire exterior of our home in Shoji White by Sherwin Williams.
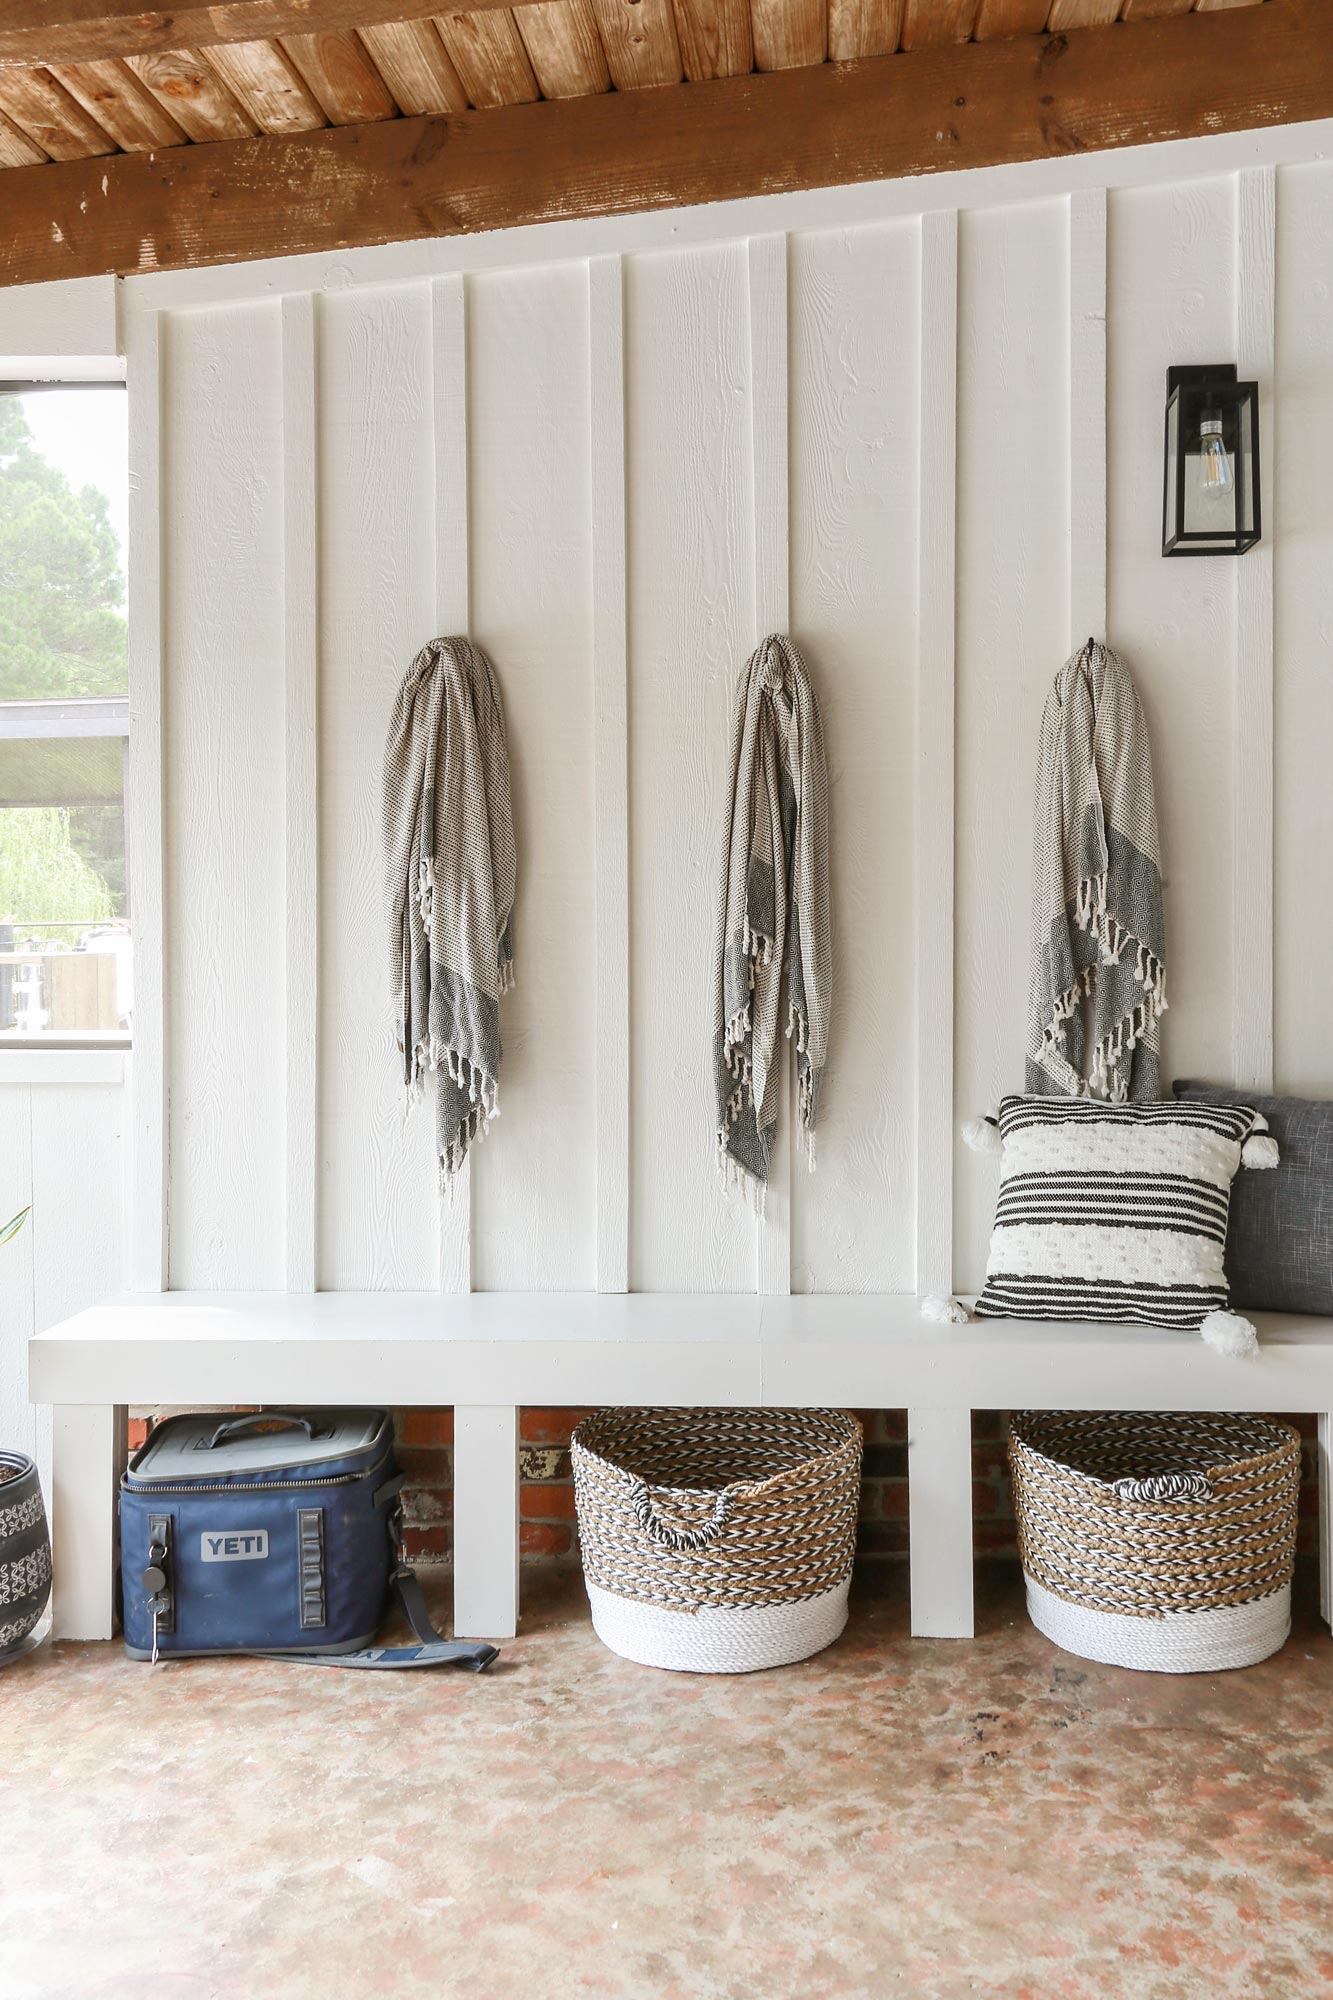
I am so happy with how this DIY project turned out (no more white trash central)!
Of course….in an ideal world I would have filled each cubby in the lower storage space with a wicker basket for a perfectly cohesive look.
But for our unique needs, I was determined to designate one of the cubby holes for our cooler (instead of dirty shoes or random toys).
I mean…a lush has got to do what a lush has got to do! Right?!
Thank you so much for stopping by this week.
I hope you were inspired by this easy DIY mudroom bench tutorial. It is truly a great addition to any small space that lacks purpose, seating or storage.
Don’t forget to also check out more of my DIY mudroom bench ideas listed below like this easy project I completed in my old laundry room for under $200…
It would mean the world to this small business of mine if you could share this post with a friend or on social media.

And if you want to see more DIY bench projects, be sure to check out these other tutorials on the blog..
More DIY Bench Tutorials:
Now get out there and design some good vibes along with a fabulous life!


Welcome!
My journey in interior design and home improvement began with transforming my first fixer-upper home, all while managing a budget and raising two young boys. My work, a reflection of my passion for creating beautiful, uplifting spaces, has been recognized by top publications like Better Homes and Gardens Magazine, HGTV, and more. I invite you to explore my site and witness the transformation of my home and the vibes we've designed. Read more...


Erica-
That’s a genius way to camo things, and nobody likes wet towels and swimsuits and don’t we all need extra seating? So smart and useful- being OCD, I can really appreciate the storage!! I’m glad you and your family are enjoying your fabulous home.
Yesss! Camouflaging junk is a must when you struggle with the OCD. haha. Thank you for the kind words, Donna. 🙂
Cute as a button and it’s a perfect addition to you home. It’s worth noting that MDF boards do not do well if they get wet. Sealing edges with primer and paint helps but very difficult to guarantee every nook and cranny was covered. So I caution readers to use with caution if they are placing in an area that may get some rain. I love your posts as I’m a DIYer myself and Been there done that!
Thank you, Nancy. And yes…I should probably go back in the post to clarify that this bench is in a completely covered/enclosed screened in porch. If readers wanted to do something in an unprotected outdoors setting, they would need to use treated wood.