
How To Hang a Hat Gallery Wall The Easy Way

Looking for a cheap way to add texture and coastal charm to your home? Today I am sharing the easiest way to hang a hat gallery wall…
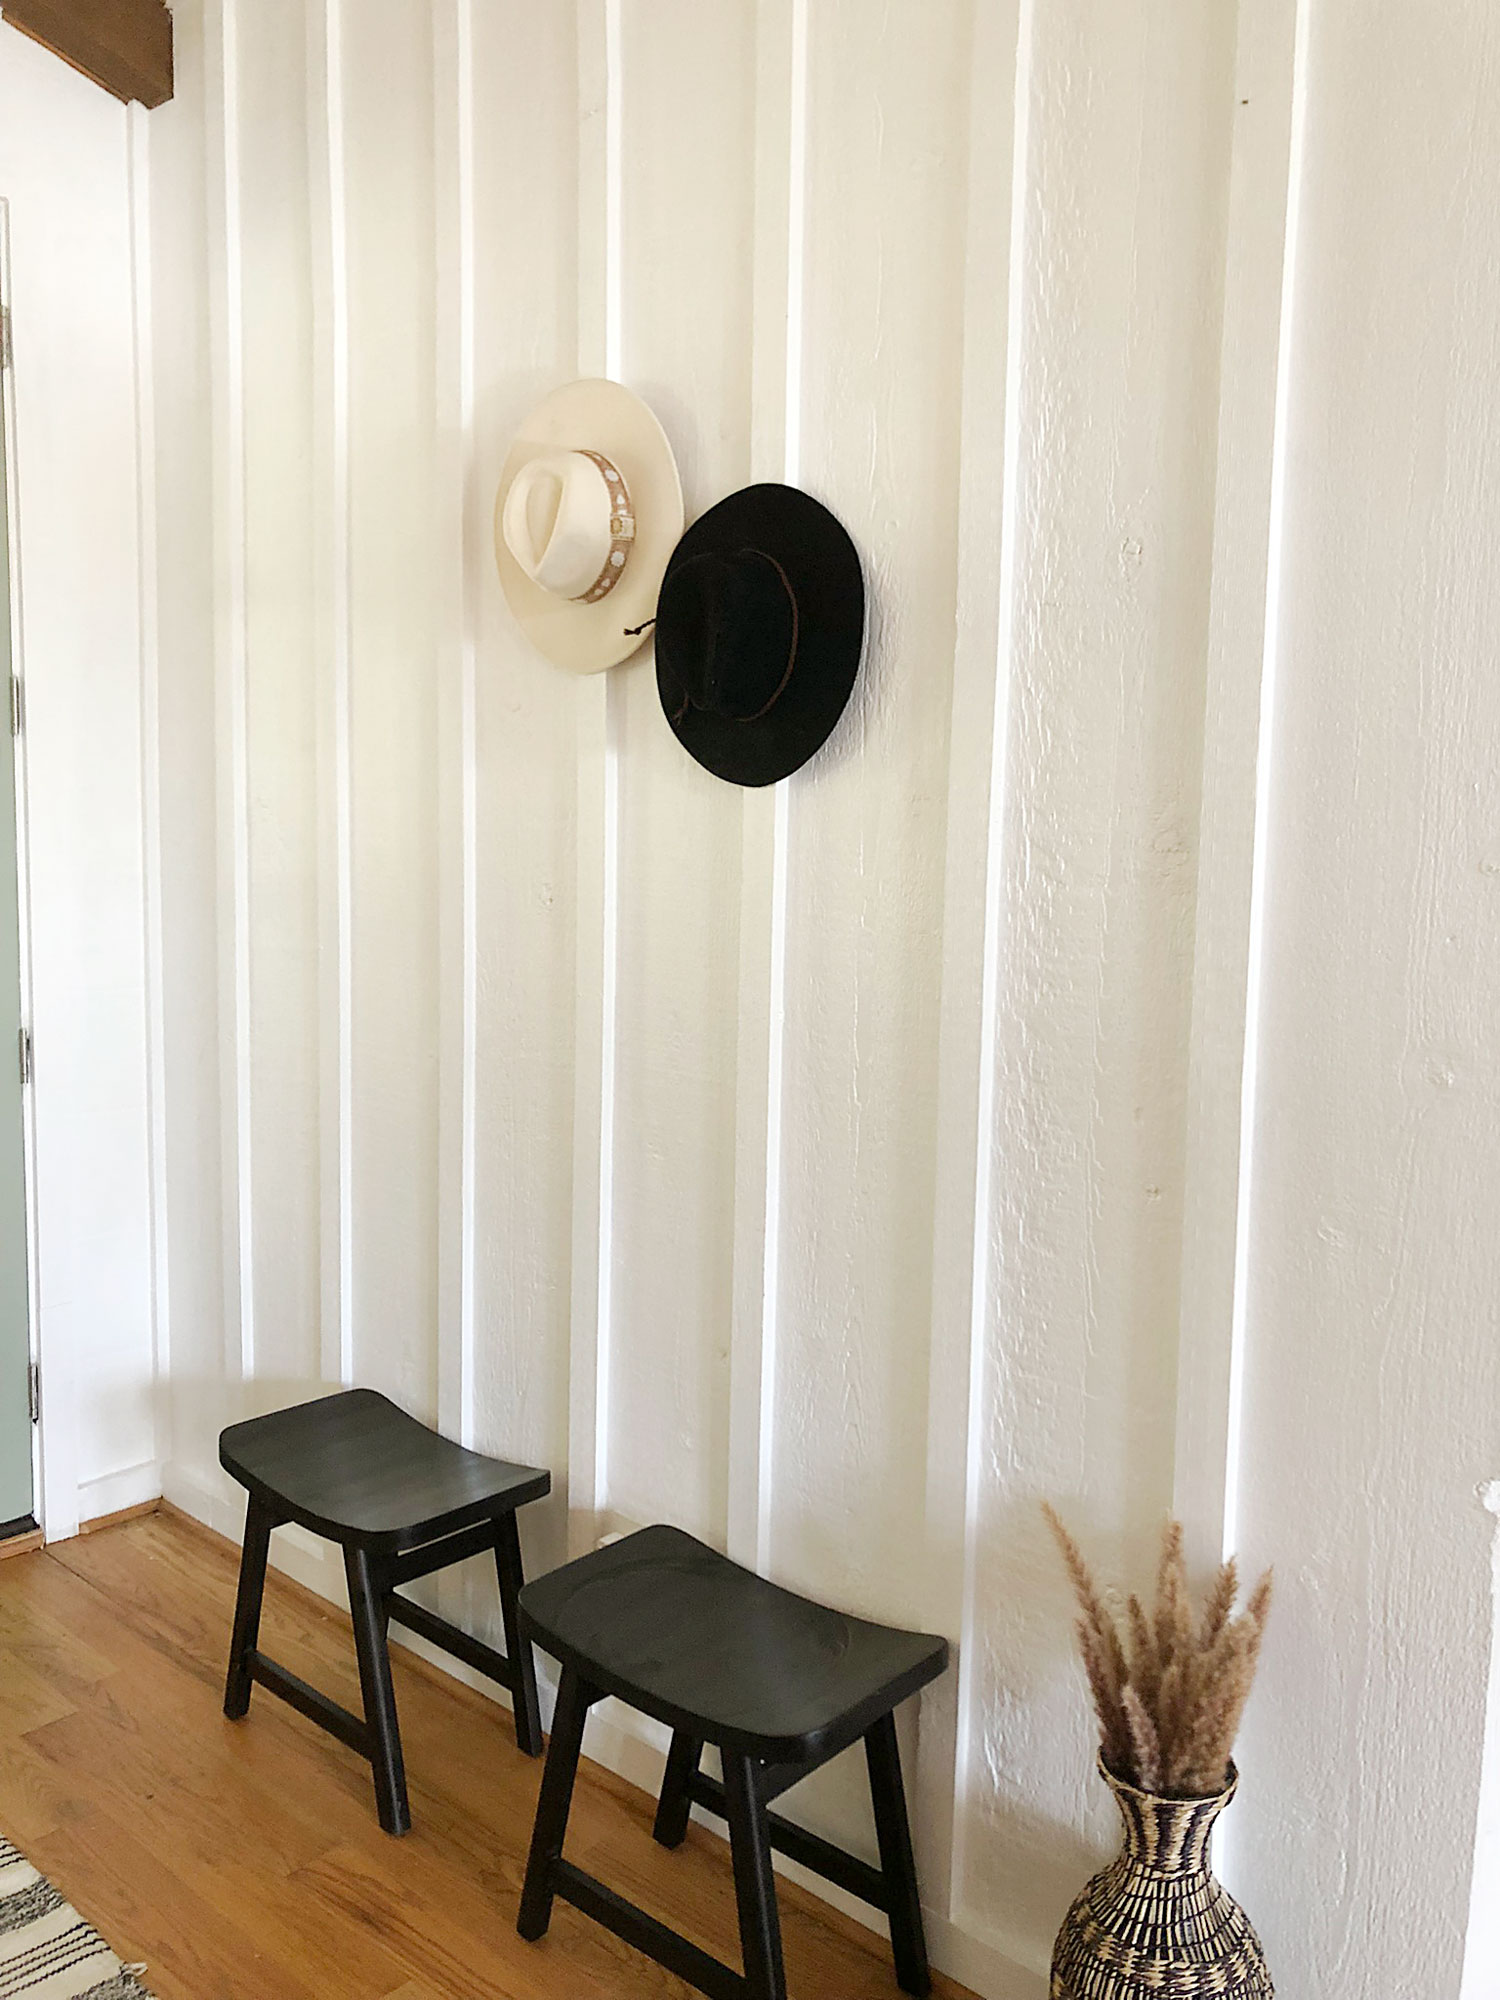
Staring at a big, blank wall and not quite sure how to dress it? The struggle can be so effing real…trust me!
In fact, the empty foyer walls of my new home had been plaguing me from the day we moved in…
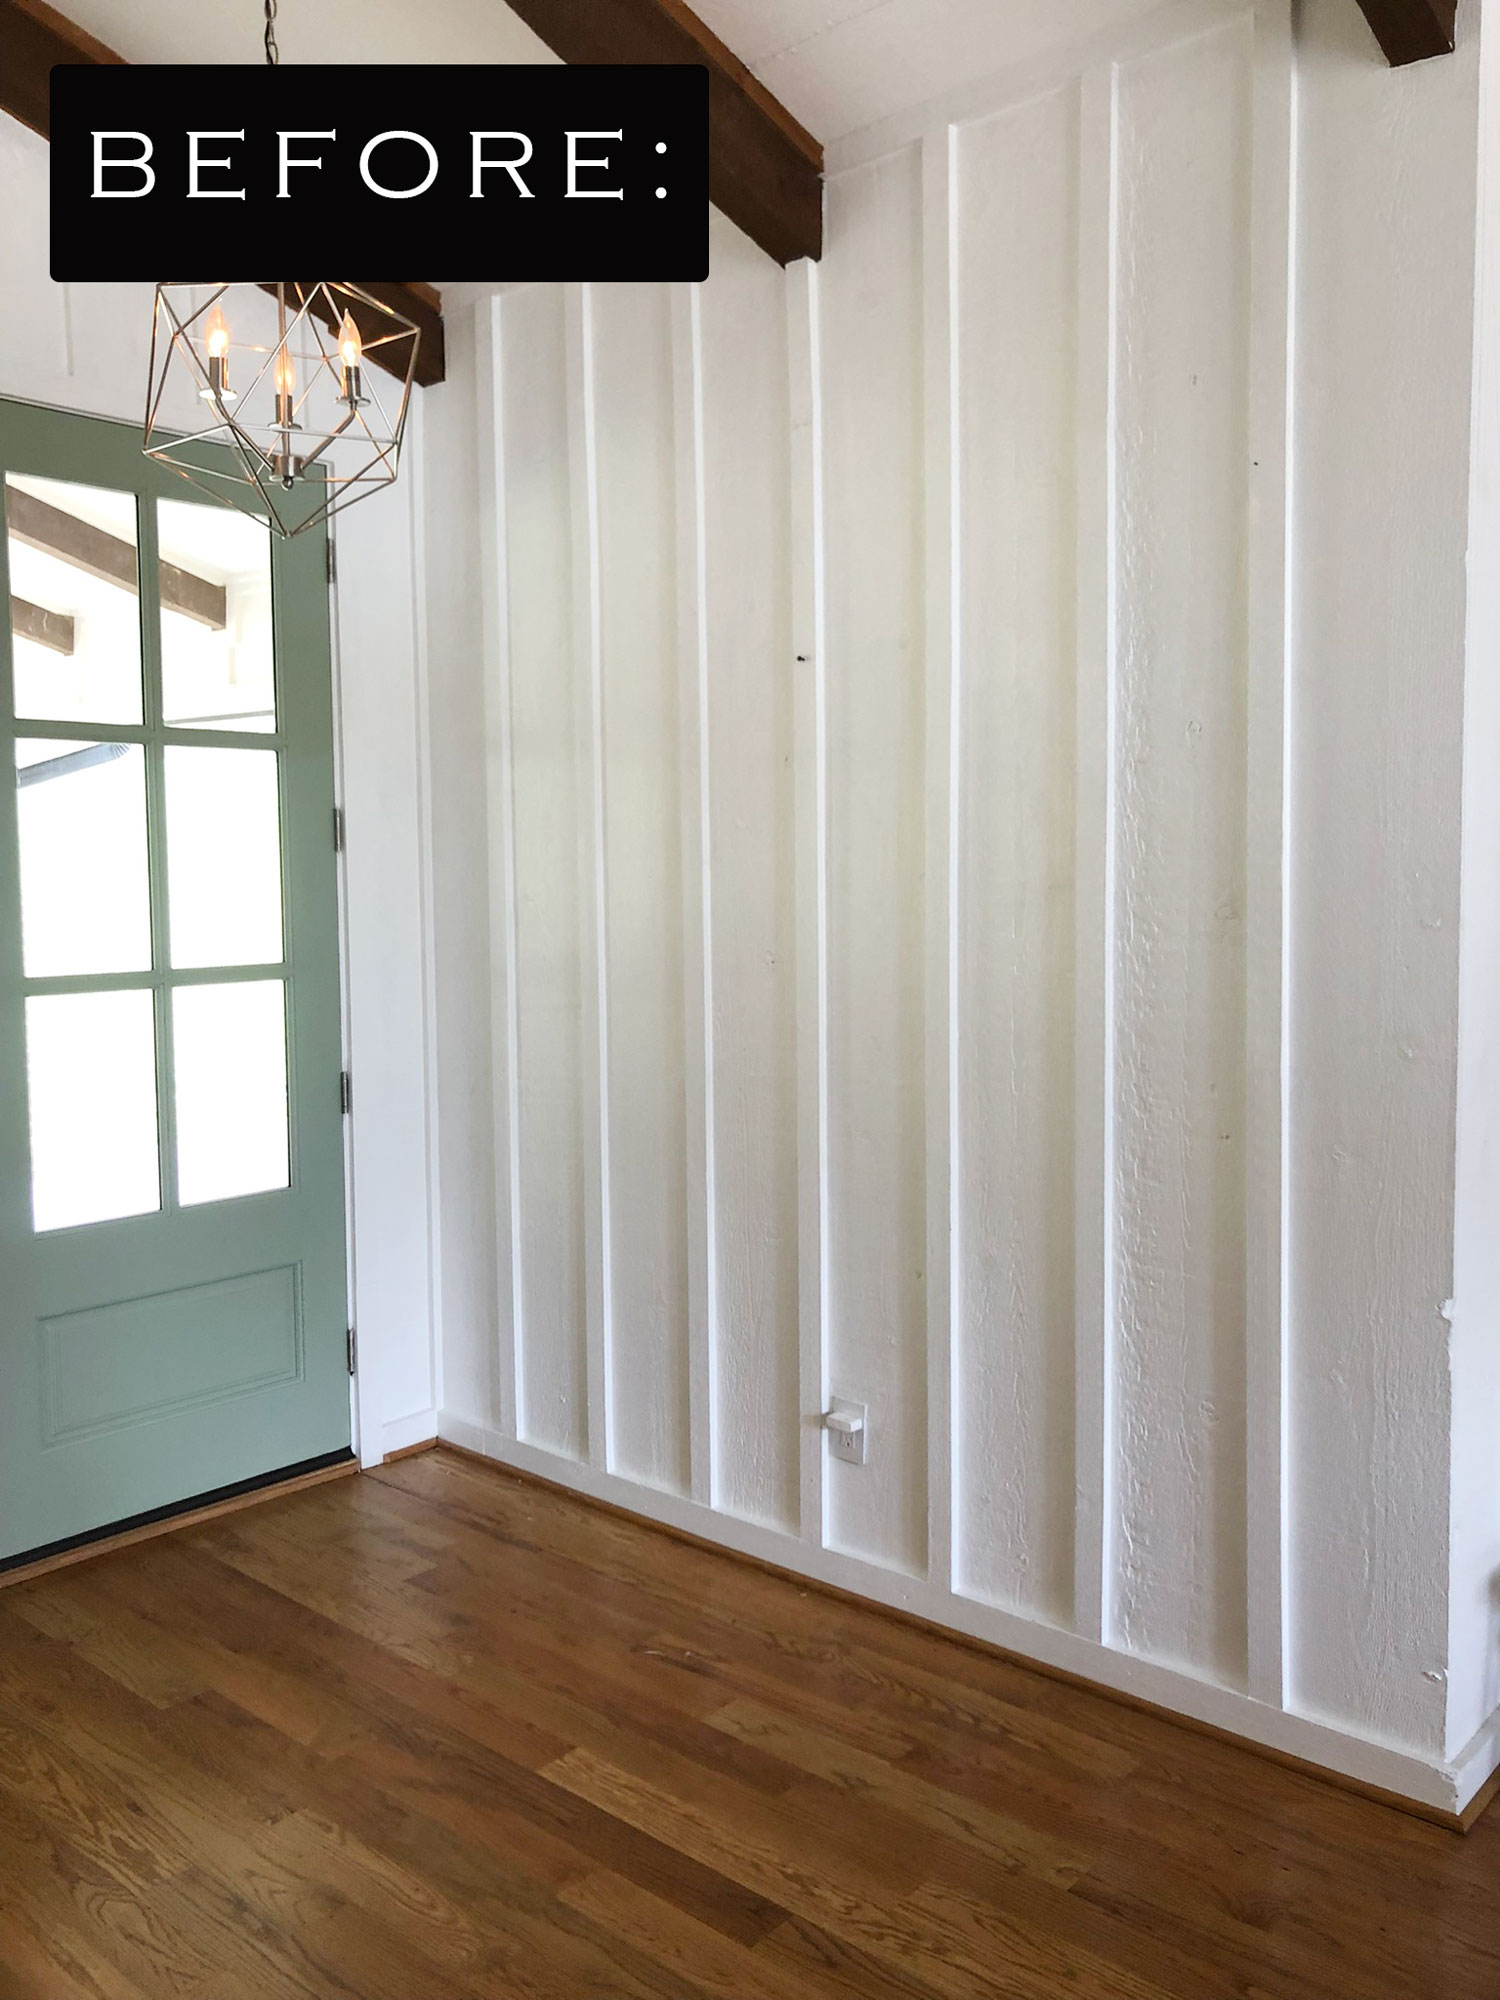
While I certainly could have just gone with some oversized canvas art here and called it a day:
1). I was craving something with a little more texture and character.
2). After dropping the dough to furnish my new home, I needed a solution that would be kinder to my wallet than a pricey painting.
Then, I recalled that somewhere in Pinterest land, I had once swooned over a beautiful, boho gallery wall consisting of straw hats and woven baskets.
Although I didn’t have any spare baskets laying around, I did have a sh*t load of hats, all various colors and styles. And so… I decided to just go for it…
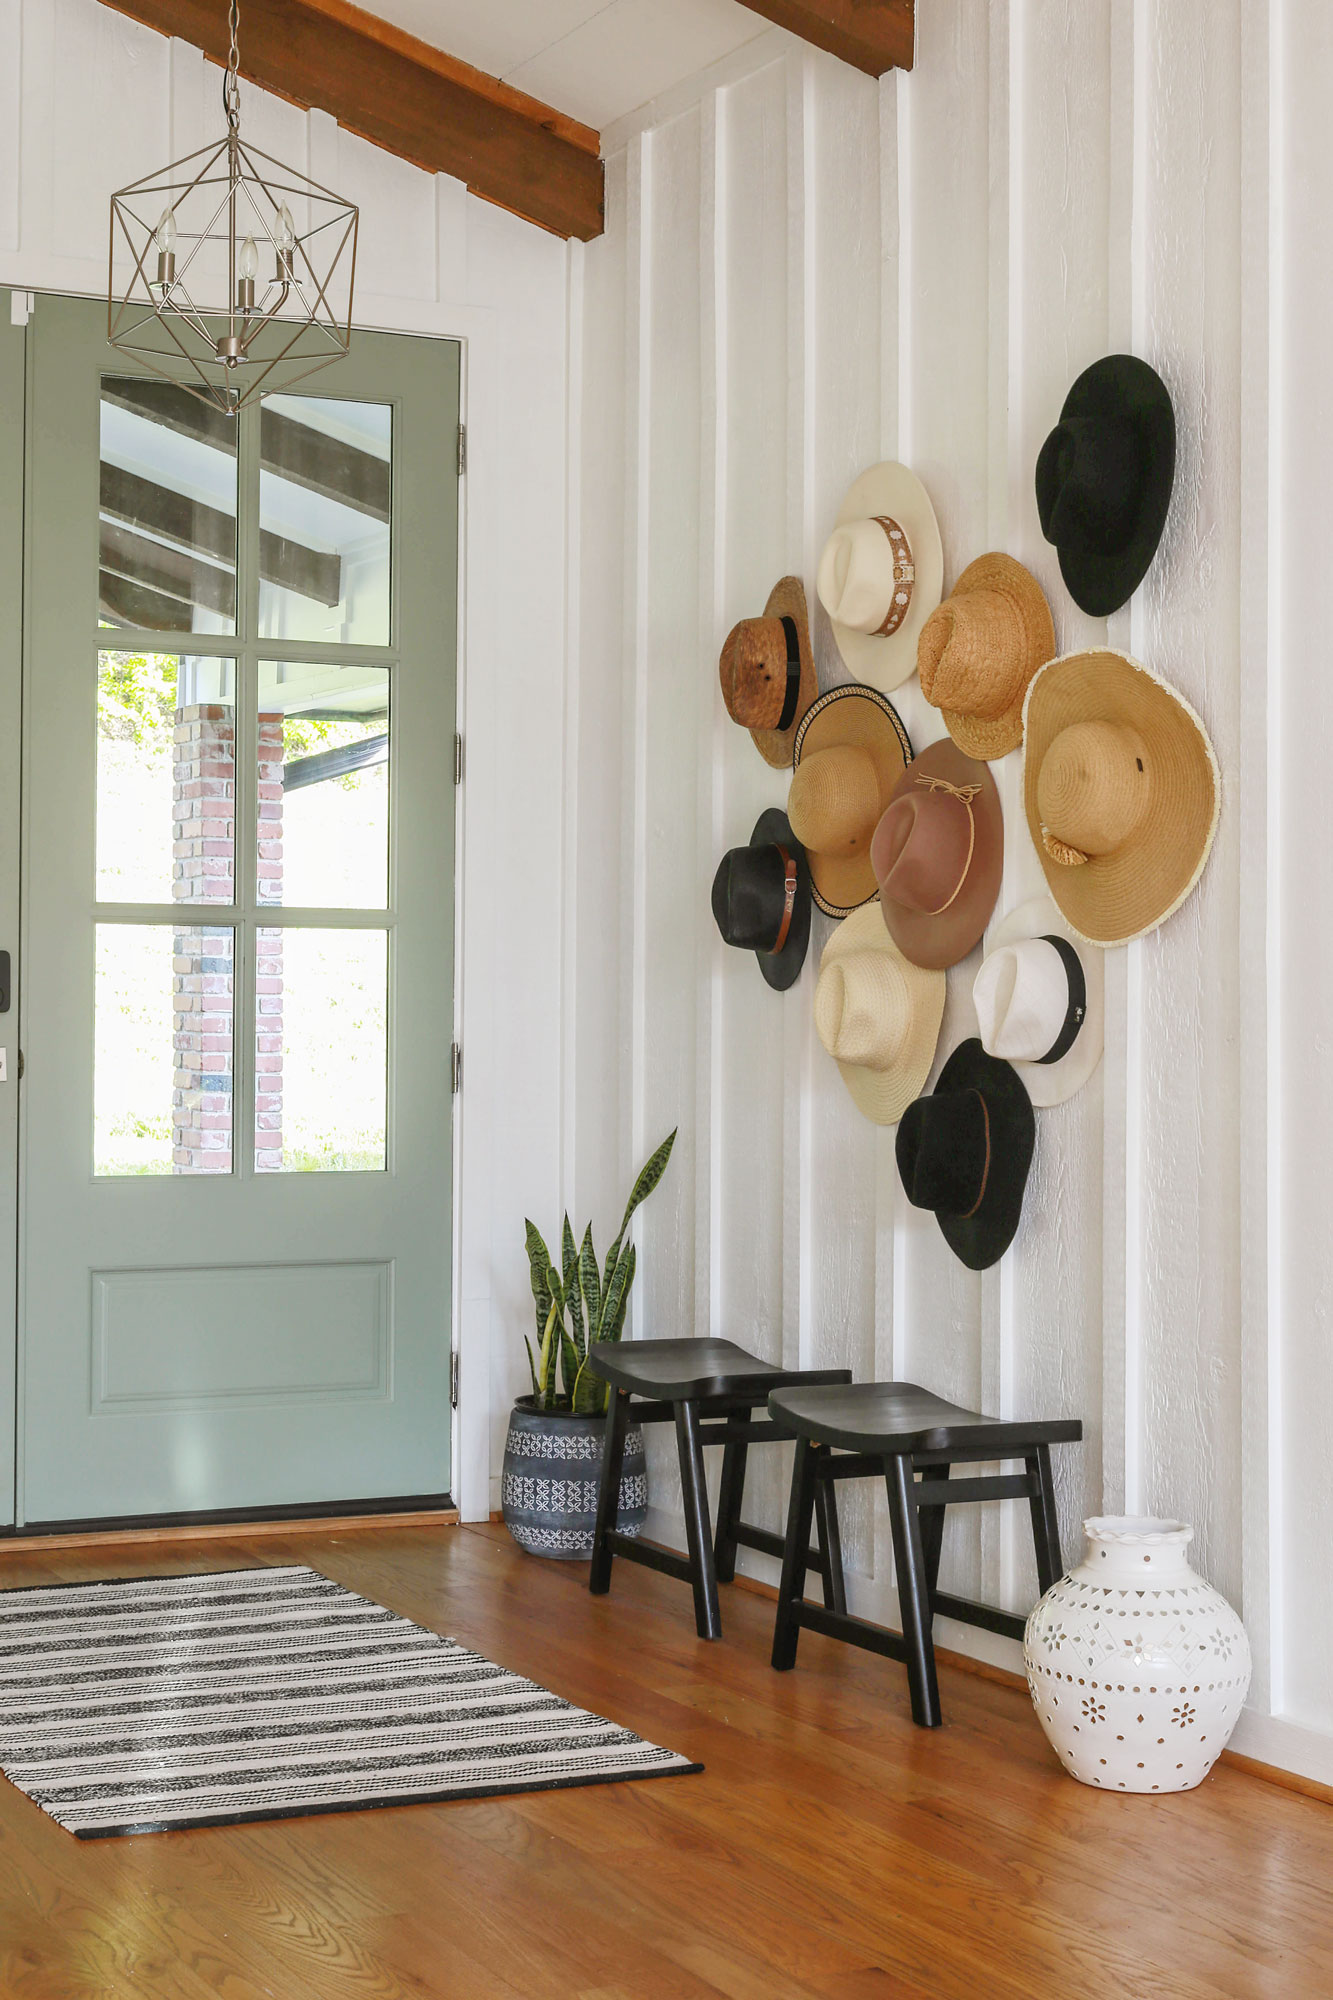
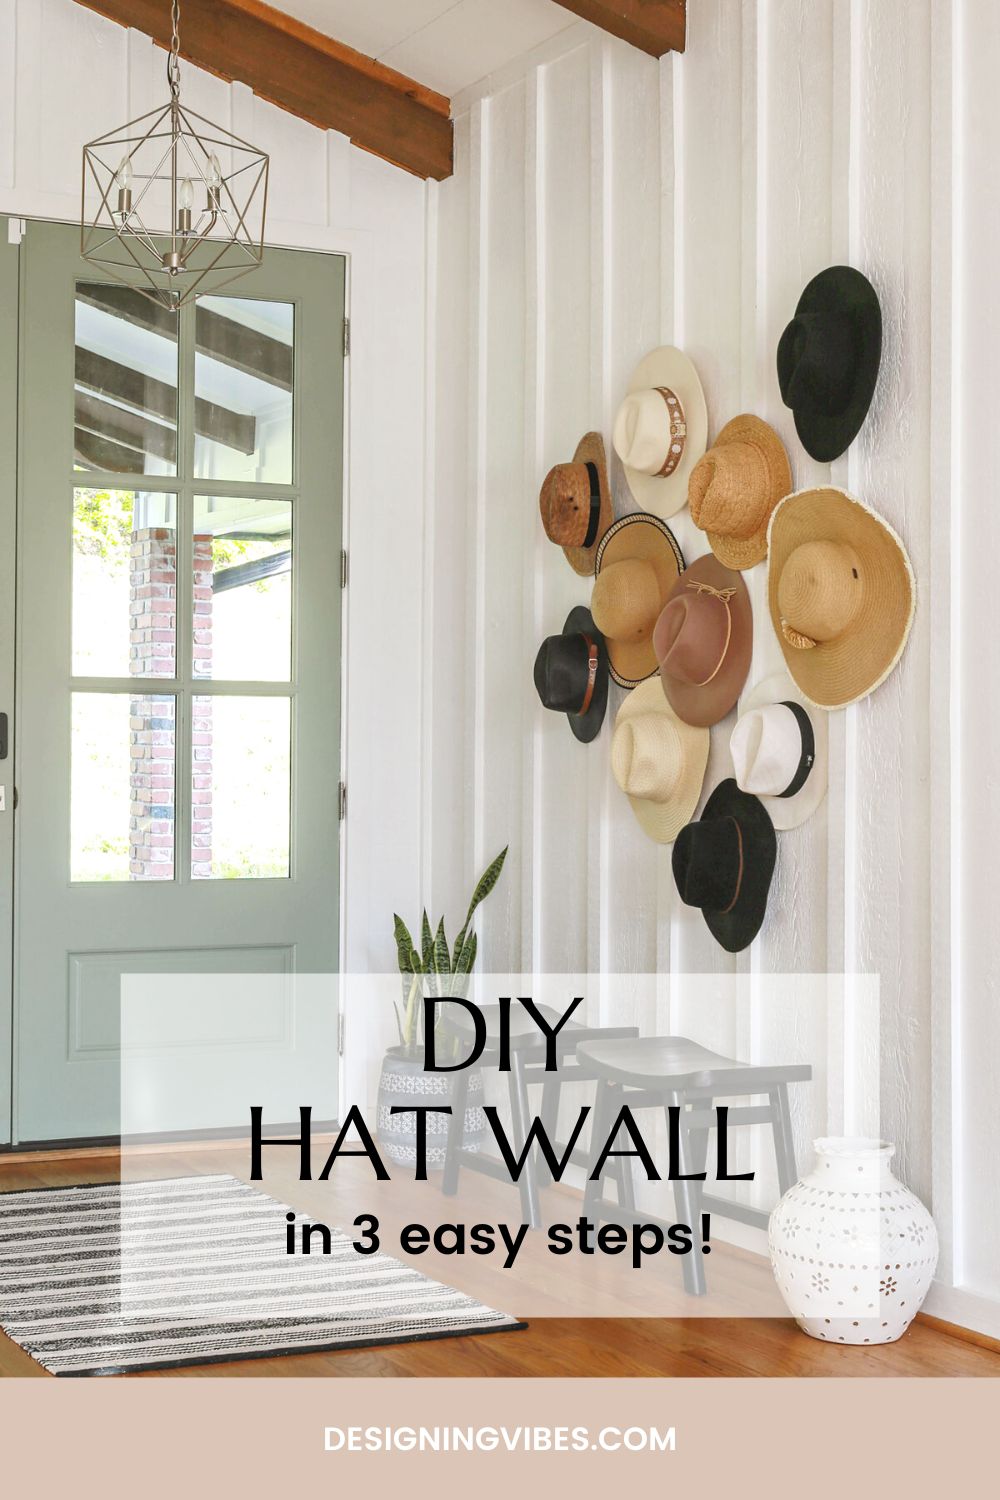
To my delight, I am so satisfied with the result and the fact that I mustered up the courage to execute a design risk of this nature. I mean…
nailing a bunch of holes on the walls of your dream home isn’t exactly for the faint of heart.
But man- oh- man , how it added yummy texture, charm and functionality to my entryway!
While this project was almost embarrassingly simple, I still thought it would be worth sharing with you.
To make this task a little more approachable (and less intimidating to the nail-hole weary) let me break it down step by step…
DIY Hat Wall Tutorial:
Materials Needed:
- nails (or command hook strips)
- hammer
- hats (I used 11)
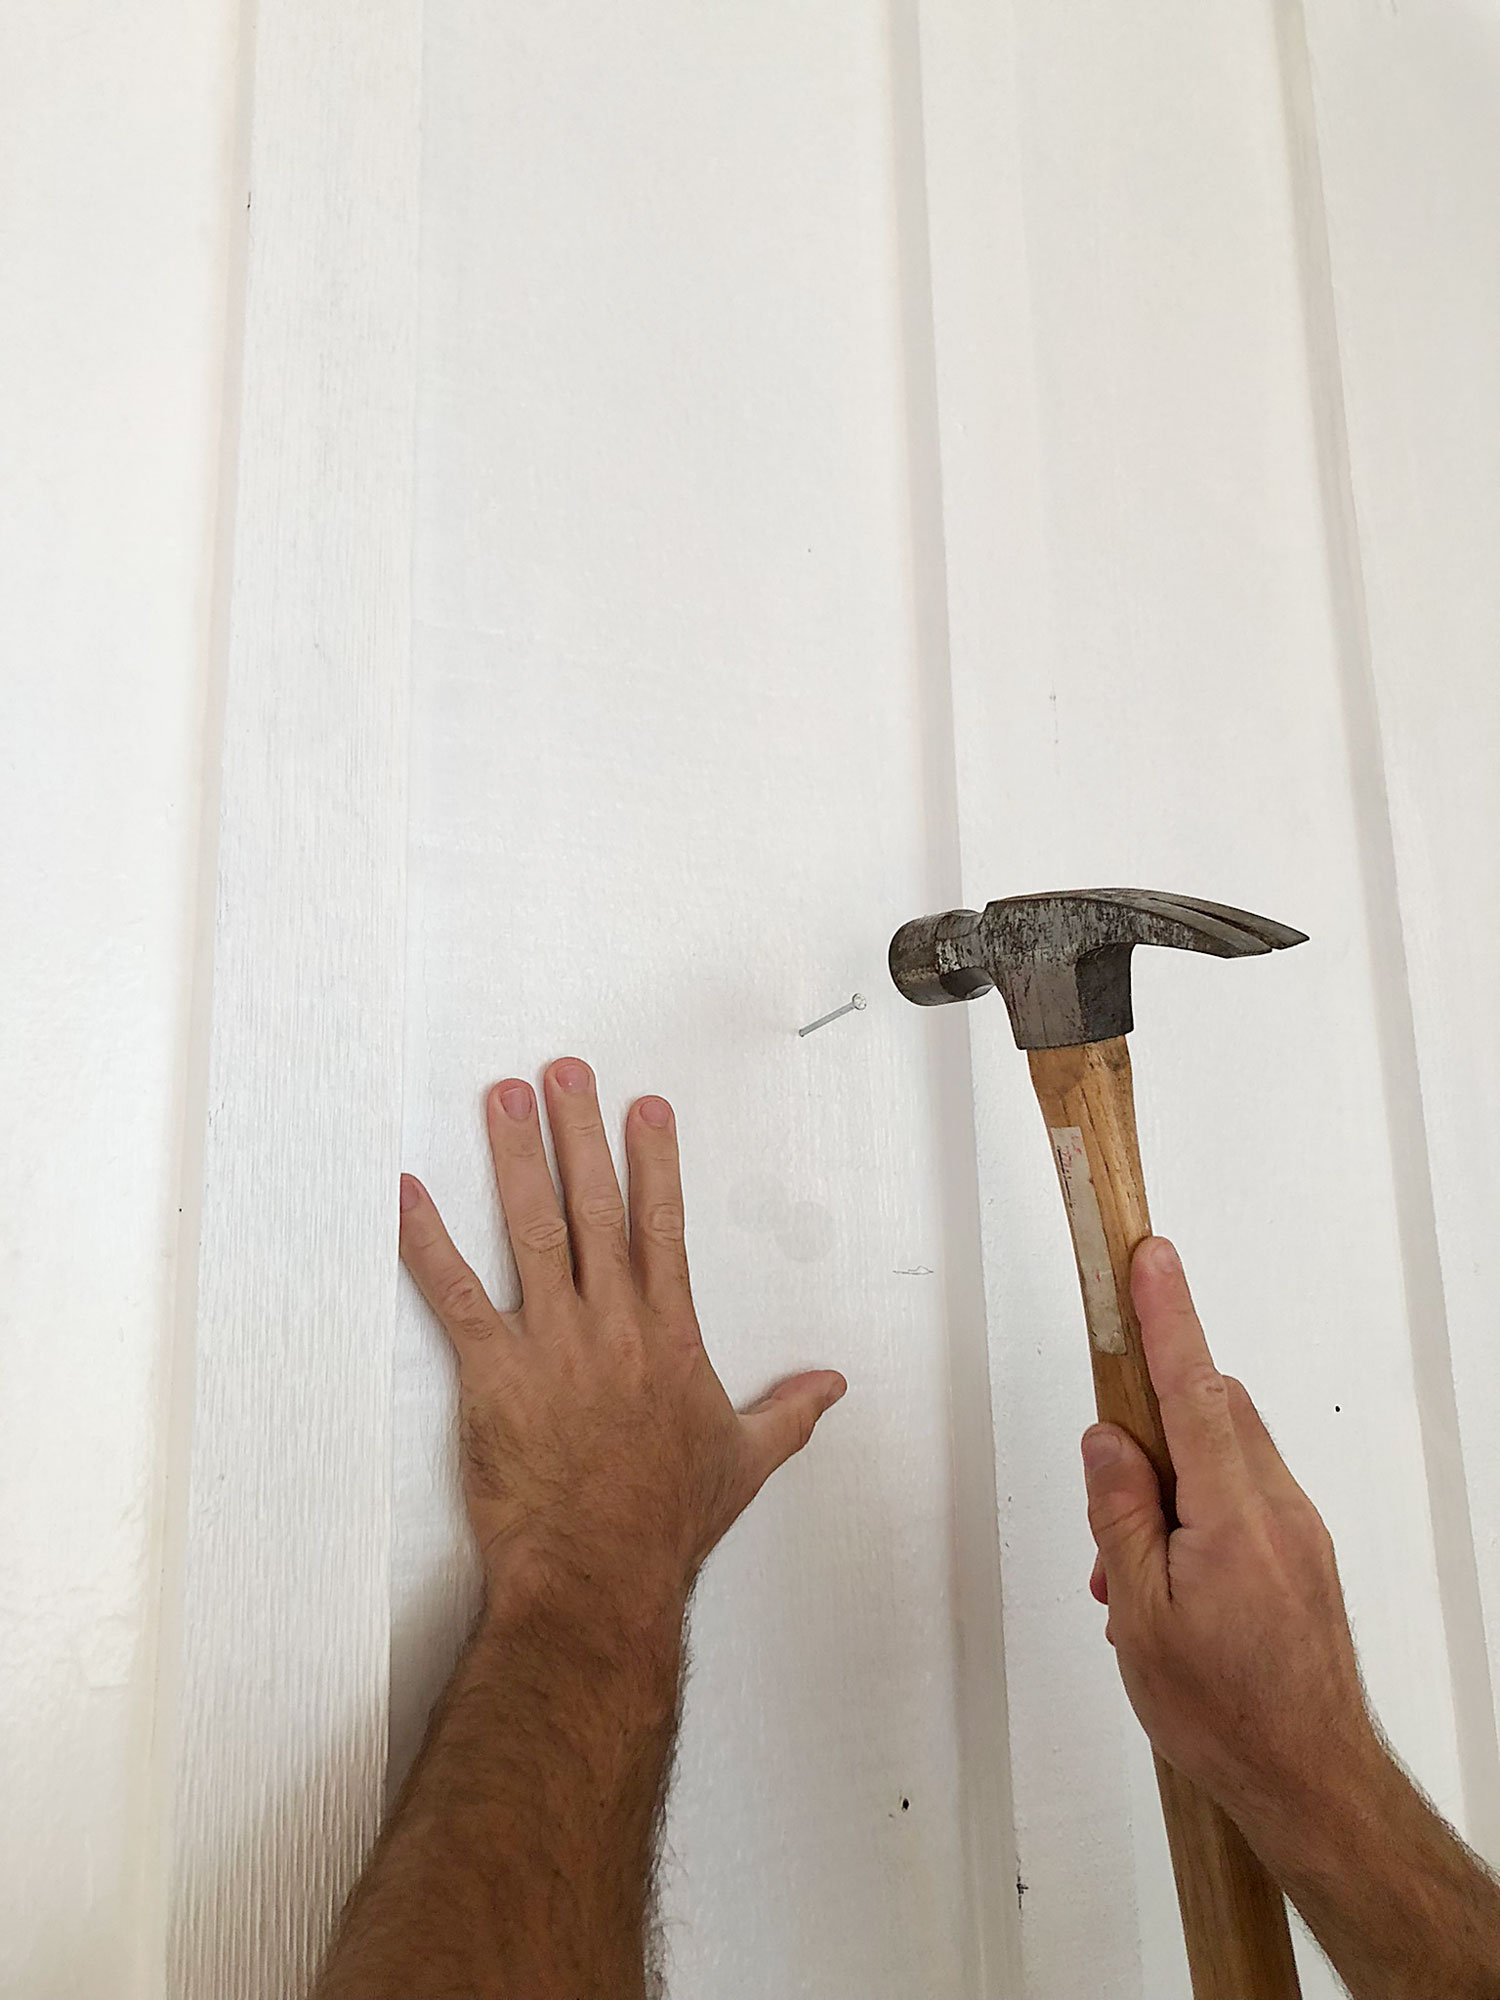
(Step 1). Determine the center of your wall(or where you want the center of your gallery to start). Hammer a nail into the center of your gallery wall, and hang your first hat. Note: When hammering your nail, be sure to leave enough of the nail exposed so that it can support your hat. If you would rather use command hooks, simply place your first hook in the center.
(Step 2). Working in a diagonal pattern, hold your second hat up next to the first hat to see where your next nail (or command strip) will need to go (I wanted the hats to somewhat overlap where possible).
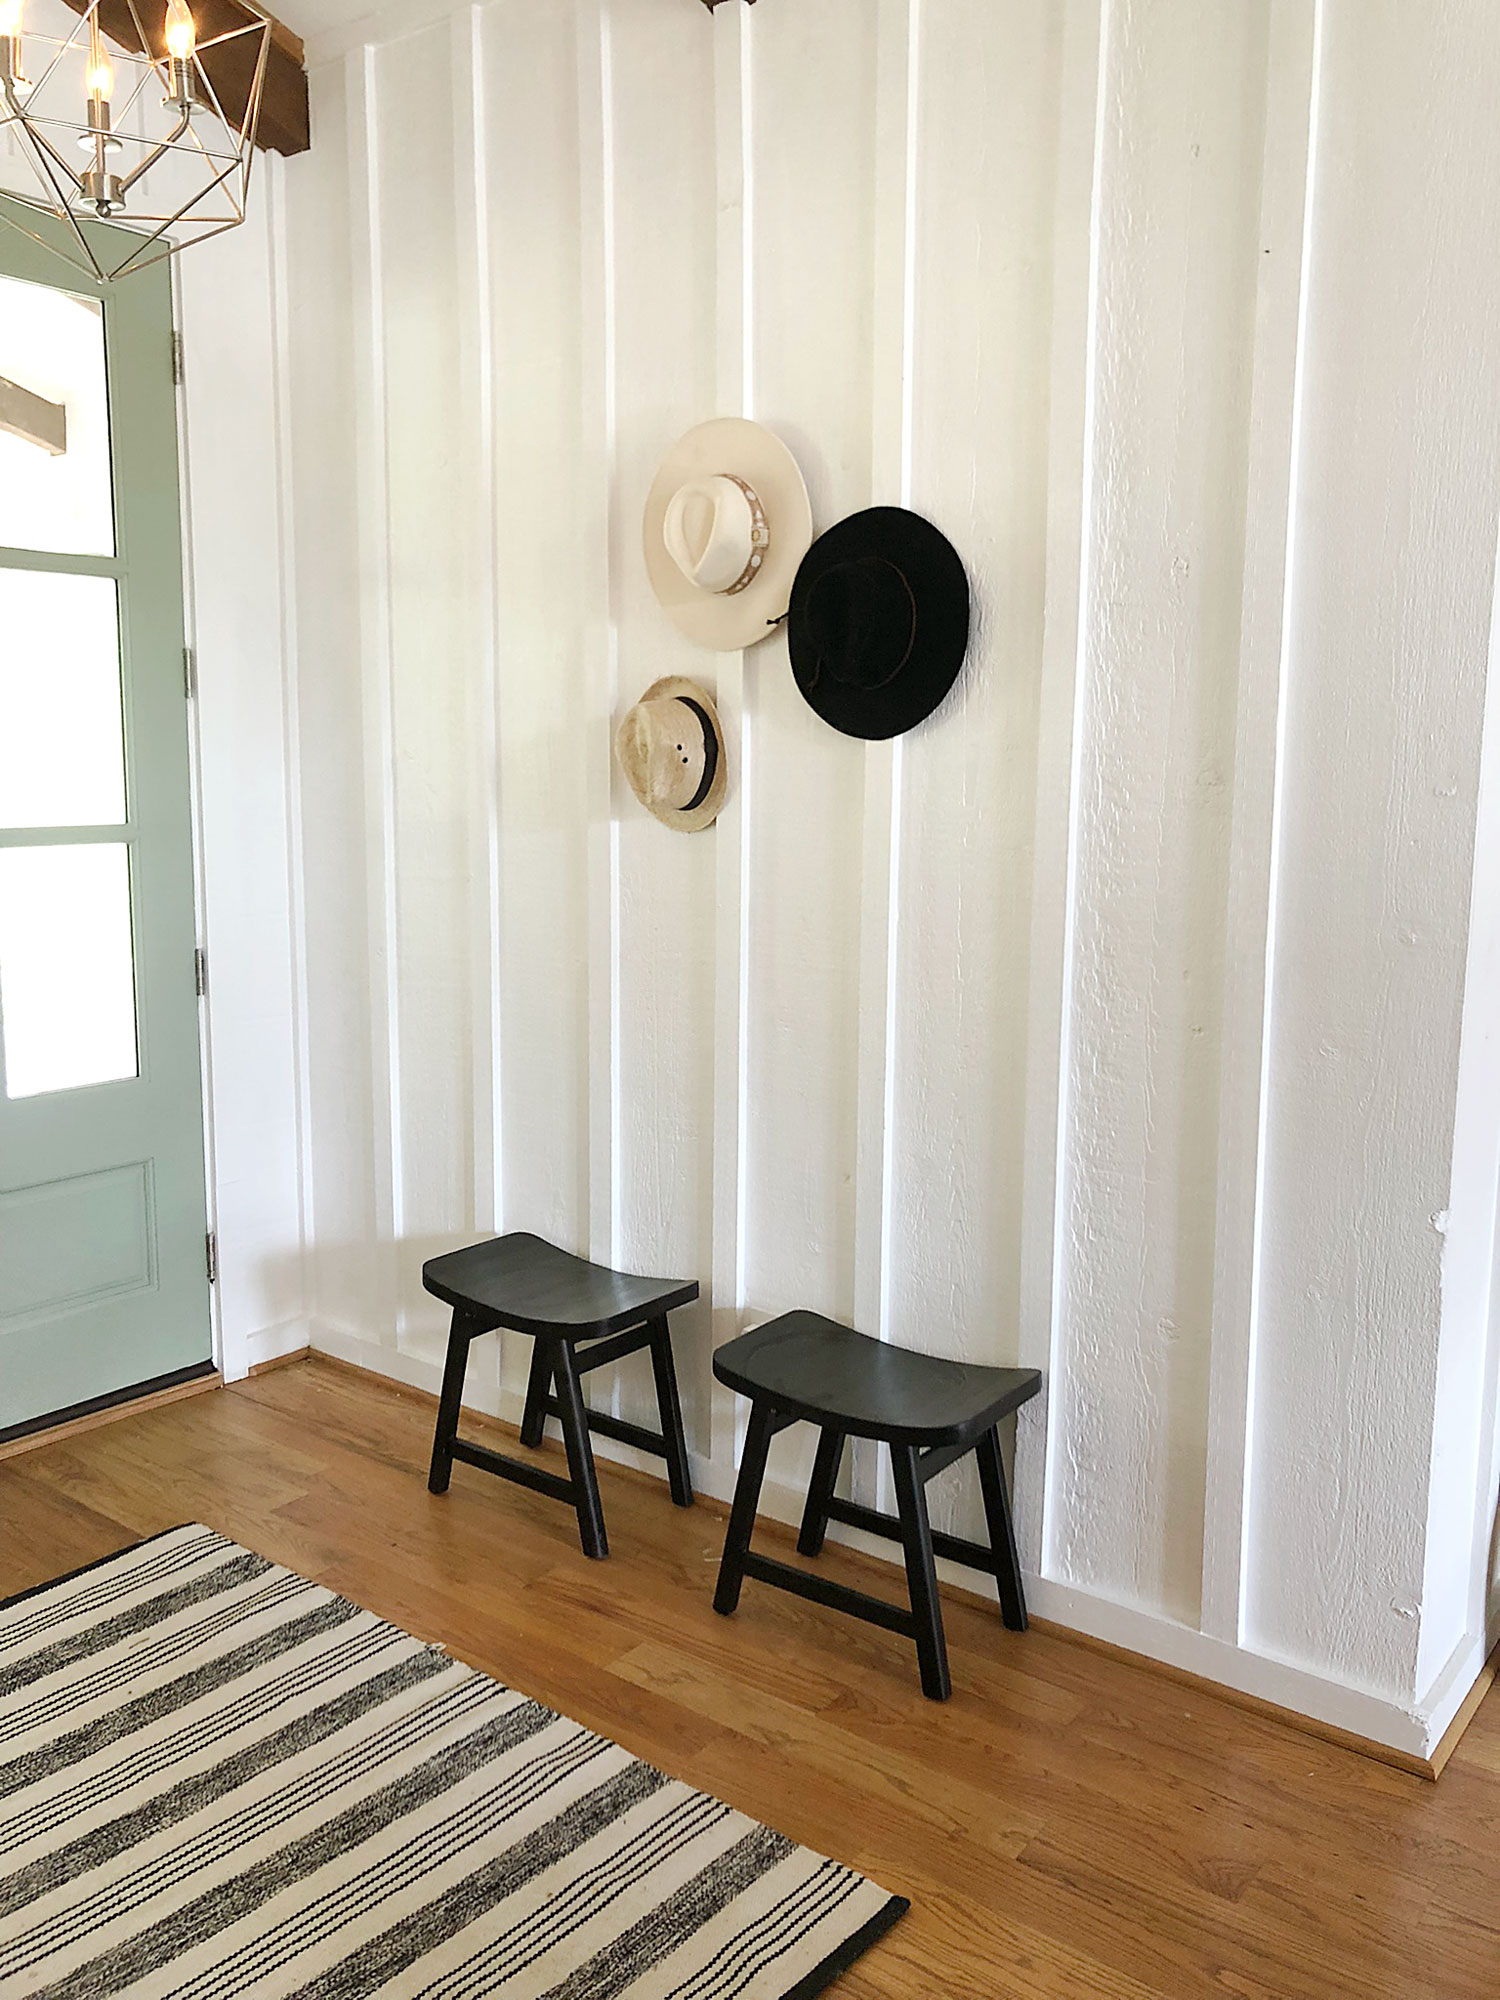
(Step 3). Repeat step 2 until your gallery wall has reached your desired width and height. For reference, my hat wall extends as far as 55 inches wide and 55 inches tall.
Tip: If you are going for a purely coastal vibe, you may just want to stick to different variations of straw hats and/or woven baskets.
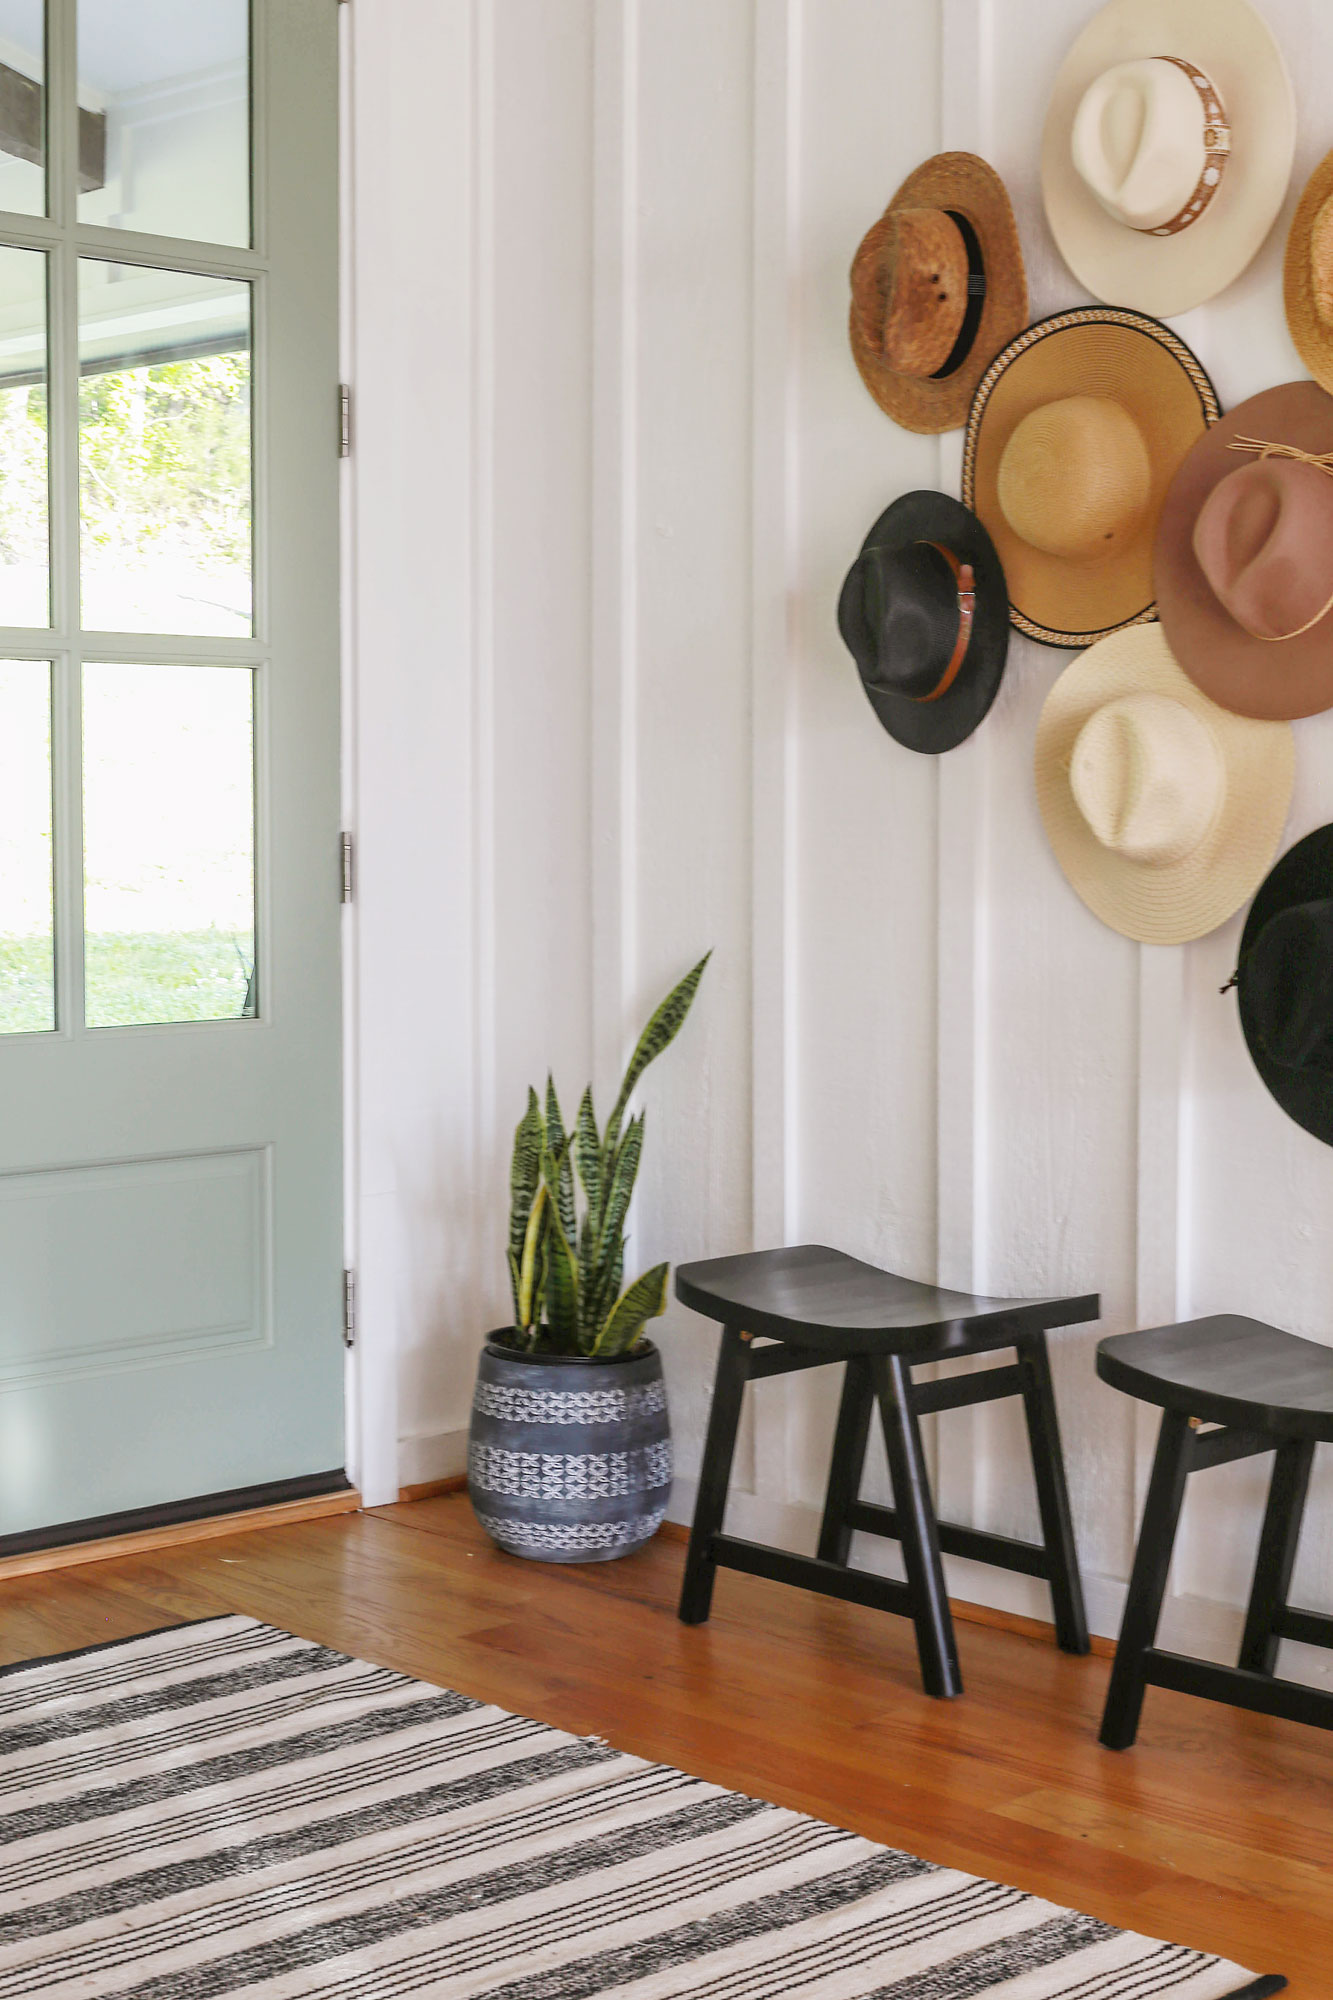
As for me, I wanted to incorporate a little more subtle color into the mix, so I went with a mix of materials using suede, straw and even velvet. I think this blend leans a little more on the boho side.
I think the key, if you are trying to stay relatively neutral and cohesive at least, is to edit your selection of hats down to only a few colors. I went with black, white, nude-ish pink and brown colored hats.
To establish a visually pleasing arrangement, you may have to play with the color pattern a bit as was the case for me.
At the end of the day, just have fun with the process and remember….it’s just a nail hole. If you mess up, you can always buff it out with some spackle (or just do your best to ignore it like i do).
Thank you so much for stopping by this week.
It would mean so much to this small business of mine if you could spread the love by sharing this post with a friend or on social media…
If you would like to read more posts on wall art DIY and gallery projects, I have listed some below.
More DIY Gallery Wall and Art Projects:
Now get out there and design some good vibes along with a fabulous life!

Welcome!
My journey in interior design and home improvement began with transforming my first fixer-upper home, all while managing a budget and raising two young boys. My work, a reflection of my passion for creating beautiful, uplifting spaces, has been recognized by top publications like Better Homes and Gardens Magazine, HGTV, and more. I invite you to explore my site and witness the transformation of my home and the vibes we've designed. Read more...


I love it, such a fun idea and so much better than a painting.
Thank you, Marty! I love art, but I also like to do something unexpected every once in a while. 🙂
I really like this idea, so creative and different- a great way to actually display your items. I am sure you all are enjoying that lovely home!
Thank you so much, Donna. We are all having so much fun here. I hope you are enjoying your summer so far. 🙂