Beginner’s Guide: Gallery Wall on a Budget
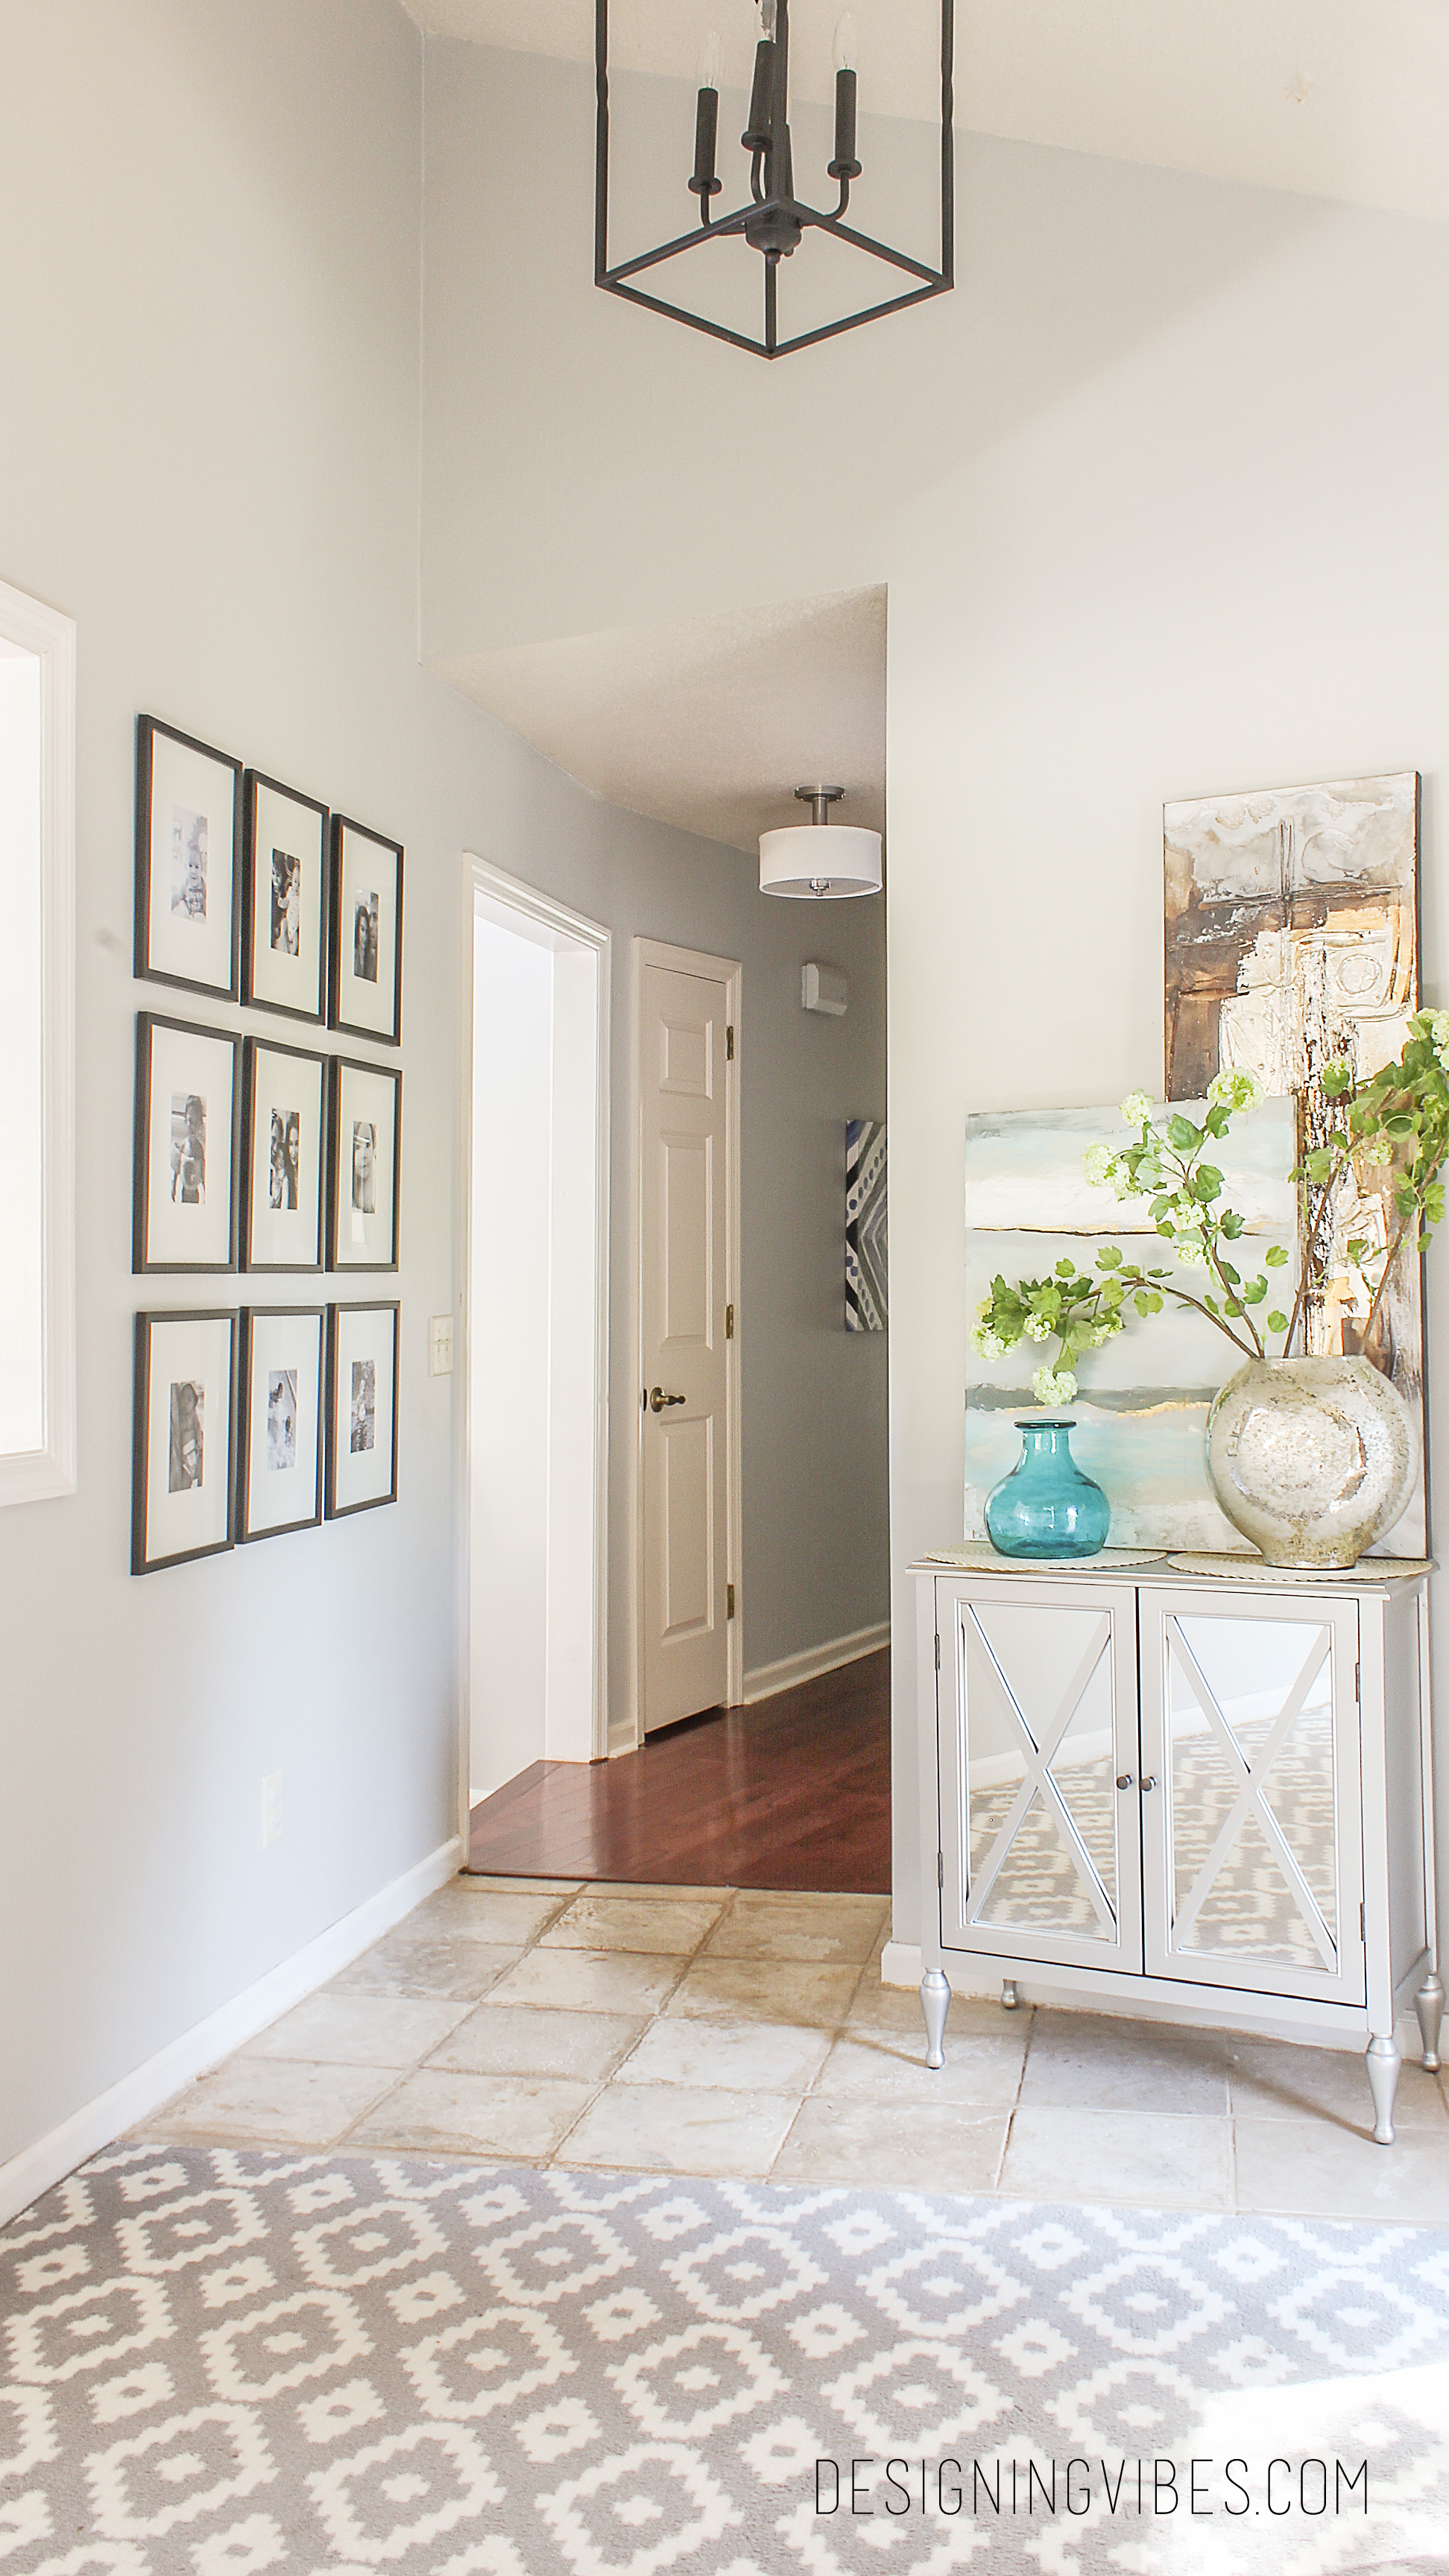
For the longest time, I have wanted to display a gallery wall in the hallway of my home. I love the idea of displaying a little piece of my family’s story for all of our guests to see. Unfortunately, I knew the cost of frames and prints would add up quickly, considering a single frame can cost up to $50. Not to mention, the thought of a project requiring so many measurements and precision overwhelmed me. Well folks, I finally tackled the project and have assembled a beginner’s guide to creating a beautiful gallery wall that won’t break the bank.
In fact, the entire cost of this project was around $100 and it took about an hour to accomplish. Let me show you how I did it.
For your convenience, I have included some affiliate links. That simply means if you click on one of the links and buy something, I receive a small commission, but don’t worry… you won’t pay a dime more. As an Amazon Associate I earn from qualifying purchases*
Determine the Desired Shape and Size of Your Gallery Wall
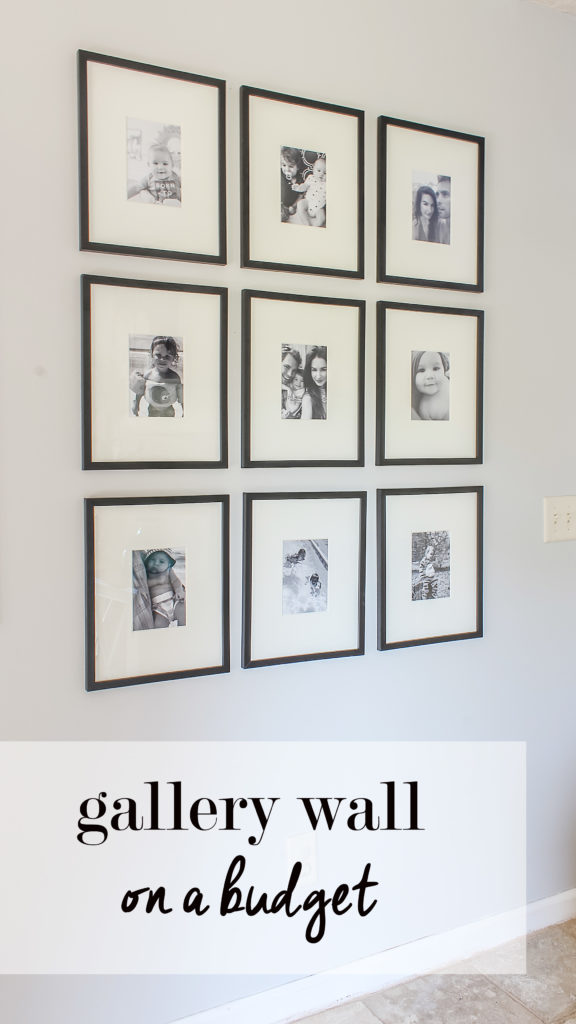
I personally prefer clean lines so I knew I wanted to stick with frames that were identical in shape and size. I also knew I wanted it to take up a large amount of wall space. I decided on a 3 column, 3 row wall.
Finding Budget Friendly Frames and Prints
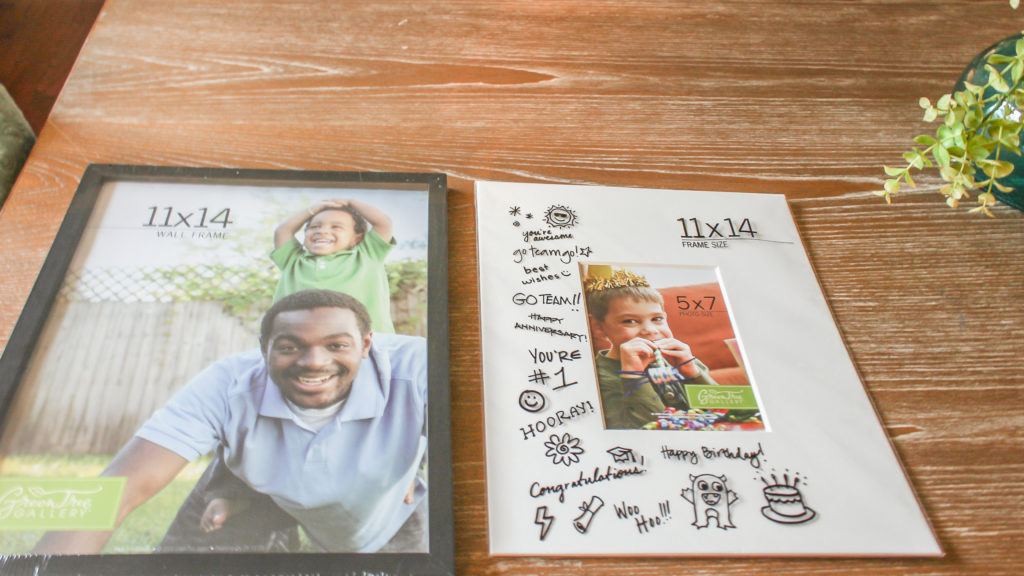
We all know frames and matting can be quite costly. Heck, just one matted frame from Pottery Barn can cost $100. Not to fear, I was able to find classy looking, 11×14 frames for only $9/piece at Hobby Lobby. Looking at other gallery walls for inspiration, I decided I wanted to find 9 11×14 frames. Unfortunately the frames I purchased did not come with matting, so I purchased 11×14 matting with a 5×7 opening for $2/piece. After the fact, I found these 11×14 frames with built in matting.
In my opinion, matting is the key to giving your gallery wall an upscale look. And because the opening in the mat is for a 5×7, prints are much cheaper (given it is a smaller size). In fact, I printed off my 5×7 s from Shutterfly, at only $1 /per print.
9 Frames at $9/frame = $81 (you can buy ones with mats included here)
9 photo mats $2/mat = $18
9 5×7 photo prints .99/print = $9
Total Cost= $108
How to Hang Your Frames
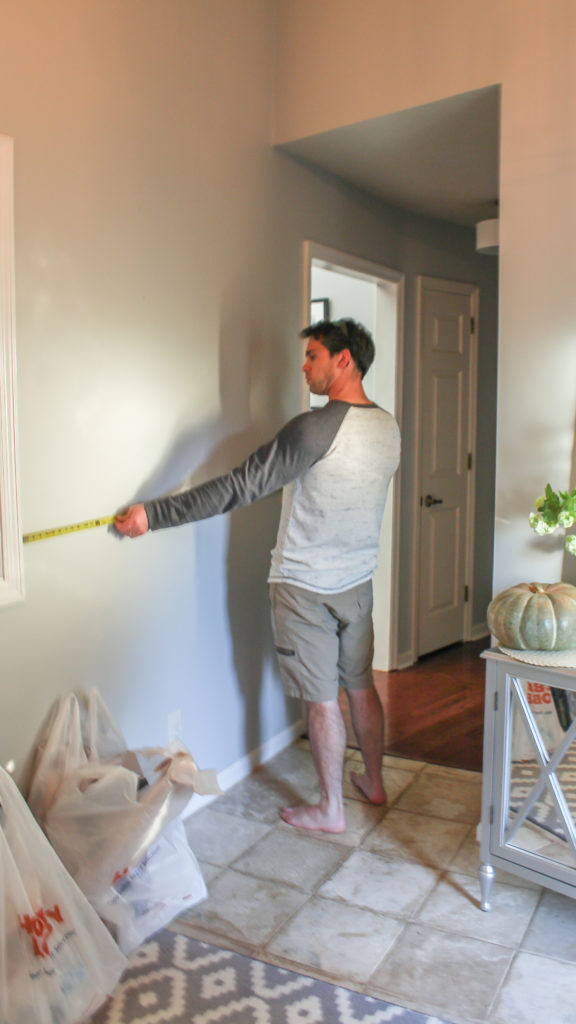
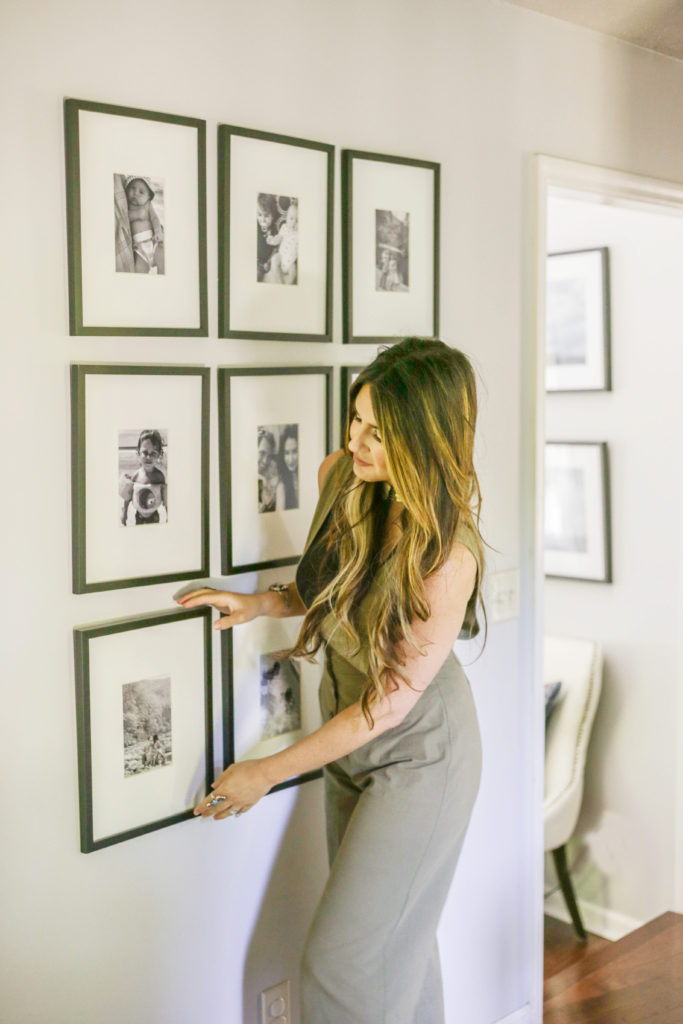
I really suck at measurments and being precise, so I let my husband handle this step. But basically, I knew I liked the look of the frames being realtively close to one another while still taking up a large amount of space. Although I only went with 9 frames, I considered going with 12 to expand the gallery further down (vertically). But with a toddler and baby, I really didn’t want the frames to be within their reach. Therefore I stuck with 9.
This is how my husband calculated the nail spacing.
Horizontal/Row Nail Spacing:
1/2 width of frame (plus) desired spacing between frames (plus ) 1/2 width of frame
***Because I like the frames closer together, we spaced frames in each row 1.5” apart.***
Vertical/Column Nail Spacing:
full length of frame (plus) desired spacing
***Because I wanted to take up more vertical space, we spaced frames in each column 2” apart.**
If video is more your cup of tea, be sure to check out my step-by-step video guide directly below….
DIY Gallery Wall Video
After we completed our first row of nails, I hung the frames up to preview how I liked the spacing. After determining that it was properly spaced, we went ahead and nailed in the entire gallery wall.
[embed_popupally_pro popup_id=”2″]
I am so happy with how it turned out.
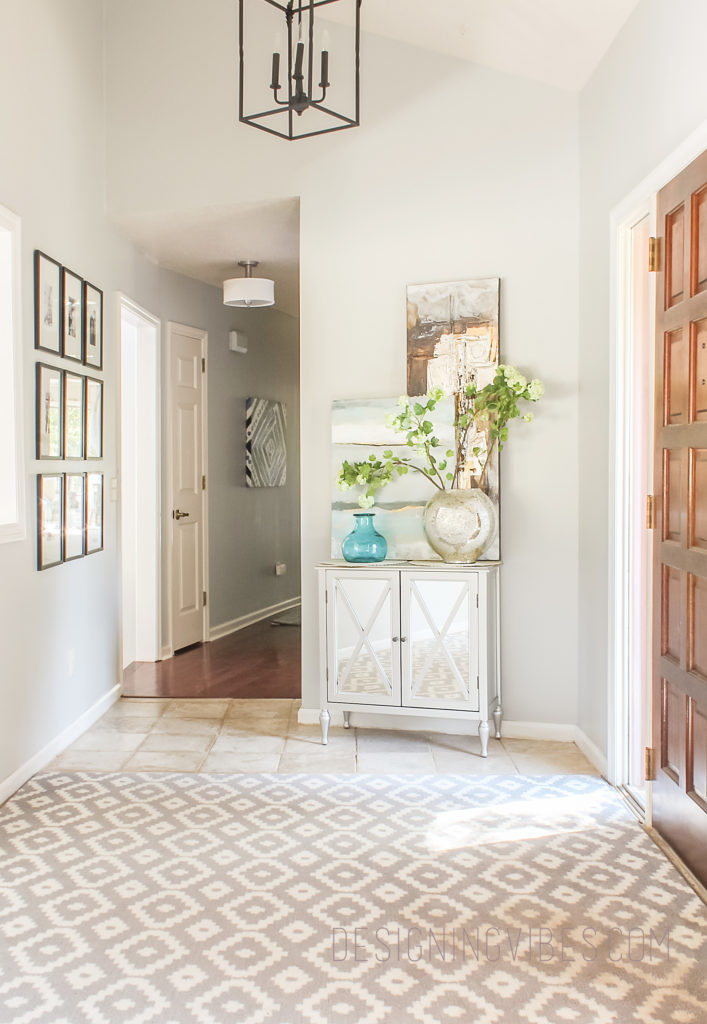
Not only do I love viewing sweet family memories, I love what an impact such a large display of art has on our foyer.
Even better, the wall cost only around $100.
Please be sure to spread the love and Pin…..
Now get out there and design some good vibes!
Much Love,
Erica






You always have the best ideas Erica and your home always looks beautiful.
Thank you so much, sweet friend!