Easy DIY Boho Pumpkin Luminary Made from Crystals

Looking for easy ways to add boho flair to your fall decor scheme? Today, I am sharing a super easy pumpkin tutorial using agate crystals which can be made in no-carve fashion or luminary style (you get to decide)…
Have you ever looked at a pumpkin and thought to yourself, “This could use a crystal”? Never mind that question… visions of the infamous “literally no one” meme are already overtaking my mind…
Absolutely Nobody:
Me: …

In all seriousness though, I can’t help but think that everything is better with a little bling…Mother Nature’s bling that is.
Given I am not much of a skilled artist or carver, when it comes to my Jack O’ Lanterns, I try to keep the design as simple as possible. So I was absolutely thrilled the other day when I got a random ping of creativity-inspiring me to make (or at least attempt) a beginner-friendly Halloween luminary.

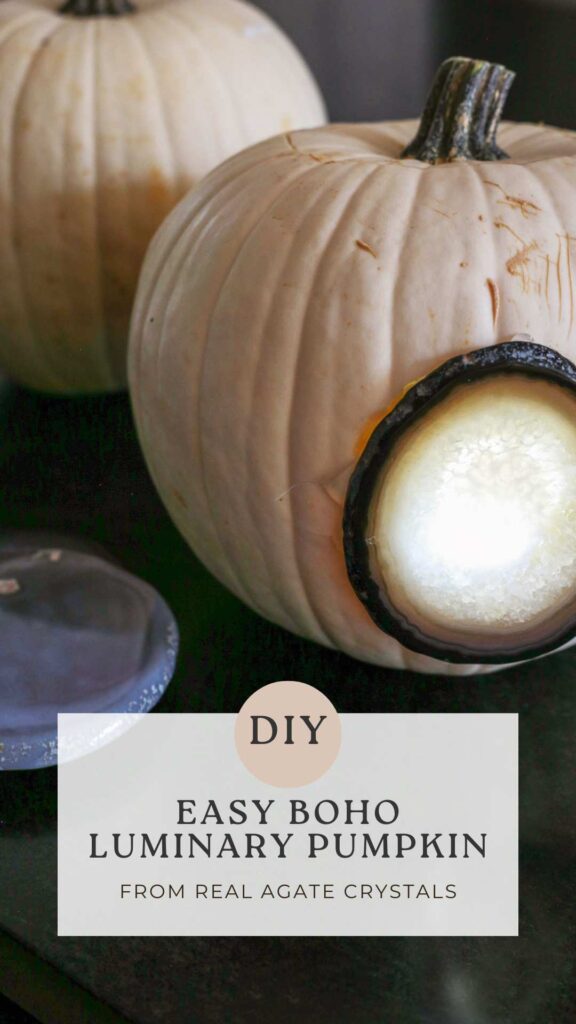
Crafted from natural geode slices and white pumpkins, not only is the process super simple- but it satisfies both my bohemian soul and my preference for neutral decor that can easily blend with my existing color palette.

But because it is a tad too early to be carving pumpkins, directly below, I will show you a no-carve version of this boho pumpkin tutorial as well as the luminary steps at the end. Without any further meme botching, here are the steps to replicate my DIY crystal pumpkins…
*For your shopping convenience, I have included affiliate links. As an Amazon and RewardStyle Associate I earn from qualifying purchases. *
How To Make Boho Crystal Pumpkins for Fall:
Materials:
- pumpkins
- agate slices (If you are making a luminary, be sure the color you choose is not too dark or opaque. Here are the exact ones I used. )
- hot glue gun and hot glue stick
- Serrated Knife (if making luminary)
- tealight candle (if making luminary)

(Step 1). Once your hot glue has warmed up, apply a generous amount of glue to the back of the agate slice. Note: Do not start with this step if you are making a luminary (skip to step #3).

(Step 2). Once you have applied plenty of glue to the agate, find an area on the pumpkin that is relatively flat and firmly press the crystal onto the surface of the pumpkin. Hold pressure on the agate for a few seconds until it feels secure and the glue has had time to dry.

If you are following the no-carve tutorial, you are finished! If you want to make the luminary…start at the step below…

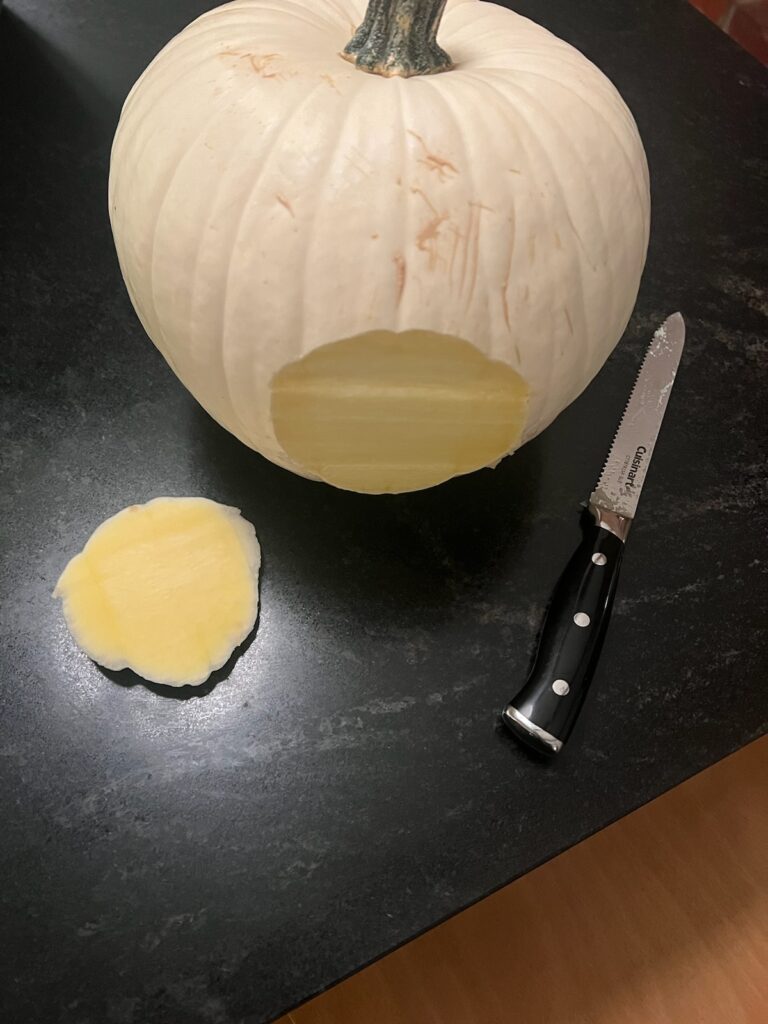
(Step 3). So that the entire surface of the agate slice will lay relatively flush on the surface of the pumpkin, using your Serrated knife, carefully trim some of the surface area off of the pumpkin to create a flat working area.

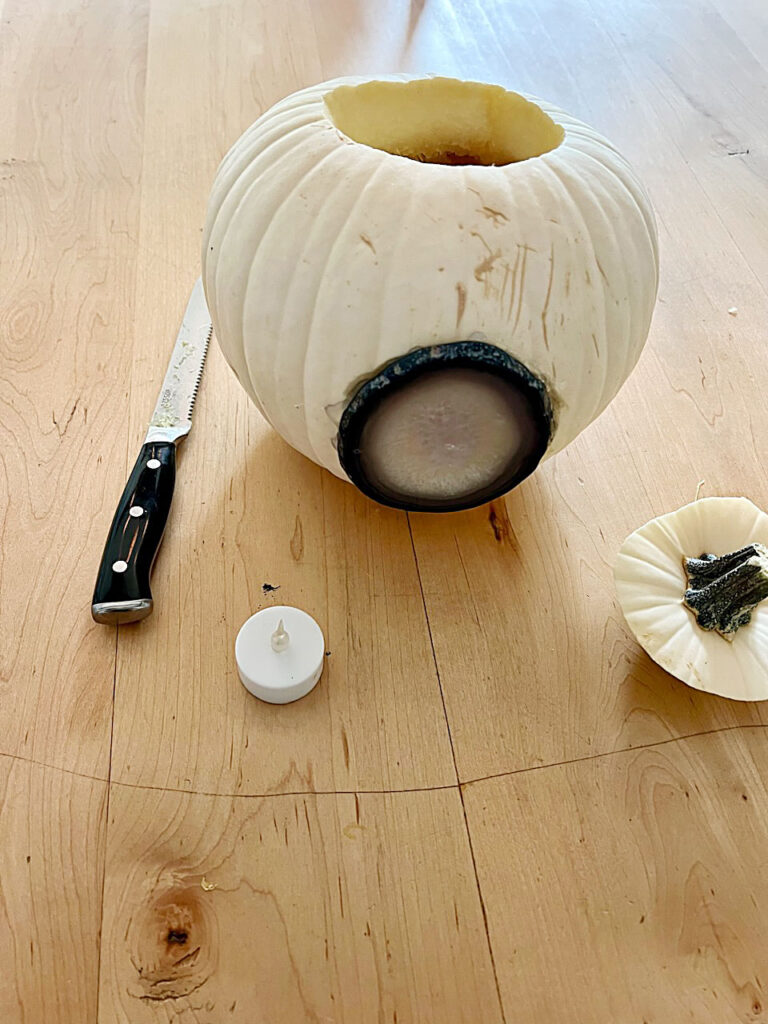
(Step 4). Once you have ensured a flat surface area for the agate slice to be applied, go ahead and create another hole in the center of the flat area (this is where the candlelight will shine thru the crystal).
Now is also a good time to carve the top off of your pumpkin and dispose of the seeds and pumpkin filling so that your candle can sit on a stable surface.

(Step 5). Once your pumpkin has been carved, you can now hot glue the agate slice to the flat surface area. Be sure to use a generous amount of glue on the perimeter of the crystal.
(Step 6). After the agate has been securely attached, you can place your candle inside the pumpkin and enjoy!

See how incredibly simple that was? It just goes to show that you don’t have to be a master-carver to make a unique Jack O’ Lantern. Hell…even my eight-year-old had a fun time helping me.

Thank you so much for spending some time with me this week!
If you found this post helpful, it would make such a big difference to this small business of mine if you could share it with a friend or on social media…


Now get out there and design some good vibes along with a fabulous life!


Erica-
That is so elegant and looks like something I might be able to accomplish!
Thank you for always sharing different content. Have a great week.
Thank you so much for your kind words, Donna. You truly brighten my day! 🙂