
Is Sherwin Williams Emerald Urethane Worth It? An Honest 3 Year Review
Before you drop $100 a gallon on Sherwin-Williams Emerald Urethane for your kitchen cabinets, you deserve to see the receipts, my friend. In this honest long-term review, I’m sharing what this paint looks like years later- the good, the bad, and the not-so-pretty. No sponsorships here (so no one is paying me to say a damn thing!) …
A few years ago, my post The Best Kitchen Cabinet Paint Brand went viral on the inter-webs and with it came a whole parade of DIY bloggers and influencers declaring Emerald Urethane the holy grail.
With everyone regurgitating my original cabinet paint guide and riding the coattails of its virality, I’ll be honest- I was pissed. Not just because my comprehensive guide (that took hours and hours to write) was copied and eventually outranked, but because most of those posts stopped at Pinterest-perfect “after” photos.
The real-life wear and tear from pets, boozy Friday nights, or rambunctious boys? Conveniently left the f*ck out- often by creators who were being paid to promote the product (which, for the record, yes… I’m mildly jealous of).
So here I am circling back to show you what Sherwin-Williams Emerald Urethane actually looks like years later: the areas that still look great, the spots that have taken a beating, and the maintenance no one ever mentions.
The Context (Because How You Use It Matters)-
But before I show you what Emerald Urethane looks like years later IRL, I first want to rewind a bit and give you some context (because not all painted cabinets are starting from the same place). And spoiler…that starting point matters more than most people admit.
So…over the last four years living in this house, I’ve applied Sherwin-Williams Emerald Urethane in four very different scenarios (technically more, but I’m keeping this post as cabinet focused as possible).
From a DIY and consumer perspective I was fine shelling out the dough because not only is it so easy to work with, it dries fast, provides great coverage, and is super forgiving (thanks to it’s self-leveling capabilities).
As I walk you through each space, you’ll see photos of the cabinets as they were being painted so you can clearly see what the paint was applied over…
1. Kitchen Cabinets (Painted 3 Years Ago Over Existing Paint):
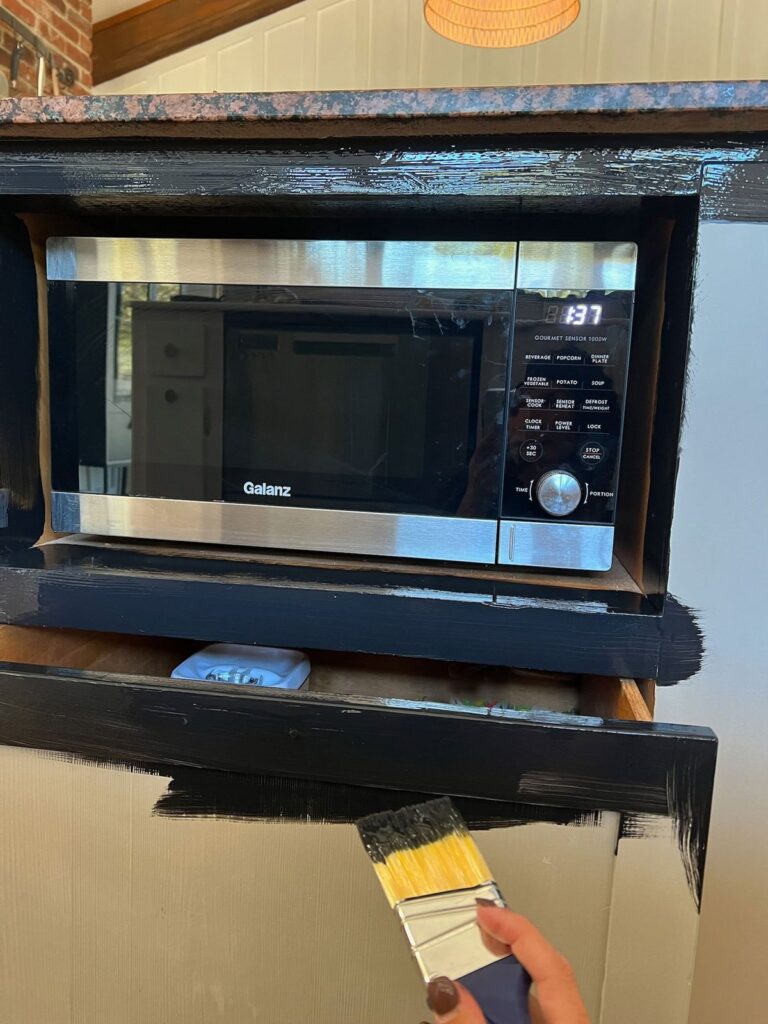
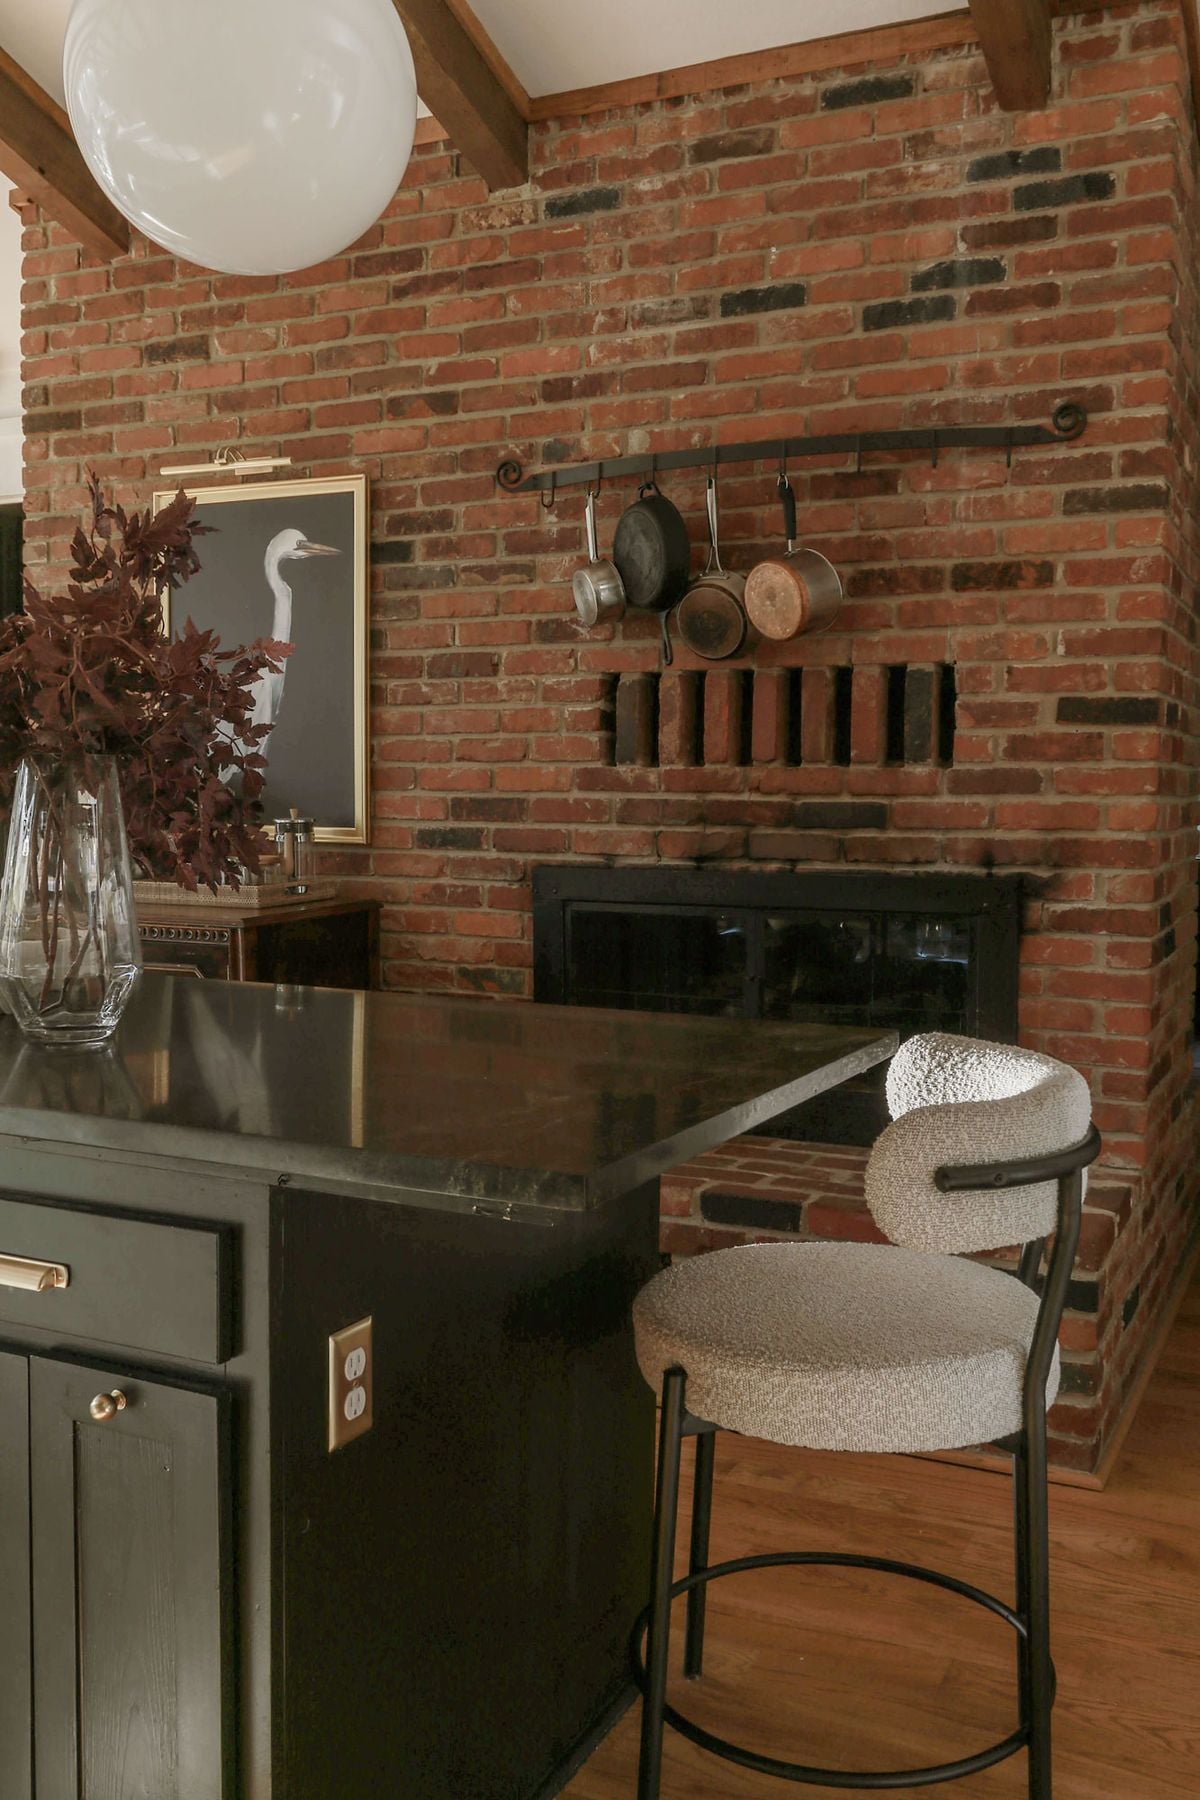
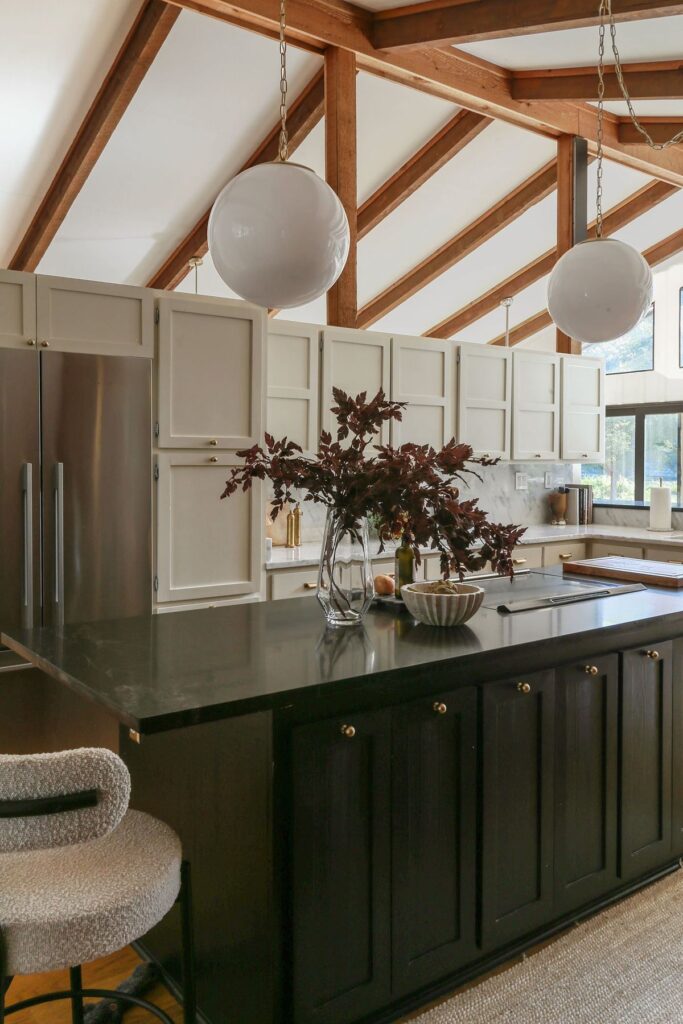
Over 3 years ago, I first used Emerald Urethane to paint the kitchen cabinets on my island Tricorn Black (this was when I still had nasty granite counters and was pulling from the black specks in the lovely Baltic Brown stone). I applied the Urethane over previously painted cabinets. I used no primer, but did lightly scuff the sheen off the previous paint job with a sanding block and then used a roller and paint brush to apply the paint (exactly what the Sherwin Williams pro told me to do).
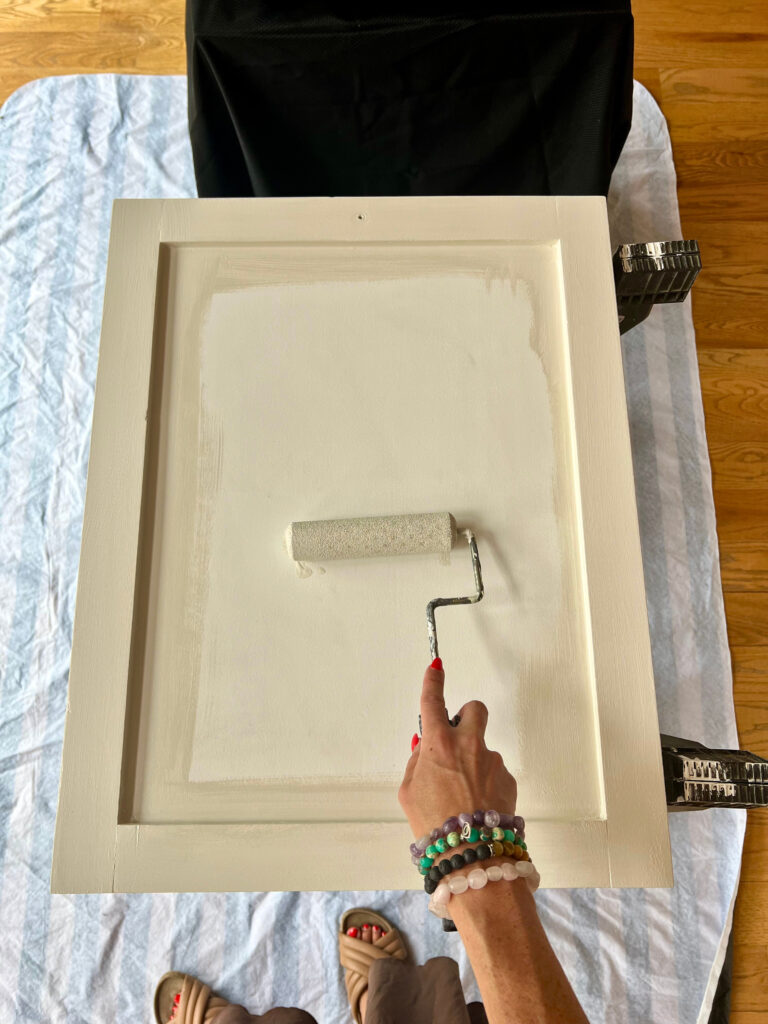
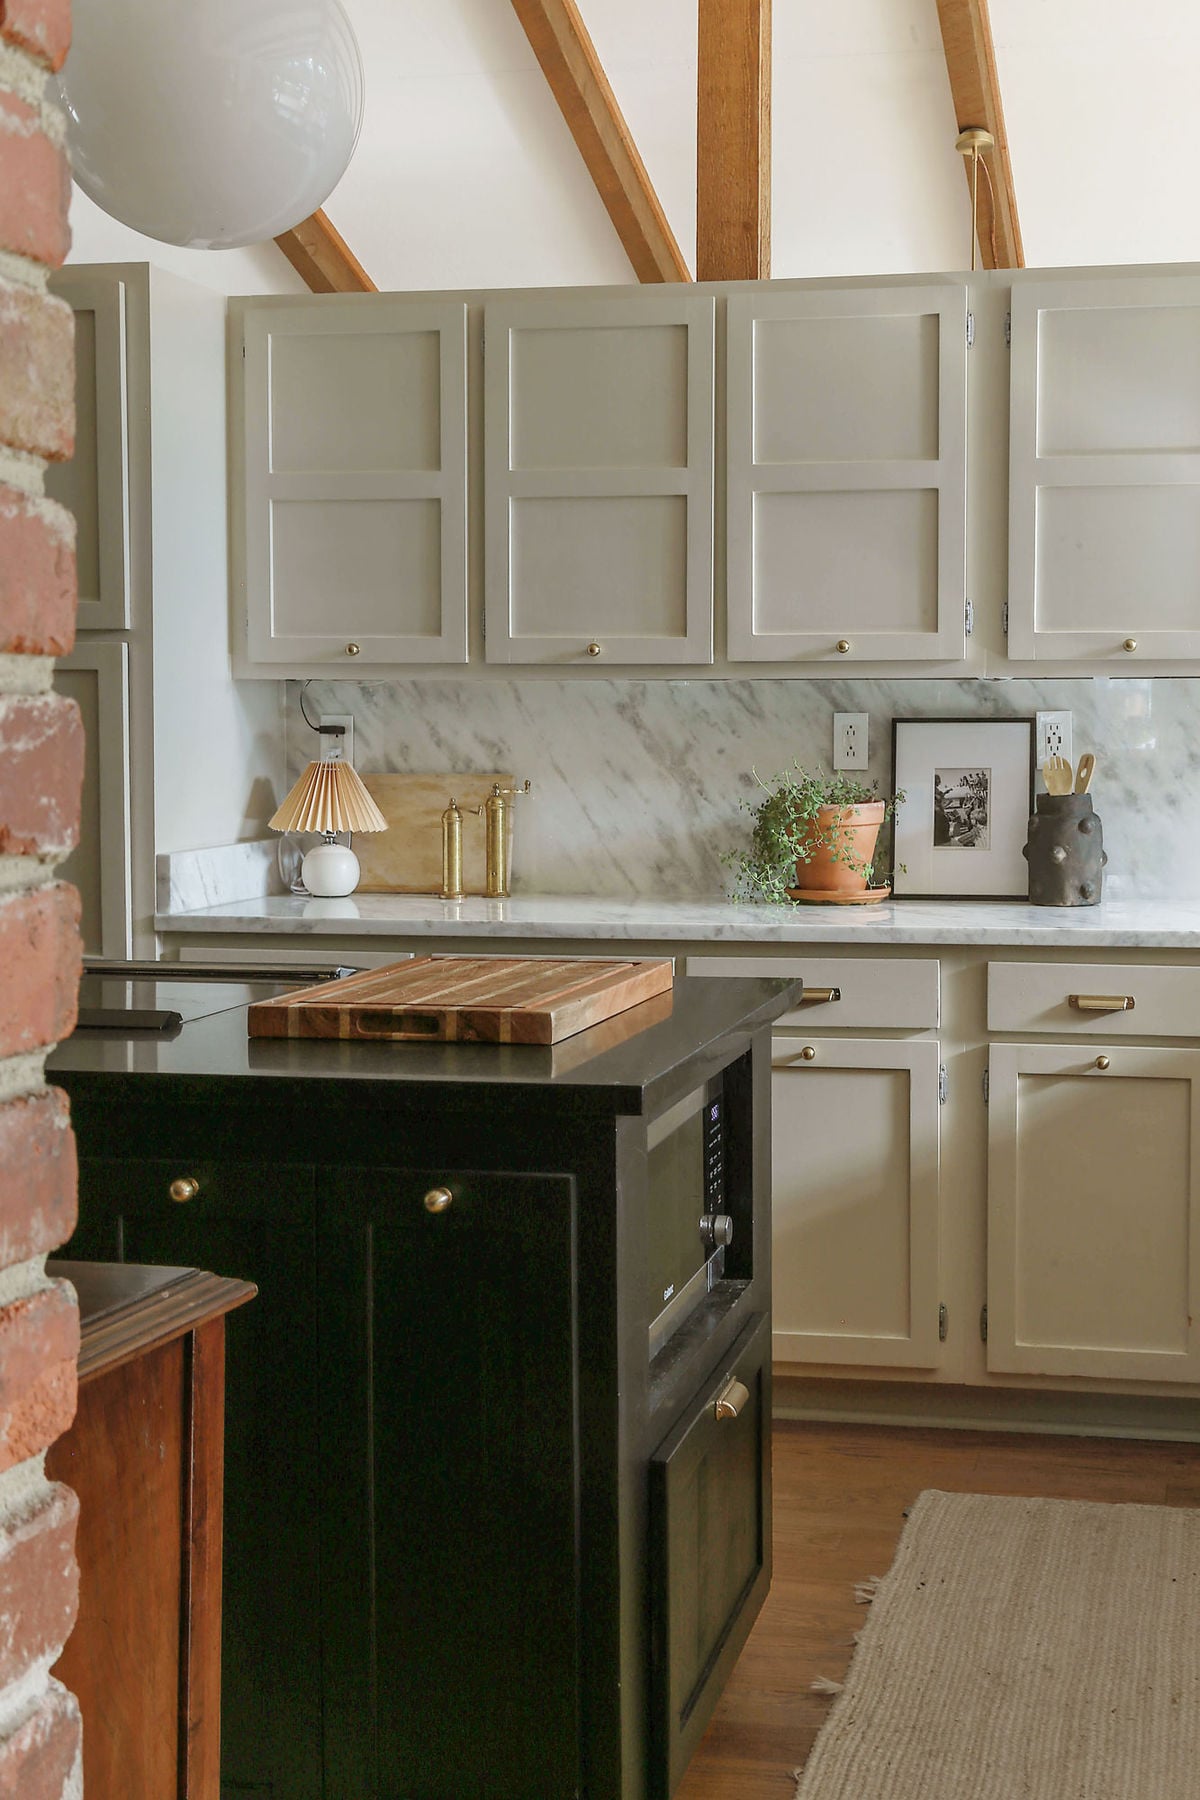
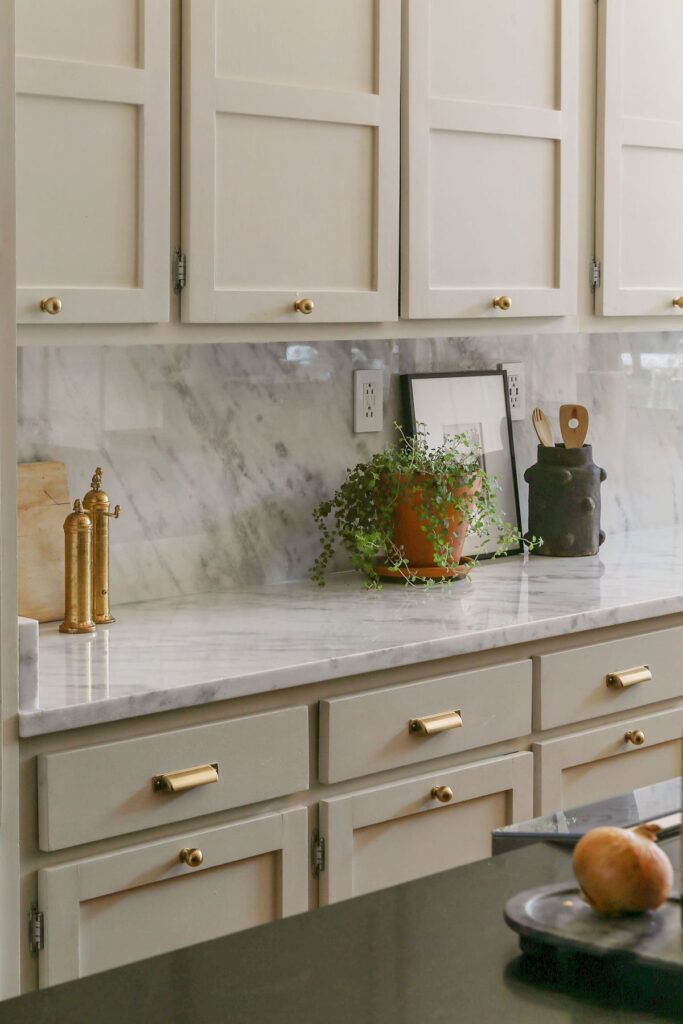
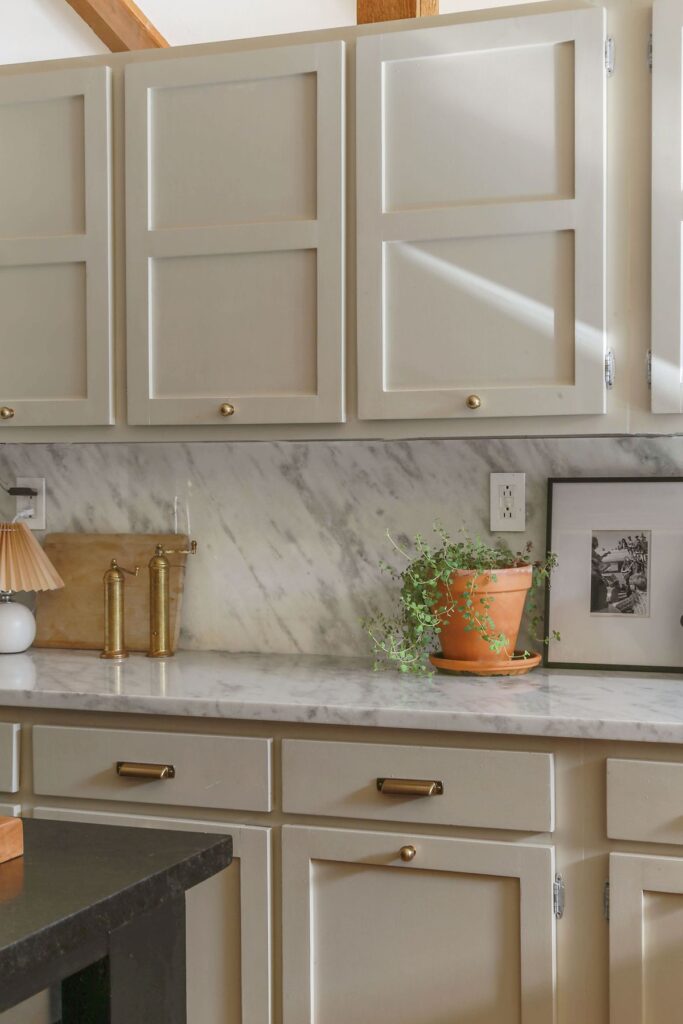
One year after that, I finally replaced the dated granite (hallelujah) and decided to tackle the perimeter cabinets of my kitchen that had already been painted a builder-grade white when we bought the home. Once again, I applied the Emerald Urethane in the same manner I did the island using Natural Cream by Benjamin Moore (Sherwin Williams color matched it for me).
2. Bathroom Vanity Cabinets (Painted 2.5 Years Ago Over Stained Wood):
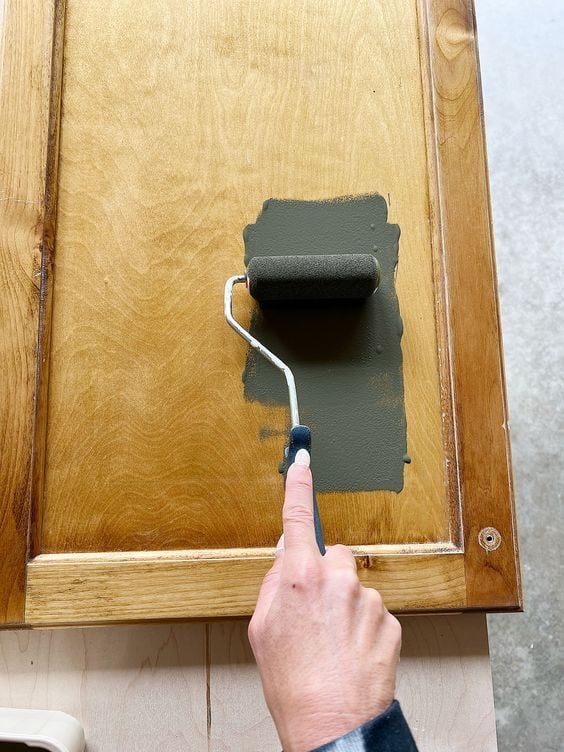
In an effort to update my boys bathroom on the cheap, over 2 years ago now, I painted the vanity cabinets. The vanity is original to the house (built in the 1970s) and started as stained wood. I lightly scuffed the surface and skipped primer since I was using a darker color (Dark Olive by Benjamin Moore color matched).
3. Outdoor Kitchen Cabinets (Painted 3 Years Ago Over Raw Wood + Primer)
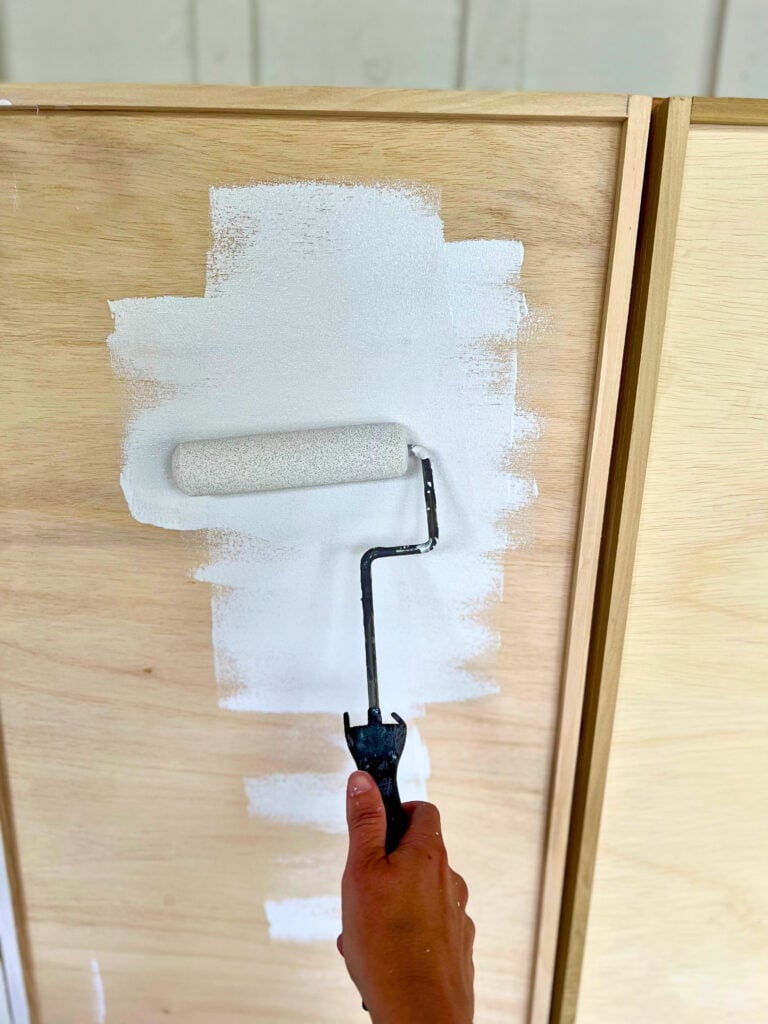
After building DIY cabinets for our covered outdoor kitchen three years ago, I wanted the cabinets to match the exterior of our home (Shoji White by Sherwin Williams). Given I was working with raw wood and using a light color, I did things the right way and first applied a stain -blocking primer to the cabinets before applying the Emerald Urethane paint.
What Emerald Urethane Looks Like in My House, Years Later…
With years of wear and tear officially under my kitchen’s belt, overall, I am going to go ahead and let you know that I am pretty happy with how the cabinets look from a distance.
Every few months (although with a dog and kids it really should me more like very few weeks), I clean my cabinets with a damp magic eraser, and for the most part, they look like new. With two caveats that is…

I really don’t know why exactly, but the door that goes to my trash can drawer looks down right pitiful. In some areas the original white paint is surfacing and in other areas that have taken a bad beatin’, all of the paint has come off and the original wood is showing.
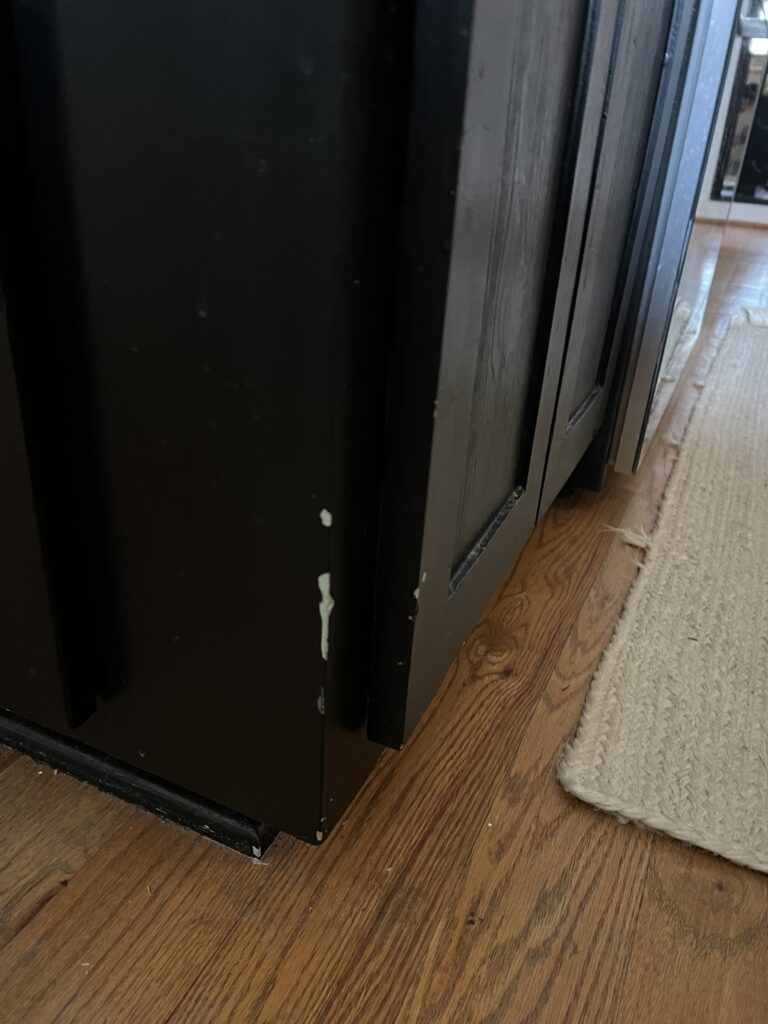
As for the island that was painted over 3 years ago (full disclosure- I do yearly touchups on it with my leftover paint) above is the trouble area that I will be touching up as I do every 6-9 months .
As for the bathroom vanity cabinets and the outdoor kitchen cabinets (both of which had not been previously painted)…

I have no trouble areas to share with you! Very anti-climatic I know!
Main Takeaway (And What I’d Do Again)…
After living with Emerald Urethane on just about every surface imaginable (I even have it on my DIY shutters), here’s my honest theory: application and surface matters more than the paint itself.
Cabinets painted over raw or minimally finished wood have held up the best in my house by far (bathroom vanity and outdoor kitchen). Whereas areas that were previously painted and get heavy daily use (hello, kitchen island corners and trash drawer) are the ones that show wear and need occasional maintenance.

All of that said, I would absolutely use Emerald Urethane again without hesitation (actually…I just used it for a project I will be revealing soon). I’d just go in with realistic expectations (especially in high-traffic areas) and plan for light touch-ups once or twice a year. However, that isn’t a dealbreaker to me … it’s the trade-off for saving thousands of dollars by skipping a professional spray job or a full cabinet reface.
My biggest tip? Buy a little extra paint and have a few foam brushes on hand! Having leftovers on hand makes touch-ups quick, painless, and way less annoying when real life inevitably shows up.
I hope this post helped set realistic expectations if you’re considering a DIY cabinet paint job. It’s not perfect, but it’s doable (I say go for it, boo!).
Thank you so much for stopping by and spending some time with me, and if you found this post helpful, it would mean so much to this small business of mine if you could share with a friend or on Pinterest…
Until next time, keep on designing a life that feels as good as it looks!


Welcome!
My journey in interior design and home improvement began with transforming my first fixer-upper home, all while managing a budget and raising two young boys. My work, a reflection of my passion for creating beautiful, uplifting spaces, has been recognized by top publications like Better Homes and Gardens Magazine, HGTV, and more. I invite you to explore my site and witness the transformation of my home and the vibes we've designed. Read more...


This was a very helpful post. One question- do you store the paint you use for touch ups in the can it came in or move it to a smaller container? I’ve noticed older paint in cans can dry out, separate or develop a skin on the surface.
I am so happy to hear you found the post helpful, Deborah! I am lazy, so I store them in the original can.lol That being said, I am sure to secure the lid with a mallet and I keep the cans in a climate controlled space. At my previous home I learned the hard way that not keeping them in a climate controlled space (aka my garage), resulted in dried out paint and/or paint that simply never mixed quite them same. I really love your idea of storing them in smaller containers. 🙂