
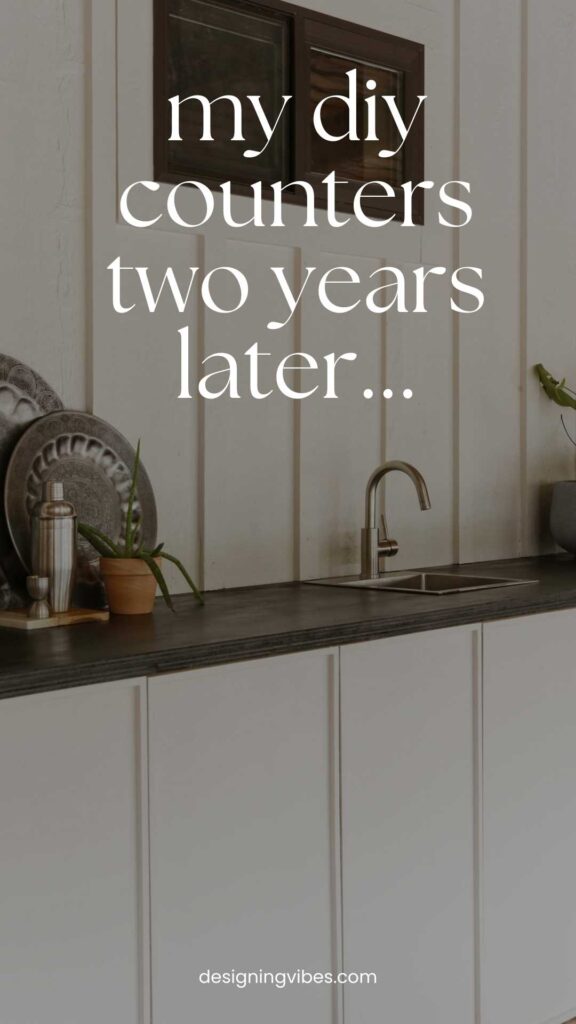
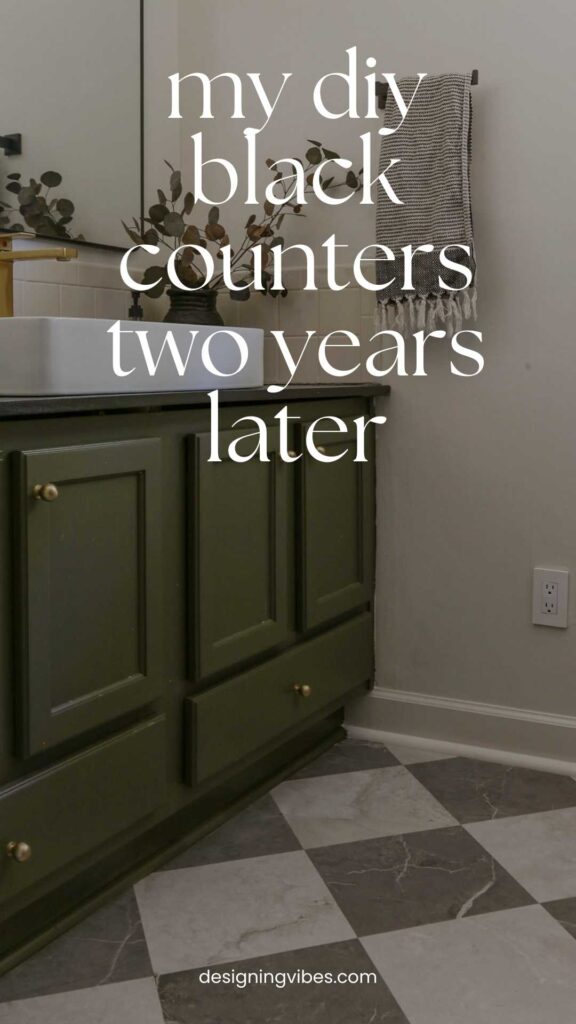
My DIY Black Countertops 2.5 Years Later: Honest Review

If you’re considering DIY plywood countertops and wondering how they actually hold up over time, this post is for you. In this honest review, I’m sharing how my DIY black counters made from plywood and stain- all for under $150- are holding up after 2.5 years of real-life use in both my outdoor kitchen and bathroom.
As much as I’ve schemed, bargain-hunted, and even whispered sweet affirmations to the universe, there was simply no way to fit stone countertops into my home reno budget ( at least not in every utilitarian space of my house).
After budgeting for years just to replace the Baltic Brown countertops in my kitchen, the rest of the house has had to wait its turn. But I refused to be entirely defeated. I’d be damned if I was going to live with a shell-shaped almond bisque sink straight out of the late 1970’s.
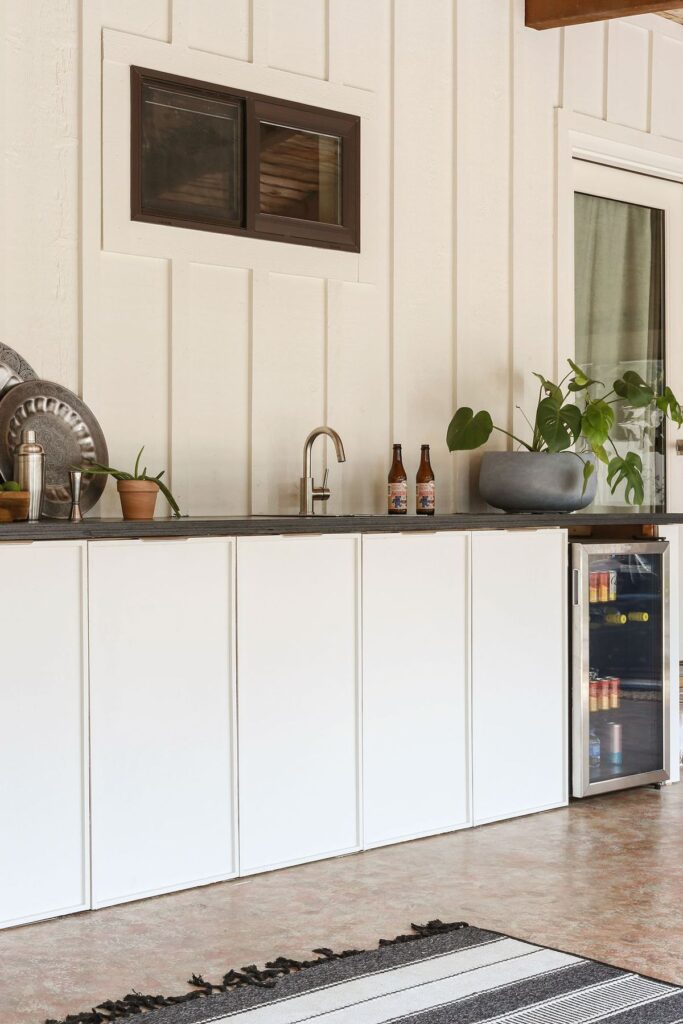
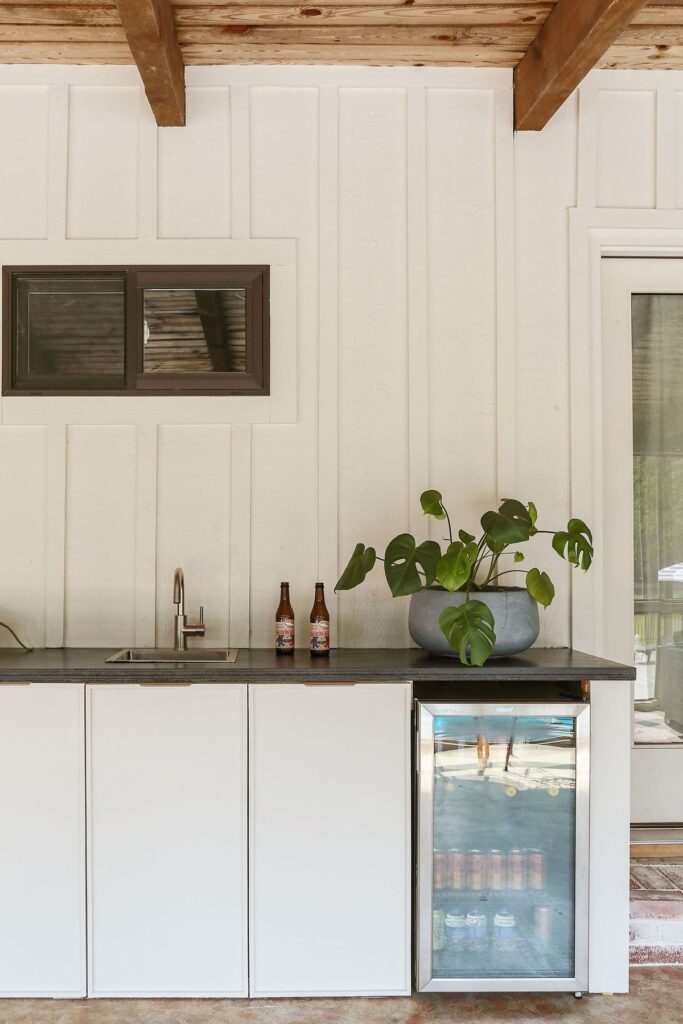
Loving the vibe of my honed black granite countertops on my kitchen island and also having built DIY wood countertops for under $50 back at my 1980’s fixer upper, I was inspired to build budget-friendly counters using plywood and black stain first in my DIY (covered) outdoor kitchen…
and then shortly thereafter in my boys’ cheap a$$ bathroom makeover…

While I never intended for these to be a permanent solution, I was actually optimistic (and perhaps a little naive) thinking that they’d only need to last a year or two (click here for the black countertop DIY tutorial).
After a handful of unexpected home-reno surprises like roof and foundation issues, here we are… and this spring will mark three full years of wear and tear on these babies.
So….how are they honestly holding up?… Would I try this DIY project again?
How My DIY Black Countertops Are Holding Up After Over 2.5 Years
I really did not have high hopes for my covered outdoor bar/kitchen area given the humidity we have here in the Southern summers, but much to my surprise, mostly everything has proved to be pretty darn durable…
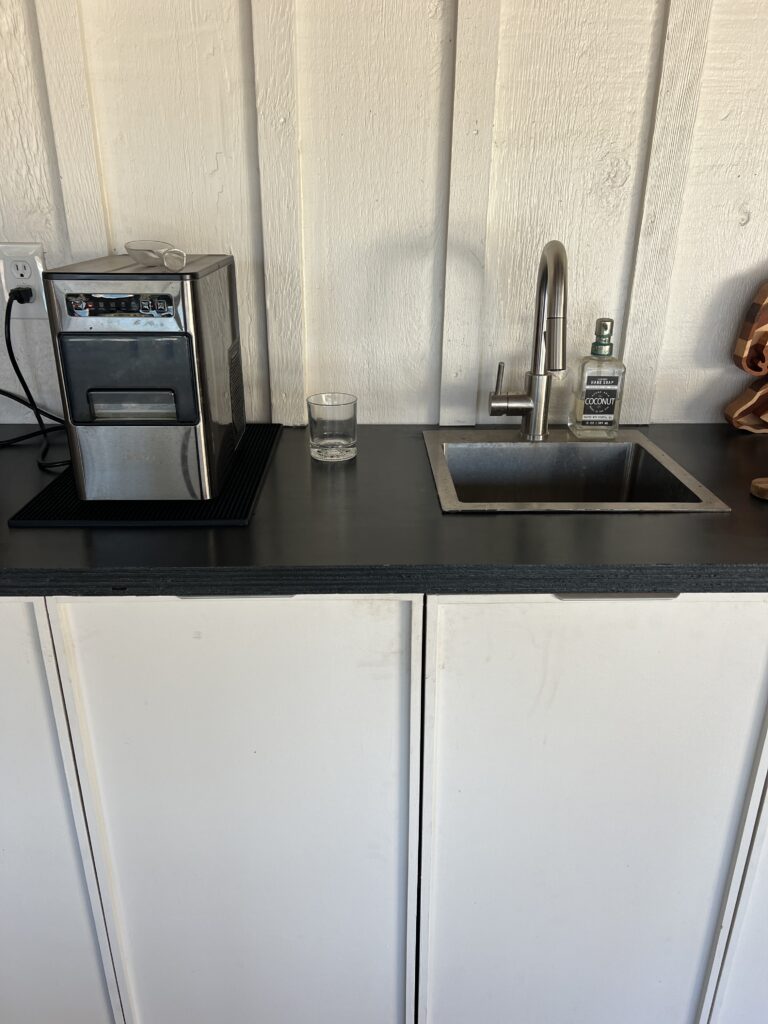
That is… except for the sink that is beginning to rust (which has nothing to do with the counters) and the time I did not realize the ice machine was leaking water for days on end…
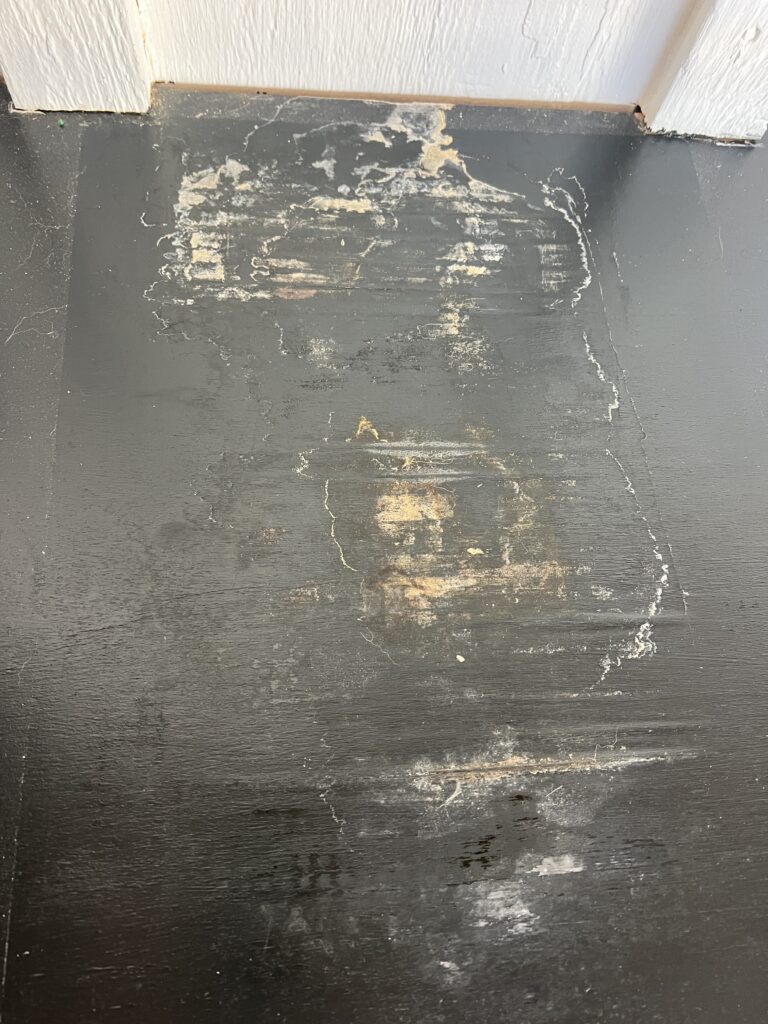
So while the structural integrity of the plywood was fine, the black stain and the top coat was stripped in certain areas as noted in the photo above. Luckily, once I put a rubber bar mat underneath the ice maker, we never had any more issues with the counters.
Now the countertops in my boys’ bathroom is a slightly different story…
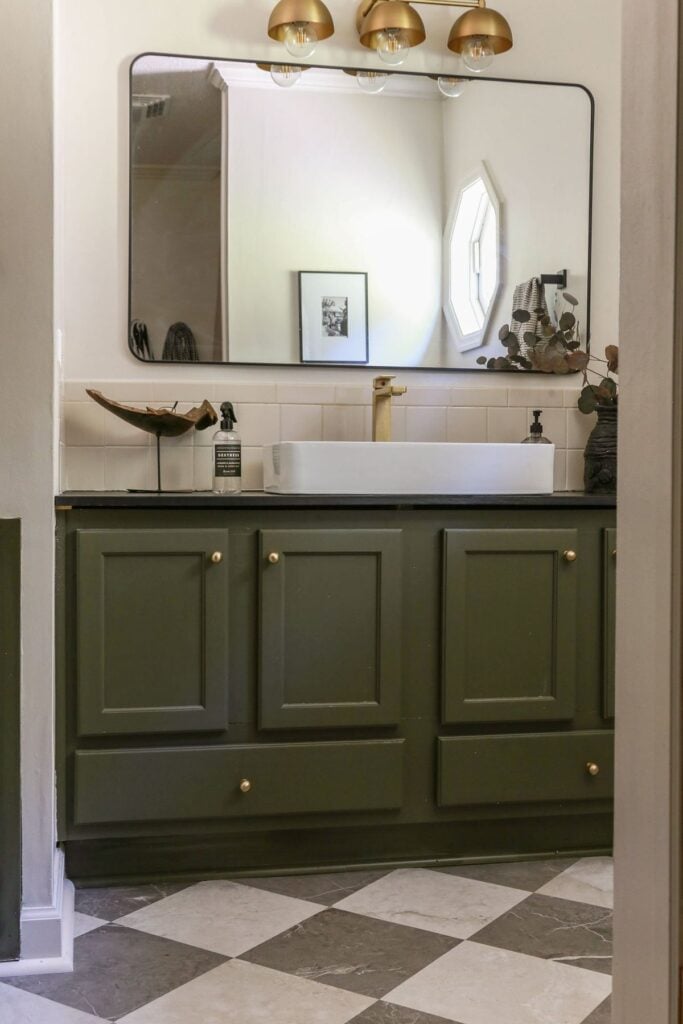
For these particular counters, we only used one sheet of plywood and placed some wood banding on the countertop edge to conceal the seam.
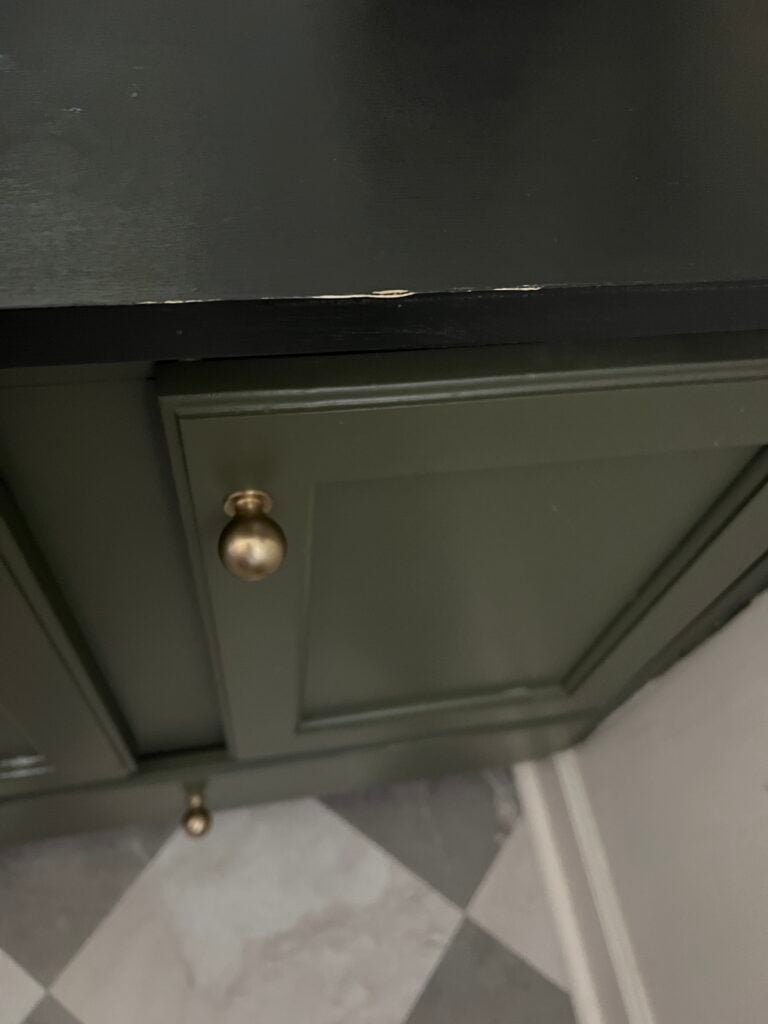
Almost 3 years later, and the banding seam is looking a little rough.
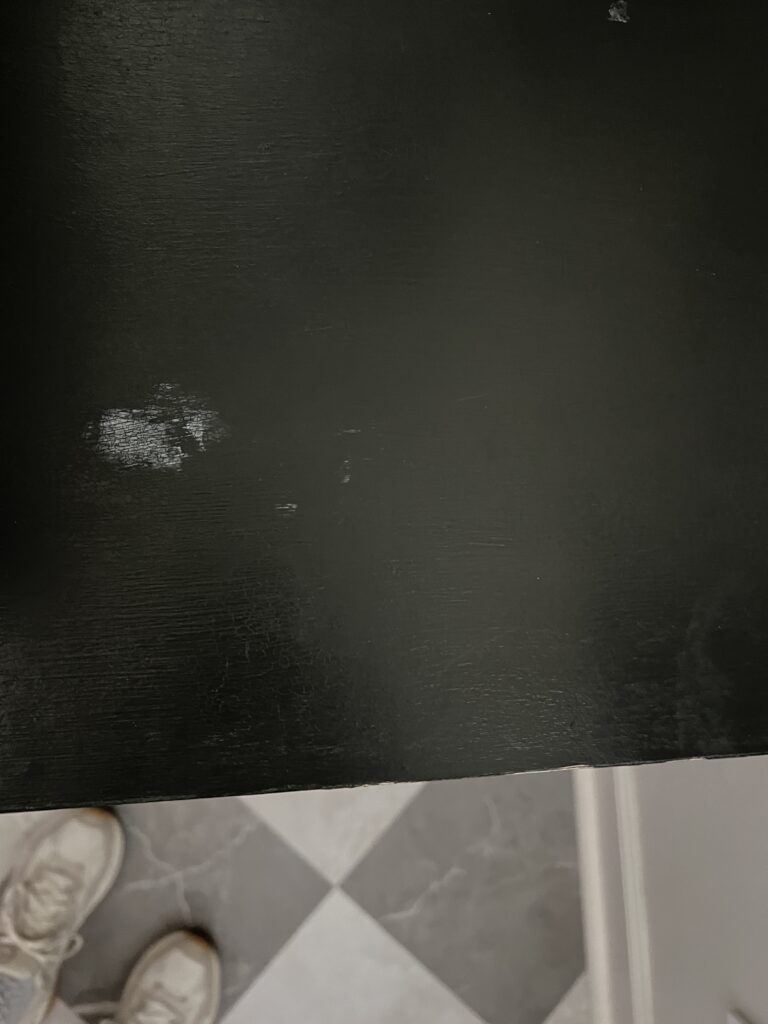
There is also some mysterious white stain on the counter that I have never been able to get out..
I guess when you consider what utter slobs my male “tweens” are (I swear they go through an entire tube of toothpaste every two days because it’s slopped everywhere), these countertops have proven to be a not-too-shabby solution.
And while I could easily touch these up with some more black stain and call it a day, with the constant messes they make in here, I can’t honestly say it would be worth my time.
All things considered, I would 100% do this project again. Having lived with butcher block countertops, I realize that all wood (not just plywood) has its limitations and requires maintenance, but if you don’t have much dough to work with, that’s simply the tradeoff. And I’ll happily take that over an almond bisque shell sink any day!
I hope this blog post gave you realistic expectations when it comes to DIY countertops. In a perfect world, we’d all have fat wallets and natural stone counters, but that doesn’t mean it’s a lost cause entirely.
Thank you so much for stopping by and spending some time with me, and if you found this post helpful, it would mean so much to this small business of mine if you could share with a friend or on Pinterest…
Until next time, keep on designing a life that feels as good as it looks!


Welcome!
My journey in interior design and home improvement began with transforming my first fixer-upper home, all while managing a budget and raising two young boys. My work, a reflection of my passion for creating beautiful, uplifting spaces, has been recognized by top publications like Better Homes and Gardens Magazine, HGTV, and more. I invite you to explore my site and witness the transformation of my home and the vibes we've designed. Read more...


Erica-
I’ve always wondered how their teeth got brushed if the paste is on the counter or in the sink 🤷🏻♀️ at least in the case of my group.
I think your countertops have held up well, and you’re so right- not everyone has a fat wallet.
Enjoy the rest of your week.
Bahaha! That is so true, Donna. Think we should have invested in toothpaste stock to fatten our own wallets. lol I hope 2026 is off to a fabulous start for you. 🙂
I’m just curious: how do you clean the countertops? In the bathroom and kitchen I like to use a disinfectant type spray and wipe with a sponge. Can these be cleaned like that? Is there a finish or sealant over the stain to help with wetting them?
Also, have you ever painted a floor? My brother has a lot of renovations to do and wants to pull up carpeting and there is plywood underneath. Just to delay the expense, I thought painting the plywood might help hold off doing new floors – any idea?
Hey Laura! I did use two coats of a clear, waterproof sealer on top (I linked to the product in the original tutorial for the countertops). I have been cleaning mine with an all natural solution (Thieves by Young Living diluted with water). As far as floors, while I have not painted plywood myself, I have seen plenty of designers and diy bloggers do it, so I think that is a totally viable idea (at least for a few years to delay your new flooring expense). Good luck with everything! 🙂