
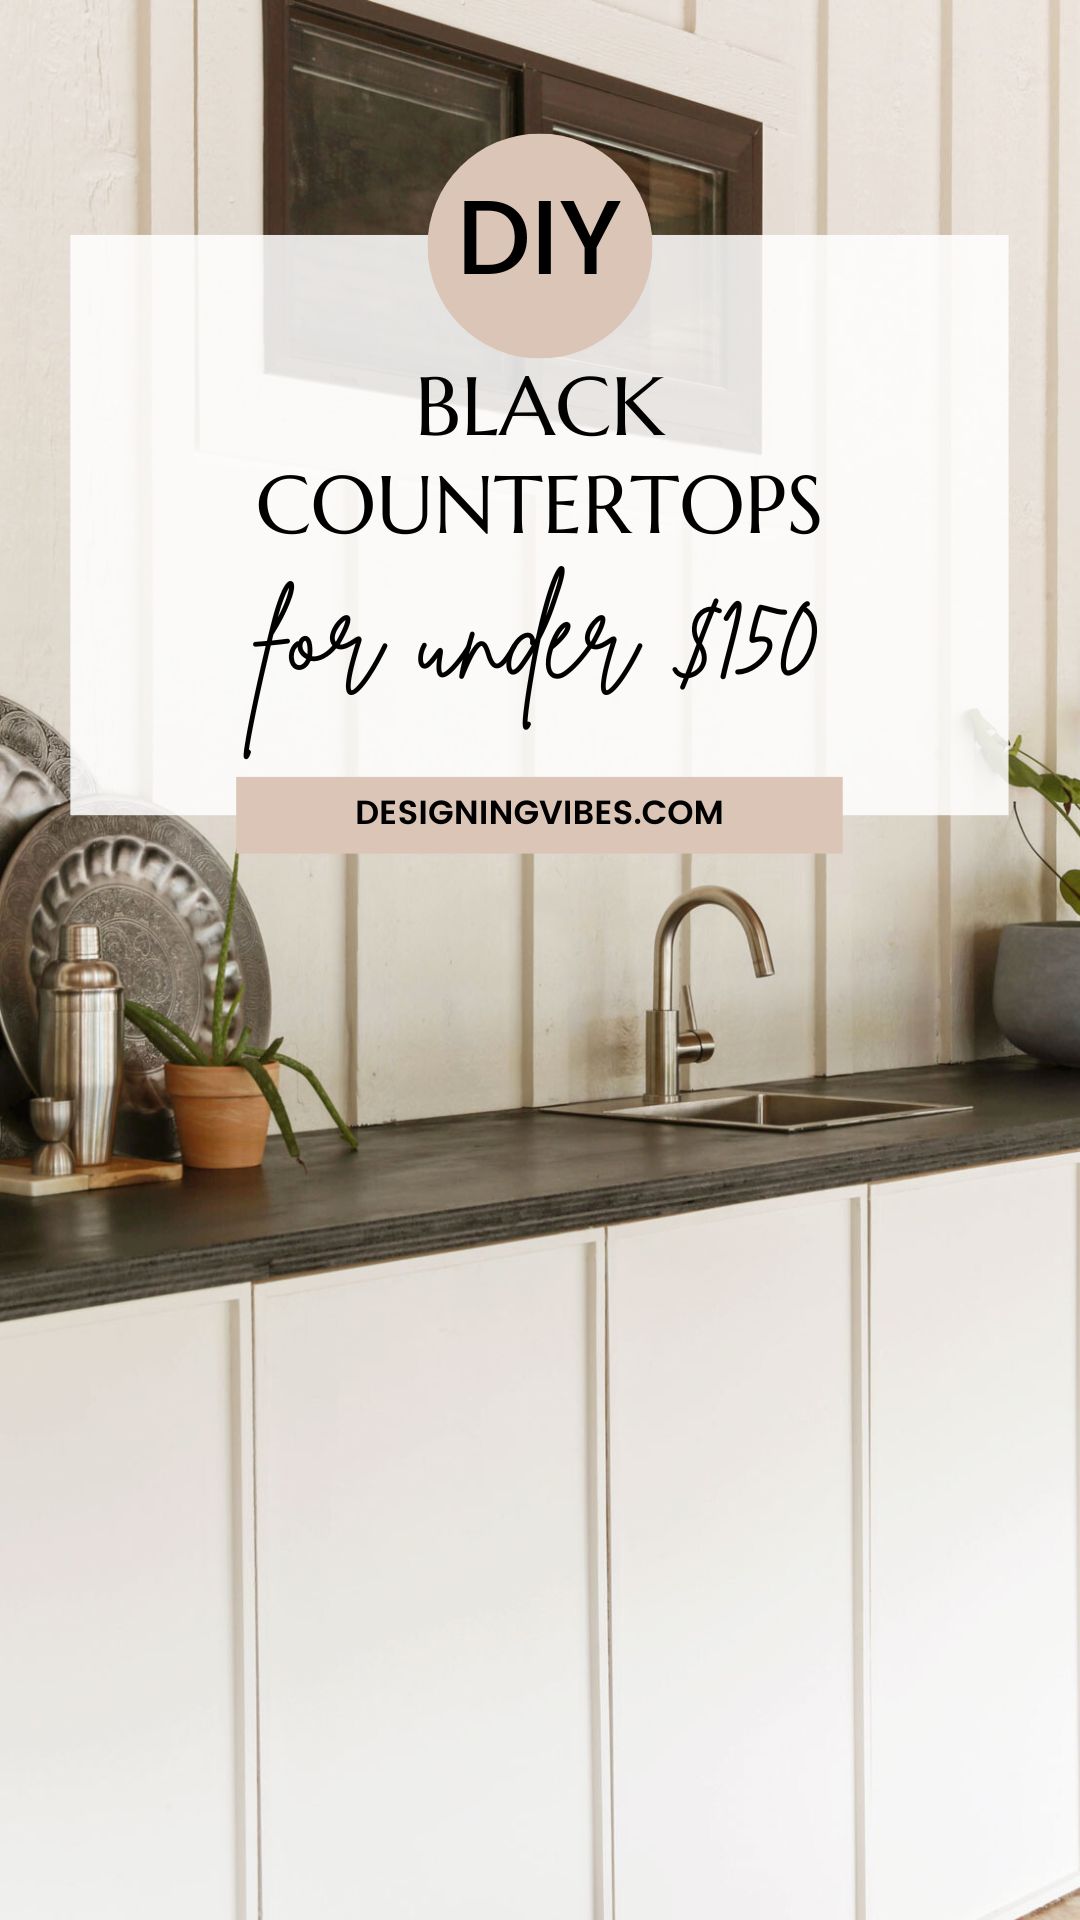
DIY Black Countertops for Under $150
If you are in need of a budget-friendly countertop solution for your kitchen (or outdoor kitchen as was the case for me), you need to read today’s DIY tutorial where I share how I built stylish black countertops for under $150.
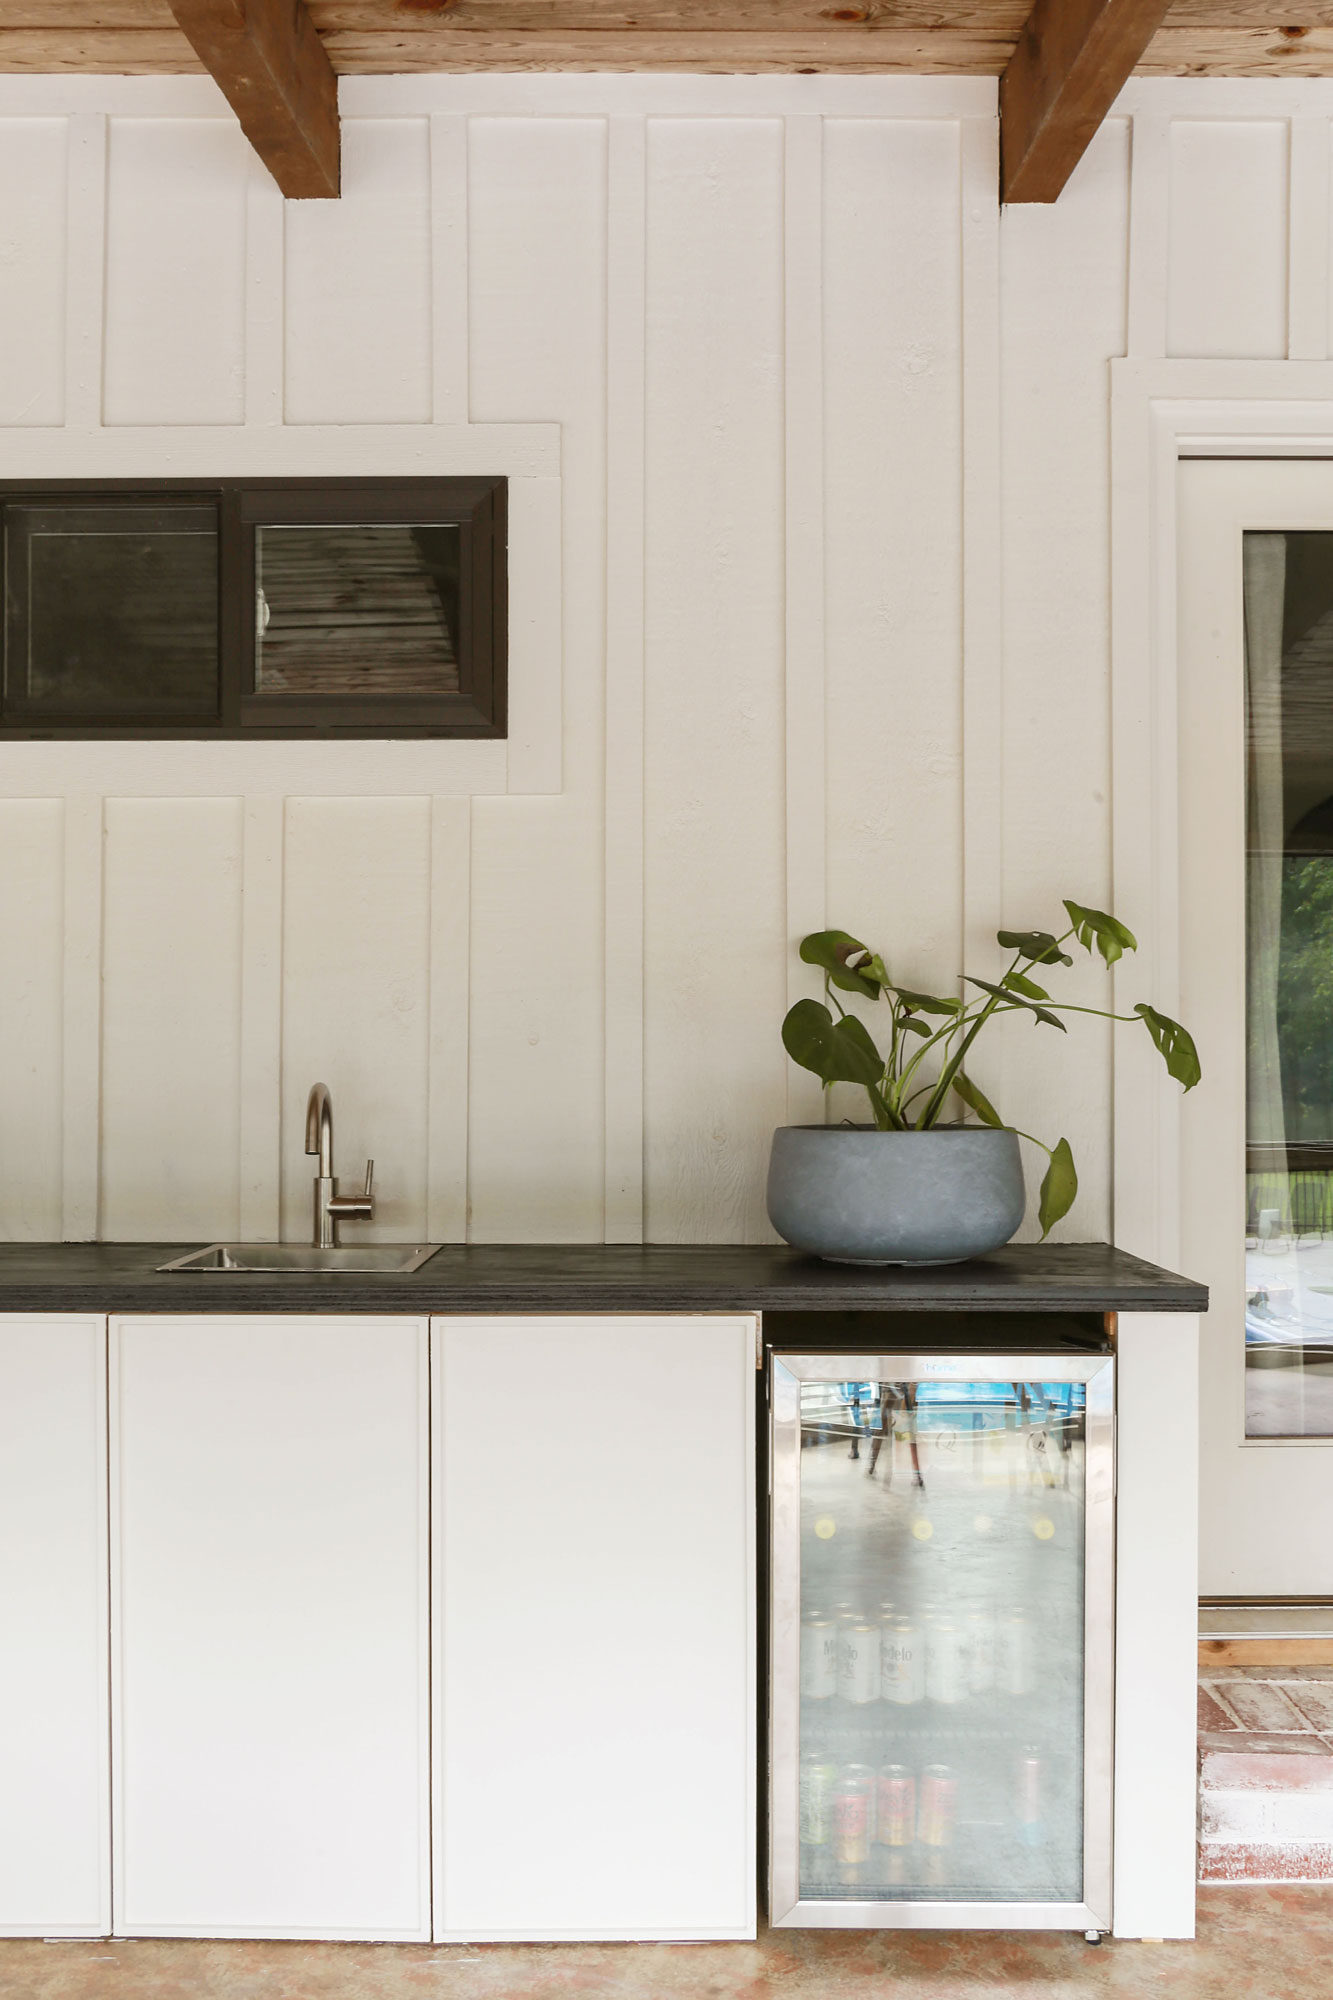
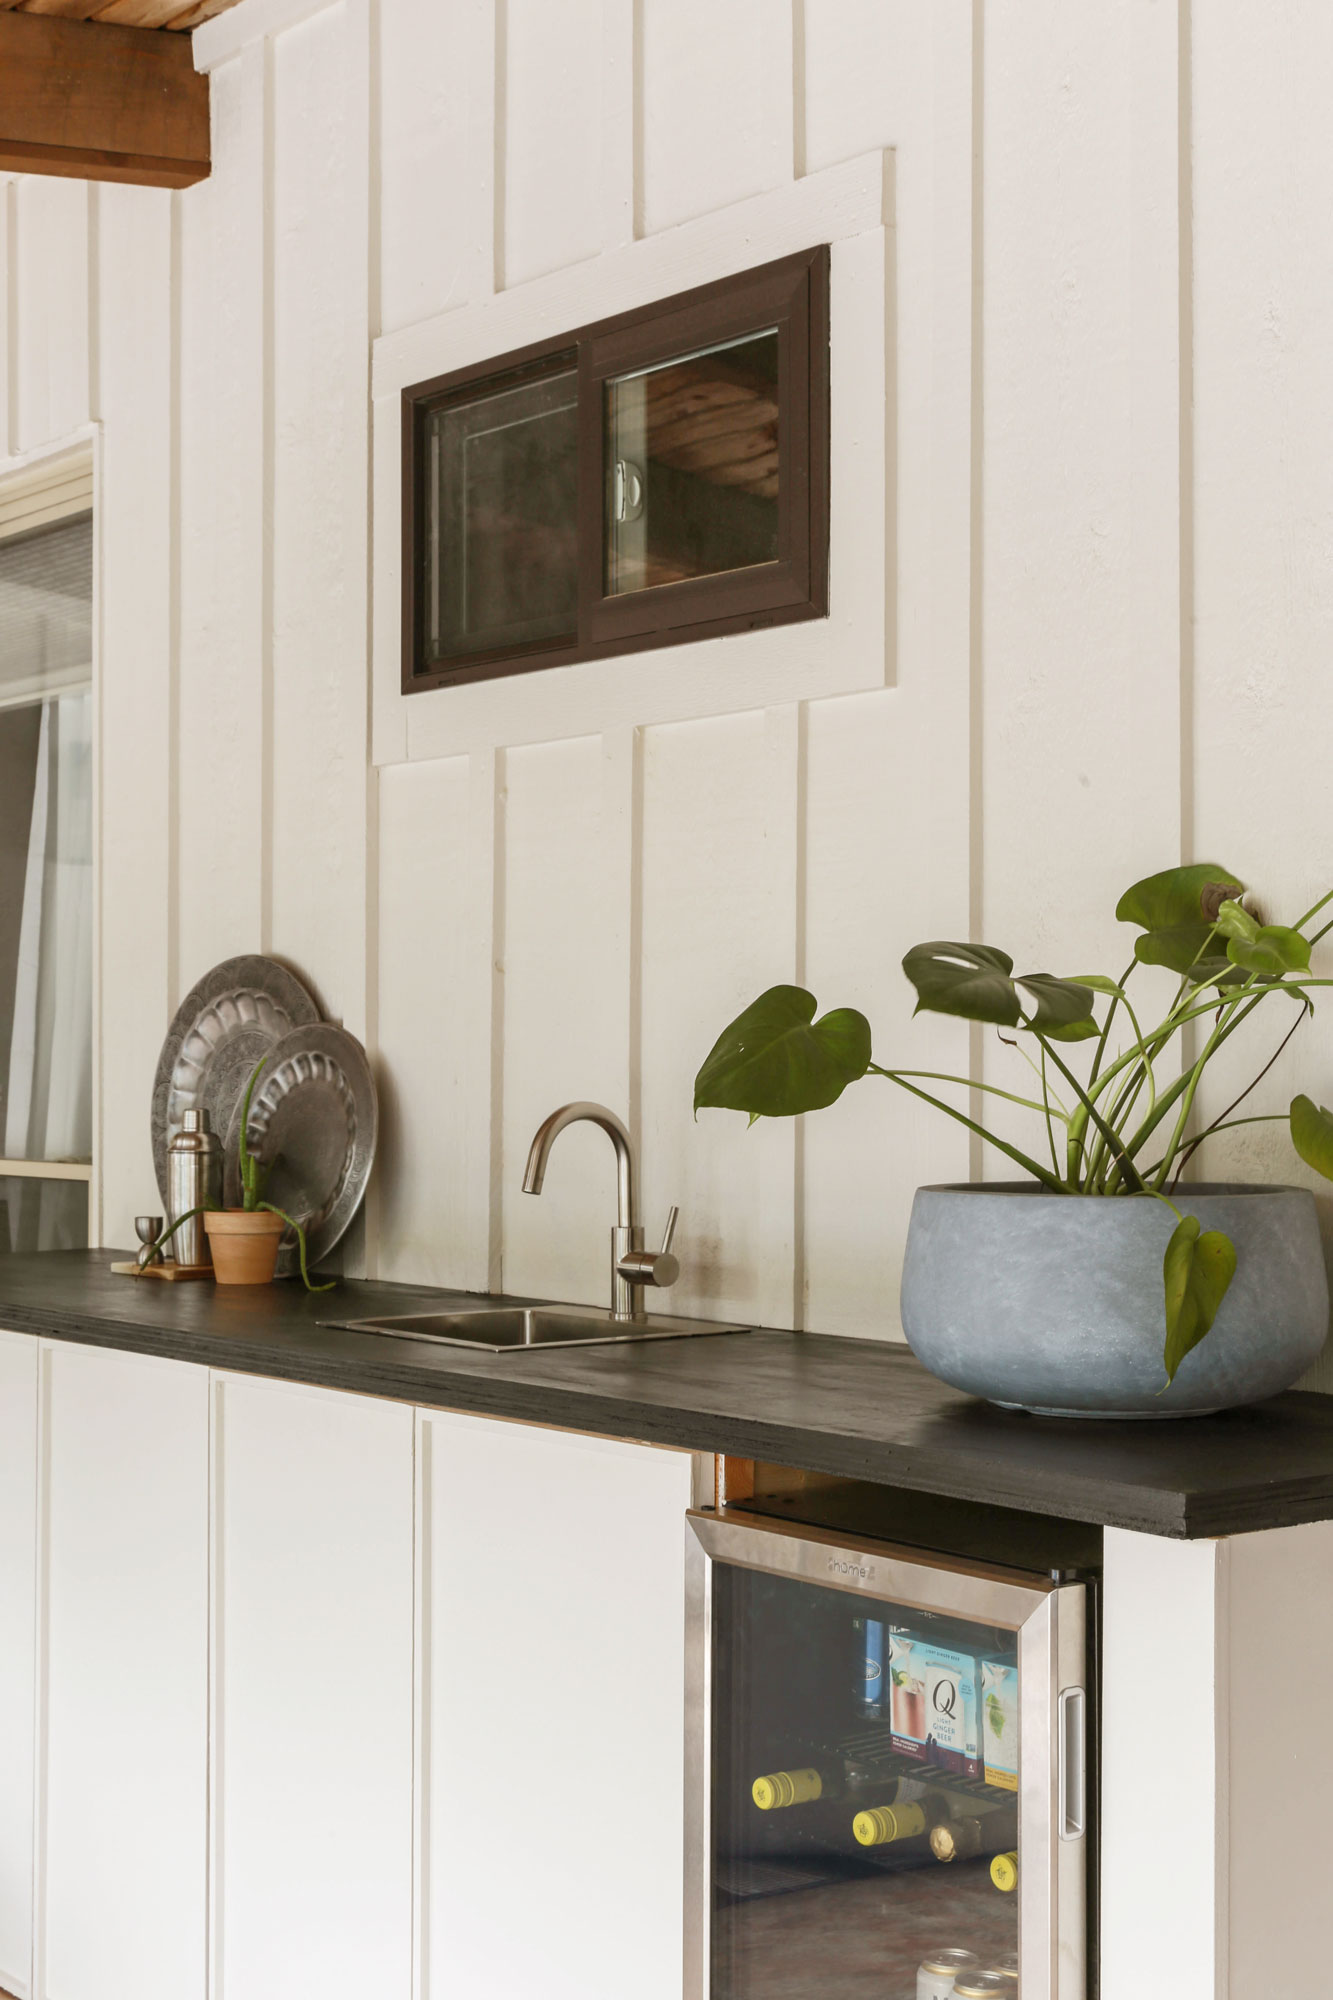
O-M-freakin’G!!! After 6 weeks of what seemed like endless project hiccups, I am so relieved to announce that my DIY outdoor kitchen/wet bar situation in my screened in porch is about 98% complete.
Other than some minor tweaks like caulking and cabinet hinge adjustments, all that my outdoor kitchen lacks at this point is cabinet pulls.
Once we install the cabinet pulls, I will share the tutorial for the DIY cabinets that my husband built from plywood.
But today… I thought I could at least share the black countertops we built for the space which were loosely inspired by a fabulous tutorial on the Rocky Hedge Farm blog.
For the sake of convenience and a mild attempt at some originality, we chose to make a few tweaks to Sarah’s DIY plywood kitchen countertop tutorial, but you should definitely check hers out as well if you are looking for something with a backsplash component…
Essentially, my husband and I were looking for the cheapest way to build countertops for a long expanse of cabinets (10 feet), and I was also wanting some substantial thickness to the material.
While my husband was originally set on using butcher block, with all of the other wood elements already going on in my screened in porch (wood ceiling, wood beams and wood mantel on a brick fireplace), I was adamantly against that plan.
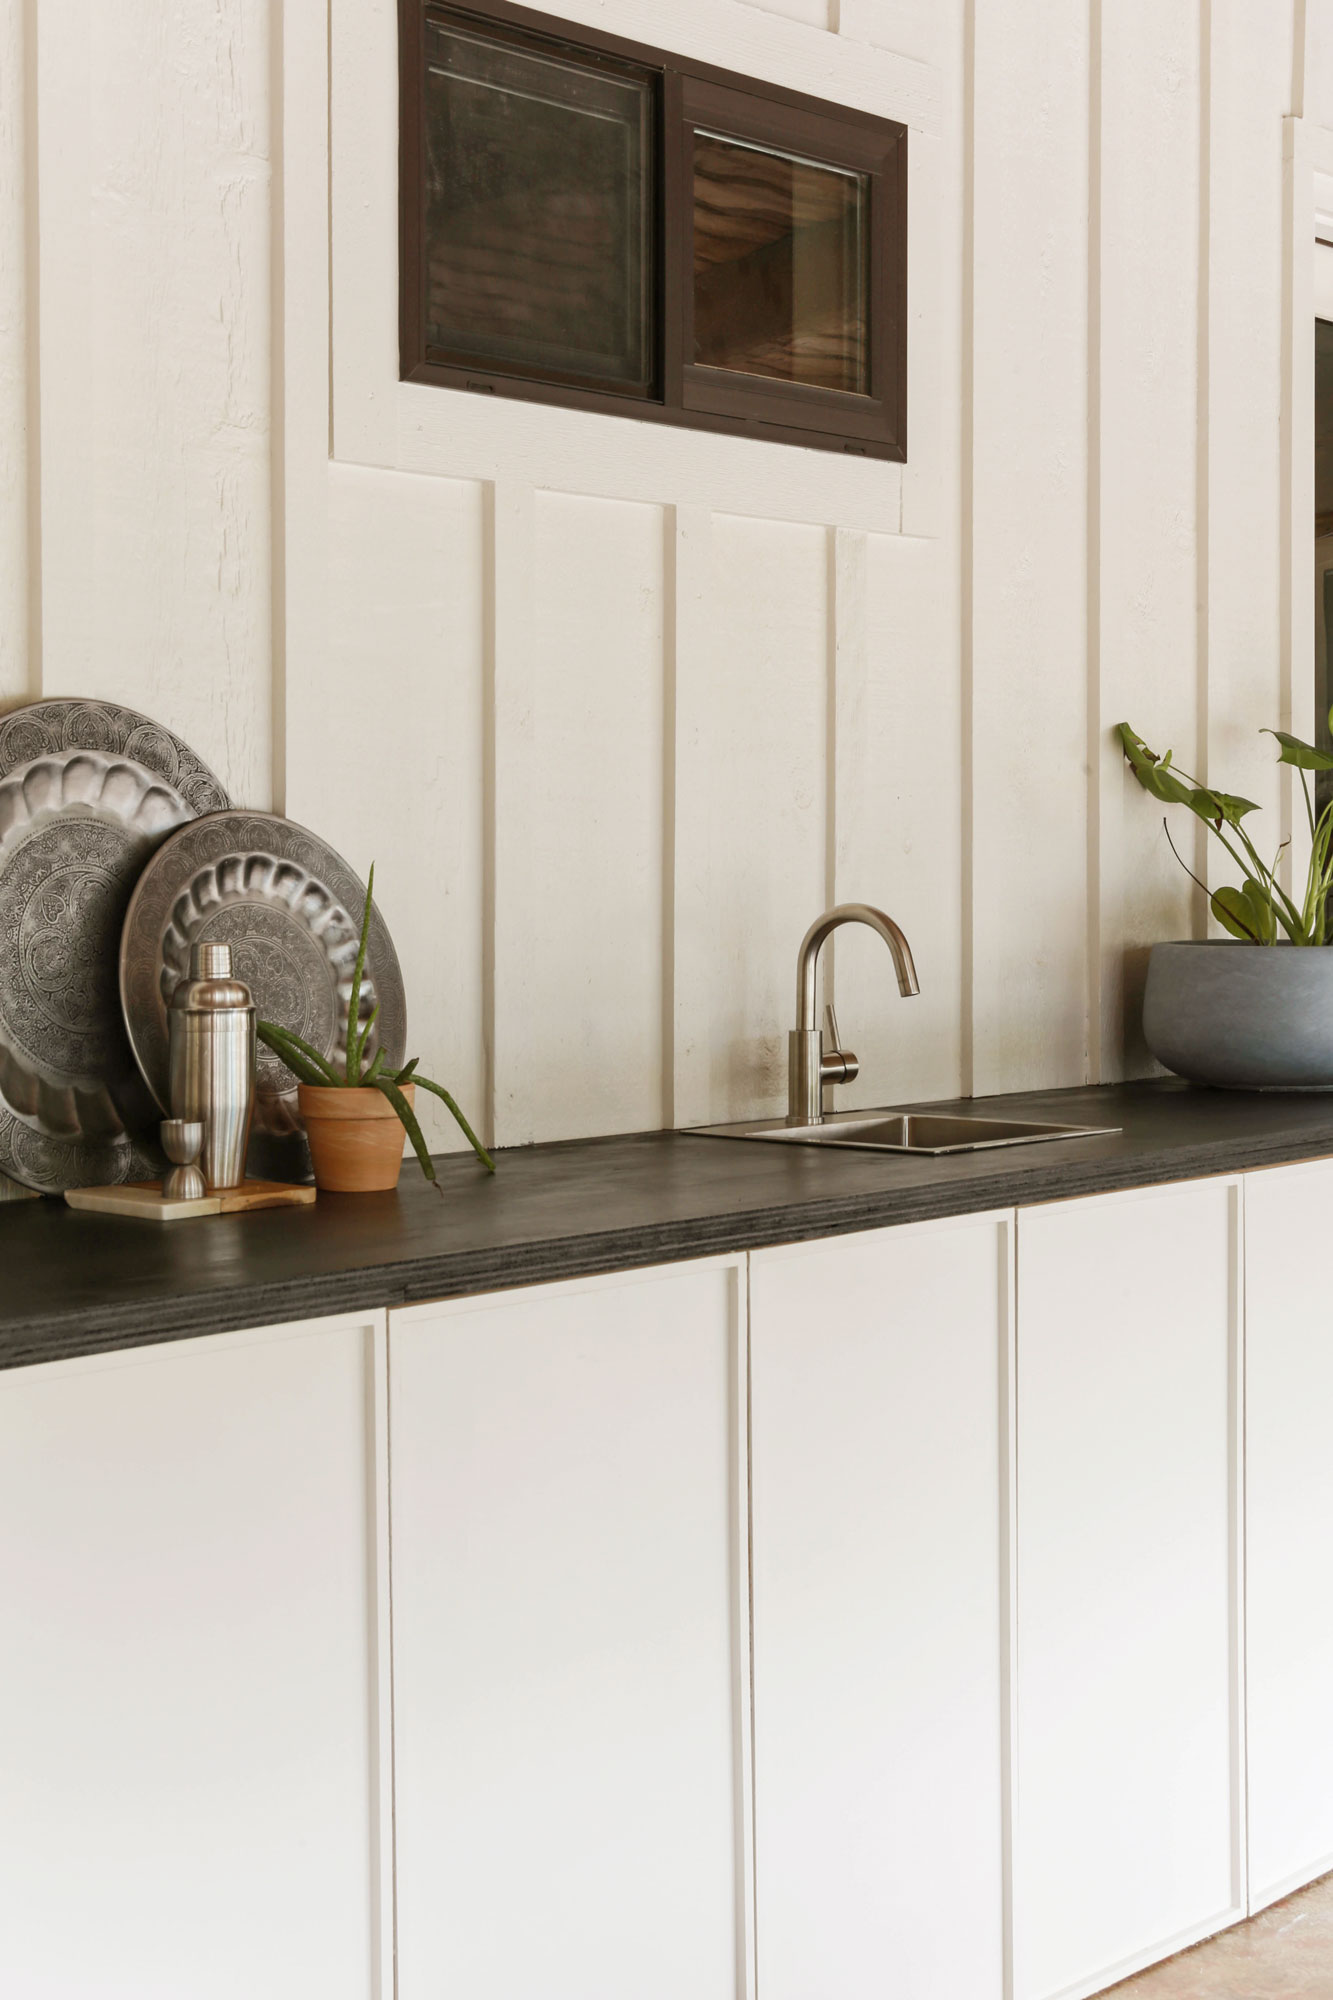
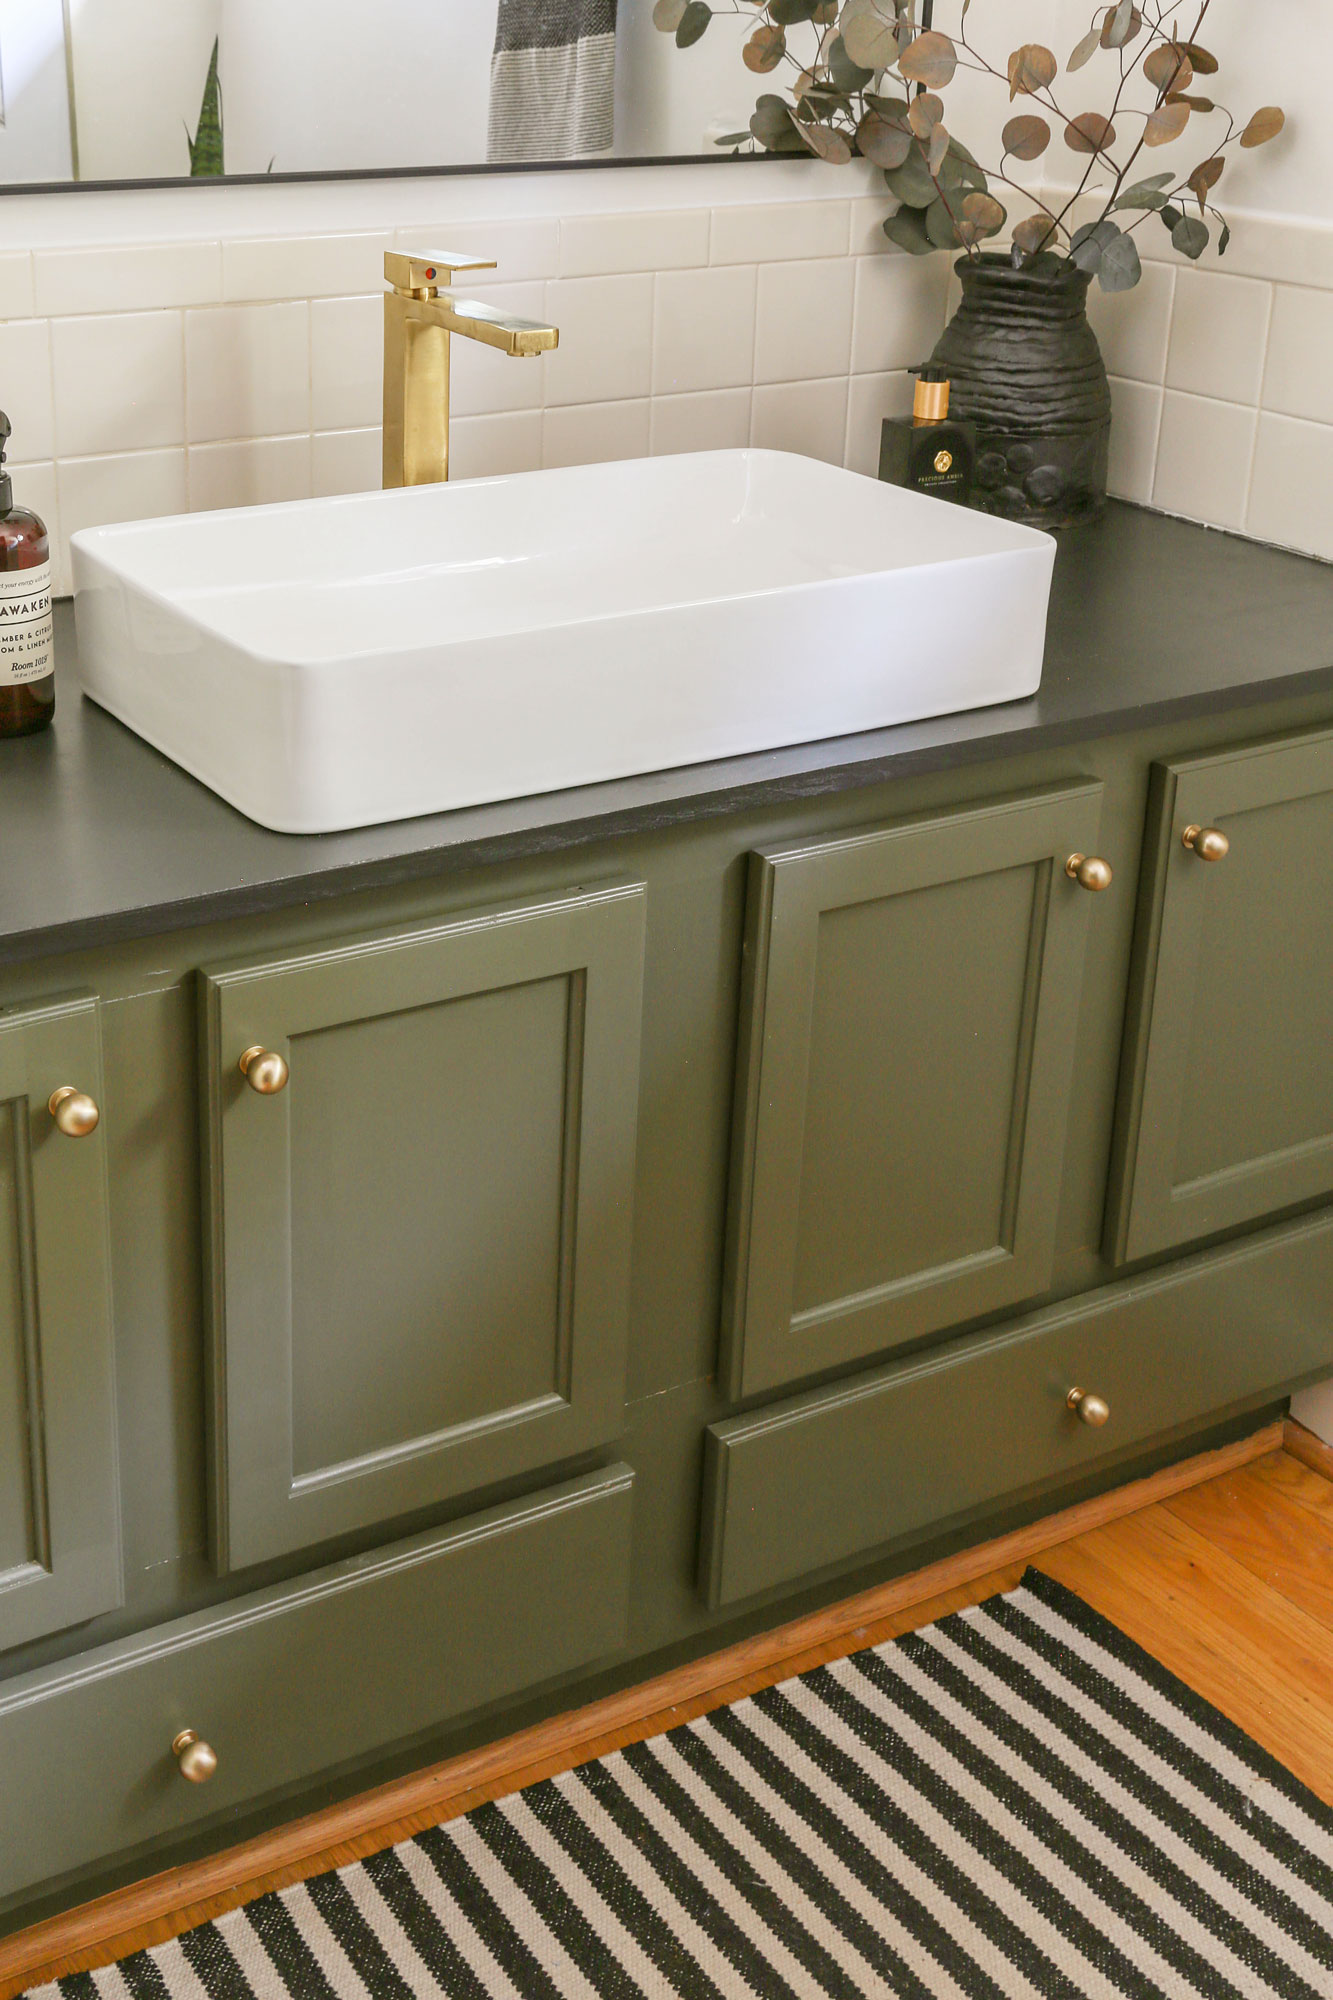
Envisioning how nicely black would pop against the surrounding exterior walls and cabinets, both painted in Sherwin Williams Shoji White, I narrowed in on my vision of black countertops.
Although black soap stone would have been my first choice, at $50-$100 a square foot, that was a hard hell to the no for me (at least for the time being).
But when I stumbled upon Sarah’s tastefully executed plywood countertops on Pinterest, I knew I could acheive the general aesthetic of what I was after, but for a small fraction of the investment of a solid stone surface.
Long story short, all you really need to acheive this look yourself is some sanded birch plywood, black stain and a protective coat of poly.
If you want to get a little fancier, you may want wood banding for a more finished look along the countertop edge, but given my husband and I are a little over this kitchen project at this point, we said f**ck it and left the edges a little rough to match our personality (get it…rough around the edges).
Let me show you how we built our DIY countertops…
**For your shopping convenience, this post contains affiliate links. As a Reward Style and Amazon affiliate, I earn commission on sales at no extra cost to you.**
How To Build Black Kitchen Countertops:
Materials Needed:
- Table or Circular saw with plywood blade (I used this blade )
- . I used a circular saw with the Kreg Accu-cut track system. This was my best option due the cutting limitations of my table saw. (Click here for the track system I used).
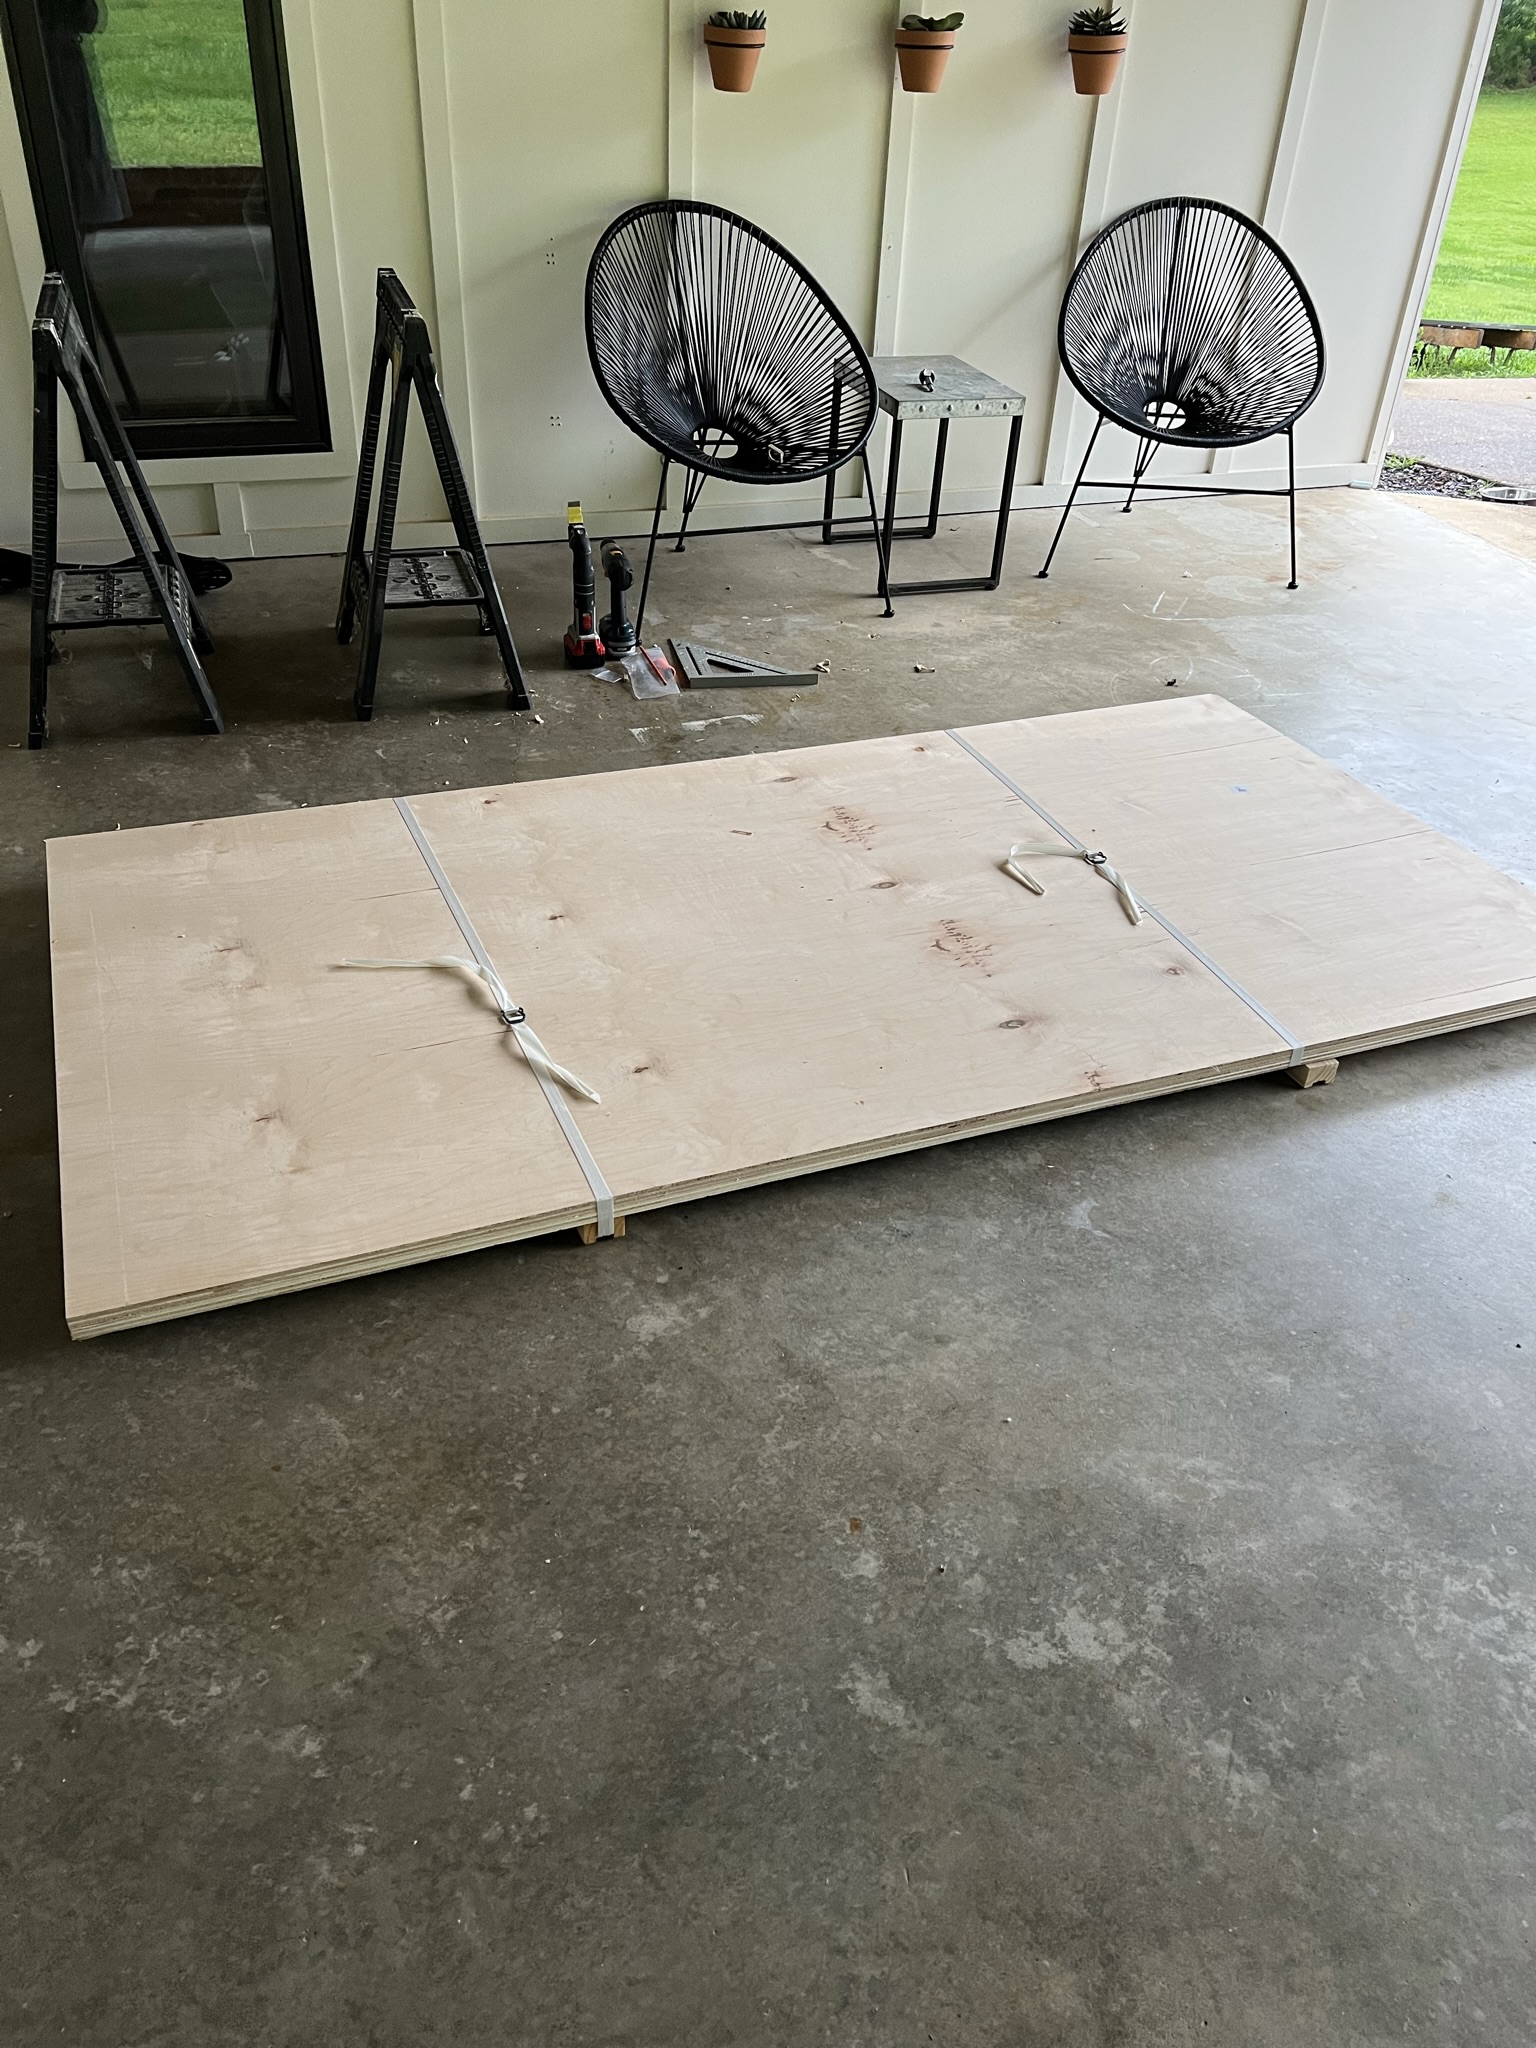
- 3/4 inch thick sanded birch plywood (we used one 8 foot sheet and then used a leftover scrap board from our cabinet doors to account for our 10 foot length).
- 1.25” Wood screws
- Drill/Driver
- stain (I used this one)
- protective wood sealant ( I used this)
(Step 1). Determine desired thickness for counter top. Since I wanted a standard countertop thickness of 1.5”, we needed to essentially sandwich 2- 3/4 boards together. If you don’t mind a thinner look, you could just use one 3/4” board.
When we ordered the two boards of plywood, we weren’t taking into account the fact we could simply rip one board of veneered plywood board in half (listed in following steps). So, we messed up and ordered more material than we actually needed.
(Step 2). Calculate length, width, and depth of counter top to determine amount of stock (I used veneered plywood) needed.
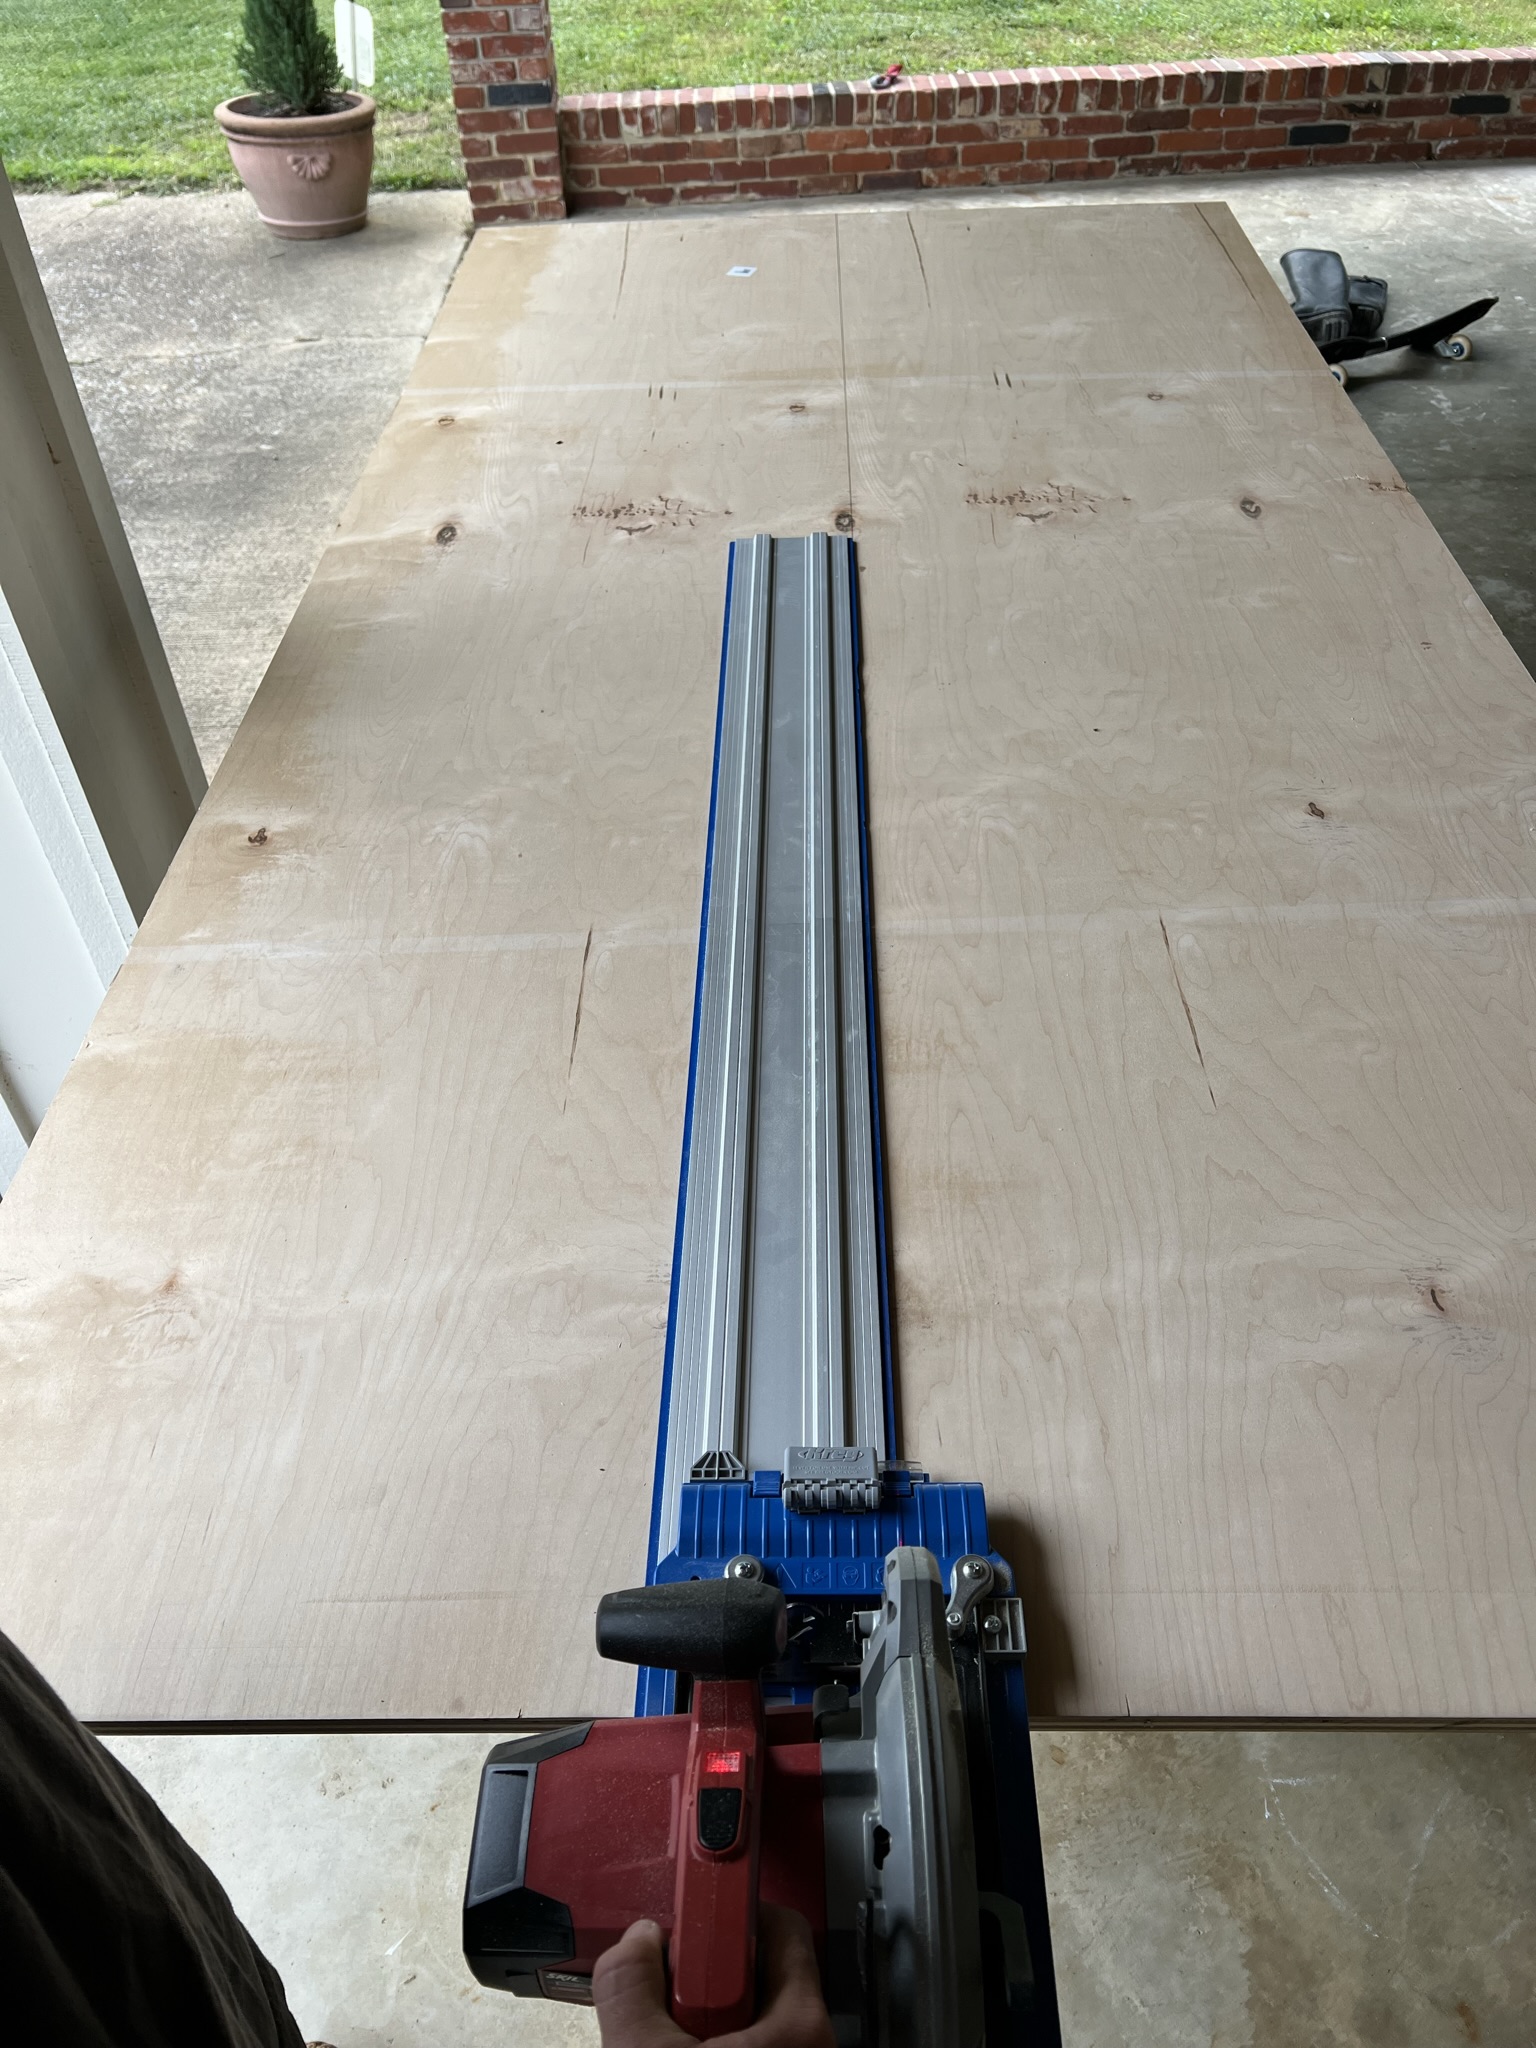
(Step 3). Before making cuts…..Note: do NOT use a framing blade. This will cause the veneer to chip off the cut edge and not give a “finished” clean cut look. Use a blade specifically for plywood.
I also used this KREG accu-cut track system with my circular saw. This was great for ensuring I had straight cuts.
(Step 4). Cut sheet(s) to dimension. 4X8 sheet of plywood are readily available at hardware stores. Unfortunately for us, 8 feet is the longest they come in.
Our counter top is ten feet in length, so I had to use an eight foot section and a two foot section. I staggered the seams so the bottom layer seam was on one side and the seam for the top layer was on the opposite. This ensures for a less noticeable seam and better overall structural integrity.

(Step 5). Stack both layers of counter top boards on cabinet framing. Connect the two layers with 1.25” wood screws by screwing from the bottom to top.
This hides the screw heads on the underside so you won’t have to worry using wood filler to hide the screw heads.

(Step 6). You can chose to anchor the top to the framework with L brackets attached to the underside of the top and the framework.
(Step 7). Before staining, if the rough countertop edges bother you, this is where you can apply wood banding following the manufacturers directions. You can also apply wood filler to any noticeable deformities or seams in the plywood (being the slackers that we are, we totally skipped this step).
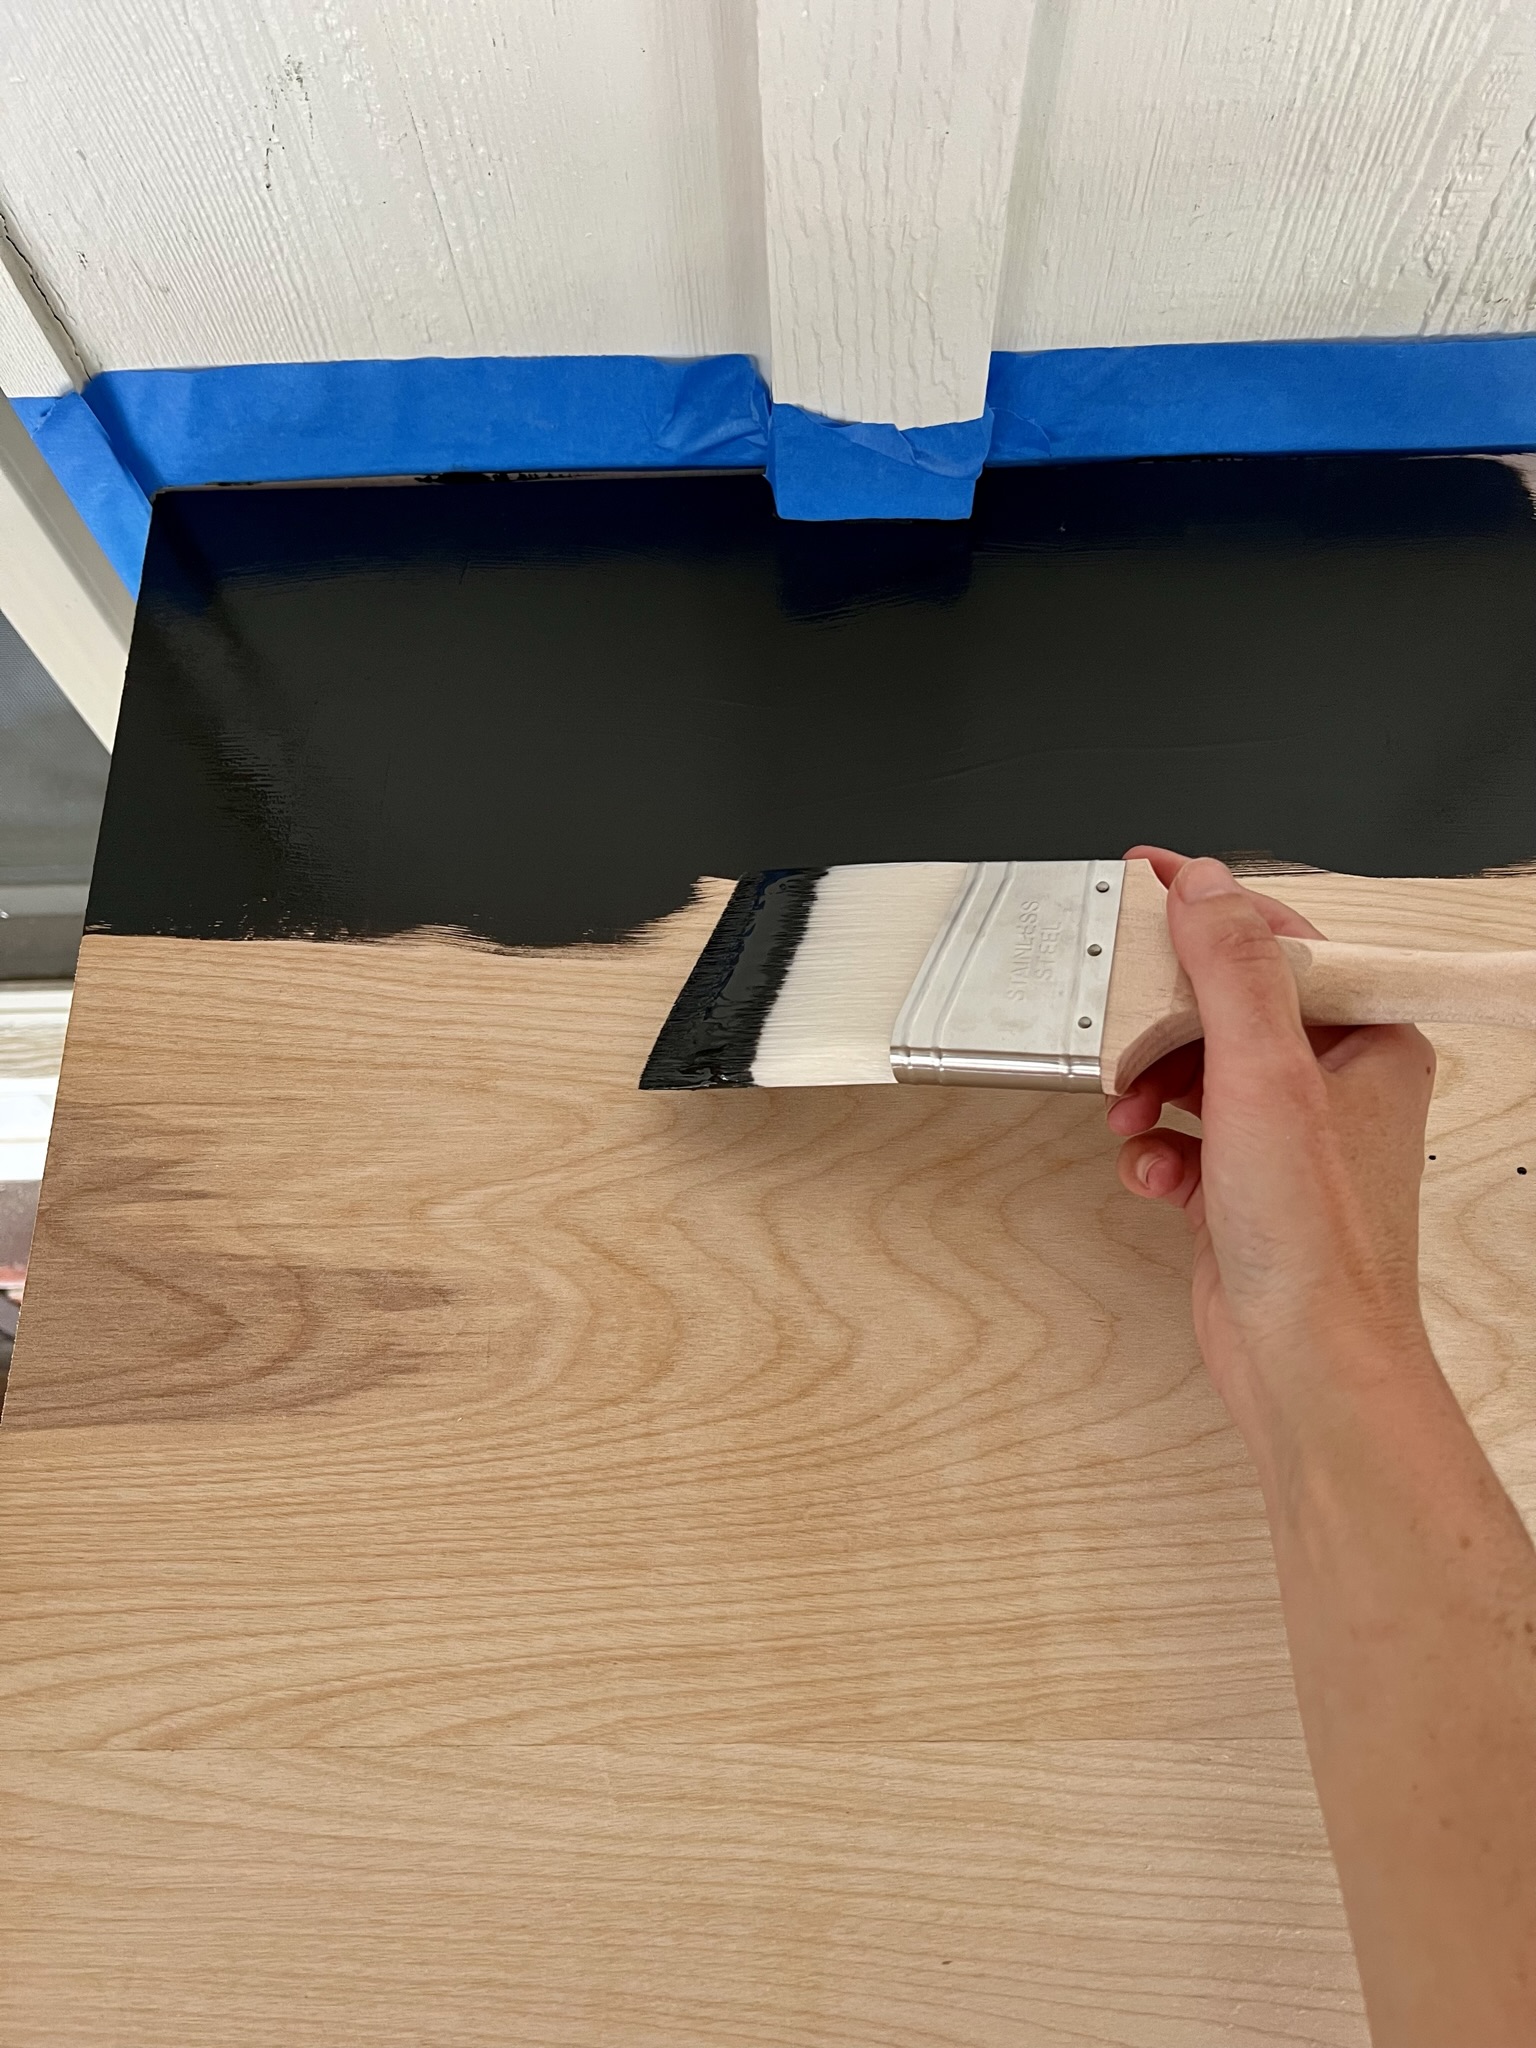
(Step 8). Apply stain with a quality bristle brush. I applied 2 coats total to the actual counter top and about 4 coats to the counter edges as they really sucked up the stain fast. Because we were working with pre-sanded plywood, there was really no need to sand the surface prior to staining.

(Step 9). After allowing the stain to dry for 24-48 hours, I applied two coats of matte polyacrylic top coat sealant. Be sure to follow the manufacturer’s directions listed on the jar.
Note: When the sealant is wet it will look a little scary, but I promise it dries clear.
For under $150 in total cost of materials ($90 in plywood and around $40 in stain and poly), I am truly impressed with what a little bit of plywood and stain can do for a space. Even more impressive, if we were to have gone with butcher block, it would have costs us around $280( so we still came out better off using this method).
While I may eventually break down and decide to apply wood banding to the edges, my husband swears he likes the layered effect of the unfinished plywood.
For now, I am going to mix a few margaritas and just admire what progress we have accomplished so far. After all…
Sometimes good enough just has to be good enough ( booze definitely helps me maintain this relaxed perspective 😉 ).
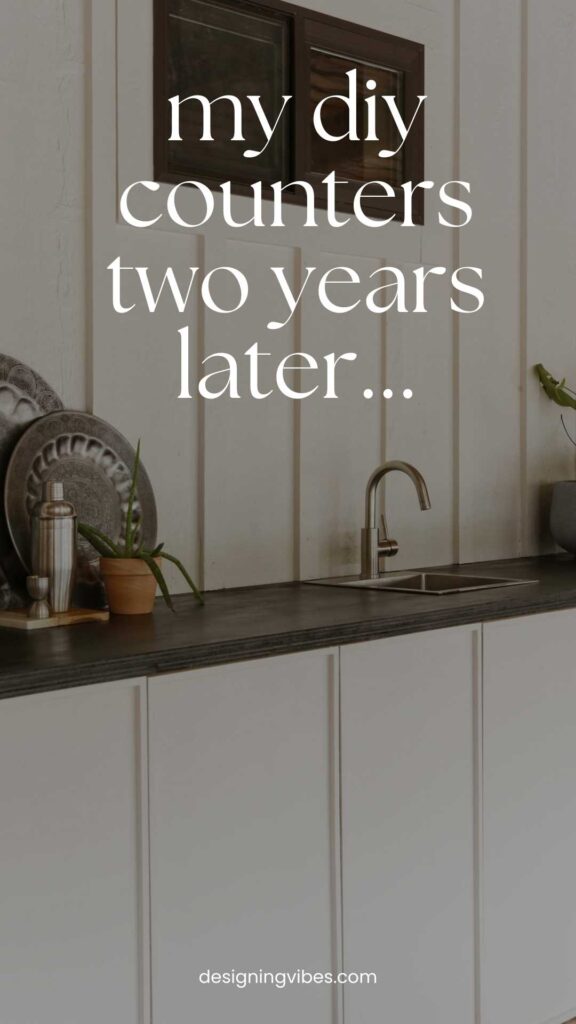
**Update January 2026: Curious to see how these countertops are holding up nearly 3 years later? Read my honest review here.
Thank you so much for stopping by this week. I am wishing you a wonderful holiday weekend.
If you found this post helpful, it would make such a big difference if you could share it with a friend or on social media (thanks in advance for supporting this small business)….

Now get out there and design some good vibes along with a fabulous life.


Welcome!
My journey in interior design and home improvement began with transforming my first fixer-upper home, all while managing a budget and raising two young boys. My work, a reflection of my passion for creating beautiful, uplifting spaces, has been recognized by top publications like Better Homes and Gardens Magazine, HGTV, and more. I invite you to explore my site and witness the transformation of my home and the vibes we've designed. Read more...


Erica-
Wow, that looks great! I’m sure that area will get lots of use over the holiday weekend and summer. Thanks for sharing and have a wonderful day.
Thank you so much , Donna. I hope you have a happy Memorial Day weekend. 🙂