How To Build a DIY Outdoor Kitchen With Wood Frame
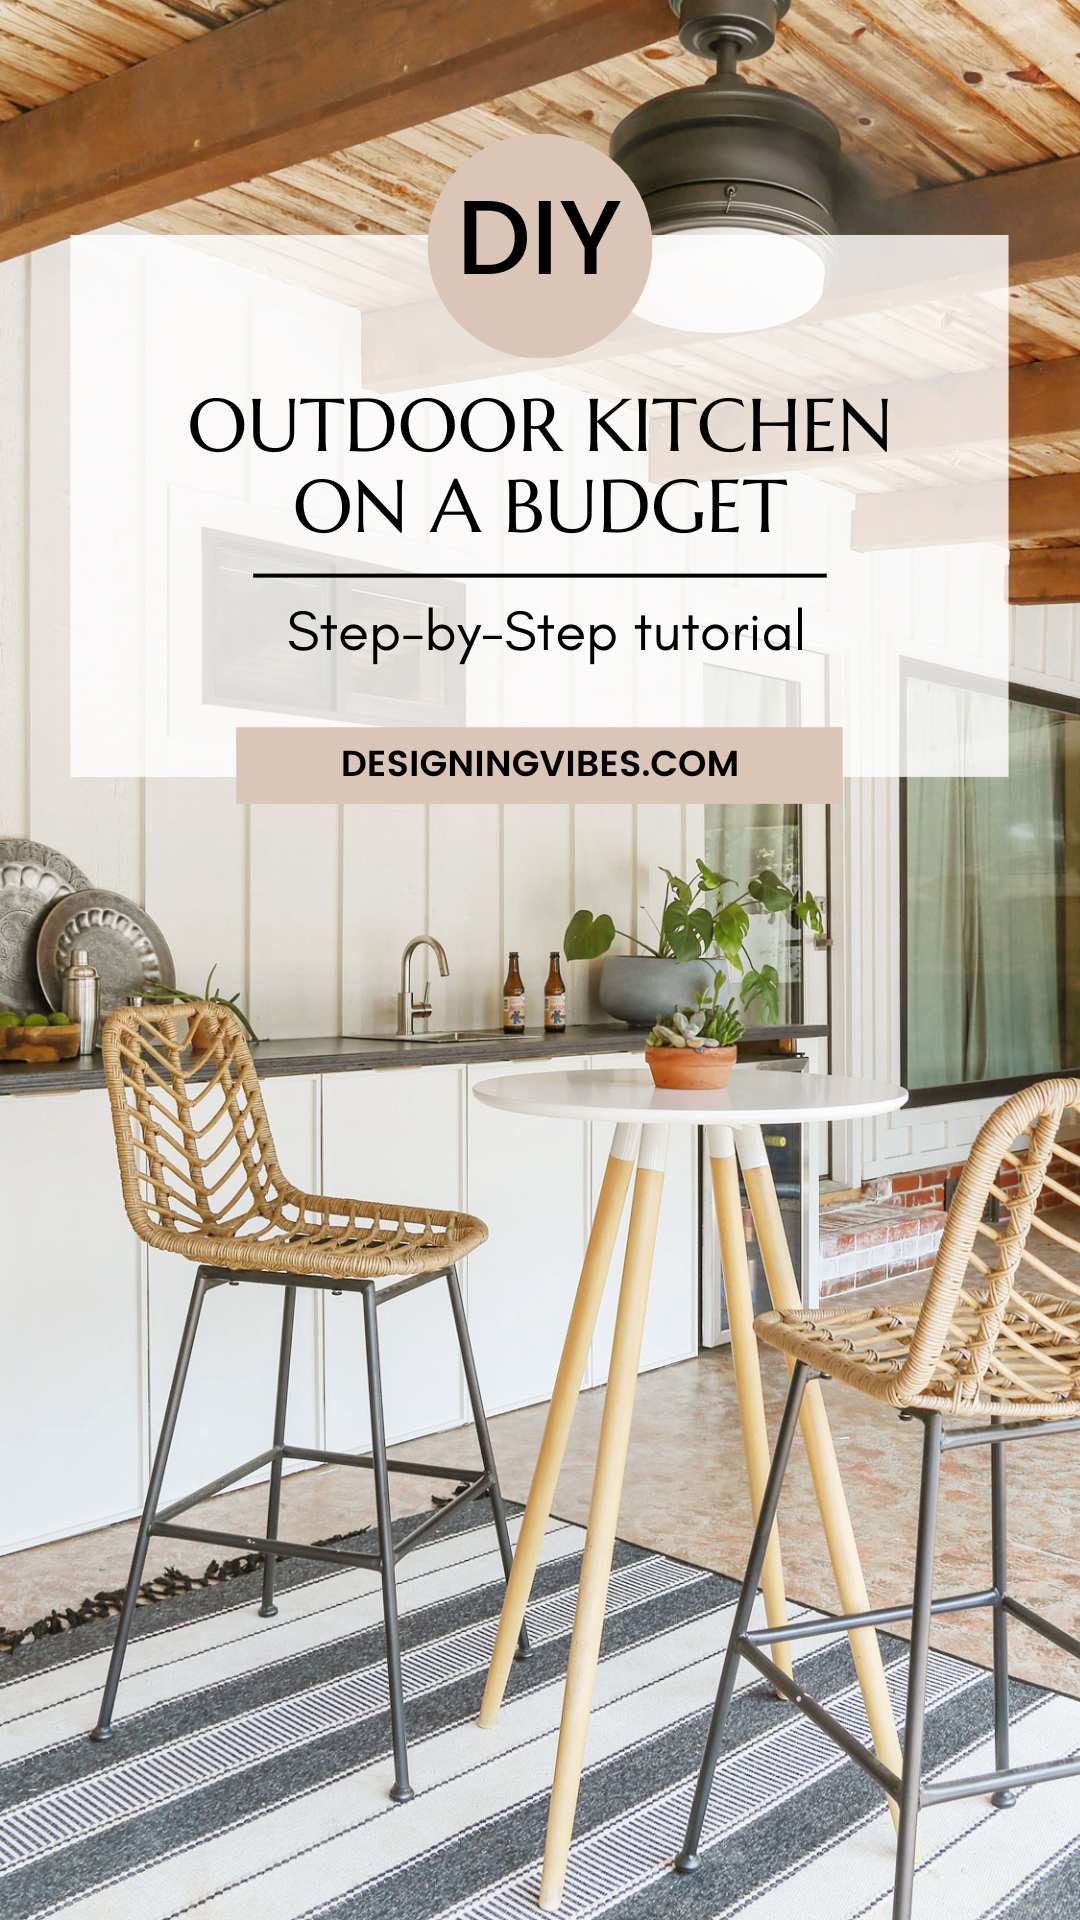
Dreaming of an outdoor kitchen space to entertain guests and increase the value of your home? Today, I am sharing a step-by-step guide for how to build a DIY outdoor kitchen for under $600- utilizing a wooden frame…
While outdoor kitchens can definitely be costly AF depending on the materials you chose to build with, using a pressure-treated pine frame (as opposed to brick, stone veneer, cinder block or even a steel frame) can save you thousands of dollars.
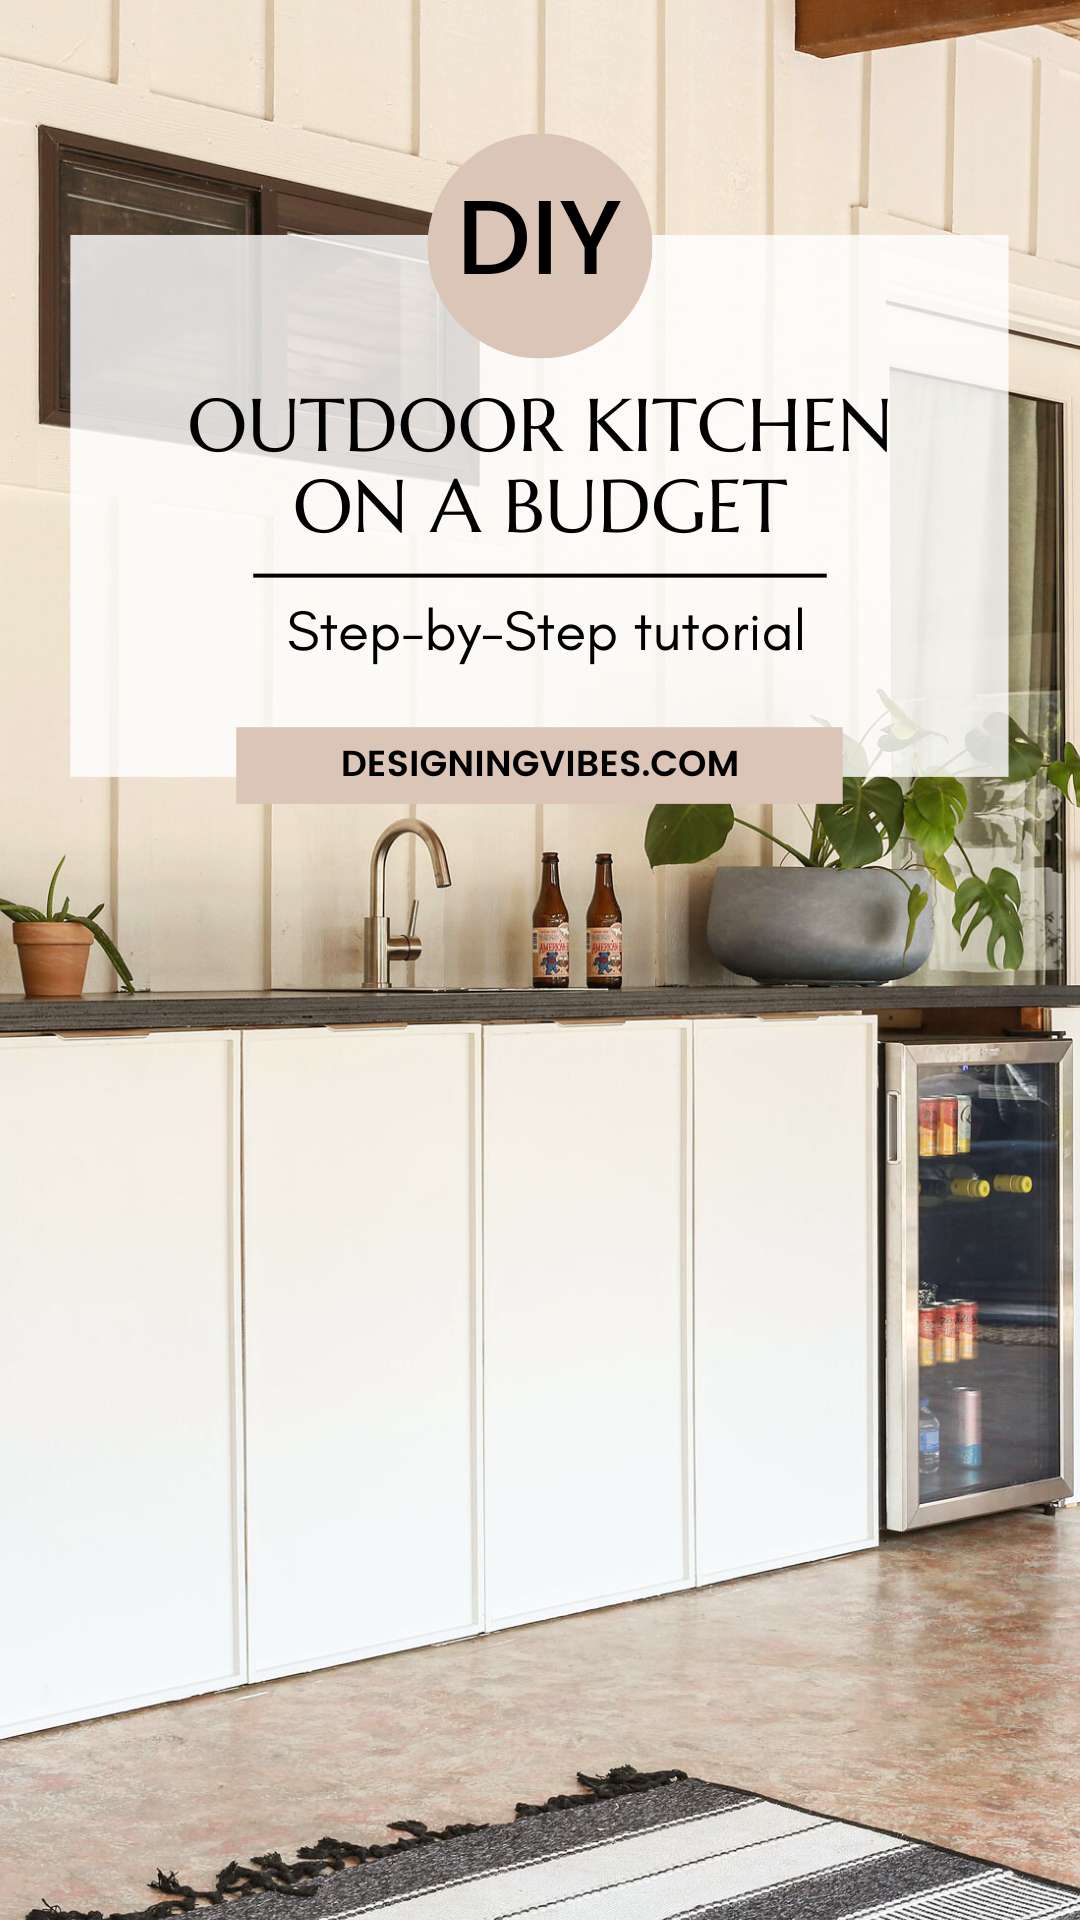
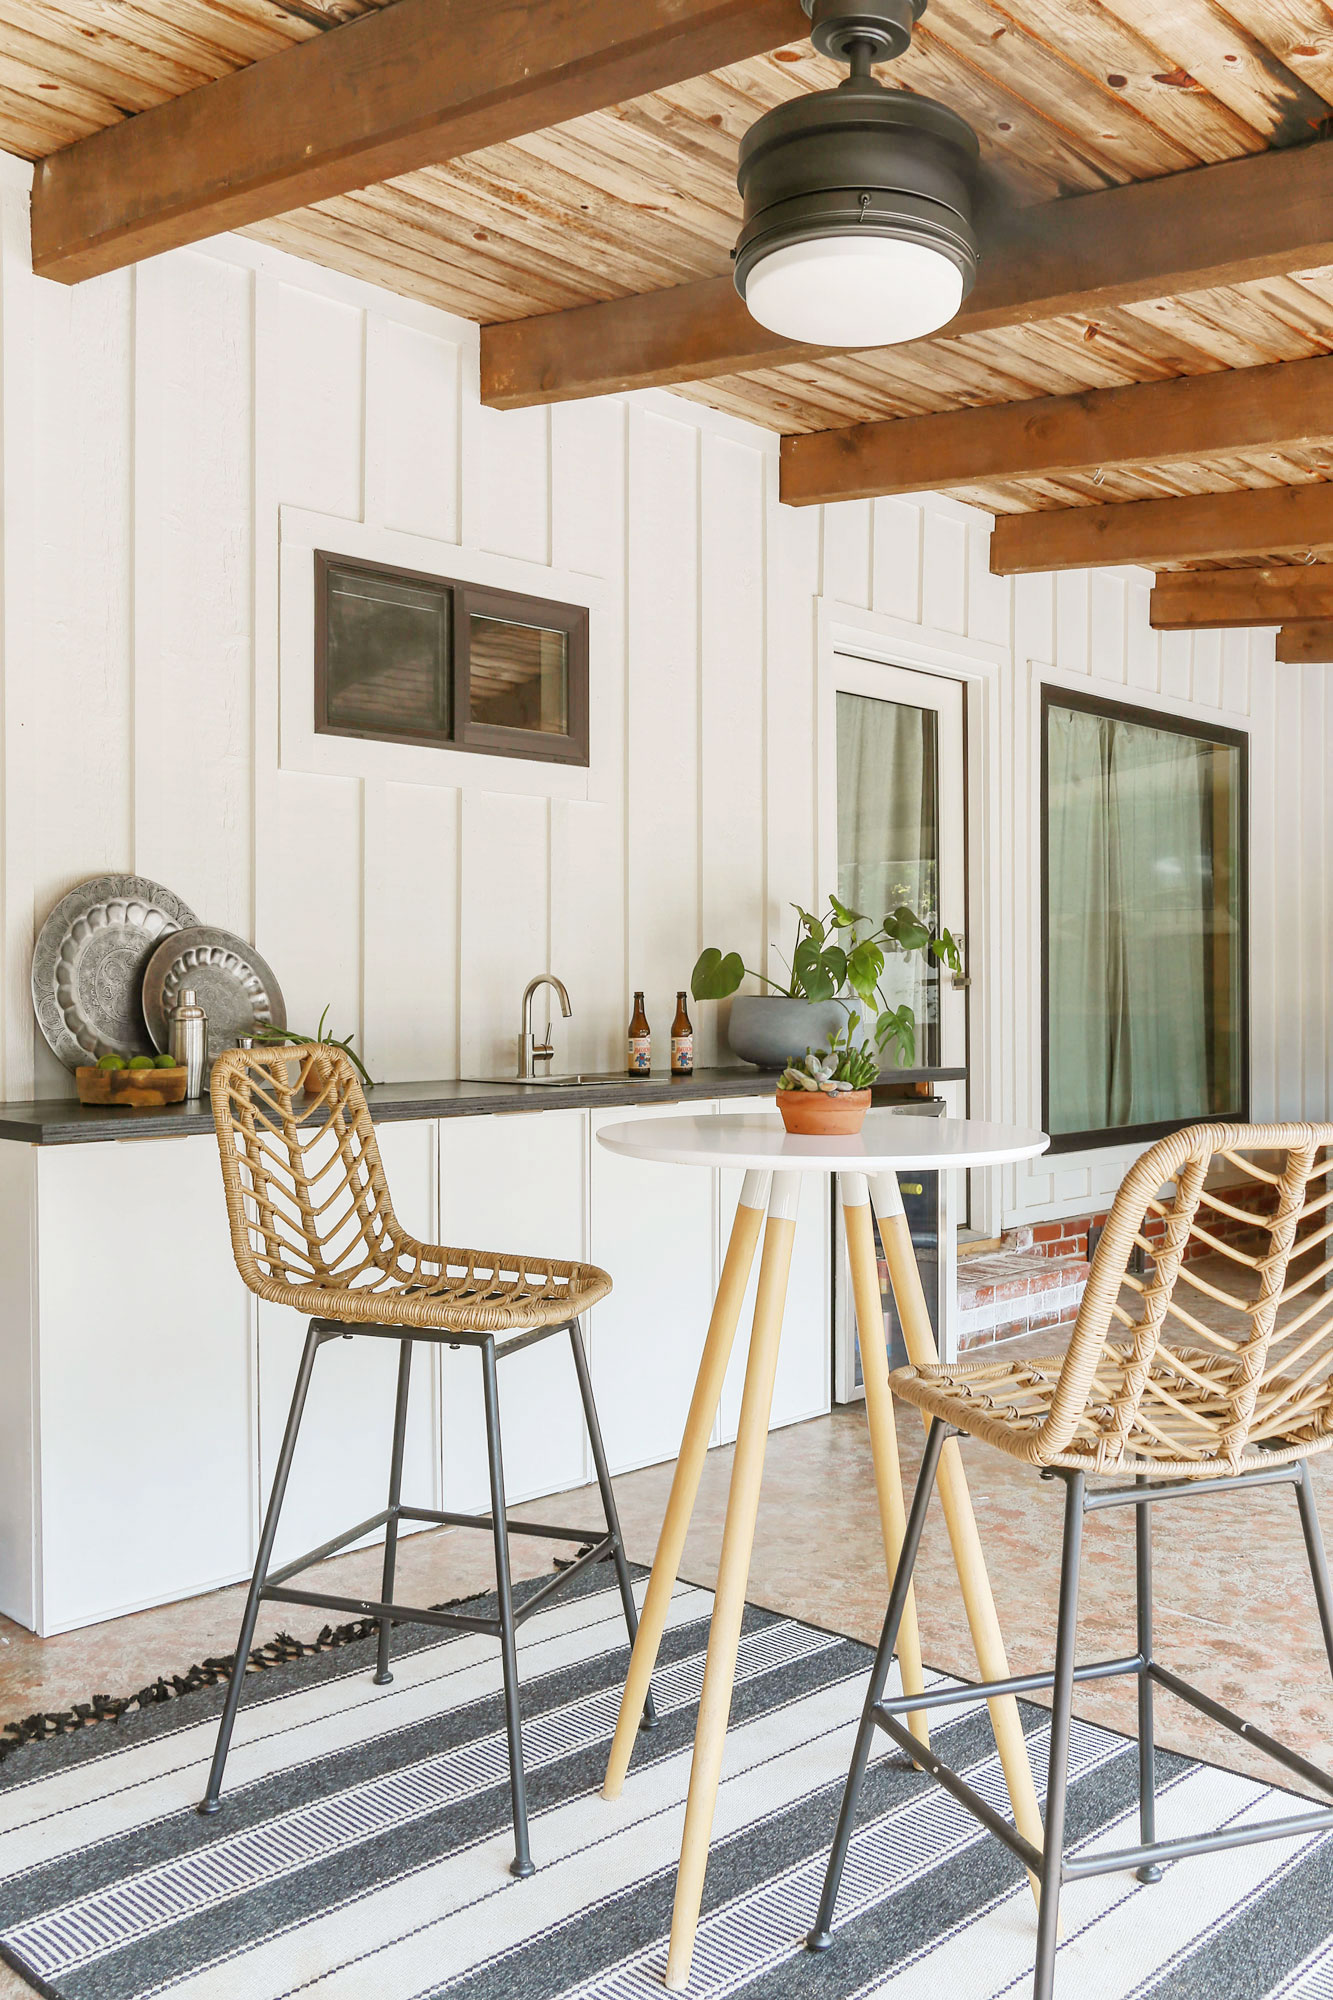
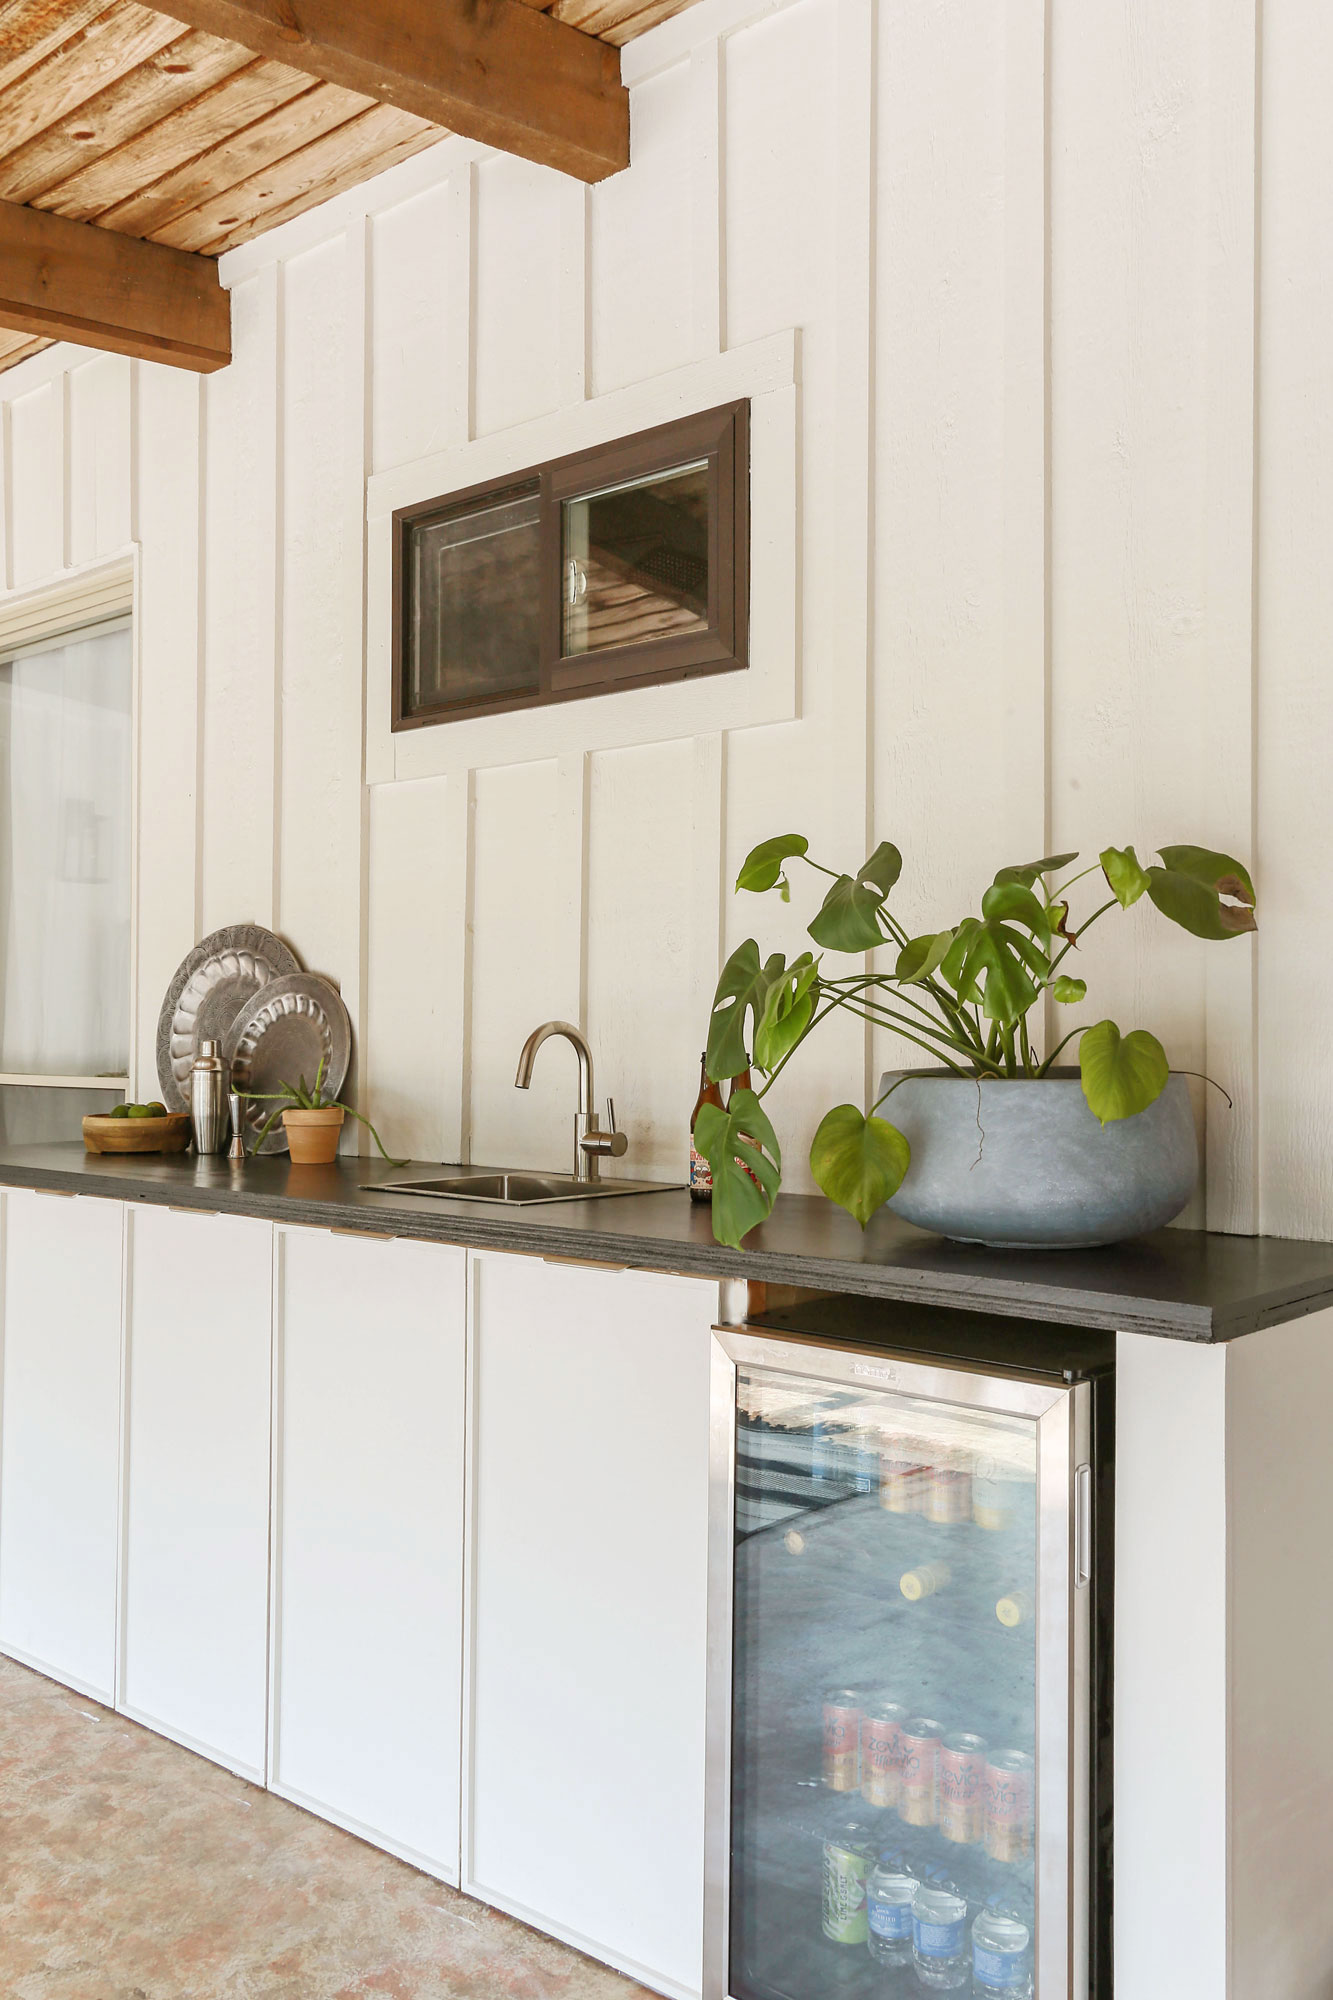
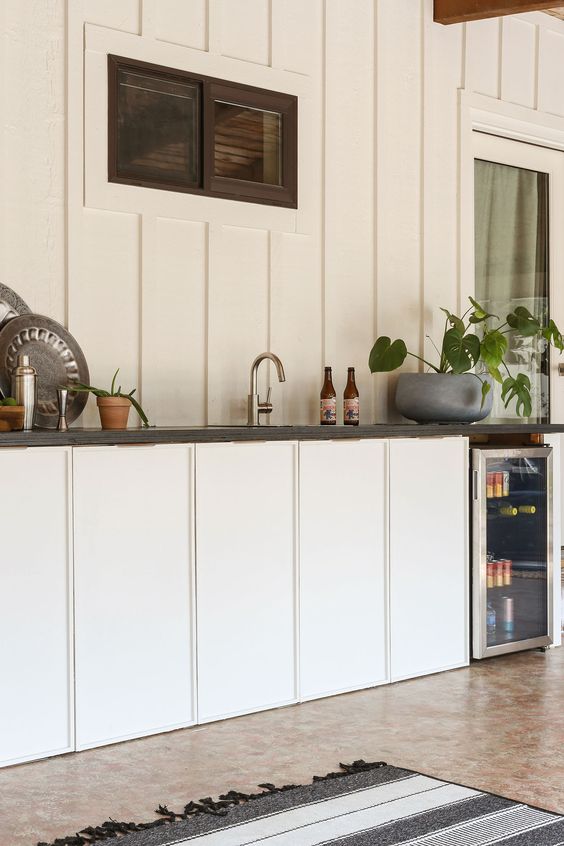
Here in the covered porch of my lake cottage, I built the hardscape of my own outdoor kitchen for under $500( including the framing, cabinet doors and countertop).
And while I am going to show you a detailed tutorial for how to replicate this outdoor space yourself below, it is critical that you first determine if a kitchen constructed from wood is feasible for your unique situation.
Can you build an outdoor kitchen out of wood?
While I have already demonstrated the cost-effective advantage of constructing an outdoor kitchen from wood, it is important to recognize that, if exposed to habitual rain fall, this natural material is susceptible to rotting and shrinking.
So while you can build an outdoor kitchen from wood if it is contained in a covered area safe from excessive water exposure, if you plan on building in a location completely exposed to the elements, wood will not be the best choice. In this scenario, you will want to consider using steel, concrete, stone or brick as wood will only work in a covered space.
Before you determine the location of your outdoor kitchen, it is also important to think about gas lines, water lines and electrical.
Because we built our kitchen right against our house, this significantly reduced plumbing costs as a bathroom is directly behind the exterior wall.
In terms of a cooking range, while we chose not to install a built-in grill (due to space restrictions), we do plan on incorporating a portable Blackstone griddle into the configuration this fall.
Ultimately, this design compromise saved us from having to run any sort of lines for natural gas. That being said, if you want an outdoor kitchen conducive to drop-in grills, you will want to be mindful of the countertop material you go with.
Since wood is combustible, a plywood countertop like mine will not be the best choice. If you are set on a charcoal or gas grill, you will want to use a fire resistant worktop material like tile, brick veneer, stainless steel, natural stone, or even a concrete slab.
So now that we have covered proper planning and safety precautions, let’s get to the fun part- detailed instructions for this outdoor kitchen project..
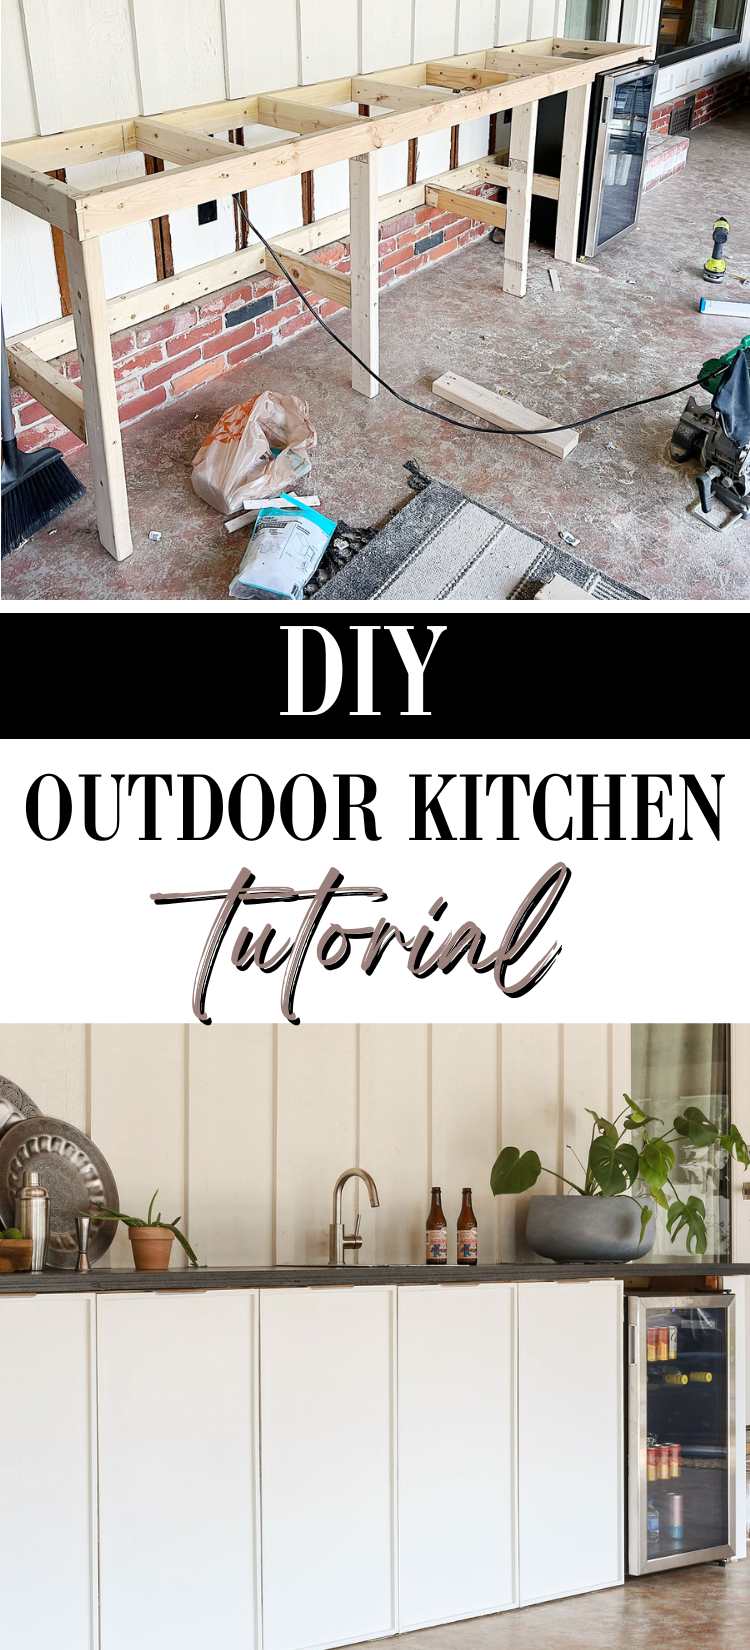
How to Build a Wood-Framed Base for an Outdoor Kitchen-
Building Materials Needed:
- 2X4 lumber pieces for framing
- ¾ plywood for end boards
- Wood screws
- Drill/driver
- Level
- Miter saw or Circular Saw
- Table saw
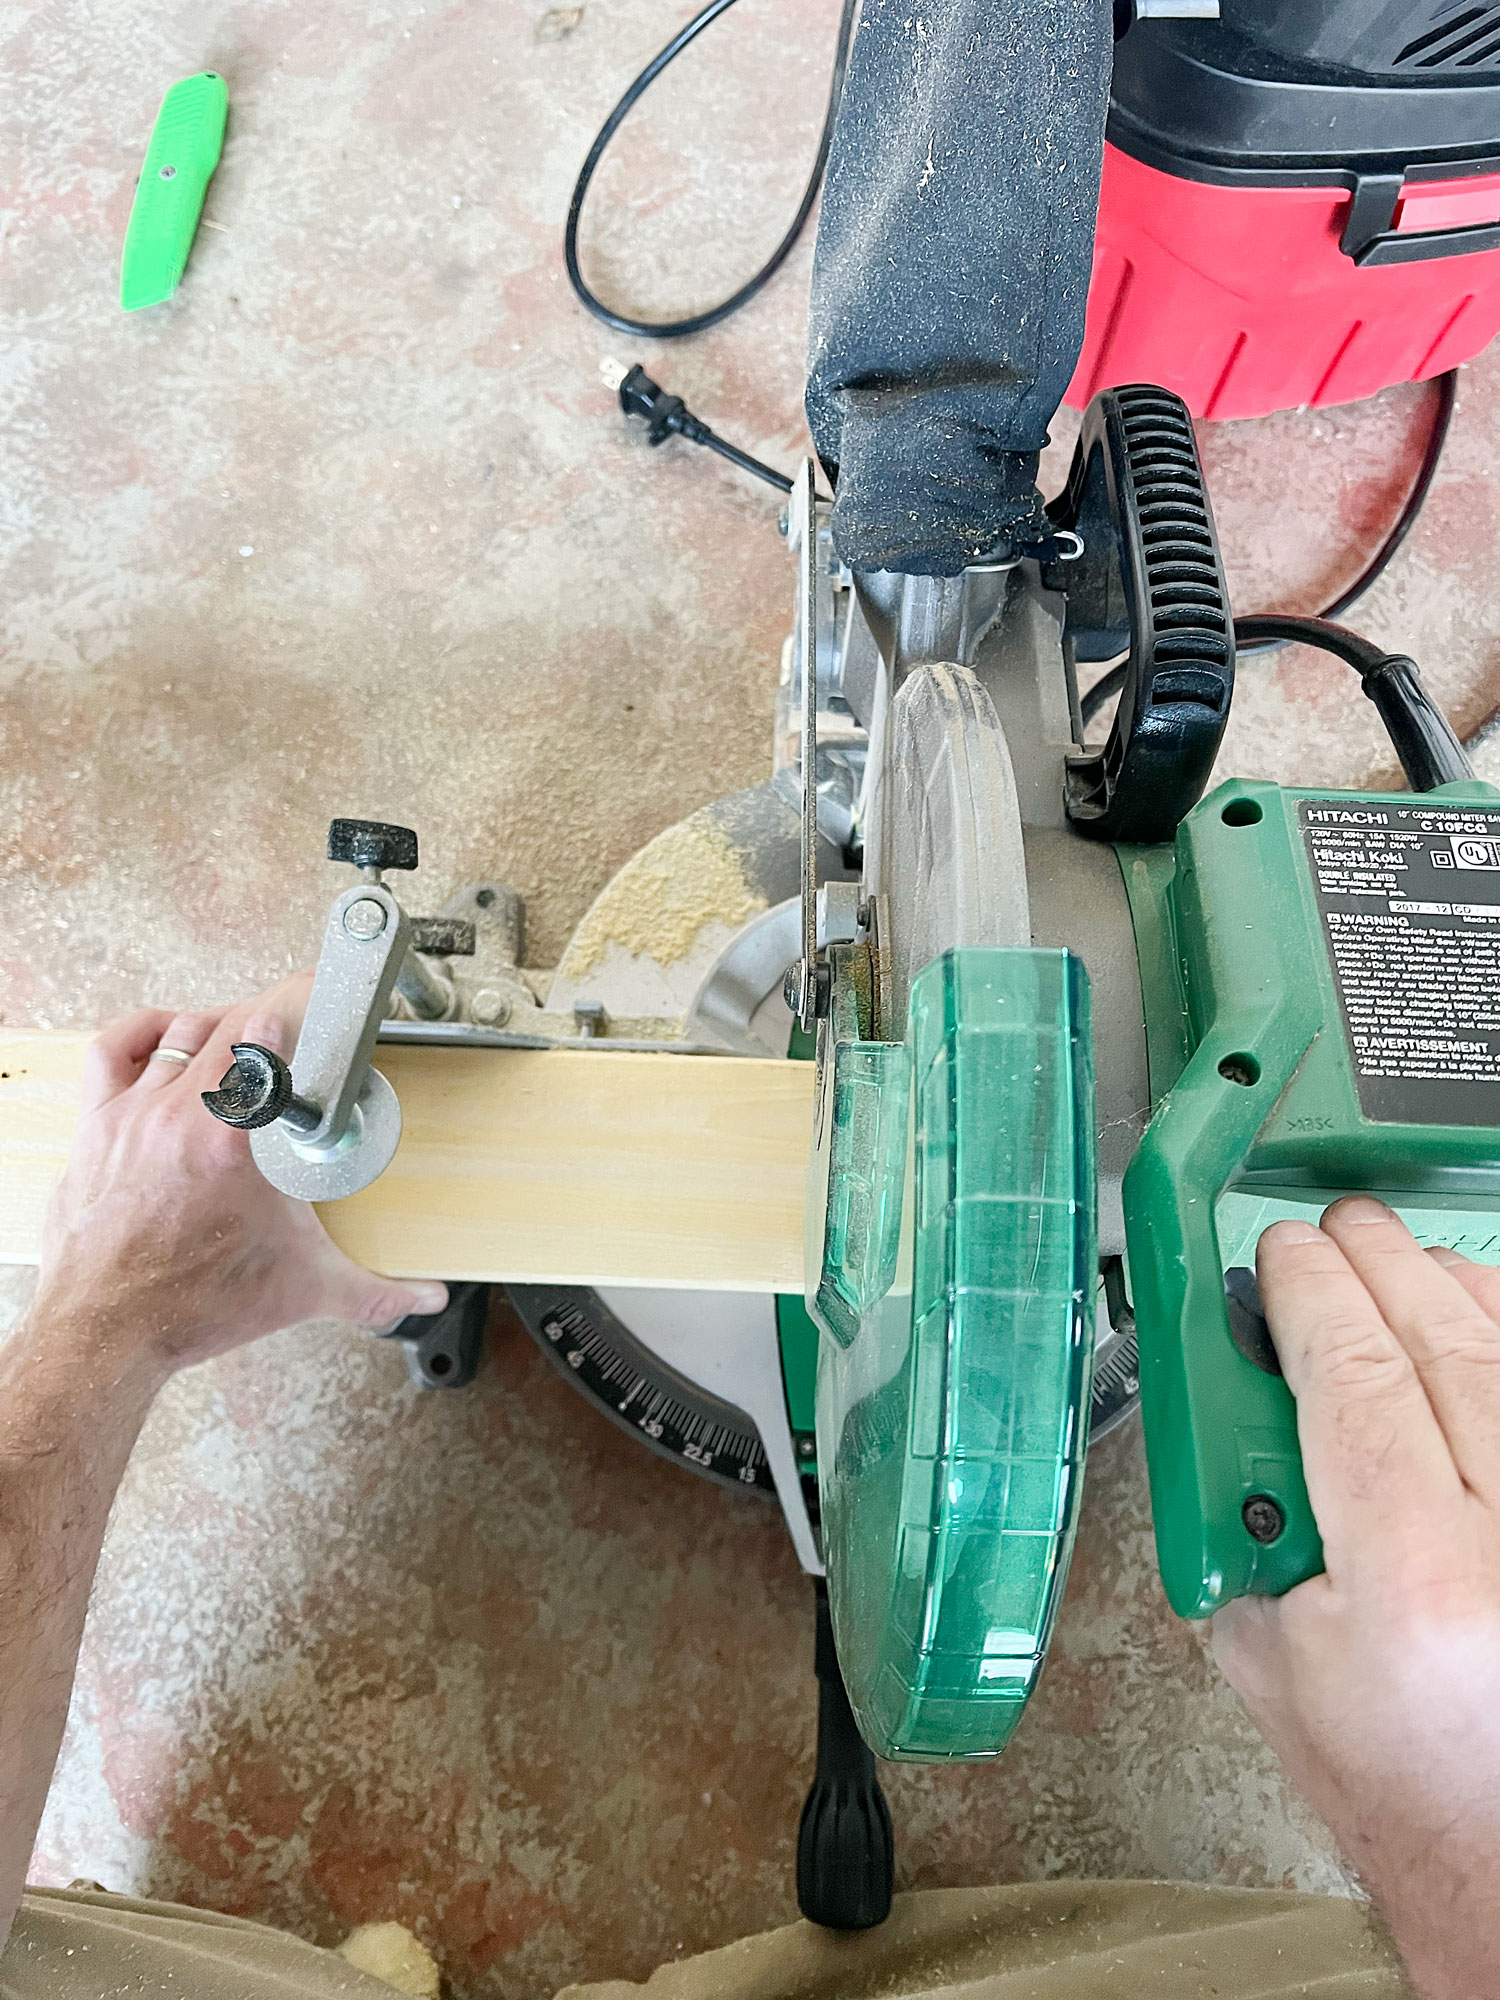
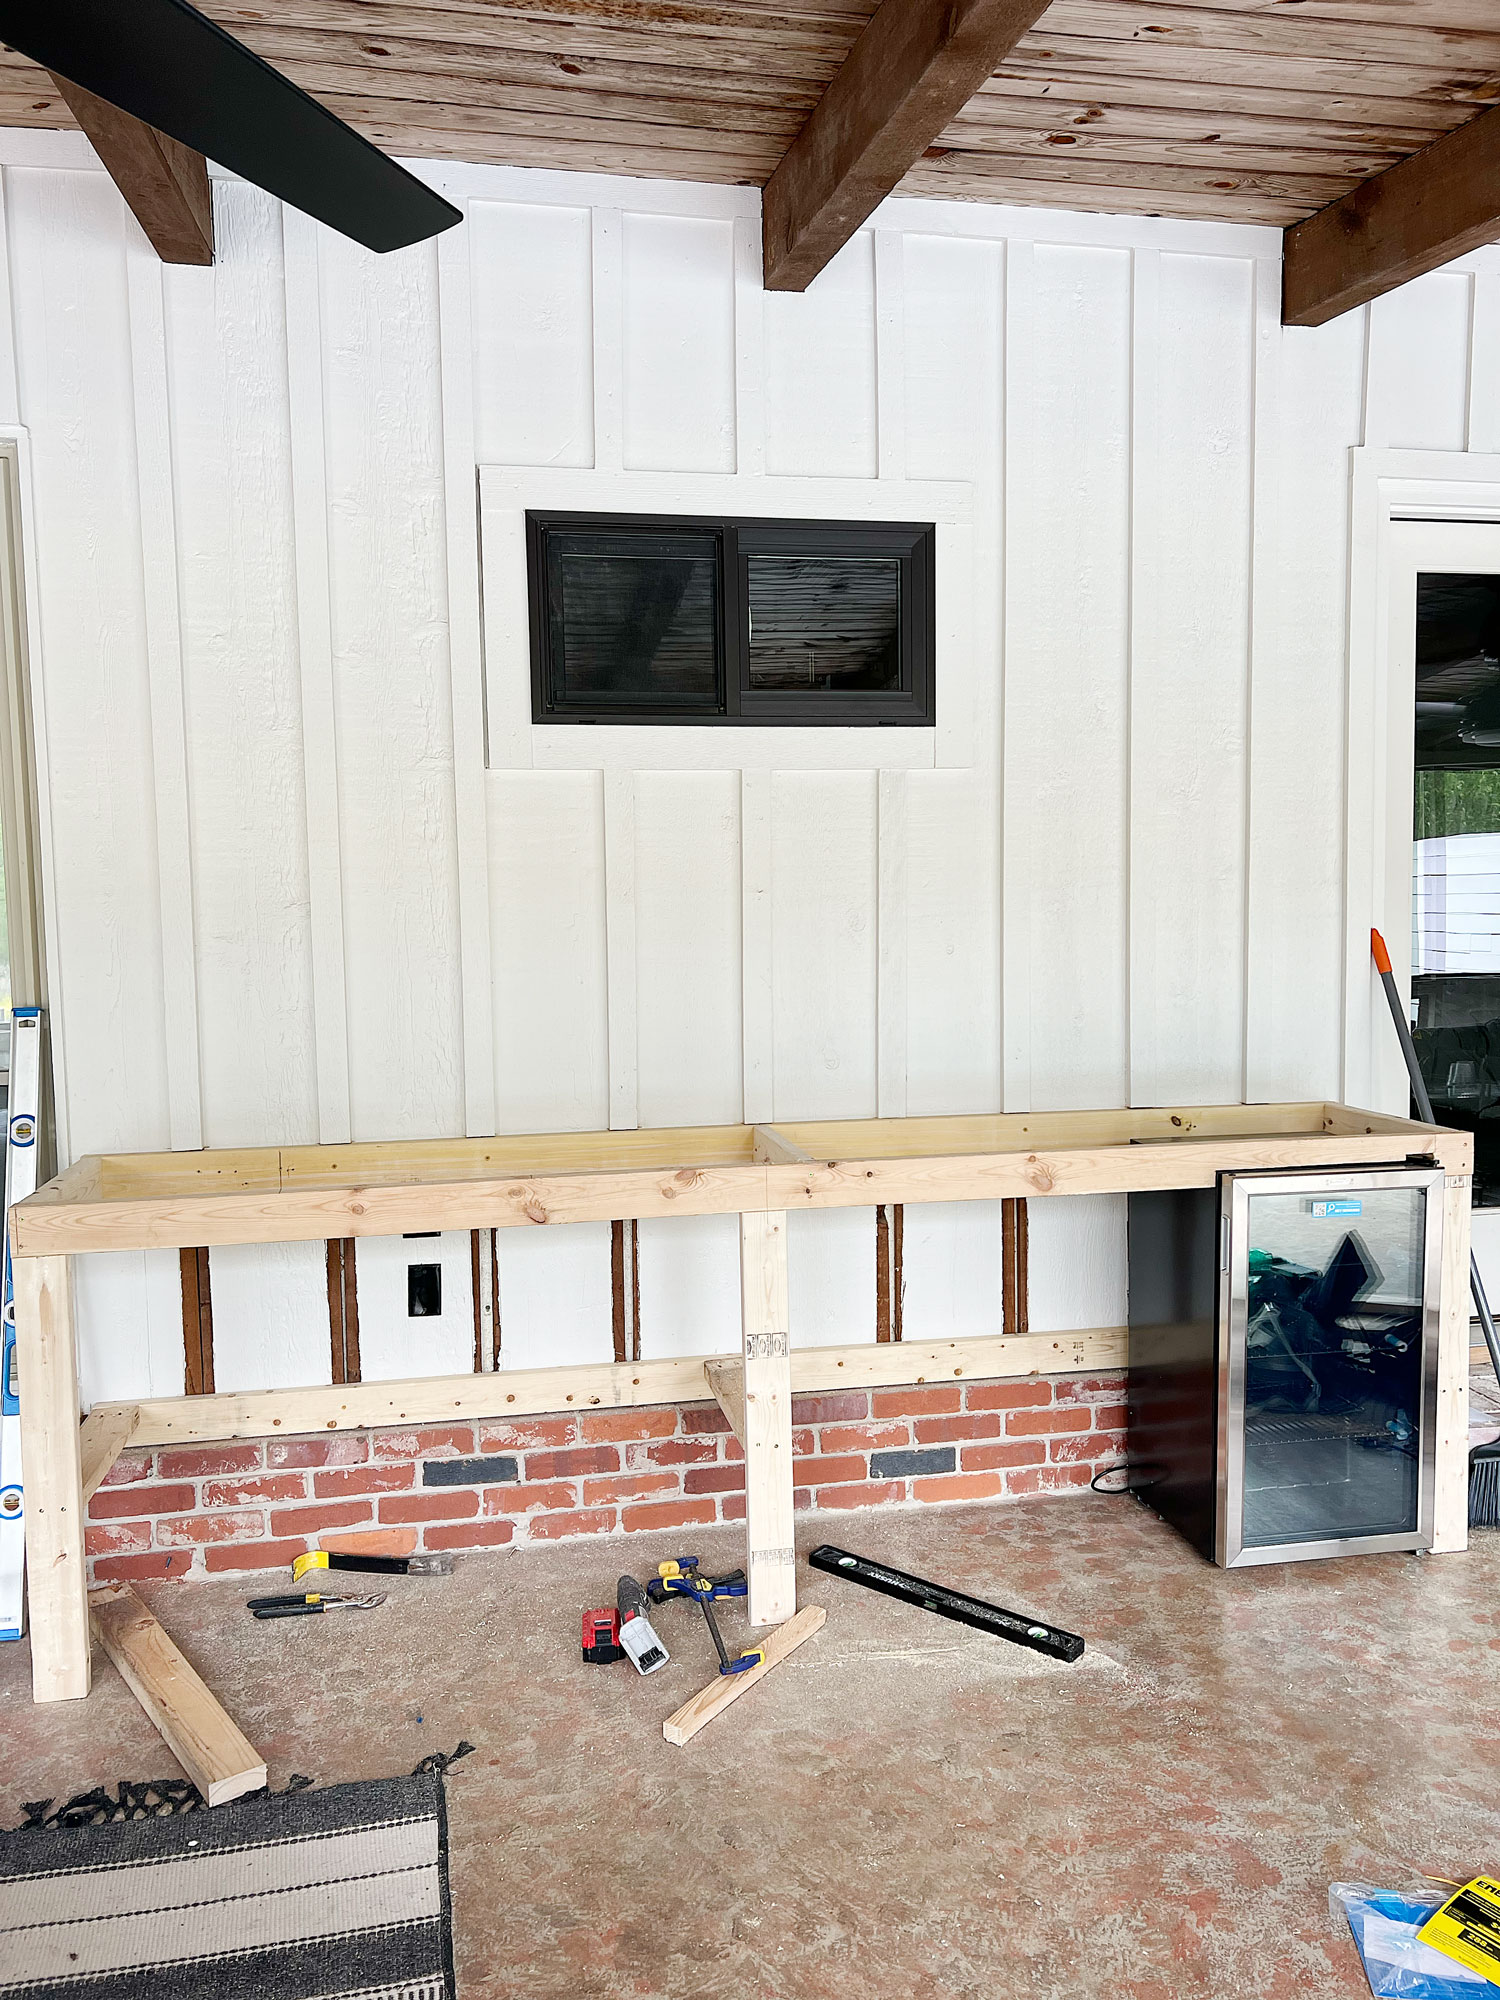
(Step 1). Determine desired dimensions for your outdoor kitchen plan. Using a miter saw (or circular saw)cut header, ledger, bracing boards to dimensions.
While we used normal lumber, if you are concerned about water, pressure-treated wood wood be a great option for outdoor use.
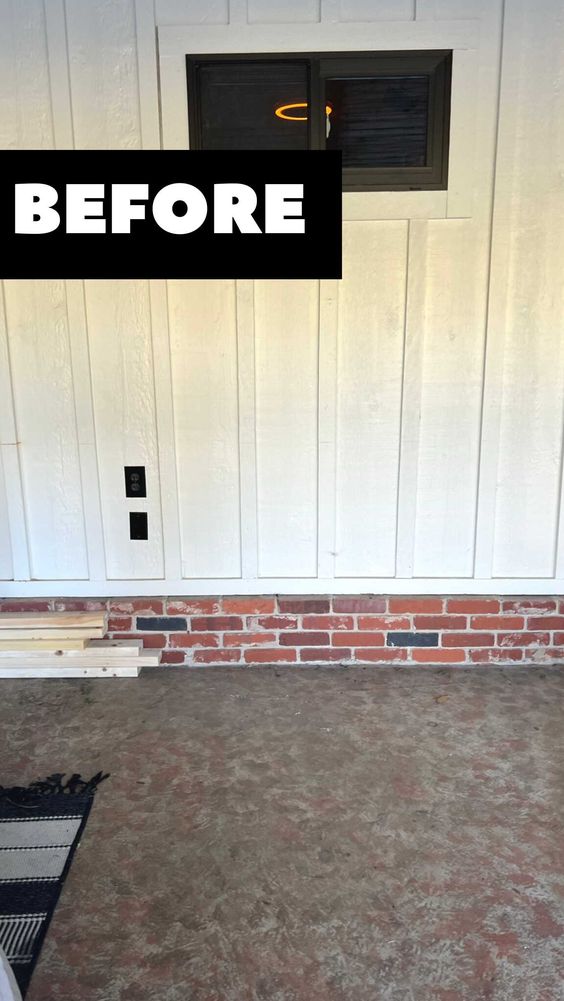
(Step 2). Locate studs in the wall. Studs should be spaced 16” on the center. (Our cedar exterior walls were too thick for a stud finder.)
Tip: If there is an outlet on the wall, remove the face plate and it will likely be attached to a stud. Now measure out in 16” increments and that should mark your studs that the ledger will attach to.

(Step 3). Attach ledger using #9 or #10 decking screws 4” in length if you are working with ½” or 5/8” thick drywall. If you have 1” thick cedar board like we did, use 4.5” exterior screws. Check to make sure everything is level.

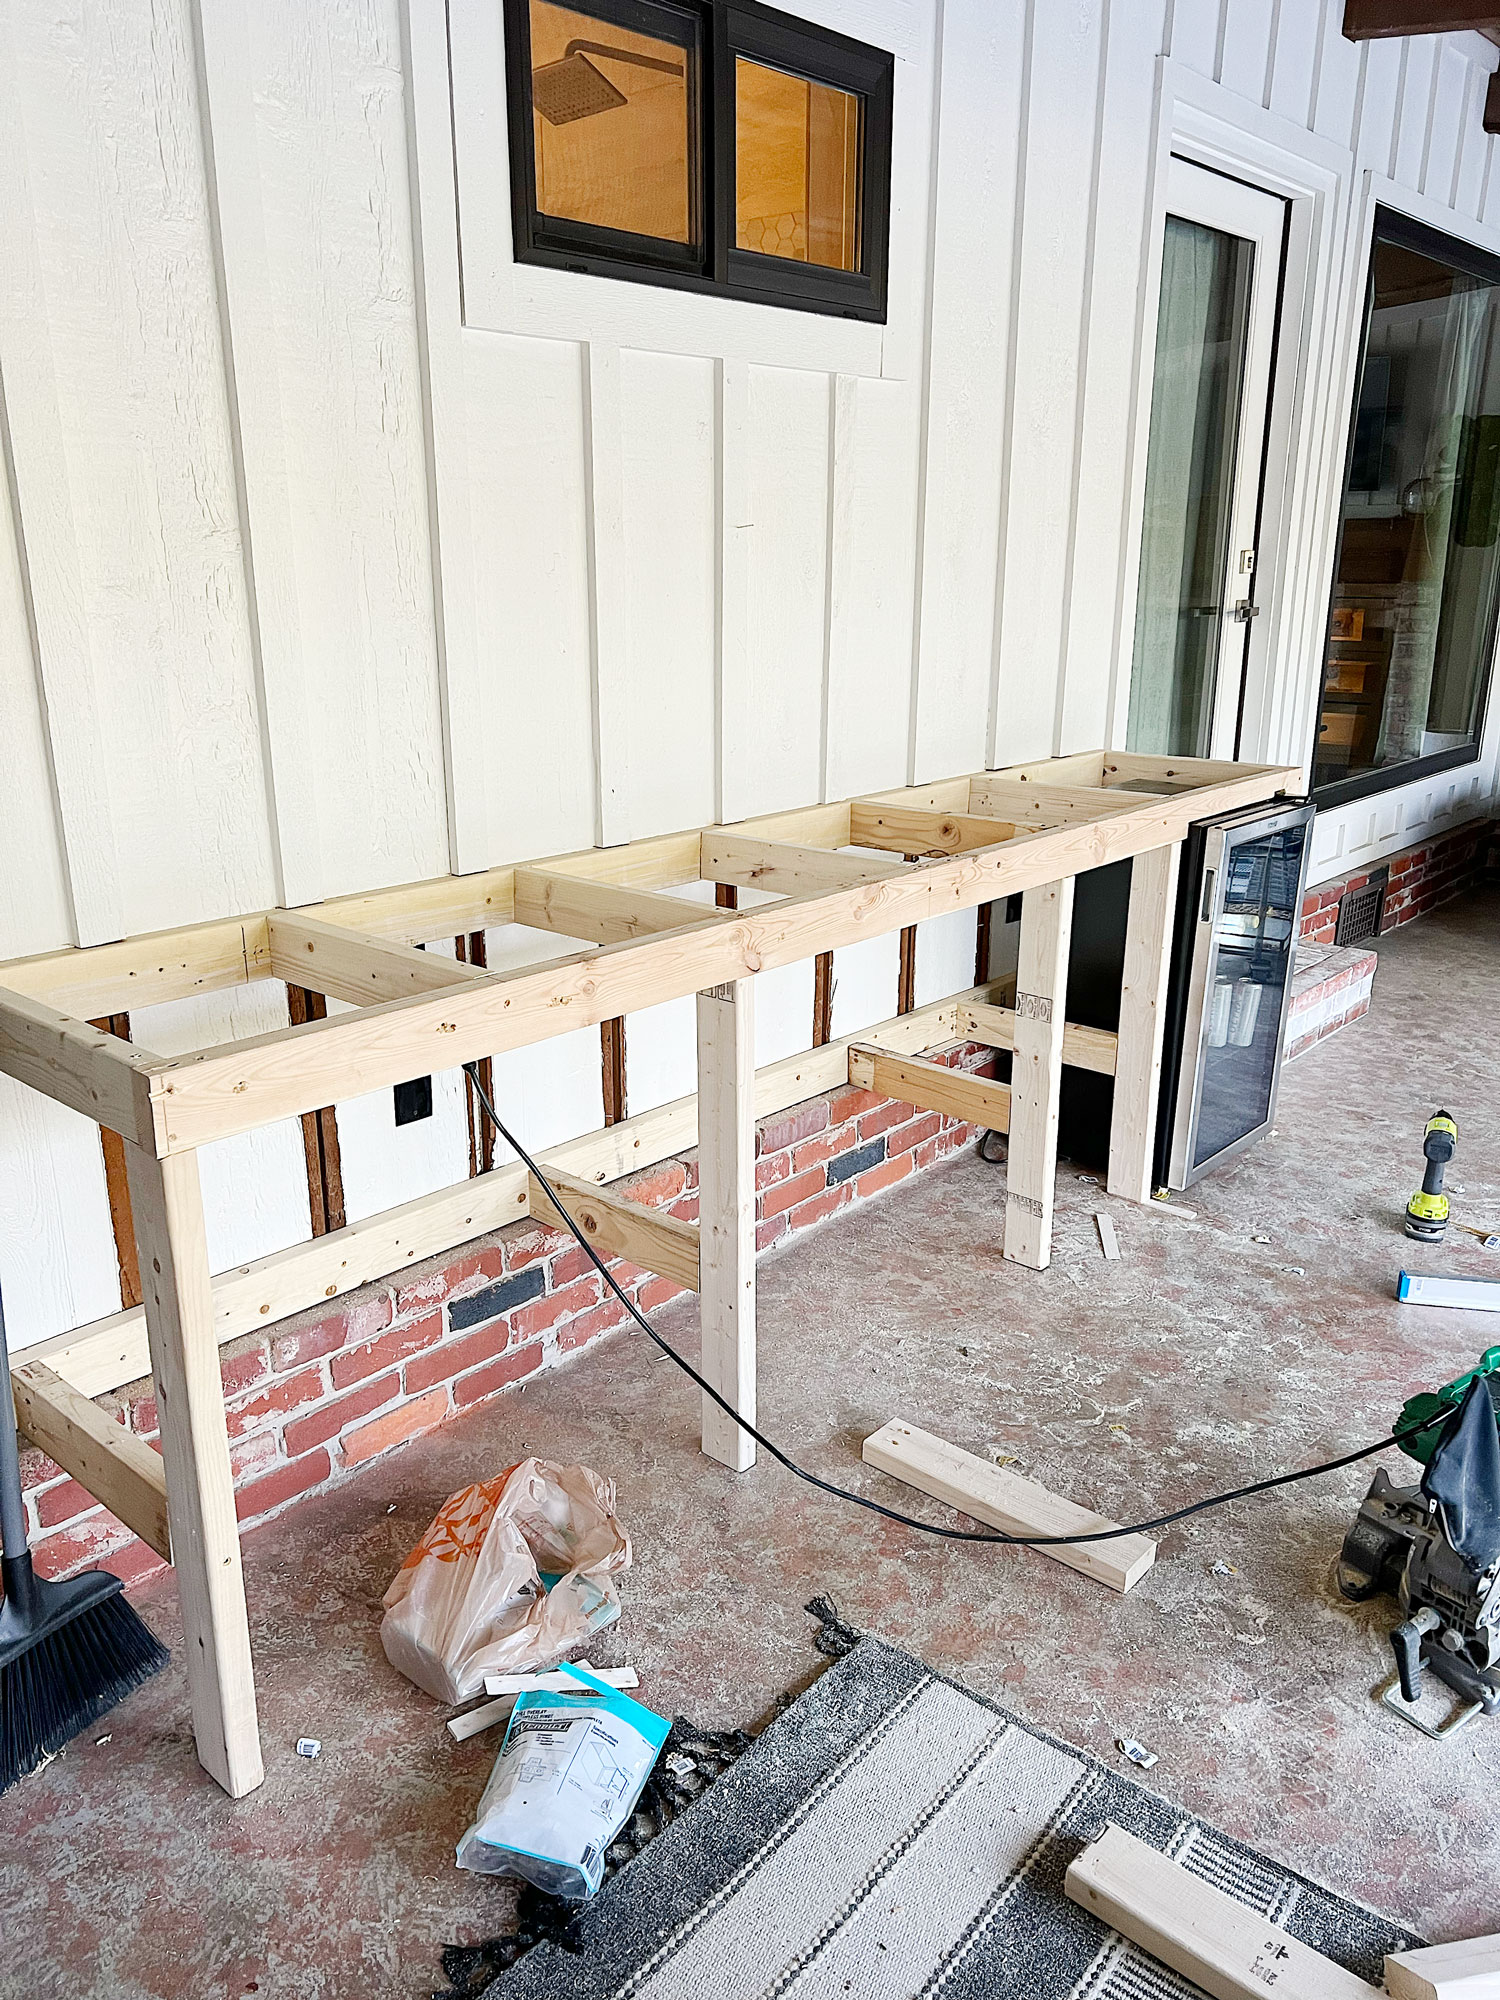
(Step 4). Attach end boards using toenail technique with 2.5 or 3” screws. Continue for the remaining perpendicular boards to the ledger. Make sure you leave enough spacing to fit a sink between perpendicular (joist) boards.

Tip: If you plan on installing a grill or range, you will need to think about your joist placement in this step as well. It is important to have the dimensions of your sink and and new grill before building these wood boxes.

(Step 5). Cut 2×4 wooden board to correct height. These will be the interior vertical supports. You will attach them with the 2” side facing towards the front and back of the cabinet.
Reason for this is: 2x lumber actual width is 1.5”, so that is the equivalent of ¾” carcasses being screwed together. Attach vertical supports using the toe nail method.
Tip: When attaching your vertical supports, you will need to think about the dimensions and placement of your refrigerator, grill and built-in trash can. The layout and width will dictate where you place your supports.
(Step 6). Attach second ledger board. This will be for the bottom shelf of the outdoor kitchen cabinets (be sure to click that link for the separate cabinet tutorial).

(Step 7). Attach lower horizontal supports to vertical supports using toenail method. This is the frame work for the bottom shelf.
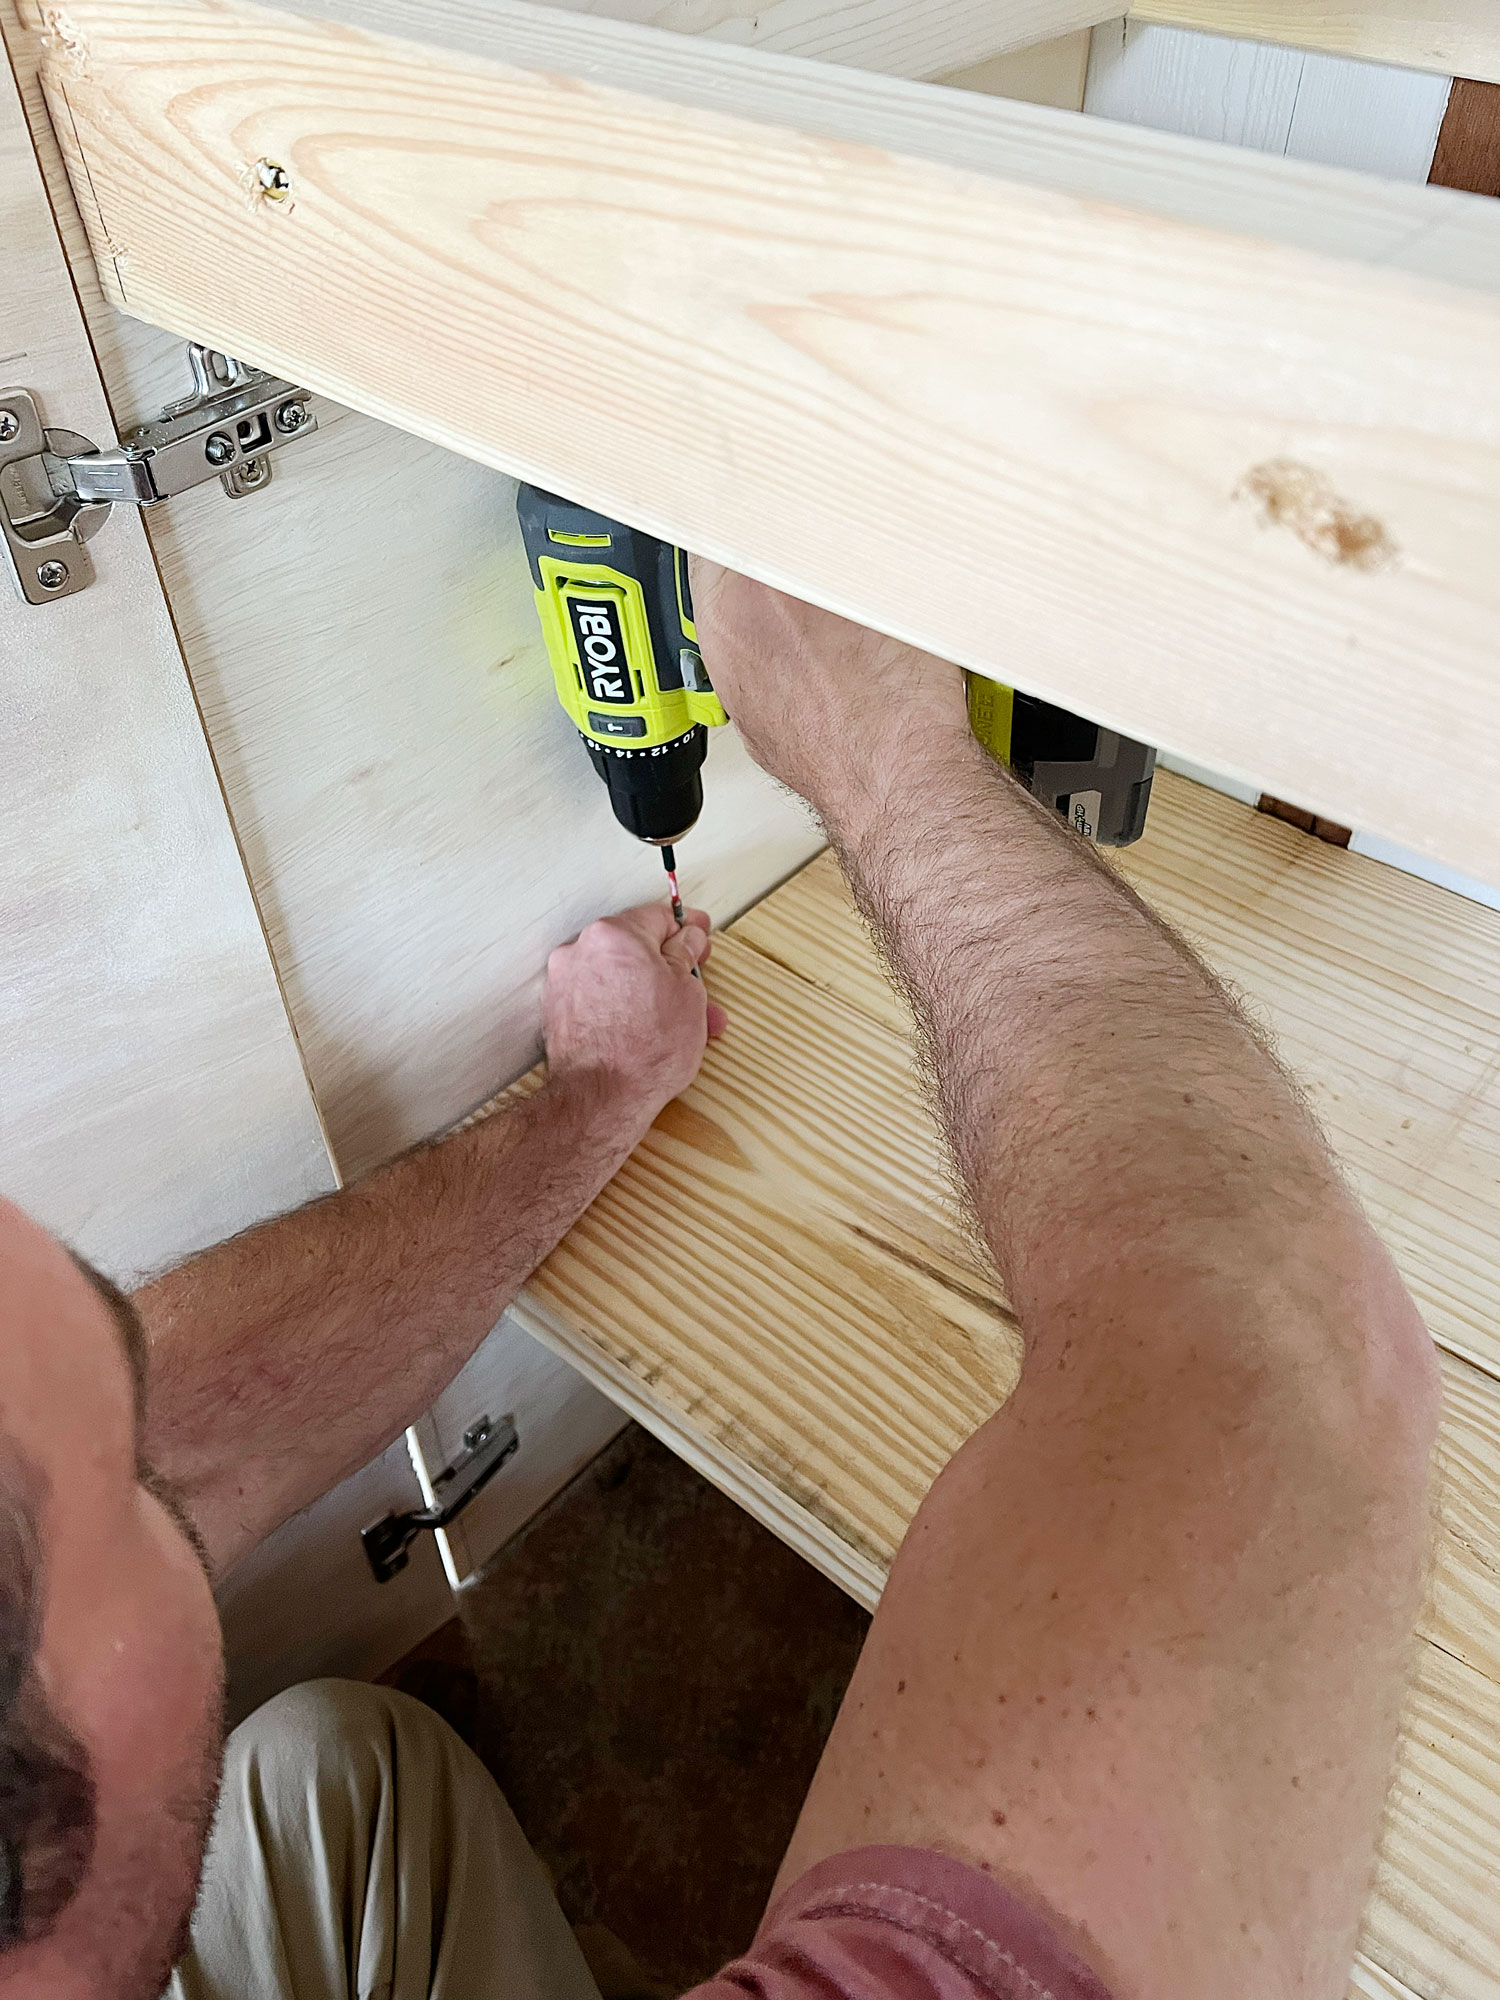
(Step 8). Cut ¾ plywood to dimension for the end board using a table saw. These will act as the cabinet wall and vertical support at the ends. Full overlay doors require a 3/4” “carcass” which is the framework of traditional modular cabinets.
Tip: Because pressure-treated plywood is not a thing, if you are concerned about potential water damage you could always use a more durable material for your cabinet frame ends for this step (think brick, concrete or stone).
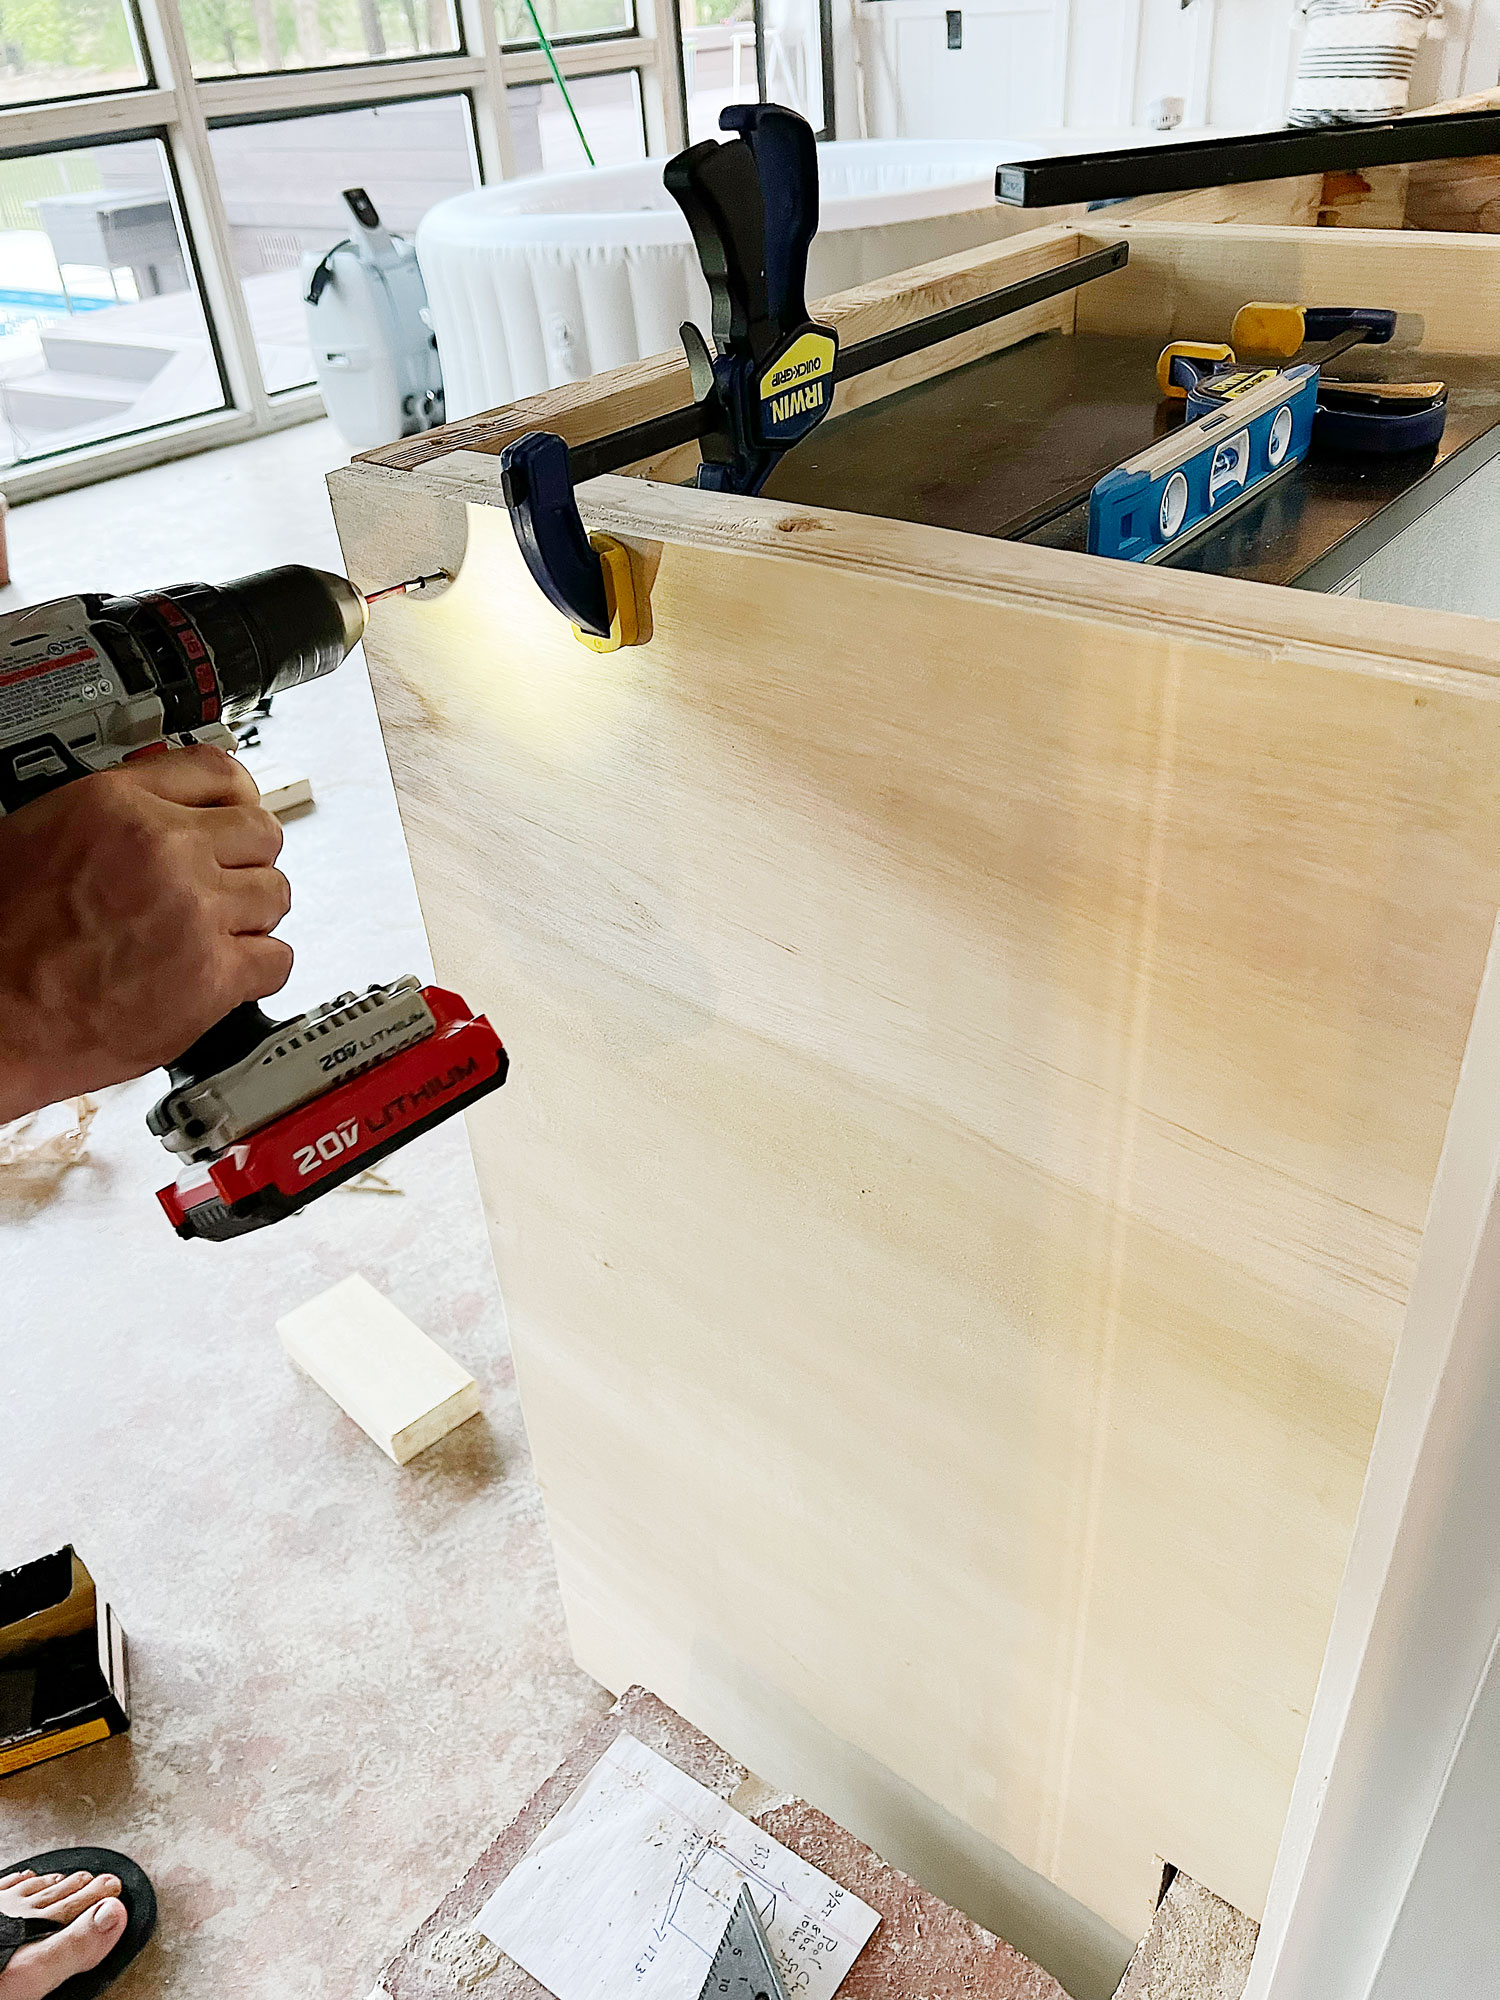
(Step 9). Rip 2x boards to equal the depth of the cabinet. Attach boards to lower frame work using screws.
And there you have the base frame instructions for our DIY outdoor wood kitchen.
I hope you found this tutorial to be just what you needed!
If you would like to see how we built the cabinet doors to go along with the wood framework, check out the seperate tutorial DIY Cabinet Doors for Under $120.

While there are certainly much fancier ways we could have approached this outdoor space, for a tight budget of only $65 for the entire frame with a ten foot expanse, you really can’t beat a wooden outdoor kitchen.
To show you just how scrappy our construction process was, I have itemized the project for you below…
DIY Outdoor Kitchen Cost Breakdown:
- Wood Frame = $65
- Outdoor Kitchen Cabinet Doors = $120
- DIY Stained Wood Countertops = $150
- Refrigerator = $250
- Sink and Faucet= $100
- TOTAL COST= $545
Thank you so much for stopping by this week and listening to me ramble about this new outdoor kitchen of mine. It truly has been awesome to have.
If you found this post helpful, it would mean the world to me if you could share it with a friend or on social media. Thanks for supporting this small business!

Now get out there and design some good vibes along with a fabulous life!


Welcome!
My journey in interior design and home improvement began with transforming my first fixer-upper home, all while managing a budget and raising two young boys. My work, a reflection of my passion for creating beautiful, uplifting spaces, has been recognized by top publications like Better Homes and Gardens Magazine, HGTV, and more. I invite you to explore my site and witness the transformation of my home and the vibes we've designed. Read more...