DIY Open Shelving on the Cheap
I don’t know about you, but I sure am having a hard time entering back into reality after the holiday weekend.
Perhaps it was the excessive consumption of S’mores (or the excessive consumption of Strawberry Daiquiris), but I think I am suffering from some major sugar withdrawals today.
Nonetheless, I am going to power through the withdrawal shakes (is it from the sugar or the booze? Not exactly sure.) with this tutorial sharing how my husband built open kitchen shelving for under $50.
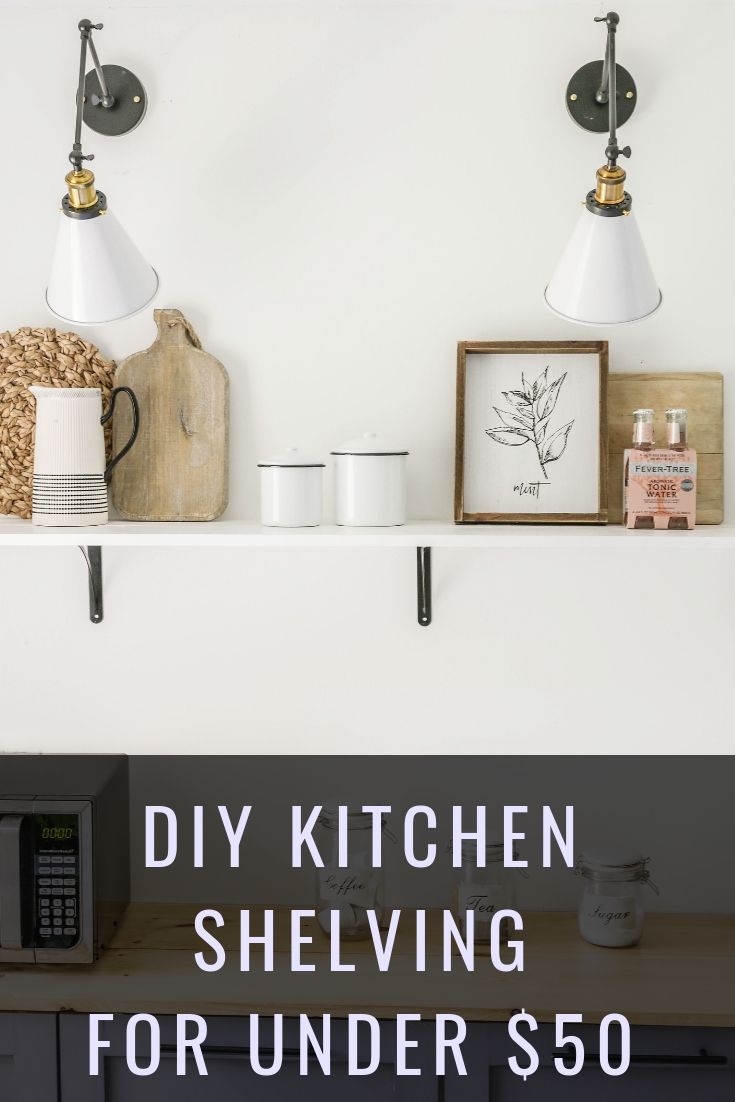
While I have labeled these as “kitchen shelves”, they were actually constructed for my DIY butler pantry, which I revealed a few weeks ago (you can read the reveal post here).
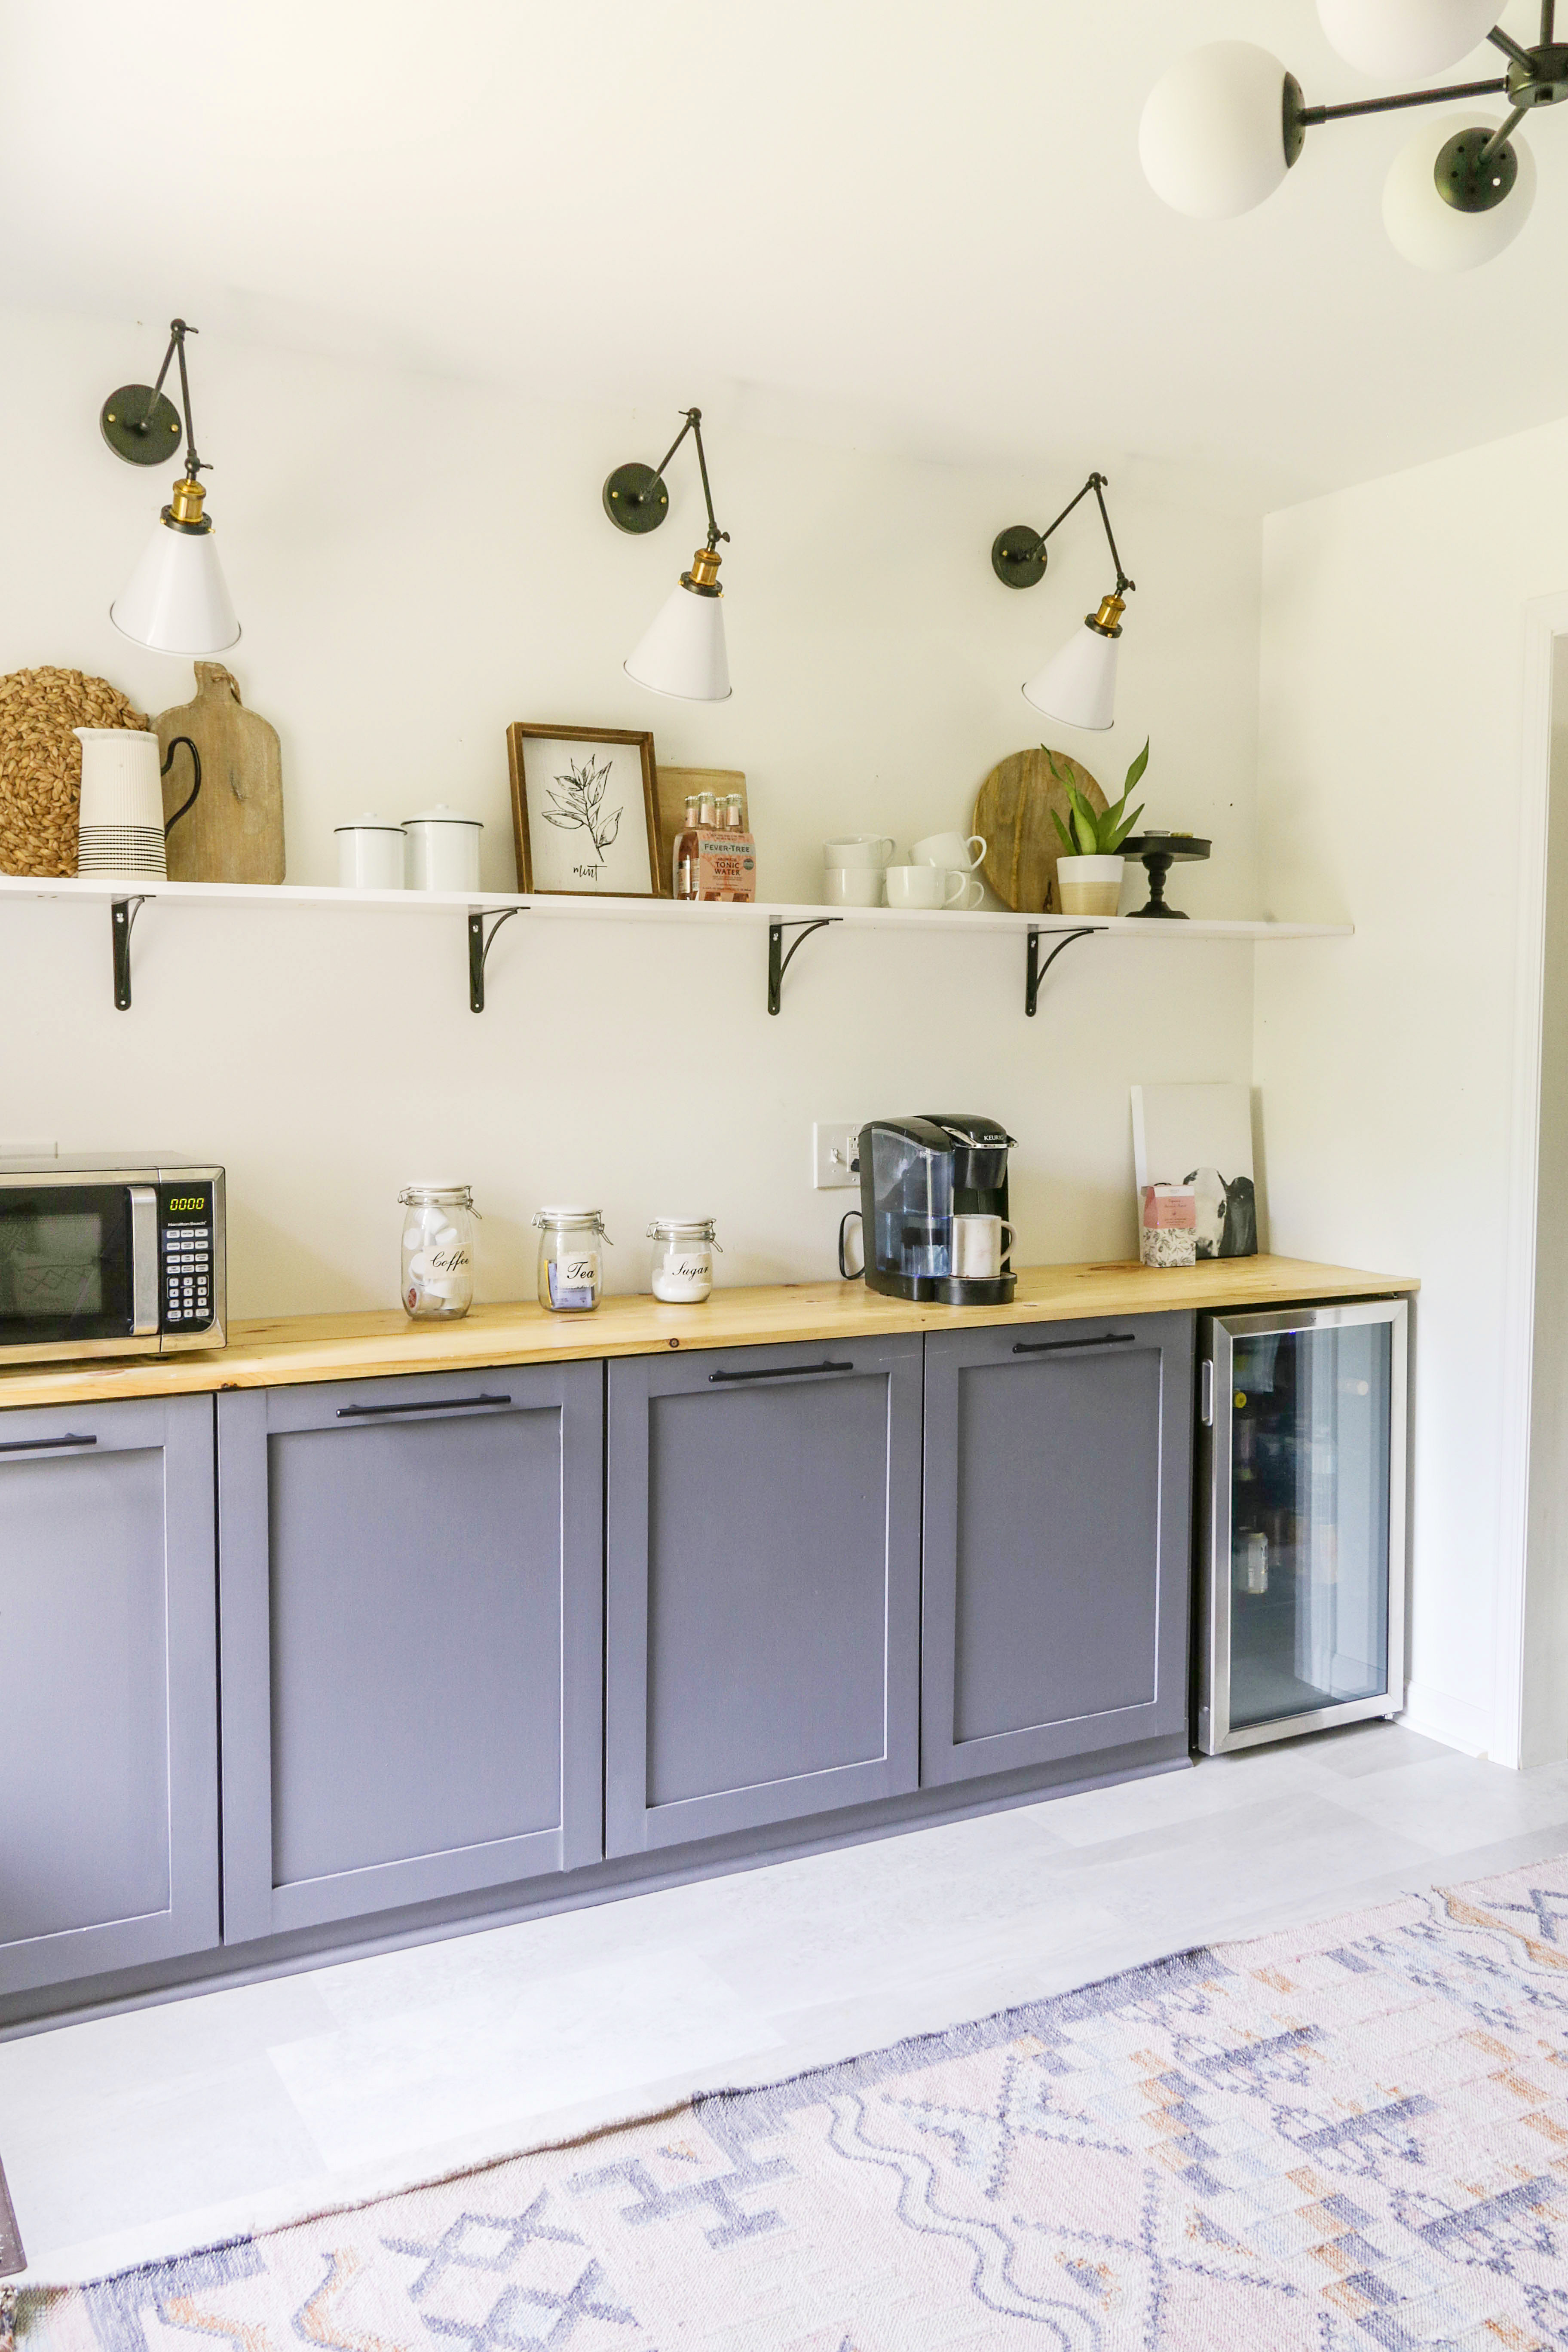
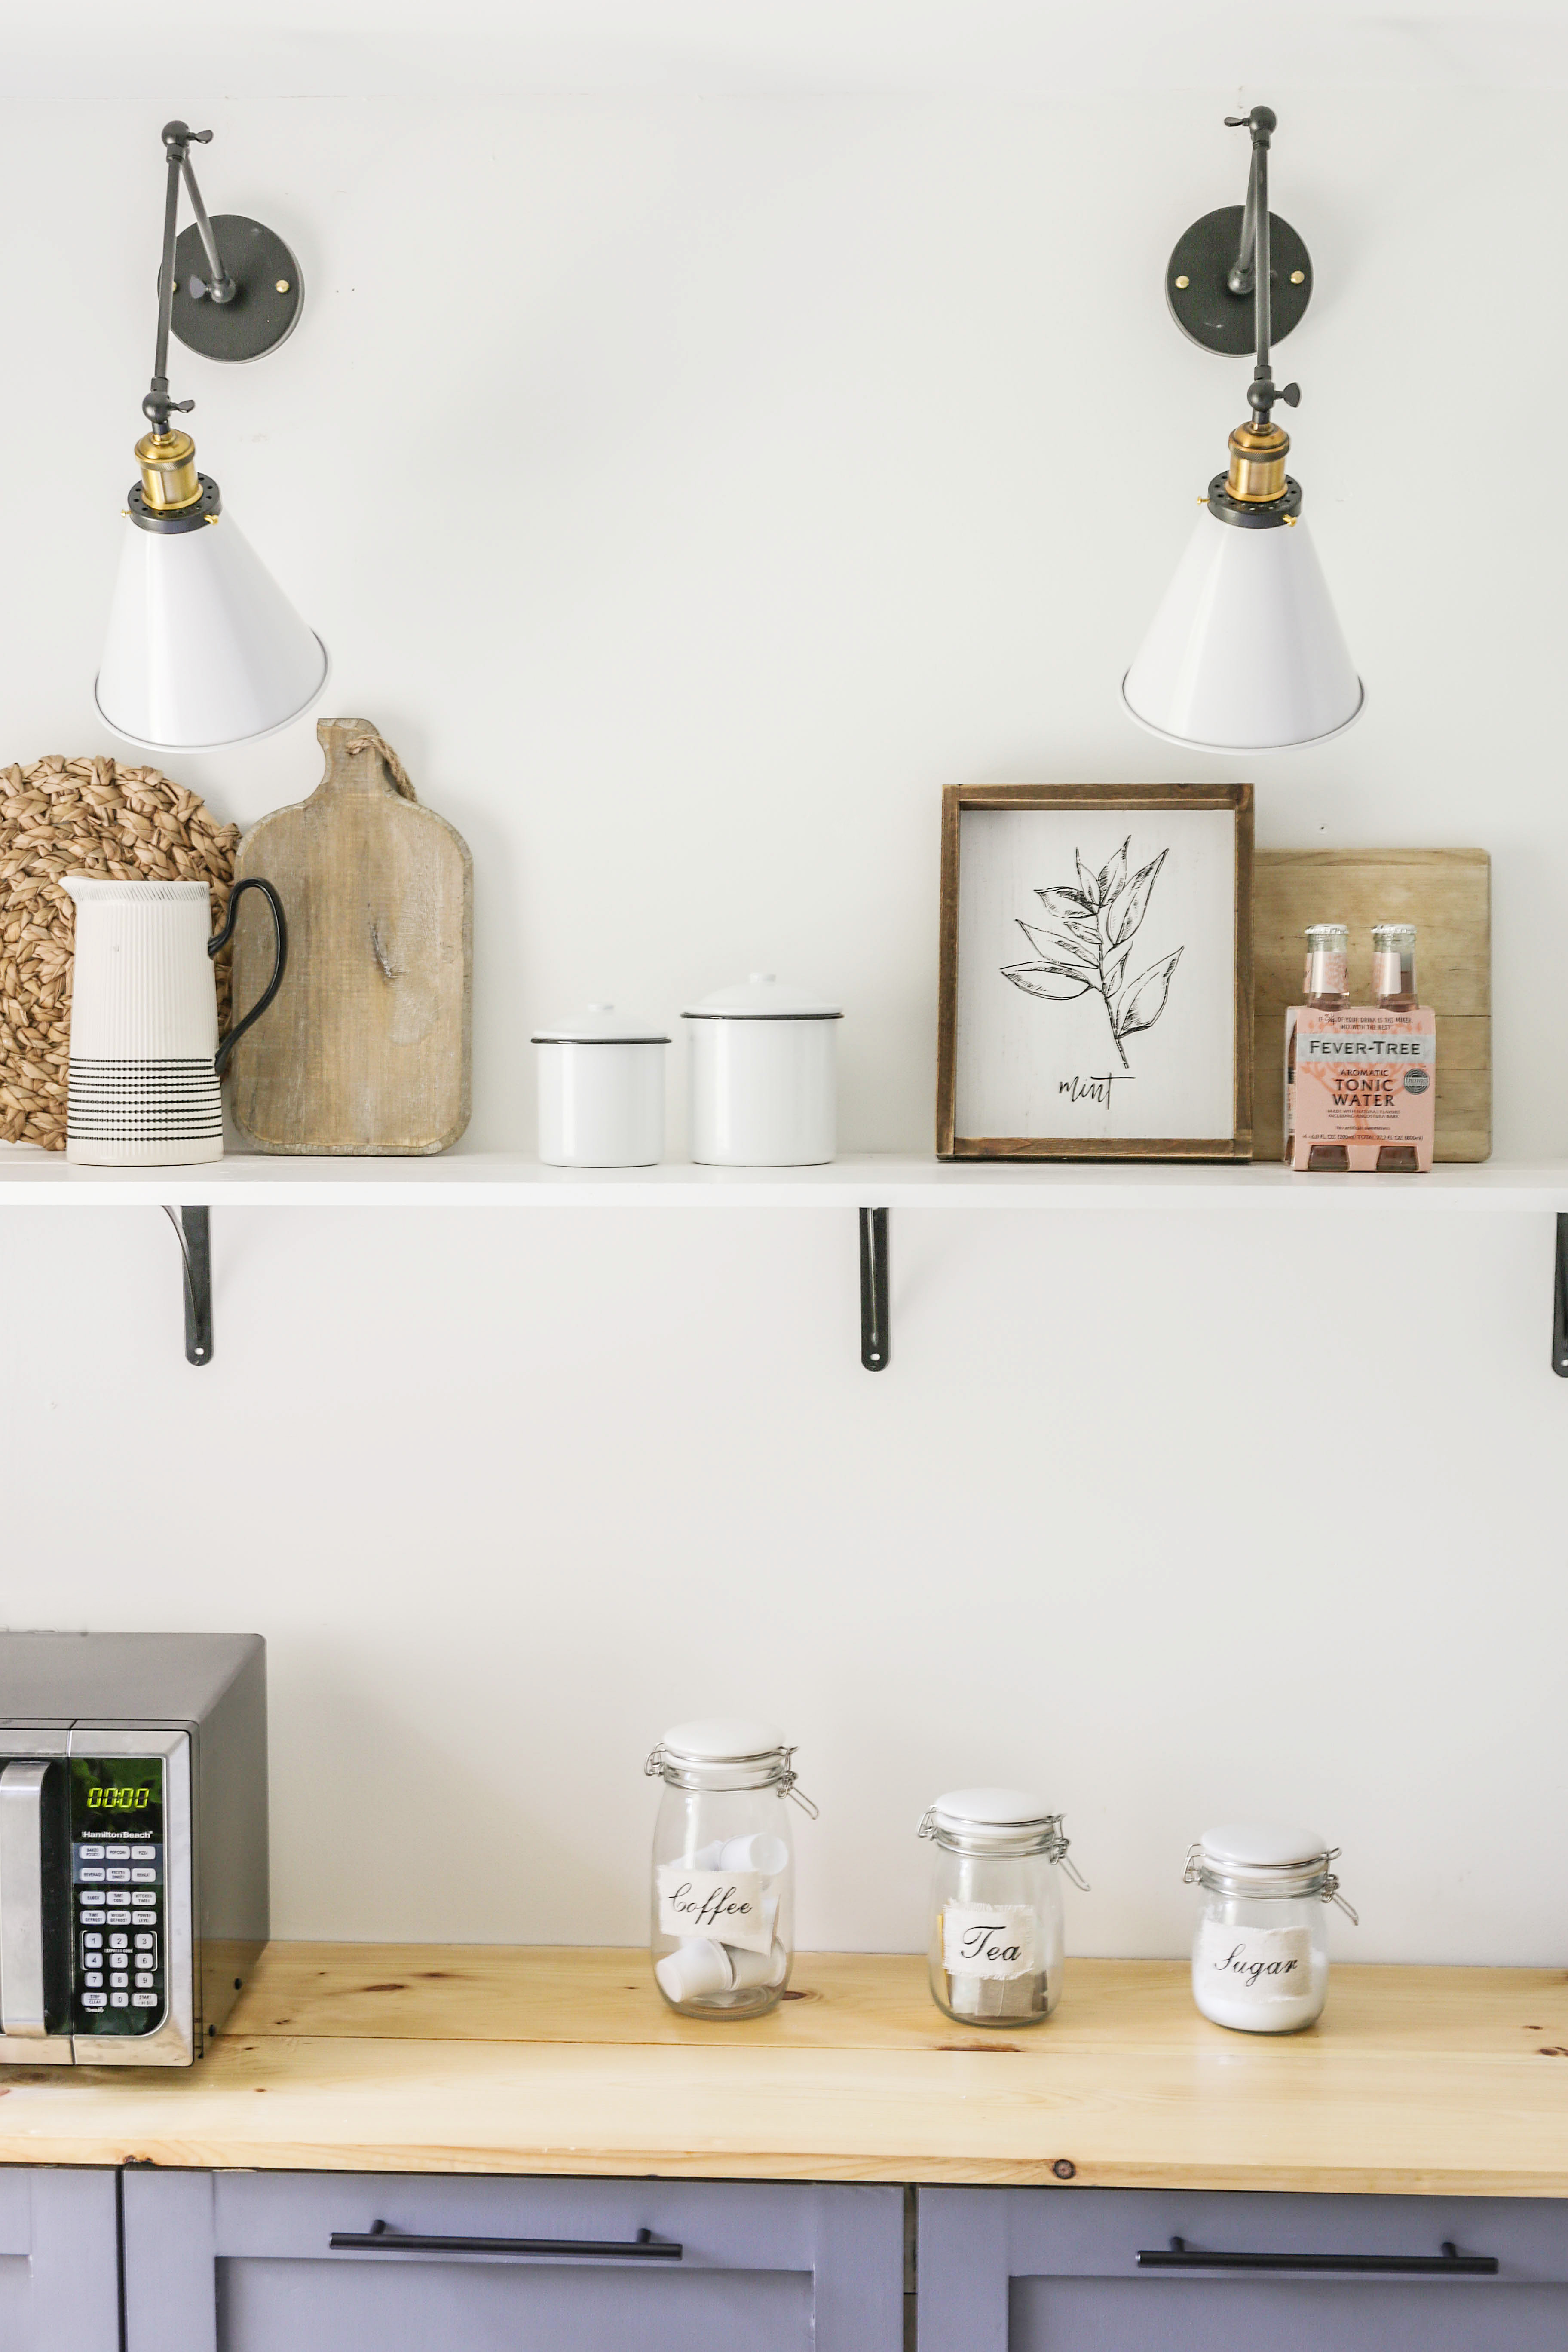
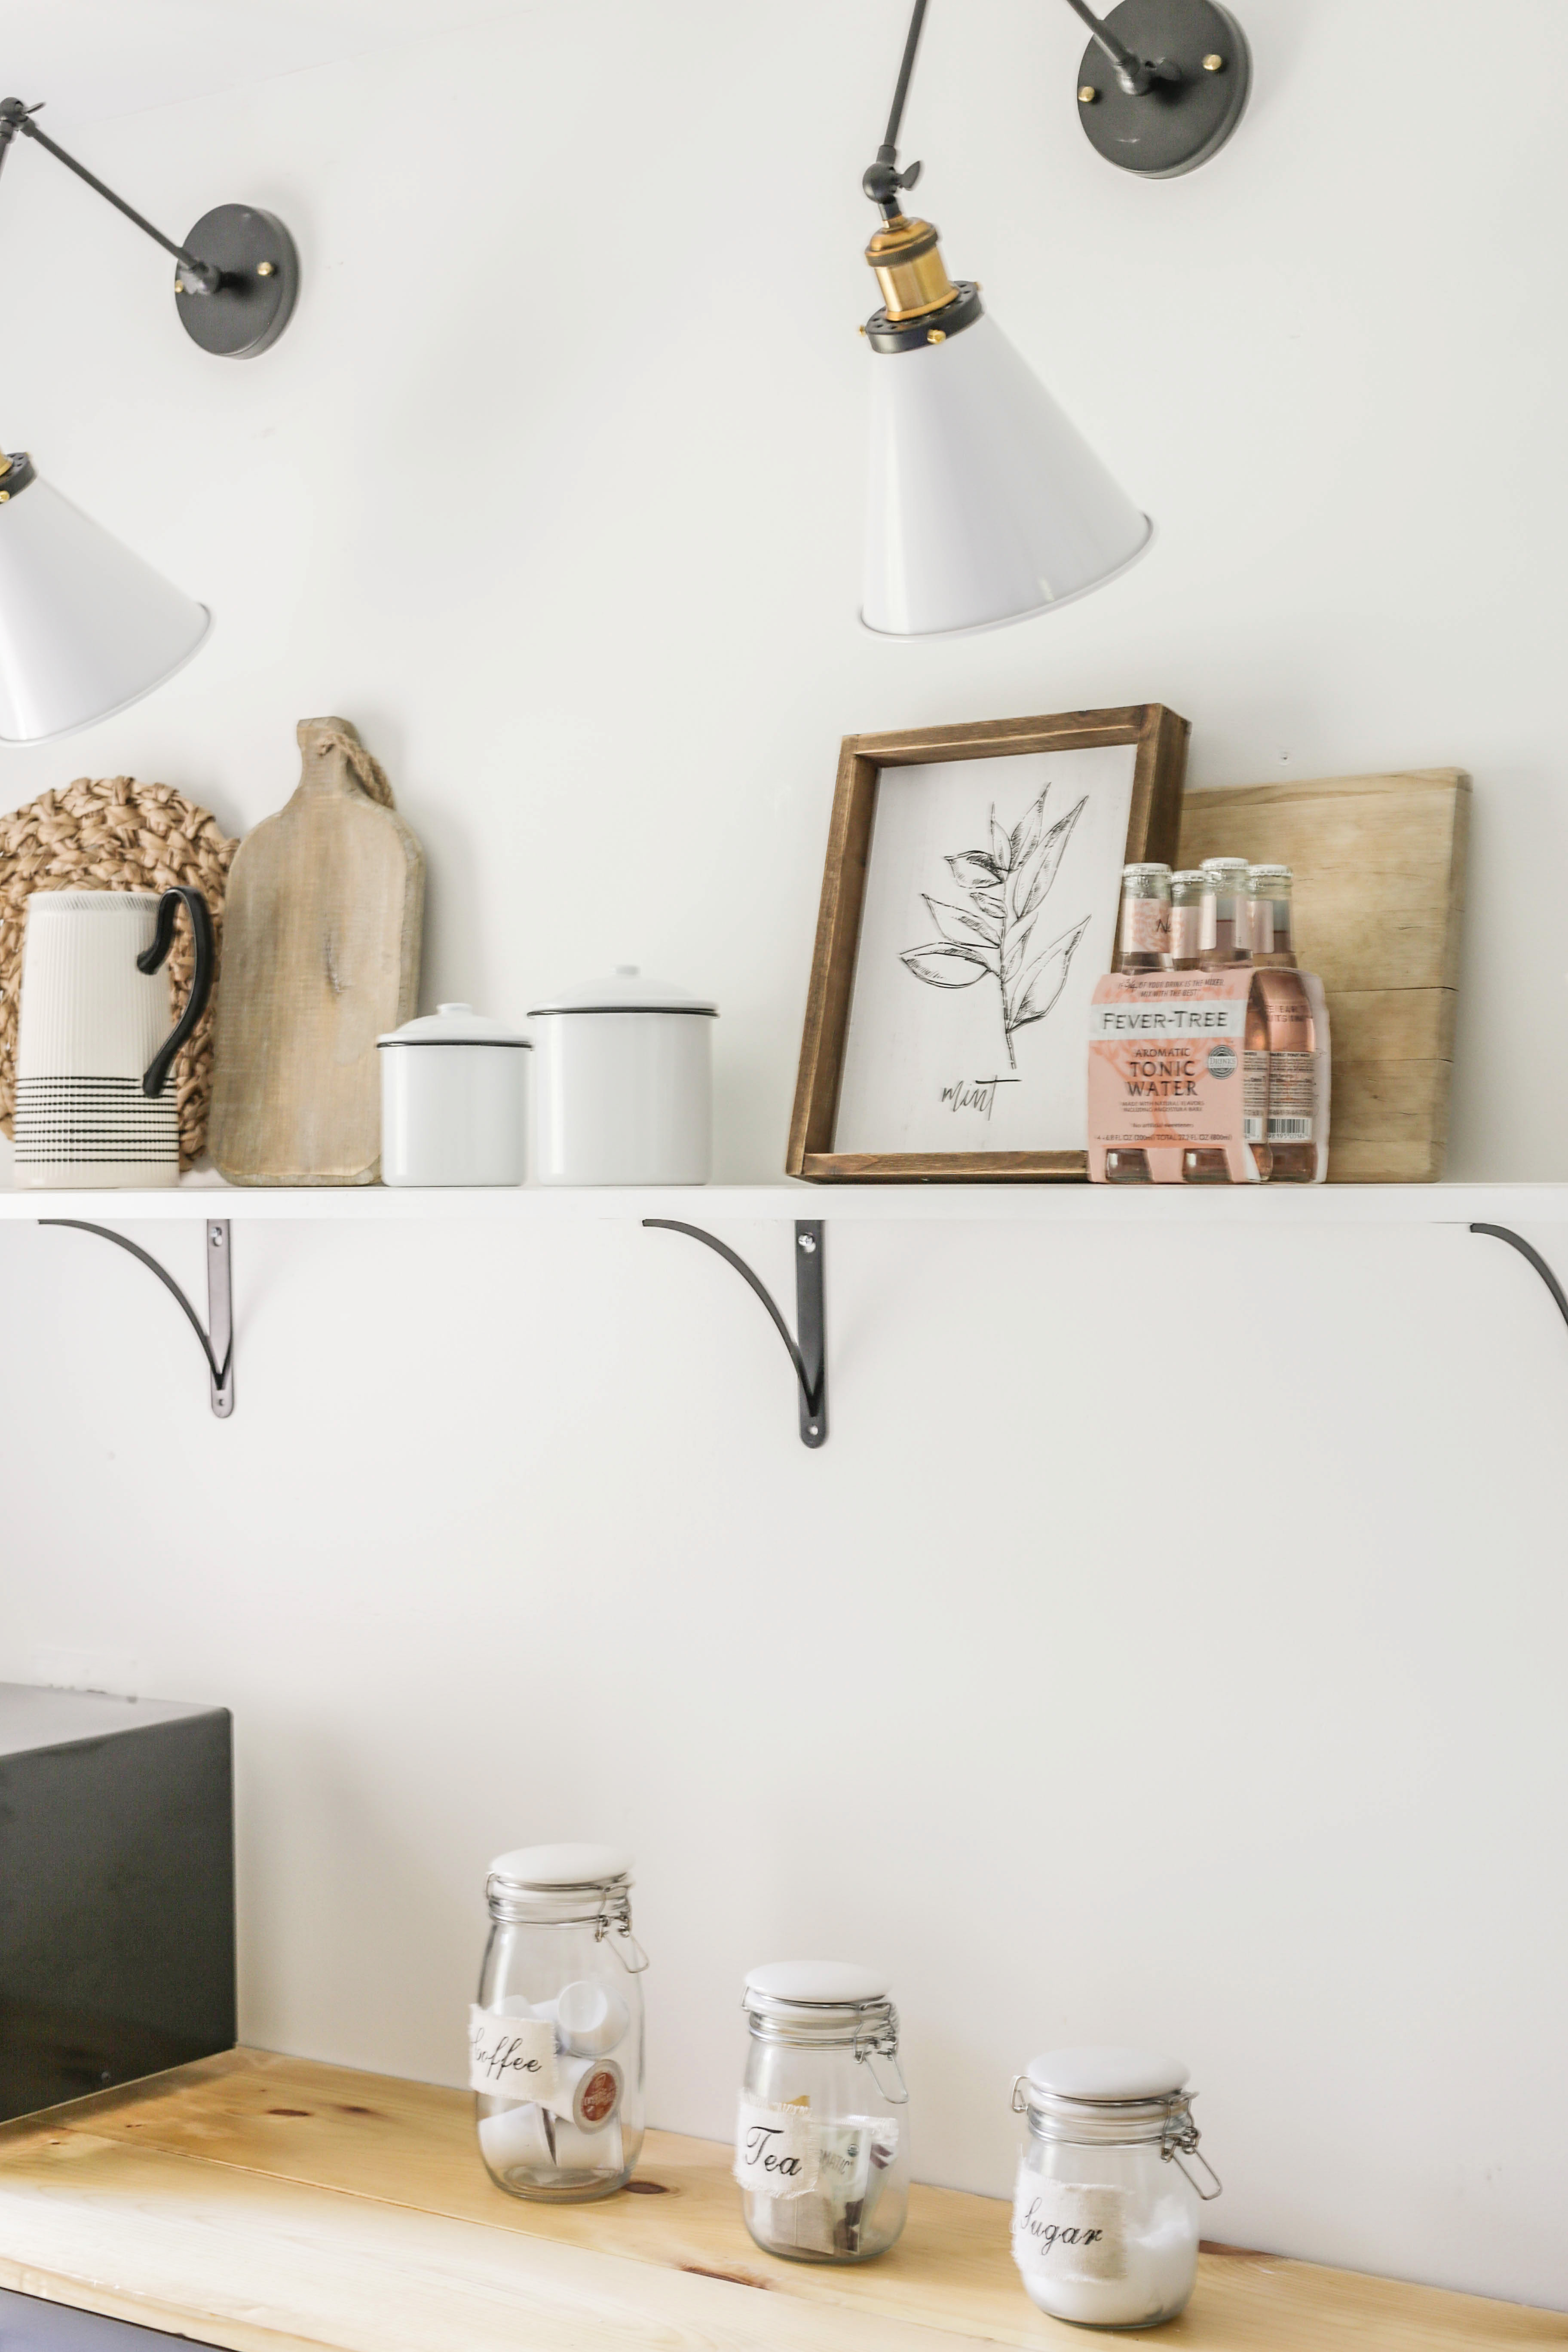
While I initially considered cabinetry to go over our DIY lower cabinets, I feared bulky, upper cabinetry would make the small space feel overwhelmed and closed-off. After all, we were working with some pretty narrow dimensions.
Given the lower cabinets were only 18.5” deep, our upper shelving was going to be relatively shallow (we actually decided on an upper depth of 11 inches). Allowing for an open sight line, I decided open shelving would be our best bet.
Let me show you how to construct these babies on the cheap…
Open Kitchen Shelving Supplies:
- Drywall Anchors (I used 50lbs rated, but you decide what’s suitable for your needs based on the load of items on your shelving)
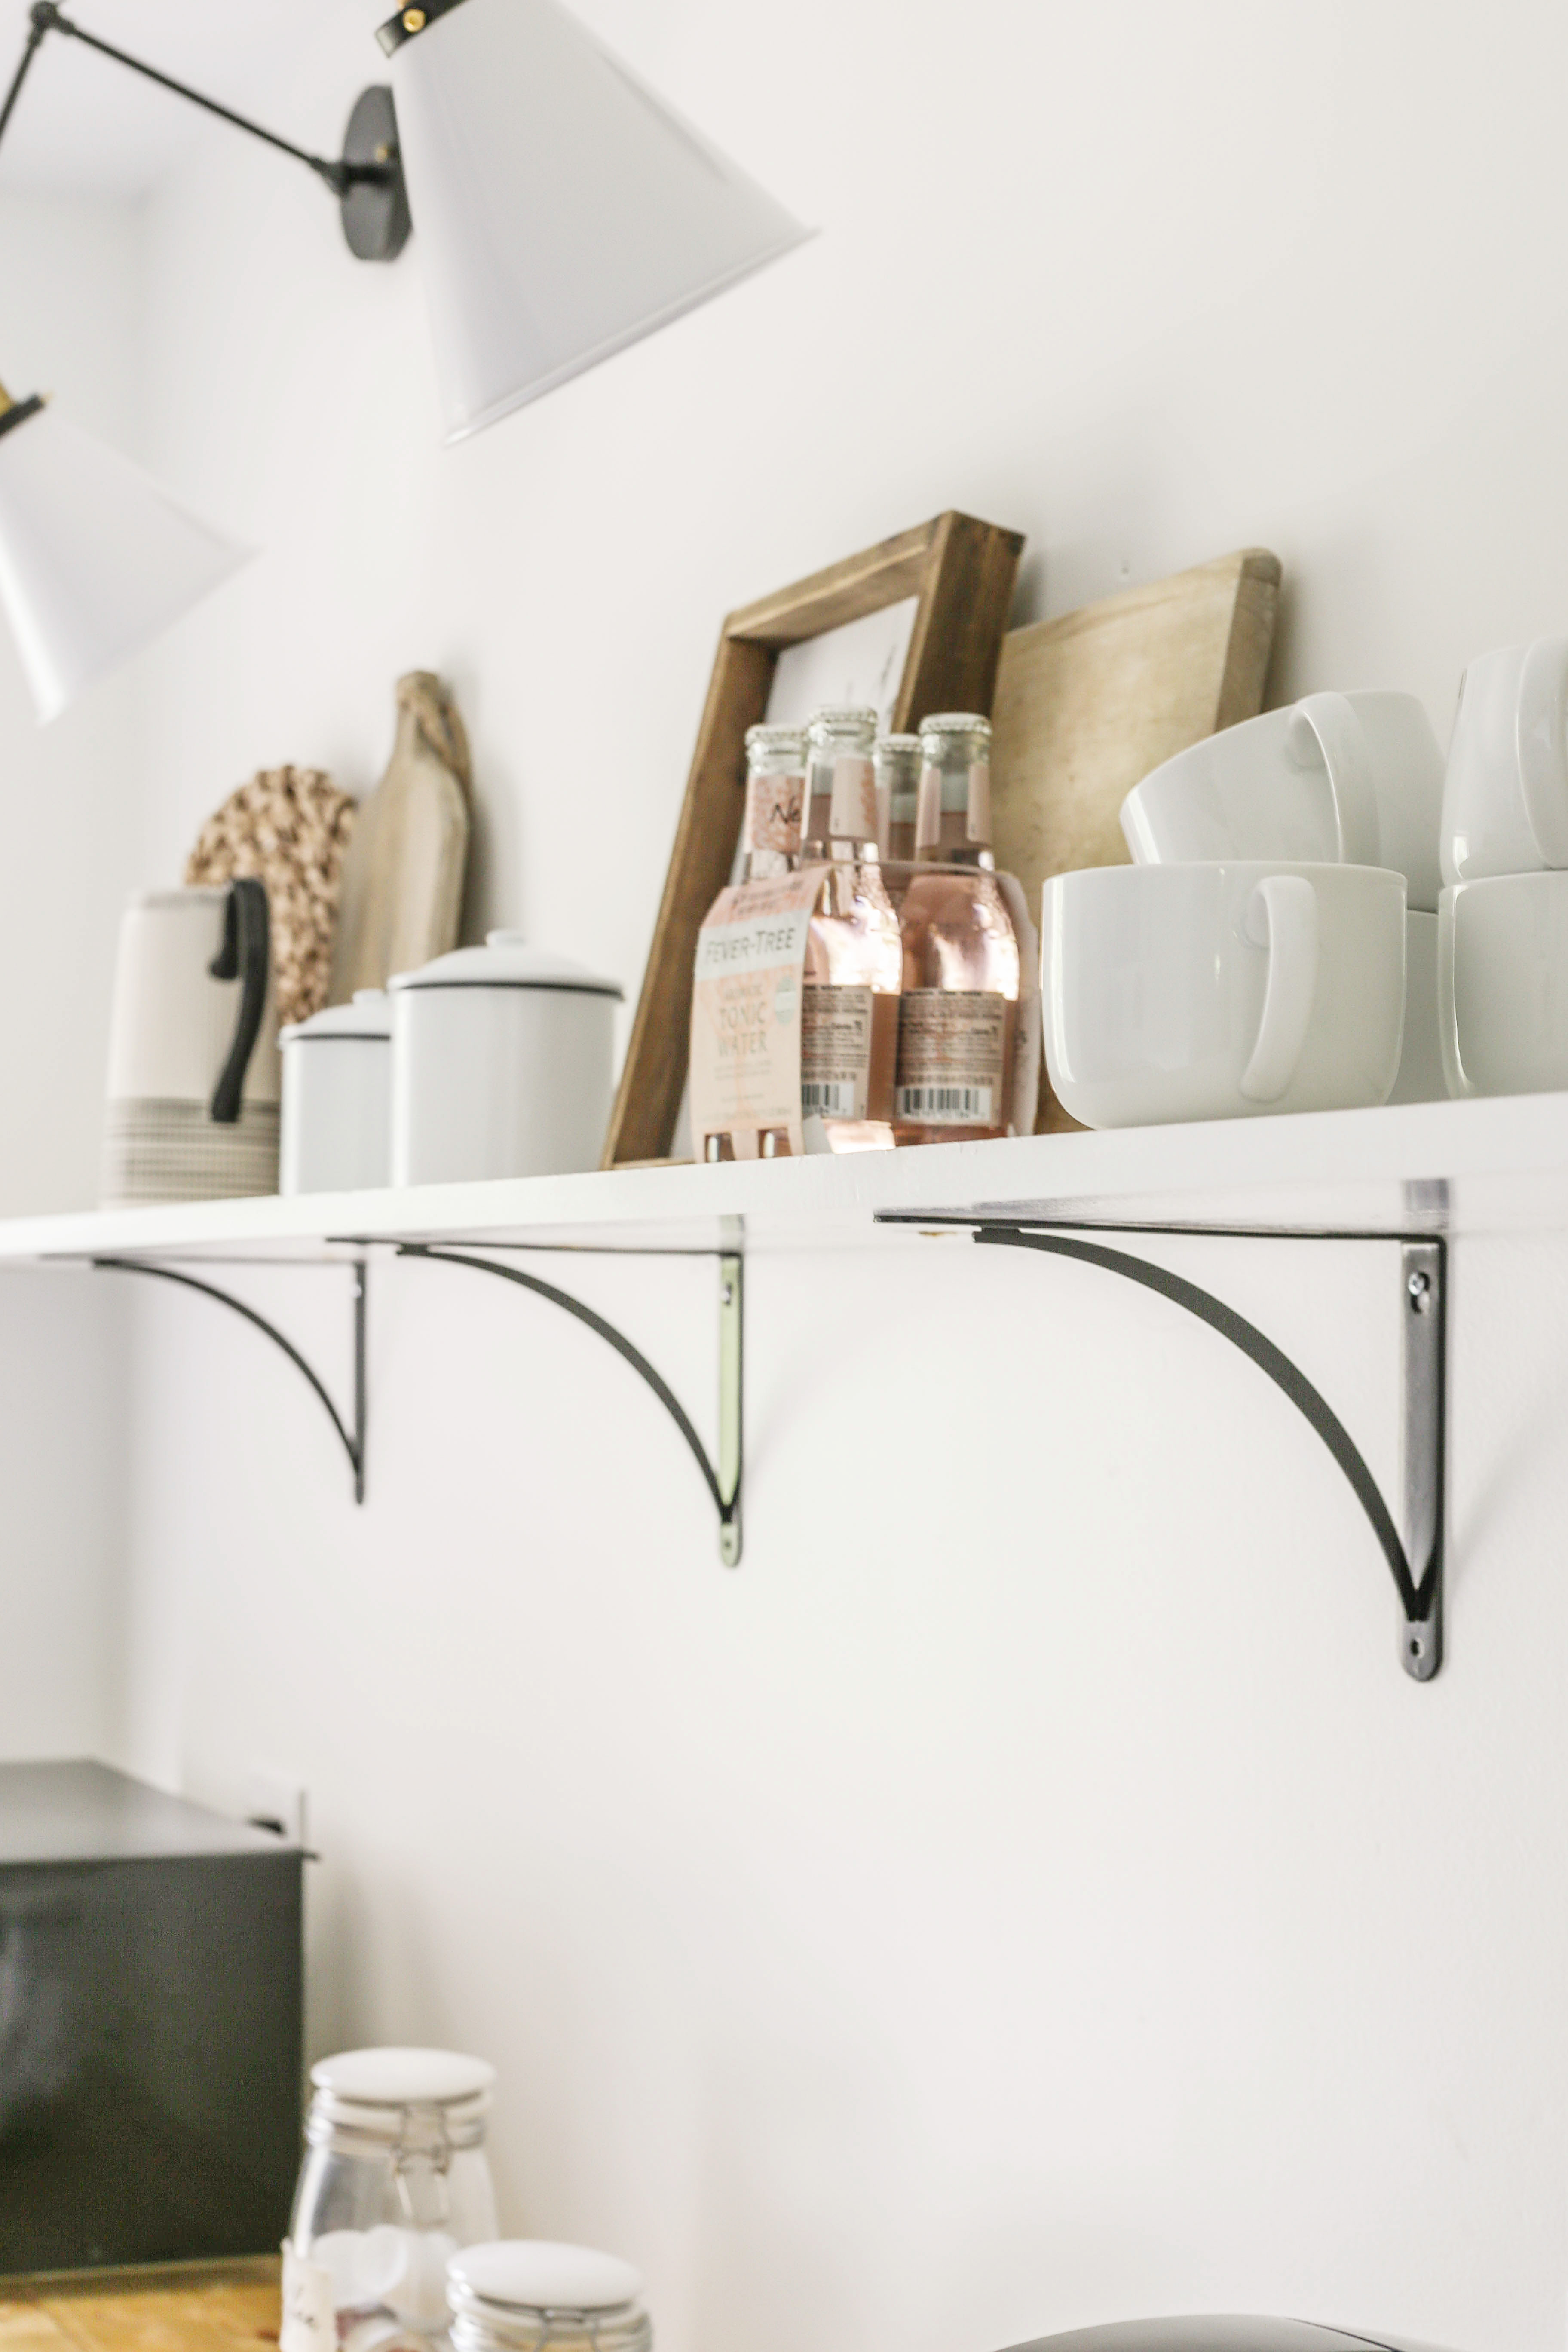
- Shelf Brackets of Choice (We got ours from Lowes and used 4 brackets for a 9.5 ft expanse)
- Primed Pine Boards (we used 2 to create the desired depth)
- Kreg pocket hole jig
- Kreg pocket hole screws
- 3/4 Wood Screws
How To Build Farmhouse Style Open Shelves:
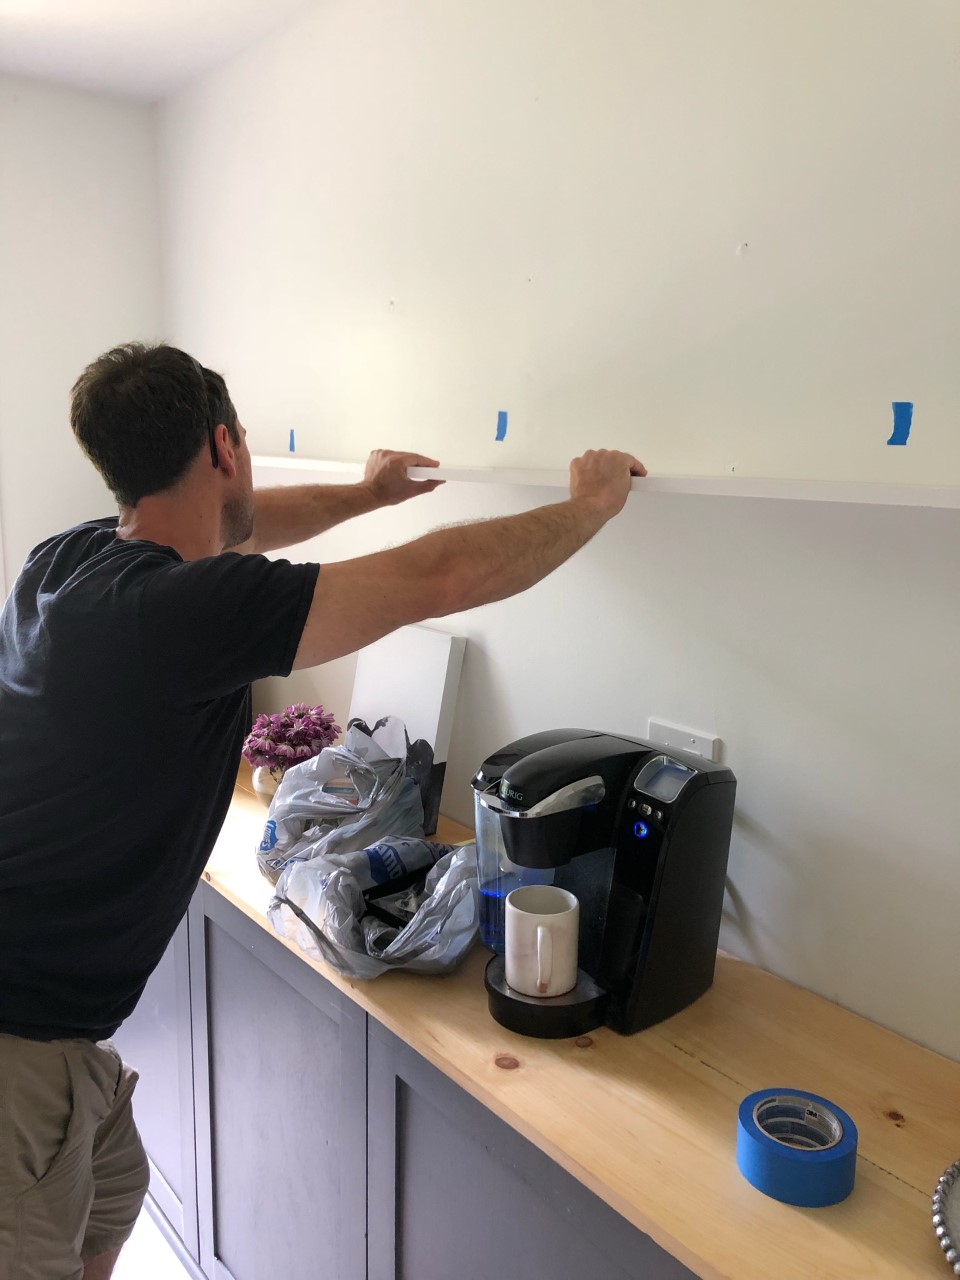
(Step 1). Determine desired spacing and height for shelf brackets.
(Step 2). Mount shelf bracket using drywall anchors and screws. (No need to worry about studs).

(Step 3). If desired shelf depth cannot be achieved using single board, two boards can be attached using pocket hole joinery and glue. If needed (for a specific depth), you can rip one board to desired depth and attach to second board. We simply attached 2 pine boards to create 11 inch shelf depth.
(Step 4). Cut boards/shelf to desired length (ours was 9.5 ft long).
(Step 5). Place shelf on brackets (we used 4).
(Step 6). Using half inch wood screws, secure the shelf to the brackets.
And there you have it…
Open shelving with Modern Farmhouse flair for under $50.
While I have yet to protect the finish of the shelves with a top coat of paint, that really should have been step 7 (I will get to it one day…or not.)
Now get out there and design some good vibes!
Looking for more DIY shelving tutorials? Be sure to click here for my floating shelves tutorial.
Please also be sure to share with a friend or on social media if you found this post helpful (of if you just want to show this little blog some love). Thank you for the love!


Welcome!
My journey in interior design and home improvement began with transforming my first fixer-upper home, all while managing a budget and raising two young boys. My work, a reflection of my passion for creating beautiful, uplifting spaces, has been recognized by top publications like Better Homes and Gardens Magazine, HGTV, and more. I invite you to explore my site and witness the transformation of my home and the vibes we've designed. Read more...