Fastest Way to Paint Kitchen Cabinets: The Ultimate Hack
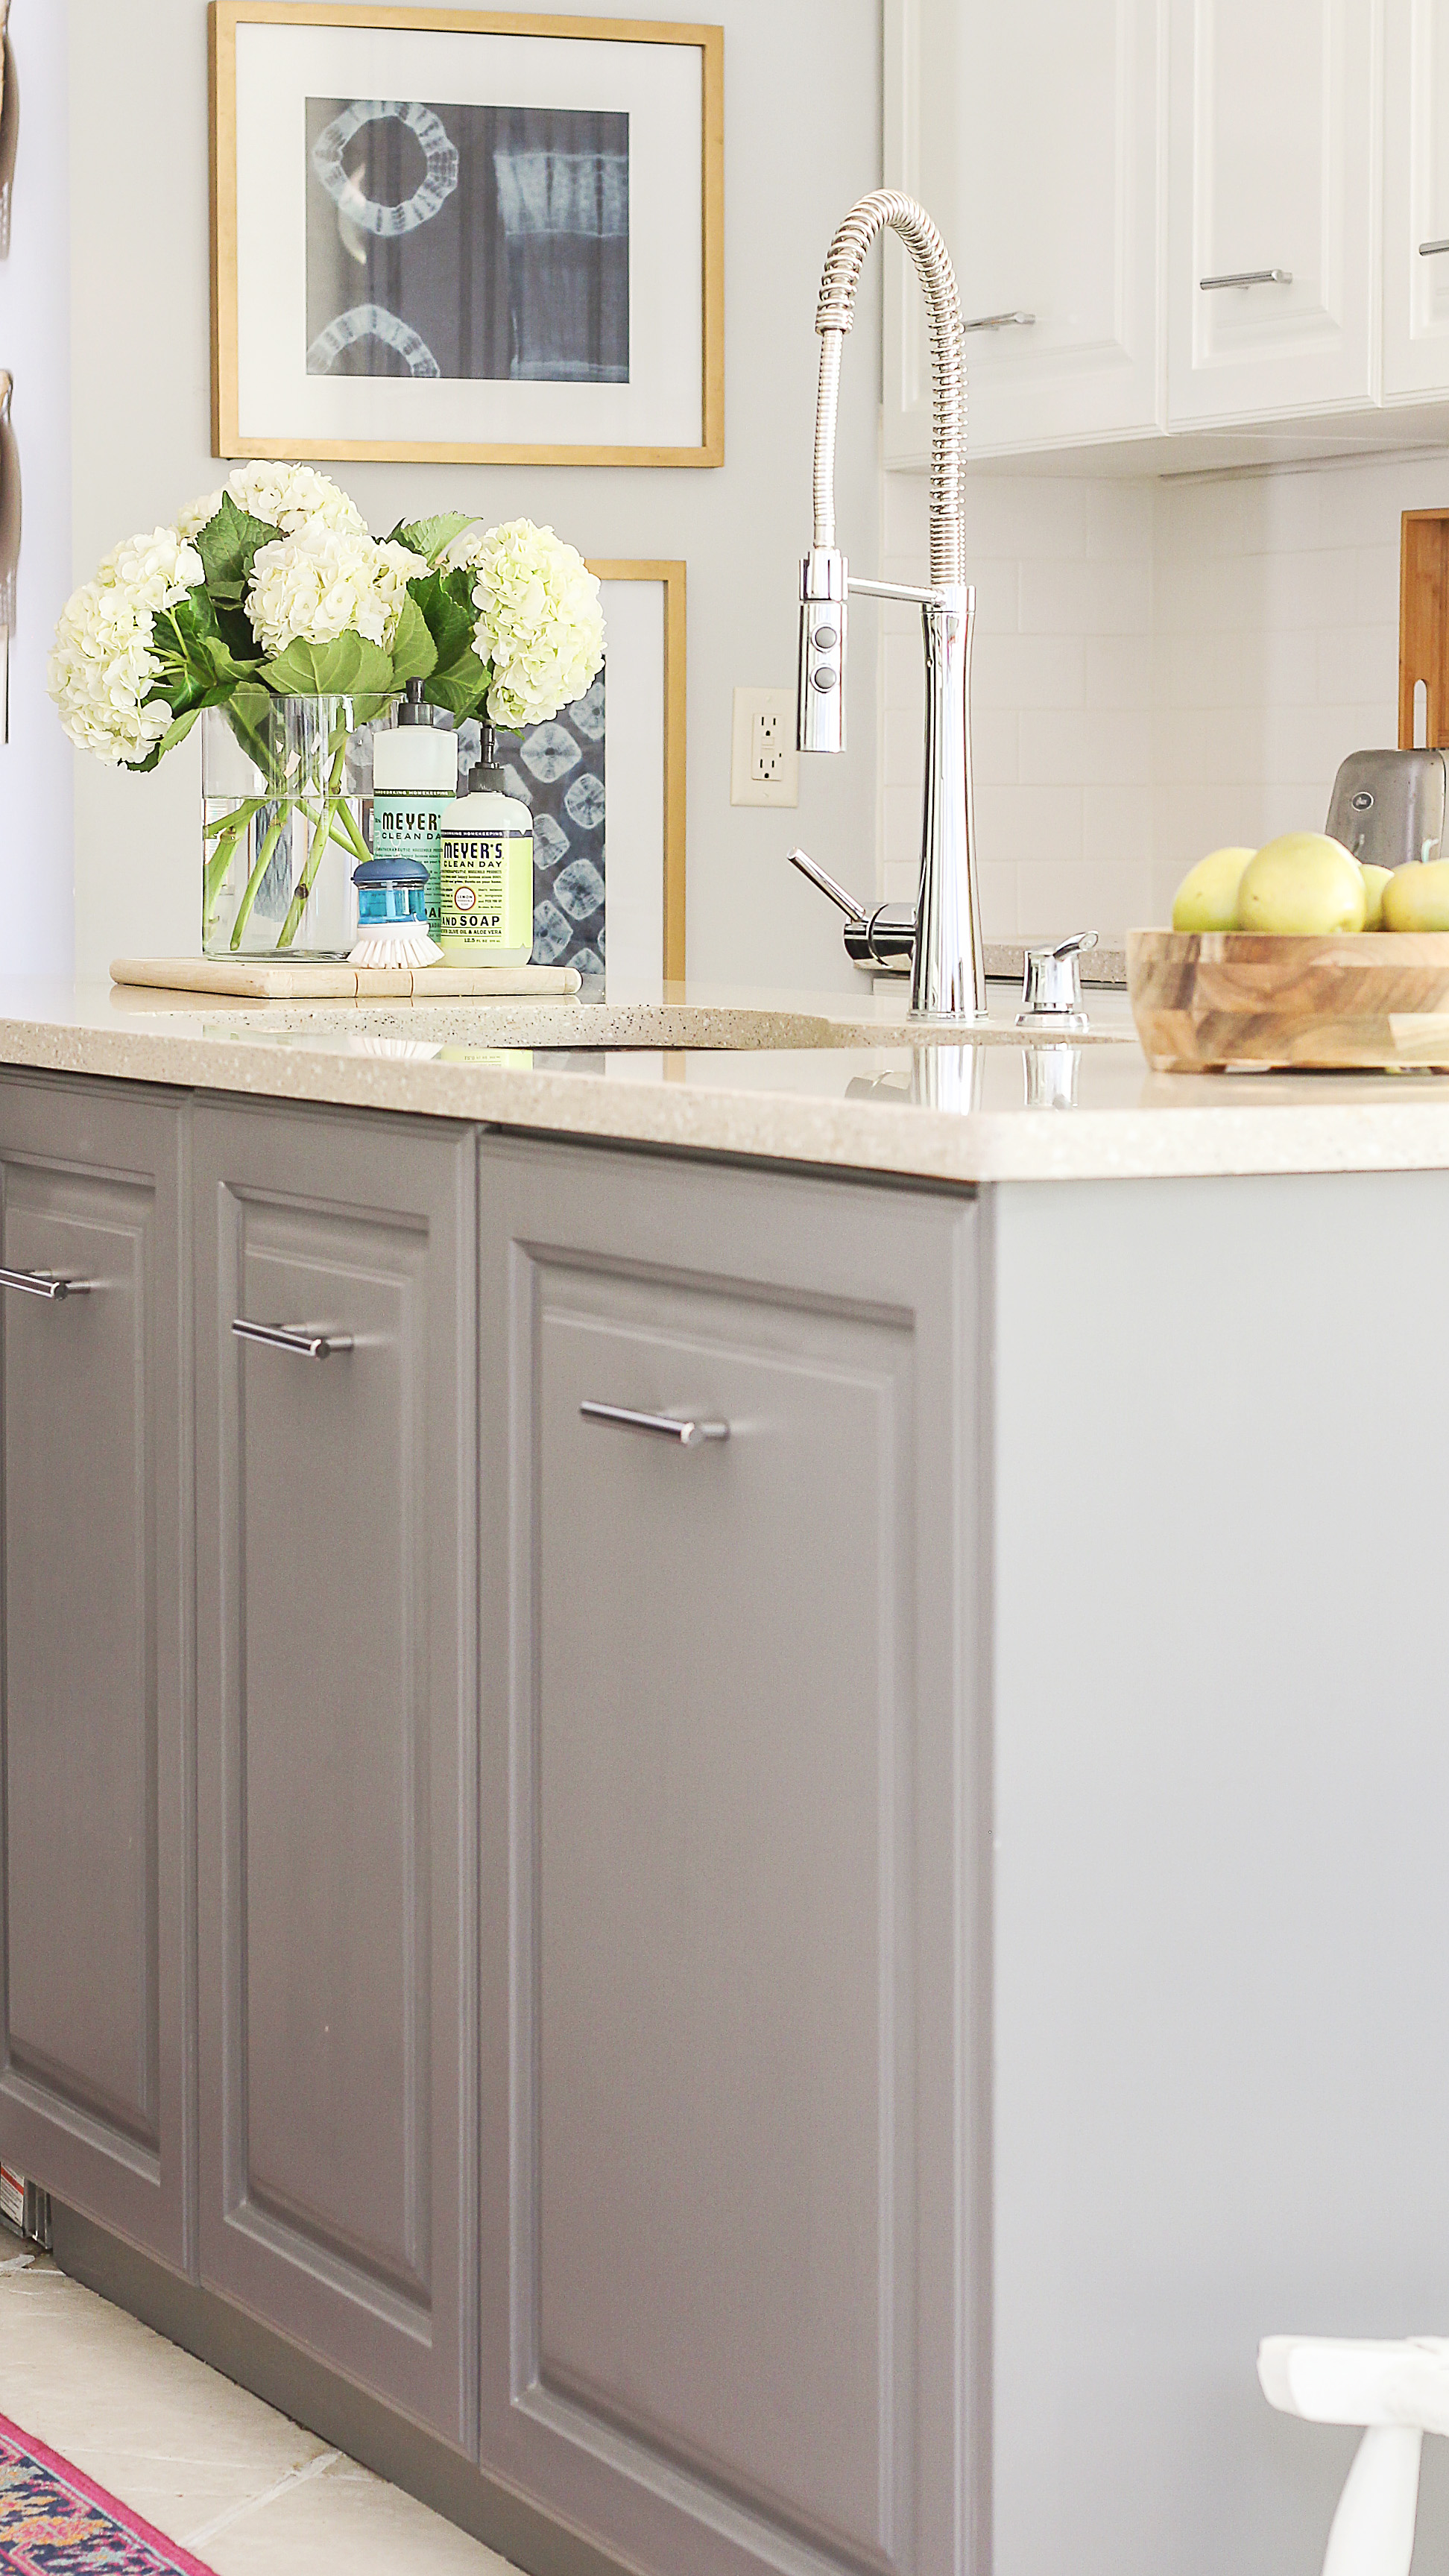
Looking for the fastest and easiest way to paint your kitchen cabinets? I have the ultimate hack to share with you today.
From first hand experience, I know the traditional approach to painting cabinets can be a major pain in the a$$- taking days, sometimes weeks, to complete. From the sanding to the priming to the multiple layers of oil-based paint (with the worst fumes- resulting in a buzz of the undesirable variety),it is definitely not a task for the faint of heart.
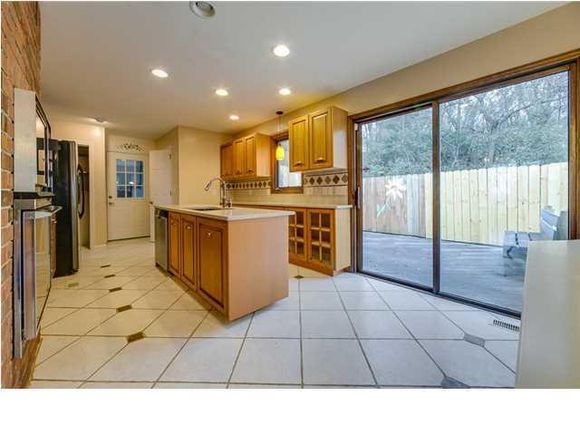
That being said, never underestimate the power of paint. Here is what our kitchen looked like when we first moved into our 1980’s fixer upper….
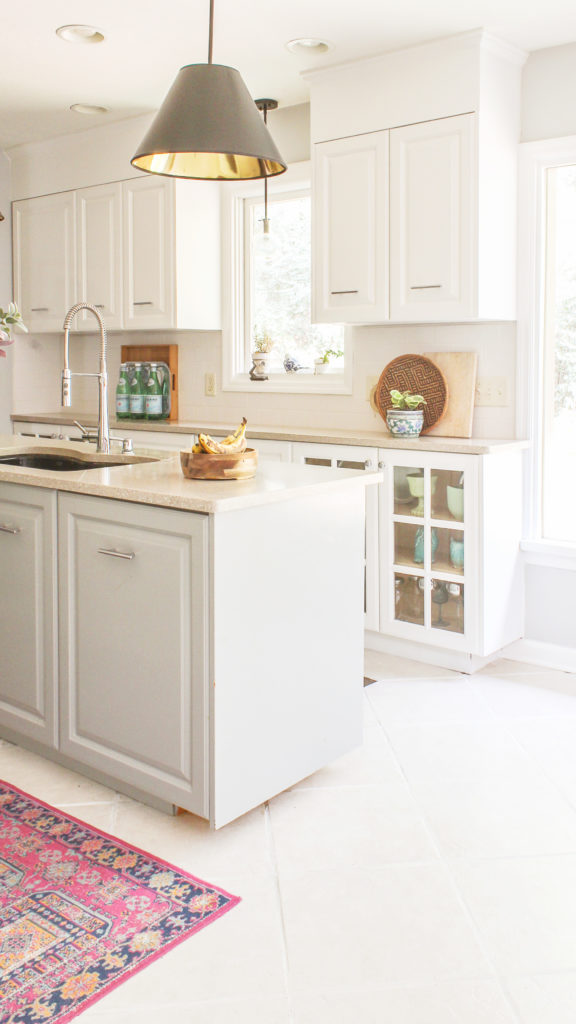
One of the most dramatic projects we executed for the space was painting our kitchen cabinets white. Not only did it do wonders from a visual standpoint, keeping the existing cabinets saved us thousands of dollars.
Initially, we hired someone to paint all of the kitchen cabinets. The contractor tackled the project using the traditional method- removing the doors, priming, sanding and using an oil-based paint. Inconveniently, the project took about two weeks to complete (and don’t even get me started on all of the horrible fumes). The cabinets required several coats of oil-based paint, and drying time between each coat was painstakingly slow.
Two years later, while we are still pleased with how the paint has held up, I wanted to add more contrast to the kitchen island.
Actually, the kitchen island was intended to be high-contrast all along, but the paint store screwed up our order, giving us a light grey color, and I was too much of a freaking pushover to make the contractor repaint the island with the correct color.
Knowing what a commitment it would be to correct the problem, I basically resented the sh*t out of my kitchen island for two years…that is, until I grew the kahunas to test out a new method using milk paint. So here is the ultimate hack to painting cabinets, my friends.
**Please note that while milk paint worked magic for me- going over an already painted surface- I don’t have any experience painting cabinets that have not been painted. Therefore, I would recommend doing a test spot to make sure the product will work well for your specific needs.While testing, lightly sand the test area and apply two coats of paint to see how it will work for you. **
For your shopping convenience, I have included some affiliate links.As an Amazon Associate I earn from qualifying purchases
Materials
- milk paint (I used this kind)
- foam roller (like this one)
- skinny paint brush
- paint pan
- painter’s tape
- Sanding Sponge
After researching milk paint for about a year, I decided to put on my big girl panties and go for it. I was sick of resenting my kitchen island.
(Step 1) Remove knobs or pulls from your cabinets with a screw driver. Note: since my cabinets have concealed hinges (located on the inside of the cabinet) I did not remove the cabinet doors. Depending on how lazy you are, you may or may not want to remove the doors of your cabinet…I did not, and did not experience any problems with this method.
(Step 2) While many claim no sanding is required when using milk paint (I used this kind), I lightly scuffed up the surface with a sanding block. I didn’t spend much time sanding. I was just concerned with roughing up the existing sheen from the oil-paint. With a rag, I dusted off the surface.
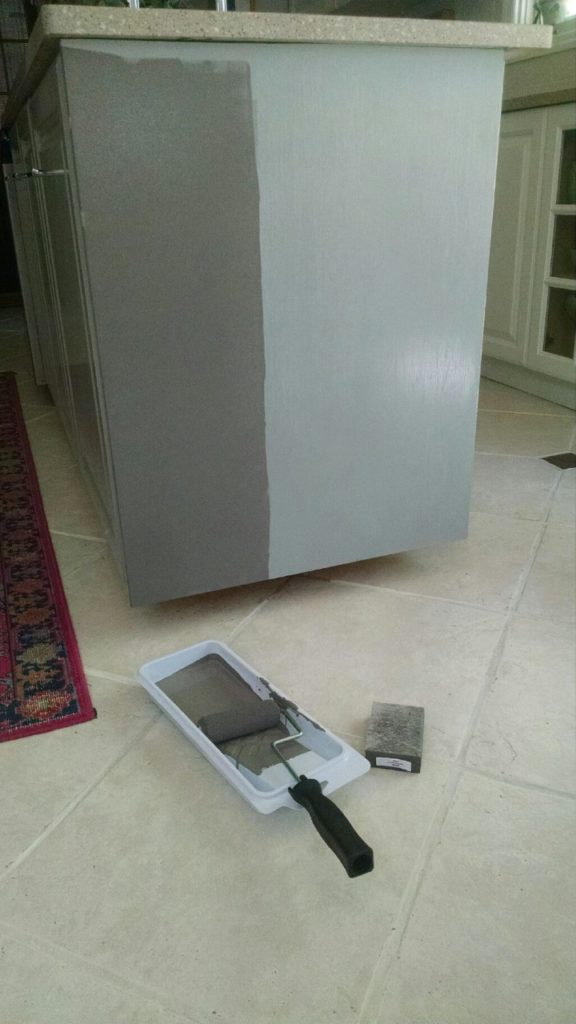
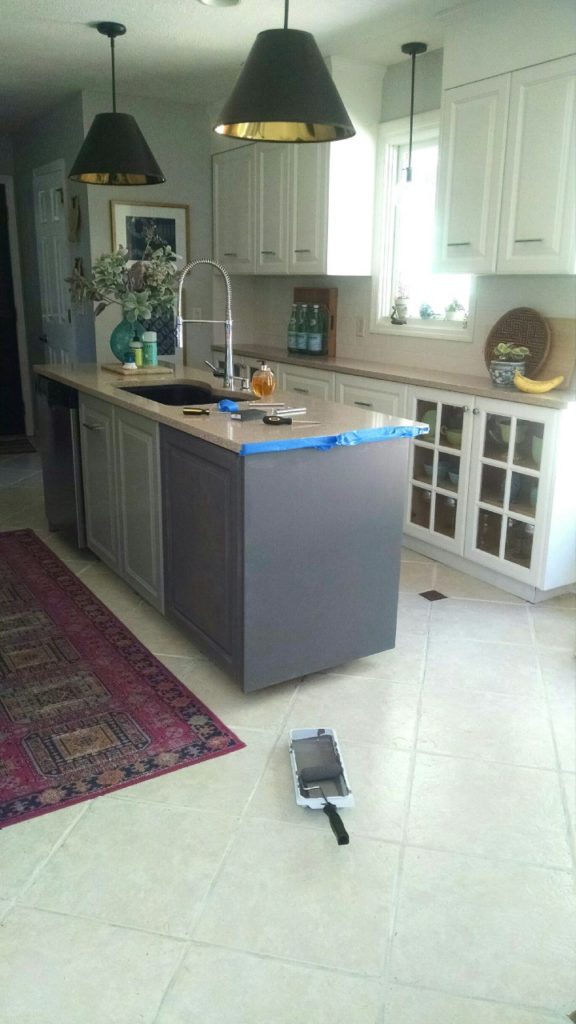
(Step 3) Apply painter’s tape where needed and get to painting! Because I started with the side of the island, I began with my foam roller.
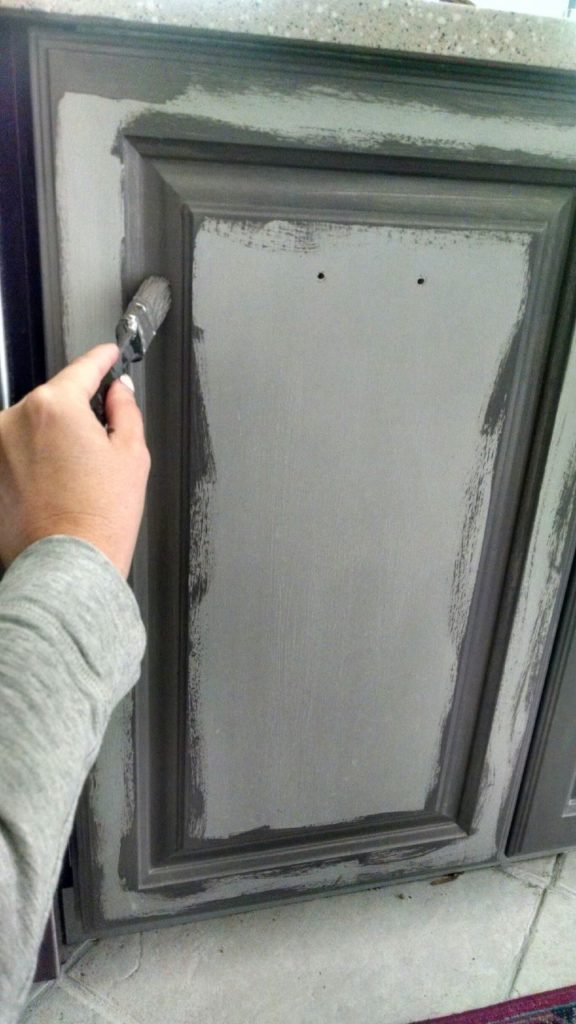
On the cabinet face, I used my skinny brush first to paint the crevices, and then applied milk paint with the roller last.
[embed_popupally_pro popup_id=”2″]
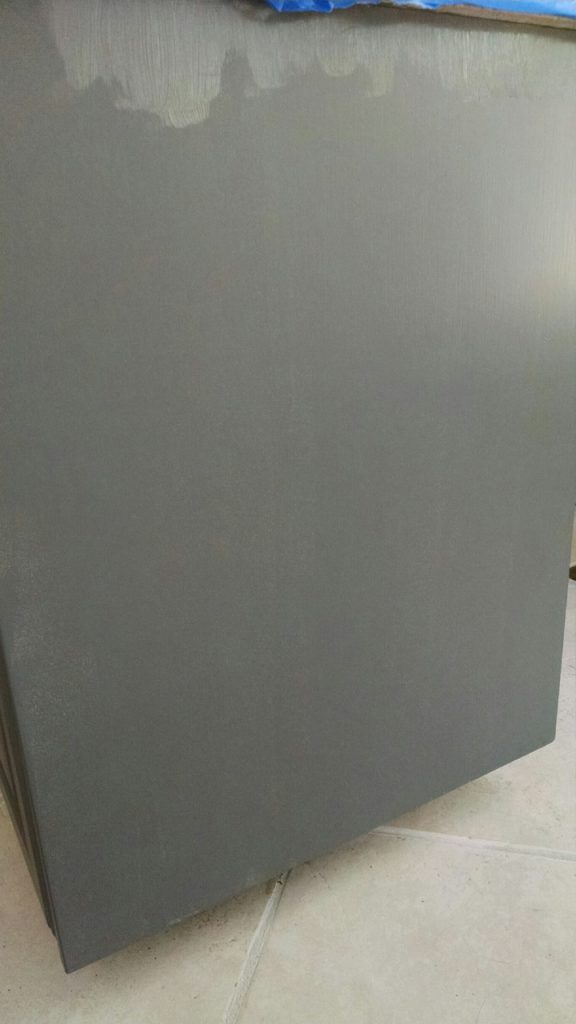
Milk paint is the shiznit, friends! It was super easy to work with, and I was amazed with the lack of fumes. Above is what my cabinets looked like after only one coat (the visibly wet portion is where I was beginning with my second coat of paint).
(Want to see how my cabinets are holding up? Click here for my one year, milk paint review).
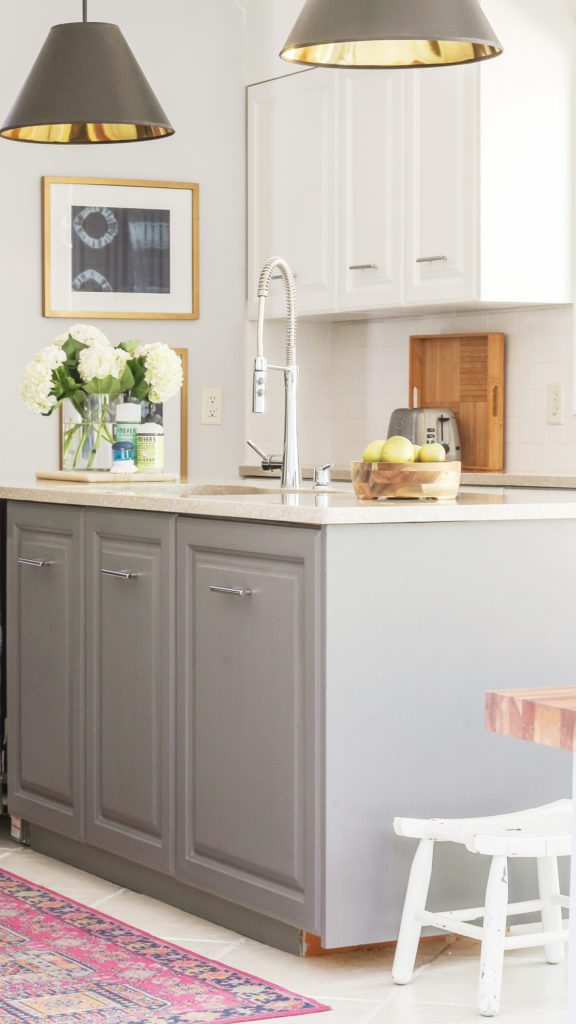
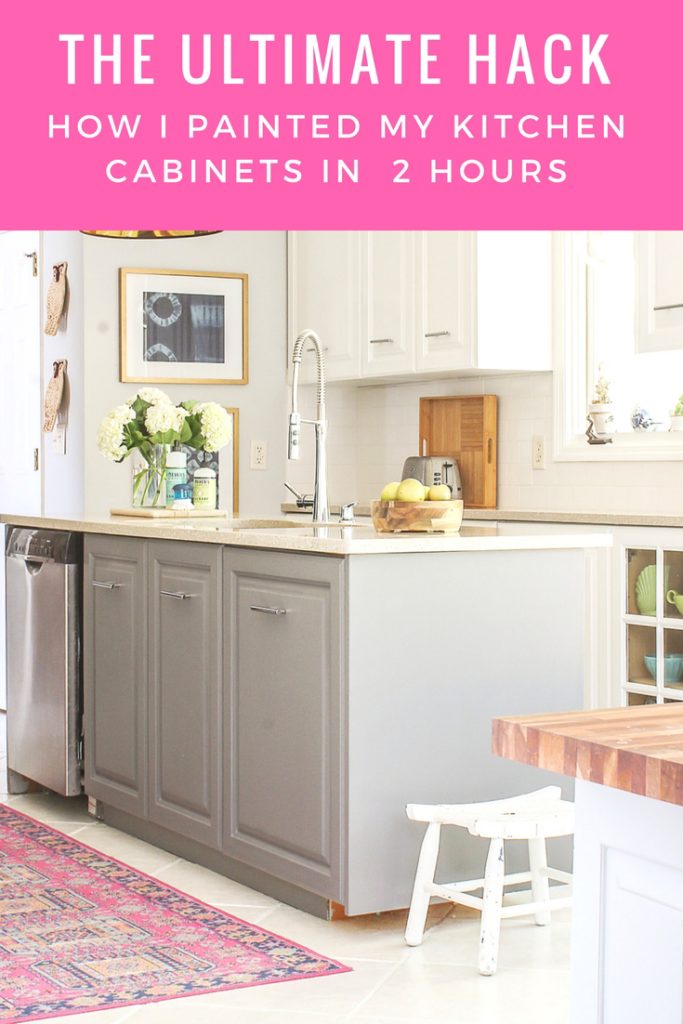
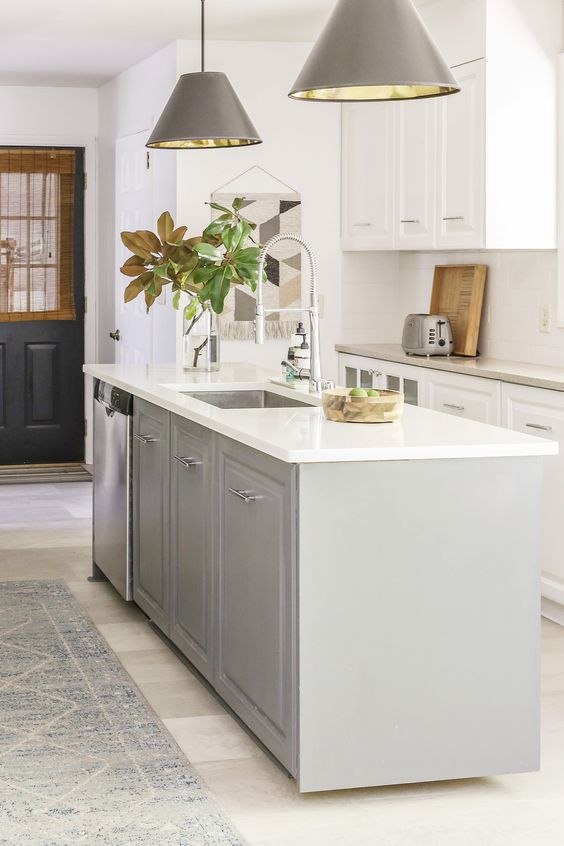
Unlike our oil-based paint fiasco, the milk paint covered our cabinets beautifully. With only two coats of paint (and only 1 hour of my time), I was able to provide a high-contrast pop to my kitchen island. I am so happy with the results (just don’t judge the very bottom portion of the island…I couldn’t reach underneath it, so it is still the original wood color).
Want to see how my milk paint cabinets are holding up? Read my six month follow-up post here. Or read my one year follow up here.
** If milk paint still doesn’t appeal to you but you are seeking an easier alternative to the pain in the A$$ that oil-paint can be, be sure to also check out this post I wrote about transforming my outdated wood, bathroom vanity with gel stain. Gel stain is a perfectly viable option for cabinets that have’t been painted….I totally stained over the existing stain after some light sanding and it turned out beautifully. You can click here to read that DIY tutorial and also to see how it is holding up.
To Poly or Not to Poly?
Many of you may be wondering if I used any sort of top coat or poly to protect the paint and the answer as of now is… NO! As an experiment, I am waiting to see if the milk paint is durable enough to forego any sort of protection. It has been three weeks so far, and I have yet to inflict any sort of damage to the milk paint.
UPDATE: After observing how incredibly rough my small children are on the cabinets, I decided to be proactive and apply this topcoat to them. Want to know how the milk paint is holding up after 6 months? Click here to read the follow-up post. You can also watch the video below…
My Experience with Milk Paint- Video:
So, if you are looking for an impactful project to vamp up your kitchen without breaking the bank, I highly recommend using milk paint on your kitchen cabinets. If you are looking for other DIY kitchen updates , be sure to check out my separate article on how I transformed my outdated kitchen on a crazy low budget by clicking here.
Now get out there and design some good vibes!
Please be sure to spread the love and Pin….










Looks great Erica. I’ve used milk paint before on many projects but only the powder form. That one needs some kind of coating. Your kitchen island looks awesome and there certainly was no need for you to suffer for 2 years for such an easy fix.
Thanks, Mary. I don’t know why I waited so long to take the plunge, but so happy to discover something more efficient than oil-based paint (because i hate working with that stuff).
It looks great and I love the color! I will be working on my kitchen soon so I will definitely take milk paint into consideration.
Thank you so much, girl. I am really surprised with how easy it was to work with…so much better than oil paint. Even better, they carry several different colors. Good luck with your kitchen!
Whattttt. First time I’ve heard of this paint even though I read several DIY blogs. I’m always suspicious of “new! fast! easy!” type fixes, especially with paint on heavily used things. I chalk painted a moderately used dresser 2-3 years ago and it got a few small chips which are ok on that but I know would bug me in the kitchen. We are refinishing the kitchen cabinets of our new house the old fashioned way which isn’t so bad since we’re not living there yet, but man the prep has been more time intensive than I expected. I hope it holds up the way it should! If not… I’ll keep this idea in my back pocket 😉
I completely understand your apprehension, friend…that is why it took me a year to finally muster the courage to try it myself. Good luck with your kitchen!
It looks amazing Erica! I loved your kitchen so much before and I love it even more now.:) Seriously, our kitchen is so bad it looks like Marthas Vineyard threw up in there and I have pretty much saved it for last because the entire thing makes me so nervous, but you give me hope girlfriend!
Thank you so much, Ashley. Never underestimate the power of paint.
Love this idea! I need to repaint my kitchen cabinets and have been thinking about milk paint. So glad to hear that it is a good option! I can’t wait to try this!
I am so happy with how easy the milk paint was to work with…it’s definitely an option to consider, girl!
Did you wear a respirator mask?
I did not wear a mask. Luckily, there are almost zero fumes from milk paint. Best wishes!