
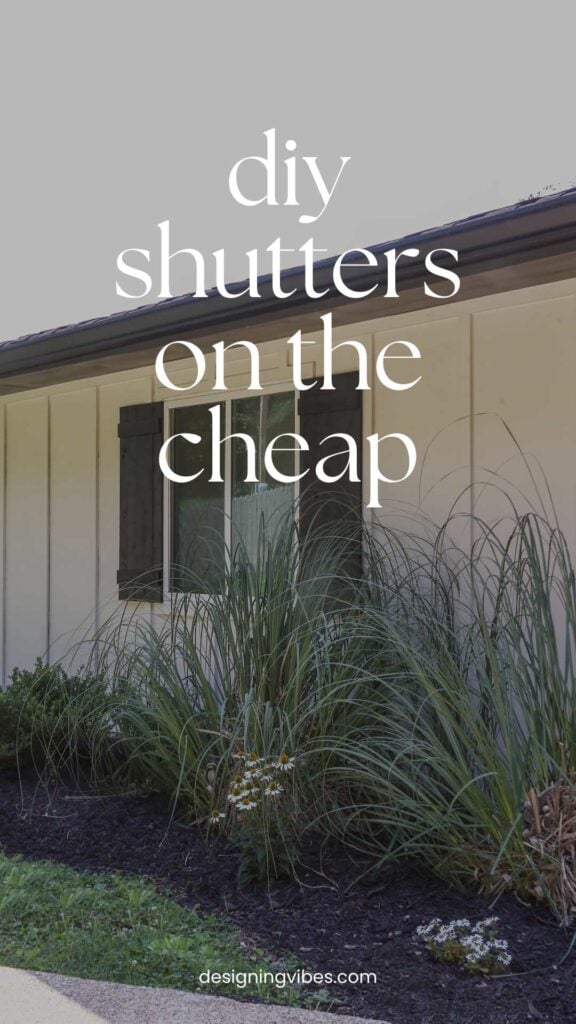
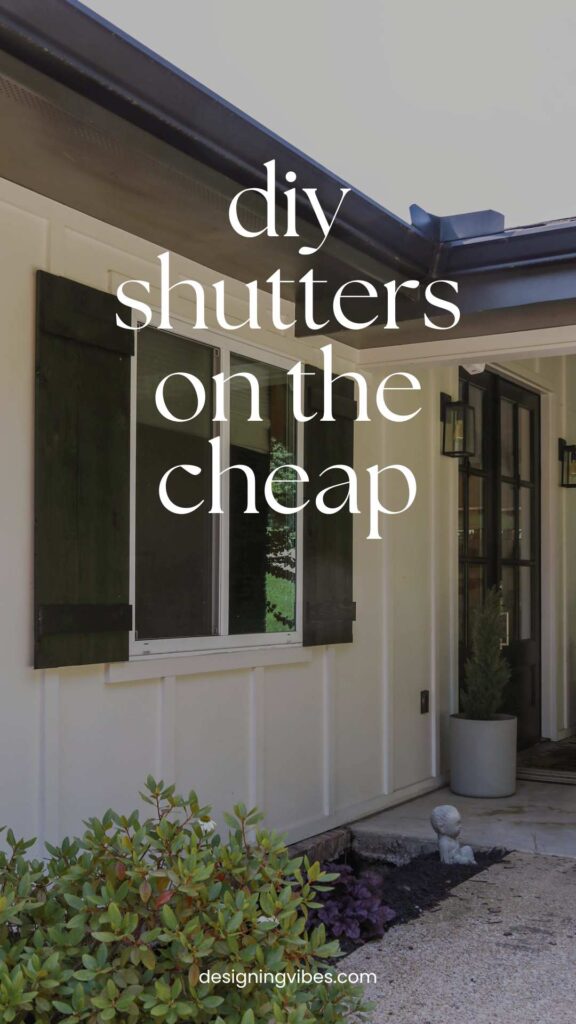
DIY Board and Batten Shutters on the Cheap
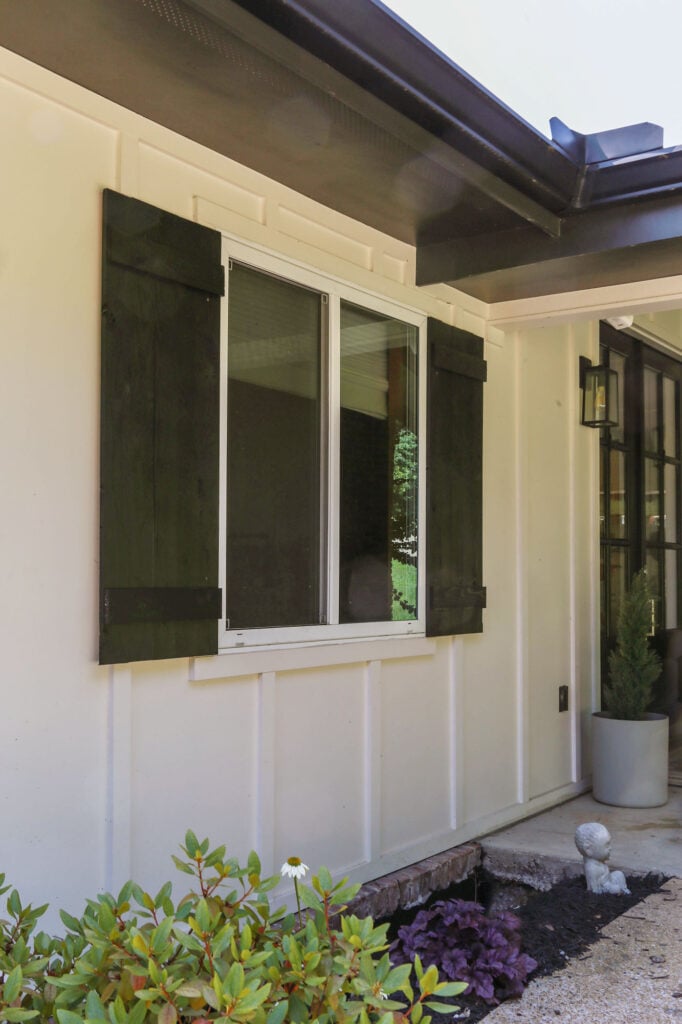
Thinking about board and batten shutters to give your home’s curb appeal a boost (but not trying to spend a fortune)? You’re in the right place, my friend. Today, I am sharing the step-by-step tutorial for how my husband and I built these babies for just $80 a pair using real cedar…
Yes…I know it’s been a little quieter over here on my little corner of the internet lately.
This summer, I’ve been deep in my soft girl era- soaking up time with my boys, cleaning up approximately 47 snack wrappers a day, and wrangling our new baby shark (I mean Golden Retriever puppy). After we unexpectedly lost our old hound dog back in April, I didn’t think my heart was ready, but… here we are.
Between the chaos of mom life and juggling some new marketing client work behind the scenes (because yes, life – and the digital landscape in general- has shifted a bit since I first went full-time with this blog), home projects have been moving a little slower than usual.
Nonetheless, I do get the occasional burst of energy for a good ol’ DIY. And this particular project was budget-friendly, straightforward and made a hell of a difference on a stretch of our front elevation that needed some major TLC…
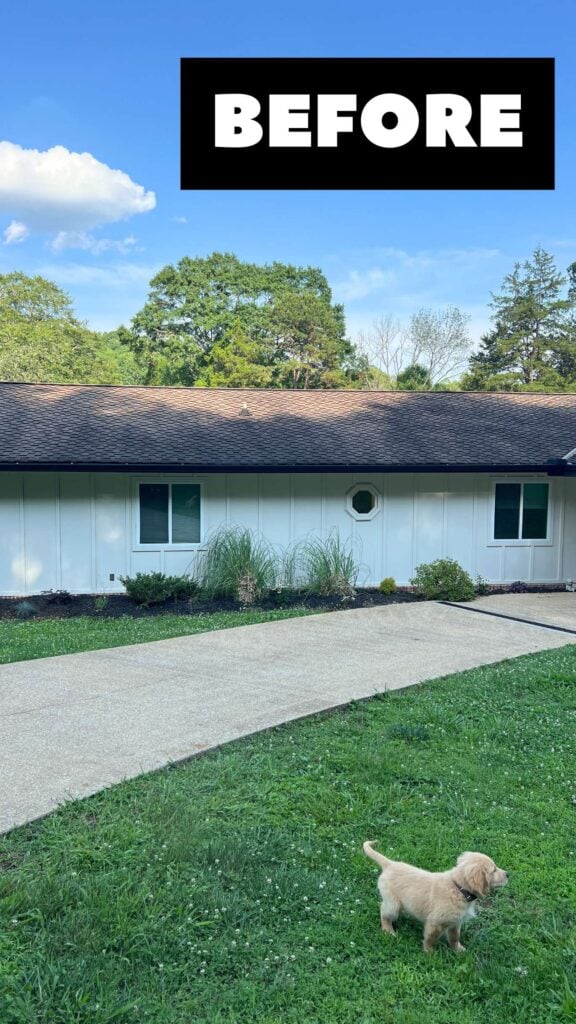
You see…this boring little slice of our front elevation (pictured above along with my new pet of a shark) wasn’t always on the top of my priority list until we uncovered every homeowner’s worst nightmare this past winter: major foundation damage. Yep… turns out the previous owners had encapsulated the crawl space without installing an inspection window, which meant the structural issues were completely hidden during the home inspection. Cool, right?
After tens of thousands in foundation repairs and digging out the entire flower bed for said repairs, the landscaping in this area took a major hit (and it still hasn’t bounced back). While I originally planned to paint the windows black for a more modern look, the pros at Sherwin-Williams warned me against it as black paint can warp vinyl windows, and they don’t even offer a vinyl-safe black formula anyway.
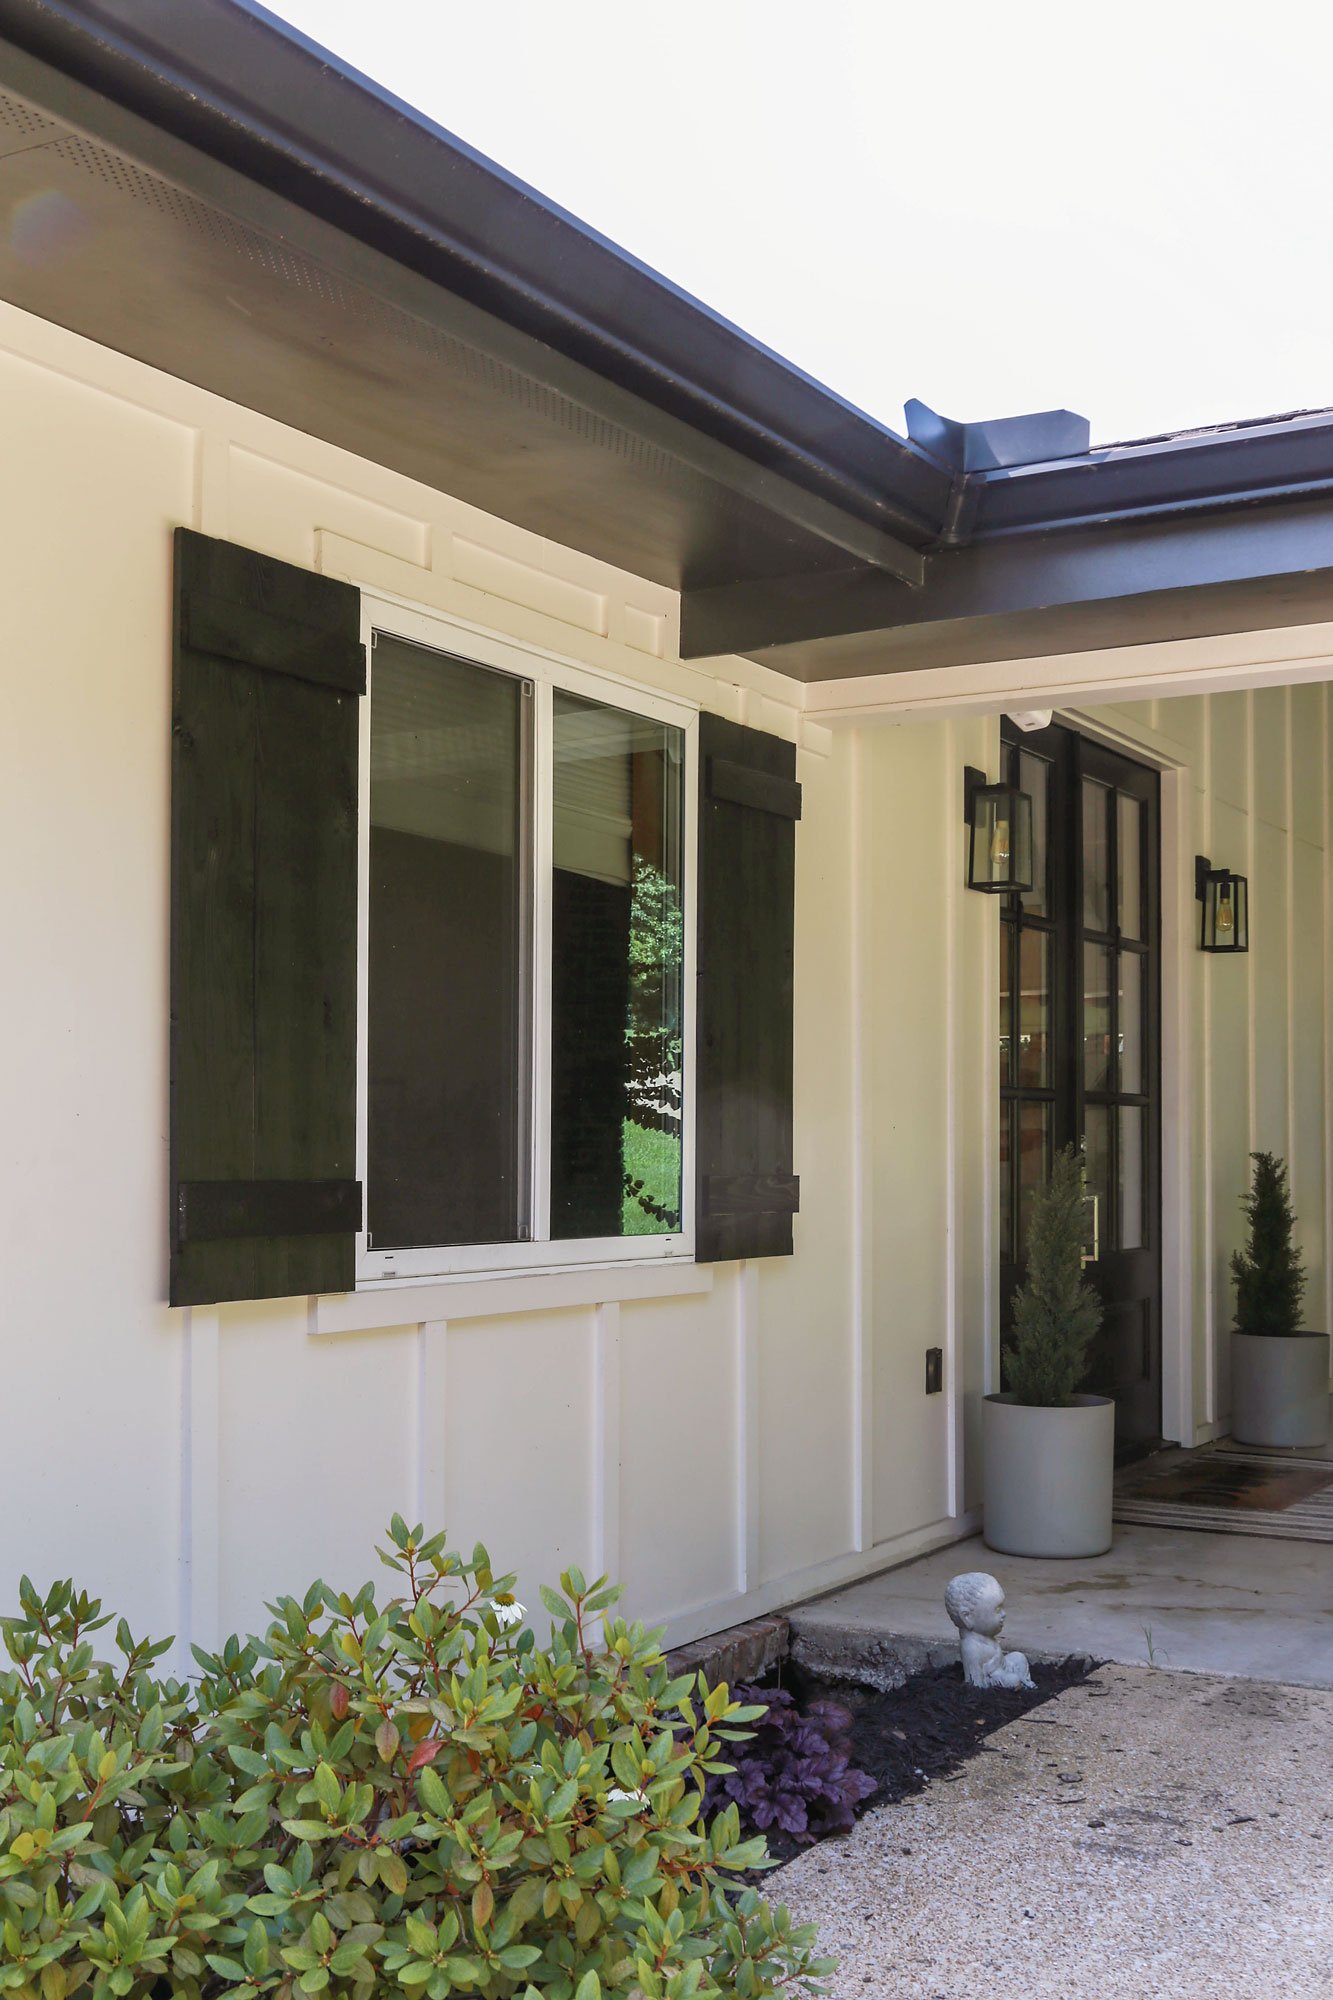
So… I decided that shutters would be the next option. The perfect fix for this awkward, unfinished wall and a way to add some much-needed charm (without melting my windows or my wallet).
While you could definitely make this project even more budget-friendly by using pine, we opted for cedar since it’s naturally more weather-resistant and better suited for exterior use. For two windows (or four shutters total), the cedar came out to about $157. Pine would’ve cut that cost nearly in half, but may require more upkeep over time.
Now let me show you how to replicate this project for your own home…
How To Build Board and Batten Shutters:
Materials Needed: (makes 4 shutters total)
- Desired stock for the shutter (we used 3 4×4-8FT cedar boards for 2 windows)
- Drill/Driver
- Clamps
- Trim head screws
- Miter saw
- Roller
- Paint
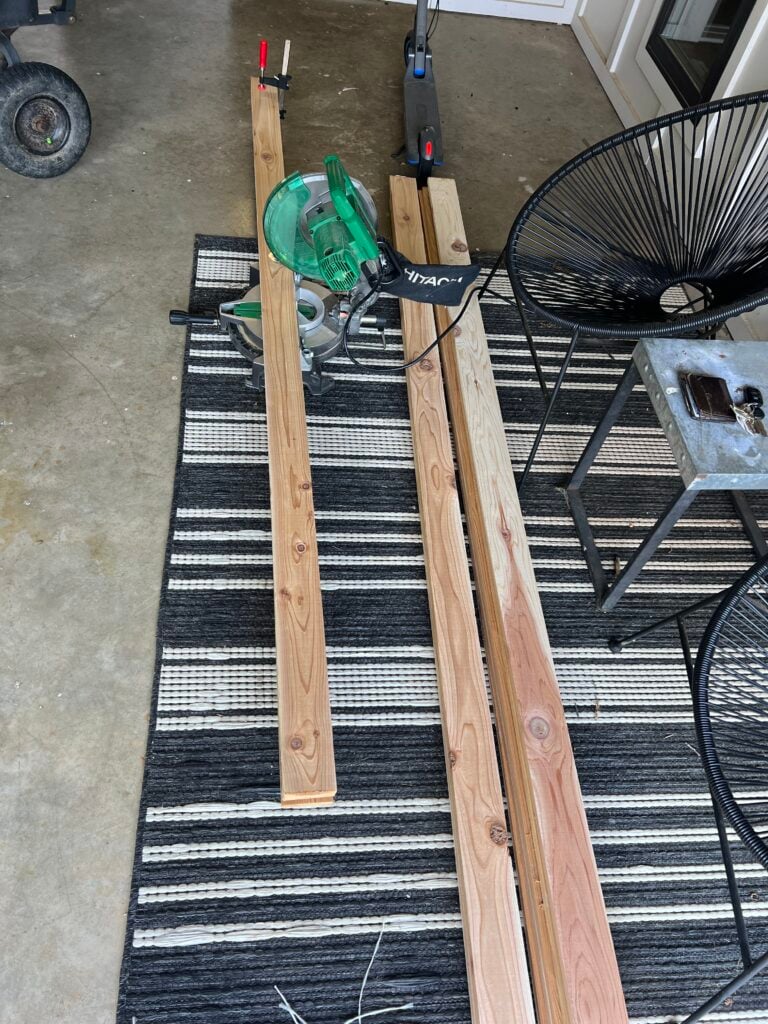
(Step 1). Using a miter saw, cut your stock to the desired length for the height of the shutters.
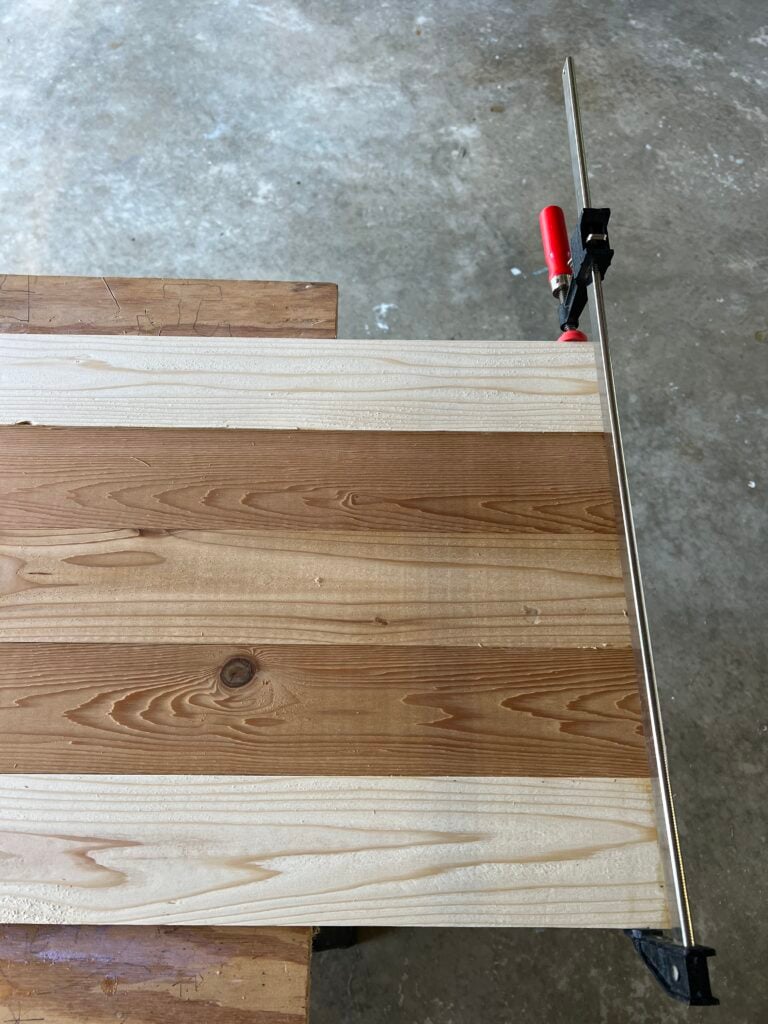
(Step 2). Clamp boards together. This holds them in place until you attach the rail.

(Step 3). Cut your rail boards to the width of the shutter. You will need two of them per shutter.
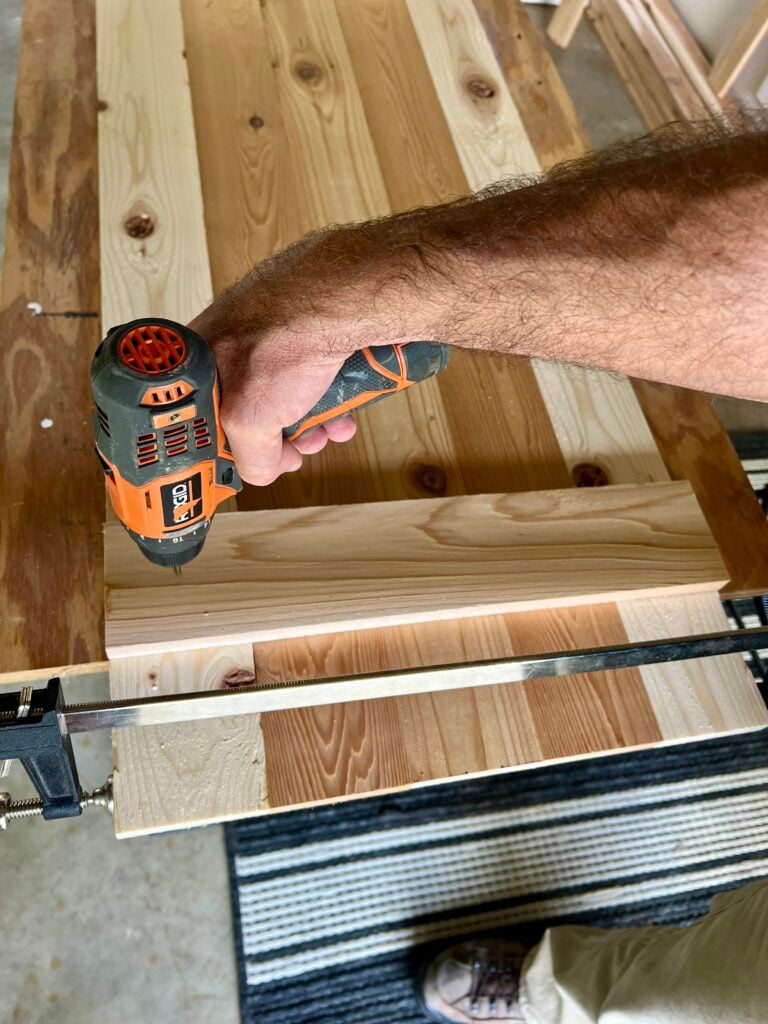
(Step 4). Find the desired location of the rail and attach to shutter. We didn’t follow any sort of design formula (we actually just eyeballed the placement).
Mu husband used trim head screws so the screw head was not noticeable. Use one screw to attach the rail to each vertical plank. This holds the planks together once the clamp is removed.
(Step 5). Sand your shutters before applying paint or stain (which, full disclosure, I was too damn lazy to do).
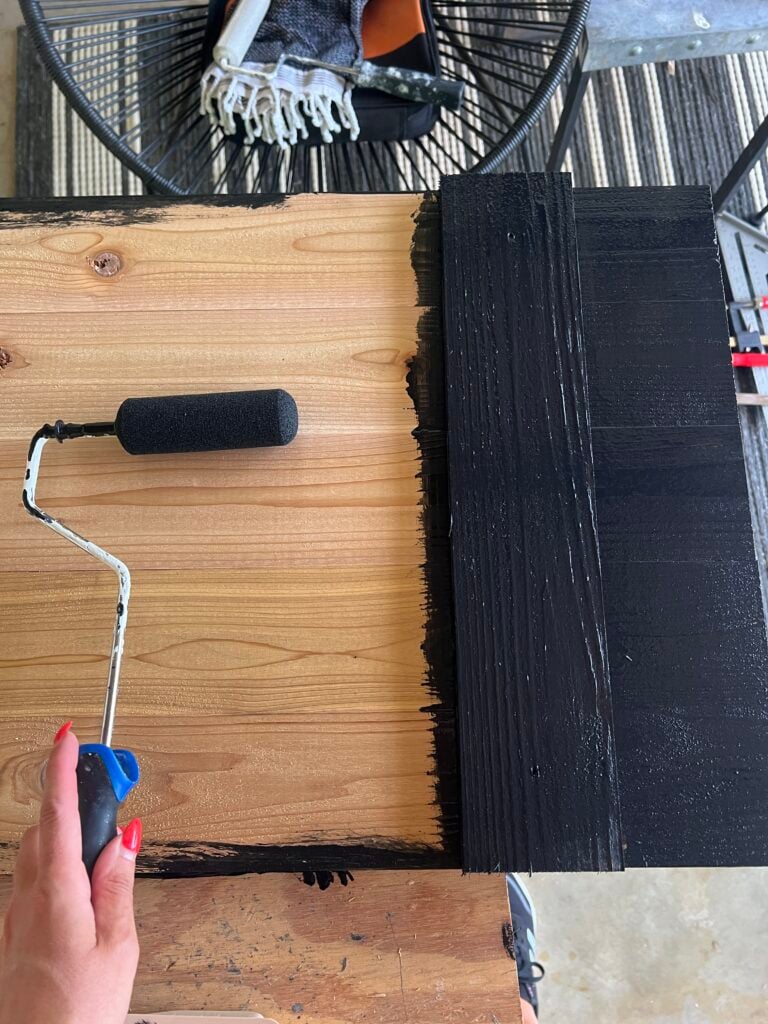
(Step 6). While I did consider simply staining the shutters, ultimately I wanted something that worked well with my black front doors and the exposed brick on the other section of my exterior. Luckily I had some leftover Sherwin Williams Emerald Urethane paint front where I had painted my front doors in Tricorn Black, so I simply applied the leftover paint with a foam roller.
Tip: If I had been using a lighter paint color, I would have primed the shutters with a stain blocking formula before painting!
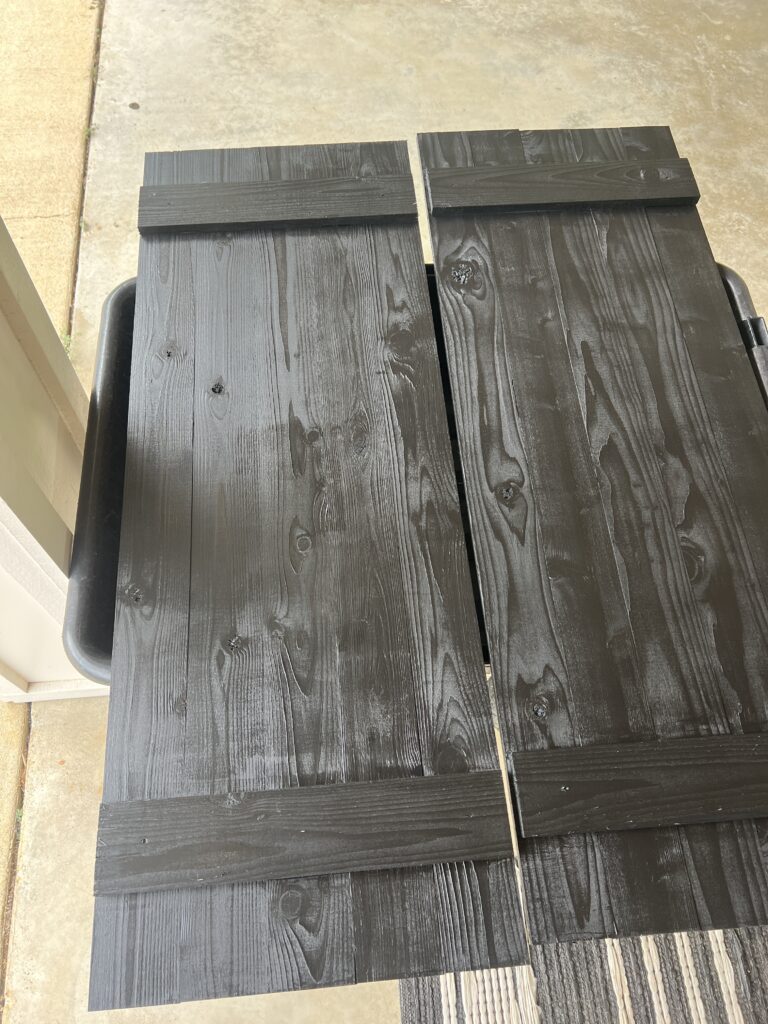
(Step 7). Allow the paint to cure on your shutters before installing them. Follow the paint manufacturer’s instructions on this and be sure you are using a formula suitable for exterior use. I let my shutters cure for 3-4 days.

(Step 8). Attach the shutters to the house using a drill. My husband used trim head screws for this so the screw head was not noticeable.
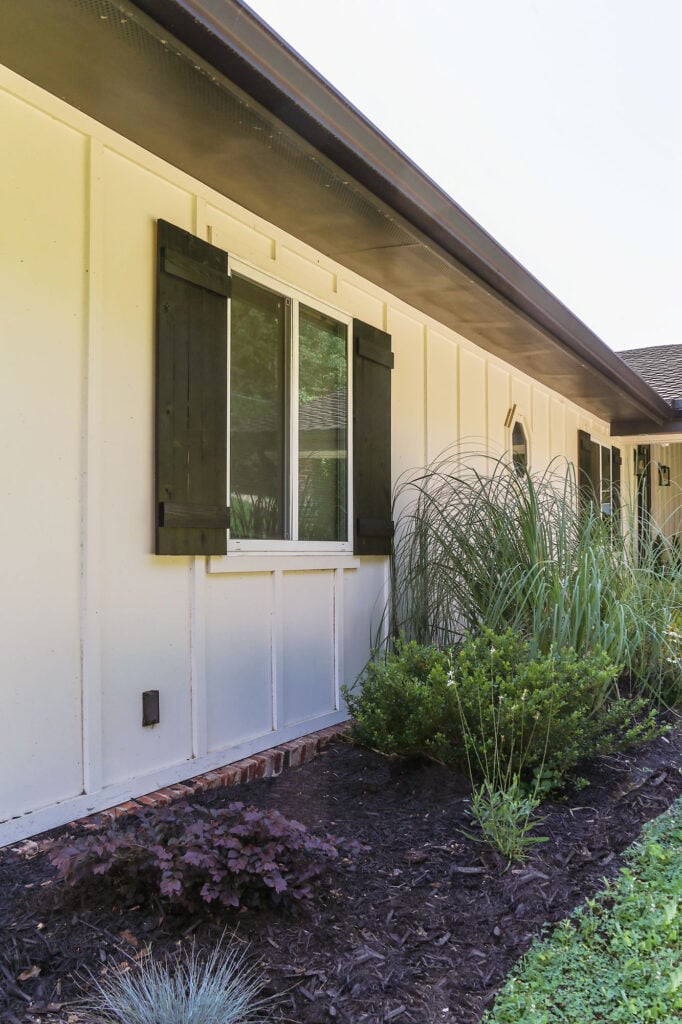
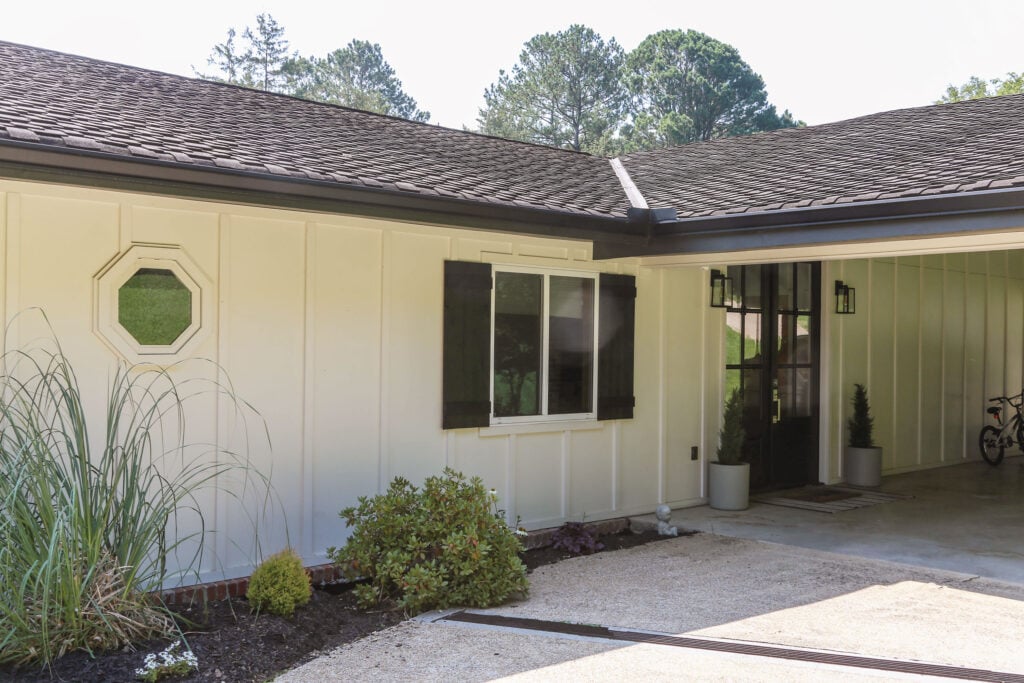
While shutters do not work in every sort of scenario (whether due to spacial limitations or architectural considerations) I am really impressed with not only how simple and inexpensive this project was, but what a dramatic impact this addition had on the curb appeal of my home.
If you’ve got a flat or boring exterior that’s been begging for a little more charm, I hope this post gives you the inspo (and the how-to) to finally go for it. Sometimes the simplest upgrades make the biggest difference!
Thank you so much for stopping by and spending some time with me this week!
If this post gave you some inspiration (or at least a little DIY courage), it would mean the world if you shared it with a friend or saved it to Pinterest. It’s a small thing that truly helps this little blog of mine keep going, and I’m always so dang grateful for your support.
Until next time, keep on designing a life that feels as good as it looks!


Welcome!
My journey in interior design and home improvement began with transforming my first fixer-upper home, all while managing a budget and raising two young boys. My work, a reflection of my passion for creating beautiful, uplifting spaces, has been recognized by top publications like Better Homes and Gardens Magazine, HGTV, and more. I invite you to explore my site and witness the transformation of my home and the vibes we've designed. Read more...


Hello Erica!
Those shutters made such a difference and look great!
Your little pup is adorable, I’m sure he and the boys are keeping things lively at your house. Don’t run out of snacks.
Have a great day-
Donna
Thank you so much, friend!Yes…snacks (and chew toys) are my saving grace right now. haha! Wishing you a wonderful rest of your week. 🙂
The shutters look great and really complement the front door beautifully!
Thank you so much, Nadine! I hope you are having a great summer so far. 🙂