Easy DIY Painted Front Door Tutorial

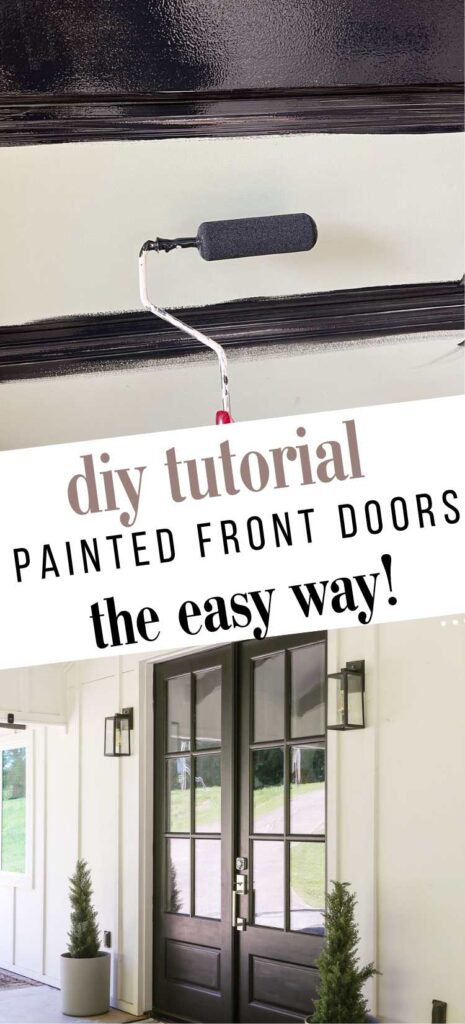
Looking for easy and affordable ways to boost your home’s curb appeal? In today’s DIY tutorial, I am going to show you just how easy it is to makeover your dated front door with a fresh coat of paint…
I have been dragging my feet on sharing this particular tutorial, because I know it is going to be a bit of a controversial one.
Remember the pastel green hue (Coastal Plain by Sherwin Williams) on my front doors that so many of you admired?…

Well…clears lump in throat…back in December, I decided to “paint it black”! Cue the sitar and wicked Charlie Watts’ drum beat!

And while the hue I went with isn’t just a basic, black-black ( I used”Tricorn Black” by Sherwin Williams), it is one of the darkest shades of paint on the market.
So… before the nasty comments come my way from those of you who loved the existing door color, I would like to first explain why I chose to paint my front doors when they already looked perfectly fine to begin with…
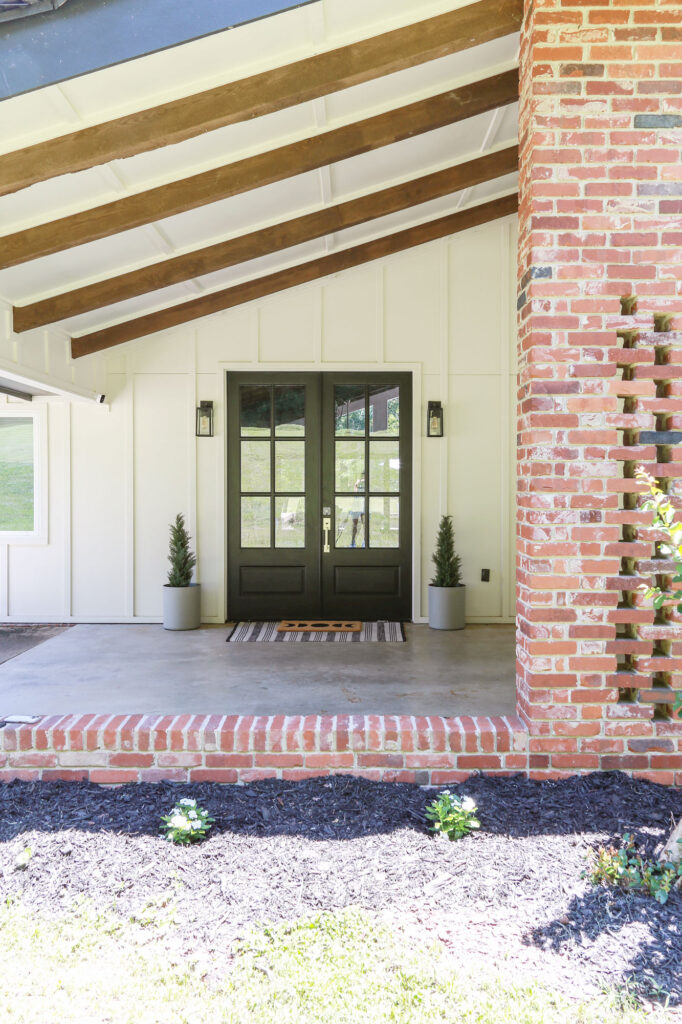
Reason 1 – If my lake cottage were only a vacation home and not my main (and only) residence, I would have been fine keeping this very charming, coastal-inspired color on my front doors. However, I live in this home year-round, and I wanted a color that would work better with the changing seasons (think halloween decor, pumpkins and Christmas wreaths). I never liked seasonal accents paired with SW Coastal Plain (the evergreen wreaths didn’t “pop” and the pumpkins always seemed to clash).
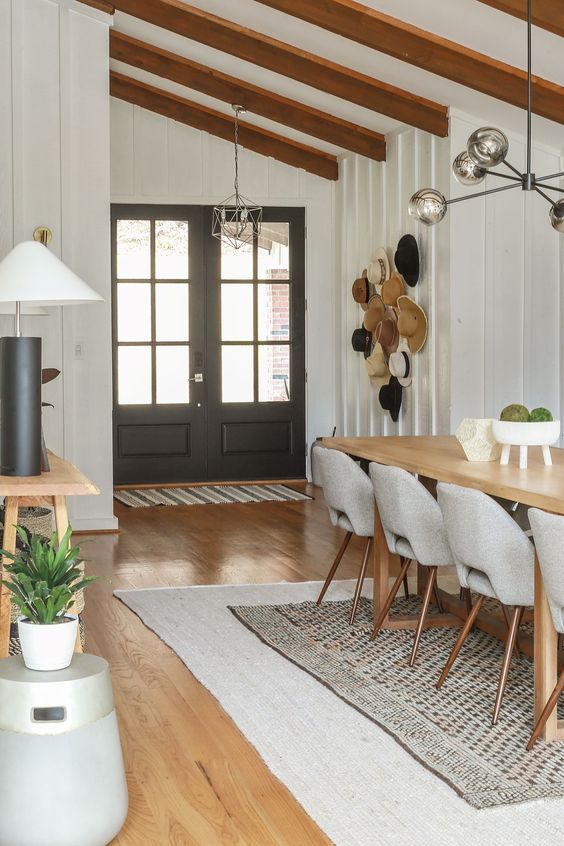
Reason 2- Not only was decorating my porch for the seasons more challenging with the original paint color, but when I decided to paint my living room black, it instantly set a dramatic, moody-tone for my home (which I freaking love)- leaving the playful/cutesy color of my front door feeling very disjointed from the rest of the house. In addition, black simply pairs better with all of the exposed brick throughout my house (like the two-sided fireplace in my kitchen and living room and the exterior foundation).
How I Chose the Paint for My Front Doors-
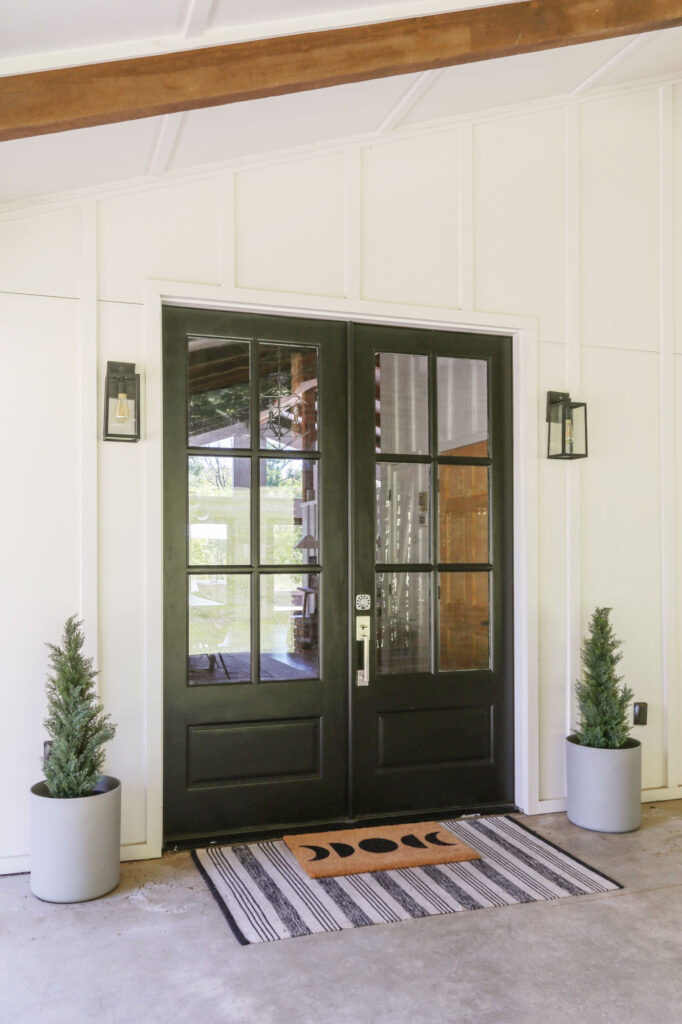
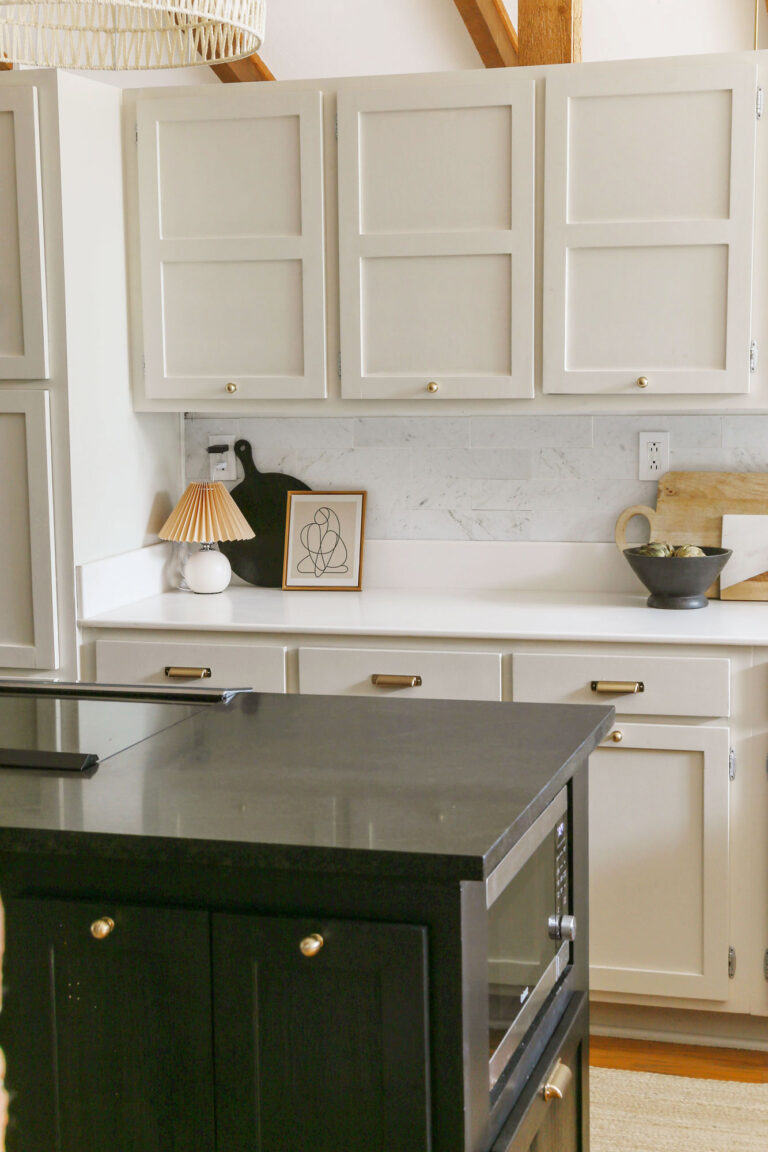
I specifically chose Tricorn Black by Sherwin Williams for my doors because I had plenty of this paint leftover after painting my kitchen cabinets with it. Not only was it free, but I geniunely love the look of a white and black exterior. I believe the pairing is so timeless, that it will never go out of style.
Now in terms of what kind of paint product I used, what’s freakin’ amazing about the specific line of cabinet paint I went with in my kitchen, Sherwin Williams Emerald Urethane, is that it is so durable it can also be used on exterior doors and trim as well (yes..I specifically asked the employees at my local Sherwin Williams).
Because I had plenty of experience working with this product before, I knew it was easy to work with and very forgiving. So… ultimately, I felt confident I wouldn’t screw up my beautiful wood doors.
Let me show you how I painted my front doors without removing them…
How To Paint Front Doors Without Having to Remove Them-
Materials Needed:
- exterior door paint (I used Emerald Urethane by Sherwin Williams)
- primer (if your doors have never been primed or if you are going with a drastically different color)
- hand-held sanding block
- painter’s tape
- paint brush
- foam paint roller

(Step 1). Protect anything you do not want to be painted by applying painter’s tape. This is actually the most annoying part of the whole process…I promise!
Because the door seal and threshold were black (the same color I was painting my door), I did not tape them off. Also, I didn’t have to tape the sides or top of the door as I had already painted the interior side of the door in Tricorn Black. I simply used tape to protect the glass window panes and door hardware.

(Step 2). Using a hand-held sanding sponge, I lightly scuffed up the existing paint. Because I was working with wood doors that had already been painted (and in great condition), I used 180-220 grit. If you are going with bare wood or perhaps paint that is in bad shape, you will want to go with a lower grit (you can start with 120).
Note: If you are painting an aluminum door, it is recommended to use 220-300 grit for sanding.
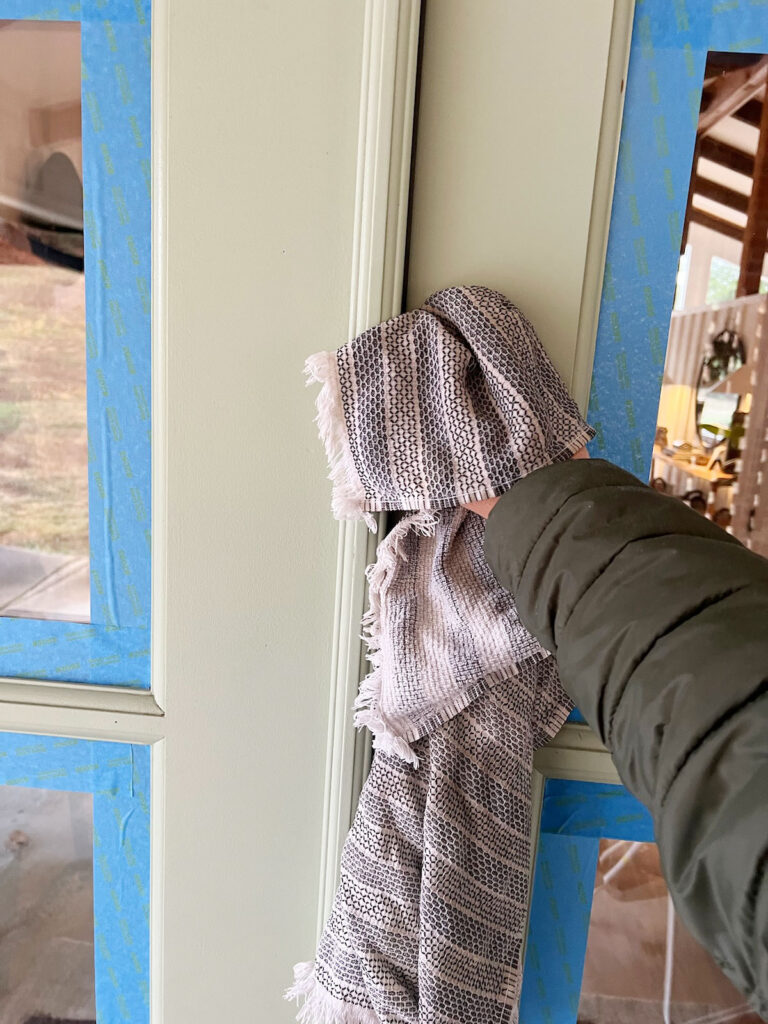
(Step 3). Clean front door with a damp rag. Allow to dry.
(Step 4). Because my doors had previously been primed and painted (and I was going with a darker color), I did not use a primer. I went straight to painting. However, if your doors have never been primed or you are going with a lighter paint color, you will need to prime your door before painting.
Primer Tips: If you are using Sherwin Williams Emerald Urethane on wood like I did, the spec. sheet recommends one coat of exterior wood primer (it can be oil or latex based as Emerald Urethane can be applied over both). If you will be painting aluminum, Sherwin Williams recommends one coat of All Surface Enamel Latex Primer.
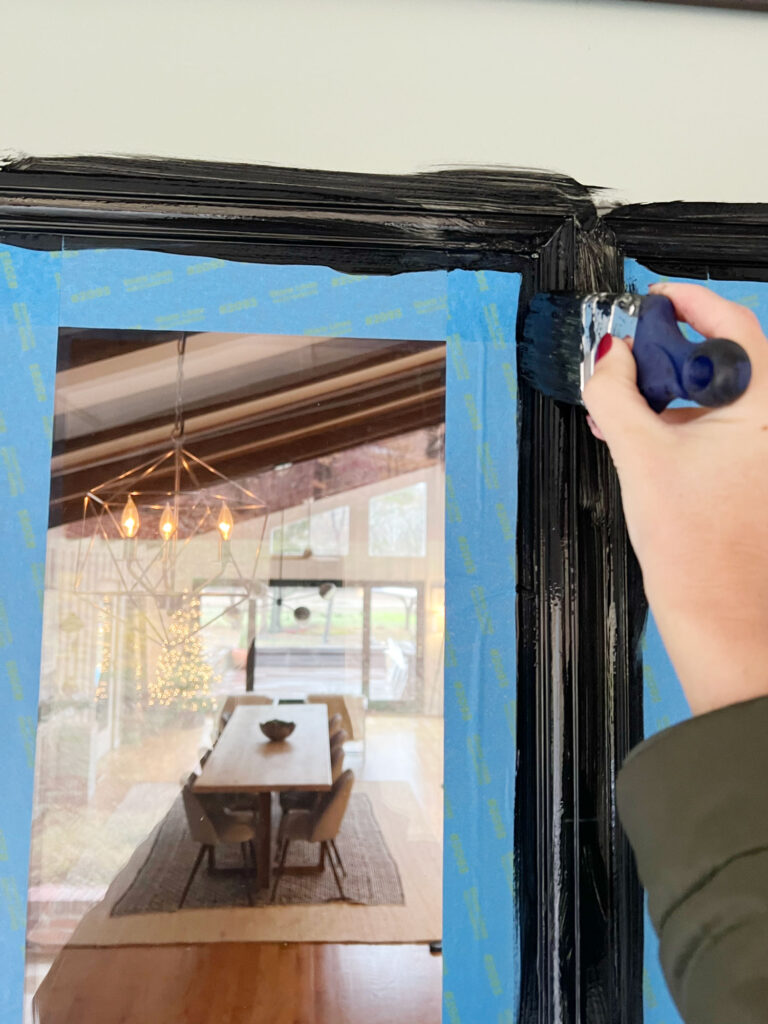
(Step 5). Once your primer has dried, use your paintbrush to begin applying paint to areas too small for a foam paint roller.
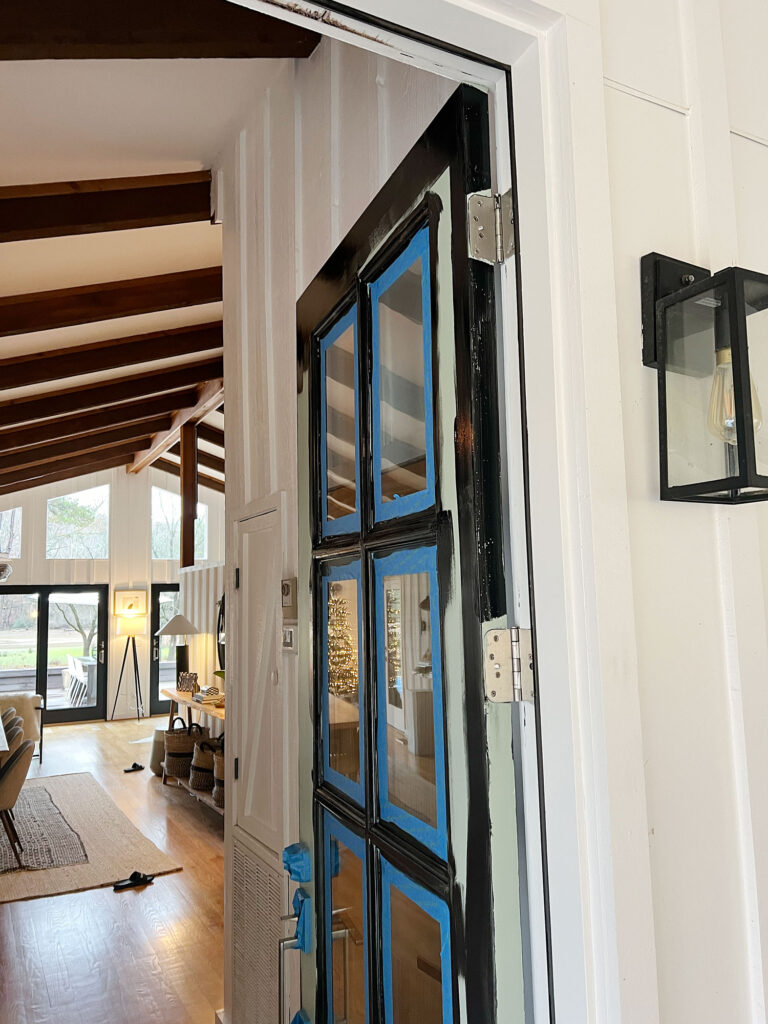
Since you will have to open your door to paint the top, sides, and bottom of your doors, you will want to plan your project on a day when the temperature is bearable (I probably should have mentioned this sooner..sorry!).
Beginner’s Tip: To ensure a smooth factory finish, it is important to read the manufacturer’s recommendations for advisable application temperatures. Sherwin Williams recommends that Emerald Urethane not be applied in temperatures under 50 degrees Fahrenheit.
I can attest to this recommendation because temperatures started to rapidly drop the day I painted my doors. This made the paint much harder to work with as it took longer than usual to dry.

(Step 6). Once you have cut the paint in on the hard-to-reach areas, you can now begin applying your paint with a foam roller on the larger areas. Before applying subsequent coats, be sure to let each coat dry.
(Optional step). If you notice any drips or blemishes once your first coat of paint has dried, you can use your sanding block to smooth your finish out before applying additional coats.
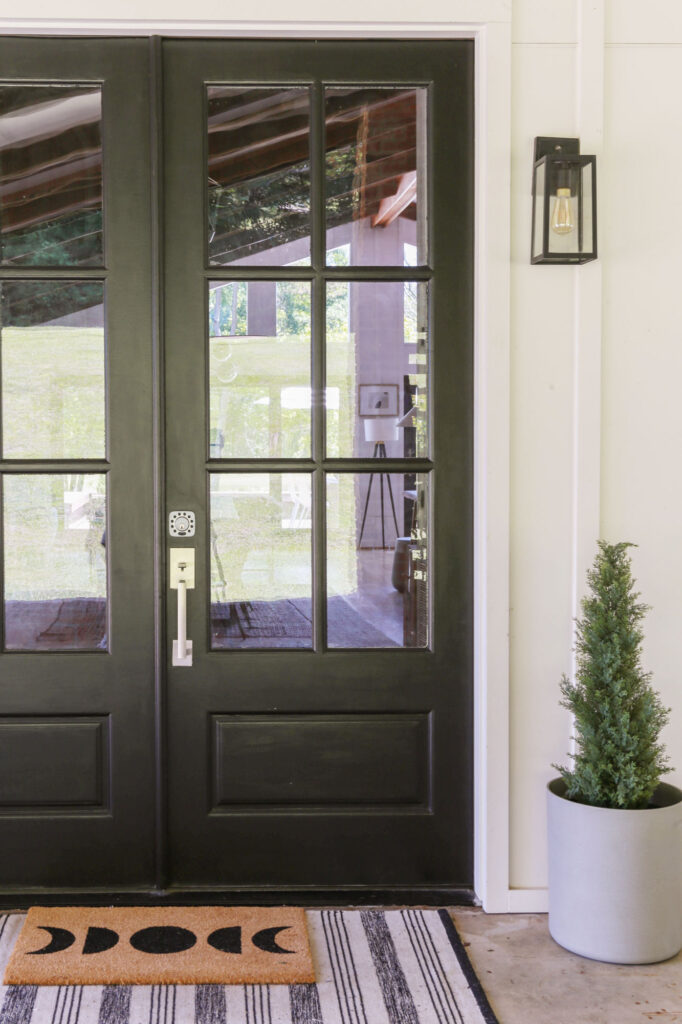
Once you are finished painting (I only needed 2 coats), you can carefully remove your tape.
If you made any messes on the glass panes or on the hardware, no worries! Simply use some ultra-fine steel wool to remove it.
Until the paint has cured and fully hardened (this can take 24-28 hours depending on the temperature and humidity levels), you need to be super careful when using your newly painted doors.
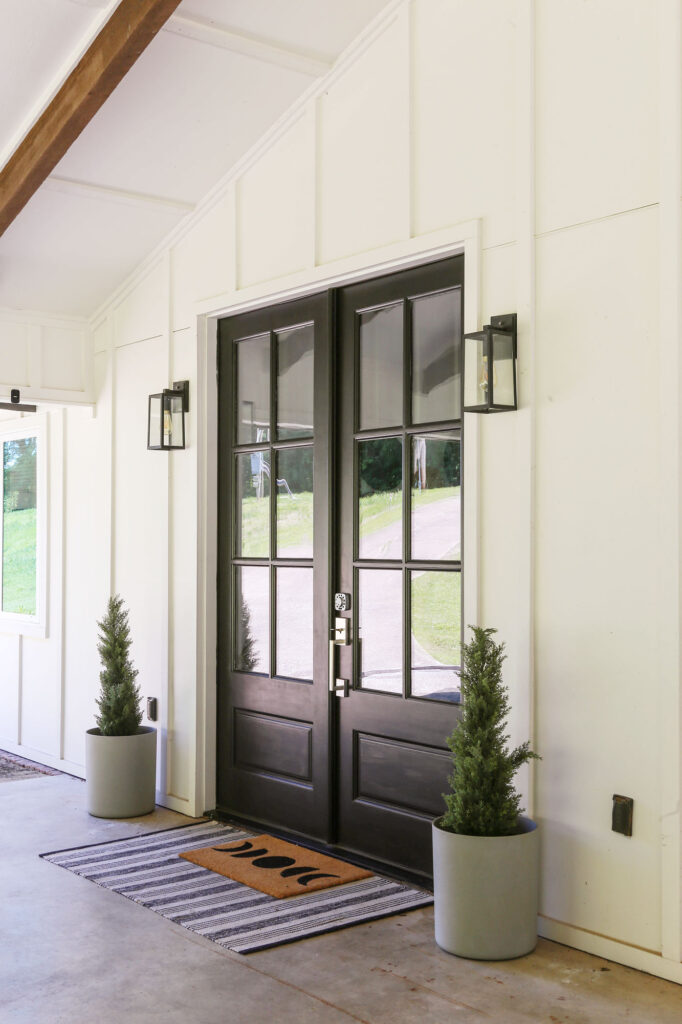
I hope today’s DIY tutorial convinced you just how simple of a project painting your front doors can be (with the right paint at least).
Just be sure you are aware of the forecast and select your project schedule accordingly!
Thank you so much for stopping by and spending some time with me this week!
If you found this post helpful, it would mean the world to me if you could share it with a friend or on social media..


Now get out there and design some good vibes along with a fabulous life!





Erica-
Such gorgeous results! I totally agree- seasonal decorations don’t pop against pastel doors. Thanks for the detailed directions and pictures, always great information.
Thank you so much for the support, Donna. 🙂 I hope you are having a great summer so far!
I think it is a very logical choice considering the bold look of your interior. Can you imagine someone seeing the lighter color and expecting to find cottagecore inside. Your style your door your decision!
haha! That is such a good point, Mary! Thanks for backing my decision. 🙂
Ha! I happen to have a quart of SW Tricorn Black Emerald Urethane in my garage right now! ~tempted~
Oooh…that is tempting, girl! Just be sure the weather is nice when you decide to give into your temptation. haha!
Since I love green, at first look, I thought the doors couldn’t look better. But, wow, the almost black color looks dramatic and beautiful! Great decision!
I really appreciate the kind words, Sharon! It truly means a lot. I was so nervous to post this. haha!
Love it and it definitely blends better with your overall design. Anyone that misses the green door is welcome to paint their front door green.
Well I really appreciate that, Nadine! I hope you are doing well. 🙂