My Painted Brick Fireplace 3 Years Later – A Cautionary Tale
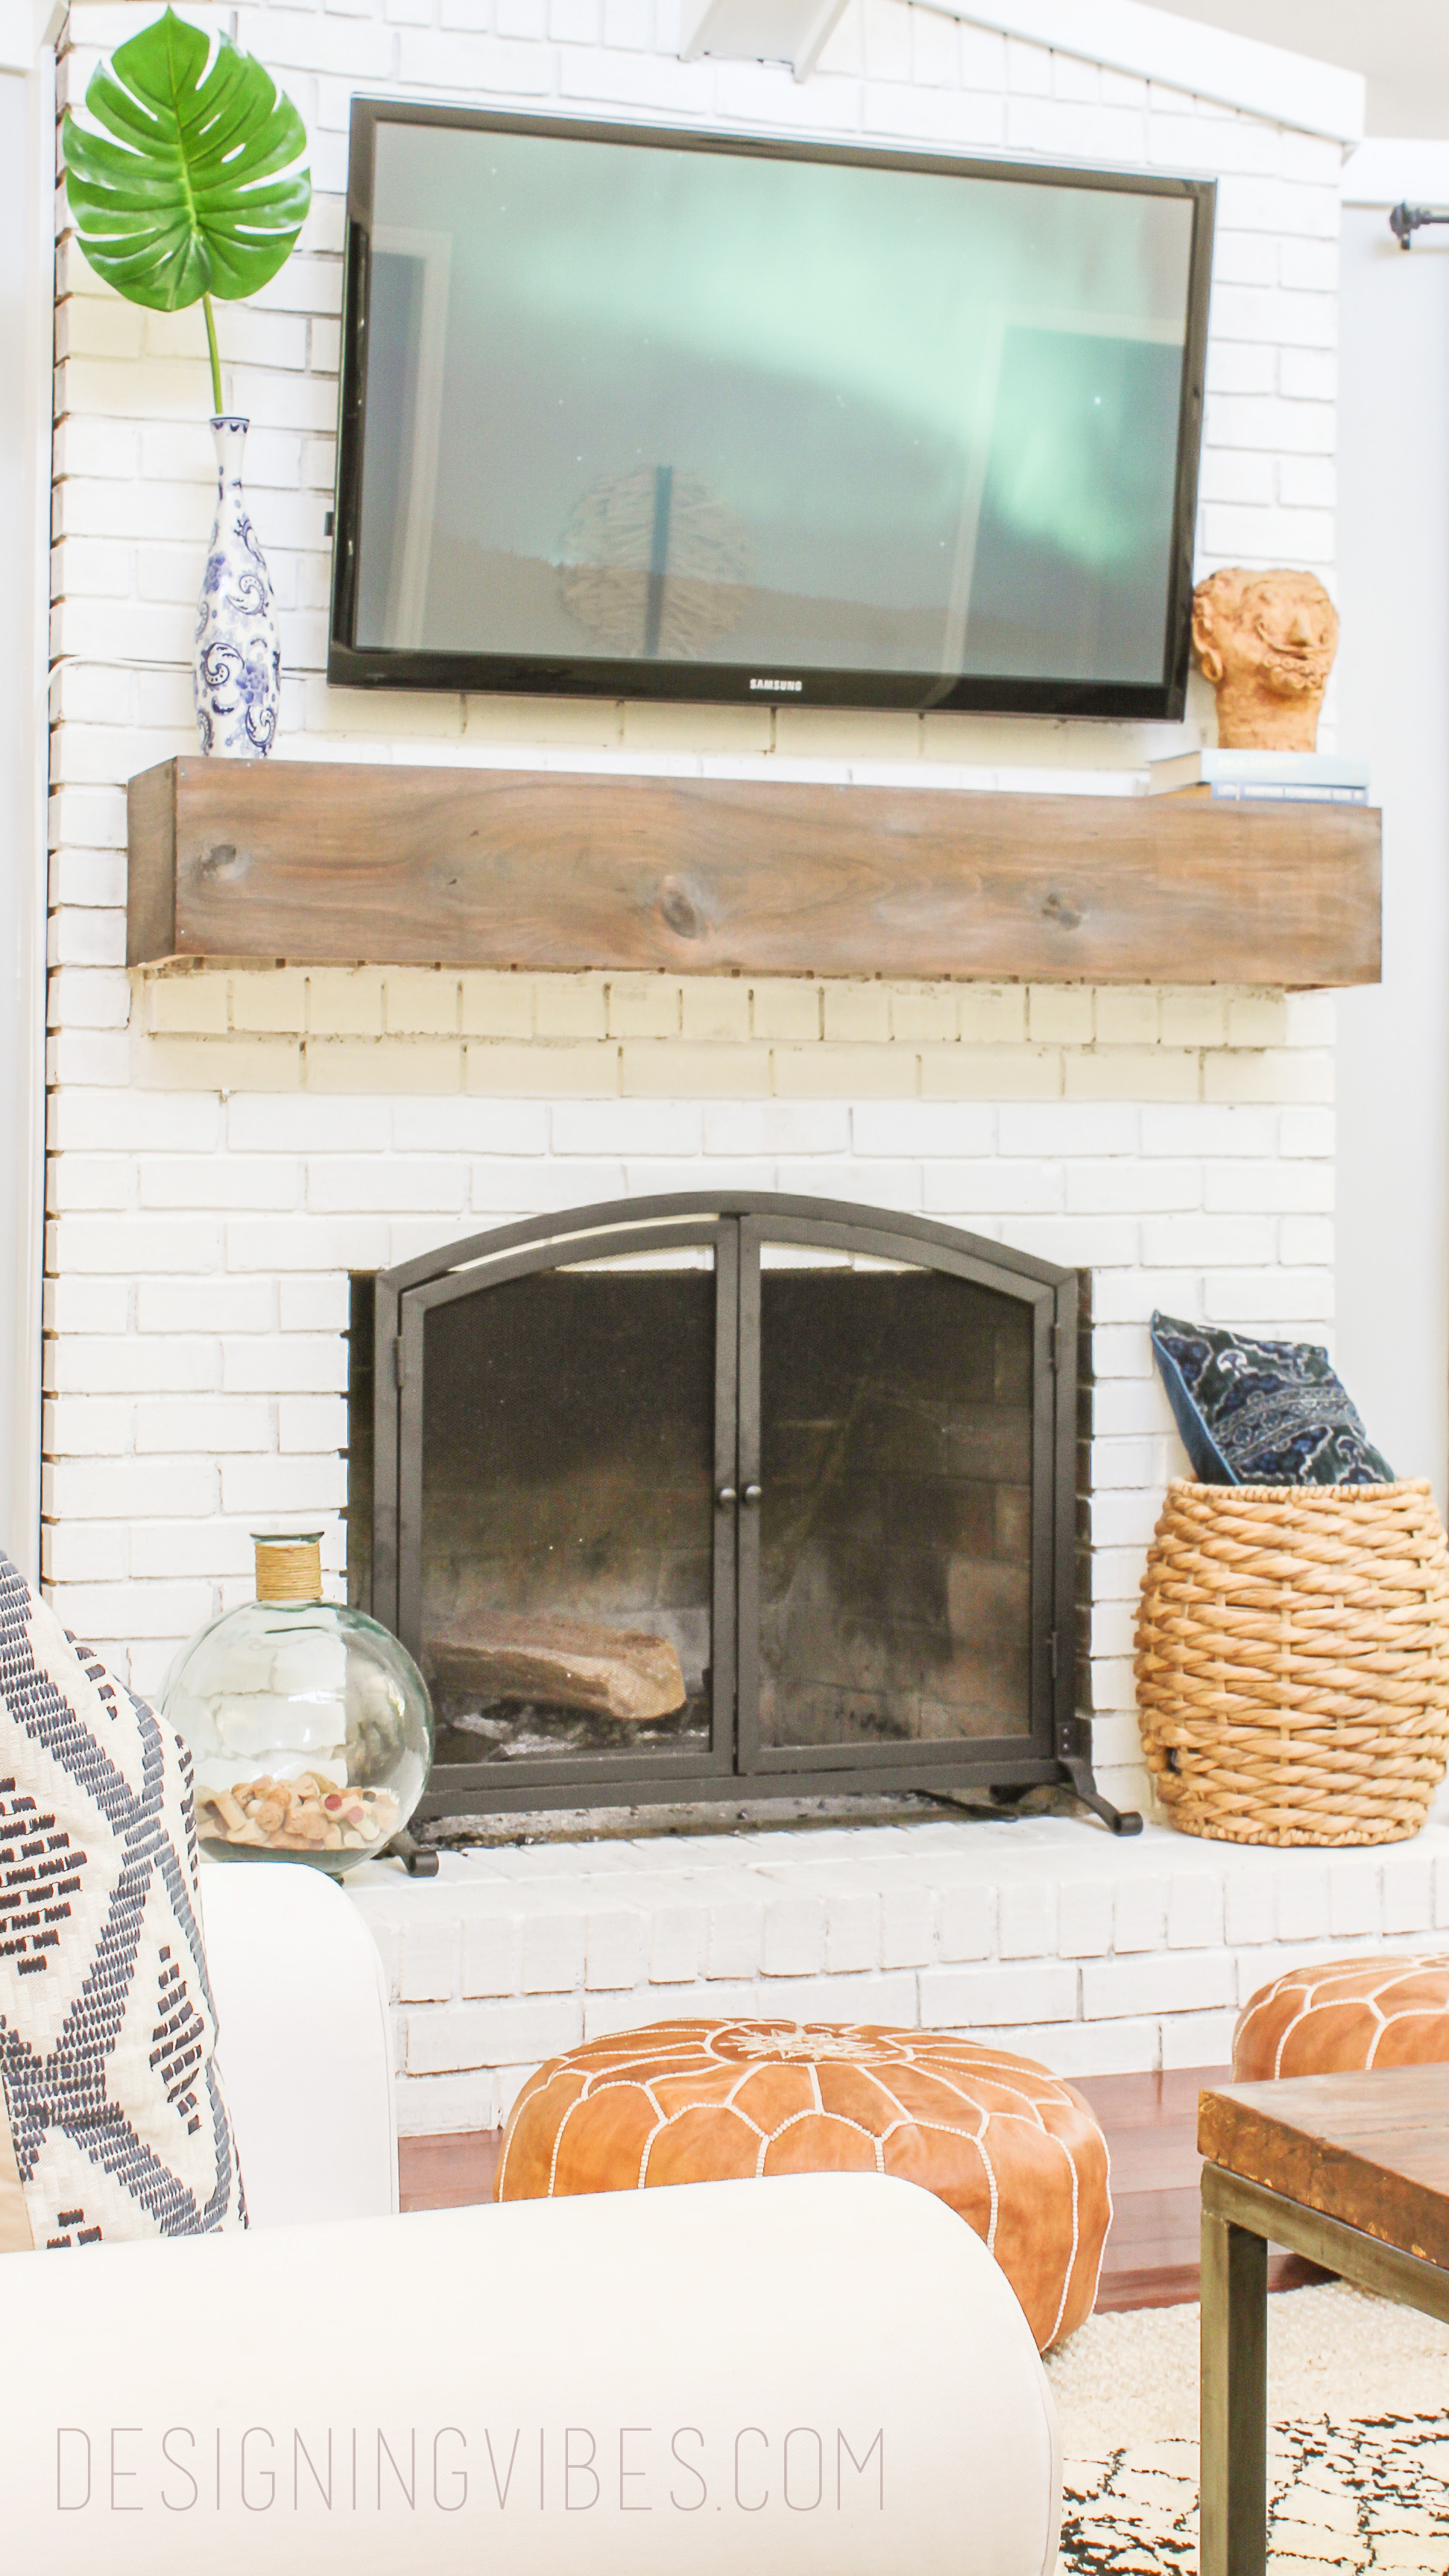
If you have ever considered painting your brick fireplace white, I highly encourage you to read today’s cautionary tale.
In this post, I am going to give you an honest report of how my painted fireplace has held up over the past 3 years (spoiler alert: it isn’t entirely pretty). I am also going to share with you the embarrassing, amateur mistake I made and how you can avoid making the same costly blunder.
So here it goes….the good, the bad and the butt ugly.
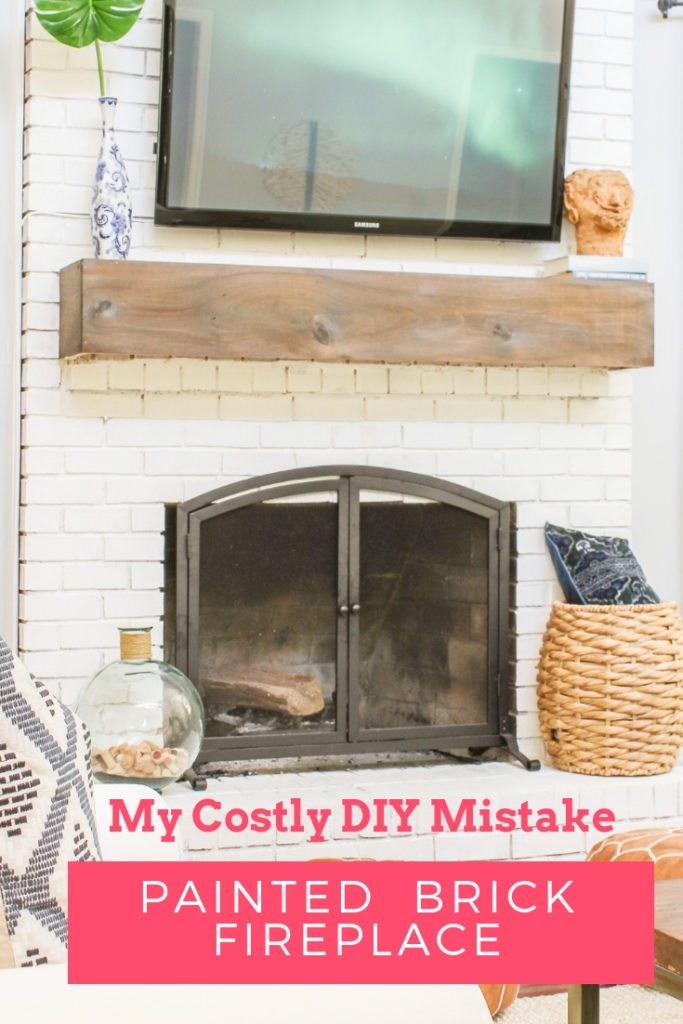
My Brick Fireplace Before Paint:
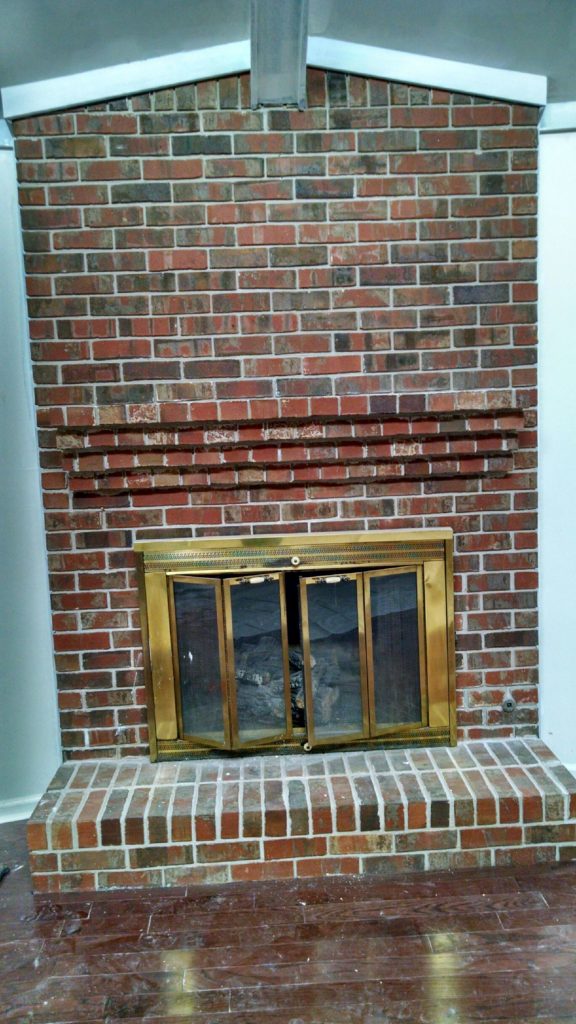
When I first moved in to my 1980’s ranch home, I knew one of the first DIY projects I would tackle was a brick fireplace transformation. While I typically do like the character and texture that brick adds to a space, I felt this particular variety of brick was tragically dated. Simply put: the orange and red undertones drove me effing crazy!
And while I couldn’t stand my dated fireplace, I wasn’t too concerned about the investment required to transform it, because I had seen plenty of bloggers posting tutorials on Pinterest recounting how they successfully whitewashed or painted their own brick fireplaces. Essentially, the only investment involved were the costs of paint and painting supplies. I could totally swing that.
Fearing the dramatic permanence of completely painting over the brick, I opted for the safer/ less dramatic option of simply whitewashing over the brick. I knew if I didn’t like the whitewash effect, I could always paint over it entirely. This gradual approach was a great way to test the waters of a painted, brick fireplace.
Using a mixture of white latex paint and water ( you can read all about the process here), I whitewashed the eighties out of my brick fireplace…
My Fireplace After Whitewashing the Brick:
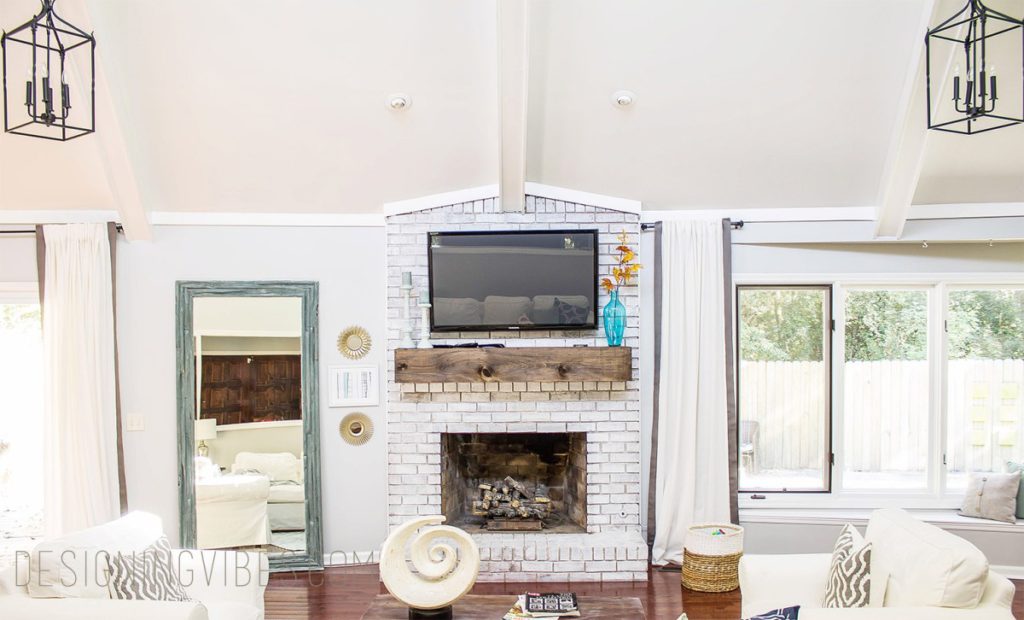
While the whitewashed brick was a vast improvement from the dated, orange brick- within a year or so- I began to dislike the whitewash effect which left some of the brick slightly exposed. In my obsessive-compulsive brain, I could still see hints of the eighties hues. This is when I decided to fully commit to the painted brick look.
Unfortunately, this is where things began to get ugly….
My Costly Painting Mistake
Doing some basic research, I found a tutorial that gave me the impression that as long as I used a paint labeled specifically for use on brick and masonry surfaces, I would not have to use a primer. With my rookie logic, I also assumed I had essentially “primed” it with the pre-existing whitewash layer….right? Ugh….NOPE!!!
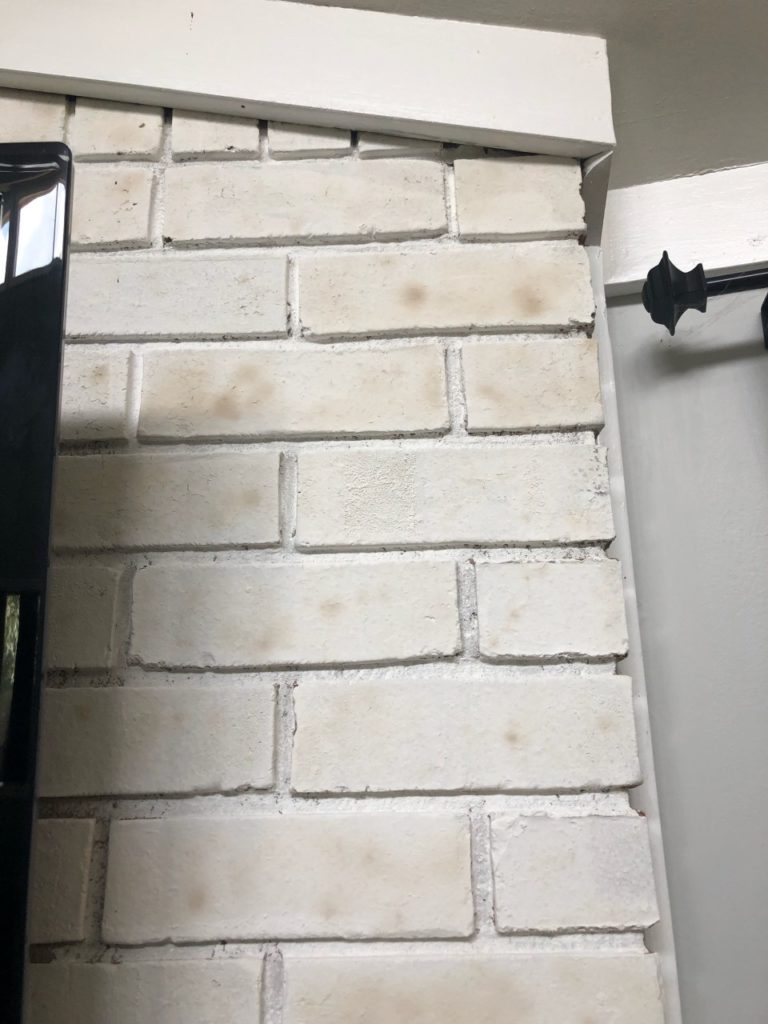
While everything appeared fine within the first few months of painting my fireplace, with time, brown spots slowly began to surface through the white masonry paint. Initially, the spots were very subtle, but this summer the brown spots continued to emerge- covering the entire span of my fireplace surround (pictured above).
Oddly enough, I had used the exact same technique on the brick wall in my kitchen, and all was holding up beautifully (and still is). So…what went wrong in my living room?
The Most Crucial Step for Painting a Fireplace
What differed between the brick in my kitchen and the brick surrounding my fireplace? The answer is…. moisture!
My fireplace is wood-burning and therefore vented to allow airflow to the outside. In the summer, the air is particularly humid (especially in Tennessee). Hell… at this moment, I can feel the humidity wafting through my chimney. This leads me to believe that masonry paint alone, is not durable enough to withhold the surrounding elements- particularly moisture and humidity. As a result, a stainblocking primer, is a must!
As soon as I connected the dots, I decided to give this whole project another try, but this time I was going to do it the right way- no more rookie mistakes!
This time around, I applied two coats of Kilz Orginal Primer to my fireplace. After the Kilz dried, I then applied two coats of the Brick and Masonry Paint I had initially used (lucky for me, I still had the leftovers from the original gallon).
It has been two months since applying the Kilz, and everything seems to be great so far. Lesson learned: When in doubt, prime the hell out of that shiznit!
While I realize that this anecdotal information may not be cutting-edge to most of you, I hope , at the very least, it will serve as a useful reminder. Primer exists for a reason, my friends.
Now get out there and design some good vibes!

P.S. If you are interested in fireplace makeover hacks, you may also want to check out my DIY Wood Mantel tutorial or this post where I explain how to mount a television onto a brick fireplace.




Talking about “failures” make for the most useful posts on the net! Thanks for sharing…I’m planning to paint my brick fireplace also.
I am so glad you found it helpful, Judy. I should have known better than to skip the primer…live and learn, I suppose! Good luck with your fireplace, friend.
Erica I’m one of those who takes the lazy way and never uses primer. This should also be a lesson to me.
haha! I was the exact same way, Mary. Why do I always have to learn the hard way? lol
So informative and I freakin love it completely white and these are great tips, I was worried about that exact same thing with ours but so far we’ve had no issues.
Thank you , girl! I feel like such a dummy for skipping the whole priming step. I have definitely learned my lesson.
I’m pretty sure our very similar wood burning, ceiling height, brick fireplace (brick veneer though!) didn’t get primed before they painted everything white in here a year ago, so I’m curious to see how long/if we have problems. We live in a dry non humid climate so it’ll be an experiment! I have no problem re-doing it myself with primer first down the road if that happens, and at least I’ll know what the heck is going on. Good to know the lasting way to DIY do things!
Since you live in a dry climate, I would think you are in the clear (fingers crossed). It is extremely humid here, and it has rained a ton this summer…thats when the spots got out of control. 😉
I love the how your fireplace turned out. Thank you for all your advice. That is one of my future projects. I also love the fireplace screen. Do you have a link on where you purchased yours?
Thank you!
I am so happy to hear you found it helpful, Lucia! It has been so long since I purchased that fireplace screen that I cannot remember where I got it, but here is an affiliate link to one that looks very similar- hope it helps 🙂 …
https://rstyle.me/+qHBcyJemtP57TNTmkHz3tw