
How to Makeover Your Fireplace on the Cheap
I know it has been a little quiet around here the past week, but today I am back to share how I completely transformed my outdated, 1980’s fireplace for around $100.
So, I’ve played hooky from the blog for the past few days, but I have a relatively decent excuse. Excuse numero uno is that my one-year-old has really kicked my a$$ lately. You see, he is now a skilled biped who can no longer be contained (I really cannot turn my back on the kid for a second), and I am struggling to adjust to this new, busier stage in my work-from-home mother status. I think it will soon be time for my baby to go to mother’s-day-out, just as my three-year-old does, if I ever want to get anything accomplished. Hell…I don’t even want to post project pictures of my house anymore because it always looks like a tornado swiped through (contents of dressers or kitchen cabinets completely emptied on the floor 24/7). Ain’t nobody got time for that.
My other excuse is that, being completely honest, I am a little burnt-out on projects. As most of my readers have heard my ranting, we recently finished an unexpected, nightmare project that took 4 months of our time and around $40,000 to complete. Needing a break from the real-world, my husband and I bailed town for a few days last week to catch a concert. Live music and a little time away from our parental roles was just what the doctor ordered.
In a bit of a creative funk, I am revisiting an old project that I never had the chance to share with you guys.
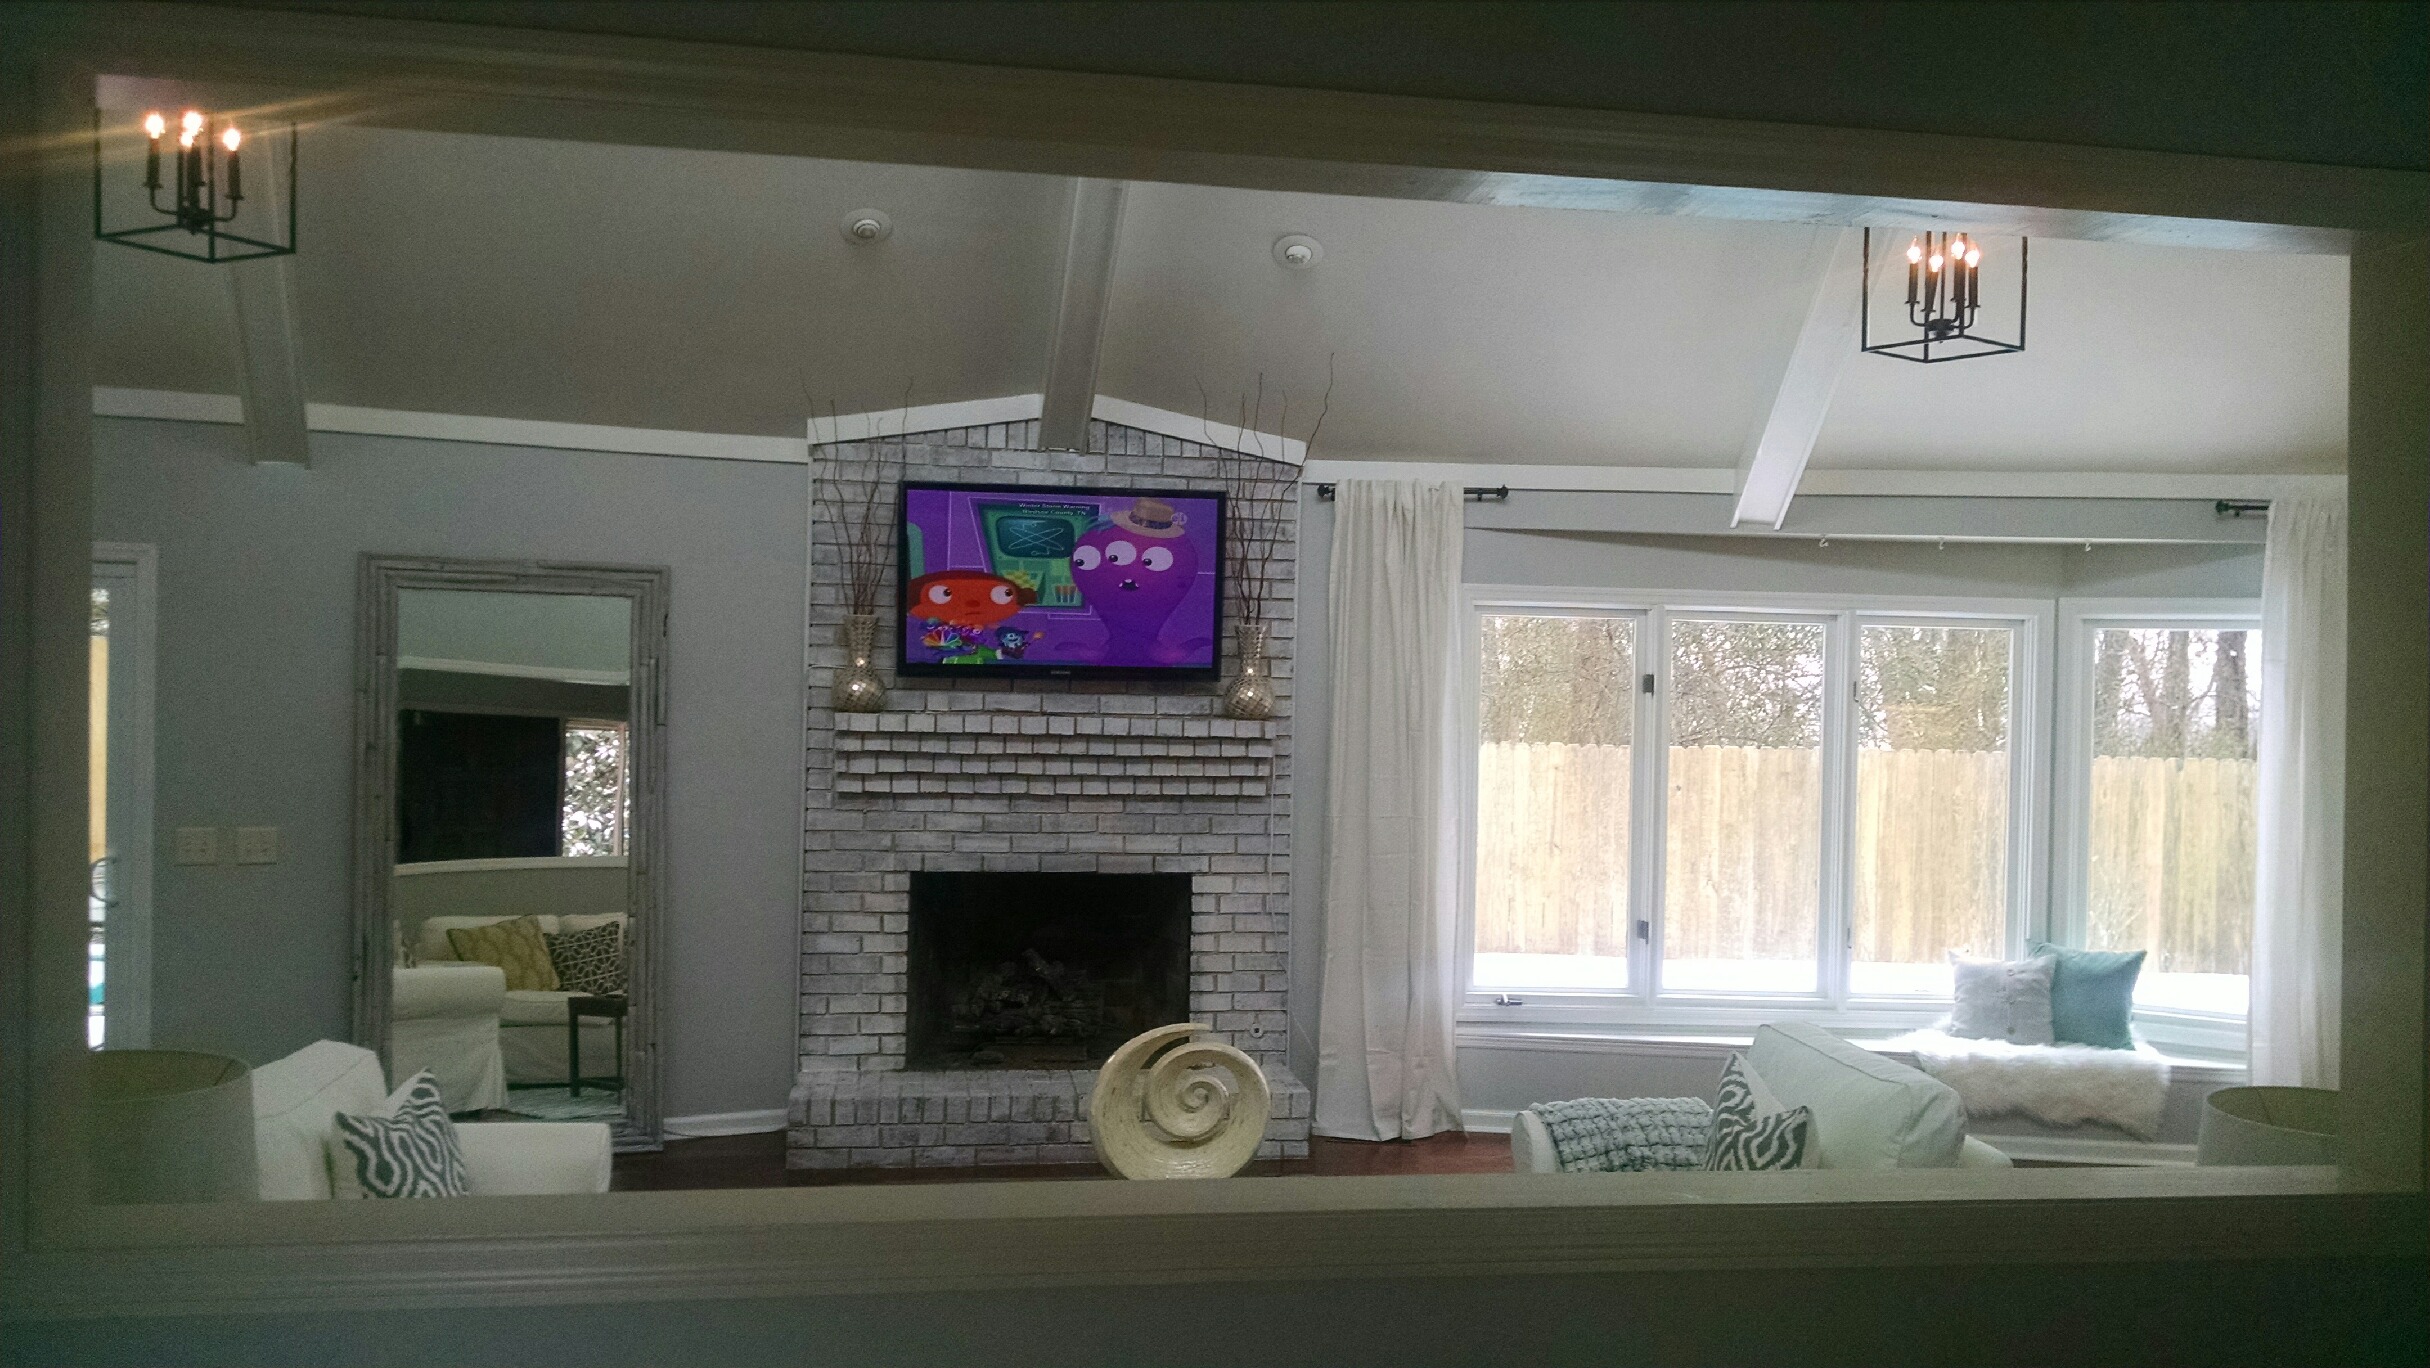
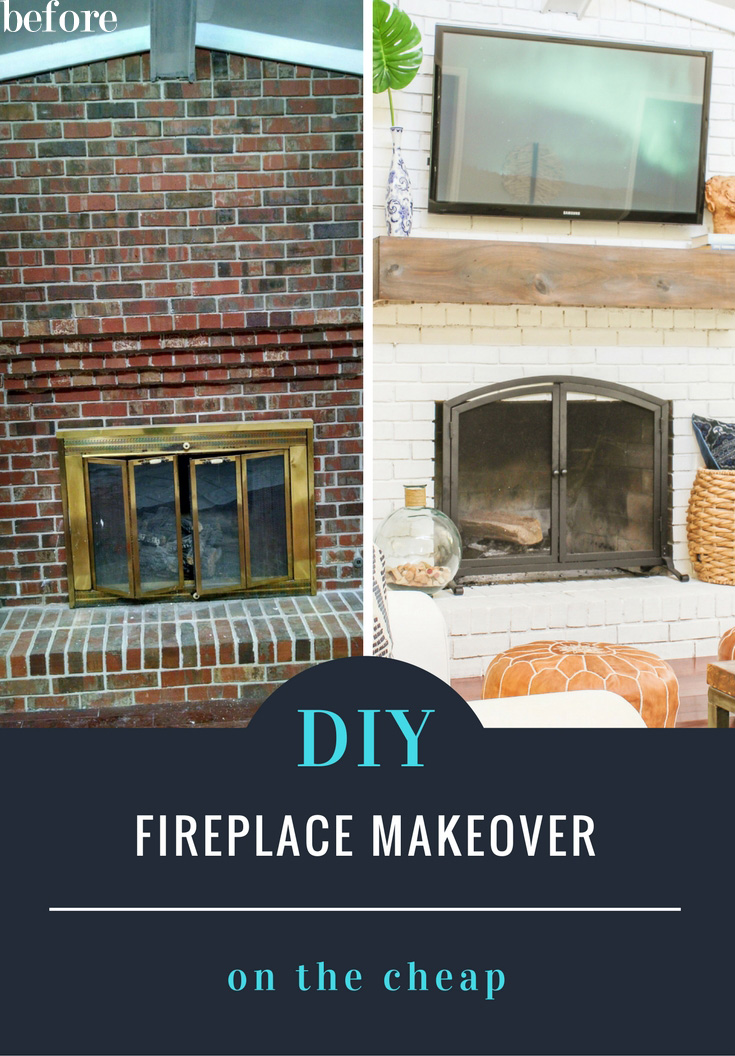
When we first moved into our 1980’s ranch home, this is what our fireplace looked like.
Before:

The hue of the brick was too red and “eighties” for my taste. However, I didn’t want to completely cover the brick, so I decided to whitewash it using a combination of water and white latex paint. We also removed the brass screen. I left it that way for about a year, but was never fully sold on it as I still hated how the outdated brick color still surfaced through the diluted paint.
Progress (after white-washing brick fireplace):
For your convenience, I have included affiliate links to products used in this design. That simply means if you click on one of the links and buy something, I receive a small commission, but don’t worry… you won’t pay a dime more.
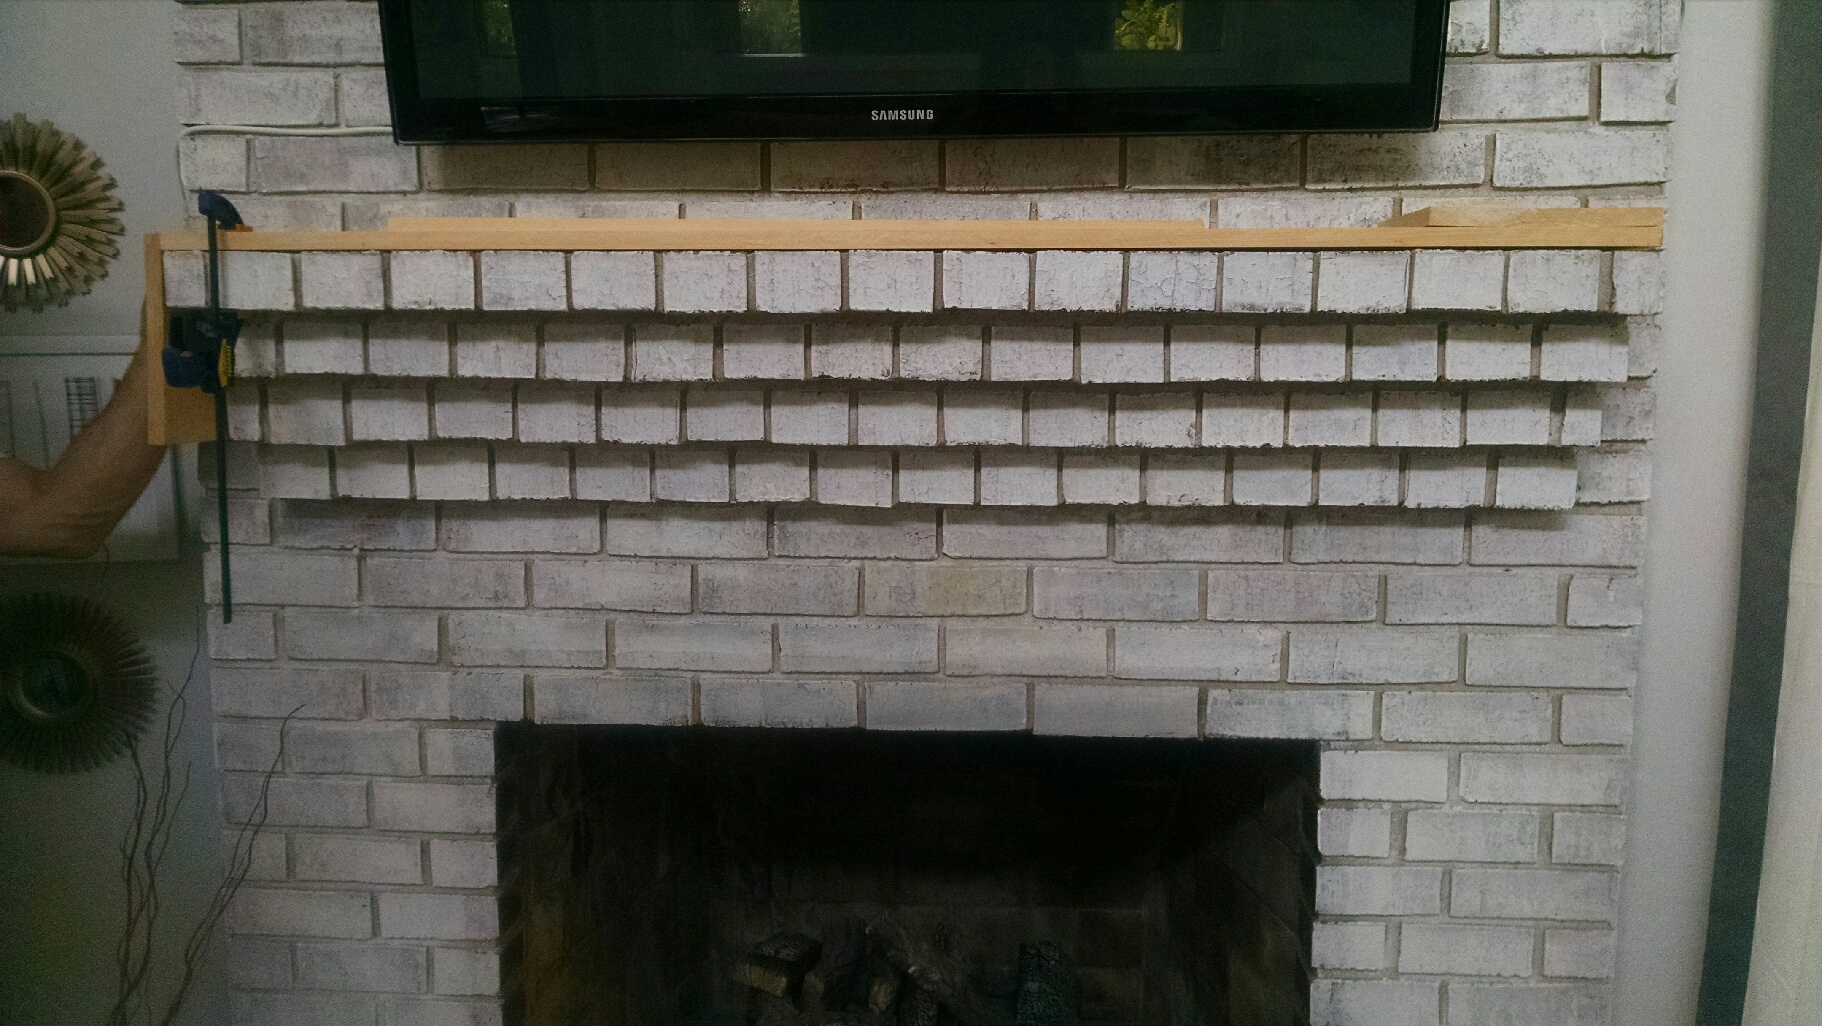
Craving some warmth,I had my husband build a wood-beam mantel using cheap common board for around $30. It only took around 2 hours to complete and it had such a dramatic impact on the space. I was able to give the wood a reclaimed effect by first staining it with this wood stain![]() . After the stain application, I smeared a diluted, gray paint mixture on the mantel/beam, giving it a weathered effect. You can read about that entire DIY project here.
. After the stain application, I smeared a diluted, gray paint mixture on the mantel/beam, giving it a weathered effect. You can read about that entire DIY project here.
 Still unsatisfied with the color of the brick, I decided to take the plunge and fully commit to a white brick fireplace. You may be thinking I am crazy and that the whitewash effect seemed sufficient, but pictures cannot truly express the way the orange/red tone of the brick still reared its ugly head. Using Behr’s Interior/Exterior Masonry, Stucco and Brick Paint, I completely covered the brick’s red tint with a true white. This type of paint only required one coat and was much less runny and messy than my previous white-wash mixture. I first applied paint to the grooves using a paintbrush. Then, using a paint roller, I applied paint to the flat surfaces.
Updated 6-16-18: I recommend priming your brick before applying any paint (which I totally failed to do and you can read about my mistake here). As a result , I occasionally see yellow stains surfacing through my white paint. My girl Ashley from Project Allen Designs has an in-depth tutorial on this process. You should check it out by clicking here.
Updated 9-4-18: If you want to read how my painted brick fireplace is holding up after three years, click here.
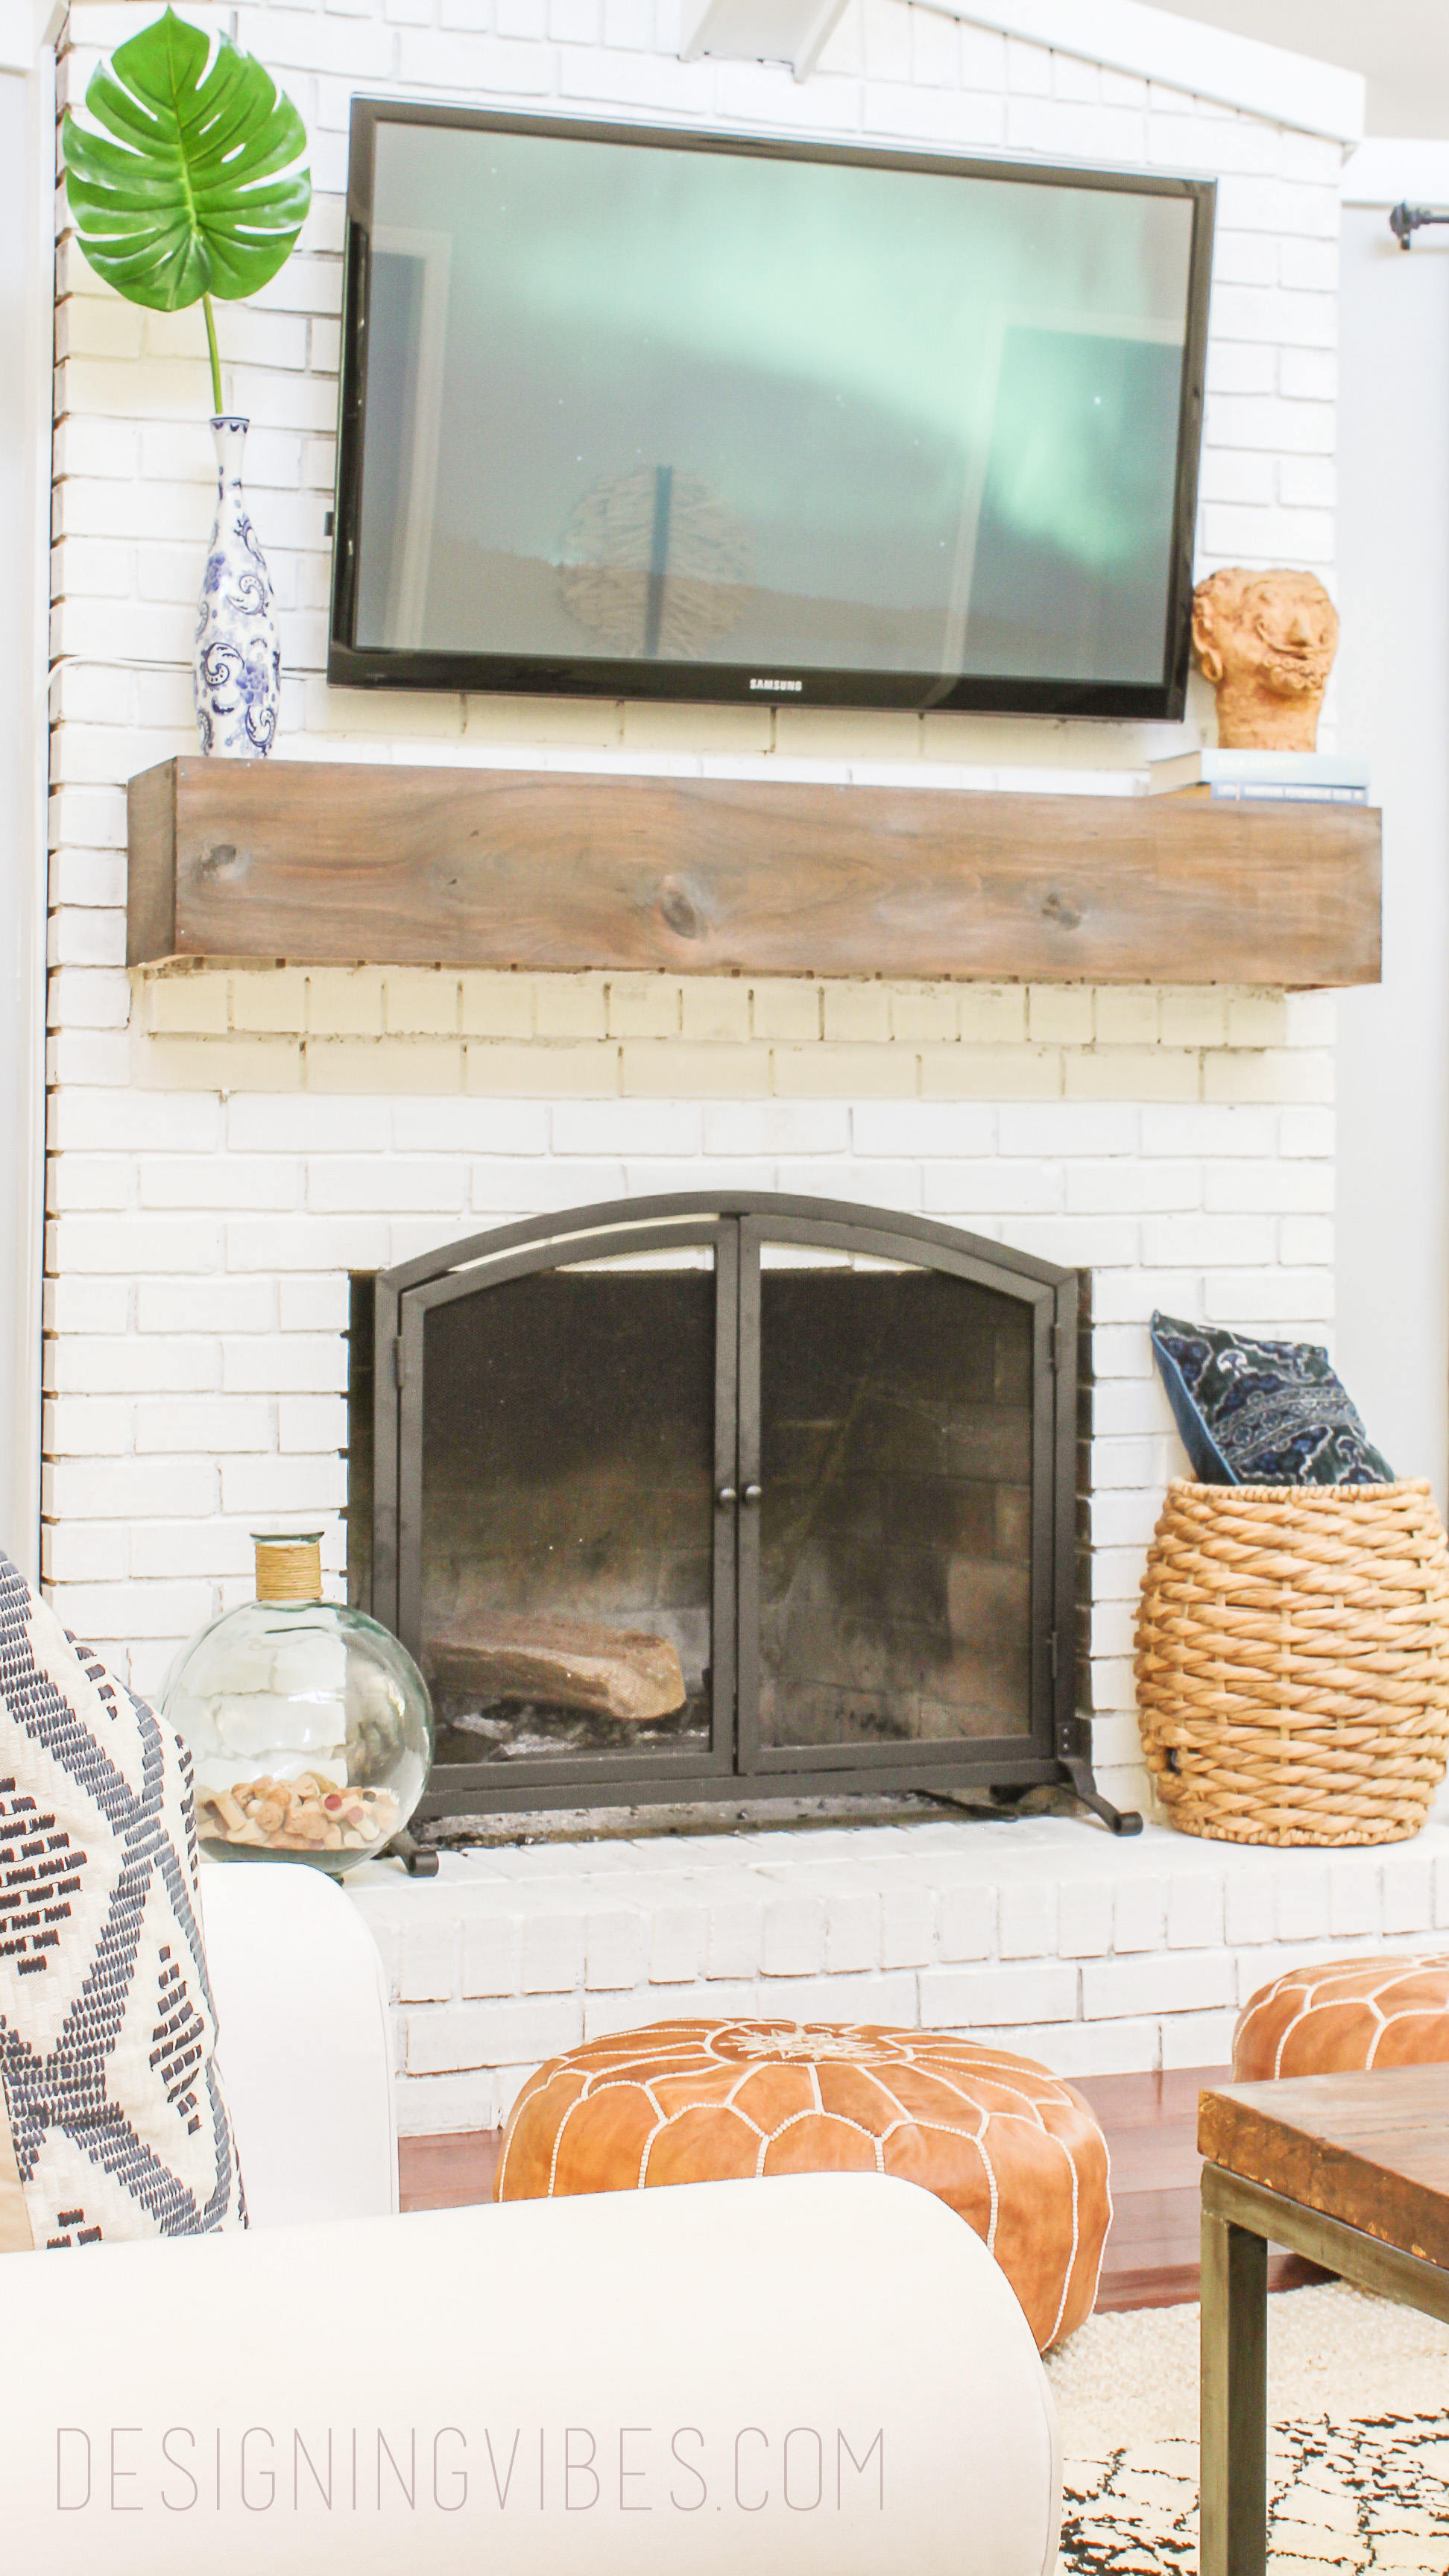
Fall Mantel Decor
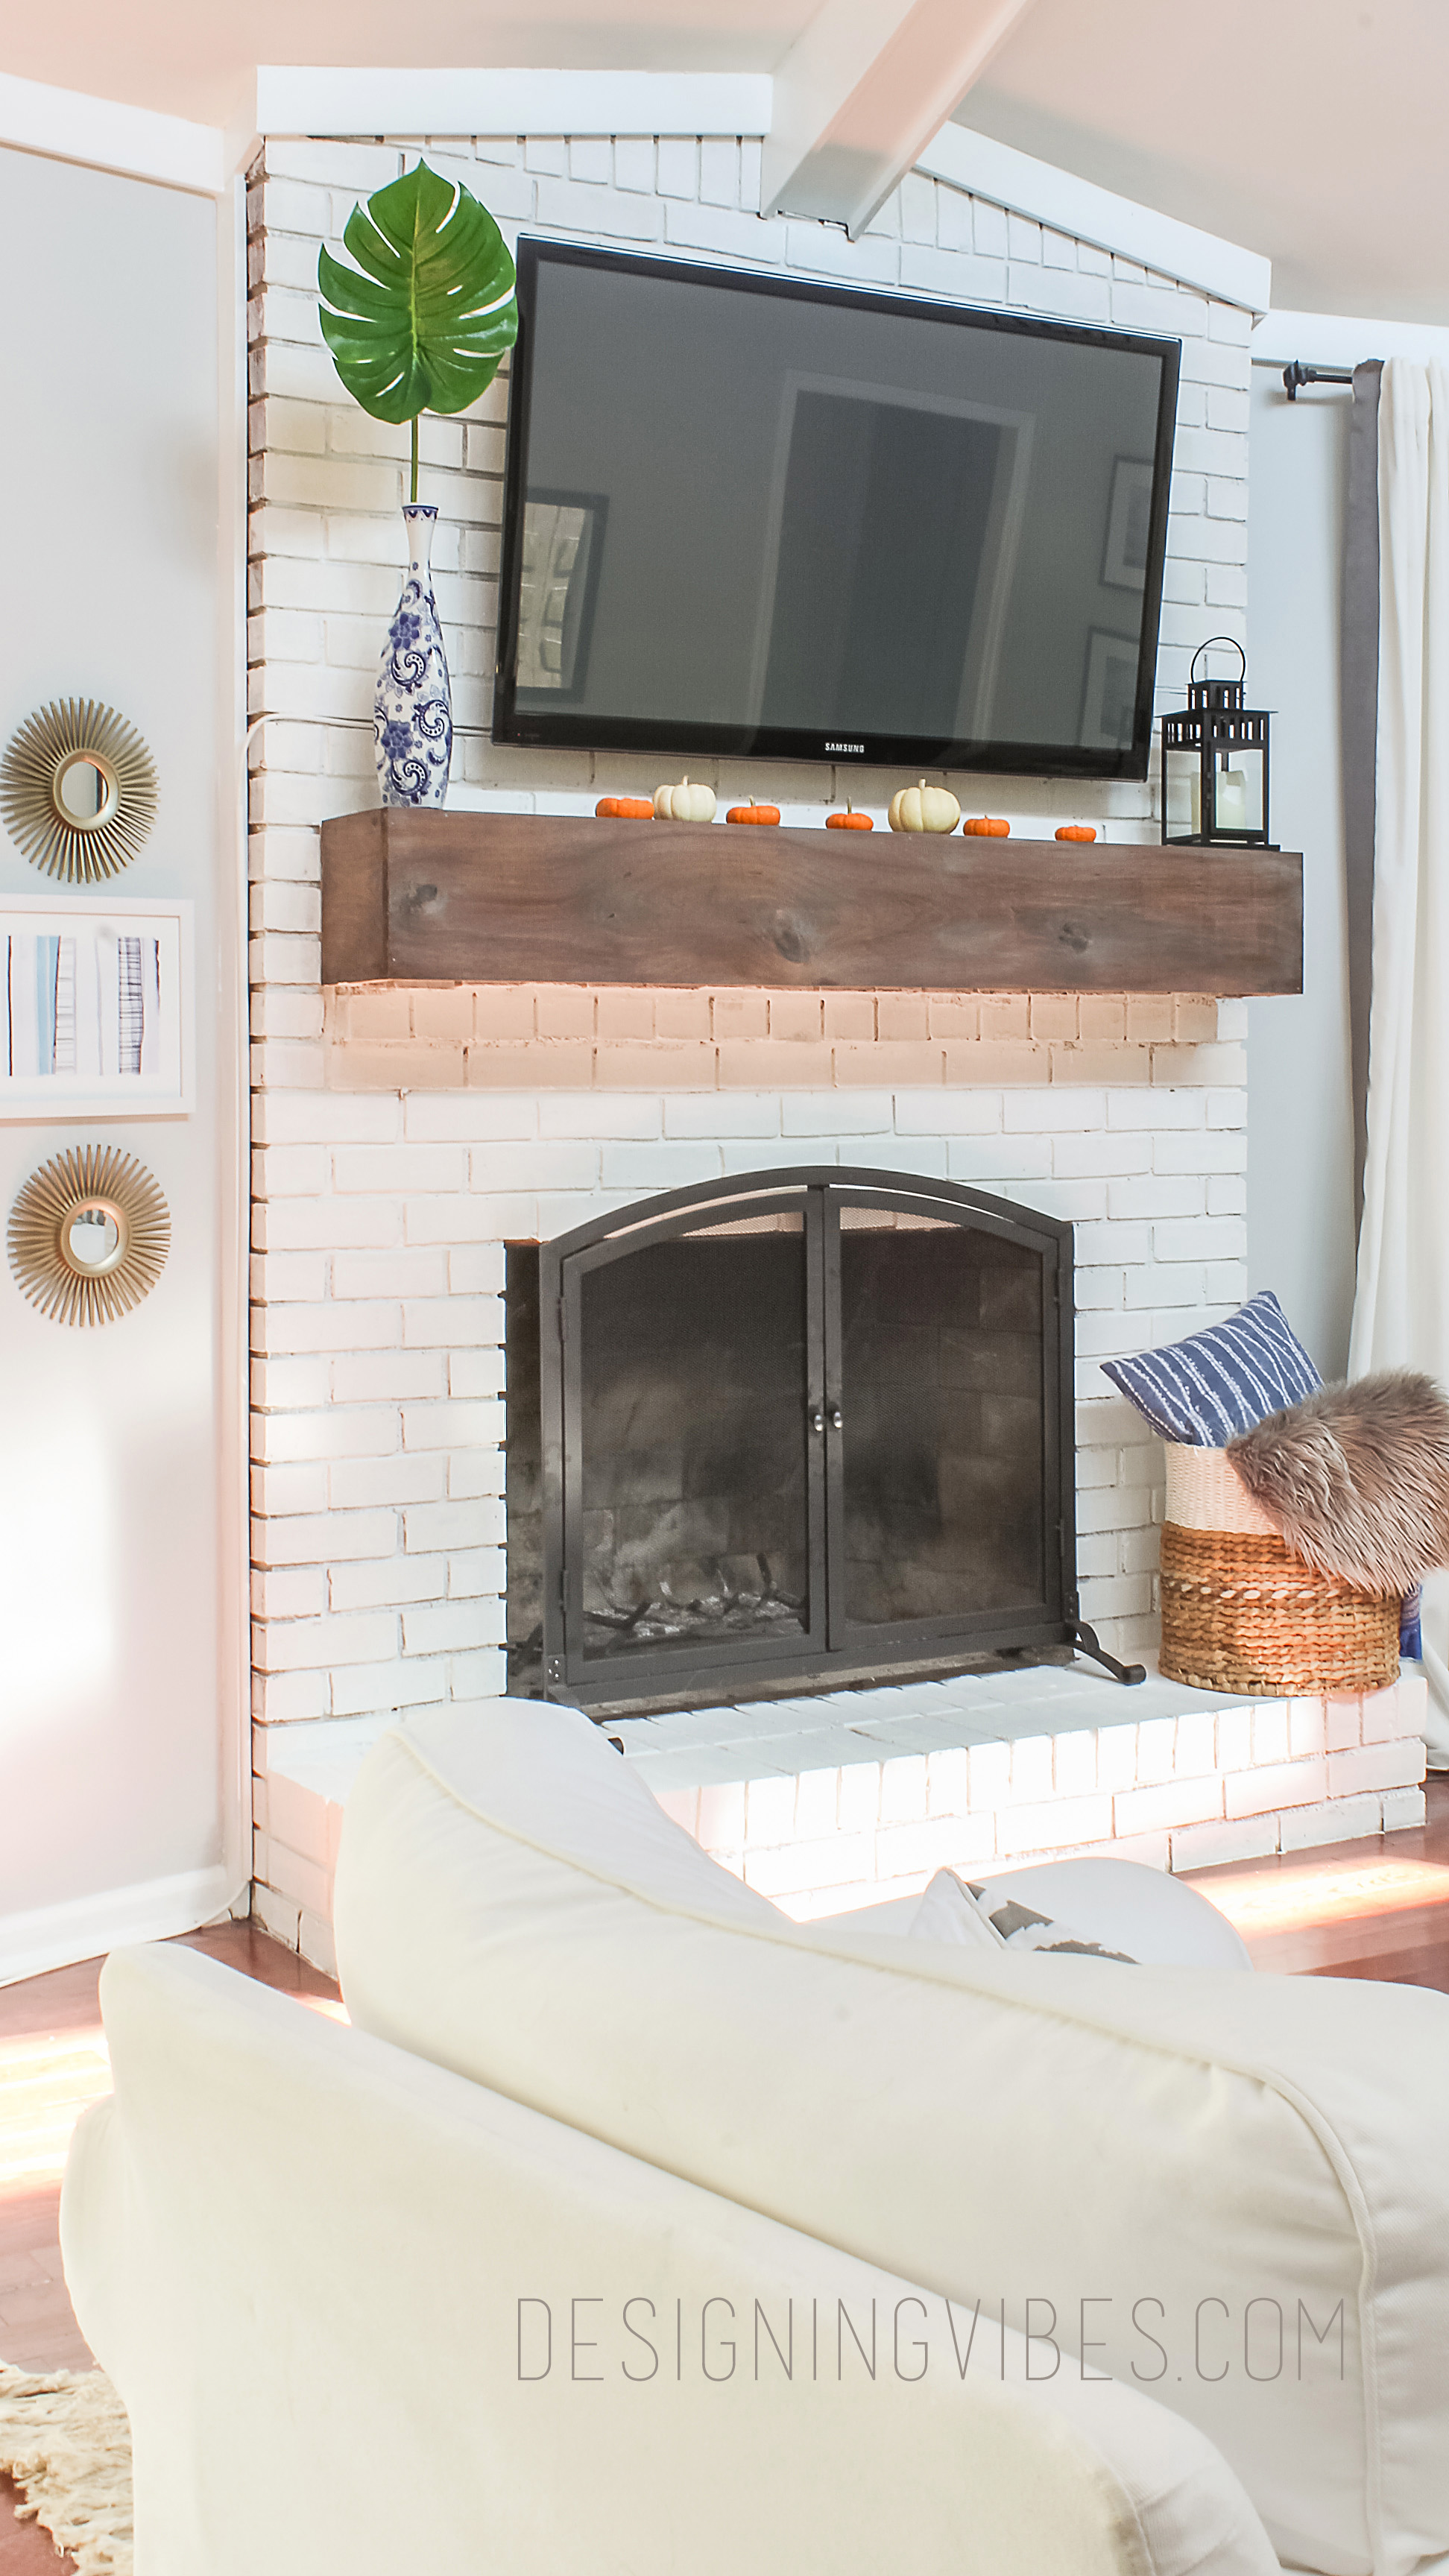

Once the cooler weather of fall arrived, I was ready for our first wood-burning fire. Not putting much thought into aesthetics (I was simply ready to get home to a glass of wine and a sexy fire), we purchased a cheap fireplace screen at Home Depot for around $40. Looking back, I would have put more thought into the design of the screen (choosing something fancier or more modern). Then again, I am not willing to spend hundreds of dollars on a screen, so this more modest one will have to do for now.
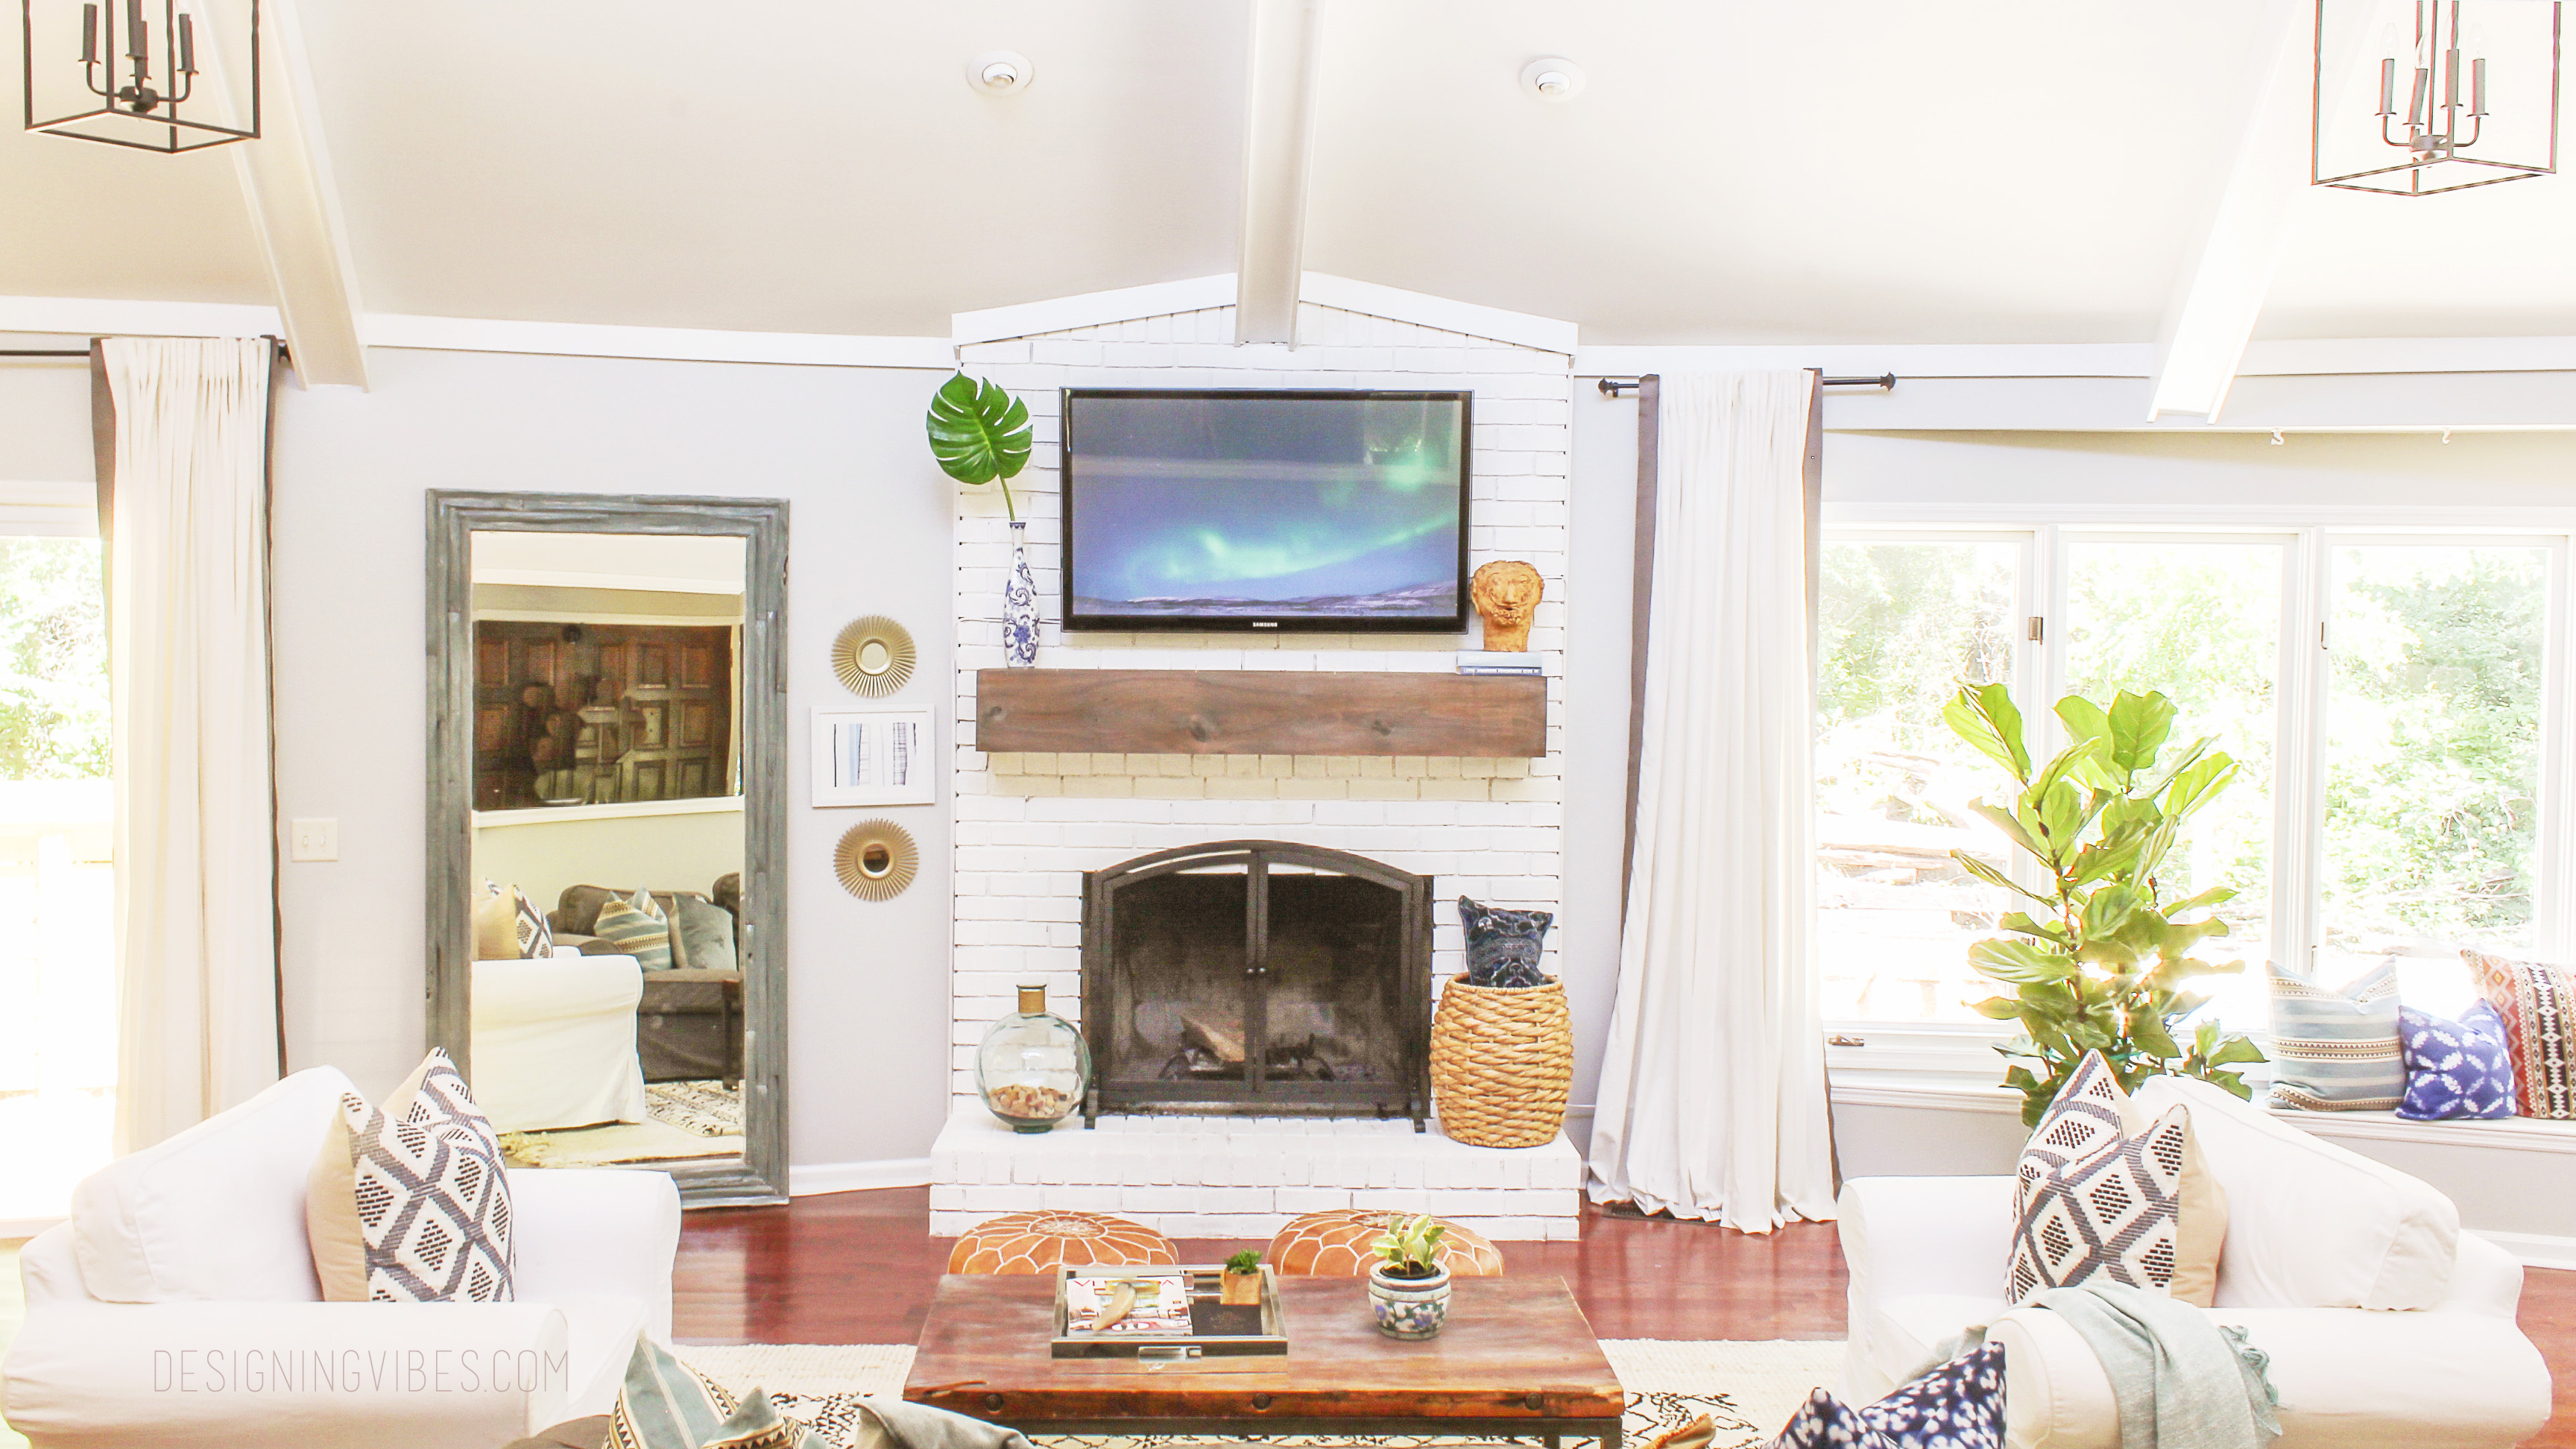
So there you have it. To achieve this same look and transform your mantel on the cheap (for under $100), simply do the following.
Fireplace Makeover Steps
- Paint your brick or stone fireplace surround with Kilz Original Primer and Brick/Masonry Paint. Click here for a great tutorial.
- Build a wood-beam mantel for only $30 using common board (full tutorial here)
- replace your screen.
- if desired, mount your flatscreen tv to brick fireplace using my tutorial here
Don’t settle on an ugly, outdated fireplace when there is a simple, cost-effective solution. After all, in most room designs the fireplace serves as the main focal-point….don’t cheat yourself out of a gorgeous living room, babes.
Now get out there and design some good vibes and don’t forget to Pin…


Welcome!
My journey in interior design and home improvement began with transforming my first fixer-upper home, all while managing a budget and raising two young boys. My work, a reflection of my passion for creating beautiful, uplifting spaces, has been recognized by top publications like Better Homes and Gardens Magazine, HGTV, and more. I invite you to explore my site and witness the transformation of my home and the vibes we've designed. Read more...


The fireplace looks amazing Erica and we have the exact same problem only ours is double sided and has a built in brick mantel that wraps around the entire thing which I detest! We want to mortar wash or paint it white but I am so stumped on what to do with the wrap around mantel. In the perfect world I would love to remove the brick from the sides so the mantel appears to be floating but I have no clue what the brick will look like underneath once its exposed so we have just done nothing… Maybe we will talk ourselves into it soon because I am really sick of the orangey red color that dominates our entire main area.
Good luck with whatever you decide to do, friend. Sometimes you just have to take the plunge and go for it.
Love it Erica!
Thank you!
Okay, I’m really starting to get jealous of you now. Going from reading your home tour to this, I am starting to fall in love with you!
Aww! Thank you so much, sweet friend. So glad you stopped by.
Erica, this looks great! I’m always amazed at the power of paint and good design 🙂
Do you have a beachfront property or a wall with floor to ceiling windows? Because the natural lighting within the room is amazing! It really brings the fireplace to life!
I wished I lived on the beach ;). But yes, the room has great natural light and it was definitely one of the selling points when I purchased my fixer upper. It has two floor to ceiling windows on one wall and then on the opposite wall it has sky-light type windows. Thanks for stopping by!