Custom Cornhole Boards DIY
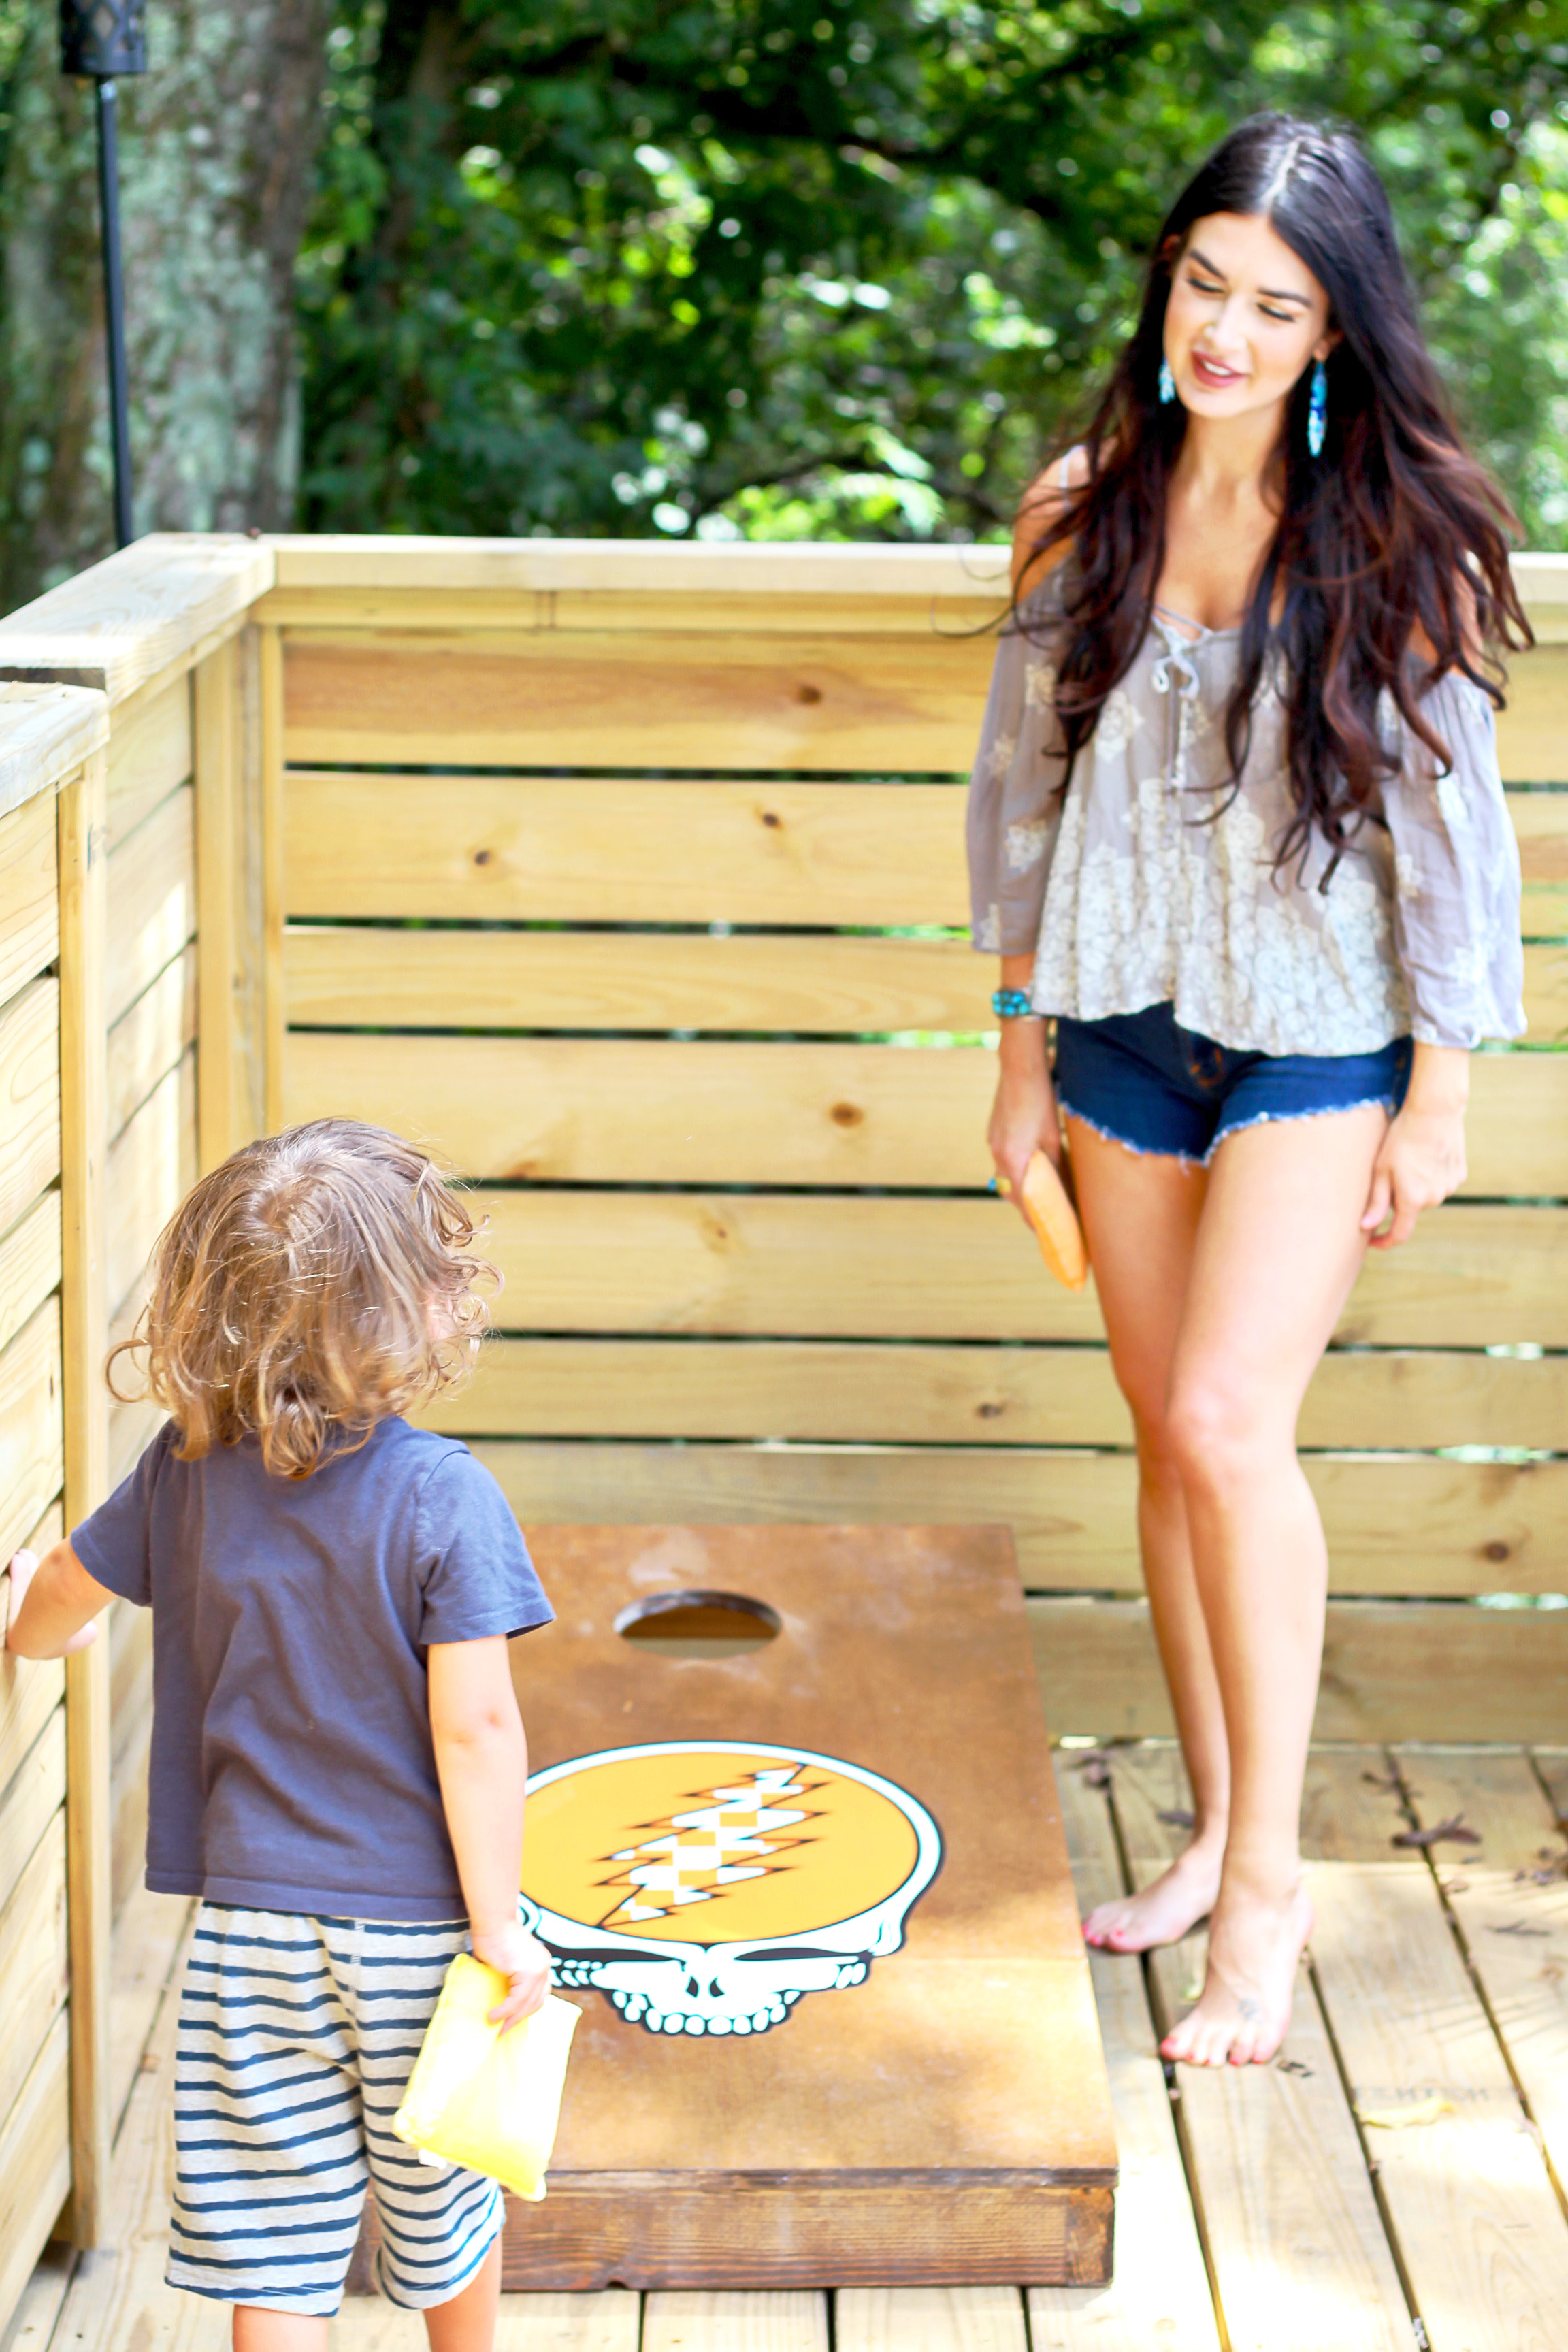
College football season is just around the corner, and today I have the perfect DIY tutorial just in time for all of the tailgating festivities with these customized cornhole boards.
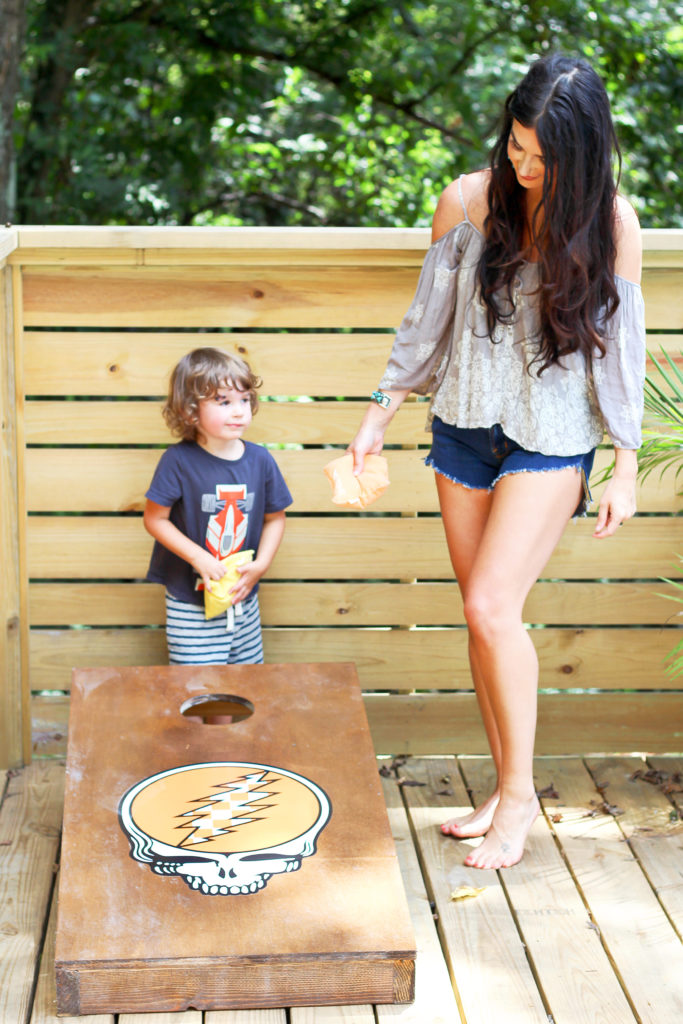
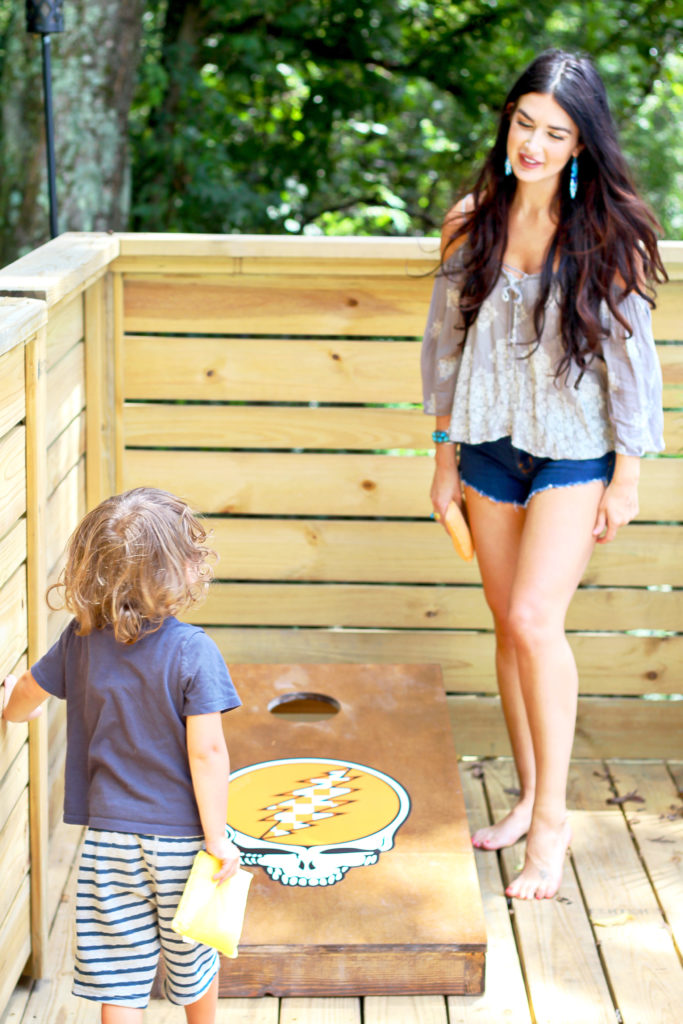
These aren’t just any cornhole boards…we managed to personalize our set with the addition of a custom-made decal. The design is a combination of our favorite football team (the Tennessee Vols) along with one of our favorite bands (the Grateful Dead). Regardless of who your favorite team is, you can customize your board to your liking! Lucky for you, I am sharing how to today with the step-by-step tutorial below.
(***Don’t mind the bean-bag dust on the board, that is not permanent. You can simply wipe off the board after you are finished playing***).
With the way the past week has gone, I am pretty surprised I was able to get a blog post together for ya’ll. Between my three-year-old busting his eyebrow (you can see in the picture above) and having to go to the ER, and my sweet, little one-year-old giving us a medical scare (turns out he just has an innocent heart murmur), I have had my fair share of doctor’s visits. Thank the Lord for tequila- that’s really all I have to say about this whole parenting thing.
But, enough of my pity-party. Let’s move on to the custom cornhole board tutorial.
For your convenience, I have included affiliate links. That simply means if you click on one of the links and buy something, I receive a small commission, but don’t worry… you won’t pay a dime more.
Custom Collegiate Cornhole Board Materials
note: this makes 2 boards
- 2 custom decals (here is where I got mine)
- 4 2x4x8’s
- 2 2ft clamps (like these
)
- 2 4×2 plywood sheets
- 18-Gauge Brad Nailer
- 1 box of 3” deckmate screws
- 6” hole saw (we bought this one
)
- drill
- circular or miter saw
- stain ( I used this one
)
- weather resistant wood sealer (I used this one
)
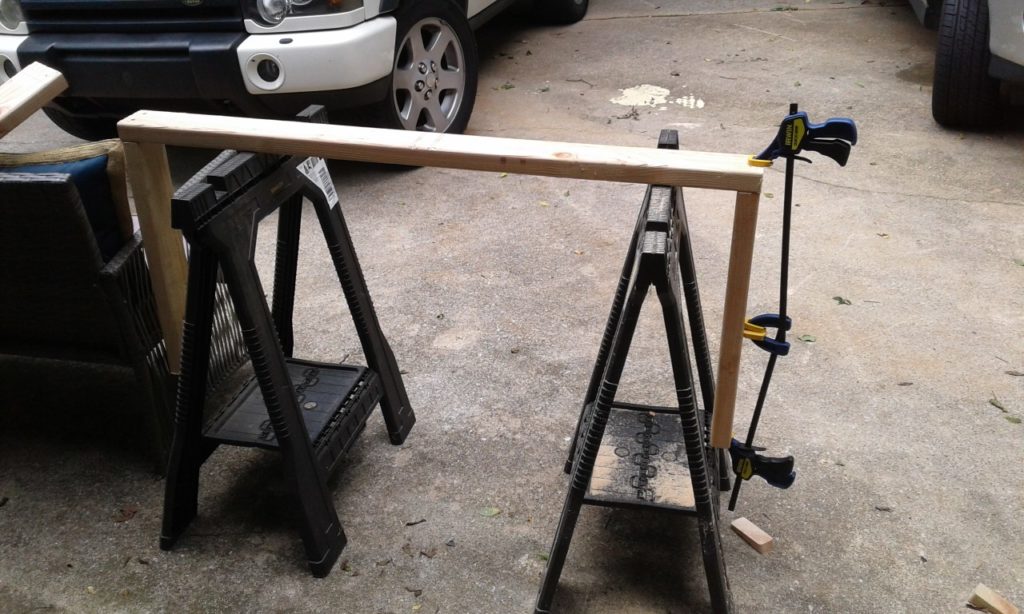
Step 1: Cut 2 of the 2x4x8’s in half (to make 4, 4 ft sections). Also, cut 4, 21” sections. (this is for 2 boards)
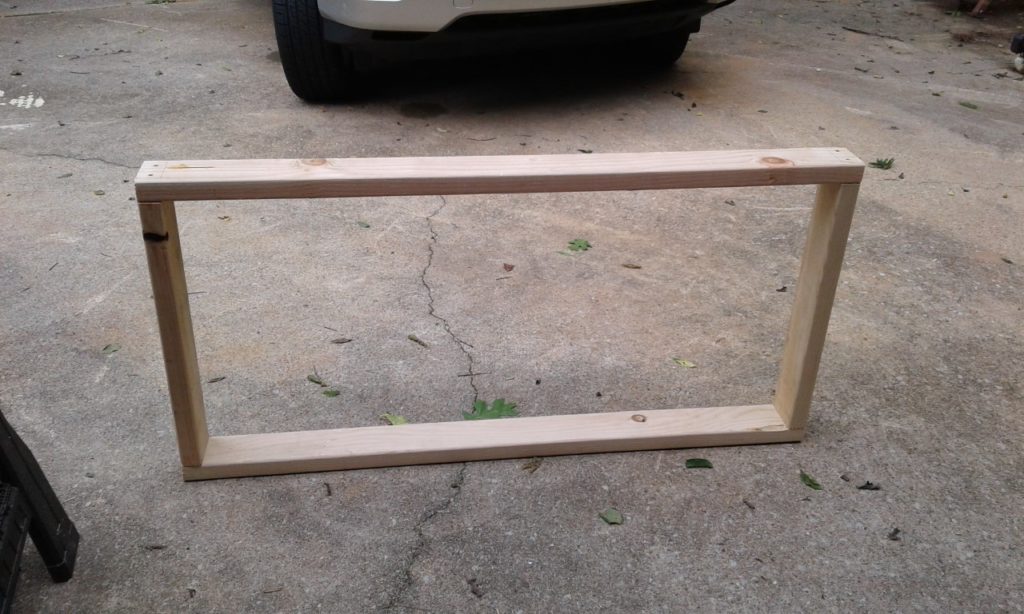
Step 2: Build box frame. Screw through ends of 4ft piece into face of 21” piece. Hold the 2×4’s in place using clamps.
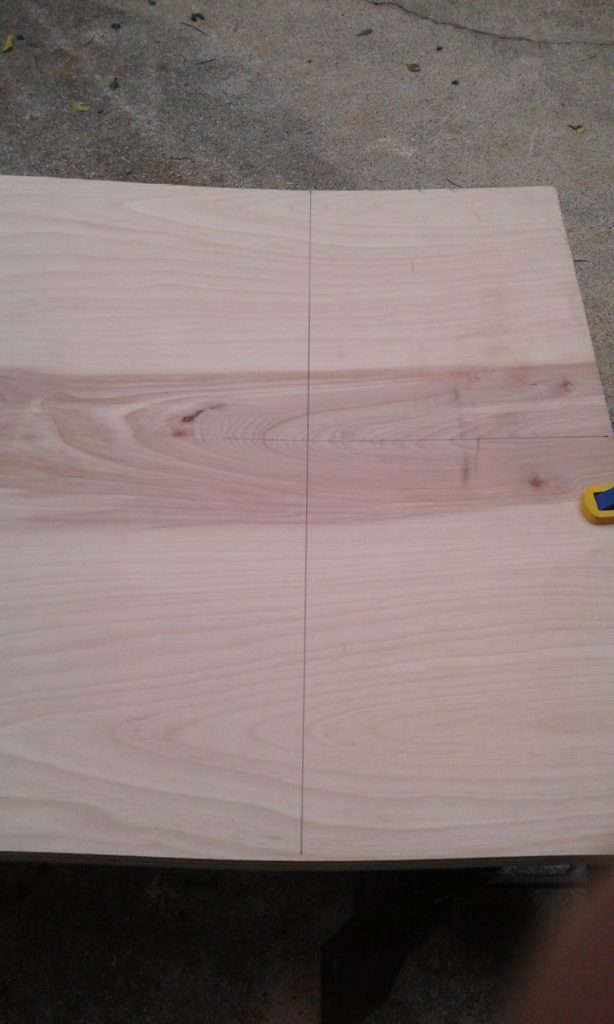
Step 3: On plywood, measure 12” across and 9” down. This will mark the drill hole. (we used a pencil to mark).
Step 4: Drill hole using hole saw to drill.
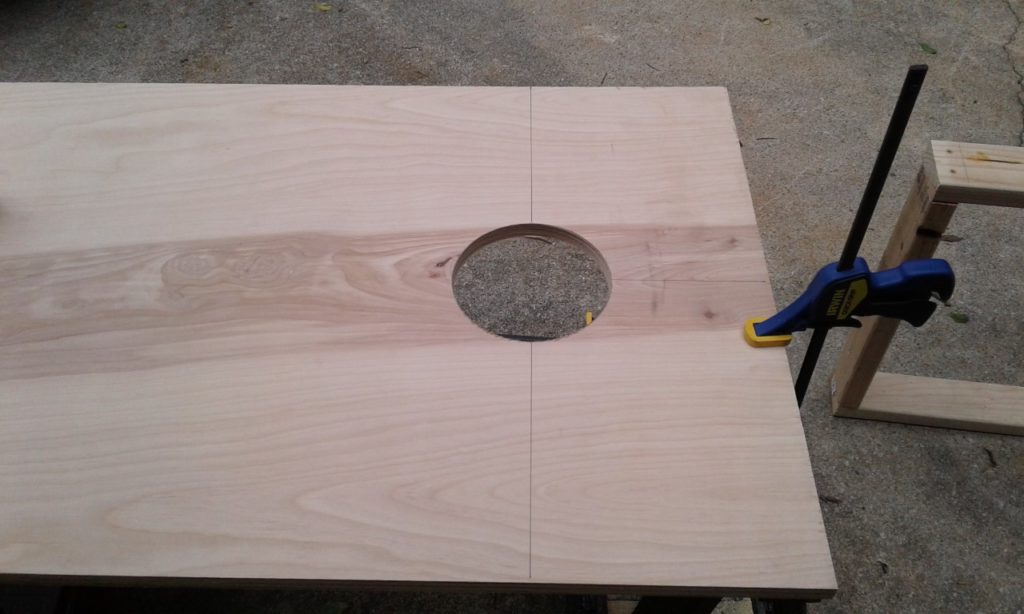
Step 5: Attach plywood to frame using 18 gauge brad nails.
Step 6: Attach legs (use 12” 2×4) using 3” deck screws
Step 7: Measure 12” from top of plywood down the leg to mark.
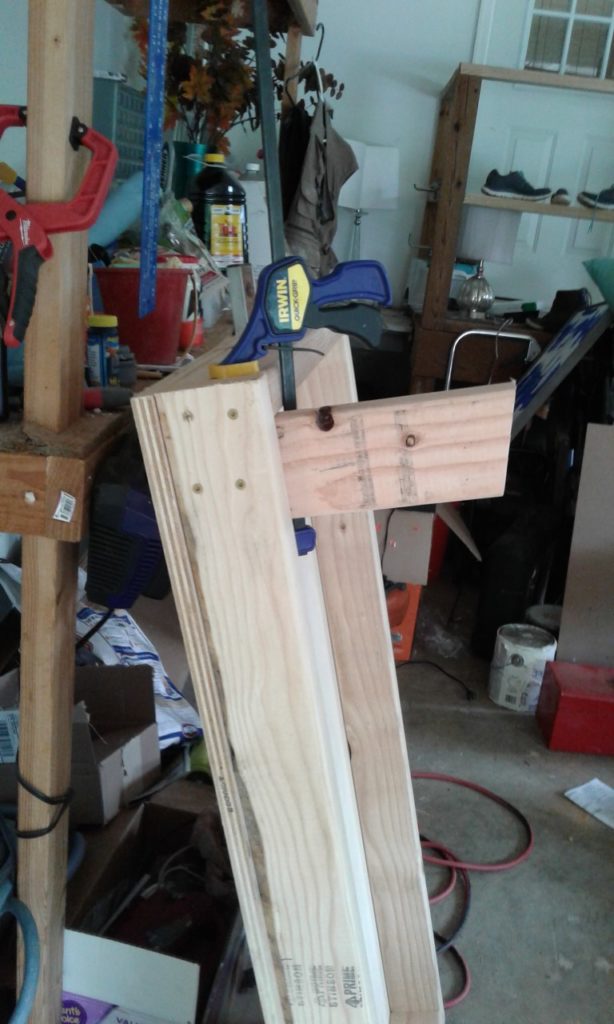
Step 8: Make horizontal cut on leg at mark.
Step 9: Sand the board lightly to prep for stain. Clean off dust.
Step 10: Apply stain (I used this one) and I had to apply about 2-3 coats.
Step 11: Once stain had dried, apply about 3 coats of weather-proof sealer (I used this one).
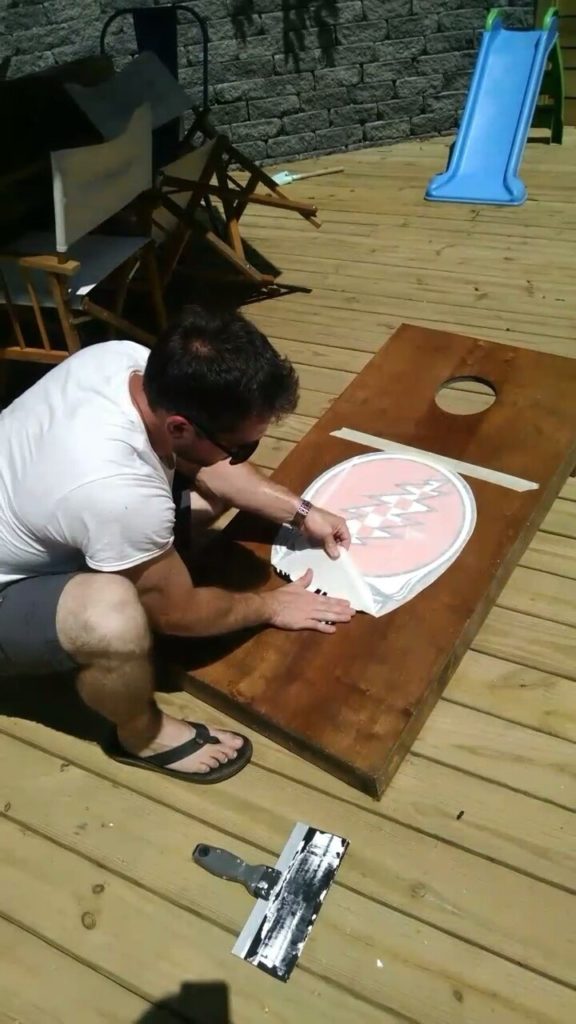
Step 12: As recommended by the decal manufacturer (here is where we got ours) , we waited 3 weeks for the stain and sealer to cure before we applied the custom decals. We thoroughly followed the directions of applying the decal.
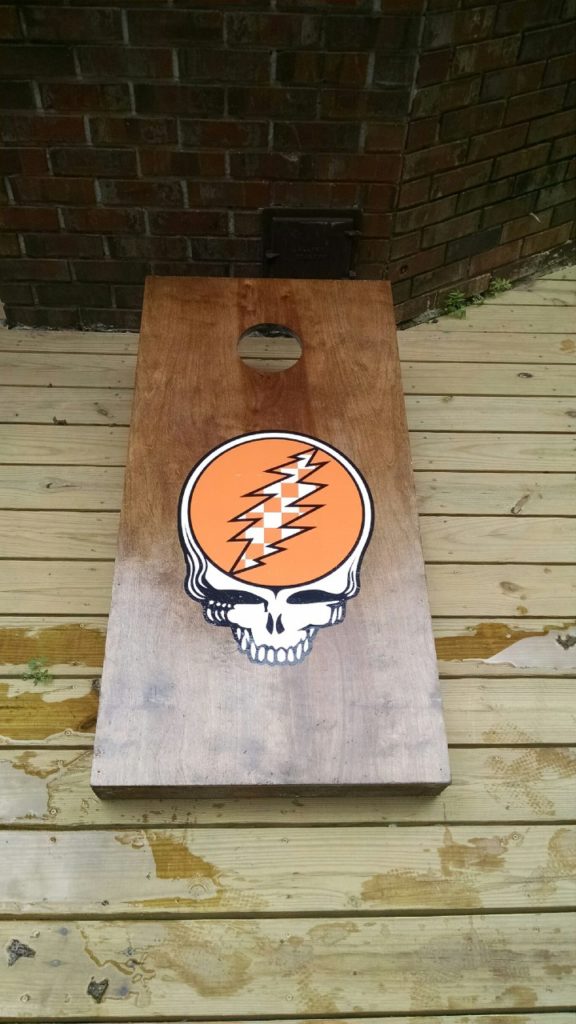
Voila! Your custom cornhole set is complete just in time for tailgating parties and football season!
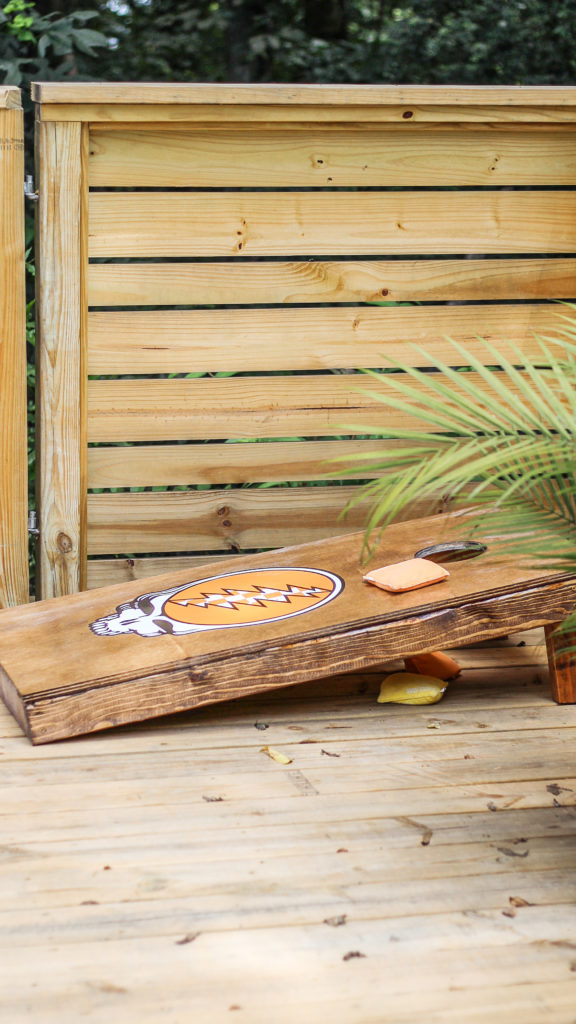
Although I cannot play worth a damn, I certainly have a blast trying. Not to mention, my little three-year-old daredevil loves to play as well.






Love it!! Great idea with the decals too! They look sweet! Cornhole+Tequila=Weekend vibes!!
Thank you so much, love. Hell yeah! 🙂
Erica, I absolutely loved the custom skull design imprint! You did a great job!
Thank you so much! So glad you stopped by, friend.