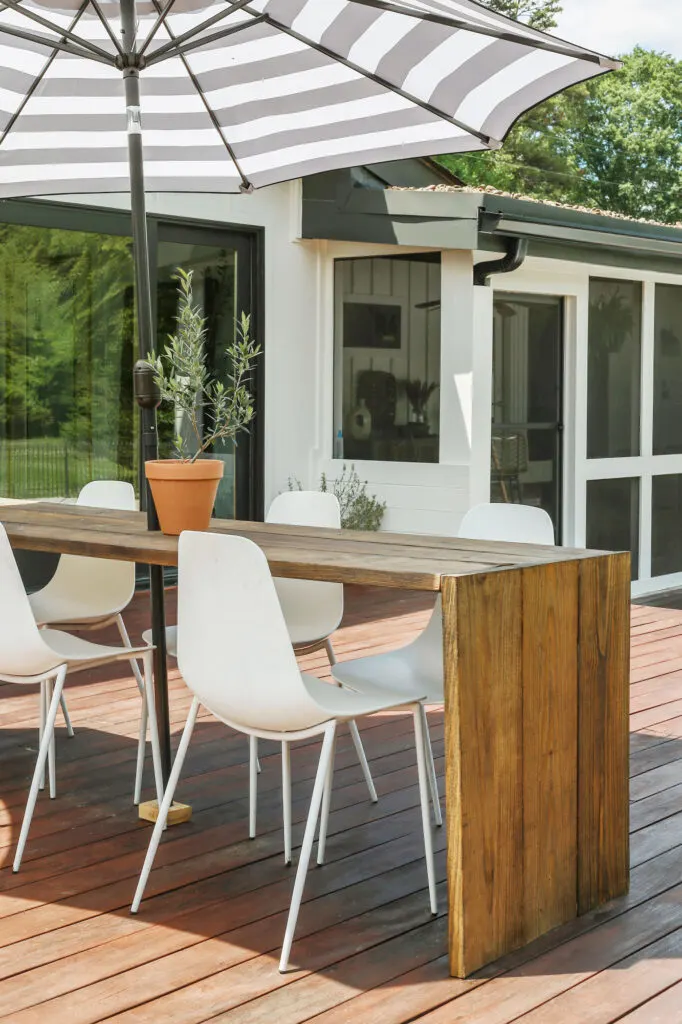
Just in time for the first major holiday of summer, today I am sharing how to build a large outdoor dining table for just $100...
I don’t know about you, but I am sooo freakin’ ready for the upcoming, three-day weekend.
Between the pool and the lake (with a drink in my hand of course) is where you will find my happy a$$.
In fact, I am hosting a Memorial Day bash, and I know with all the time we plan on spending outdoors that this newly-built dining table is going to come in handy.
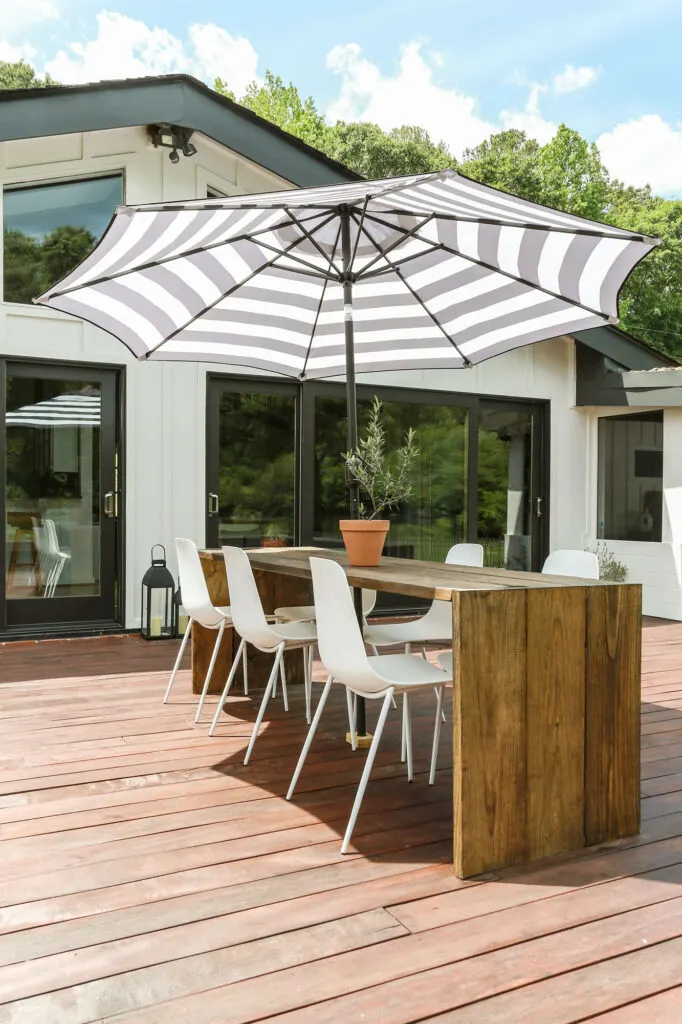
If you have been following the blog long enough, you may recall my diy outdoor table from two years ago where we repurposed some old deck posts and used them for table legs .
Well…given that table would have been an absolute beast to move to our new house, we decided to part ways with it and leave it for our buyers to enjoy.
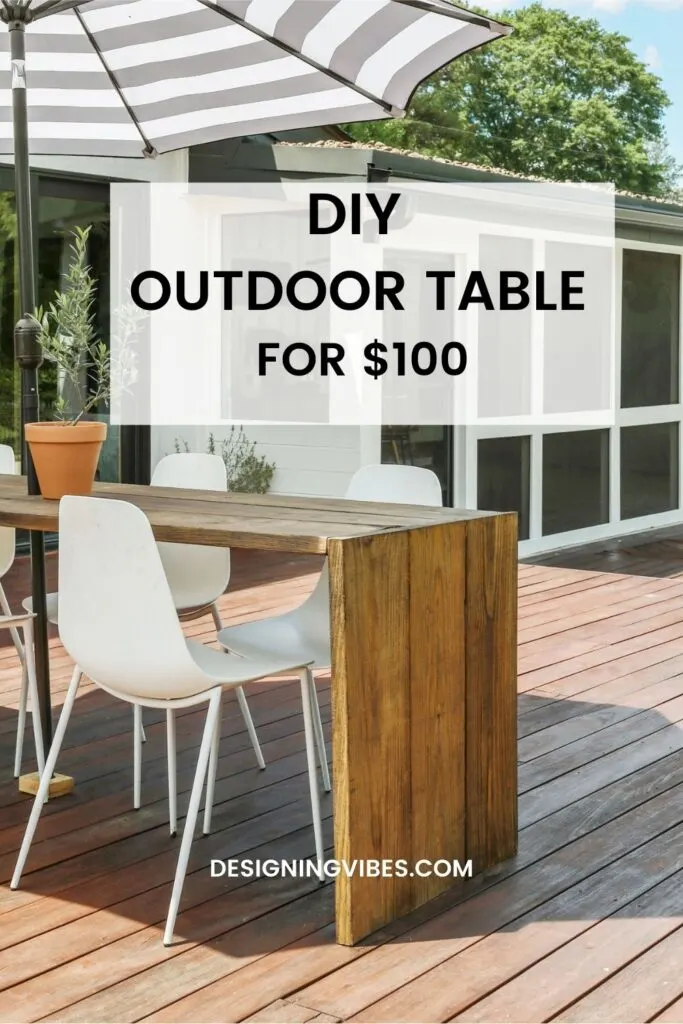
While I was a little hesitant to leave the table behind, my husband promised to build me a new one.
So…after agonizing over what aesthetic I wanted to go with this time around, after a few weeks, I finally decided on a simple design with clean lines to acheive an understated yet modern look.
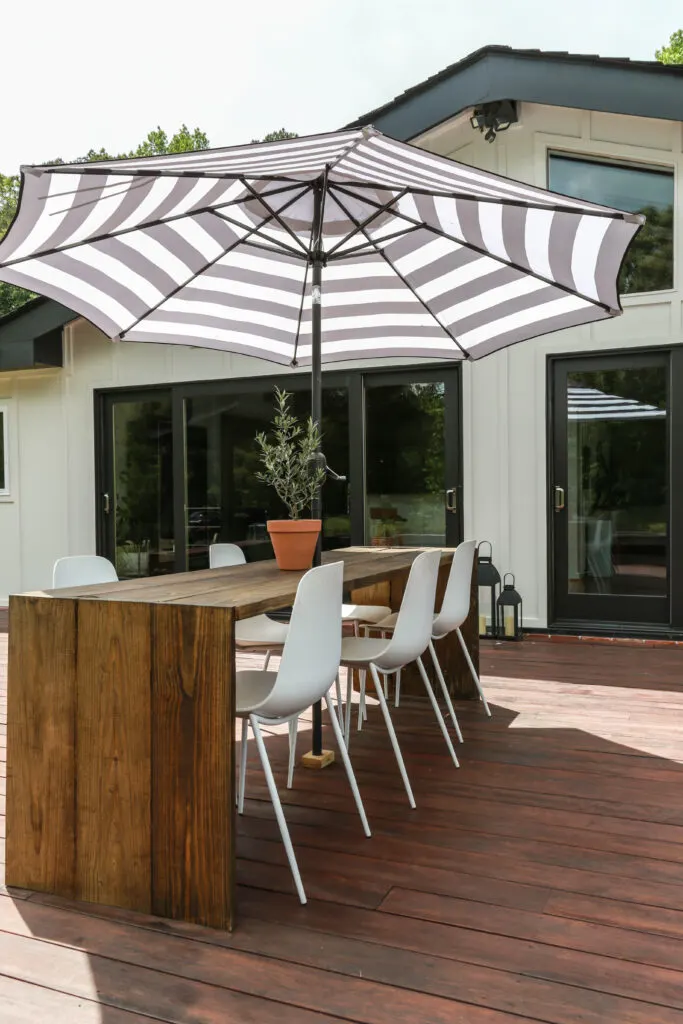
Not wanting the table to block or distract from any views from within the house (the entire back wall of the main living area is constructed of glass doors and windows overlooking the lake), we decided to make the piece a bit more shallow in depth and orient the furniture so that it sits in front of a small stretch of wall on the exterior of our home- not obstructing any door or window.
While we did initially consider using cedar for this piece, with the insane cost of materials in our crazy market right now, that just wasn’t gonna happen.
So… to make the dining table as budget-friendly as possible, my husband constructed the table from basic, treated pine lumbar.
Let me show you how to replicate this for your own patio…
DIY Outdoor Dining Table for Cheap Tutorial:
Materials Needed:
- Pocket jig and screws
- Miter or circular saw
- pressure treated pine lumber (we used 2x10s)
- Drill
- Deck screws 2 3/4”
- Hole saw
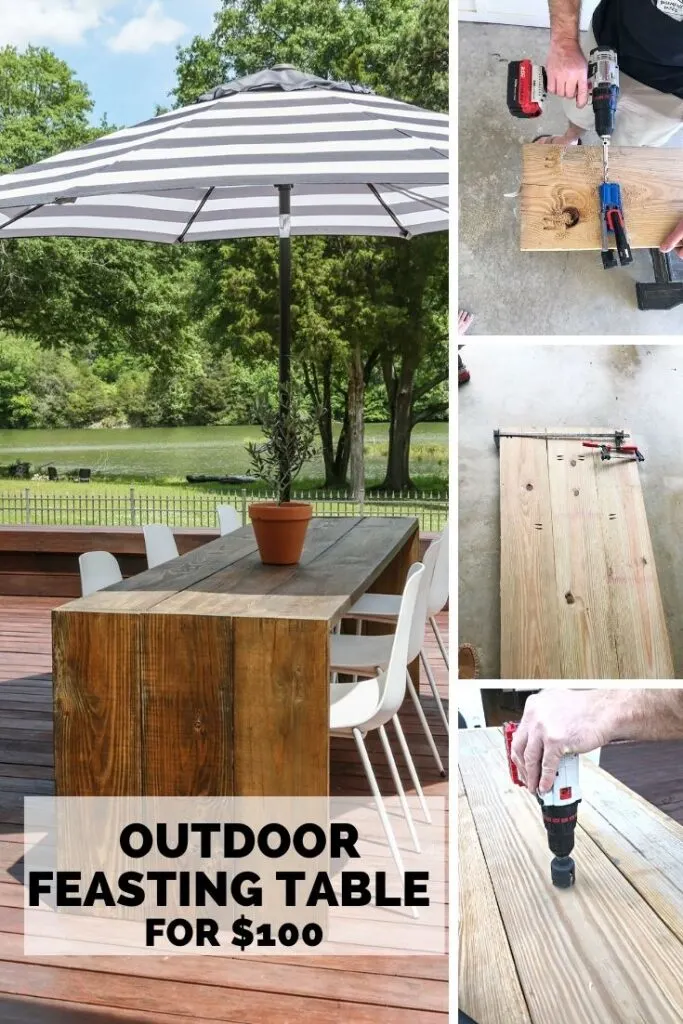
(Step 1). Determine desired width of table. We used 2×10 pressure treated lumber. Three boards made the table width be 27.75” (actual width of x10 lumber is 9.25”).
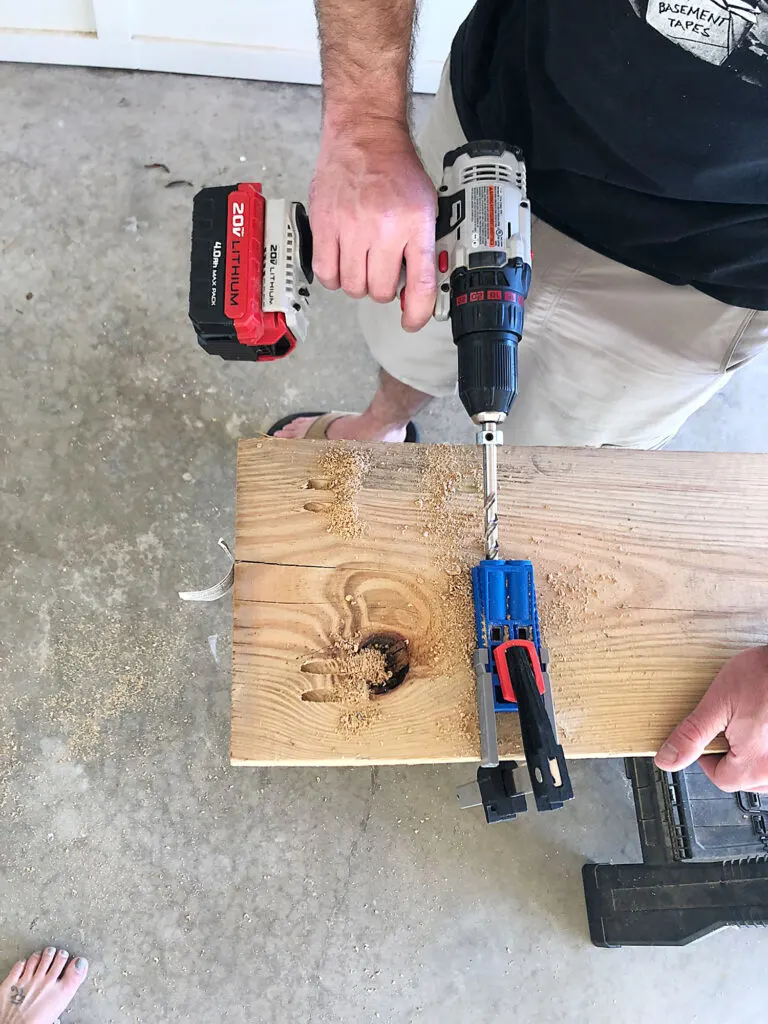
(Step 2). **Optional** Cut top boards to desired length using either a miter saw or circular saw. Given we wanted the table to be 10” long, we were able to skip this step.
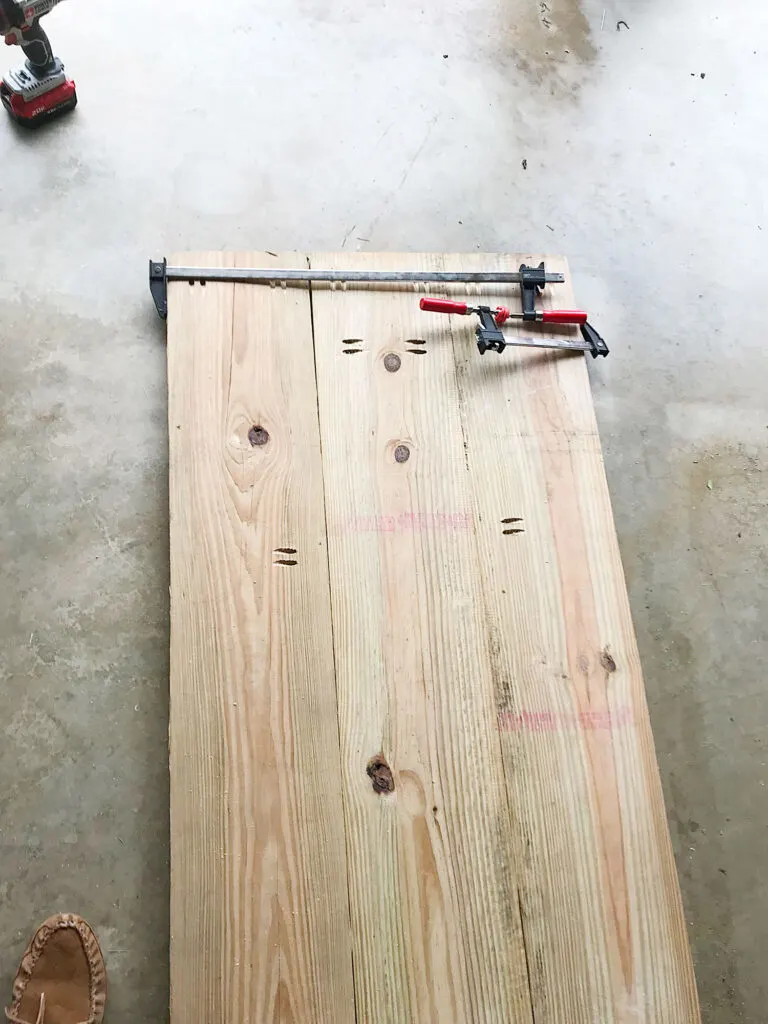
(Step 3). Join table top boards together with Kreg pocket jig and screws as pictured.
(Step 4). Cut leg boards (also 2×10) to desired length.
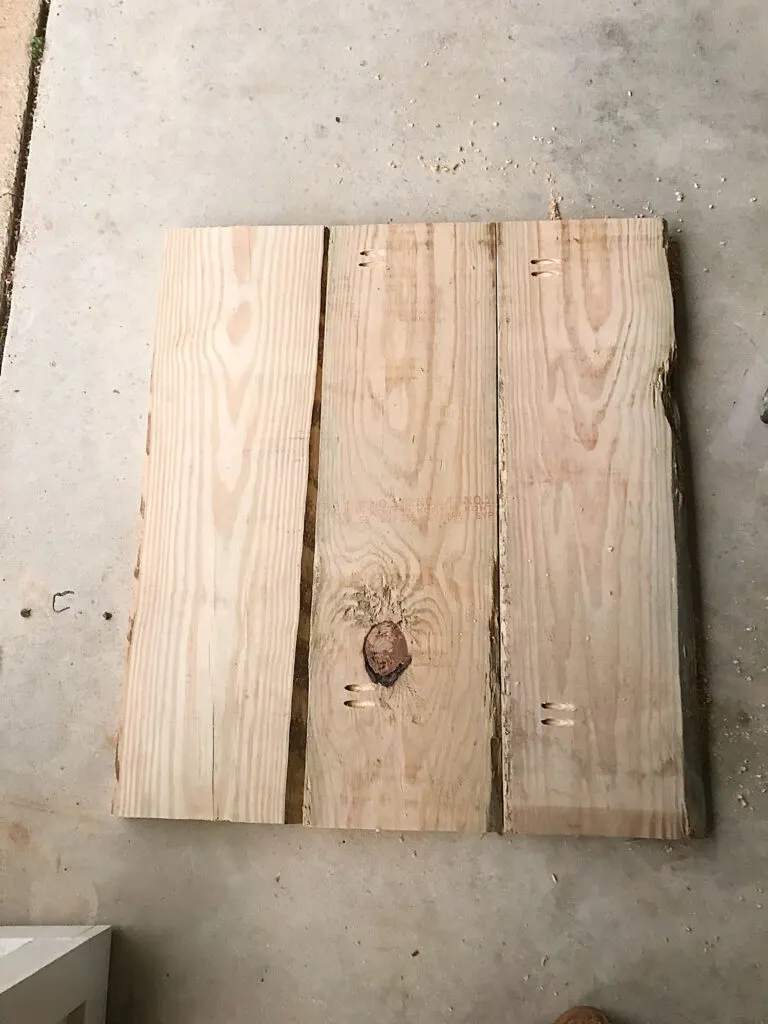
(Step 5). Join leg boards together using same same method as top boards.
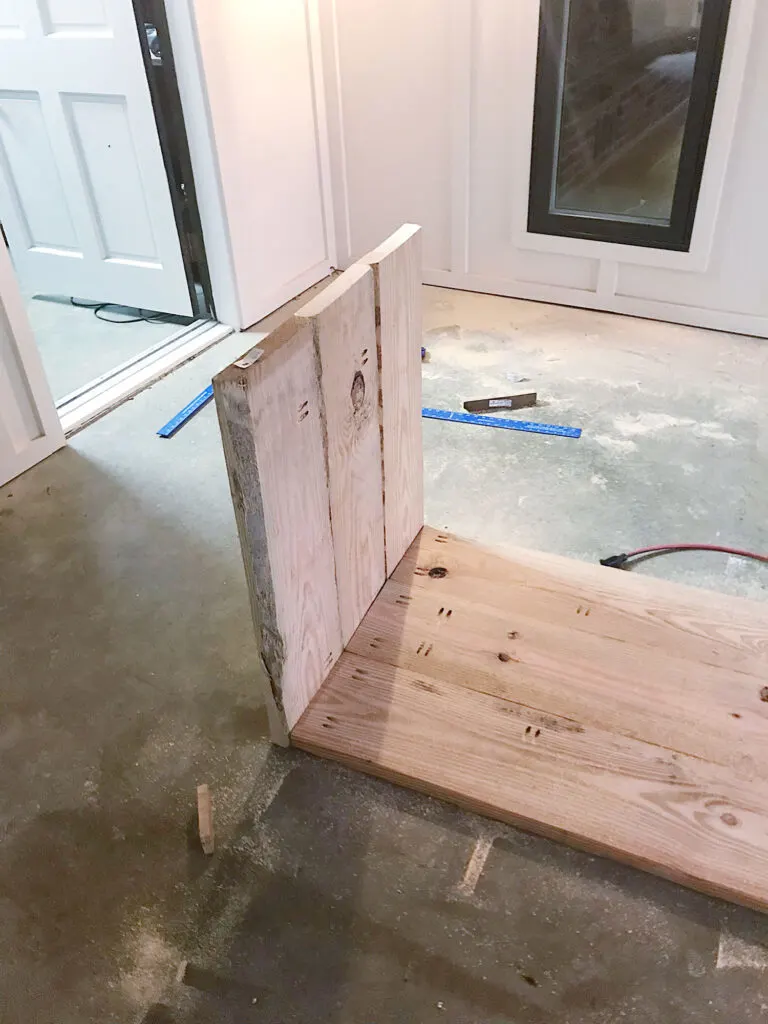
(Step 6). Attach top boards to leg boards using pocket jig and screws.
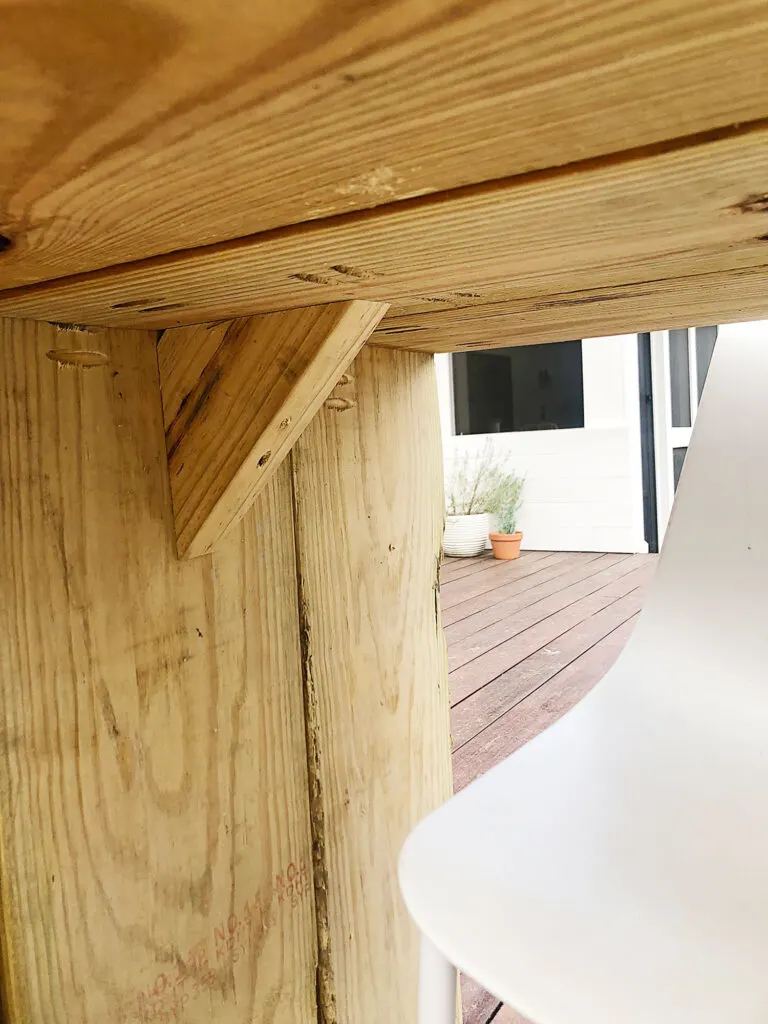
(Step 7). Using a 2×4 PT, cut a 45 degree triangle starting at the corner. Two of these will be attached where the top and legs meet for added lateral stability. Using deck screws, attach triangular bracing.
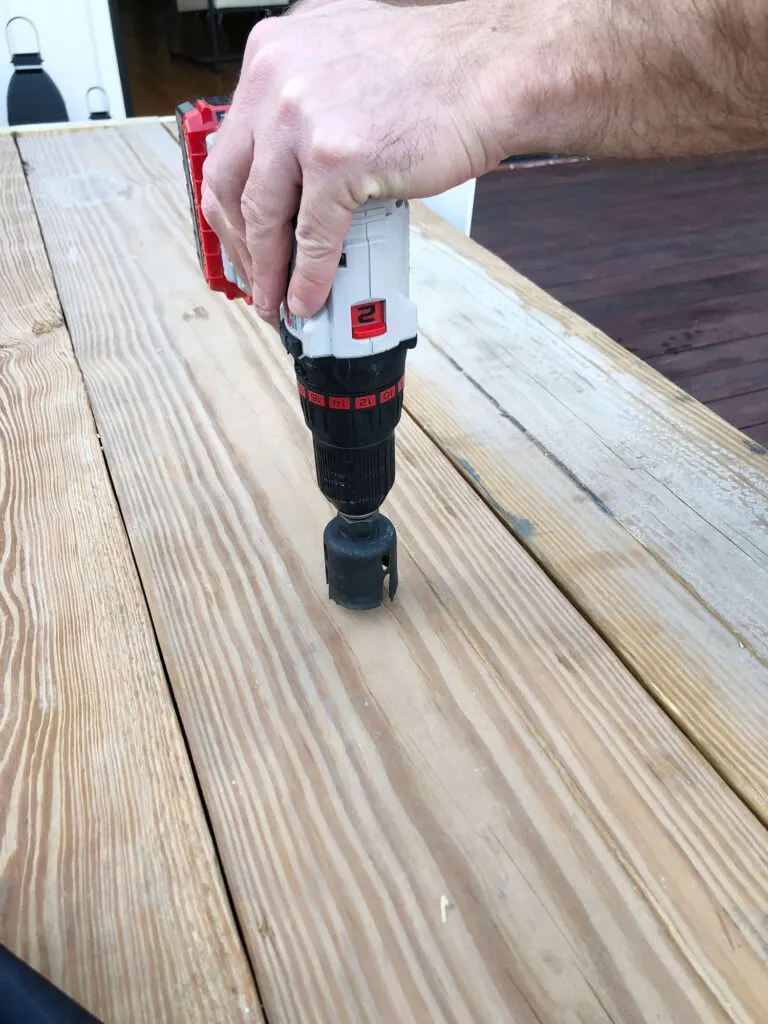
(Step 8). Using a two inch hole saw, cut hole in center of table for an umbrella. Use an umbrella base to secure at deck level. Note: To stabilize the umbrella, my husband crafted a makeshift base with some leftover lumber. Using the hole saw, he cut a hole in it and then screwed the base to the deck.
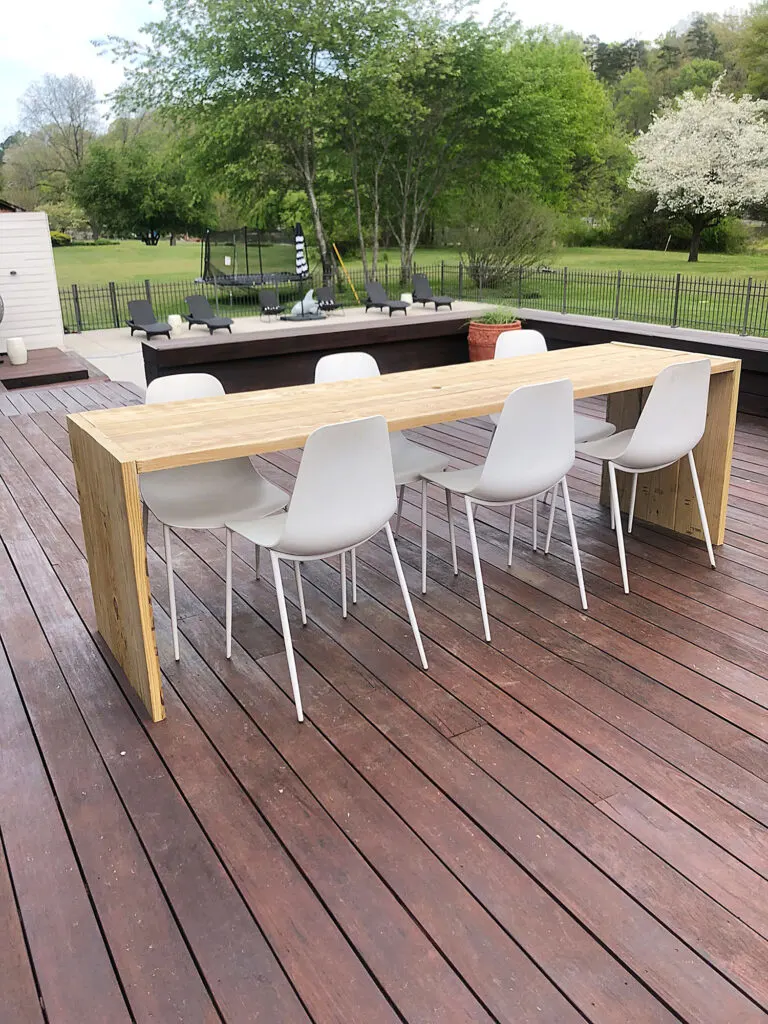
(Step 9). I waited about 2 weeks to sand and stain the treated lumber table. Depending on the humidity levels in your specific location, you may even need to wait 4-6 weeks before applying stain. To acheive a warm gray finish, I referred to this stain tutorial from Ella Clair & Co.
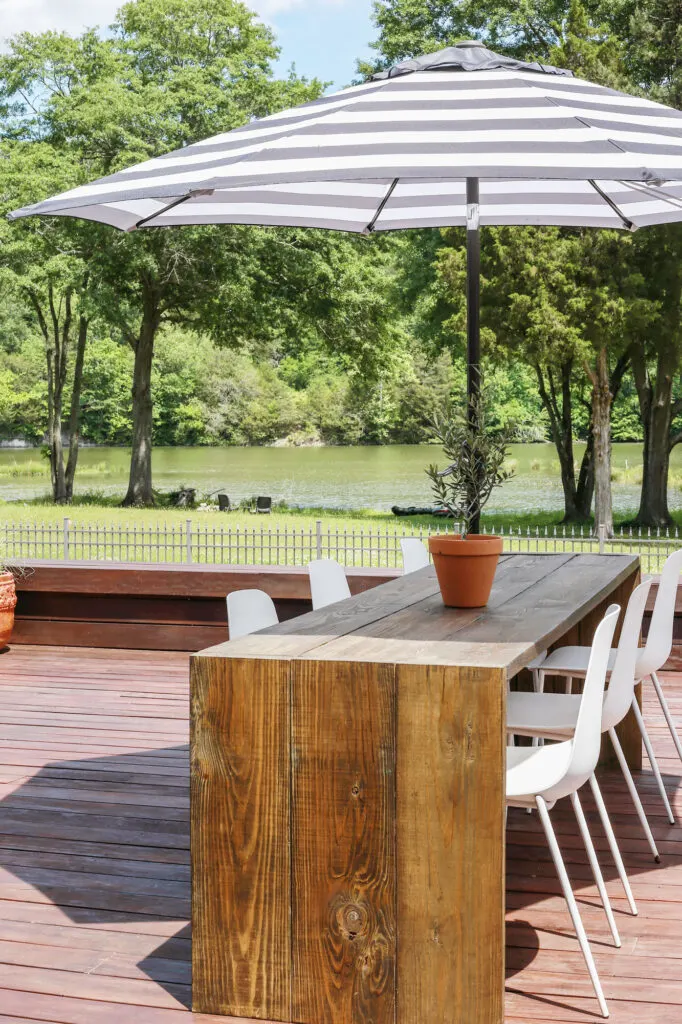
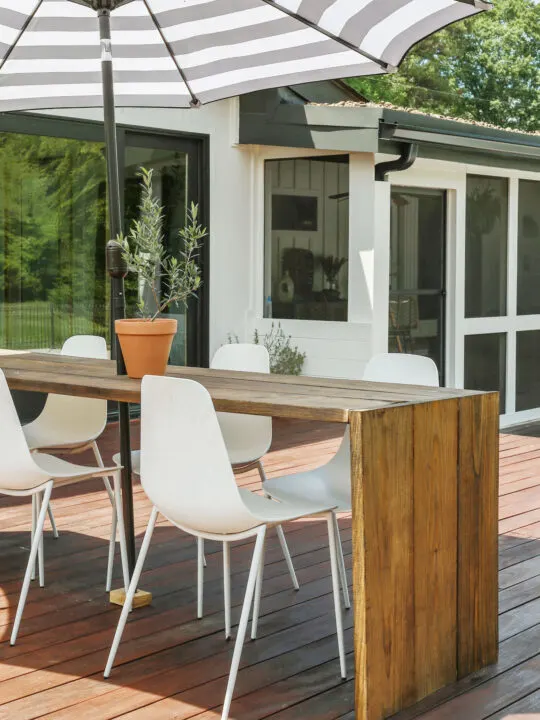
Considering my husband only had basic saws to work with (not a fancy Jointer and Planer like the professional carpenters), I think this table turned out pretty darn well.
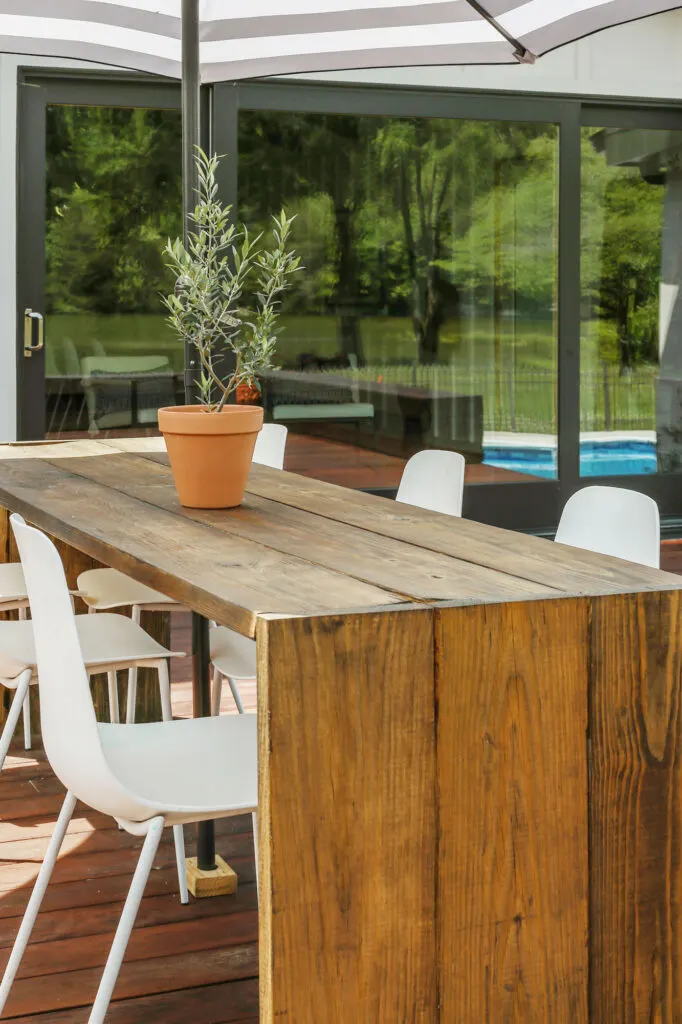
In fact, I think the imperfections actually give it more rustic charm.
For just three hours of labor and $100 in materials, for a solid- freakin’- wood table, I would say we made out pretty well for these inflated times we are living in.
Wishing you all a fabulous holiday weekend!
Now I am going to start preparing for my first bash of the summer in our new love nest.
Be sure to come back here on June the 8th for my Summer Home Tour where I am teaming up with over 30 other bloggers.
Thank you so much for stopping by and spending a little time with me this week!
It would mean the world to me if you could share this post with a friend or on social media. Your support is greatly appreciated.




Mary Jacobsen
Saturday 28th of May 2022
Great table love the rustic look You keep on going on girl !!!
Designing Vibes
Wednesday 1st of June 2022
Thank you so much, Mary. :)
Donna
Friday 27th of May 2022
That’s a great table for a reasonable amount of money! I really like that it’s not fussy, just clean lines. The view is gorgeous, enjoy your weekend.
Designing Vibes
Friday 27th of May 2022
Thank you so much, Donna! Happy Memorial Day weekend. xoxo
Suzi
Wednesday 25th of May 2022
I love it!!!! Beautifully designed, executed and explained. Enjoy your bash!
Designing Vibes
Thursday 26th of May 2022
Thank you so much, Suzi! I hope you have a great holiday weekend. :)
Victoria
Wednesday 25th of May 2022
Wow, he did an amazing job! And as always you explained it so well that I think that I can do it myself 🙂. Great job as usual!
Designing Vibes
Thursday 26th of May 2022
Well thank you so much, Victoria! Yay...you got this, girl! :)
Donna
Wednesday 25th of May 2022
Your new DIY table is Gorgeous! Your hubby did a great job :) Have a great Memorial Day celebration in your new home!
Designing Vibes
Wednesday 25th of May 2022
I really appreciate it, Donna! Happy Memorial Day to you and yours. :)