
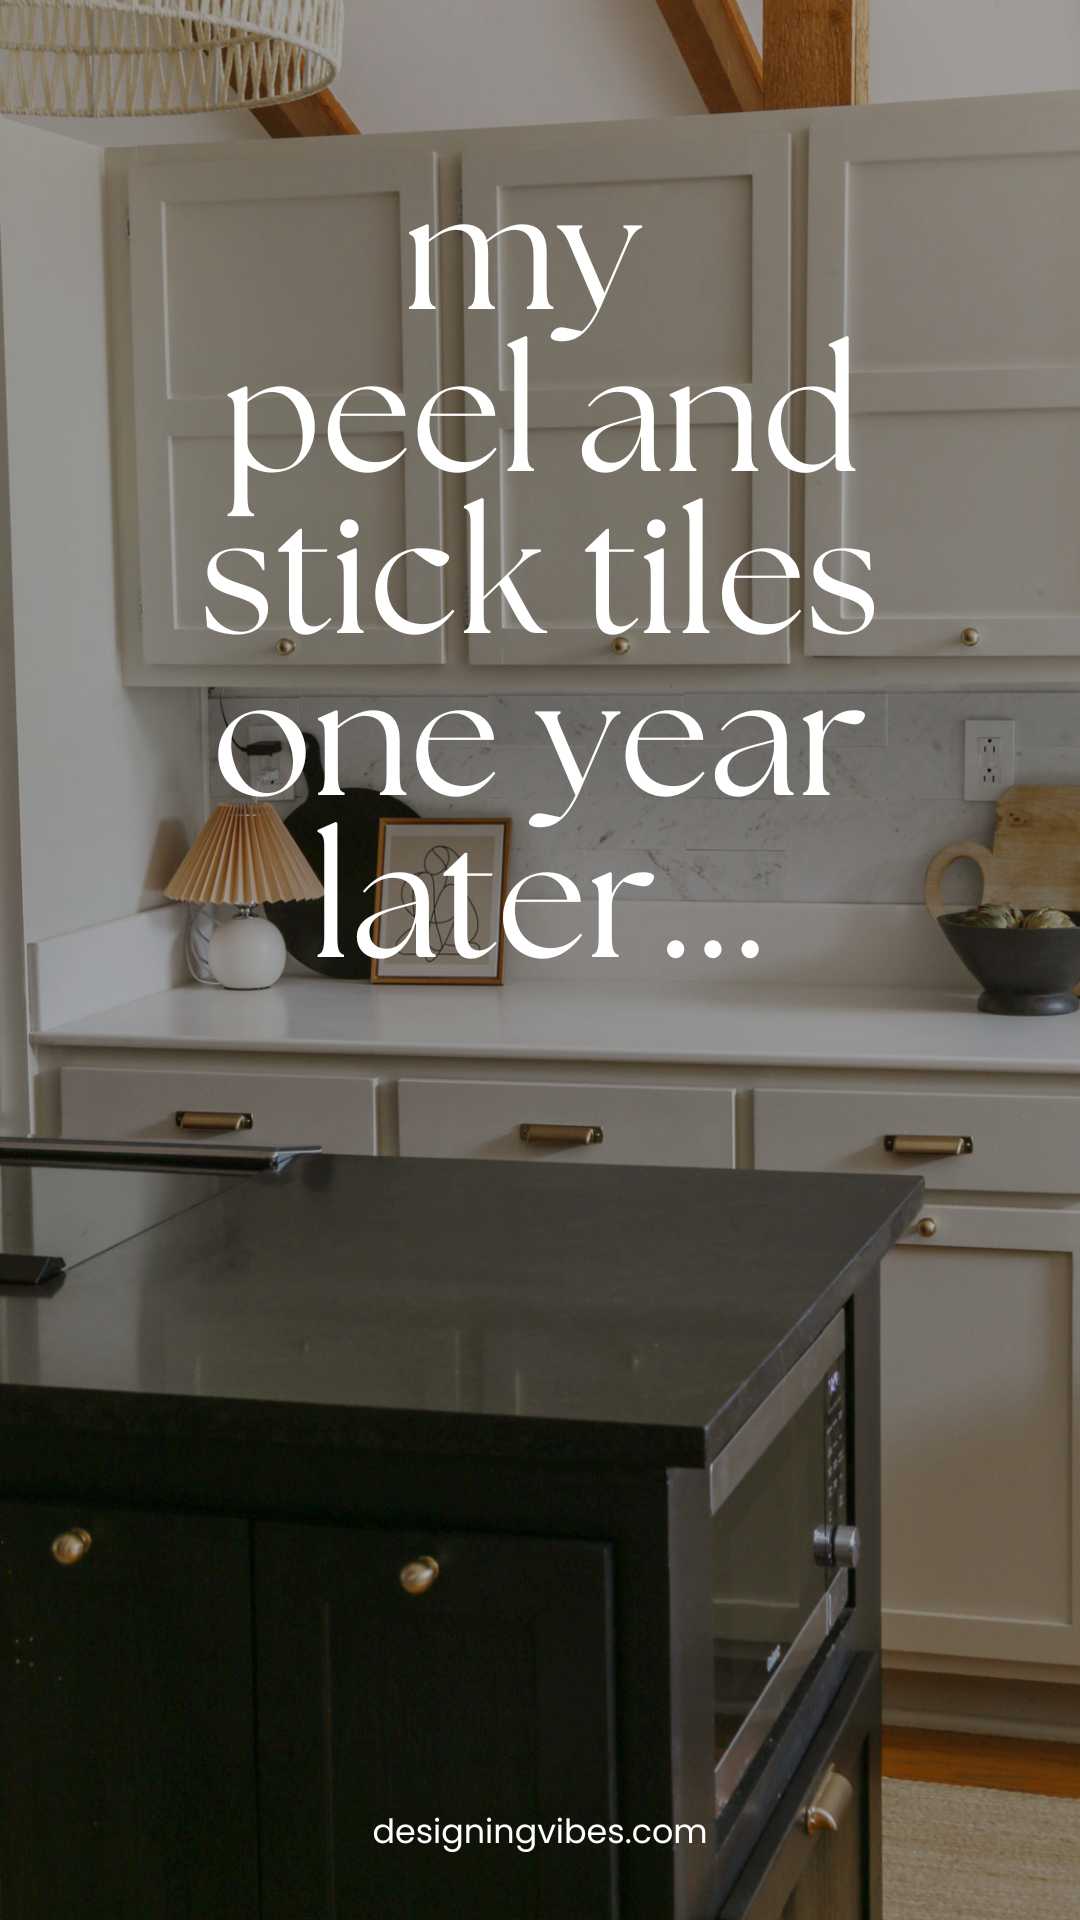
My Marble Peel-and-Stick Tile Backsplash: One Year Review
One year ago, I installed real marble facade peel and stick tiles in my kitchen. Today, I am sharing how it’s holding up after 14 months of use…
While advances in home improvement tech are pretty freakin’ awesome, it’s always a little nerve-wracking to ditch the tried-and-true route and roll the dice on some shiny new product. Is it all too good to be true? Will those sweet savings in cost and labor come back to bite me in the a$$ later?

That’s exactly why I make it my personal mission to circle back and spill the tea on how these “miracle” products actually hold up over time (I mean, it’s basically my civic duty as a DIY blogger). And trust me…some have totally let me down in the long run(like I shared in an older post about a certain peel-and-stick tile situation gone wrong).
So let’s get into the juicy deets on my marble peel and stick tiles …
**For your shopping convenience, this post contains affiliate links. As a Reward Style and Amazon affiliate, I earn commission on sales at no extra cost to you.**

While many influencers (or people on HGTV) seem to have the financial means to gut their dated kitchens down to the studs and start from scratch, I have never had this pleasure myself. Nonetheless, that doesn’t mean I will ever give up on a space altogether.
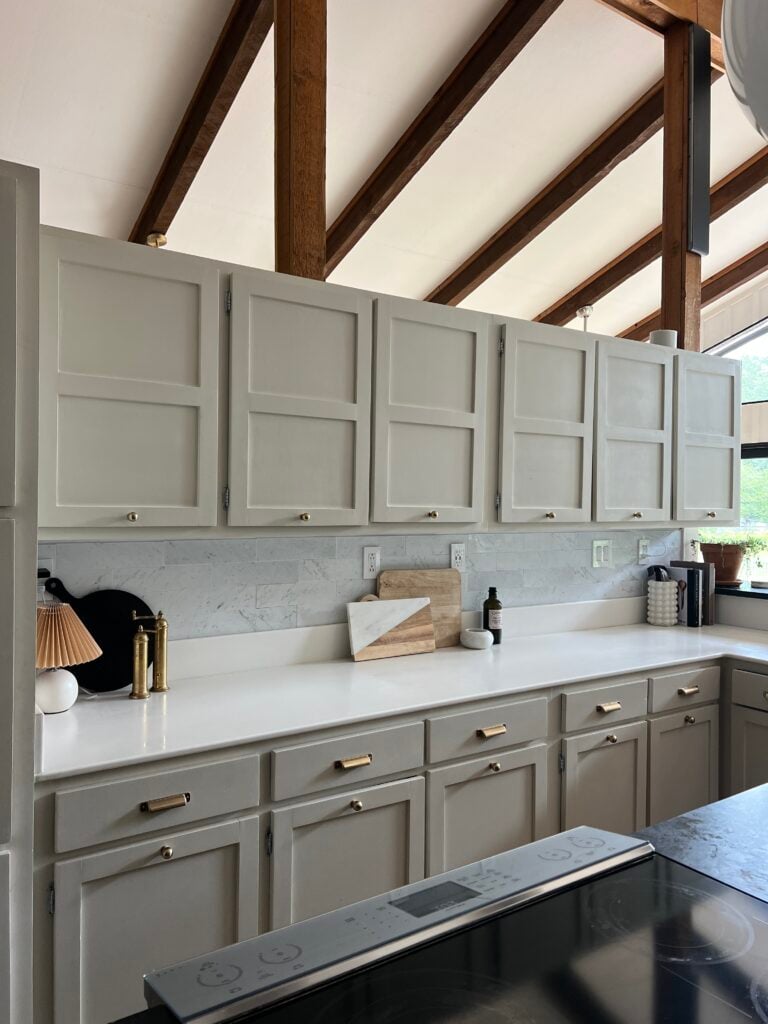
I do the best I can with the budget I am working with and contrary to the opinion of many highfalutin’ designers or influencers out there, I am all about “placeholder” decor and solutions. Case in point? My kitchen backsplash situation…
Why I Chose Marble Peel and Stick:
Wanting to bring the movement and texture of natural stone into my space but not yet having the budget to replace my laminate countertops, I knew it would make no sense to install a pricey Zellige or traditional marble subway tile (when I plan to eventually rip the counters out and replace them with real stone).
And while I had considered Smart Tiles Zellige Peel and Stick as a temporary solution, once the samples of the particular color I ordered came in the mail, I just was not impressed. They just seemed a little too plastic-y/vinyl-ey for such a high trafficked area as my kitchen.
But to my utter delight, I eventually stumbled upon this peel and stick product on Amazon that was made from real freakin’ marble, yall. No cheap synthetic feel or luster, but real stone facade!!
My Personal Experience with Peel and Stick Tile Backsplash:
The tiles only took a day or two to arrive, and my husband and I began installing them immediately (for a step by step tutorial, read my separate post How To Install Stone Facade Peel and Stick Tiles).
Installation was relatively straightforward and only took around two hours to complete…
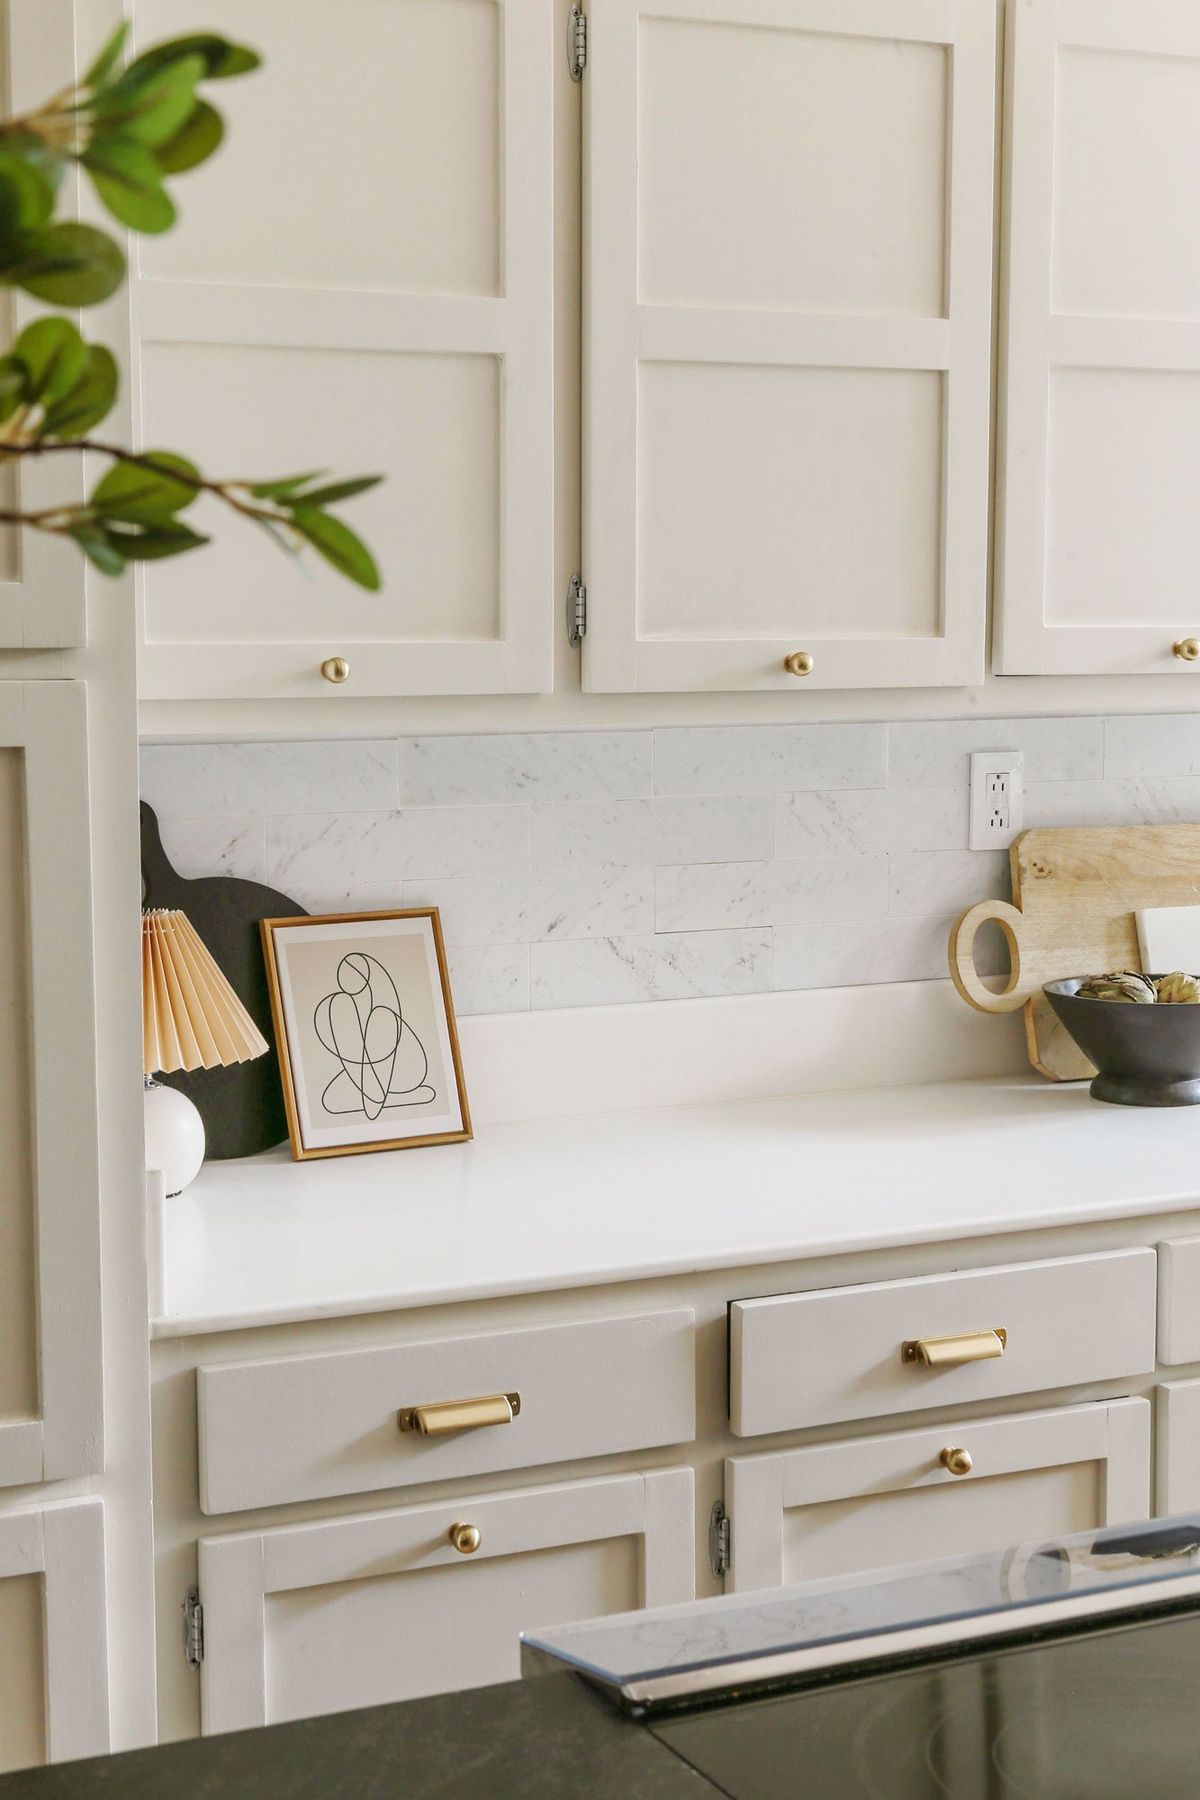
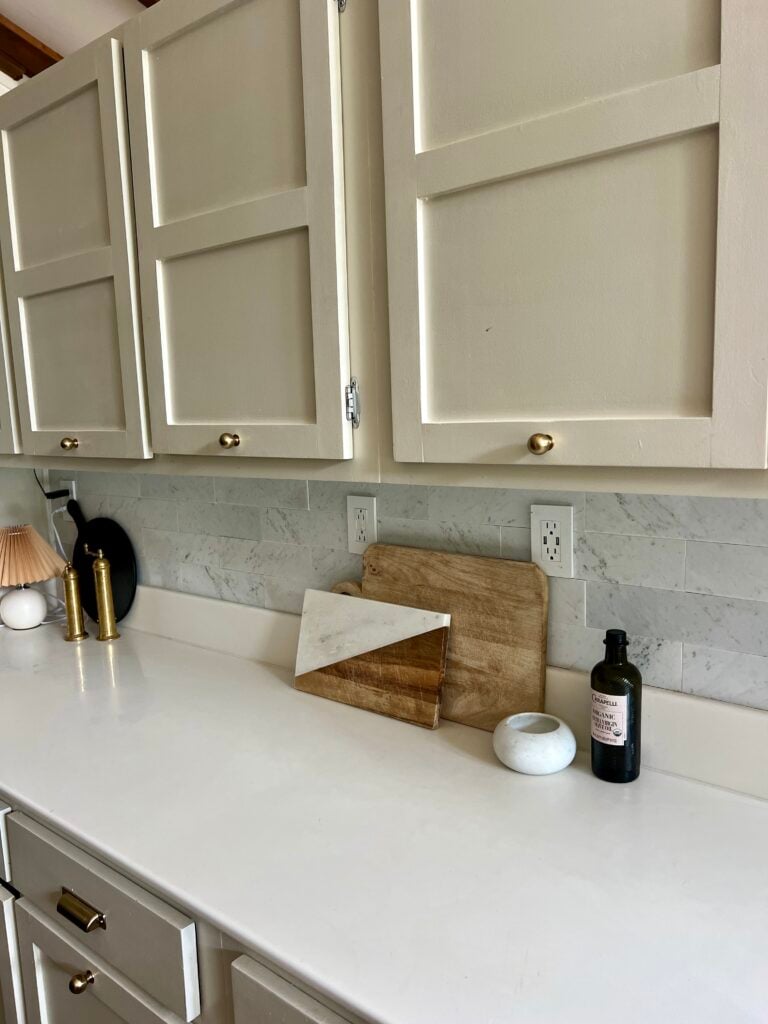
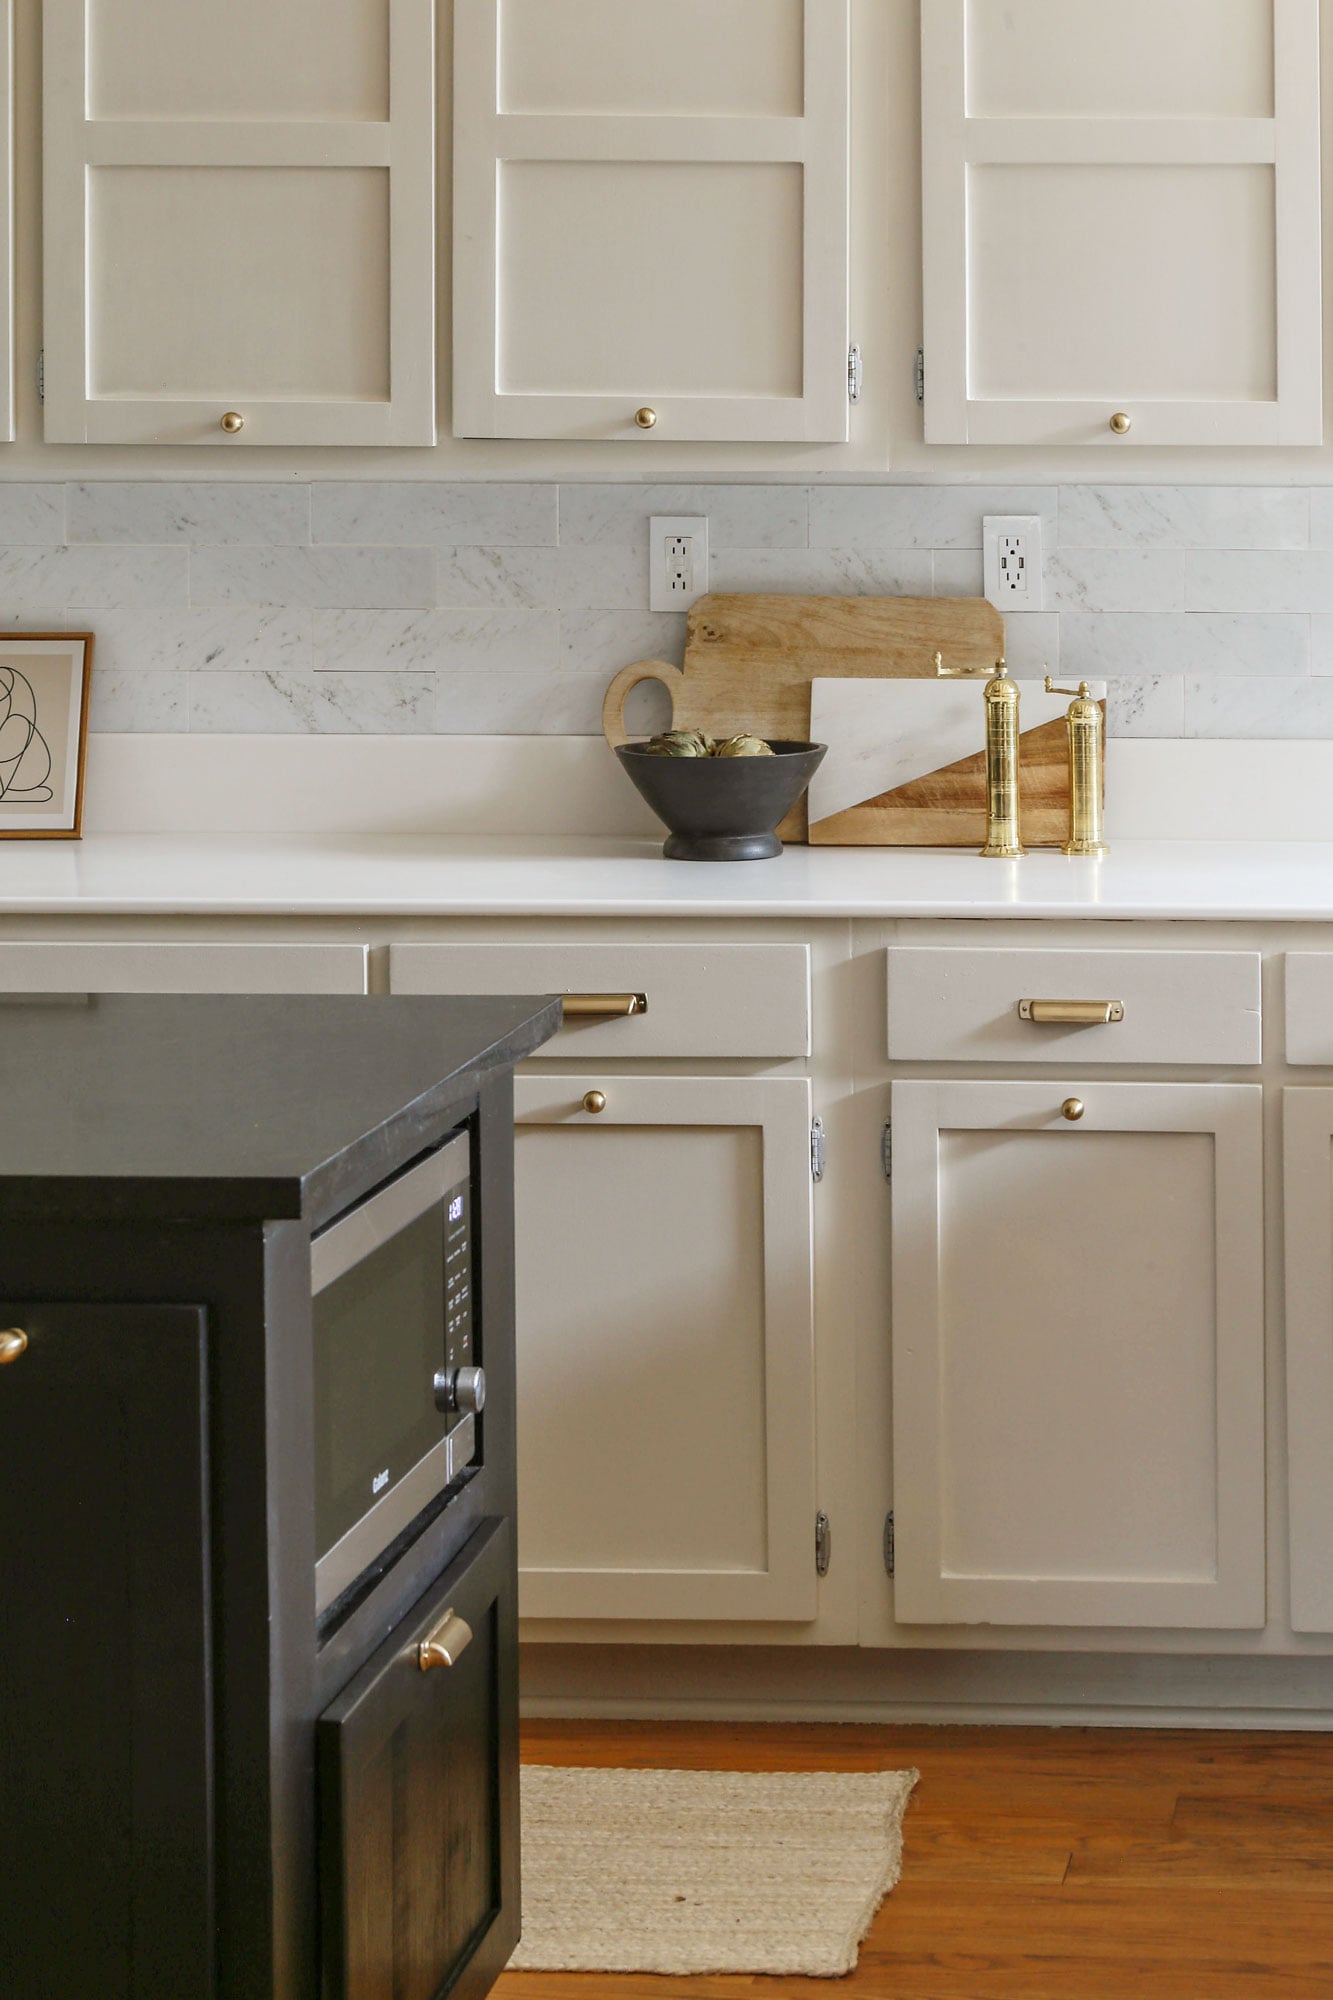
For $130 and 2 hours of labor, I really was so pleased with the transformation these tiles created. While I think that grouting them would have looked the best, I chose the path of least resistance when it comes time to demo the tiles (remember ..I am saving for my dream counters/backsplash). So…how am I feeling about them a little more than one year down the road?
While I am overall very pleased with how these babies are holding up in my kitchen (in a house full of boys and red wine drinkers might I add), I will say that my biggest complaint is that they are very…very delicate.
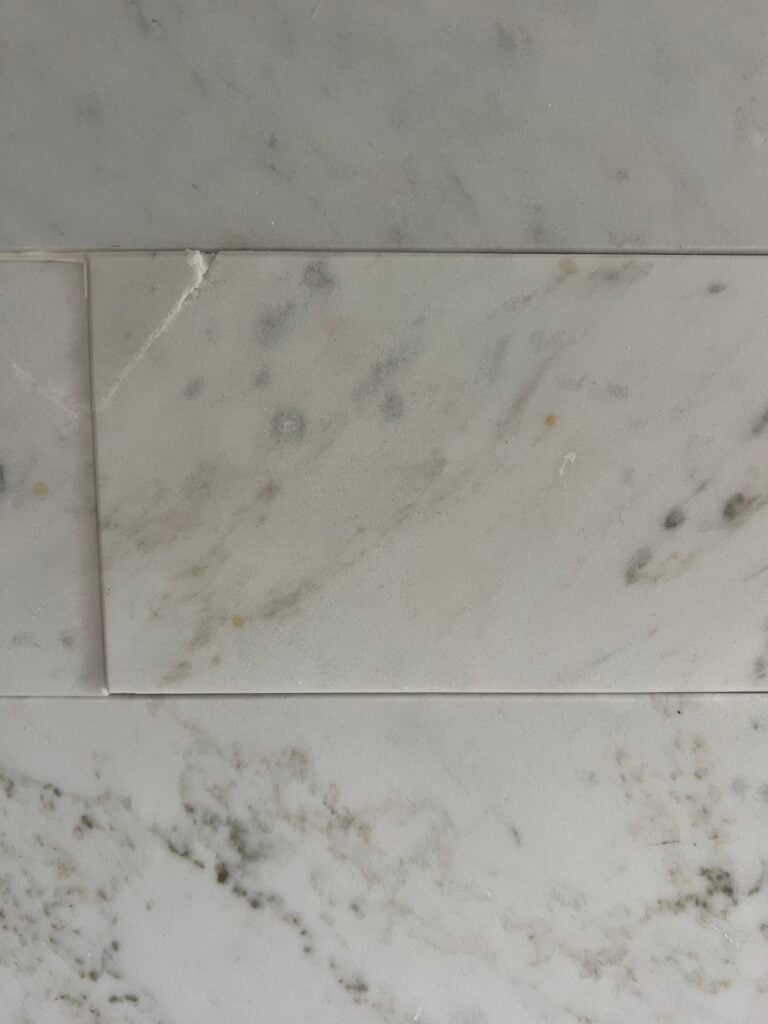
While we were super careful during the install (we’d read the Amazon reviews warning about this, so we were ready), a few tiles still showed up damaged right out of the box. Then, once we had everything in place, one rogue tile kept popping out farther than the rest. In an attempt to fix the problem child, I pressed on it a little too forcefully and… crack. Womp womp!
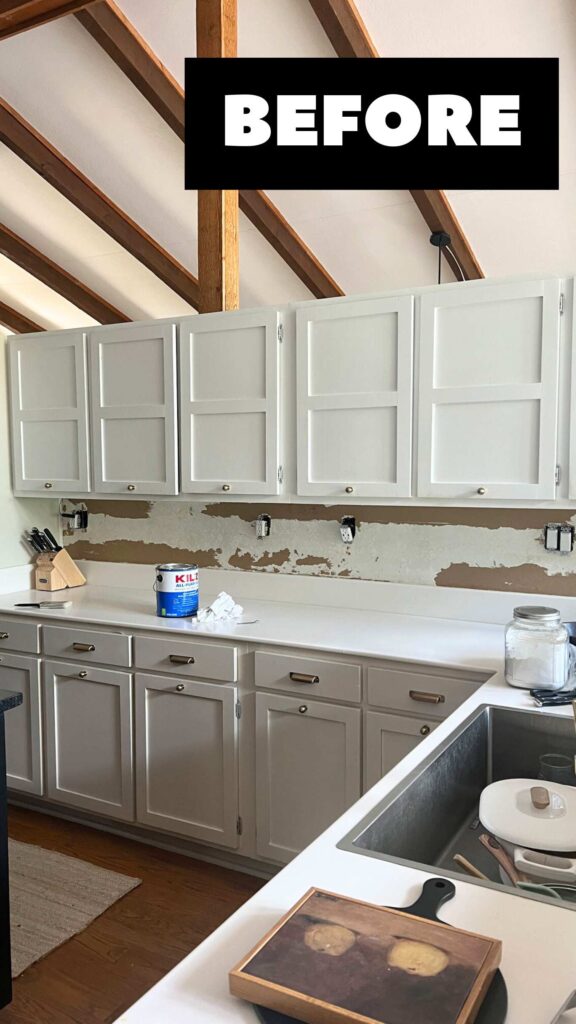
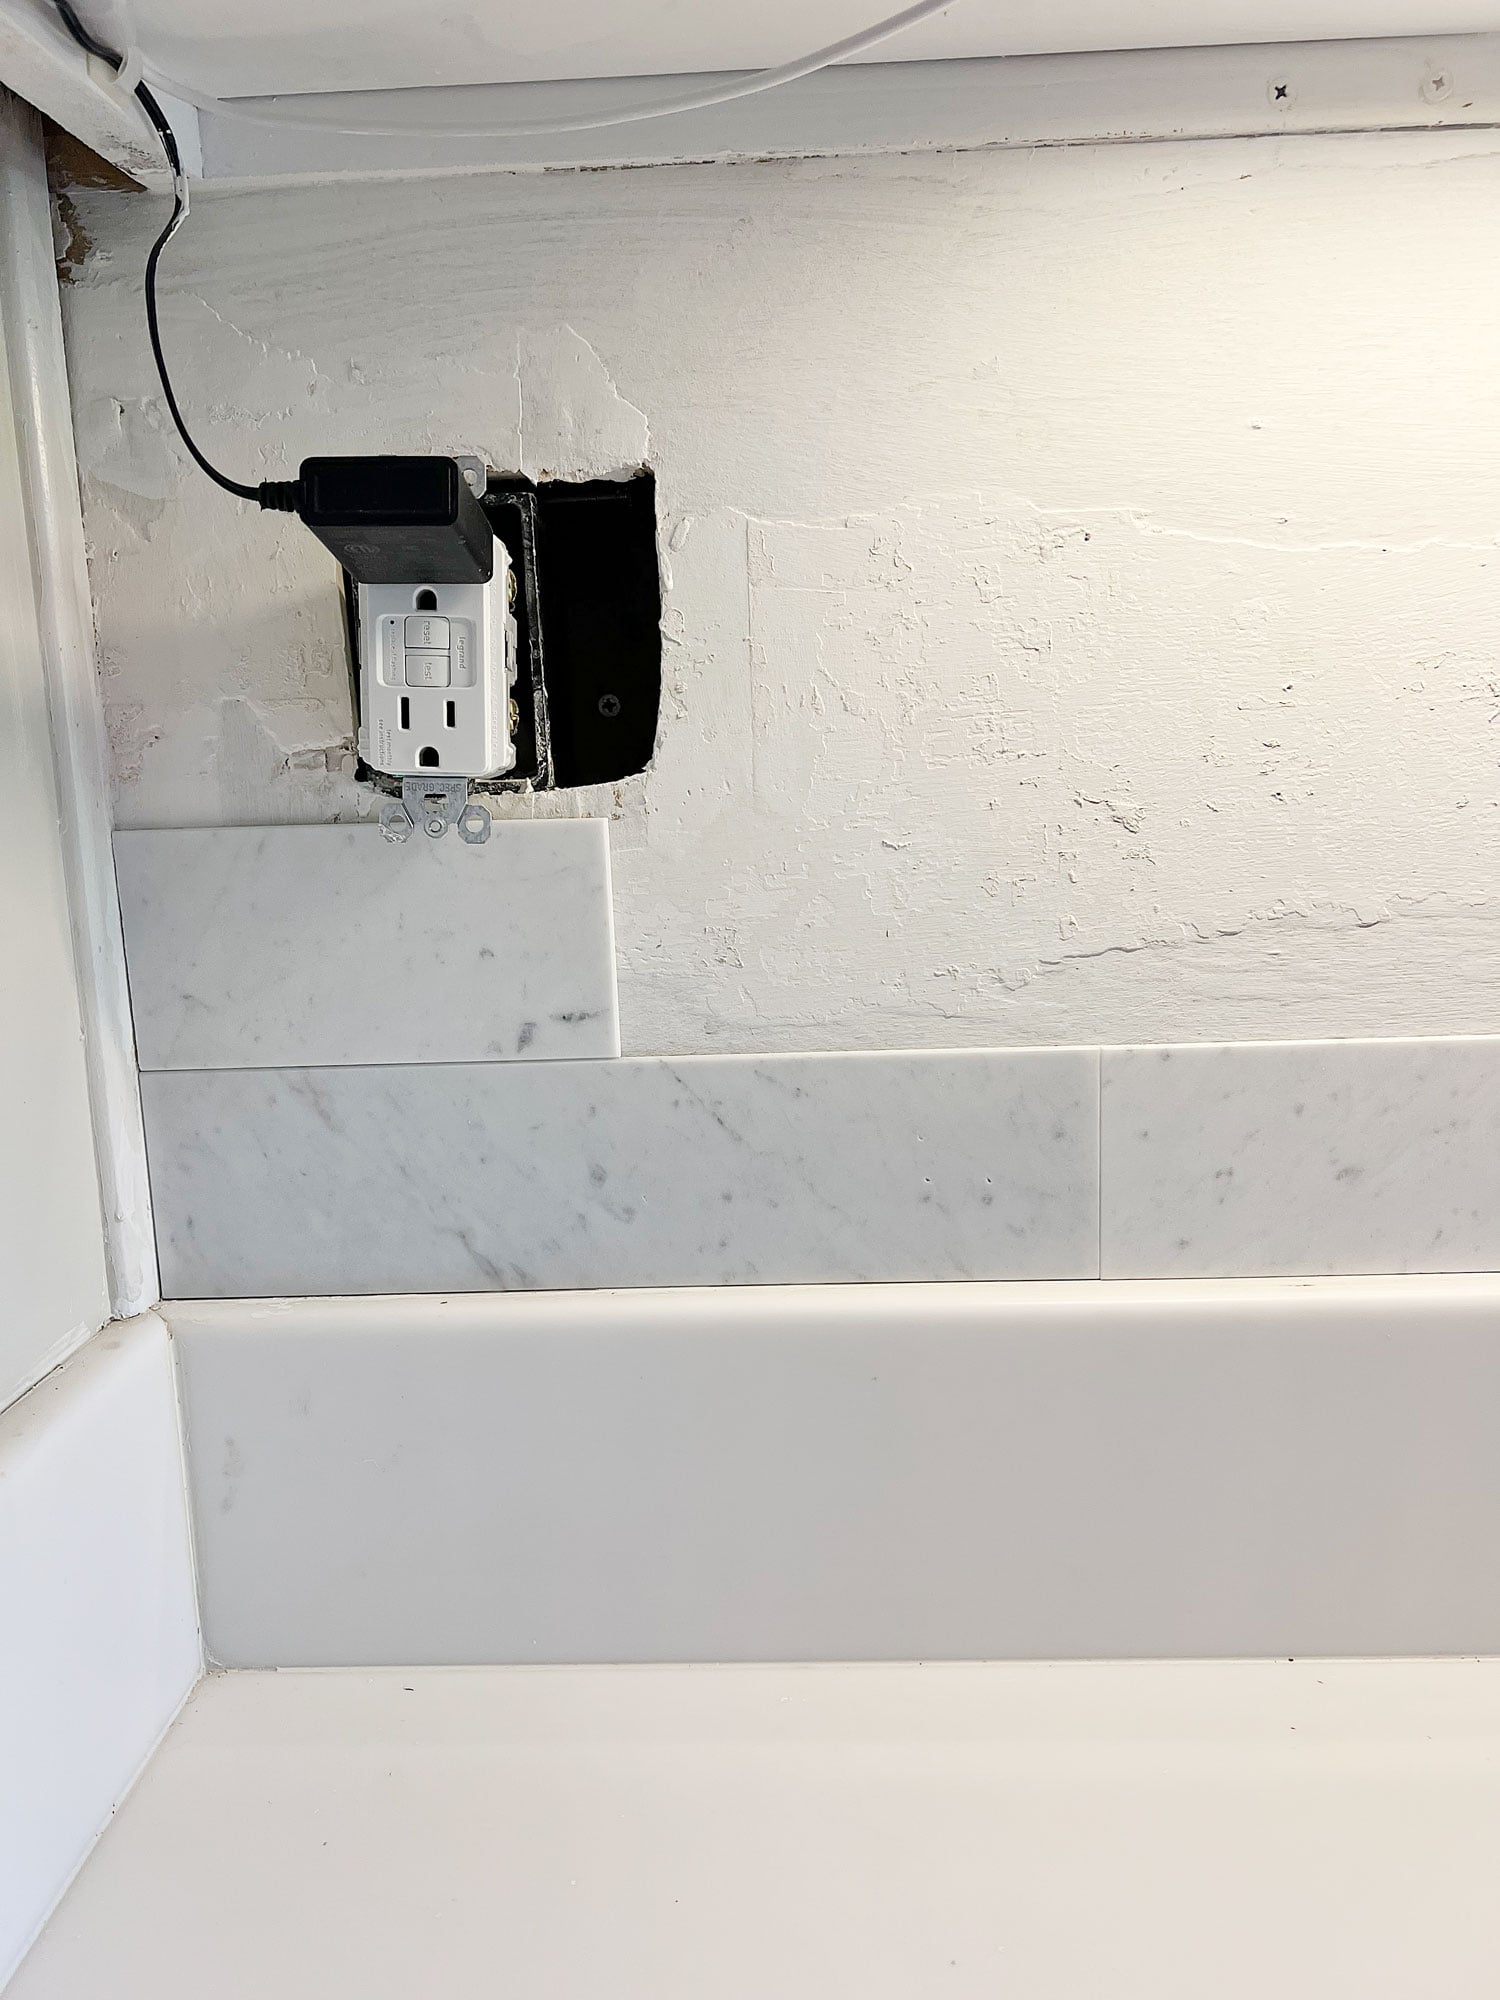
All of that being said, it was our fault the tile popped out in the first place. Simply put, we did not apply it to smoothly finished drywall as recommended in the manufacturer’s instructions. In fact, We were lazy and reckless and applied that shiznit right over really damaged drywall.
While I did prime the wall first, there were sections of the sheetrock (with the texture of ripped cardboard or paper) that probably prohibited proper adherence. That being said, I am actually impressed that we only had an issue with the adhesive on one or two of the tiles.
And for the record, those problem tiles never actually fell out- they just had a habit of poking their little faces out farther than the rest.
That said, I will give them this: unlike some of the cheaper peel-and-stick vinyl tiles I’ve tried in the past, these don’t discolor… well, unless you get them wet.
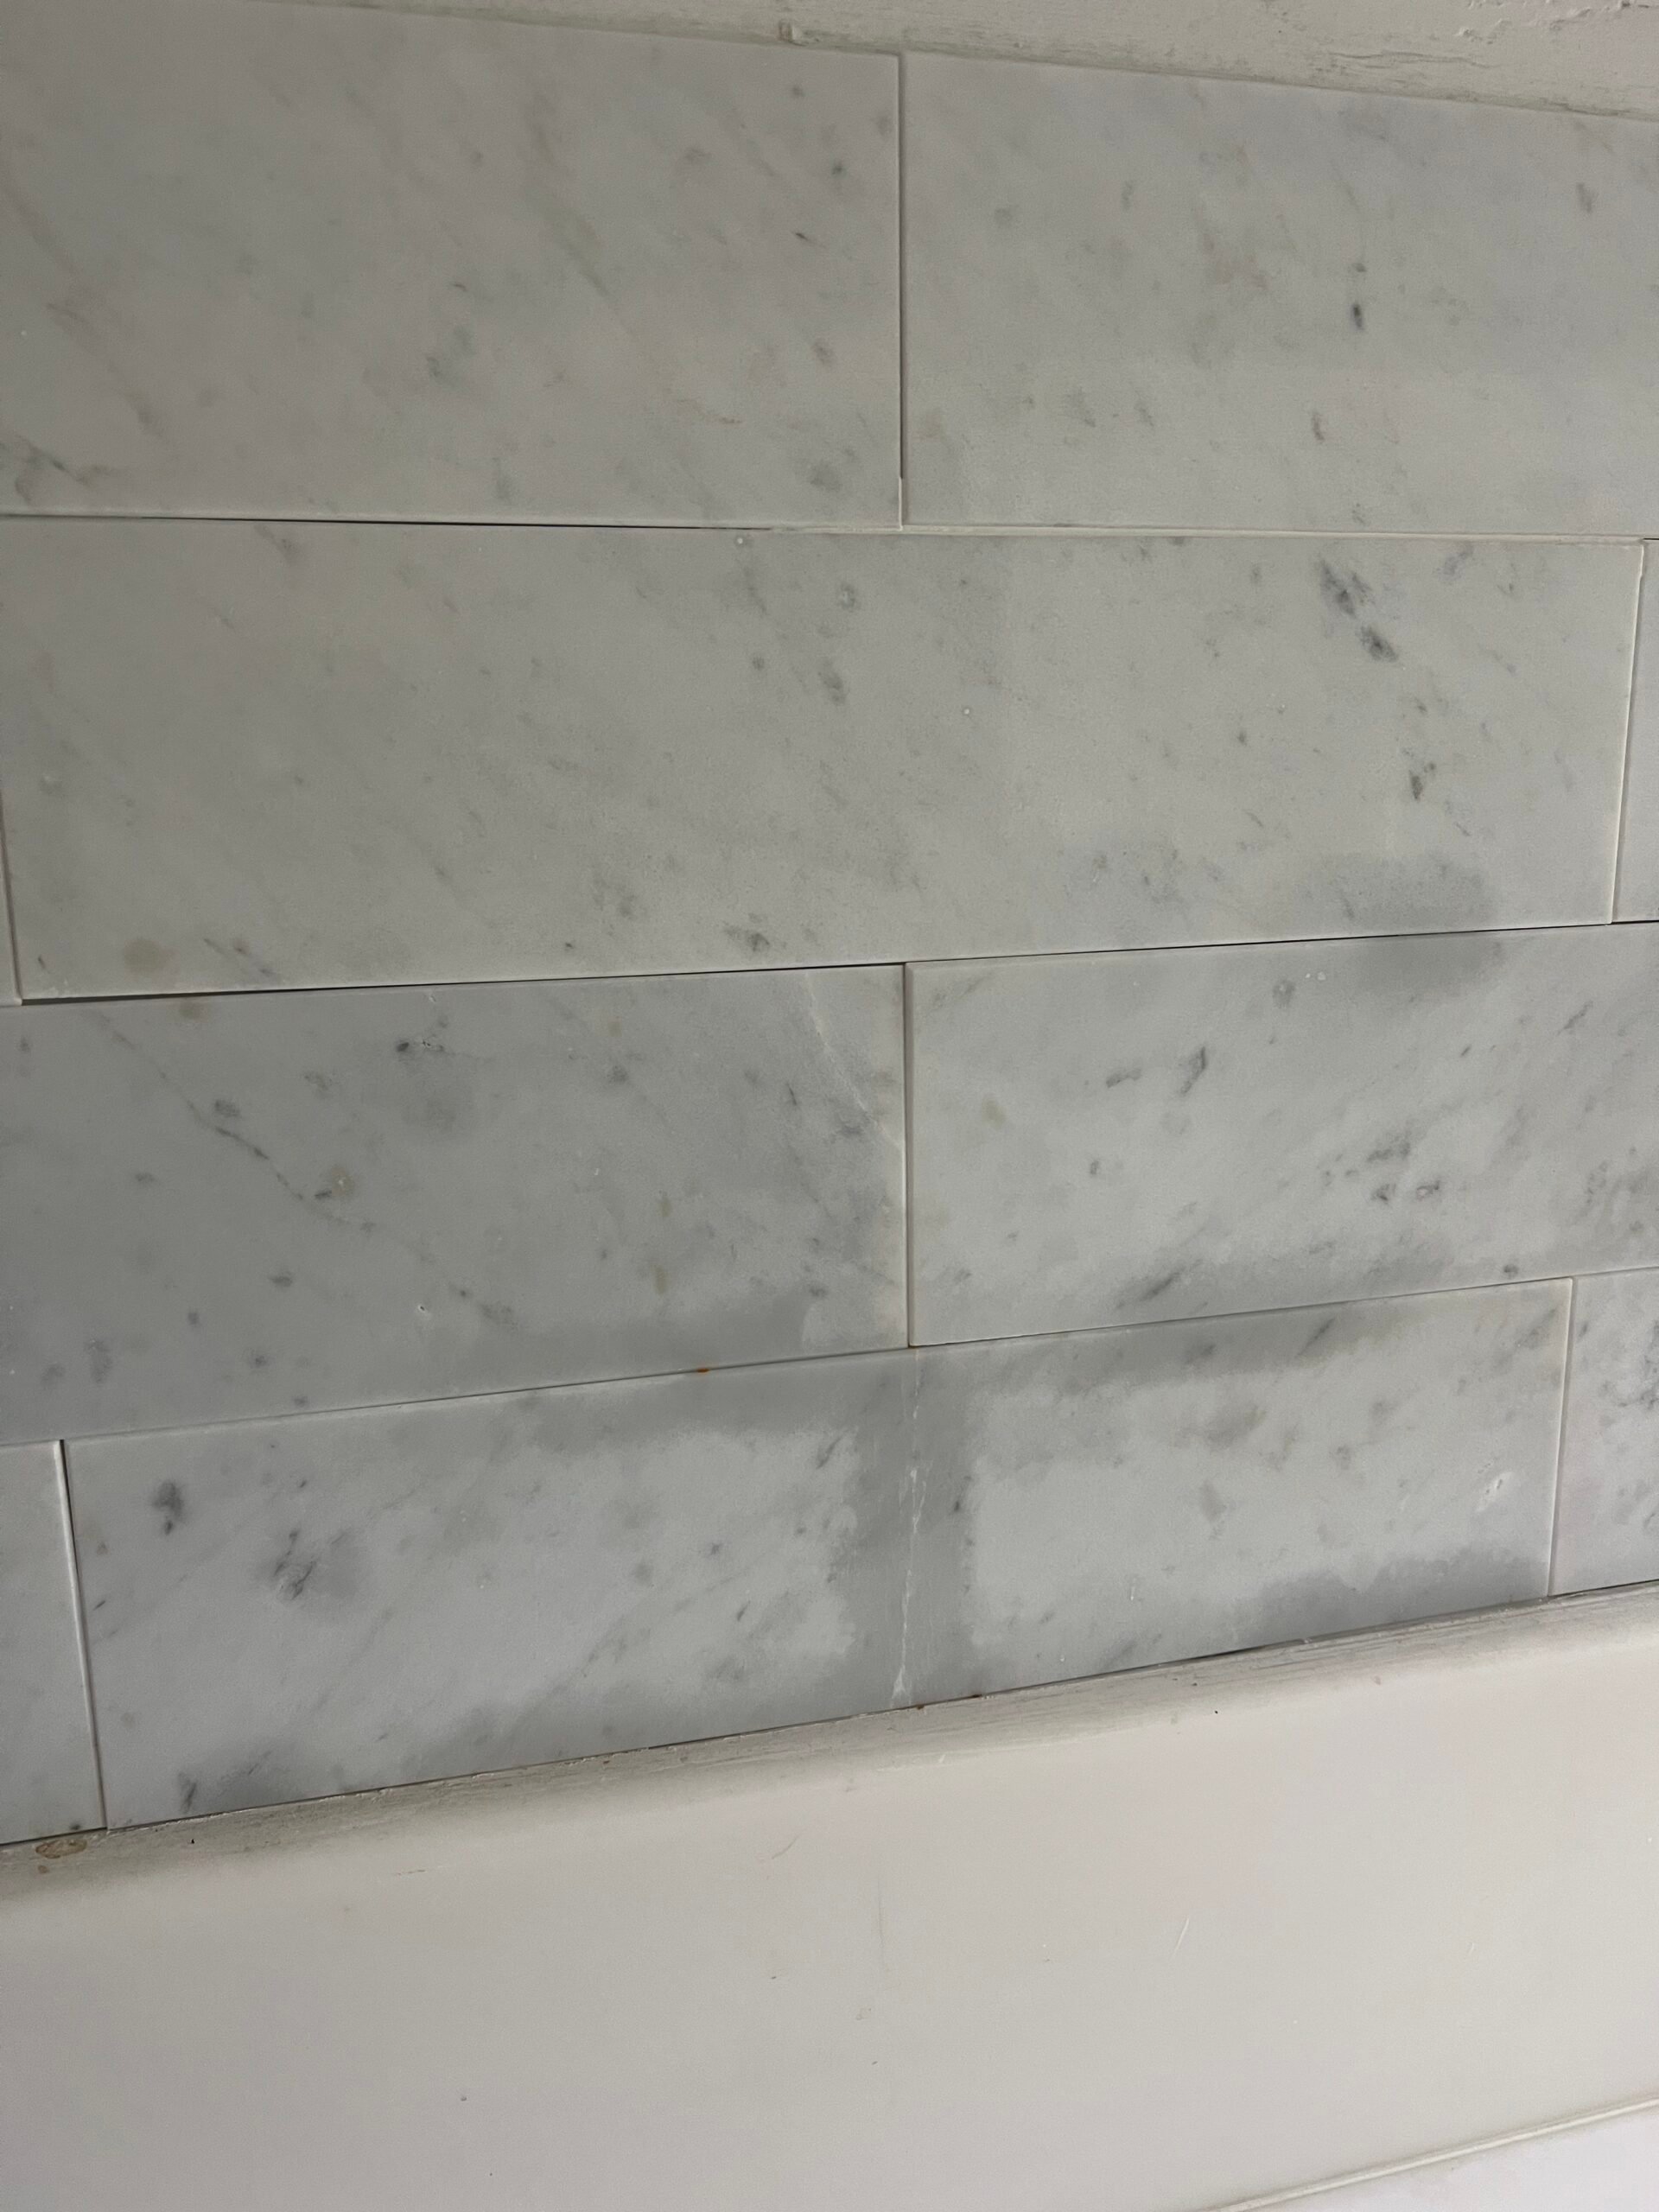
Given these tiles are made from real natural stone, just as with other marble surfaces, water will cause them to temporarily discolor. Not to fear though, the color will return to normal once the water dries from the marble. That’s just the price you pay with natural stone, folks.
So… wrapping this up in a nice little bow for you…
My Final Thoughts:
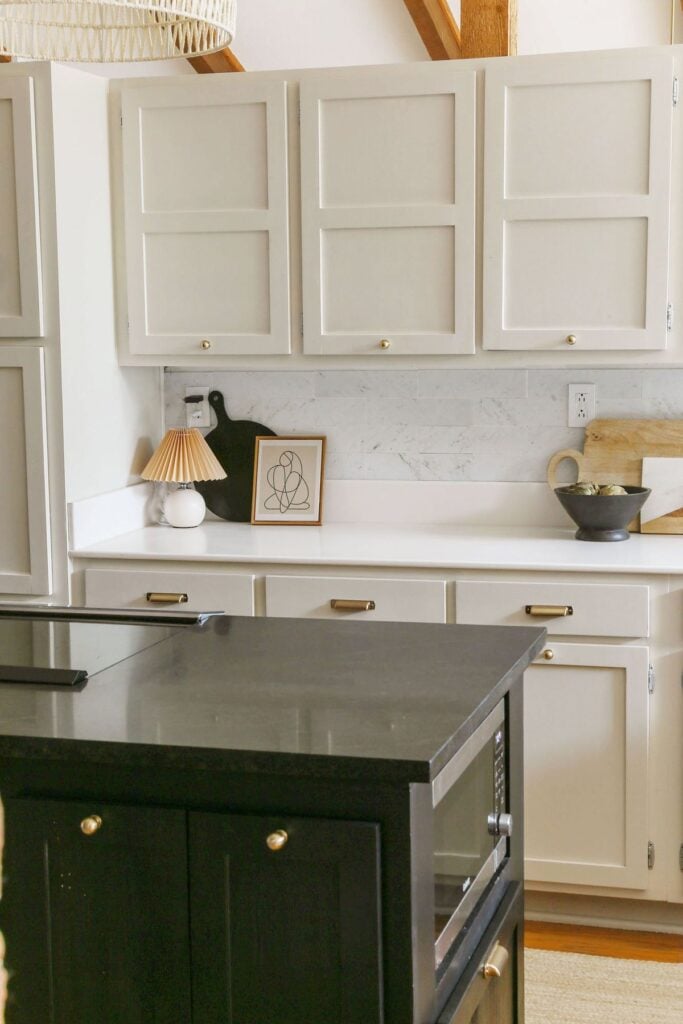
Overall, I am very happy I decided to take a risk on these marble peel and stick tiles. I think they would have looked way better if I had grouted them, but they still upgraded the space immensely. And while I am very happy with the adhesive of this brand, my only complaint is that the tiles themselves are super delicate.
As a result, I recommend buying more than you need in case they arrived damaged or you have an accident installing them (and for the love of God…don’t bear down too hard on them like I did).
Thank you so much for stopping by and hanging out with me today! I hope this gave you a fresh perspective on peel-and-stick options (they’re not all vinyl!). And maybe…just maybe… it’s also a little reality check: because let’s be honest, not all of us live in $6 million homes with a “gut-it-and-start-over” budget. But that doesn’t mean we can’t make our spaces feel more us in the meantime (“placeholder” decor and all).
Until next time, keep on designing a life that feels as good as it looks!


Welcome!
My journey in interior design and home improvement began with transforming my first fixer-upper home, all while managing a budget and raising two young boys. My work, a reflection of my passion for creating beautiful, uplifting spaces, has been recognized by top publications like Better Homes and Gardens Magazine, HGTV, and more. I invite you to explore my site and witness the transformation of my home and the vibes we've designed. Read more...


Erica-
Your realness is refreshing! Those tiles look great. You’re too fun for grout, there are too many fun things you could be doing rather than cleaning that.
Enjoy the rest of your week!
Donna
haha! Thank you so much for the kind words, friend. And yeah…grout is kind of a pain in the a$$ to clean …huh? Hope you have a fabulous weekend. xoxo
Thank you so much Erica! This is just what I needed to help me make my decision going forward. I am learning so much! Best!
So happy to hear you found my blog post helpful, Teresa! Good luck with your project, and thank you so much for taking the time to share your feedback. 🙂