How To Install Stone Facade Peel and Stick Backsplash Tiles the Easy Way

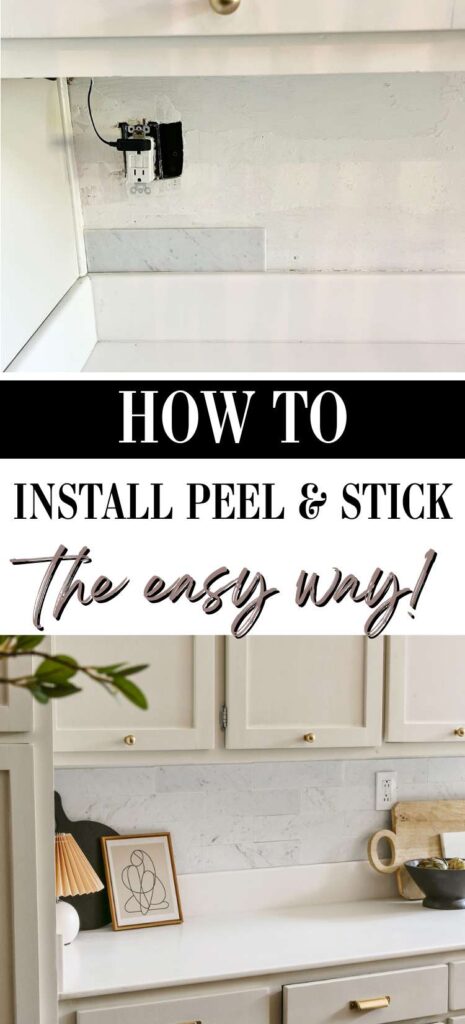
Peel and stick backsplash has come quite a long way in just the few years since I first used and reviewed it. Today, I am revisiting this product in my budget-friendly kitchen makeover and sharing a step-by-step DIY tutorial on installing the marble facade tiles along with a few hacks…
In case you didn’t notice, I have been making a few cosmetic tweaks to my 1970’s kitchen.
While I will certainly go in to detail about the new island countertops and cabinet paint color in separate posts, today I am excited to show you a cool a$$ peel-and-stick product I came across on Amazon (and no.. this is not an Amazon Prime Day plug- I am sure you get enough of that from other influencers, so I will spare you here in my little corner of the internet)…
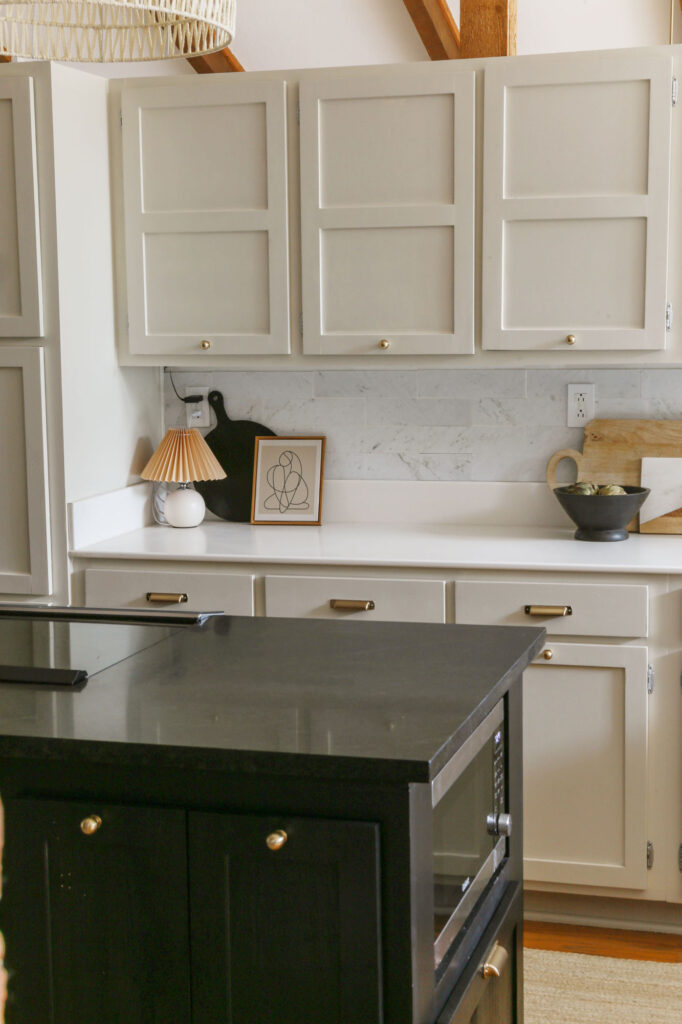
You see…until I can save up the funds for new perimeter counters and also address the janky AF cabinet door situation going on here (please ignore the crooked doors and unmatched, exposed hinges for now), I thought I would at least make the best of a (hopefully) temporary situation.
Knowing I plan to eventually rip out the upper cabinets and laminate countertops, I didn’t want to spend an arm and a leg on expensive zellige tiles that would very likely get damaged in the demo process.
So… I reasoned that peel and stick backsplash would be a great way to add a little bit of dimension and movement to an otherwise flat design situation ( at least until I can make my dream kitchen a reality).
*For your shopping convenience, I have included affiliate links. As an Amazon and RewardStyle Associate I earn from qualifying purchases. *
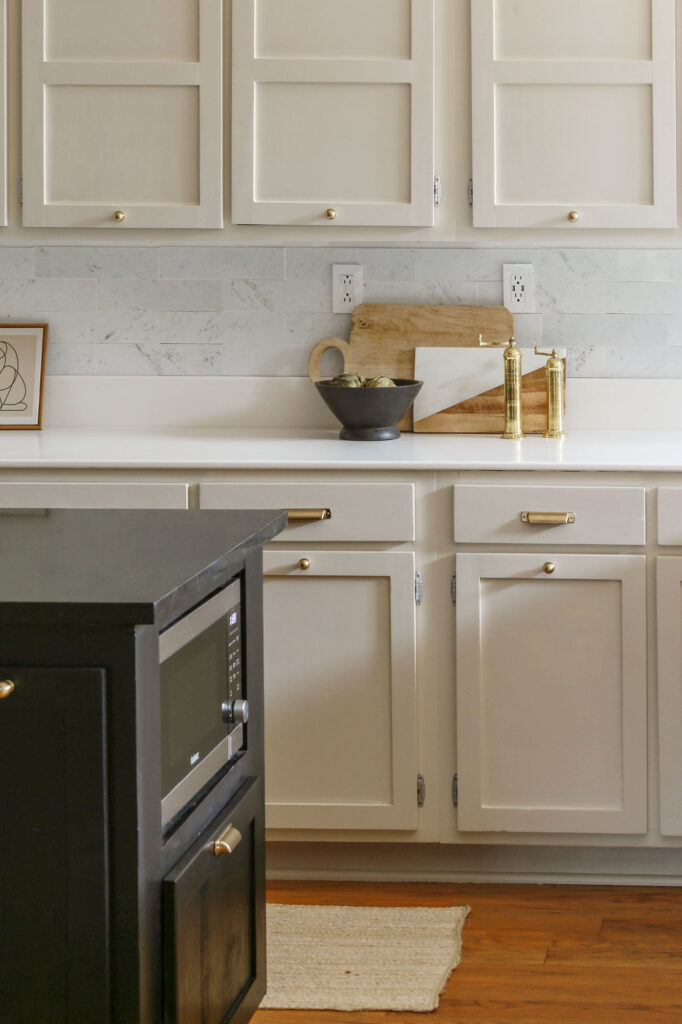
With white and wood feeling a little too overdone and monotonous in this particular space, I first decided to paint my cabinets a deeper, warmer color (Benjamin Moore “Natural Cream).
As for the backsplash, I envisioned a natural stone veining to add more movement and dimension to the otherwise “lifeless” area.
Much to my delight, mindlessly browsing Amazon one day, I came across some legit, marble subway tiles that could be applied in a peel and stick fashion.
And while I say they are “legit” marble…the tiles are actually just constructed with a marble facade. At any rate, for around $130 and two hours of labor, you really cannot beat this stuff!
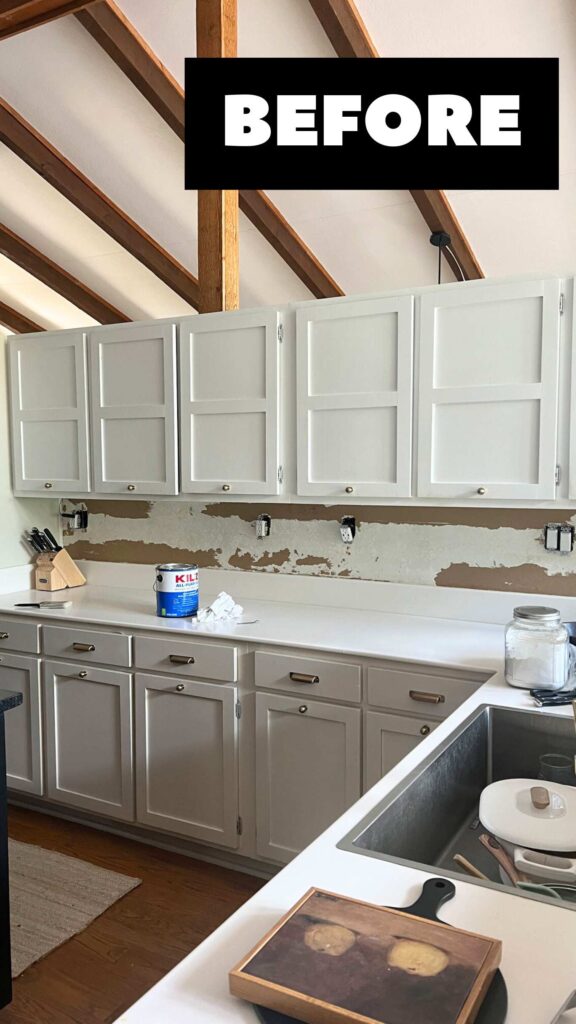
That being said, if you too are interested in using this exact material, just be aware that you have to be very delicate while applying it. Because some of the tiles will most likely arrive with some chips in the stone veneer, it is also a good idea to go ahead and order an extra box.
So… with these warnings in mind, let’s now get on to today’s tutorial..
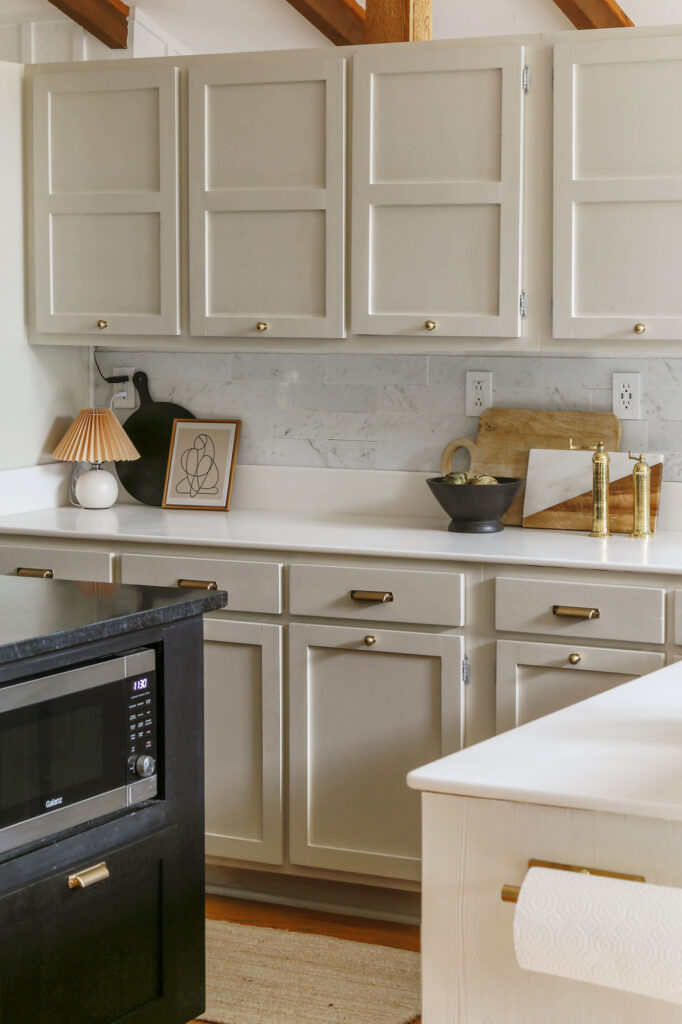
DIY Tutorial for Installing Marble Peel and Stick Subway Tiles:
Materials:
- this marble peel and stick tile (I needed 15 square feet total. As I said, order an extra box for waste).
- utility knife
- pencil
- roofing square
- optional- Dremel rotary tool with diamond wheel for tricky cuts
- optional- caulk (marked for use on ceramic tile) or grout for gaps between tiles
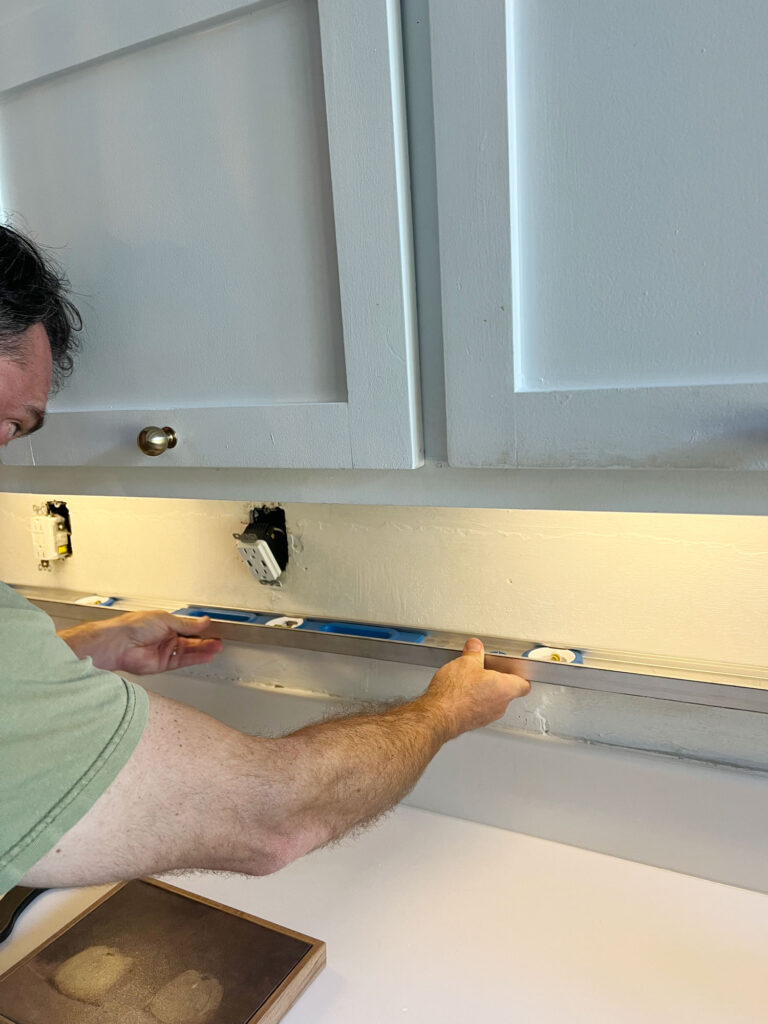
(Step 1). Make sure the substrate (drywall, wood, etc.) is in suitable condition to install the peel and stick marble tiles. Because this particular tile is rather delicate as it is thin stone and not a vinyl material, I would recommend you apply it on a relatively level, smooth surface.
After I demoed the existing wood planks, I found damaged drywall and skimcoating gracing the walls. While I did my best to sand, smooth and prime the surface, it was ultimately anything but perfect.
Tip: Be sure to read the manufacturer’s recommendations for what is considered a suitable surface before installing your peel and stick!
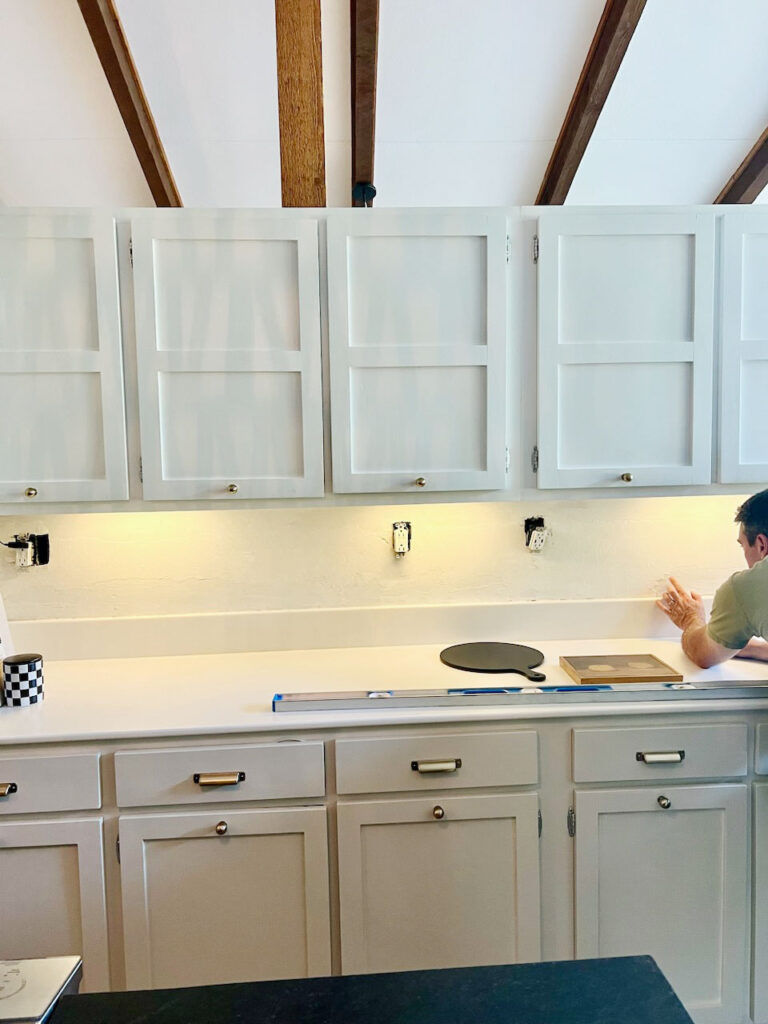
(Step 2). If outlets are installed, turn the breaker off that services the outlets. Remove outlet covers and unscrew outlets from the electrical boxes.
(Step 3). Determine the type of layout desired. I used the standard brick layout with offset vertical seams.
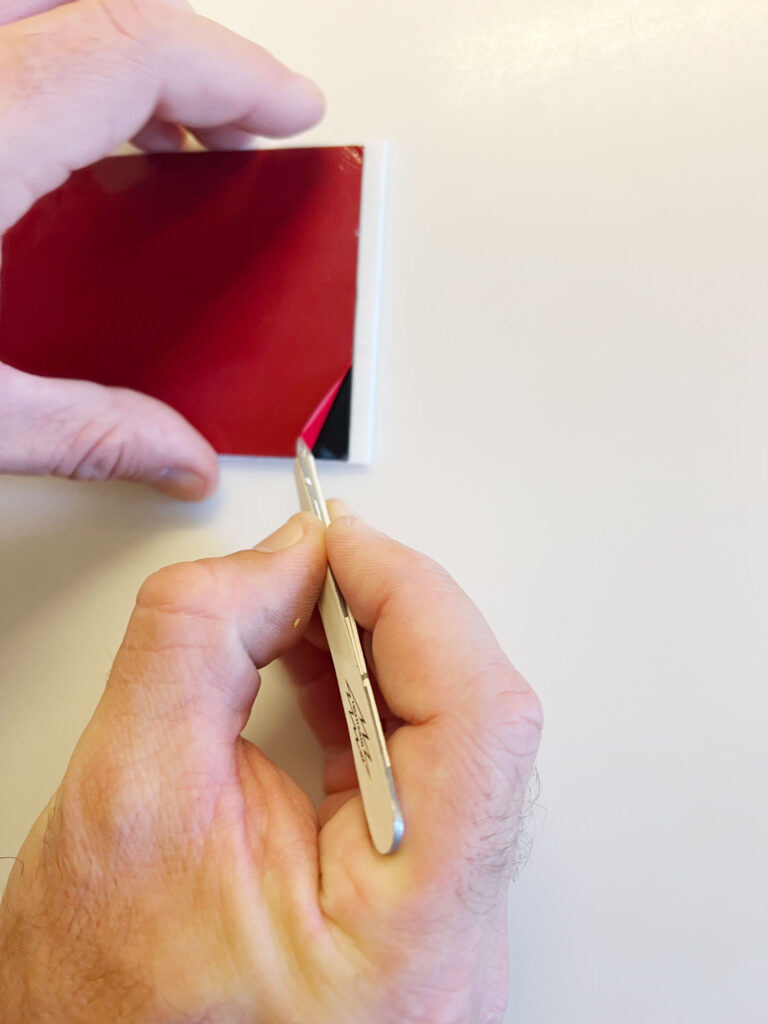
(Step 4). Once you have a game plan for your tile layout, carefully peel the baking off of your first tile. With this specific product, you have to be very gentle. We found tweezers to speed up this process.
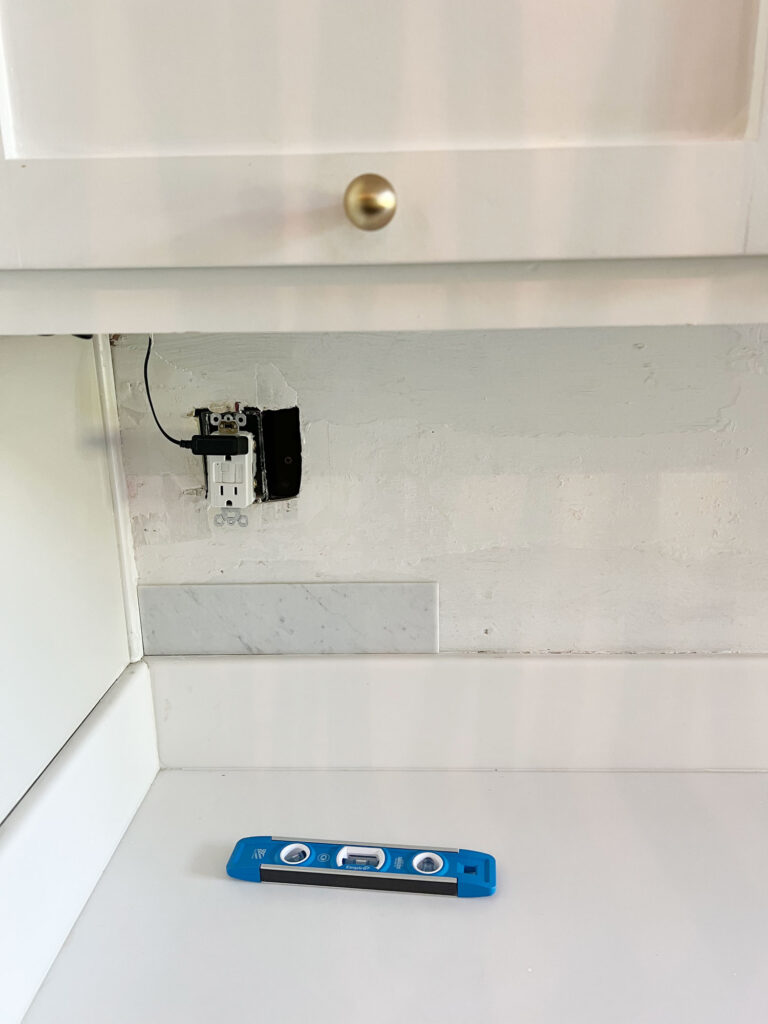
(Step 5). Working from left to right, install the first row of tiles.
Tip: We opened multiple boxes and pulled tiles from different batches to ensure nice movement with the veining of the backsplash.
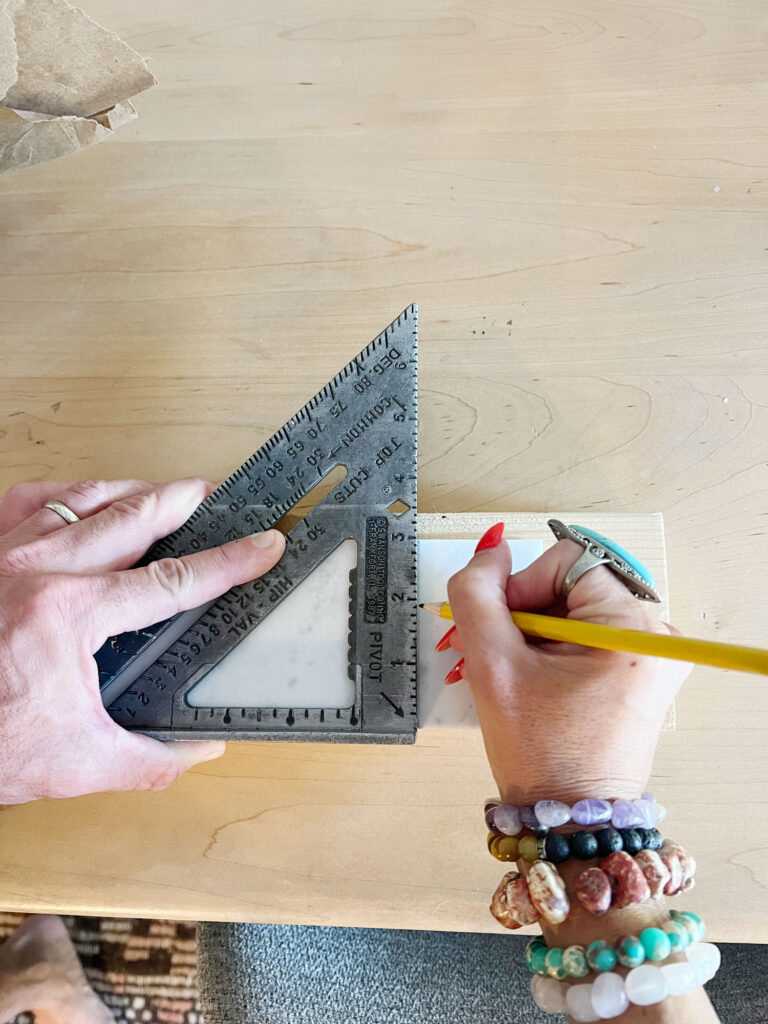
(Step 6). If the end pieces need to be cut, you can use a square and pencil to mark your cutting point.
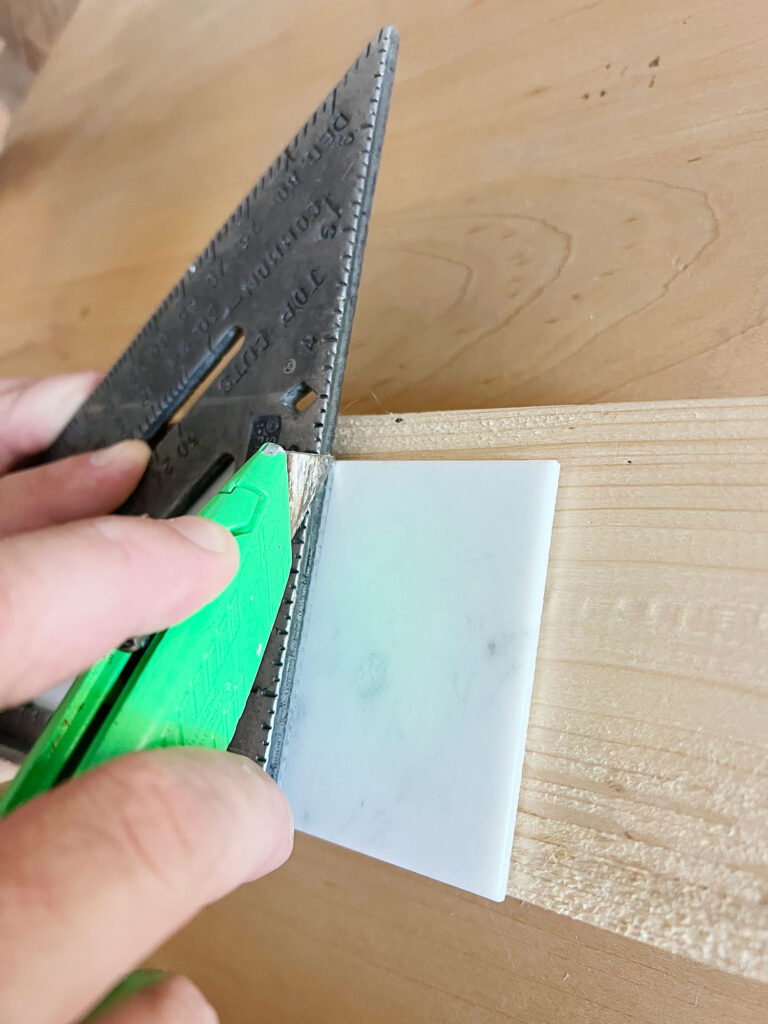
(Step 7). Then you can score and break the tile with a utility knife box opener.
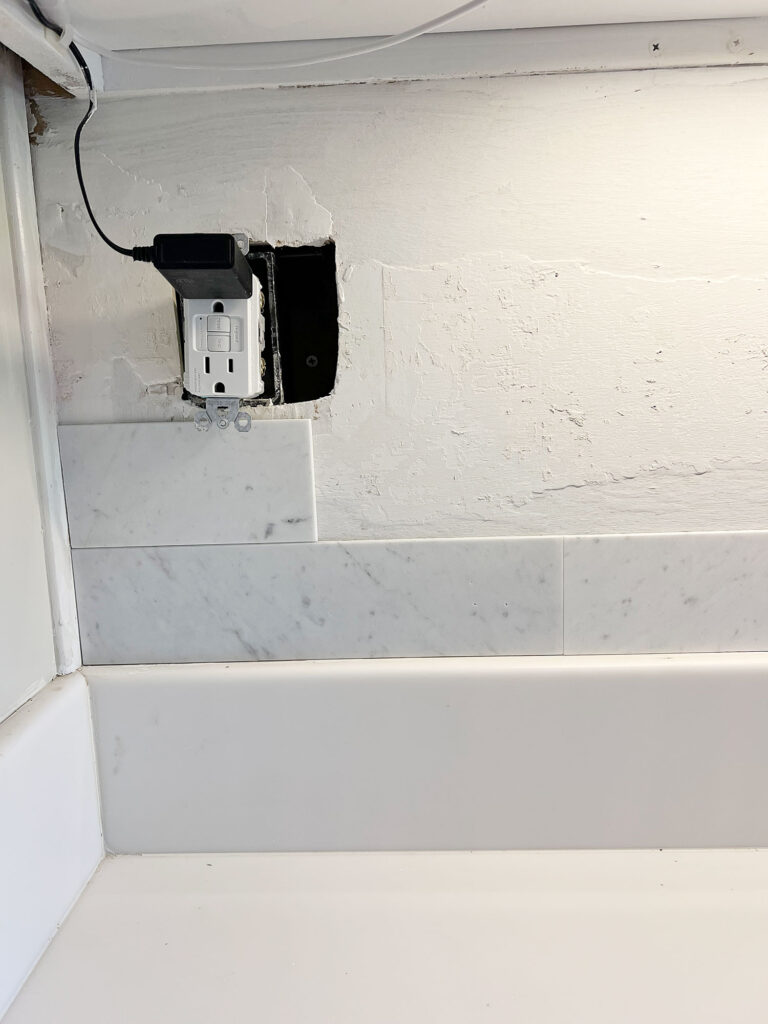
(Step 8). If using the brick layout, begin the second row with a half length piece. Size the tile using the score and break method in previous two steps.
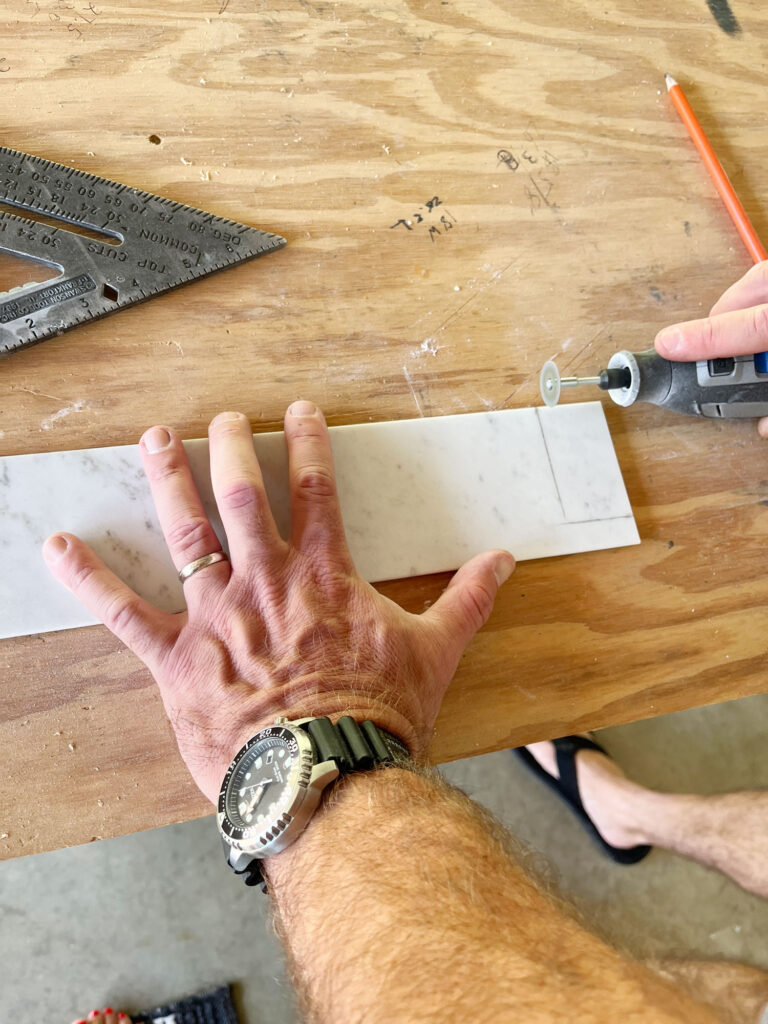
(Step 9). For more complicated cuts (we had lots of damn outlets on our backsplash to work around), my husband devised a clever hack. To make these tricky cuts, he used a Dremel rotary tool with a diamond wheel.
Note: It’s very important to wear safety glasses while doing this as shards of marble get ejected in all directions.
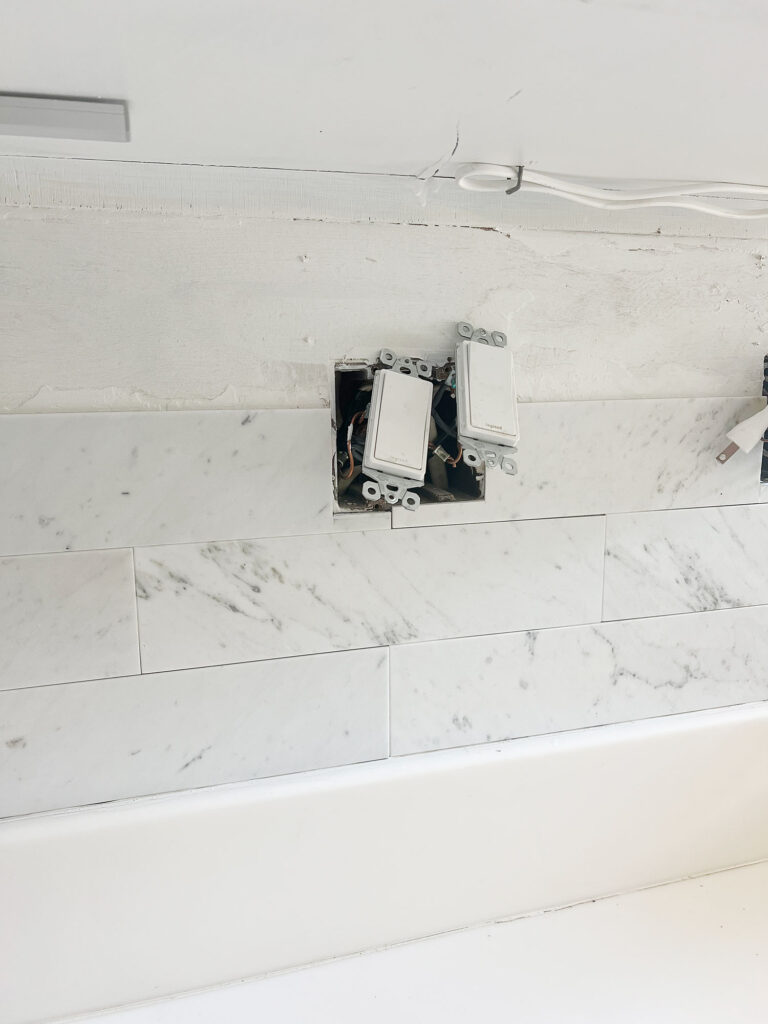
(Step 10). Repeat process until all tile is installed.
(Step 11). If you would like to “fill in” the gaps between the tiles and also protect your walls from water damage, you can now grout your tiles. Because we were not concerned with water exposure (being there is no sink on this wall), we only decided to caulk the blatantly noticeable gaps.
While we did consider grouting, given we will eventually replace this backsplash, we were also concerned that we would only make it harder to demo when the time comes .
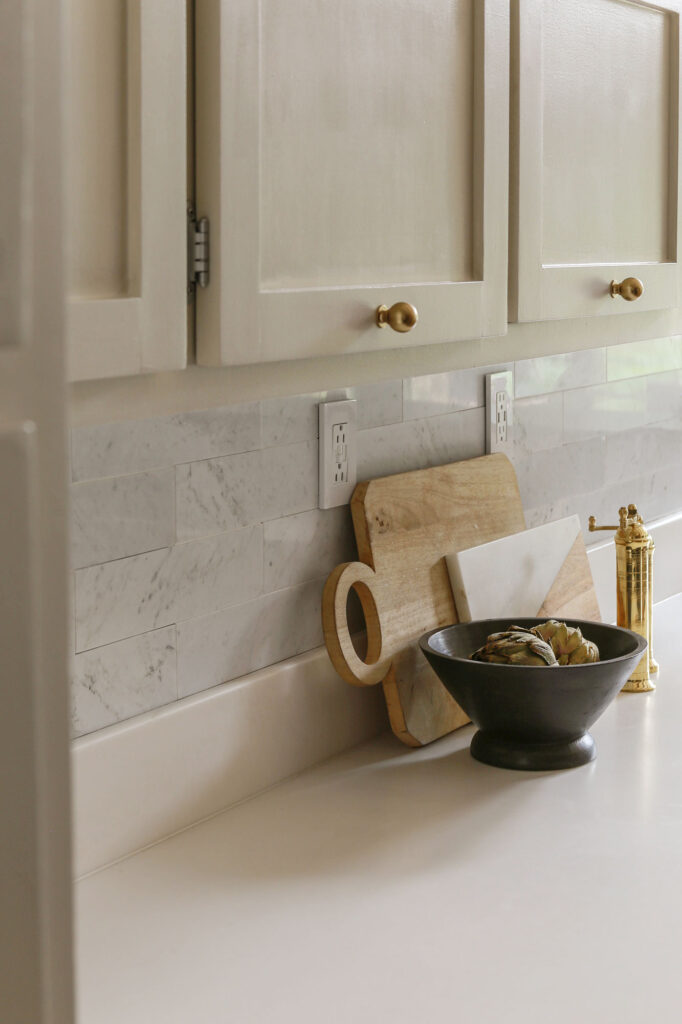
Another head’s up… don’t freak out if after cleaning the excess grout or caulk off with water, the tiles become temporarily discolored (this totally happened to me and I almost had a hissy fit). Because of the natural marble facade, this may happen, but it will dry and return to normal!
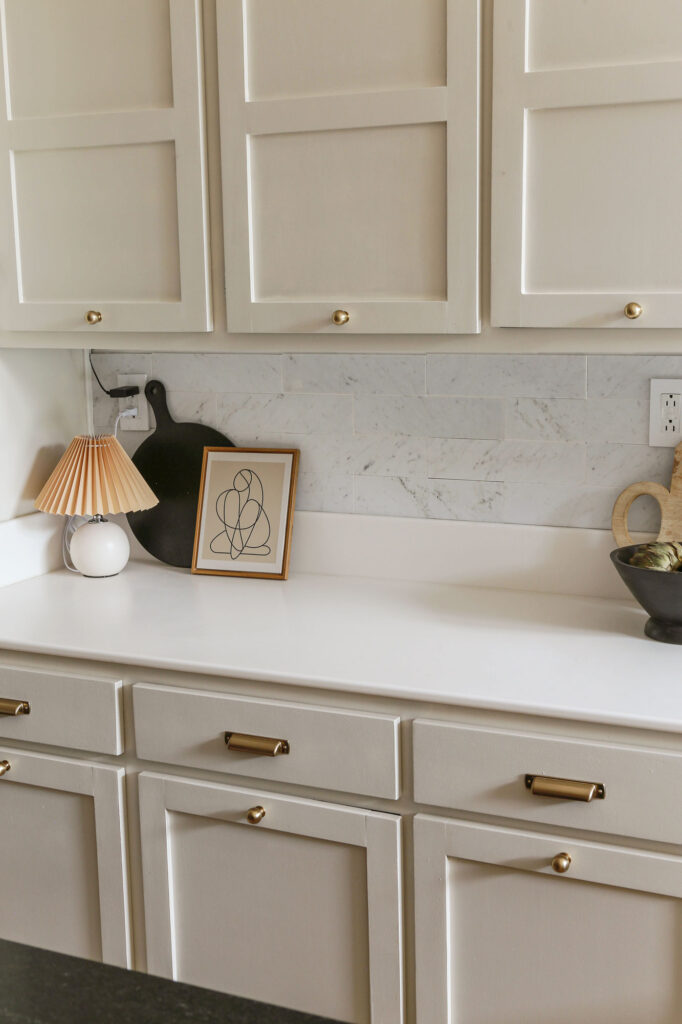
So there you have it my friends….peel and stick backsplash that still has a lovely, tactile nature to it. No need to go into debt for the natural stone effect we all crave!
Thank you so much for stopping by and spending some time with me this week!
If you found this post helpful, could you please support this small business of mine and share this with a friend or on social media?..

Now get out there and design some good vibes along with a fabulous life!








Hi Erica,
the peel and stick on the link looks different than yours. It’s like an off white. I LOVE yours though. Beautiful job as usual!!
Thank you so much, Lilly! About the link…so I just went into my purchase history to check and it looks like the marble color I used is now currently out of stock. It takes me now to that product you are referring to. It’s the same product I used, but the color I used is currently unavailable. Hopefully, they will get it back in stock soon. So sorry about that. It doesn’t look like any other retailer carries it or I would give you an alternate link.
Awesome!
Thanks, John! 🙂
Hi – This is an amazing find and instructions but when I went on Amazon and then onto the seller’s website there is only one packet left of woodgrain color. Does this mean they are not going to produce this any longer? So sad . . .
Unfortunately, it looks like the color I used is now sold out, Karen. It was literally just in stock this weekend. I wish I knew if/when they are going to get that particular color back. Maybe keep checking that link periodically- it links to the right product- just not giving the option for the marble selection anymore. Sorry I couldn’t be of more help.
Very pretty and sooo helpful! Thank you!
Thank you, Sharon! So happy to hear you found it helpful. 🙂