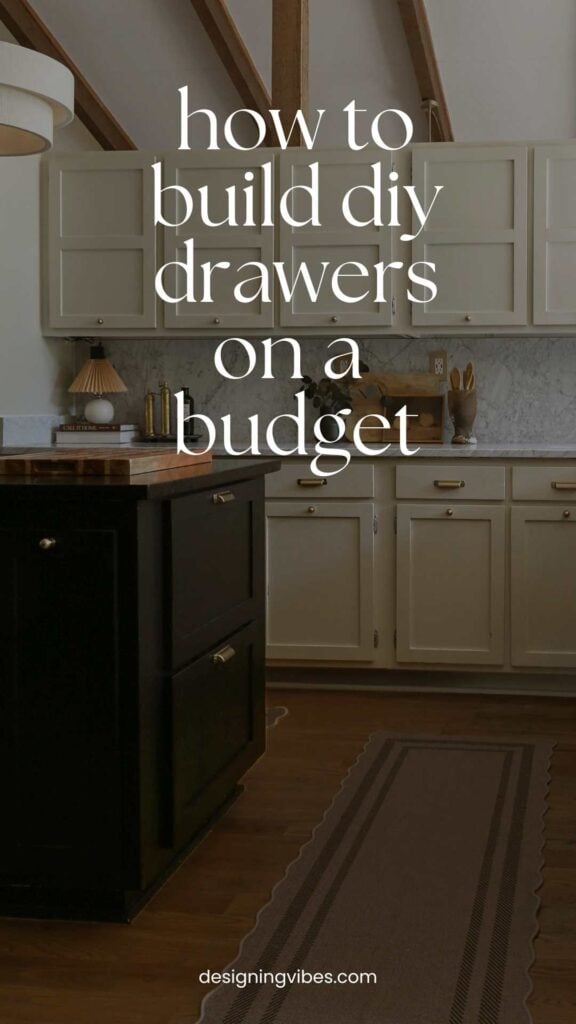
How to Build DIY Drawers on a Budget (Easy Plywood Method)
Looking to build DIY drawers on a budget? This easy method using plywood and MDF is beginner-friendly, affordable, and doesn’t require fancy tools...
With as many DIY cabinetry tutorials and roundups I have done over my 10.5 years of blogging, I don’t know how I am just now getting around to my first attempt at DIY drawers, but better a decade late than never- at- freakin’- all…
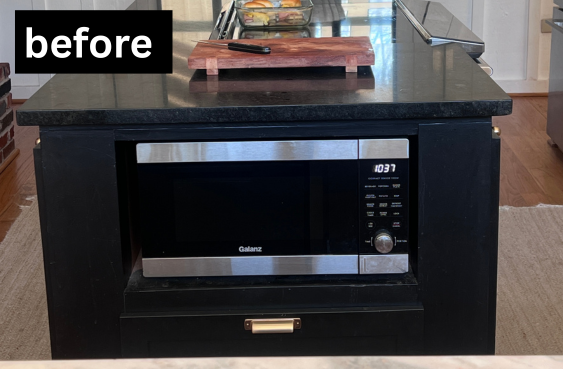
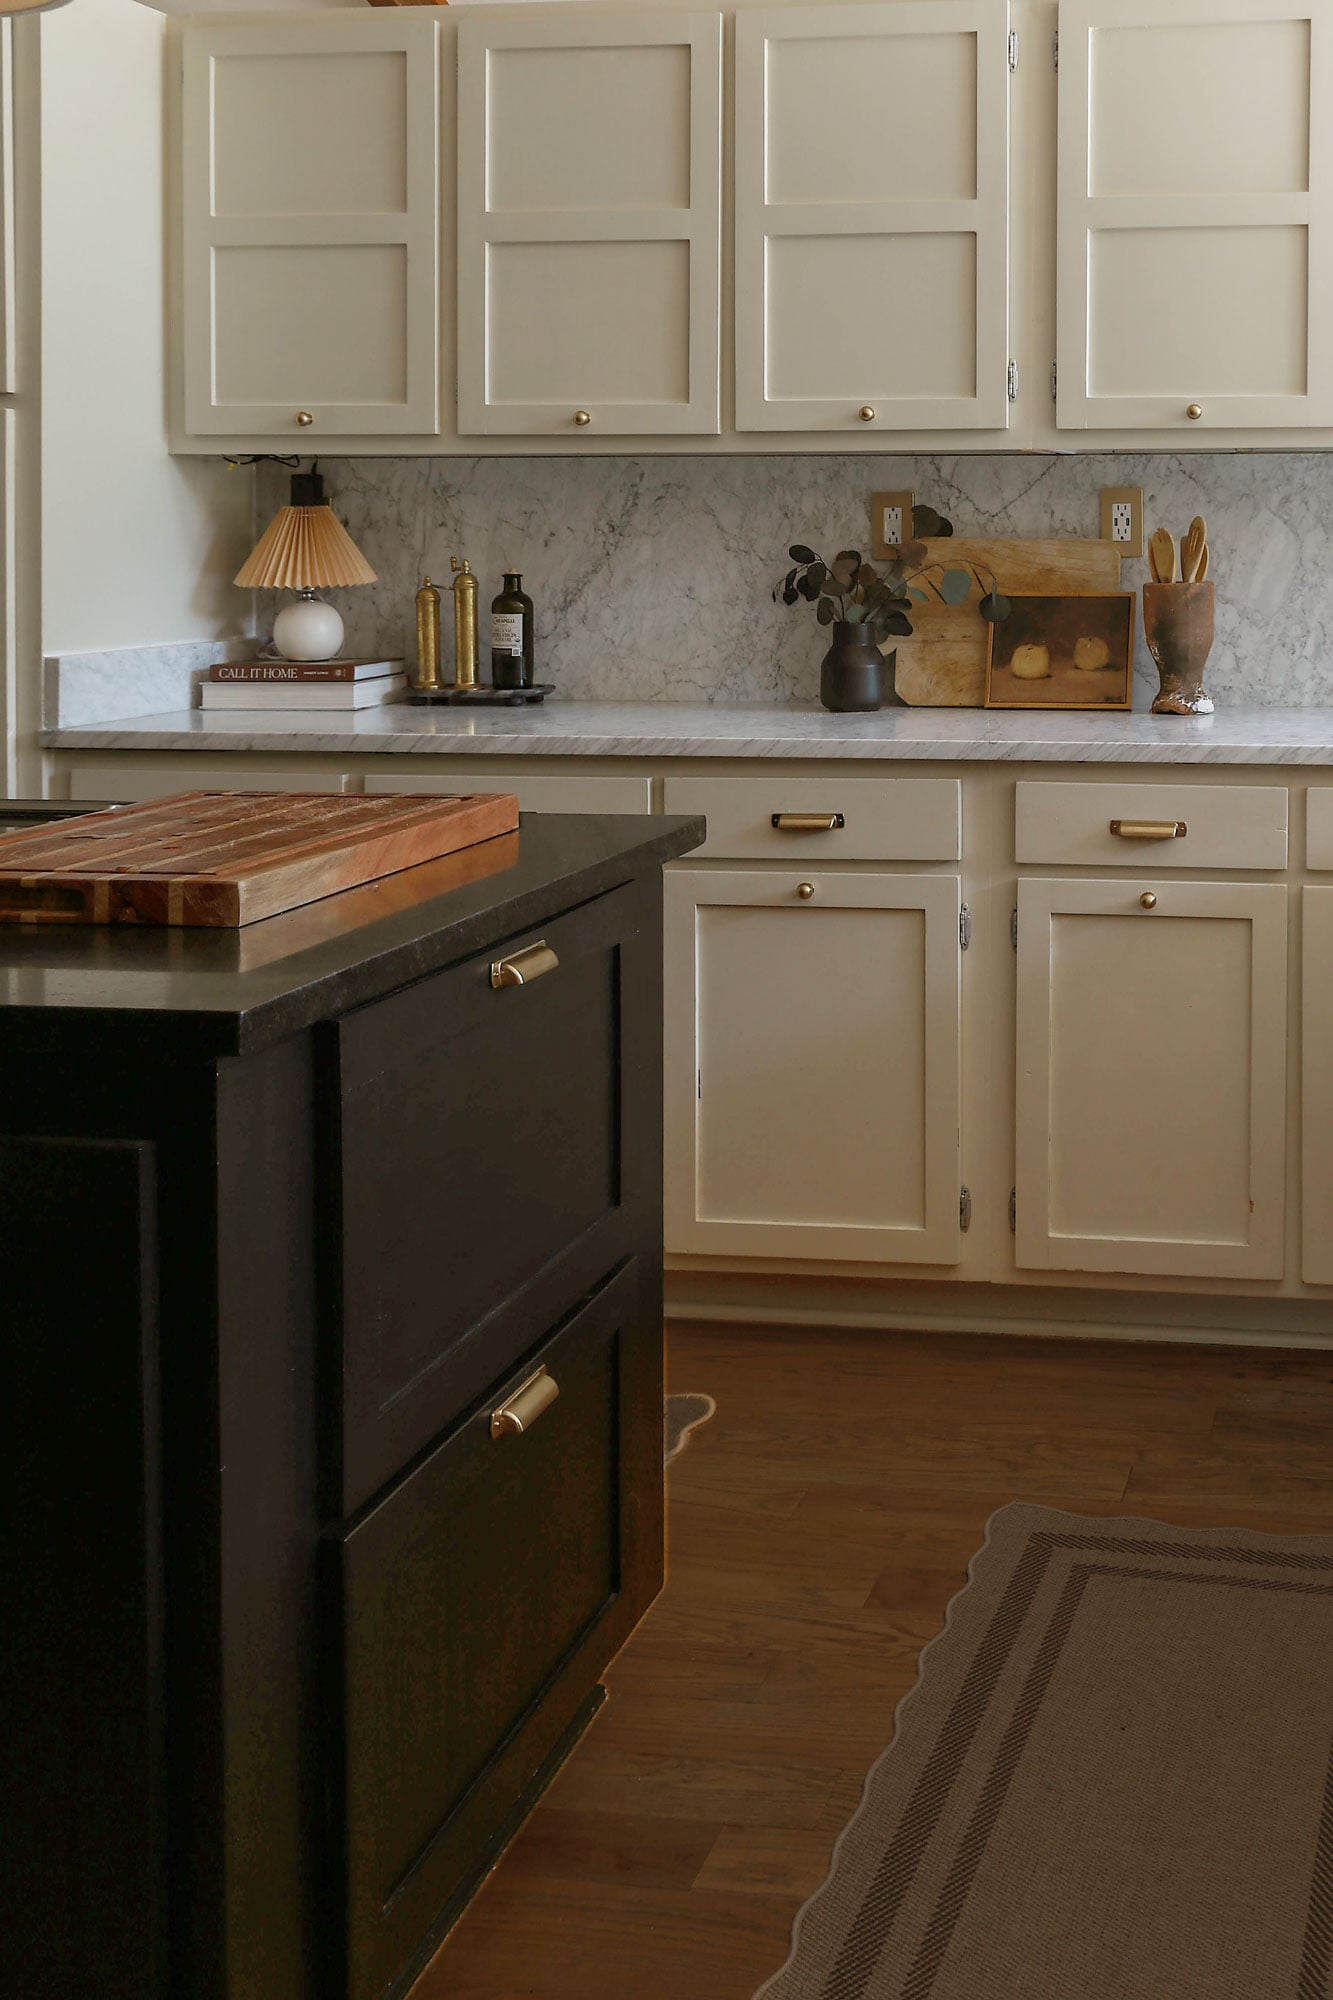
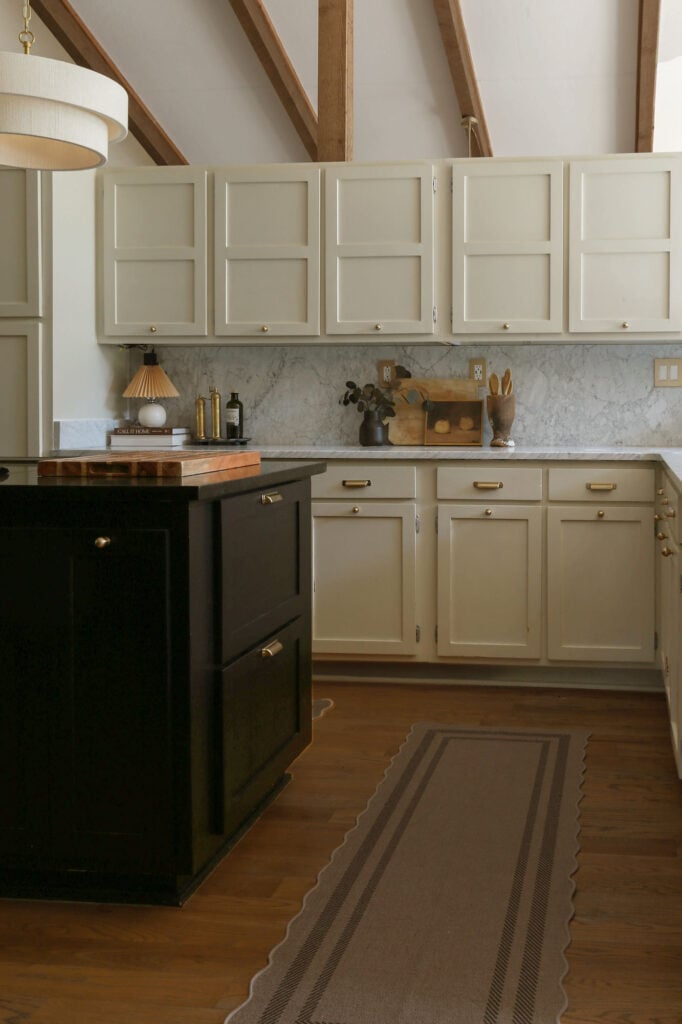
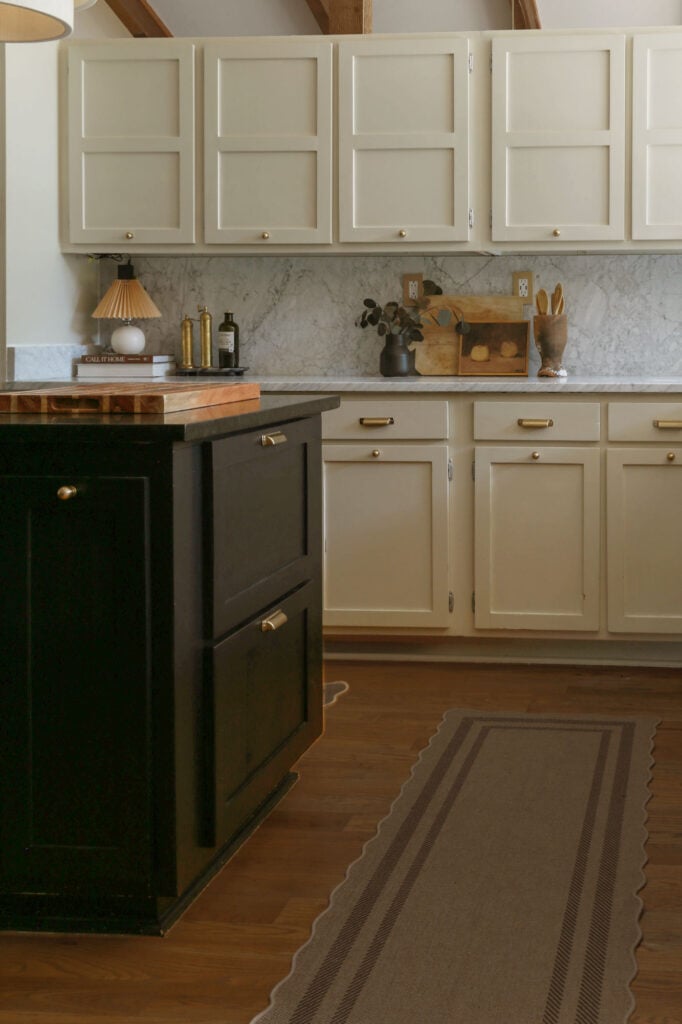
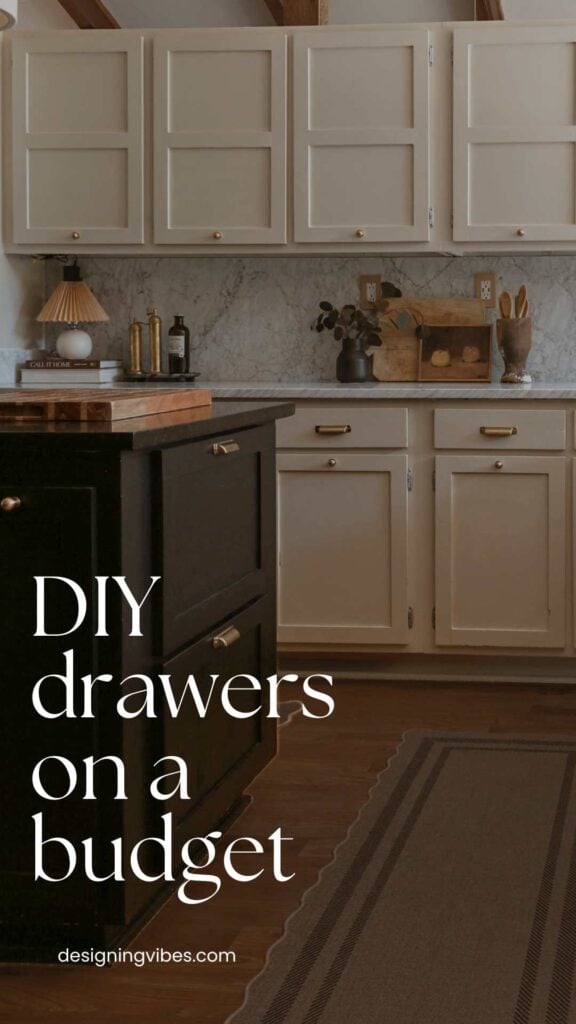
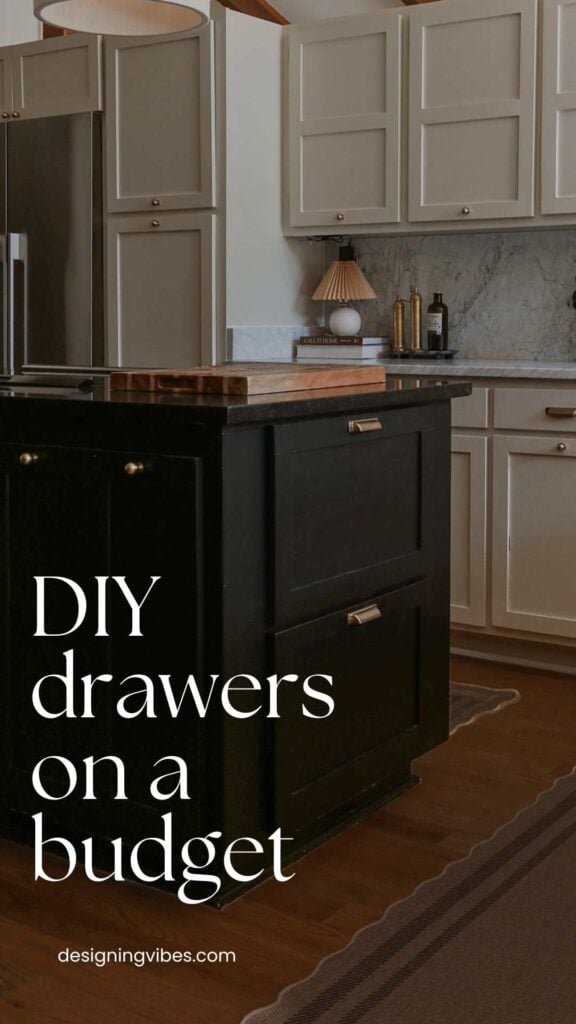
Prompted by my hatred of this ugly a$$ microwave sticking out of my black kitchen island like a sore thumb, and the fact that there was already a drawer right underneath it, I decided to build a new drawer to match what was already there…
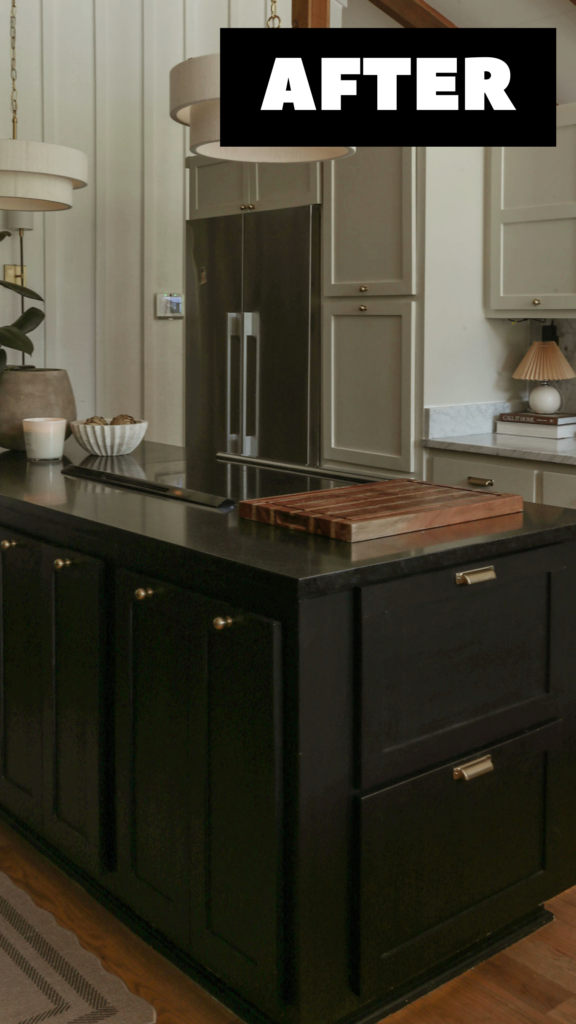
Once the drawer was built, I was finally able to relocate the eyesore to a cabinet that already had electrical. I then moved everything from that cabinet into our new DIY drawer…and let me tell you, I am so much happier having all of our pantry items in a drawer where I can actually see what I have.
Let me show you how my husband built this without any fancy tools…
DIY Shaker Style Drawers-
Materials Needed:
- Kreg accu-cut
- Circular saw w/ plywood blade
- Clamps
- Wood glue
- Wood screws
- Drawer tracks
- plywood panels (we used 1/2” thick)
- mdf (for shaker design)
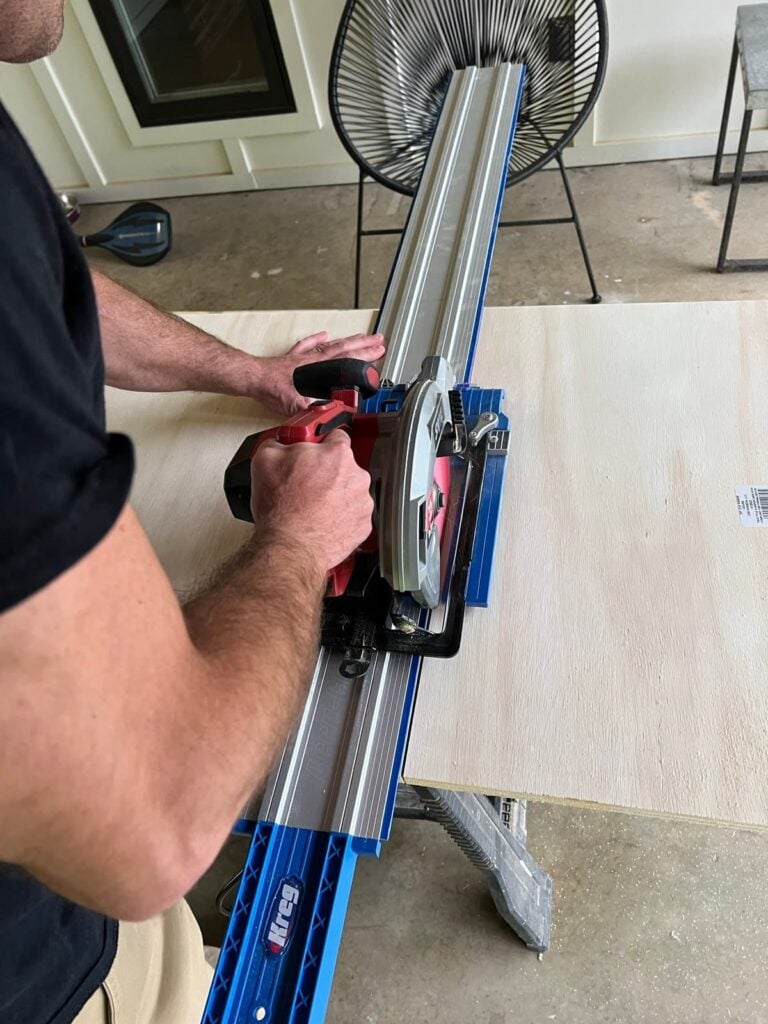
(Step 1). Using the Kreg Accu-cut system, cut the panels of your drawer box/frame to spec using a circular saw and blade designed for plywood. Note: the blade should indicate the wood designed to cut.
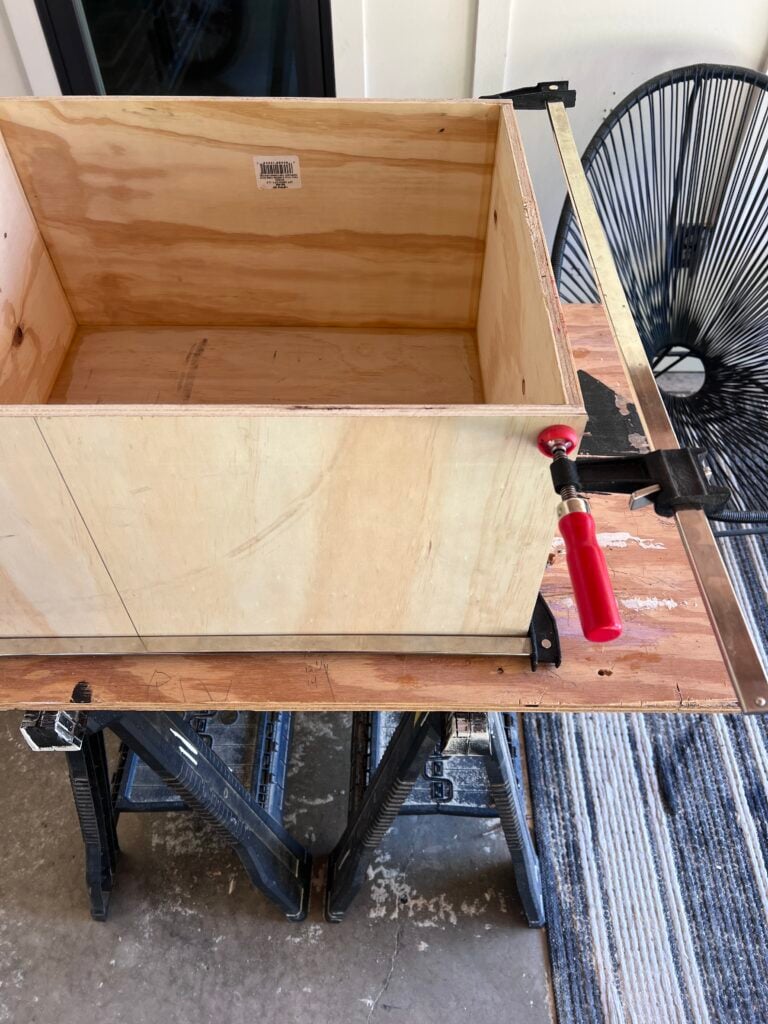
(Step 2). Using wood glue and clamps (we used clutch style Bessey clamps), join the panels together to form your box (frame).
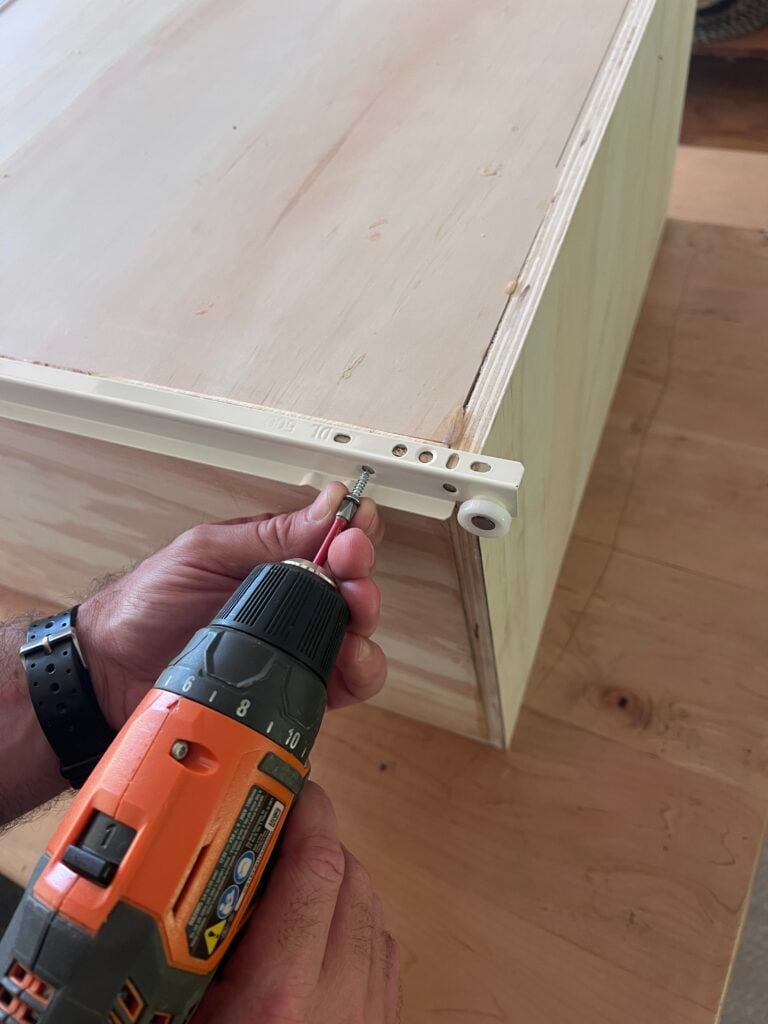
(Step 3). Once the wood glue has cured, attach the drawer tracks following the manufacturer’s directions.

(Step 4). Determine desired drawer face size and style. To match the existing drawer below, we used a basic shaker design in the same dimensions.
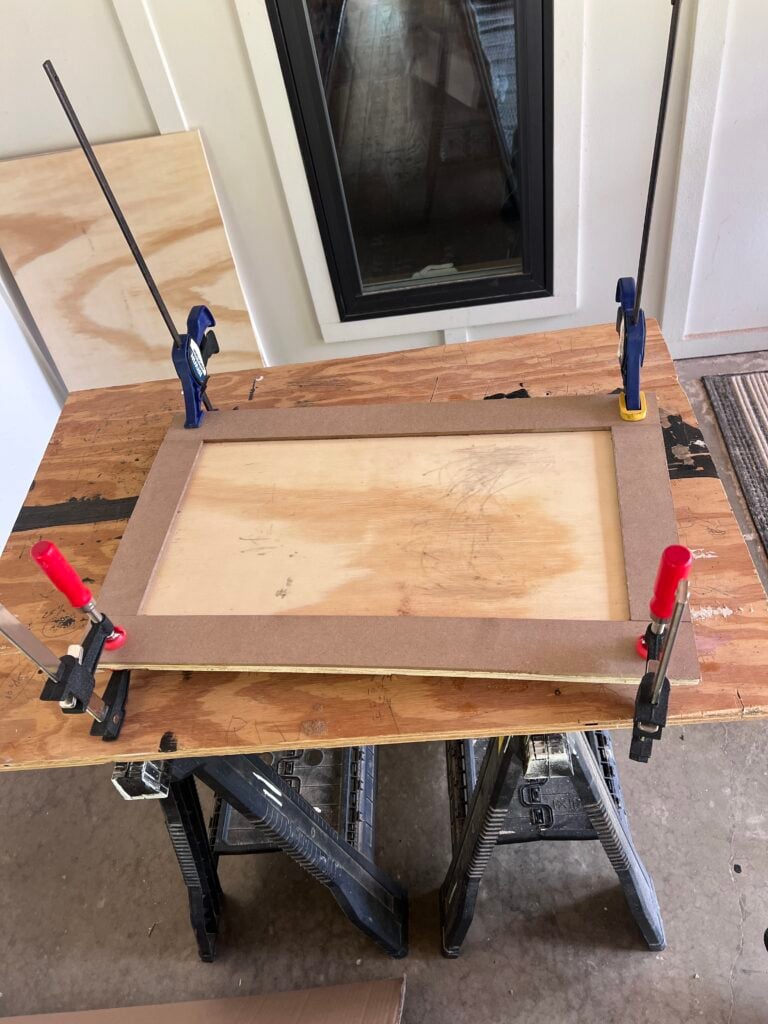
(Step 5). Cut drawer face panel to desired size. For shaker design, we used ½ MDF for stiles and rails and attached the MDF strips with wood glue and clamps.
(Step 6). Attach the decorative face of the drawer to the frame/box using 7/8 wood screws. (Sorry ..I forgot to take pictures of this last step). Screw from the inside out so the screw heads are not visible from the outside of the drawer.
(Step 7). For a professional finish, you can add banding to cover the seam of the plywood along the edges of the face of the drawer, but given I am both impatient and the drawers were going to be black (hence very dark and forgiving), I totally skipped this step and went straight to painting.
While they did not turn out factory-finish perfect, I am really pleased with the end result. And for no router table, I am pretty impressed with what my husband was able to accomplish here.
Best of freakin’ all? No more obnoxious microwave in my moody kitchen to kill the vibe!
Thank you so much for stopping by and spending some time with me this week!I hope this post gave you permission to attempt budget-friendly upgrades in your own kitchen.
If you found my tutorial helpful, it would mean so much to this small business of mine if you could share it with a friend or “pin it” on Pinterest…
Until next time, keep on designing a life that feels as good as it looks!


Welcome!
My journey in interior design and home improvement began with transforming my first fixer-upper home, all while managing a budget and raising two young boys. My work, a reflection of my passion for creating beautiful, uplifting spaces, has been recognized by top publications like Better Homes and Gardens Magazine, HGTV, and more. I invite you to explore my site and witness the transformation of my home and the vibes we've designed. Read more...