
My Luxury Vinyl Tile – A Three Month Follow-up

Remember how I installed click and lock, vinyl flooring over existing ceramic tiles in my kitchen a few months back? If you missed the original tutorial, you can click here to read.
Well…because this particular product is relatively new to the market and my application -over existing tile- quite daring and even radical, I would assume some of you are curious to see how well my flooring is holding up.
If you want to know how I am liking my LVT flooring, this post is for you. Today, I am spilling the beans and as an added treat, I am sharing my very first video review with you guys.. Yes….you heard me right. This socially awkward introvert is actually getting in front of the camera.

So, let’s start from the beginning of this kitchen’s transformational journey.
Here is what our kitchen looked like when we first moved in to our 1980’s fixer upper….
Our Kitchen Before:
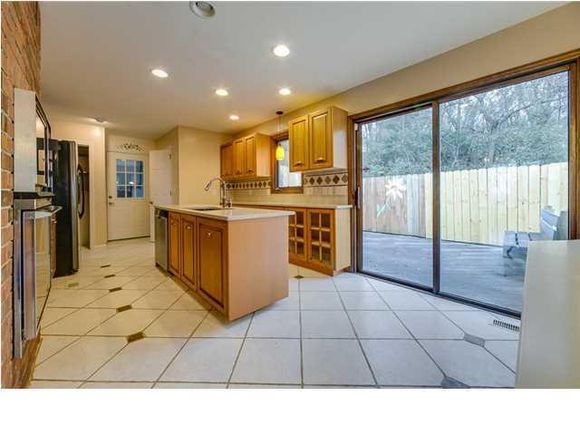
As you see, there were so many design faux pas going on here (and this was only one stinkin’ room), that I basically had enough home improvement projects to last me a lifetime. With limited resources and a limited budget, I decided to first address the projects which I perceived would give me the biggest bang for my buck: paint, new tile backsplash and lighting.
Kitchen Progress:
While these new upgrades did do wonders for brightening and modernizing the space, I knew there was something missing in this design scheme. That “something” was new flooring.
Think about it….take a good look at all of the images you have pinned to your “dream kitchen” boards on Pinterest – I bet none of them include builder-grade ceramic tile.
Not only was the tile lacking on an aesthetic level, it was high-maintenance AF and destined to be filthy. Between the pets, children, and a busy lifestyle, there was no possible way to maintain white tile with white grout. Who ever thought the whole white tile/ white grout combo was a good idea, anyways?
As you can see, our kitchen floor was filthy from the day we moved in….
Advantages of Click and Lock LVT
After almost three years of resenting my nasty a$$ tile floors, I became obsessed with finding an affordable flooring solution. Long story short: I decided the most feasible plan of attack was installing luxury vinyl tile over the existing tile flooring. One of the biggest factors in my decision was the fact that the original, ceramic tile floors were installed underneath all of the cabinetry, and I had no intentions of ever ripping out our island or lower cabinets in order to demo the existing flooring. I didn’t want the hassle and I definitely didn’t have the dough.
In terms of durability, vinyl is more ideal for kitchens and bathrooms versus laminate. Reason being: vinyl is designed to withhold exposure to water and laminate is not. So….vinyl it had to be!
After extensive research, I learned that it is possible to install click and lock flooring over a tile sub-floor, but the success of this project is highly dependent on the quality and thickness of the vinyl product being used. Essentially….the thicker the product, the more tolerant it is of sub floor irregularities and flaws. If I were to have used a thinner product like what you find in most big-box stores (which are typically only around 2-4mm thickness), the unevenness of my tile subfloor and the grout lines would have been visible through the vinyl surface (this term is called telegraphing). If I wanted to install vinyl over existing flooring, I knew I would have to find the thickest product available.
While this is not a sponsored post, I have included affiliate links for your shopping convenience.
My Review of Luxury Vinyl Tile
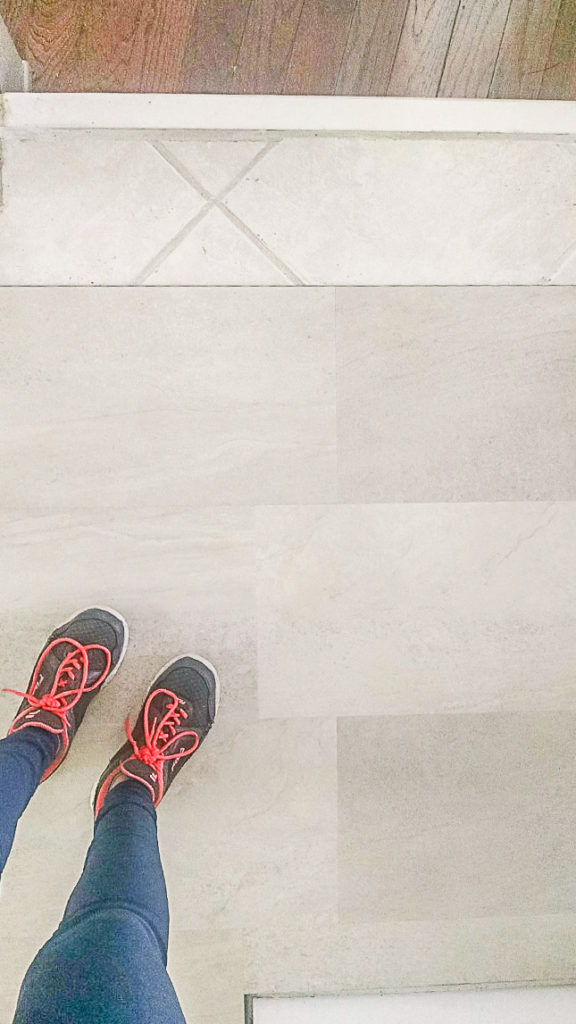
After scouring the internet for a product that not only fit my needs aesthetically, but also had a thickness of at least 6.5mm, I went with the 12”x24” click and lock, luxury vinyl tiles by Mannington. (You can view and buy them here). Not only were they neutral and timeless as far as cosmetics are concerned, at 8mm thick, this LVT flooring seemed to be the best quality available on the market (and no…no one is paying me to endorse this product!). When ordering this product, I added the square footage of my kitchen plus an additional 15 square feet to account for product waste (I think I could have gotten away with only 10 additional square feet, because I still have plenty left over).
To my delight, the entire installation (you can read the full tutorial here ) only took about a day and a half. Due to the high density of the LVT , we didn’t even have to use leveling concrete on the grout lines….we installed that shiznit right over the existing tile and grout! Over all, the click and lock installation was actually a relatively straight-forward process which I believe any DIY-er could tackle.

And while I had done extensive research before attempting this project, once I saw just how easy it was…I thought there still had to be a catch. Nothing is ever that easy, right?
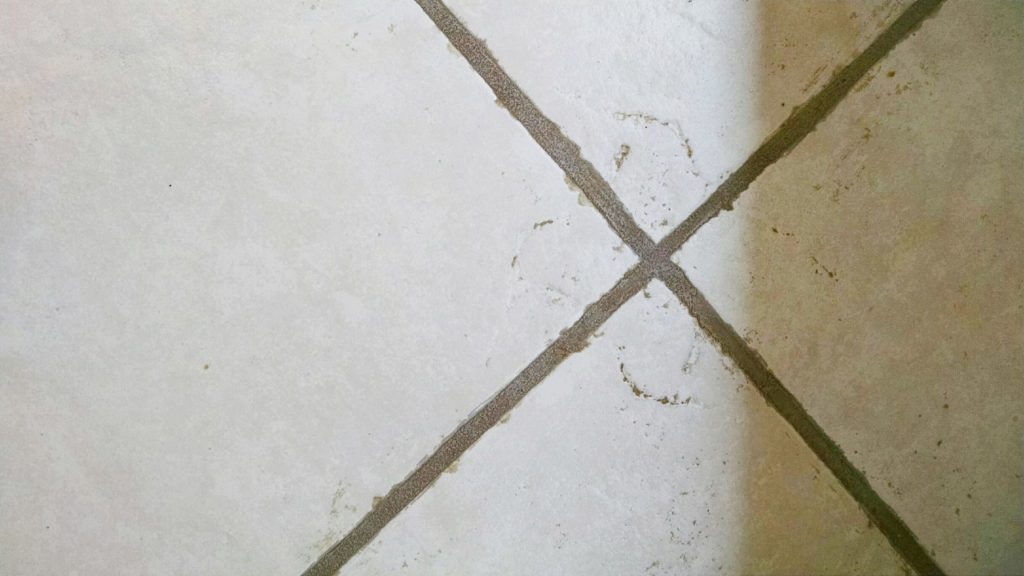
In the back of my mind, I still feared the whole telegraphing issue of the uneven grout lines or tiles would eventually rear its ugly head. Well friends, we are approaching three months since the LVT installation and I have not had any issues what-so-ever with this product….nada!
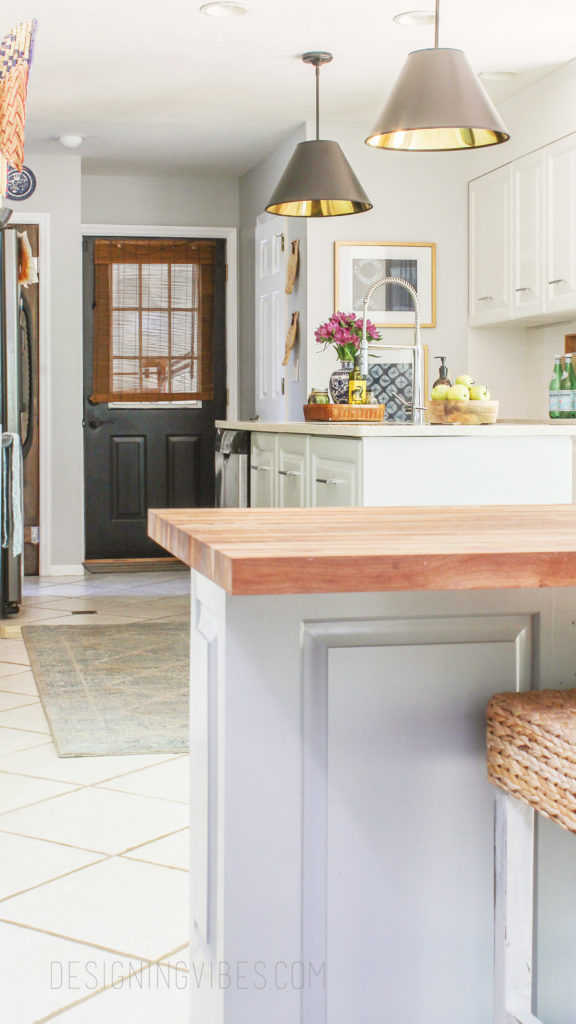
My Kitchen Now:
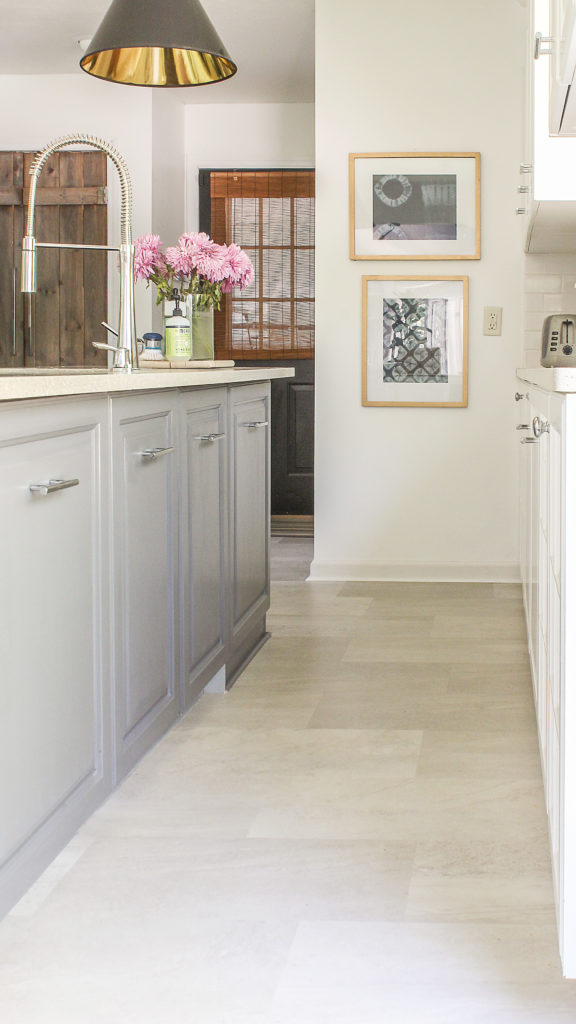
It has indeed proven , thus far, to be scratch resistant (we mistakenly scratched our refrigerator across the newly installed tile and there was no sigh of damage), water resistant and most importantly…..really comfortable to walk on.
Not to mention, my kitchen looks a million times better. I never expected that new flooring would make such a dramatic difference, but it truly makes the space appear so fresh and so clean, clean (love me some Outkast). All signs of horrible, eighties design are gone!
Even better, I don’t have to worry about any grout lines ( I seriously think grout lines are the devil, ya’ll!). In fact, the only materials I now use to clean my floors are a mop with some warm water and vinegar. While the particular product line I chose was lighter in color, it sill hides dirt relatively well -this is a major plus for a slob like me.
If you would like to see the product up close and “in-person” check out this little video clip…
While this video was super low-budget, taken with my phone, hopefully you now have a better idea of what my click and lock luxury vinyl tile sounds and looks like. As I mentioned, I am super pleased with my choice!
If you are on the fence about LVT, I say go for it! Just be sure to select a thick product with great reviews.
**UPDATE 5-13-19: To read my one year review of the luxury vinyl tile, click here. **
Now get out there and design some good vibes, babes!


Welcome!
My journey in interior design and home improvement began with transforming my first fixer-upper home, all while managing a budget and raising two young boys. My work, a reflection of my passion for creating beautiful, uplifting spaces, has been recognized by top publications like Better Homes and Gardens Magazine, HGTV, and more. I invite you to explore my site and witness the transformation of my home and the vibes we've designed. Read more...


The floors look amazing. I love the color. We have vinyl plank flooring in our kitchen/family room too. Perfect when everyone comes in out of the pool and for small children mishaps. I love mine.
Thank you so much, Marty! I am so glad to hear you are having a good experience with yours as well. Technology has come such a long way!
Great article! ThNks for the feedback. I want to use this too in my bathroom!!
I am so glad you found it helpful, Brenda. When I get the chance, I am going to use it in my bathroom as well.:)
Thank you for doing a follow up, I’ve always wondered how it was holding up. The difference is so dramatic, I am having the same issue in my entire main area and haven’t decided if we should bite the bullet and lay down wood look tile or figure something else out.. My husband has this weird love of carpet but with every insanely dusty vacuum dump after just a few moments of vacuuming I think I am pulling him over to the other side.
Like I said…in the back of mind, I was afraid it couldn’t be that easy. But so far, so good. It totally changed the way I feel about my kitchen. Now to find the time to do this in my mudroom and powder room 😉
Erica,
DYING to know how it transitions into the living room. Do you have a “lip” of some sort where the new vinyl flooring meets the hardwood floors? If it goes over the tile, how do you transition into the other flooring in your house? (Meaning, is there a height difference…)
It’s SO lovely and I’d love to do this in my laundry room where we have cracked tile.
Many thanks!
Mariah
Hey Mariah! Actually, we have yet to do the transition pieces. Mannington actually does sell reducers that match this exact tile, but we are not sure if we want to use their piece or make one that matches the wood floor in the living room (we are really bad about leaving projects unfinished because I have horrible ADD). Luckily, height differences aren’t an issue going into the living room or the dining room, but there is a height difference going into our powder room and mudroom. However, we plan on extending this flooring into our mudroom and powder room and this is another reason we havent done anything about the transitions yet. Of course, if we didnt want to extend the flooring into these areas, a reducer would be sufficient.
Thank you so much for your quick reply, Erica!
HI, we are considering using this product in our new house, so very happy to run across your blog! Did you use the porcelain color lvt? thanks! Julia
Hi Julia,
We did not use the “Porcelian” color (although I will probably end up using that color in my bathroom). We ordered the “stucco” color.
Hope this helps! Good luck with your project!