
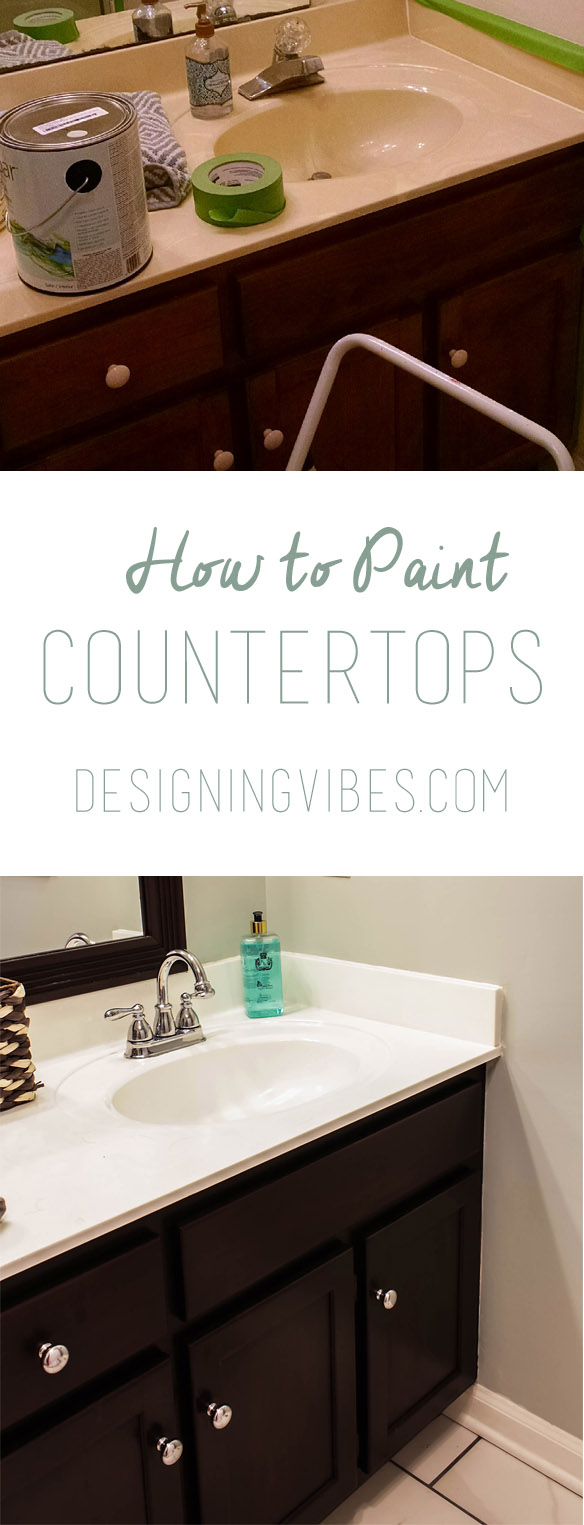
How to Paint Cultured Marble Countertops
Let me tell ya’ll about the time I painted the cultured marble countertops in my bathroom.
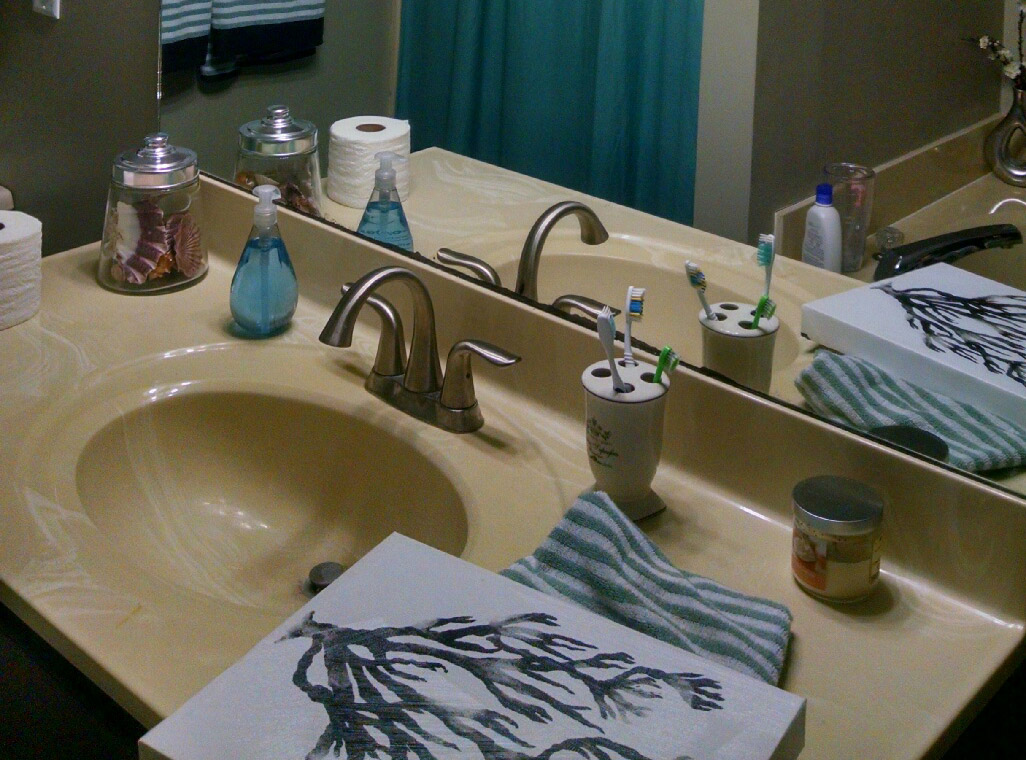
You see, my bathroom countertops were a lovely, 1980’s beige- almond color. I begged my husband for new countertops, but he wouldnt give in. He told me to find a temporary fix until we could afford marble or granite. So I scoured the internet looking for a cheap way to refinish them. I came across Live Love Diy’s post on how she used expoxy paint to cover her tile countertops. She made it look pretty easy, so I decided I would give it a shot.
*This post contains affiliate links. That means if you click on one of those links and buy something, I may receive a small commission, but you won’t pay a dime more. As an Amazon Associate I earn from qualifying purchases*
You see how dingy and nasty they were? Why the hell anyone would intentionally prefer their countertops to be this color is totally beyond me.
Materials Needed
Epoxy Paint (I used this one)![]()
Painter’s Tape
ventilator mask![]() (not a dust mask like I did. These fumes are crazy harsh and toxic)
(not a dust mask like I did. These fumes are crazy harsh and toxic)
Rubber Gloves
Protective Eyewear
Foam Roller (High-Density Foam)![]()
Paint Pan
Paint Brush for Epoxy Paint
***Guys, just beware that Epoxy paint gives off crazy harsh fumes. You will need to open your windows, wear your ventilator mask and make sure the room you are working on is well ventilated. If you have little ones, make sure they are out of the house.***
The Process
I would say the most crucial aspect of this project is prep. Make sure to follow the instructions listed with the kit and clean thoroughly. Repeat the process about 3 x. This is the most daunting and critical step. If you fail to properly prep, your paint will not adhere! My Homax kit came with a special cleaning solution.
- Clean your surface and repeat at least 3 times. Use the solution they provided. I cannot stress the importance of this step enough.
- Once surface has been cleaned thoroughly and has dried, tape off your working area with painter’s tape.
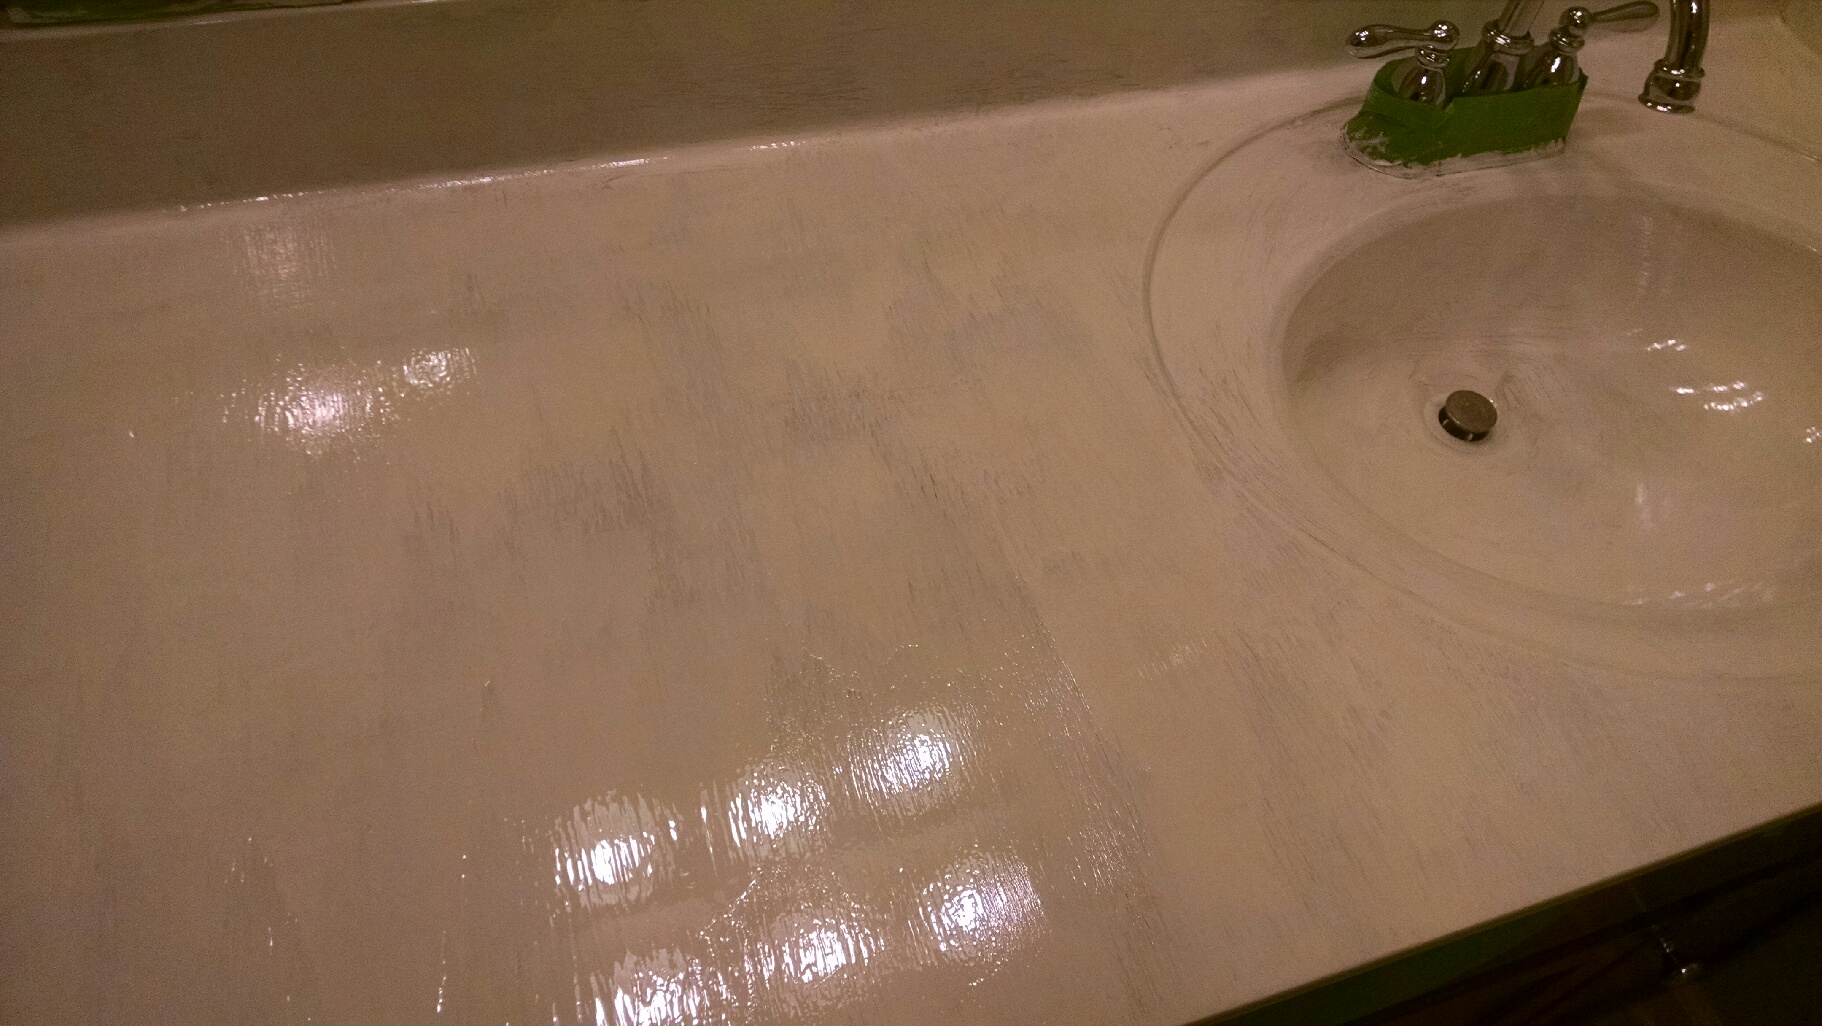
- Put your ventilator mask on , open the windows and get to painting. Initially, I used a paint brush, but was not having much success. Oh how I was cursing and fuming… it seemed my paint brush just kept pulling up the paint. The key is long, even strokes and thin layers, but I was having a really hard time. This is what it looked like after 2 coats.
 I was having a really rough time and was getting pretty pissed with the whole idea. While the kit says not to use a roller, I was a rebel and did it anyhow. This is when the project got much easier for me. It does leave a little bit of a texture, but so does the brush.
[embed_popupally_pro popup_id=”2″] - It took me 4 coats to completely cover the preexisting marble. While you need to let each coat dry for about an hour before applying the next, If you wait too long (I think over 2-3 hours, instructions will specify) you will have to wait until it has completely cured ( about 4 days) to apply another coat.
- Once you have the desired coverage, you must let the paint cure. The instructions said 3 days but its more like a full week. After 5 days, I thought it had cured and placed some belongings back on the counter. Well, apparently 5 days was not ample curing time because my stuff got stuck to the counter. When I tried to remove them, it took some of the paint with it.
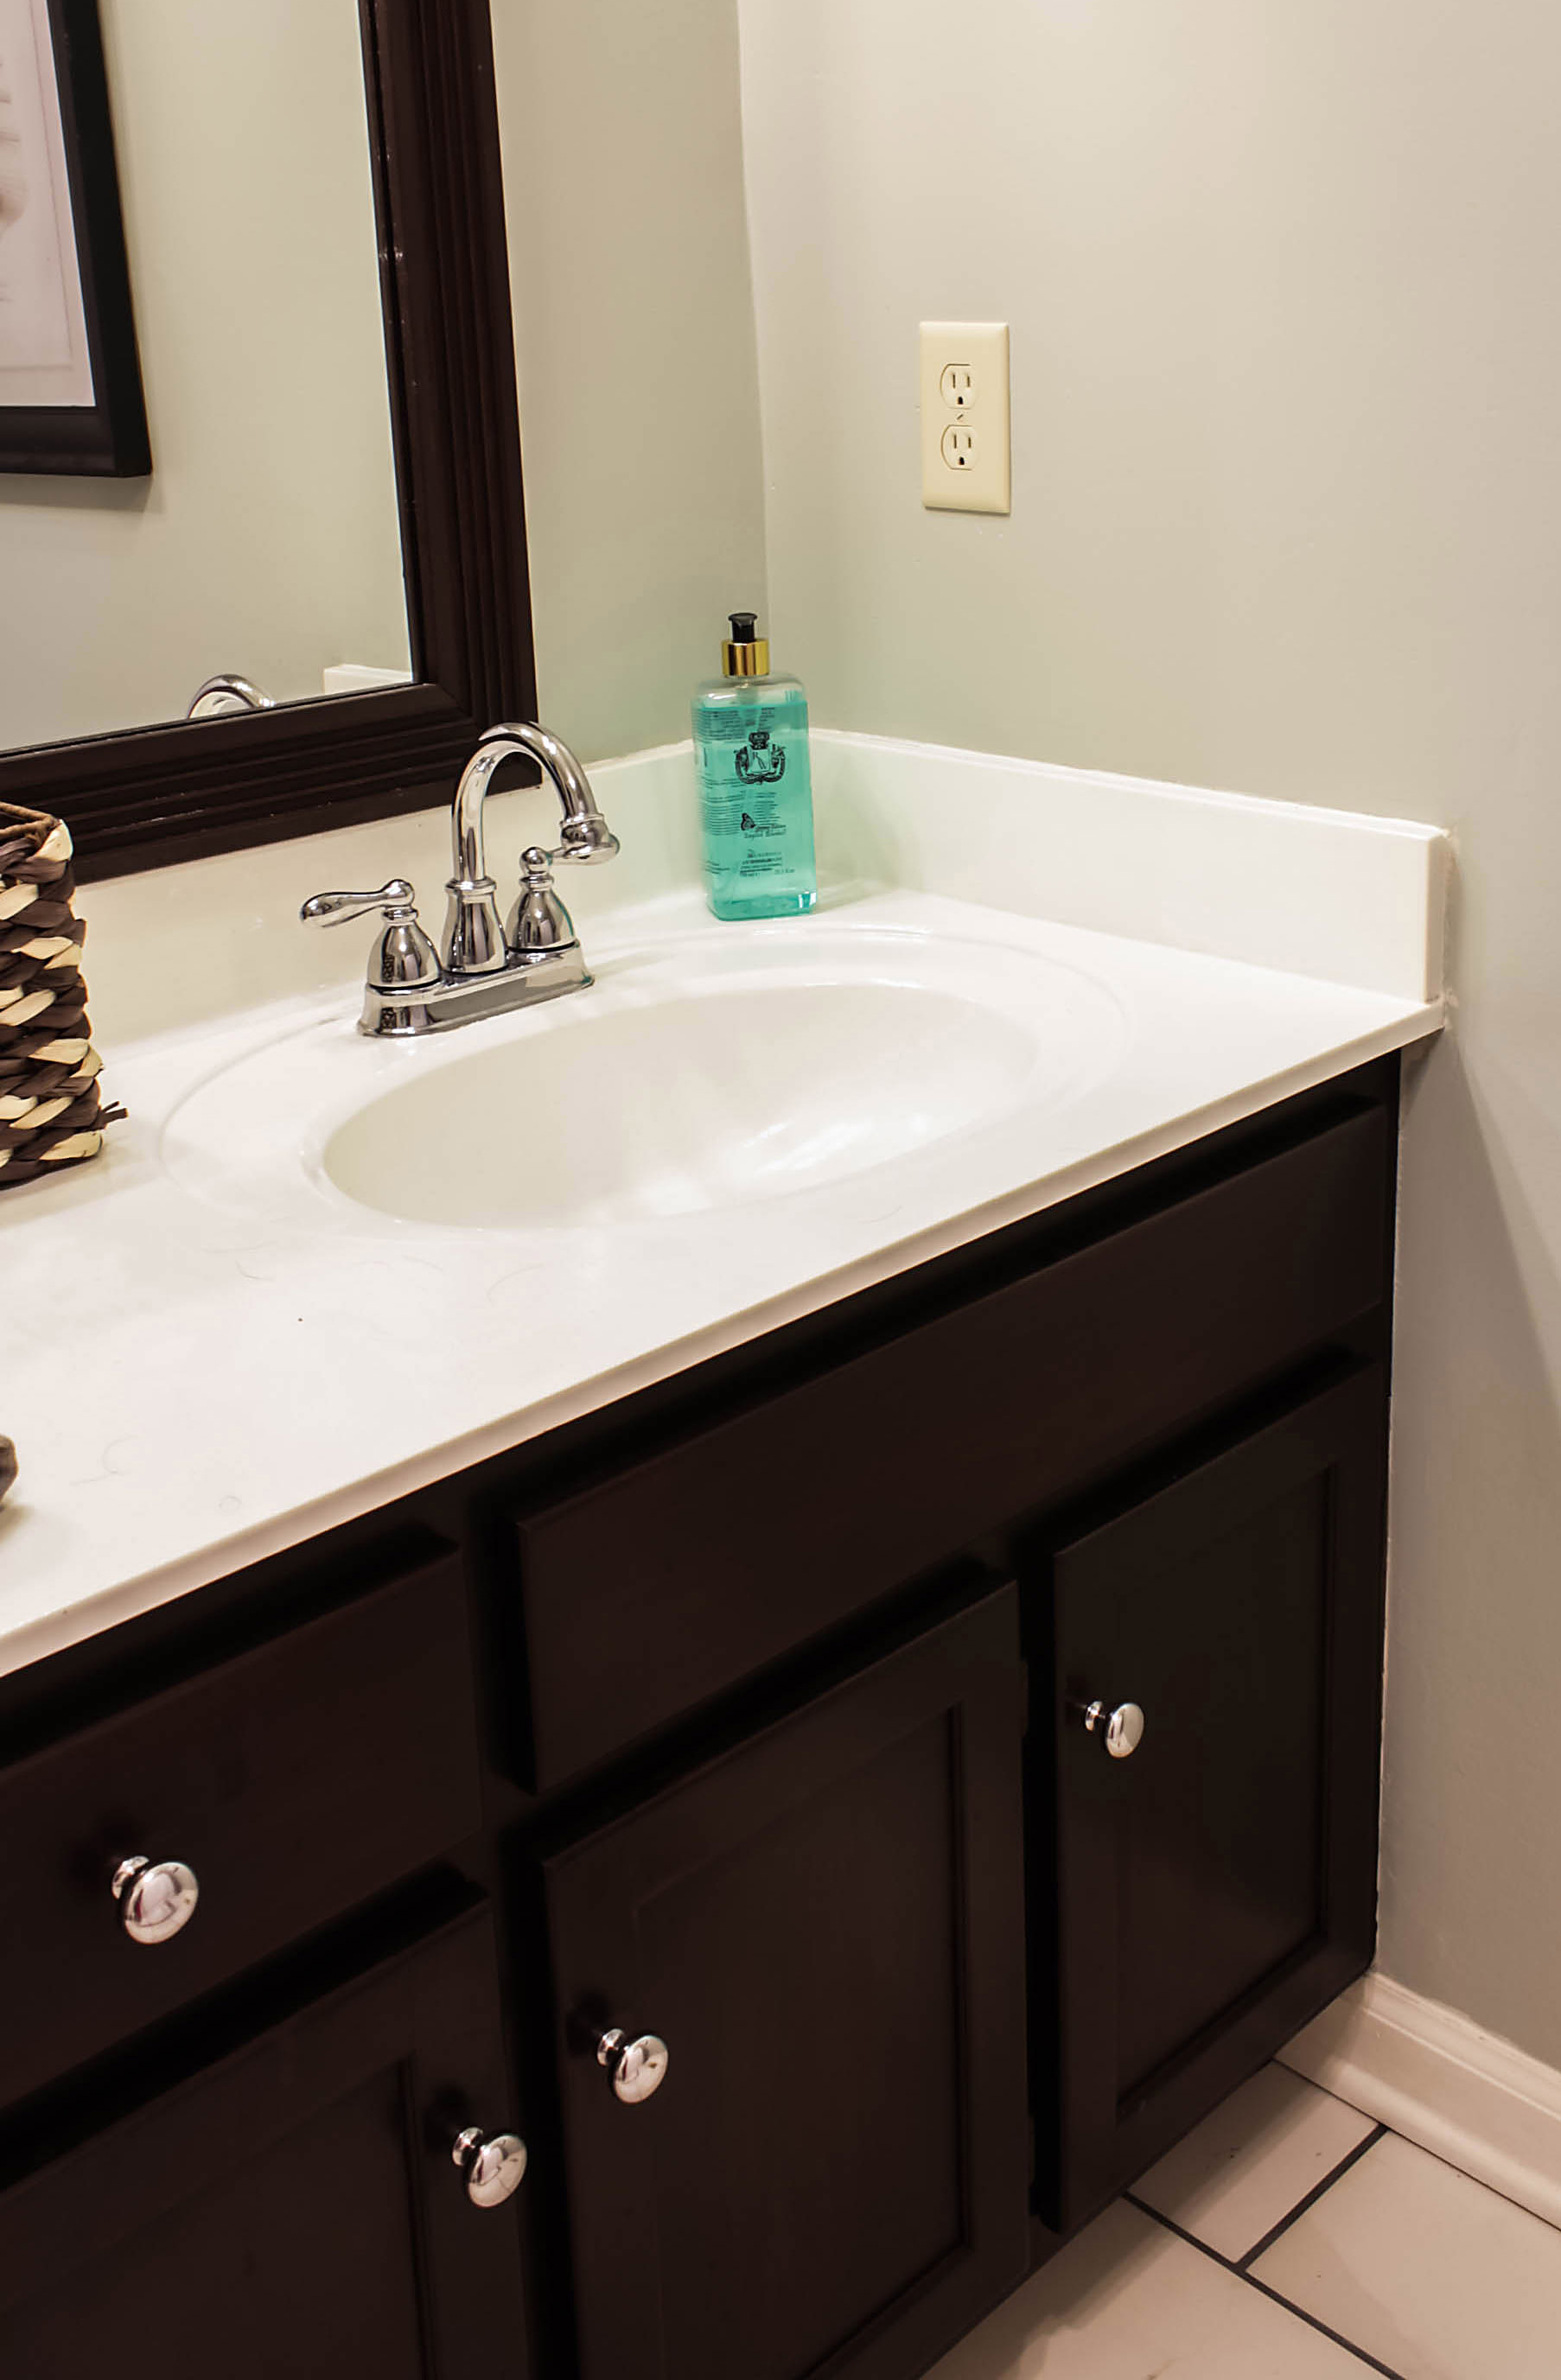
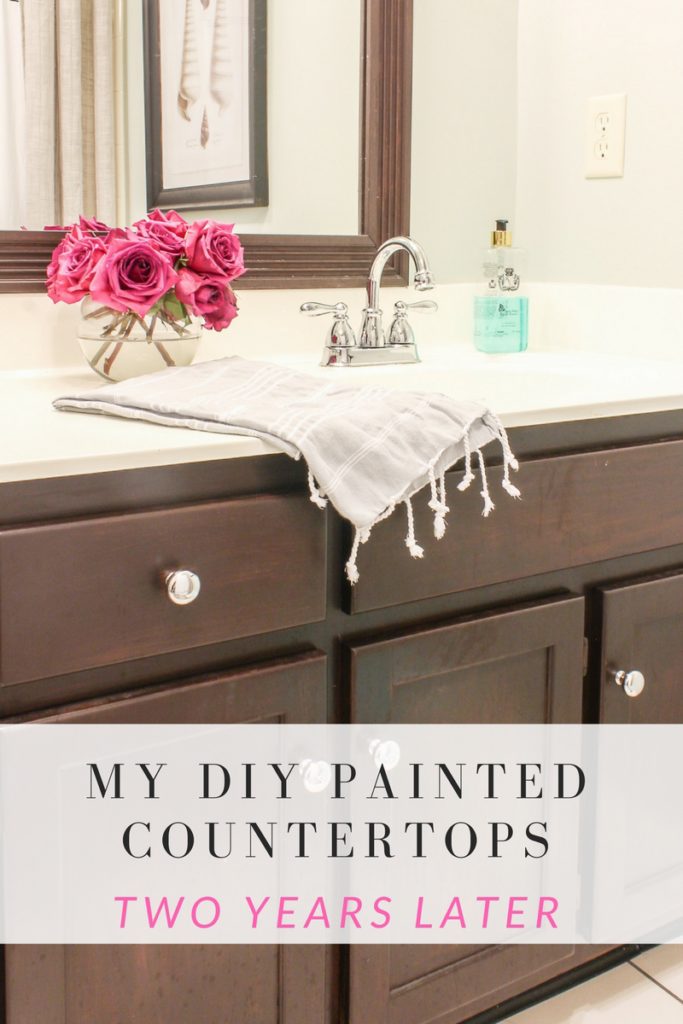
Here is the finished product.

While I found this project to be a pain in the rear, I think it turned out pretty well. You can’t beat a $35 transformation. However, I decided I didn’t ever want to deal with it again. In my master bath, I decided to completely replace the countertop. I could not deal with the fumes again and I could not deal with the crazy amount of time it took to cure….ain’t nobody got time for that!
If you are wanting a cheap fix for your outdated, cultured marble I certainly would not count this option out. I think I just overlooked the amount of effort involved in this project.Virginia from Live Love DIY just made it look so simple. Eventually, I will replace the countertop but for now, this works fine.
If you would like to see how they have held up after two years, read my follow up review here….
Update: 6-7-2018: After years of swooning over real marble countertops, I finally decided to make some compromises (no botox, no pedicures, no shopping sprees….basically becoming a nasty, old hag) all so that I could afford the countertops of my dreams. If you want to read how I got my “real” countertops on a budget and the money-saving hacks I implemented, click here to read this post.
Now go out there and design some good vibes!
And please share the love and pin!


[go_portfolio id=”go_portfolioidread”]

Welcome!
My journey in interior design and home improvement began with transforming my first fixer-upper home, all while managing a budget and raising two young boys. My work, a reflection of my passion for creating beautiful, uplifting spaces, has been recognized by top publications like Better Homes and Gardens Magazine, HGTV, and more. I invite you to explore my site and witness the transformation of my home and the vibes we've designed. Read more...


WOW this is beautiful, looks like the real thing! Have a great day!
Thank you so much, Kristin. It has a bit of a weird texture from the foam roller I used, but I think it is a vast improvement.
We did something similar using a paint sprayer with a fine nozzle . Did several coats. We hadn’t moved in yet so allowed it to cure for a week. I wanted to use large tiles but it would require ‘shaving’ the doors to the hall and large storage cupboard. Needs a level of perfection we have not yet acquired
I bet the paint sprayer did much better at the job then actually painting it with a roller or a brush. Yes, it is definitely not perfect. When budget allows, I will probably replace it, but it doesn’t bother me to bad.
Will you please share what product you used? I am tirn between painting with this or using the Giani kit but still I need to paint the sink with some sort of an epoxy paint. We just bought a house with a dreadful looking cultured sink that looks like someone puke on it(tmi). Thanks
Hi Sam,
I used Homax Tough Tile Tub & Sink Refinishing Kit. Hope this helps!
How is the paint holding up? Is it chipping, cracking, showing wear?
It has been a year, and so far they have held up well. No chipping or wear. However, I am very careful with what I use to clean the surface. I only use paper towels and an all natural cleaner.
I don’t know how I missed this post! I just came across it on Pin. This looks fantastic. I’ve always be curious about those kits. I’m so happy you shared this. I’ve been wanting to use in on a tub in our home. So glad to know you’ve had good luck with it!
Yes girl, it has held up pretty well. Just know that you need to let cure twice as long as directed. Also, the fumes are insane. Good luck, sweet friend. 🙂
Well, it certainly looks beautiful. You’ve convinced me to do it. You can’t beat the price and your finished product looks Terrific! I will be super proud of myself if I can get mine to turn out that nice.
Thanks, Beth. Good luck! It was sort of a pain to do, but it has held up well for almost 2 years.