How to Paint Over a Chipped Garage Door
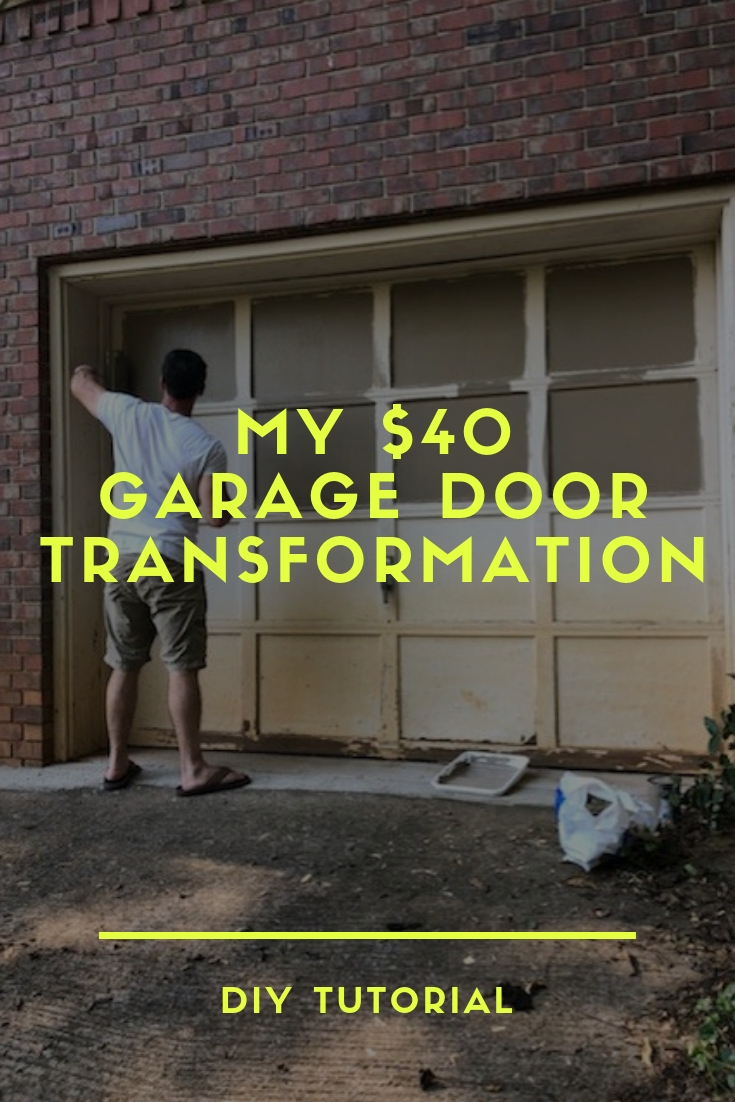
Today, I am going to show you how my husband transformed our unsightly garage door for under $40.
Much to my dismay, my home improvement journey has temporarily taken a turn for the mundane. You see…
With most of our interior transformed (for now at least) , my husband and I have decided to focus more of our attention on the exterior of our home. And while there are many aesthetic improvements I would love to implement on our exterior, unfortunately, budget is a major impediment.
Not wanting to deem the situation as entirely helpless, I decided I could at least start with the “low-hanging fruit” so to speak, and I figured a badly weathered garage door would be the perfect place to start.
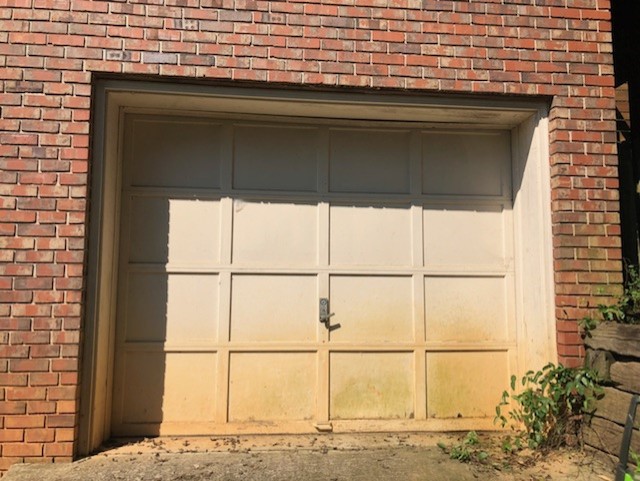
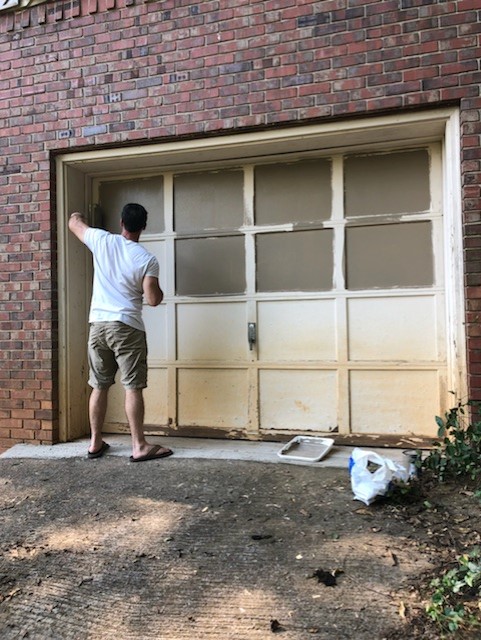
Garage Door Before:
I know what you are probably thinking…..You are a DIY blogger. How the hell could you leave your garage door like this for 3 years?!
Well…this is not our main garage so I don’t have to look at this atrocity on a daily basis. With that said however, when we first moved into our fixer upper, we actually did attempt to lightly pressure wash the grime off. Unfortunately, the only thing that did come off was the actual paint. So…we turned our attention to another project and sort of forgot all about this poor door entirely. That is…until last weekend, when I had finally had enough of that damn door!
As I began to gather my paint supplies and head outside, my husband – desperate to get a break from our fighting kids- offered to paint the door himself . Given my husband hates painting and usually hands the job off to me, I knew the situation was probably dire. And so….I gave the poor man a break from the chaos of our boys. After all , painting can be quite soothing (in small doses at least) and as for my own self-soothing…well, I would simply uncork a bottle of Sauvignon Blanc and allow the booze to ease my frazzled nerves.
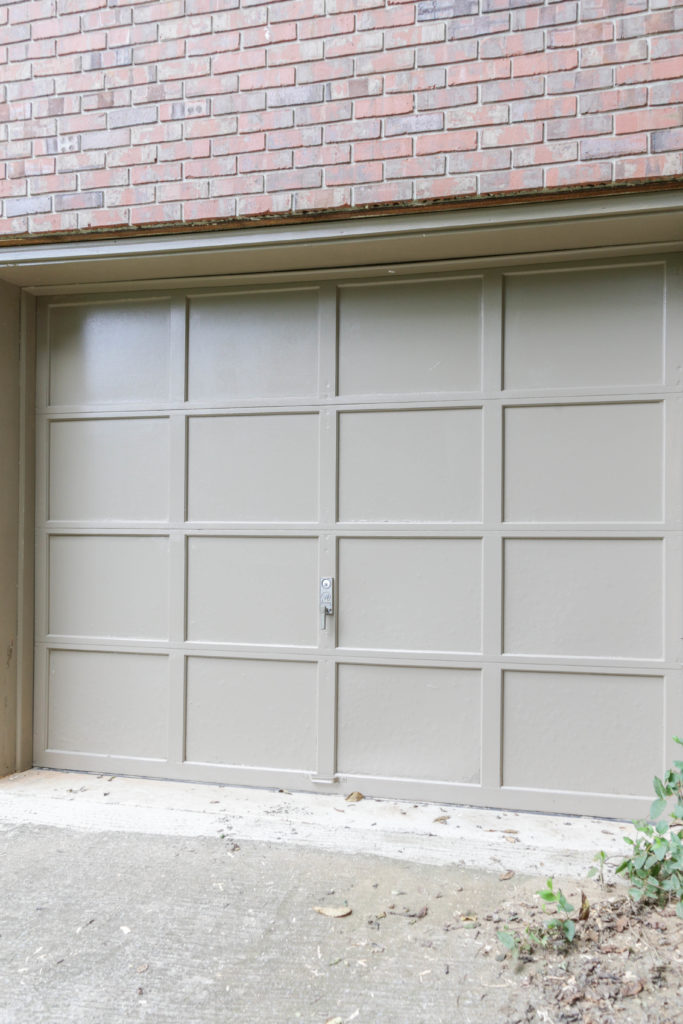
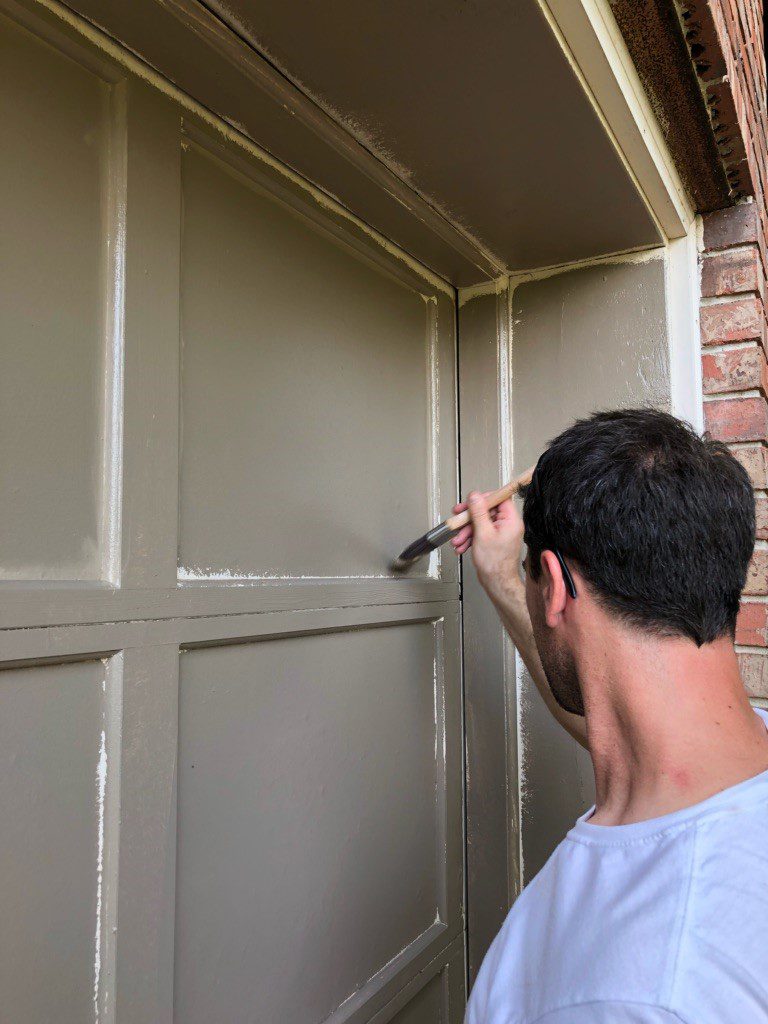
Garage Door After:
For less than $40 and a few hours of time, the door is almost as good as new. And let’s not discount the therapeutic benefits of the project.
How to Repaint a Wooden Garage Door without Stripping off Existing Paint
Before I get into the nitty gritty of this project, let me first warn you that this method is probably not a permanent fix. In our case, we noticed where some of the paint had chipped off, there were also instances of wood rot- meaning that we will eventually need to replace the garage door.
Nonetheless, we hope to at least buy some time (one to two years) with this quick fix.
Materials Needed:
- Exterior Paint ( I used one quart of Sherwin William’s “Resilience” Exterior Acrylic Latex)
- Pressure Washer
- Paint roller
- paint brush
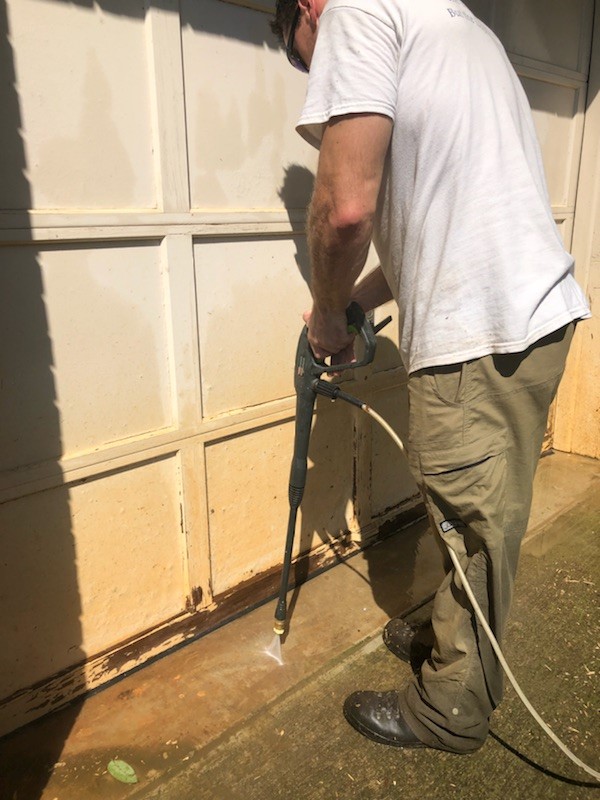
(Step 1): Clean the surface of the door and trim with pressure washer and allow 3 to 4 hours to dry. Note:the pressure washer also removed loose, chipped paint from the door. As a result, pressure washing replaced the need to sand as sanding would have been an endless cycle. Simply get the surface as clean and smooth as possible (removing what chipped paint you can).
(Step 2): After confirming the surface is dry, apply exterior paint with a roller.
Just a tip on color matching your exterior paint: we were able to go to Sherwin Williams with a spare piece of siding which they were then able to color match.
While there, I also consulted with the Sherwin Williams employees who told me I did not need to prime the door…I could simply apply the paint to the clean surface.
(Step 3) Use a paint brush to cut in details and trim.
(Step 4). Apply second coat with roller and touch up with paint brush as needed.
In an effort to better serve my peeps, I have also been working on my video skills- which are admittedly a little rudimentary right now. Regardless, I provided a video tutorial for you guys below ….
While I know we will eventually need to replace our garage doors, I am happy with the vast improvements made. As I like to say…never underestimate the power of paint!
Now get out there and design some good vibes.








Love the video tutorial! I enjoyed having both written directions and the video to go by. Thanks a bunch!
So glad you found the video helpful! xoxo