The Easiest Way to Clean Filthy, Neglected Tile Floors
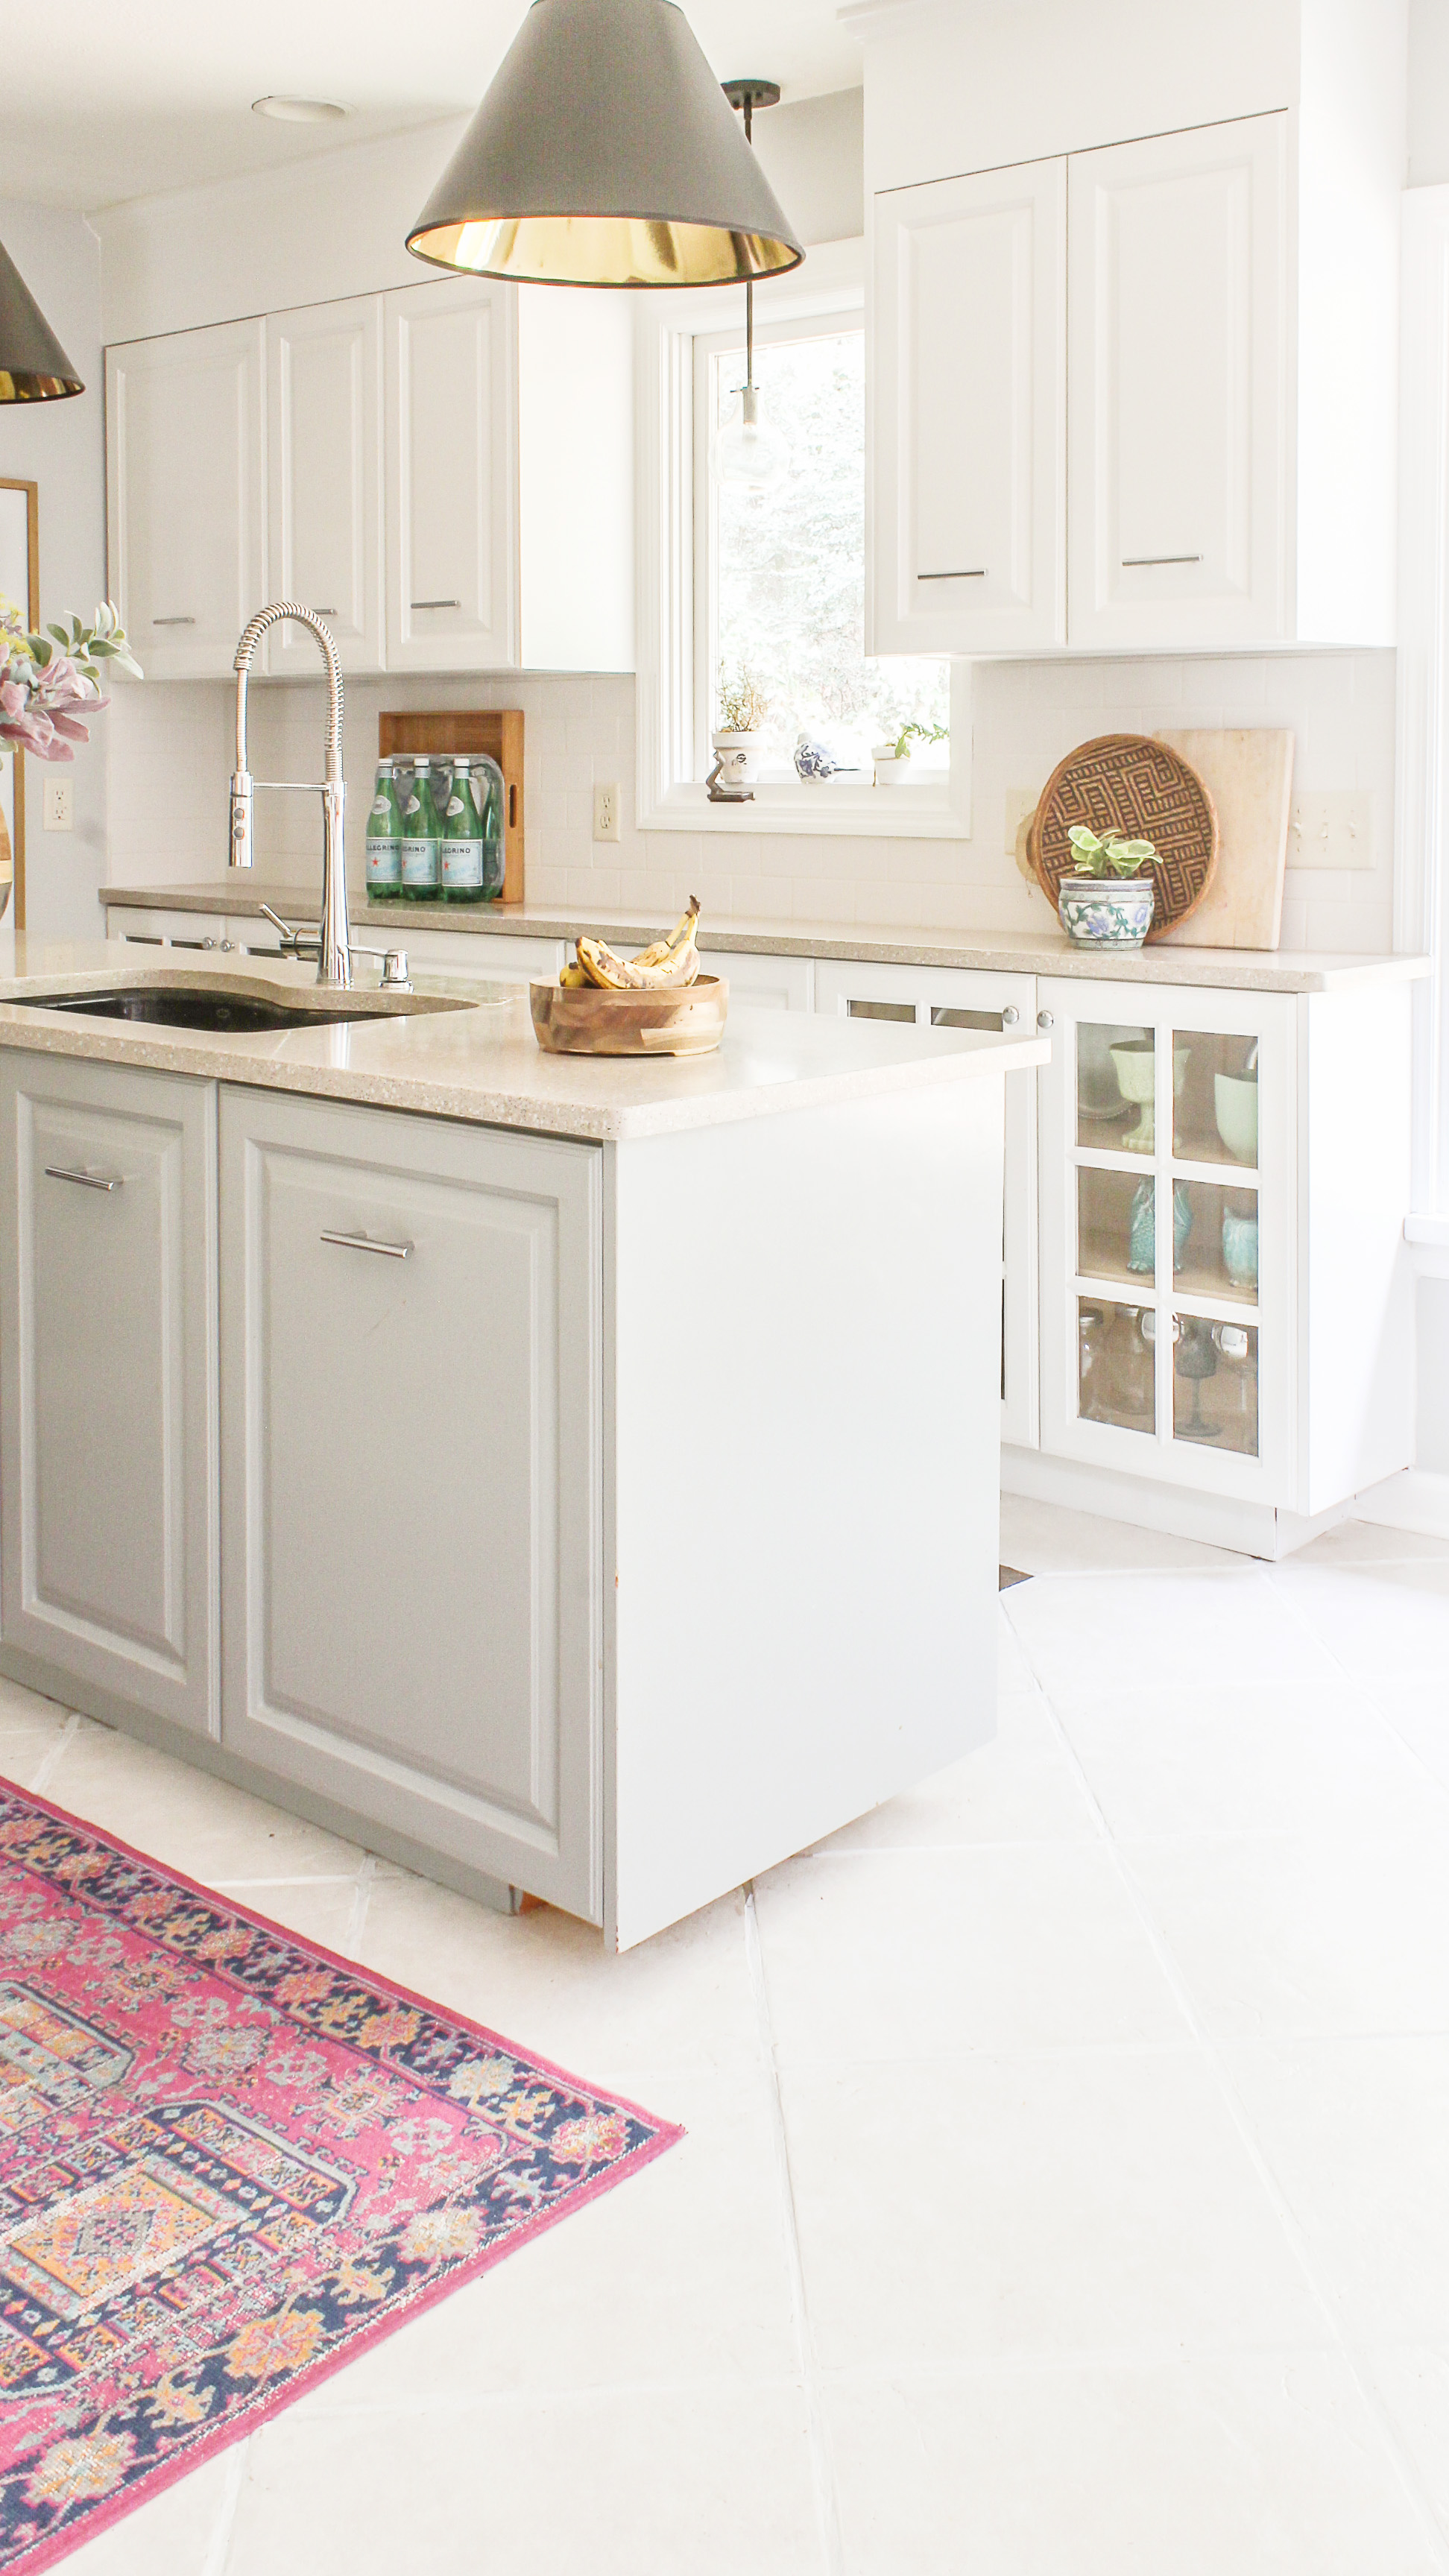
Ideally, my kitchen would not come complete with white, ceramic tile flooring. More over, my dream kitchen would be void of flooring which possesses any porous characteristics (crevices if you will), and that has been neglected for God knows how long.
But since I have not yet won the lottery, I had to make the best of the situation. Today I am going to show you the most effective way I have found to clean dirty, textured tile flooring that has been neglected.
When we moved into our fixer upper, it had been vacant for some time. I am not quite sure how long, but long enough to house some fallen leaves, critters and your basic yuckiness that comes with neglected home syndrome.
I did notice the kitchen floors were dirty, but assumed a good mopping would solve the problem…..nope!
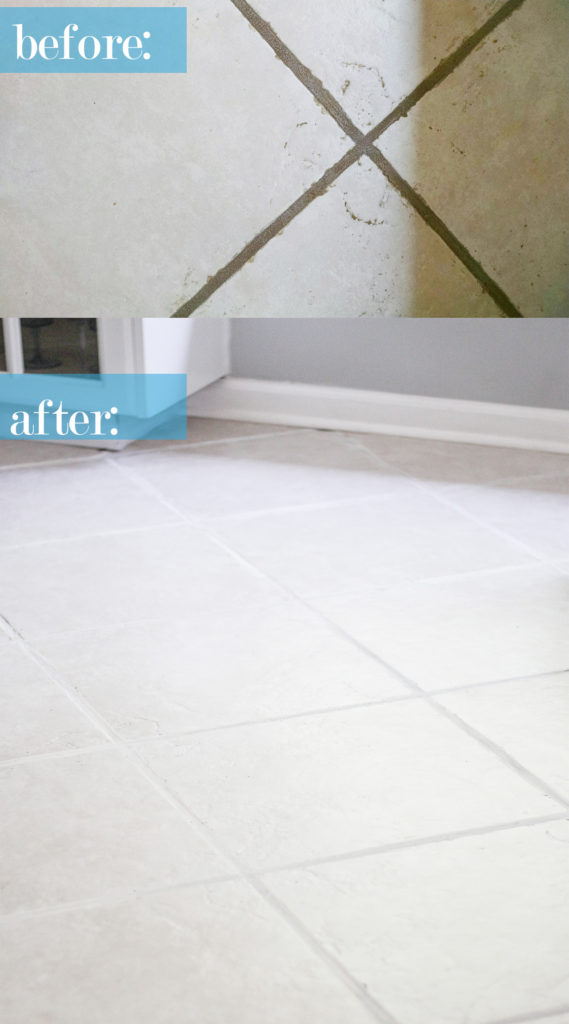
Here is what the floors looked like.
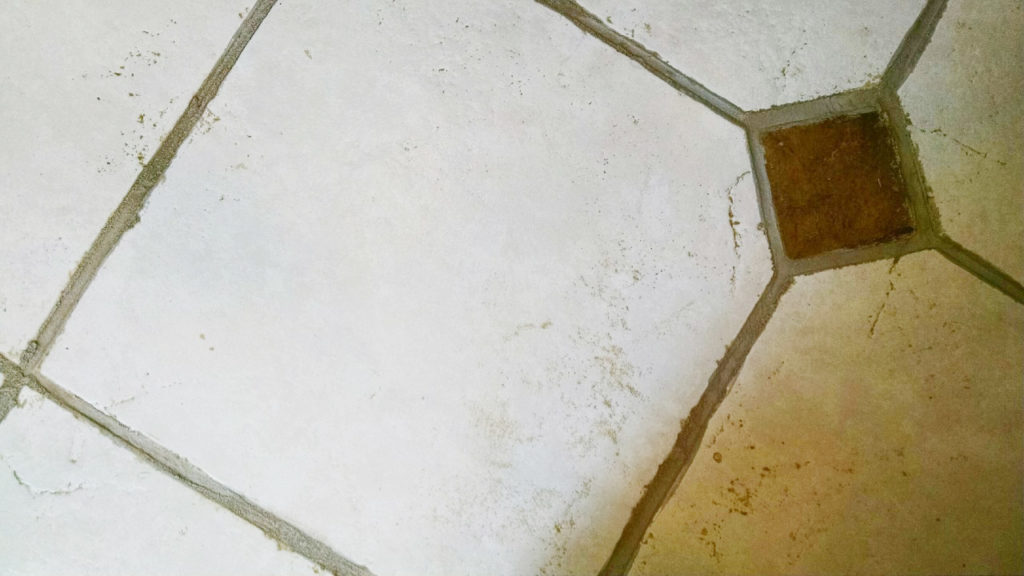
Not only was there years worth of filth (and our house was built in 1986), but it also became apparent that grout had been smeared all over the white tiles and that the grout lines were nowhere near precise.
If it wouldn’t have been for a series of sh*t sandwiches that this house already served us during the renovation process, we would have ripped that mess up and started from scratch. But friends, the budget has vanished into thin air.
Luckily, a little elbow grease and harsh chemicals made everything better (well, clean at least: f**k white, textured flooring when you have pets and rugrats. It is nowhere near practical).
Let me show you how I made our filthy tile flooring like new again.
For your shopping convenience, I have included some affiliate links.As an Amazon Associate I earn from qualifying purchases
Materials for Cleaning Filthy Dirty Tile Floor
- tile cleaner (I used this one)
- scrub brush
- rubber gloves
- mop
- grout paint (I used this one)
- old toothbrush (note: if your grout lines are smaller, you may need to use a small craft, paint brush)
- paper towels or rags
 Typically, I tend to lean on the granola side of the spectrum when purchasing home and beauty products , but I knew I was going to have to get into hardcore, industrial-strength mode if I wanted to clean up not only the dirt, but the grout haze; and my normal regimen of lavender infused vinegar simply wasn’t going to cut it.
Note: I was a moron and worked on the grout lines before scrubbing the floors to remove the dirt and grout haze. So if the pictures are confusing (you will see dirt in the crevices on my progress photos, but clean-looking grout lines…that is why).
Please don’t be as moronic as I was…I will blame it on mommy brain.
STEP 1: Working in small sections, I literally just poured a small amount of the tile cleaner directly onto the floor, and with a rough scrub brush, which I dampened with water, scrubbed in a circular motion. Working up a lather, the dirt and grout remnants began to magically dissipate….it was so freaking fulfilling!!! I worked section by section.
The best thing about this tile cleaner is that it didn’t have an odor. However, I was sure to wear rubber gloves and worked on the project while my little ones were in Mother’s Day out.
It was a bit of a pain removing the lather from the product alone, but if it delivers effective results…I don’t mind.
**Let me also note that this tile cleaner may not be suitable for all types of flooring. However, I can say it worked wonders on this white, ceramic tile. **
STEP 2: After scrubbing and removing the dirt, I cleaned the product off with a wet mop. Voila!
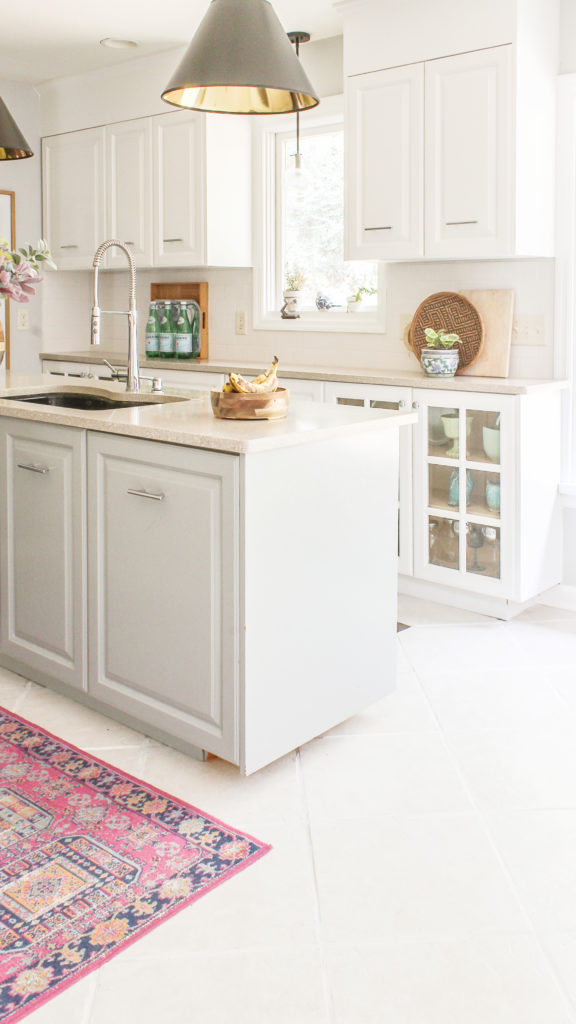 STEP 3: Next were the grout lines to tackle. Using this grout product and an old toothbrush, I simply painted the white color back onto the grout lines. If your grout lines are tighter, you may need to use a small, craft paint brush to apply the product.
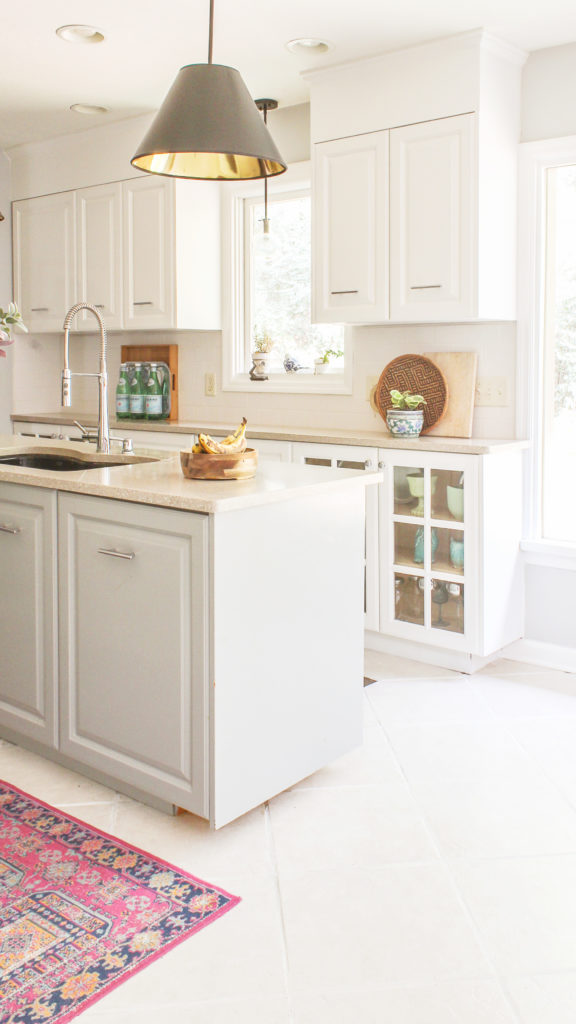
It took me about 2.5 hours to complete the entire kitchen, but it dramatically brightened up the space.
Tip: Keep a damp rag handy just in case you go out of the lines.
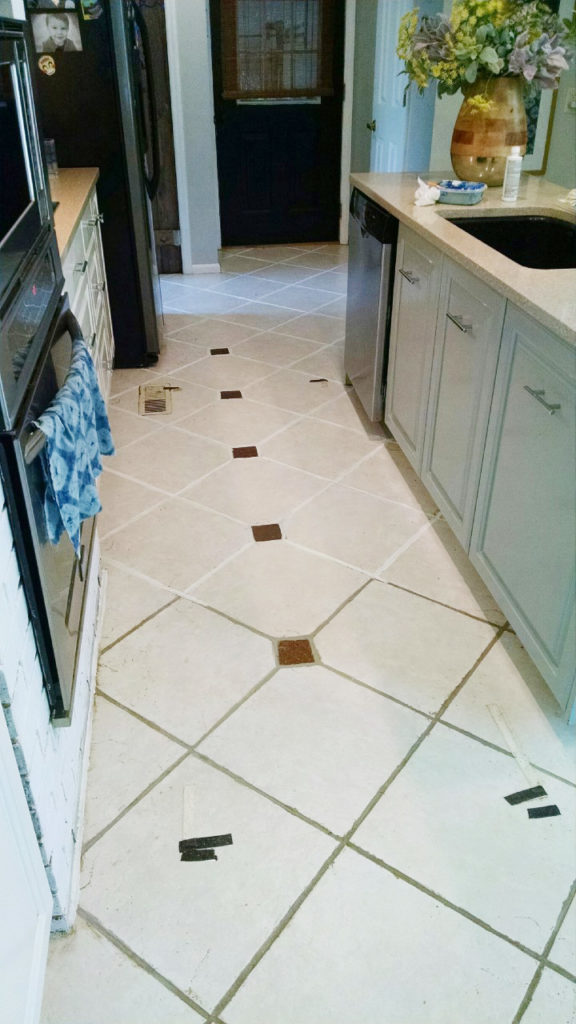
(See what I mean about the confusion of the progress photo above- with some clean grout lines yet dirty floors? My crazy kiddos have depleted the majority of my brain matter Sorry!.)
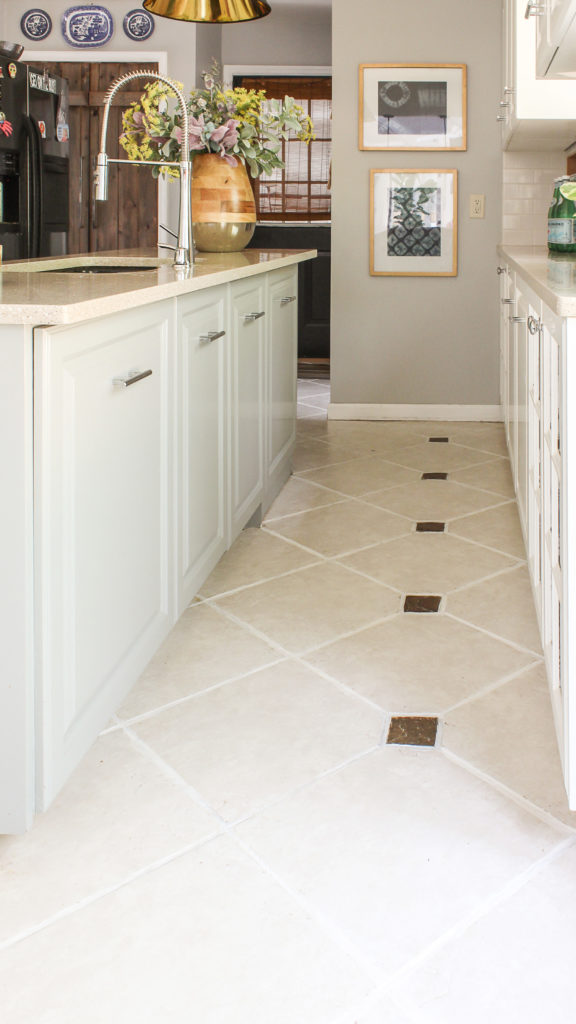
And don’t even get me started on what an ordeal it was just to keep my floors clean long enough to take these “after” photos.
For some reason, my 18-month-old has determined the best way to communicate that he is done with his meal, is by dumping his entire plate of food onto the floor (like… every…single…meal…without fail, friends).
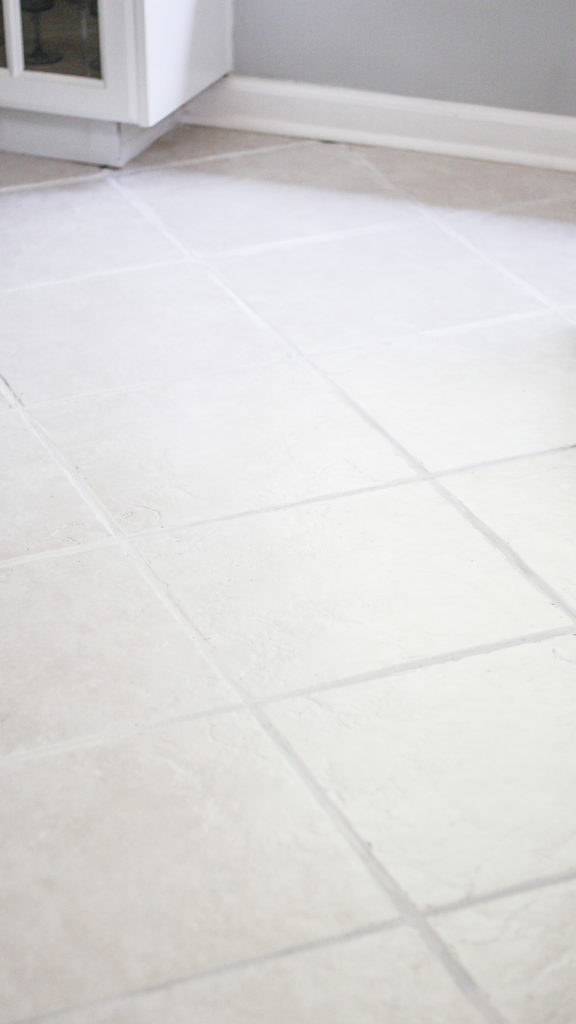
So my advice to you (particularly if you have pets and children) is to never install white, textured tile flooring. But, if that is what you are stuck with, you can make them look like new with a little elbow grease.
****Update 4-24-18*** Okay, guys…I have some follow up news for you regarding my kitchen floors. While this cleaning method was highly effective at giving my old tile floors a fresh, new look, the problem is that the tiles and grout will eventually get dirty again.
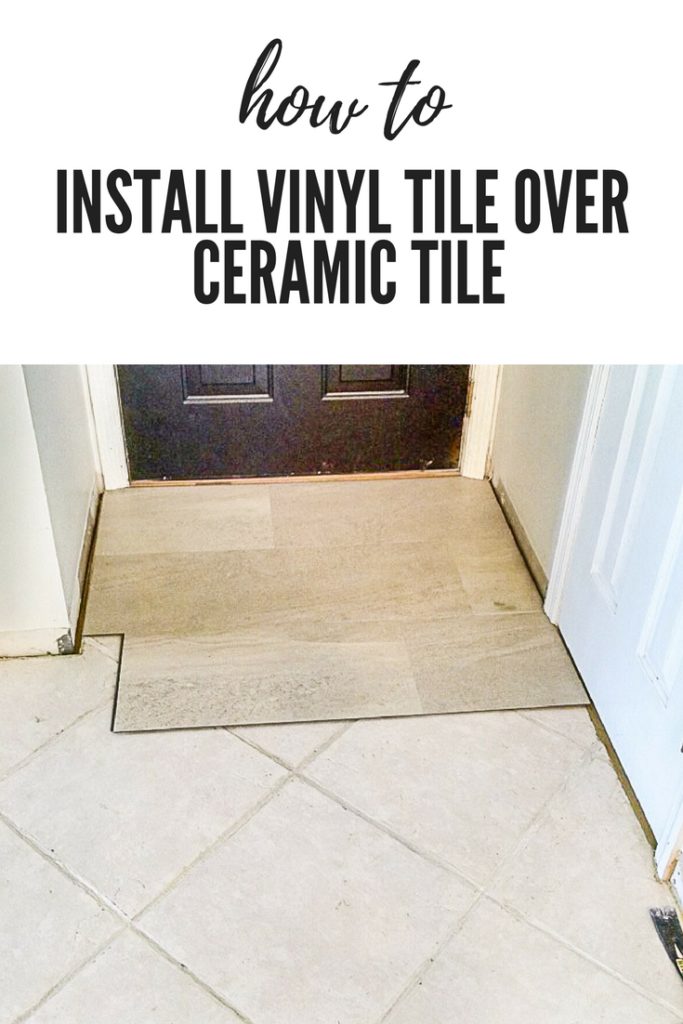
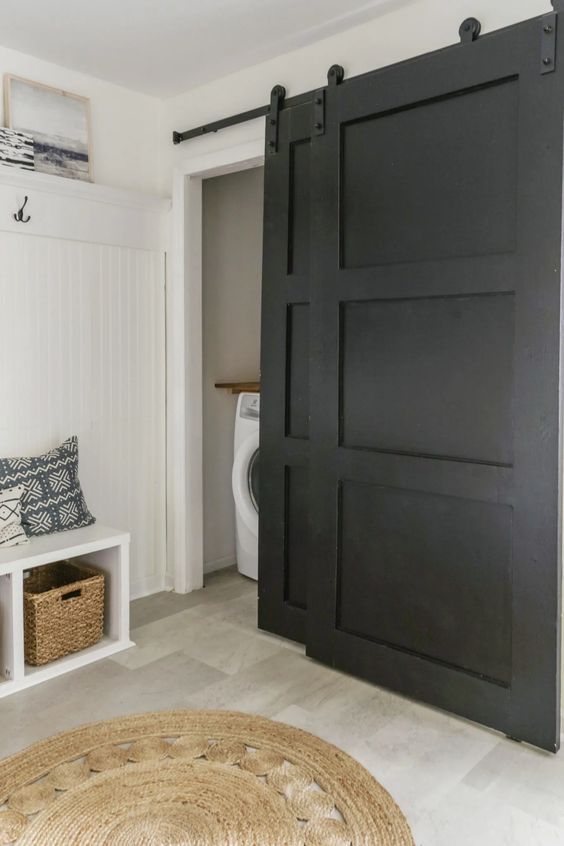
I basically decided that white tiles and white grout are simply too high-maintenance for my dirty life (pets, kids, sheer laziness). So, I decided to install luxury vinyl tile directly over my old ceramic tile, and OMG….I love the stuff! You can click here for the full tutorial on how I did it.
You may want to check this new post out……
Now get out there and design some good vibes! Please also be sure to spread the love and Pin….







Your floor looks great! I am definitely going to try this! Thanks for sharing!
I hope it works as well for you as it did for me. Good luck,friend!
Oh wow this is great! Our clients are always asking for tips on how to maintain their tile floors after we service them, don’t mind if I share this:)