How to Build a Trash Can Cabinet with Pull Out Drawer
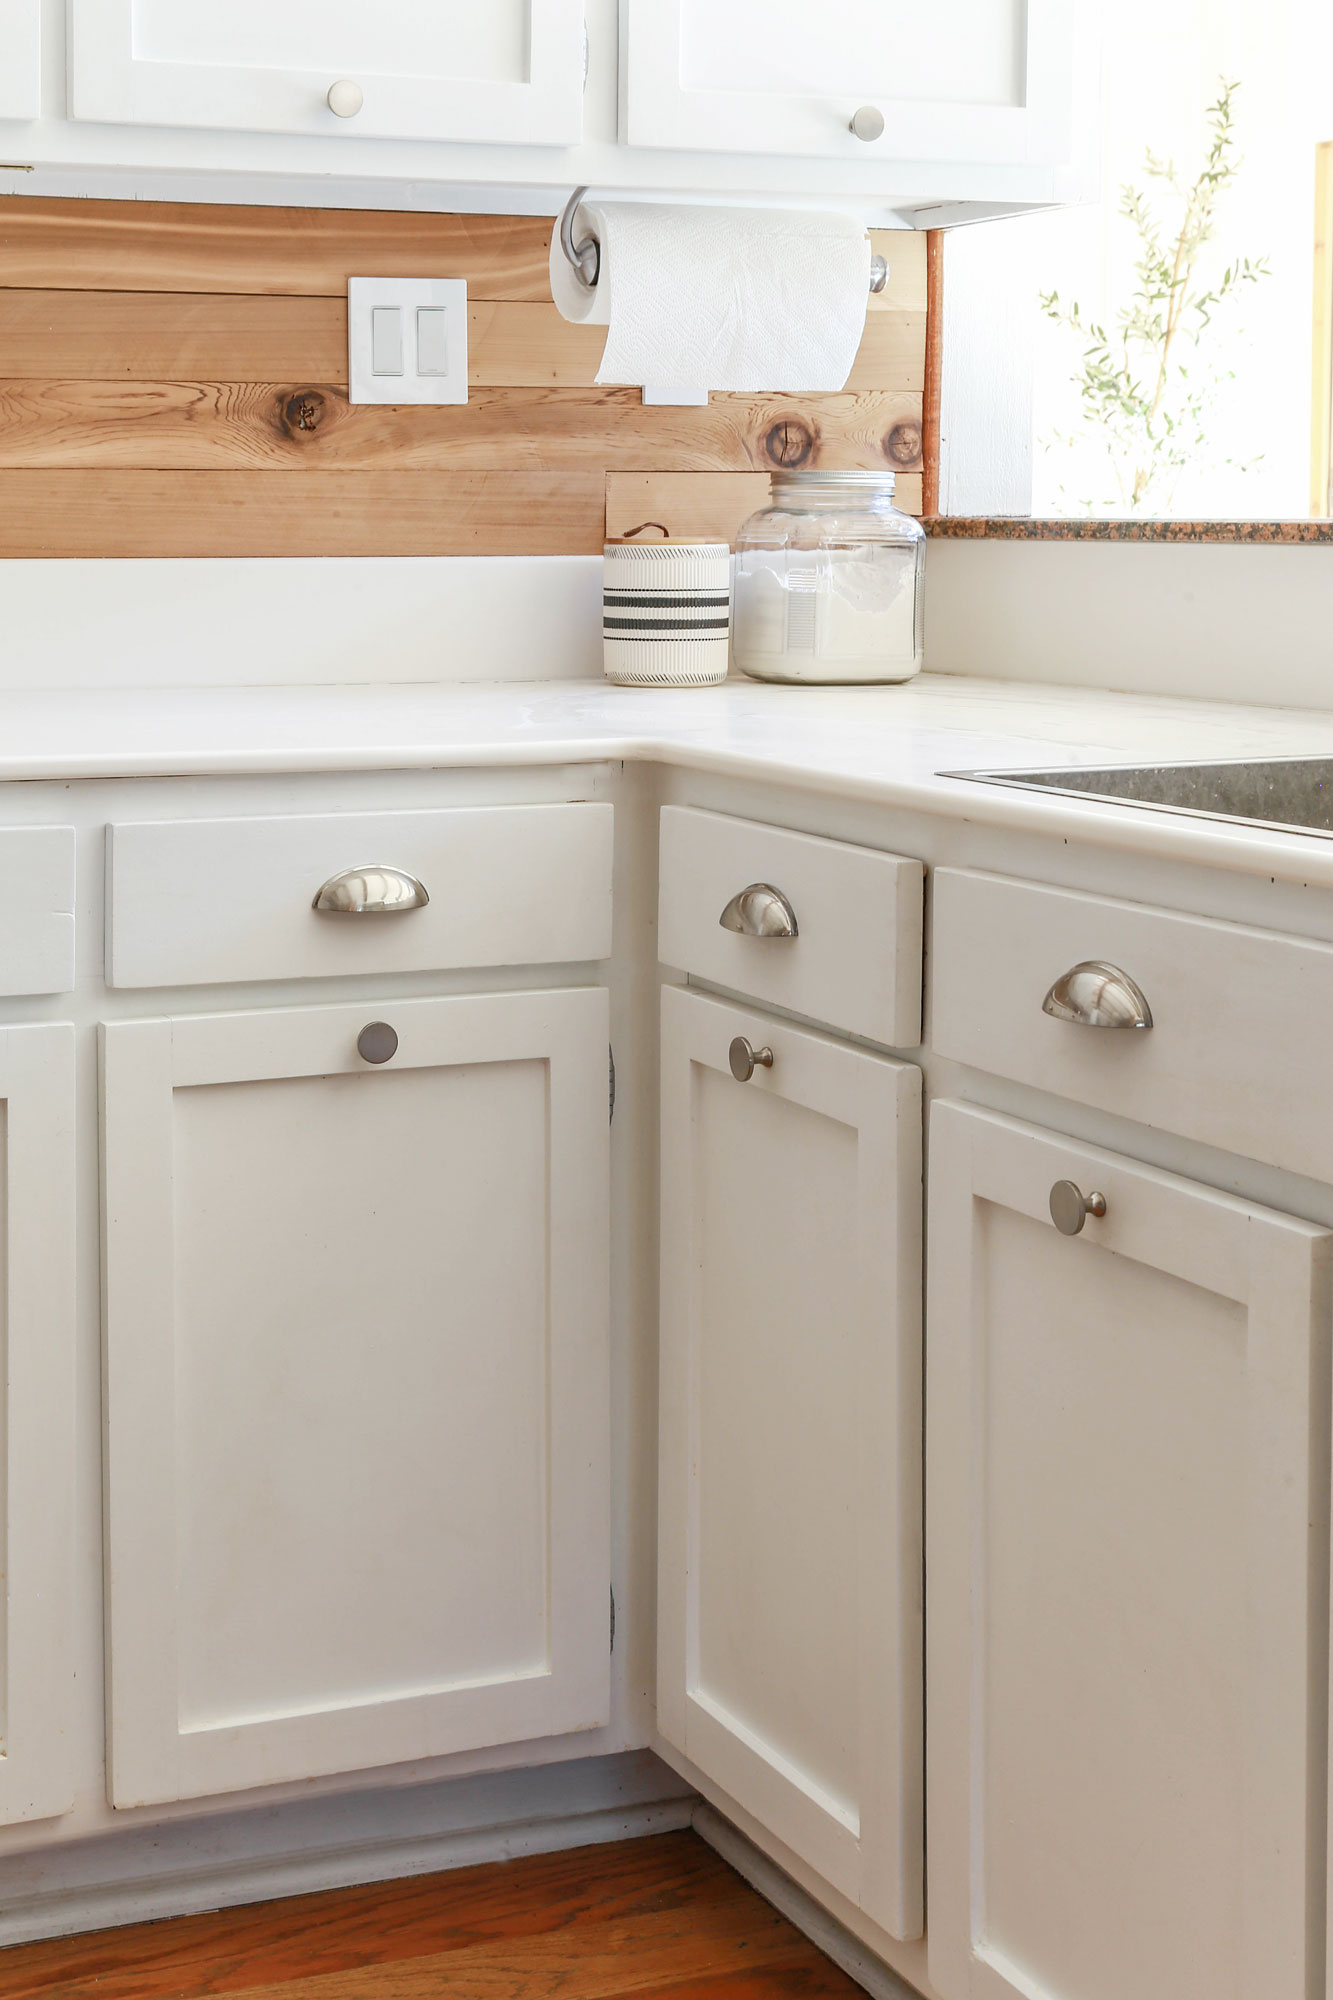
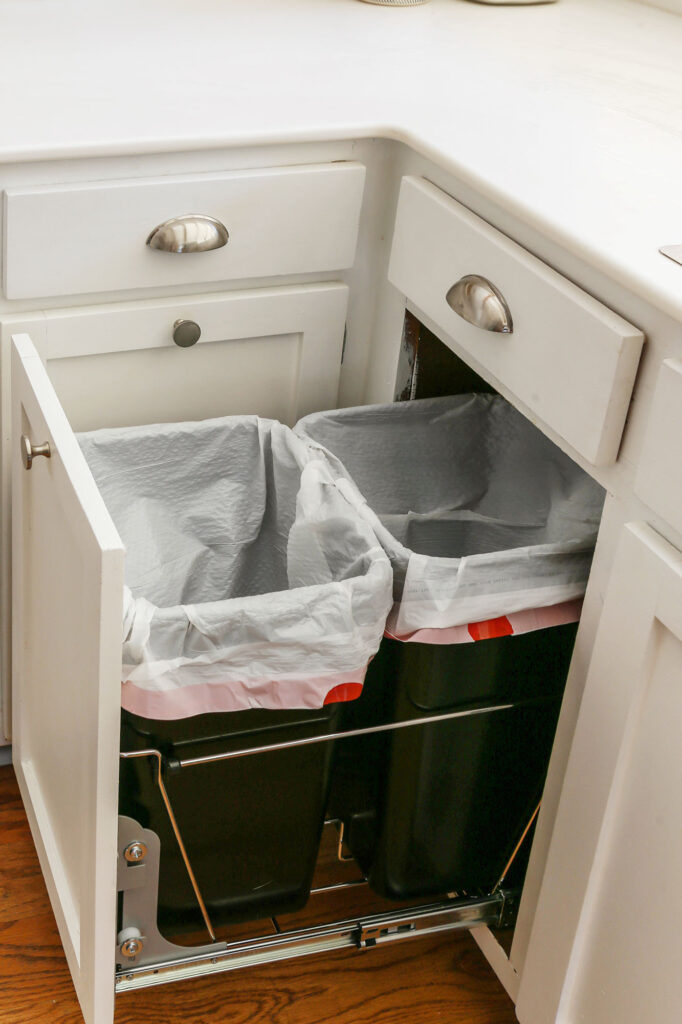
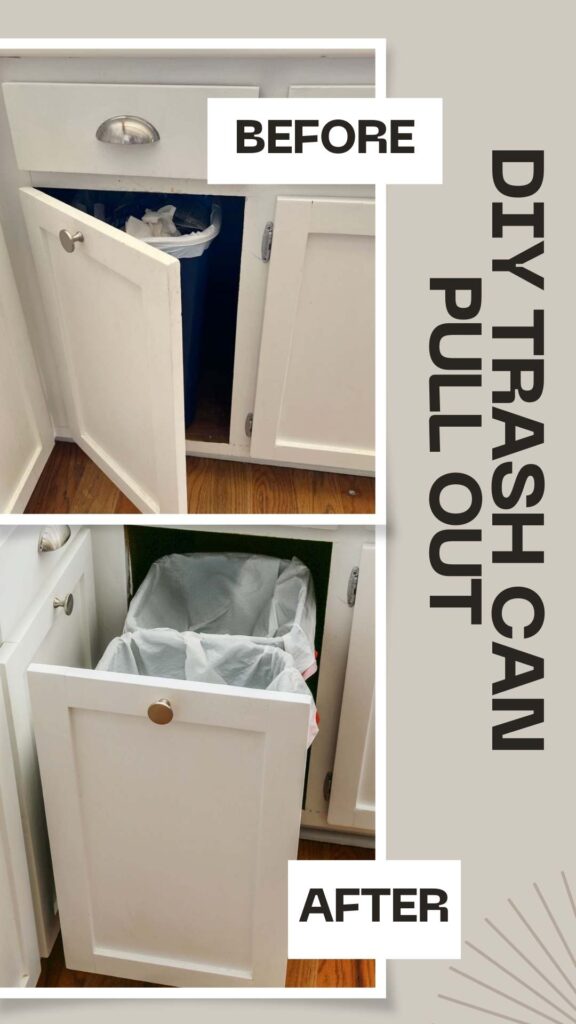
In today’s DIY tutorial, I am sharing the easiest way to convert a standard kitchen cabinet into a trash can storage receptacle with a pull out drawer.
There are two types of people in this world…
1). those who prefer to have their trash cans out in the open for all guests to see (that way no one has to ask where to dispose of empty beer cans-allowing for less frat house vibes the next morning) and…
2). those who want their garbage tucked far away in a dedicated hiding space.
While I can definitely see both sides of the argument, ya’ll know eyesores (not to mention, odors) drive me absolutely-freakin- insane!
So when we settled into our new home, I was pretty bummed to discover that there was no built-in trash can storage anywhere in our kitchen- which came complete with the original, 1970’s cabinetry.
And while there wasn’t an ideal place to store a waste or recycling bin, I sure as hell wasn’t going to just leave it out in the open. So…I shoved that sucker in a random cabinet under the sink and tried my best to make it work…
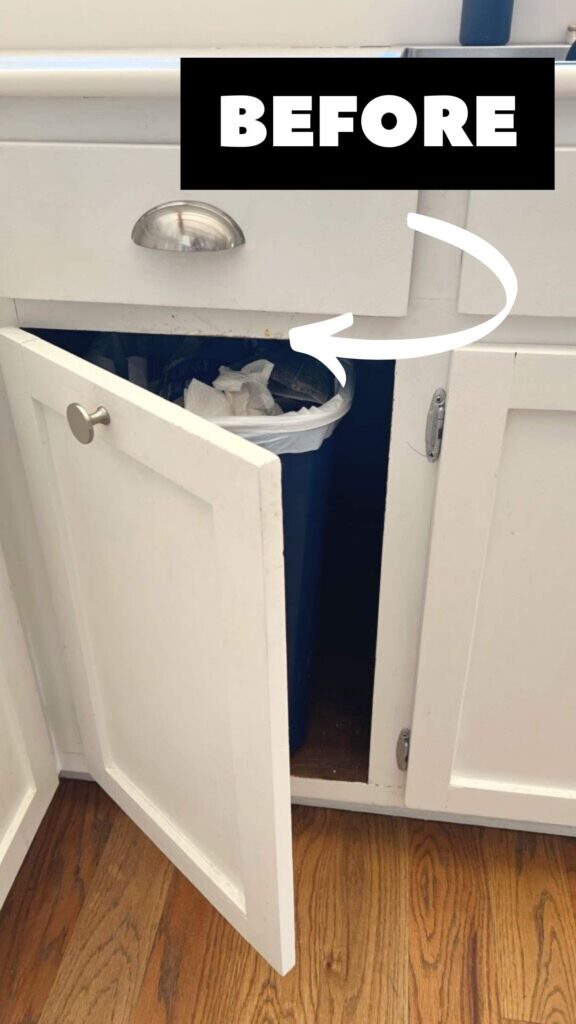
Unfortunately, I quickly discovered what a pain in the a$$ it was to have to manually pull the trash can out of its cubby (and set it out on the floor) each time I needed to dispose of plate scraps.
Not only did this feel super inefficient to me, I wanted our kitchen to have more of a custom, elevated experience.
So… I did what any good wife would do, and barked orders at my husband.
Asking him to come up with a budget-friendly, DIY solution, as usual, he freakin’ nailed it…
For your shopping convenience, this post contains affiliate links. As a Reward Style and Amazon affiliate, I earn commission on sales at no extra cost to you.
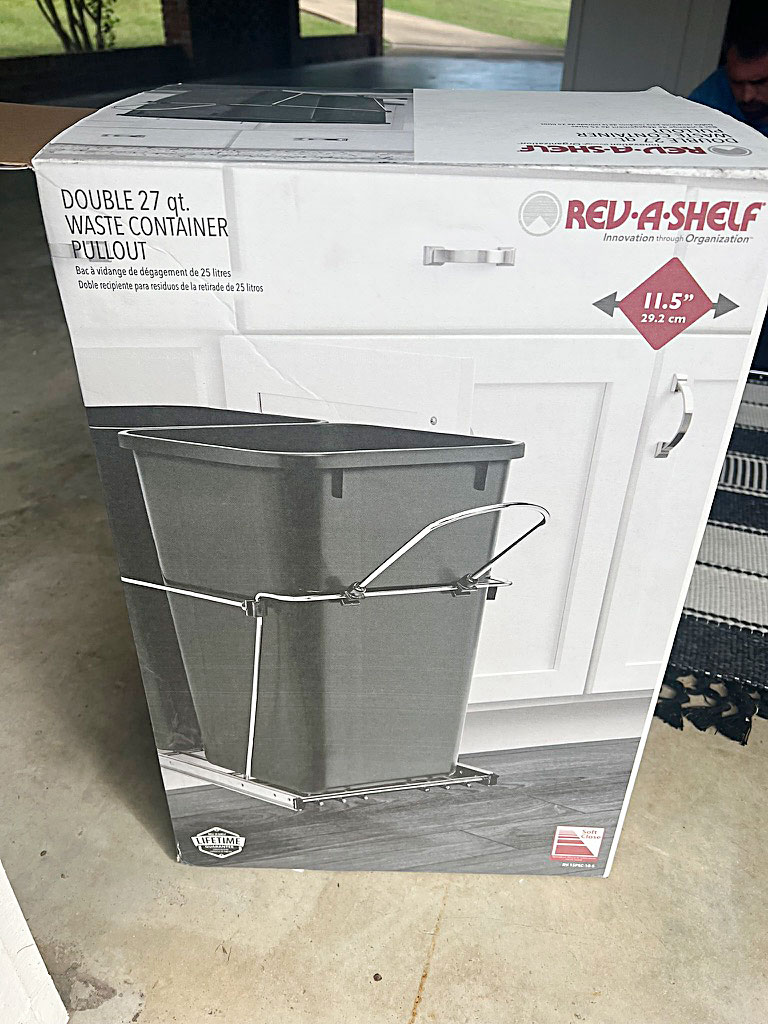
Instead of building a trash can cabinet entirely from scratch, he researched easier options and came across this trash can pull out drawer kit.
Let me show you how we built a trash can pull out cabinet in less than an hour…
The Easiest Way to Build a Custom Trash Can Storage Cabinet:
Materials Needed:
- waste container pull out kit (we used this one)
- (optional) cabinet door mount kit (we used this exact one)
- drill
- pliers
- clamps
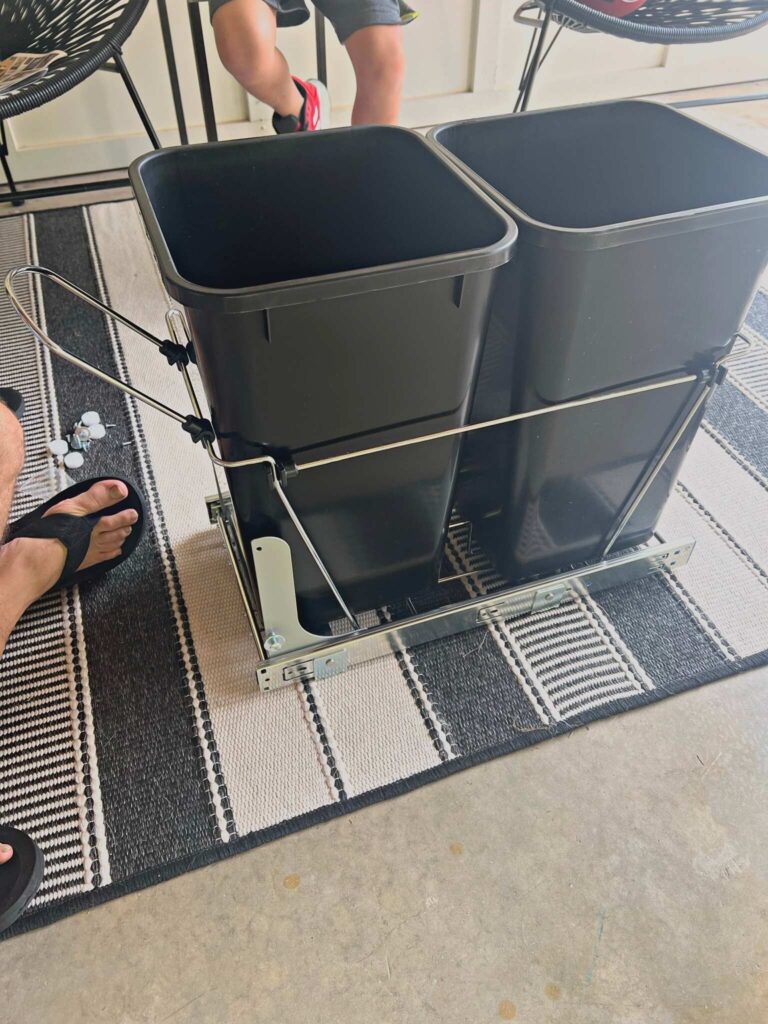
(Step 1). Before ordering the pull out kit, you need to measure your cabinet and make sure the dimensions will work with the dimensions of the kit. While there is also a one can option, we went with a double can option for recycling.
(Step 2). Assemble product according to instructions (level: easy).
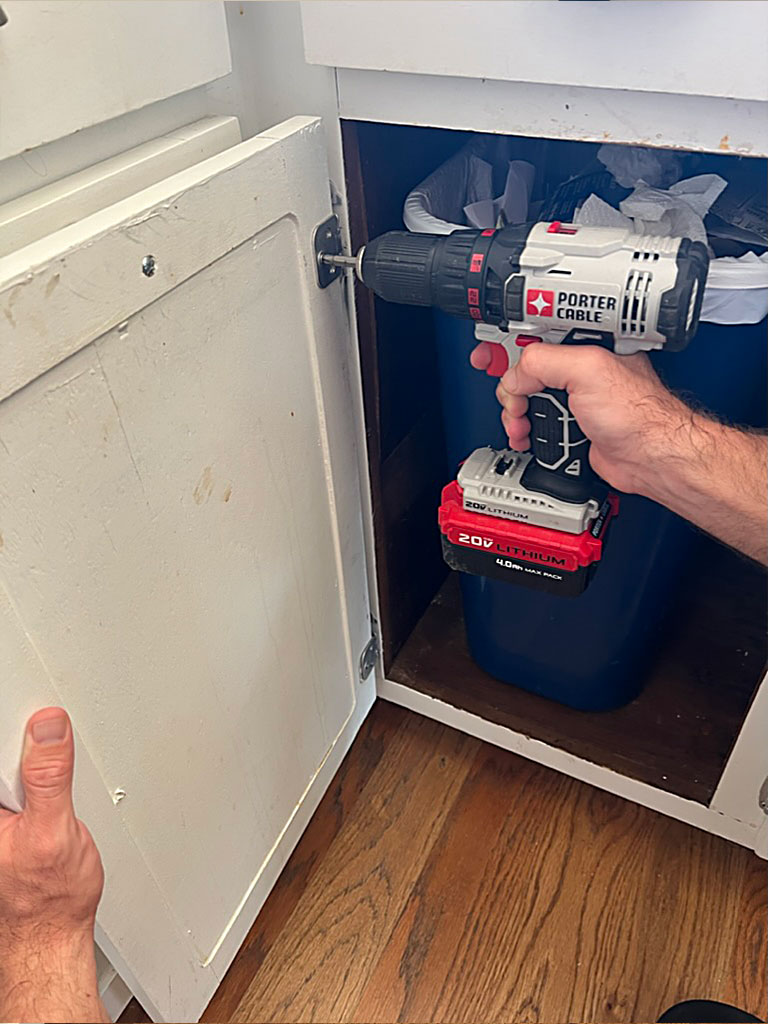
(Step 3). (Optional) If you want a custom- built trash “pull out” effect where the cabinet door functions instead like a drawer, unscrew and remove cabinet door from the original hinges and from the cabinet face. Note: You will need to purchase this door mount kit as well.
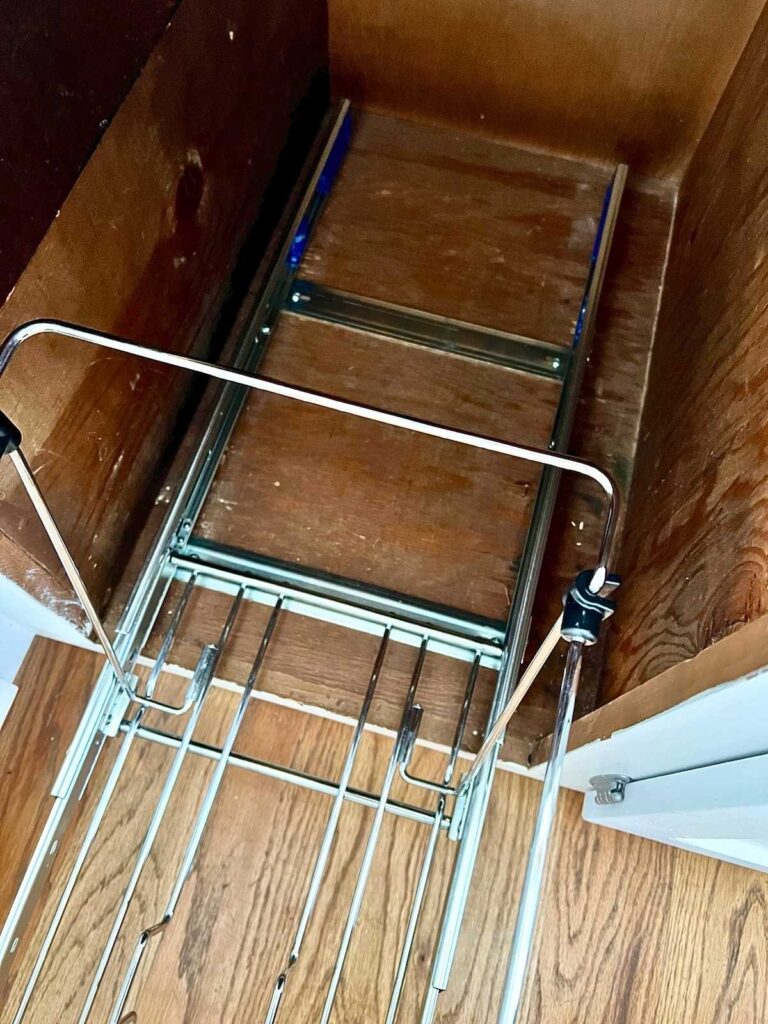
(Step 4). Secure the assembled product to the base of the cabinet using the four wood screws provided. (Sorry for the crappy photo above, but lighting was not ideal). Make sure the pullout is in the closed position and flush with the cabinet opening. If the pullout is too far in, the easy close feature will not engage. If too far out, the cabinet door wont close against the opening.
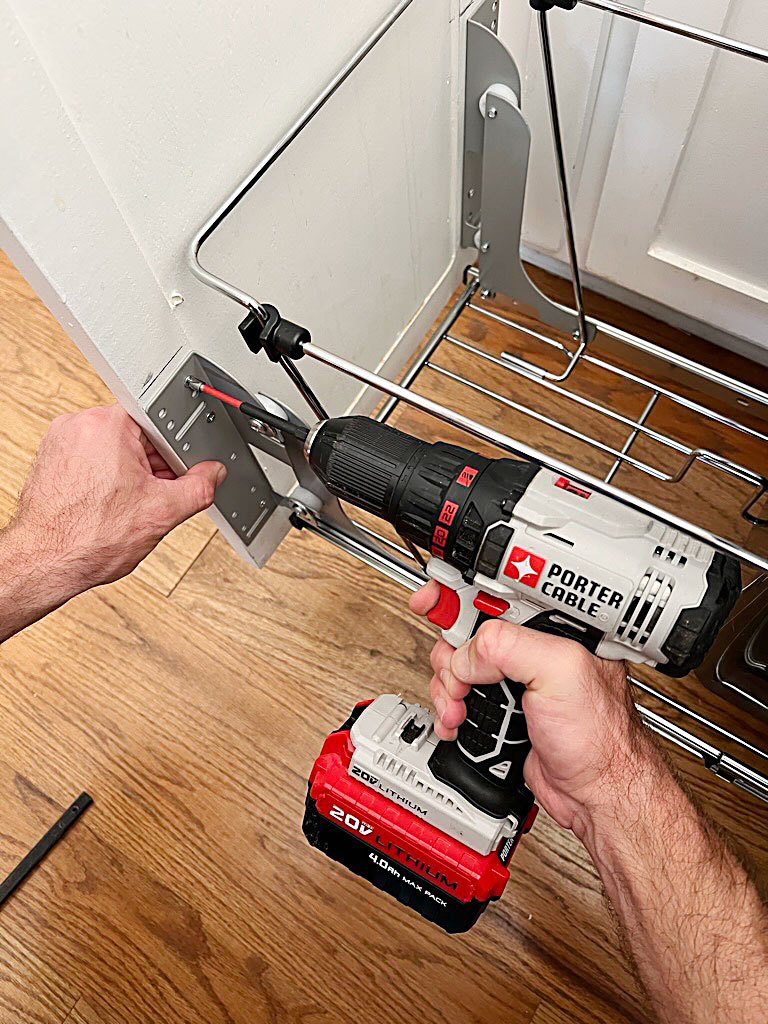
(Step 5). If you want the cabinet to function like a pull out like we did, install the optional cabinet door bracket kit (sold separately) to the pullout according to the instructions.
(Step 6). Position the cabinet door so it’s height matches adjacent cabinet door height and center to cabinet opening.
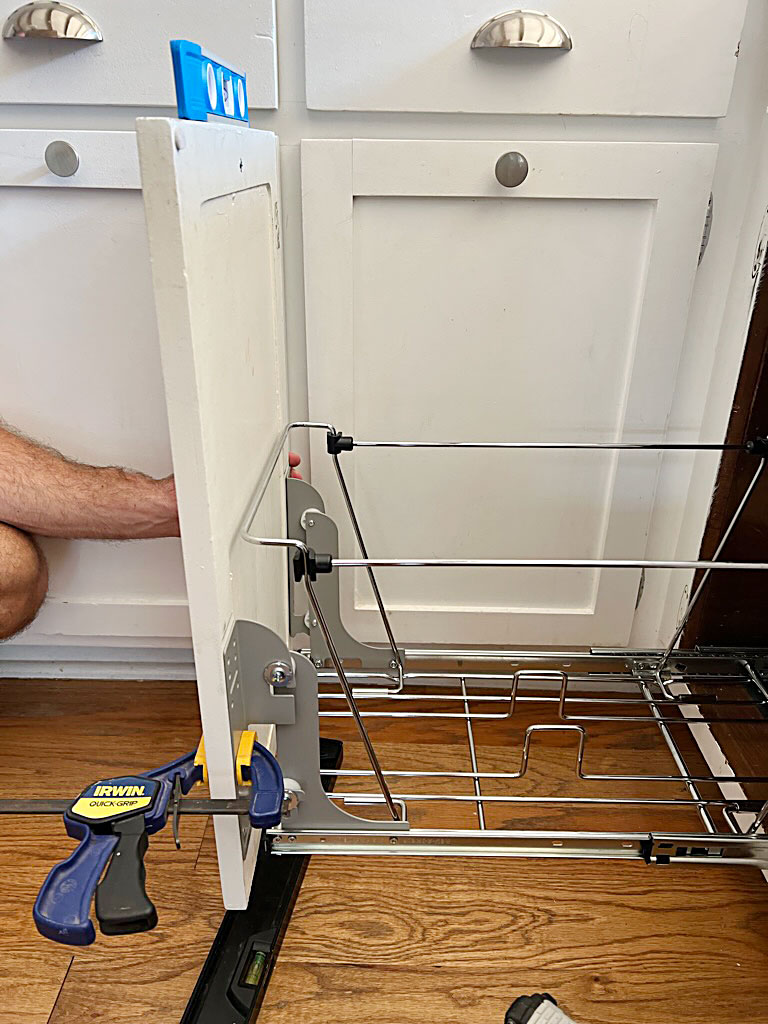
(Step 7). Use clamps to hold cabinet door to brackets while you use provided screws to secure cabinet door to brackets.
And there you have it!
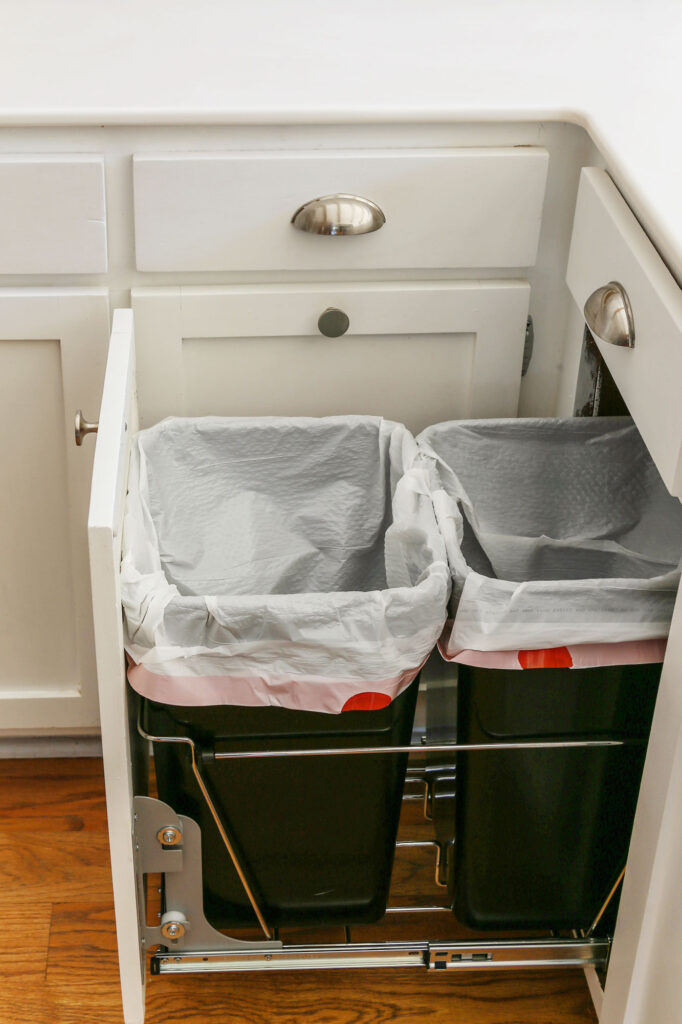
For less than an hour of time and a fraction of the cost of custom cabinetry, we were able to convert a basic, kitchen cabinet to a dedicated trash can pull out drawer.
I know this may seem like such a minute detail to many, but I can’t tell you how much more upgraded and convenient my kitchen feels now.
What can I say? Every trash can deserves a proper home!
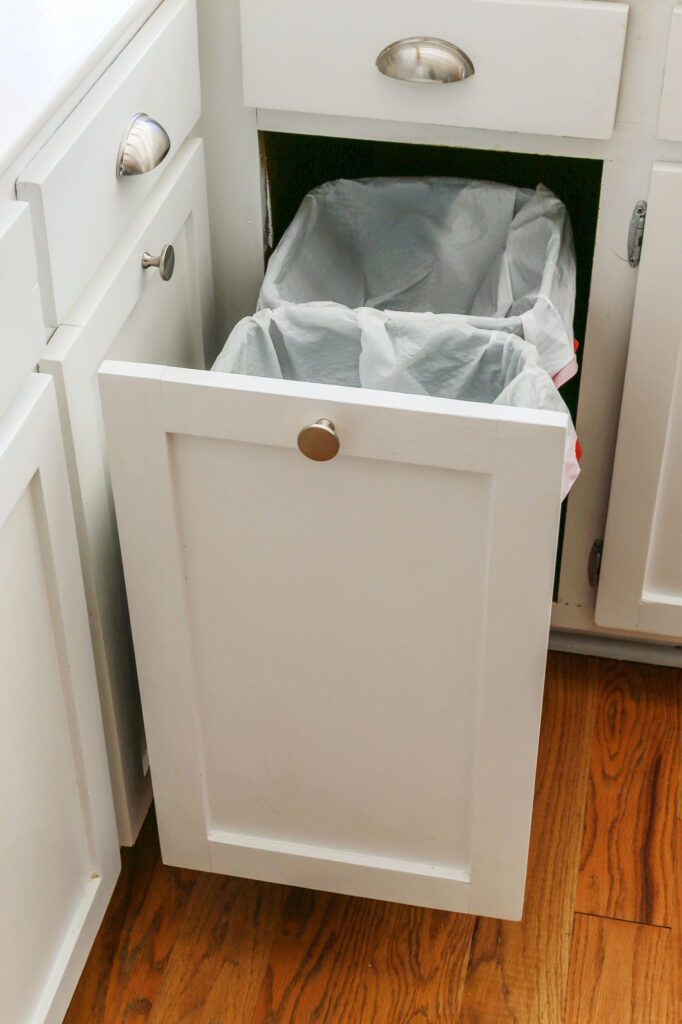
Thank you so much for stopping by this week! It would make such a big difference to this blog of mine if you could share this post with a friend or if you could pin it to Pinterest. Thank you for supporting a small business!

If you would like more cabinetry related tutorials, you may want to see my DIY Kitchen Cabinets for Under $200 post.
Now get out there and design some good vibes along with a fabulous life!






Oh no Erica, this is not a small thing to those of us who like things tucked away. This is a thing of beauty, something that will be used daily. In my opinion, it’s the small things that make me smile- and it’s nice to know someone else barks at their husband 🤣
Well I am glad to know we are on the same page, Donna. haha! 🙂 Have a great rest of your week.
@Designing Vibes, Genius! Thank you for sharing your experience and expertise! Can you please link the cabinet door kit? To transform door from swinging open to a pull out?
Hi Kim! Here is the affiliate link to the kit that changes the door into a pull-out drawer.. https://rstyle.me/+U_eGkFWXBATW1pC6TAdABg