
DIY Shibori Easter Eggs
I have just taken my shibori obsession to a whole new level, friends. I have managed to incorporate my favorite tie-dying technique onto Easter eggs. Yes, you heard me right….Easter Eggs!!! I am going to show you how to DIY shibori eggs.
You see, my son absolutely loves to dye eggs and as soon as he caught a glimpse of the kits in the store, he begged for Easter eggs. So, I obliged (even though I knew they would be rotten by the time Easter arrived). Just his luck, I had been feeling major mom guilt that day.
For your convenience, I have included some affiliate links. That simply means if you click on one of the links and buy something, I receive a small commission, but don’t worry… you won’t pay a dime more.
Materials:
- hard-boiled eggs
- Easter Egg Dyeing Kit with Magic Crayon (here is what I used)

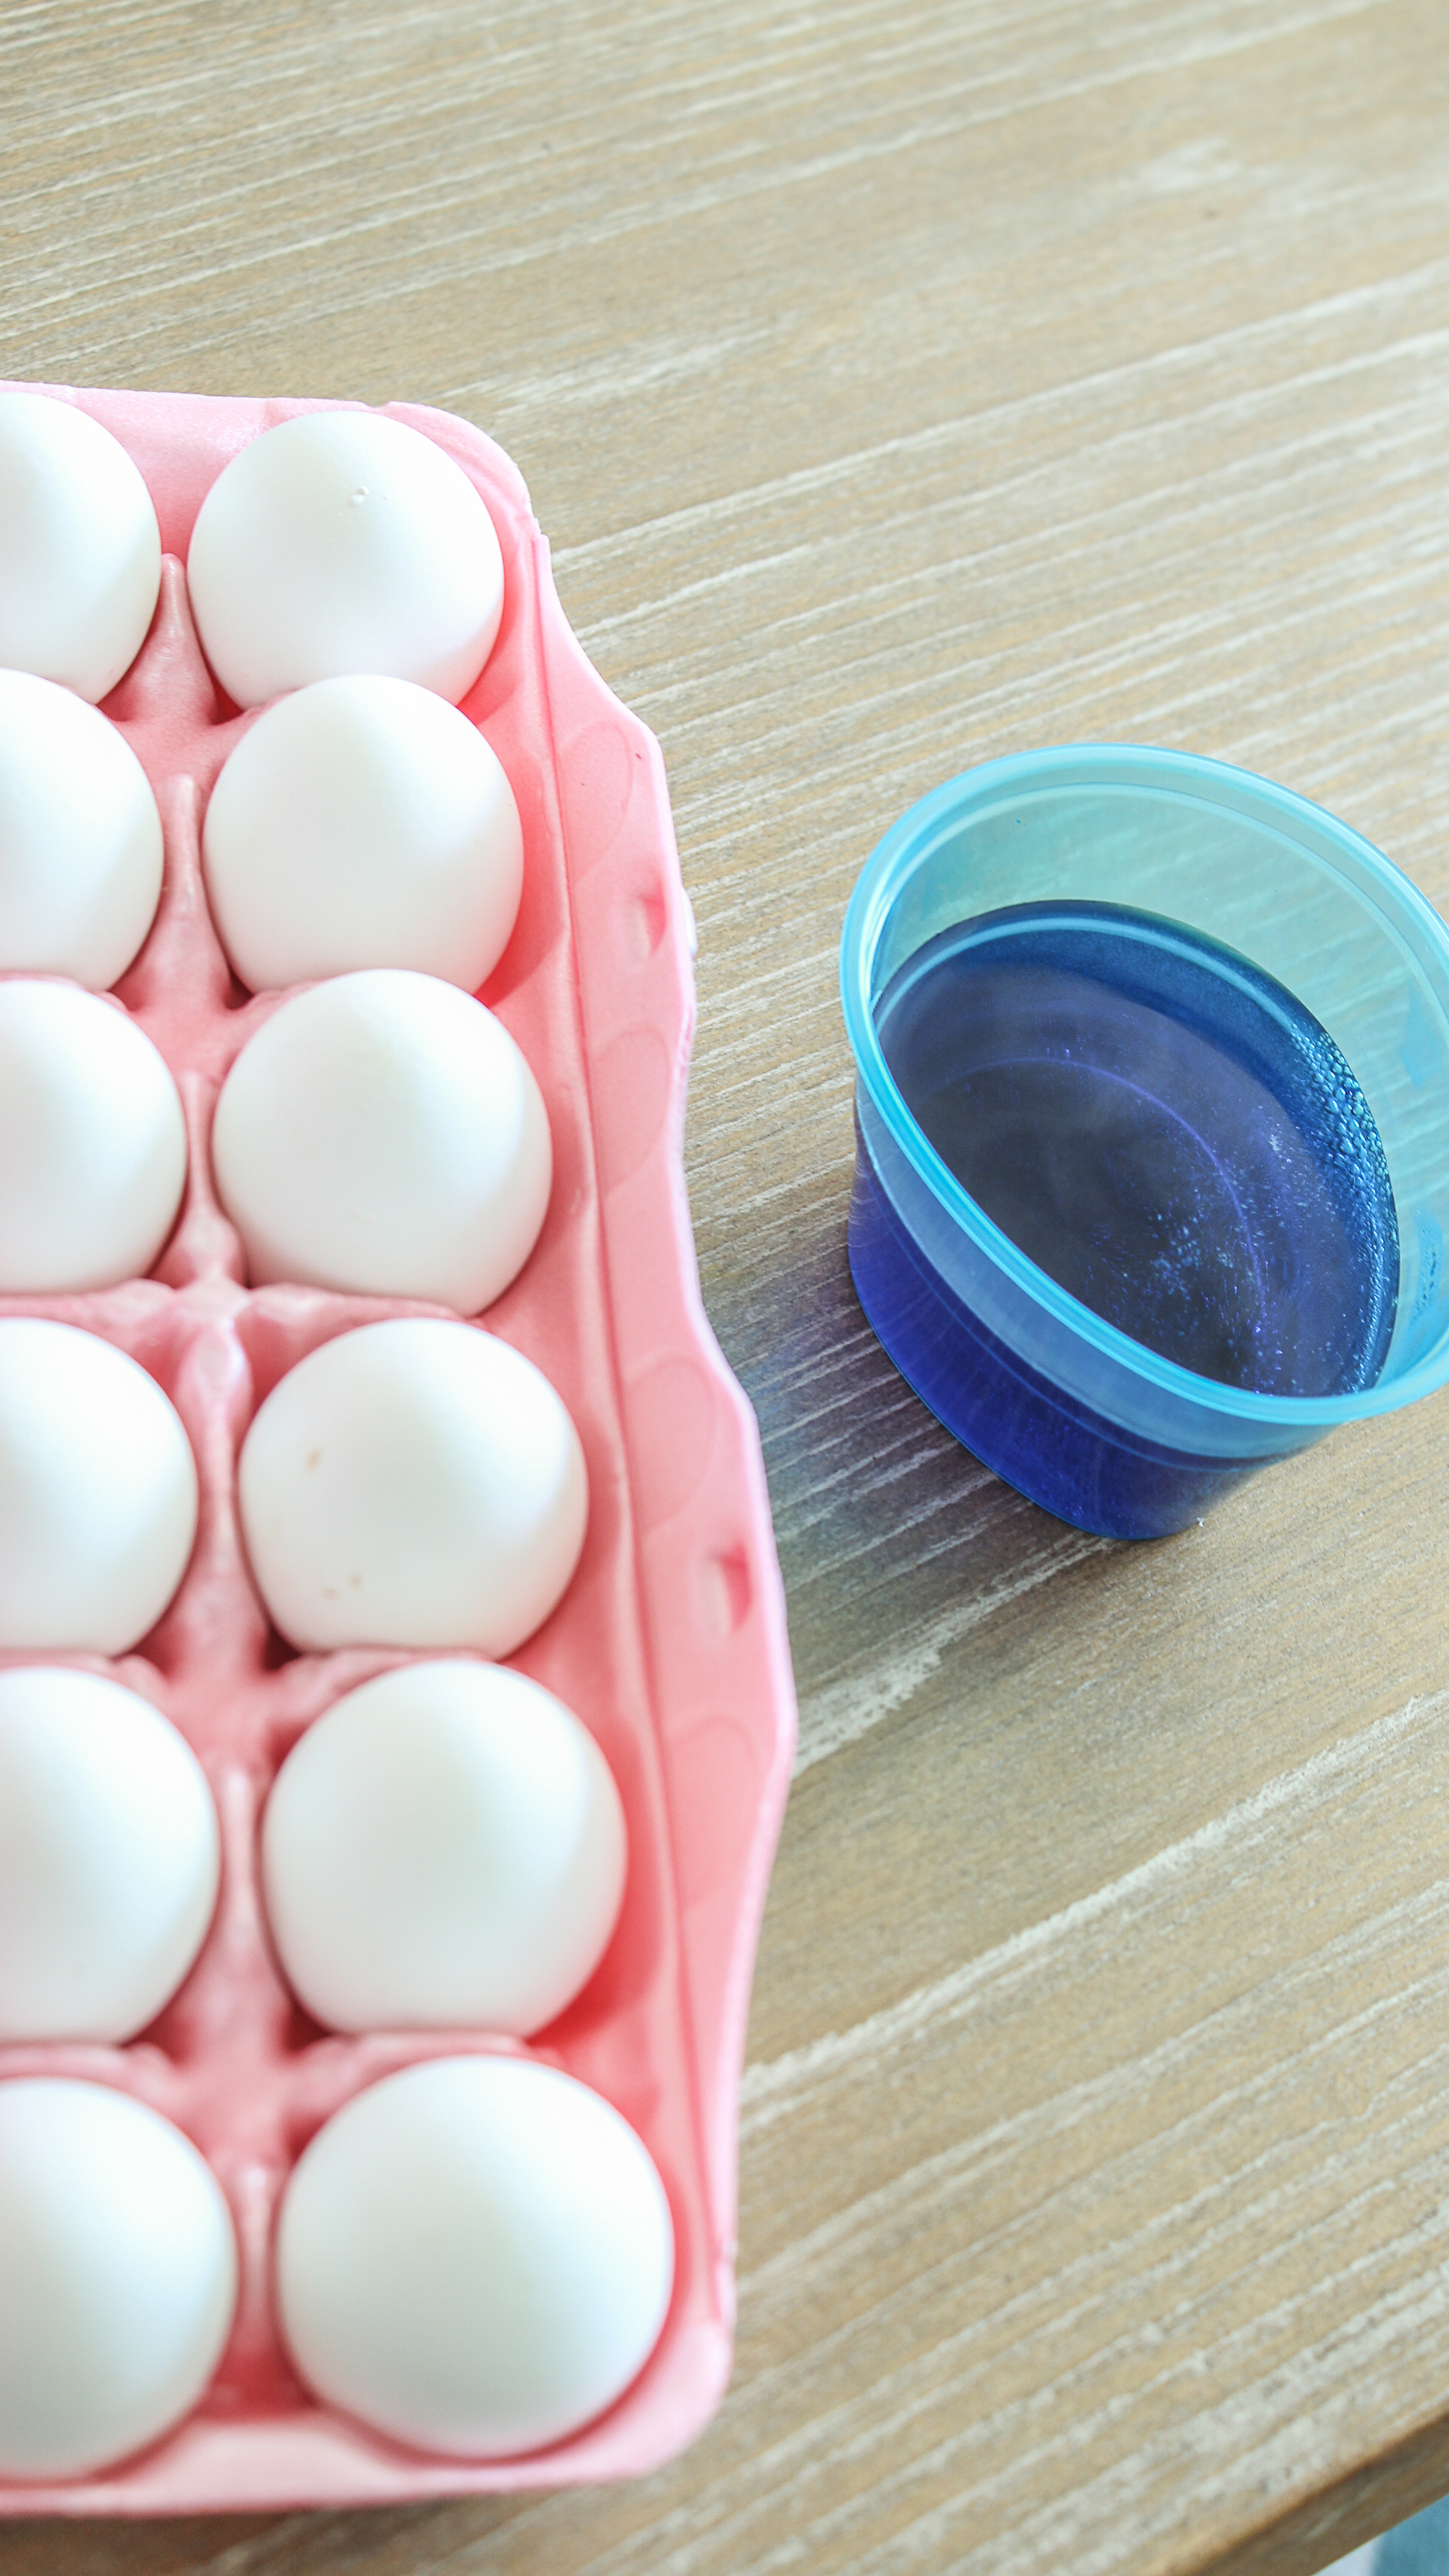
When I noticed the magic crayon that the dye kit came with, a light bulb went on inside this crazy head of mine. I thought I would try to draw shibori inspired patterns on the eggs, and then place them in blue dye.
So, that is exactly what I decided to do. After boiling the eggs and allowing them to cool, I gazed around my home…looking at shibori patterns for inspiration.
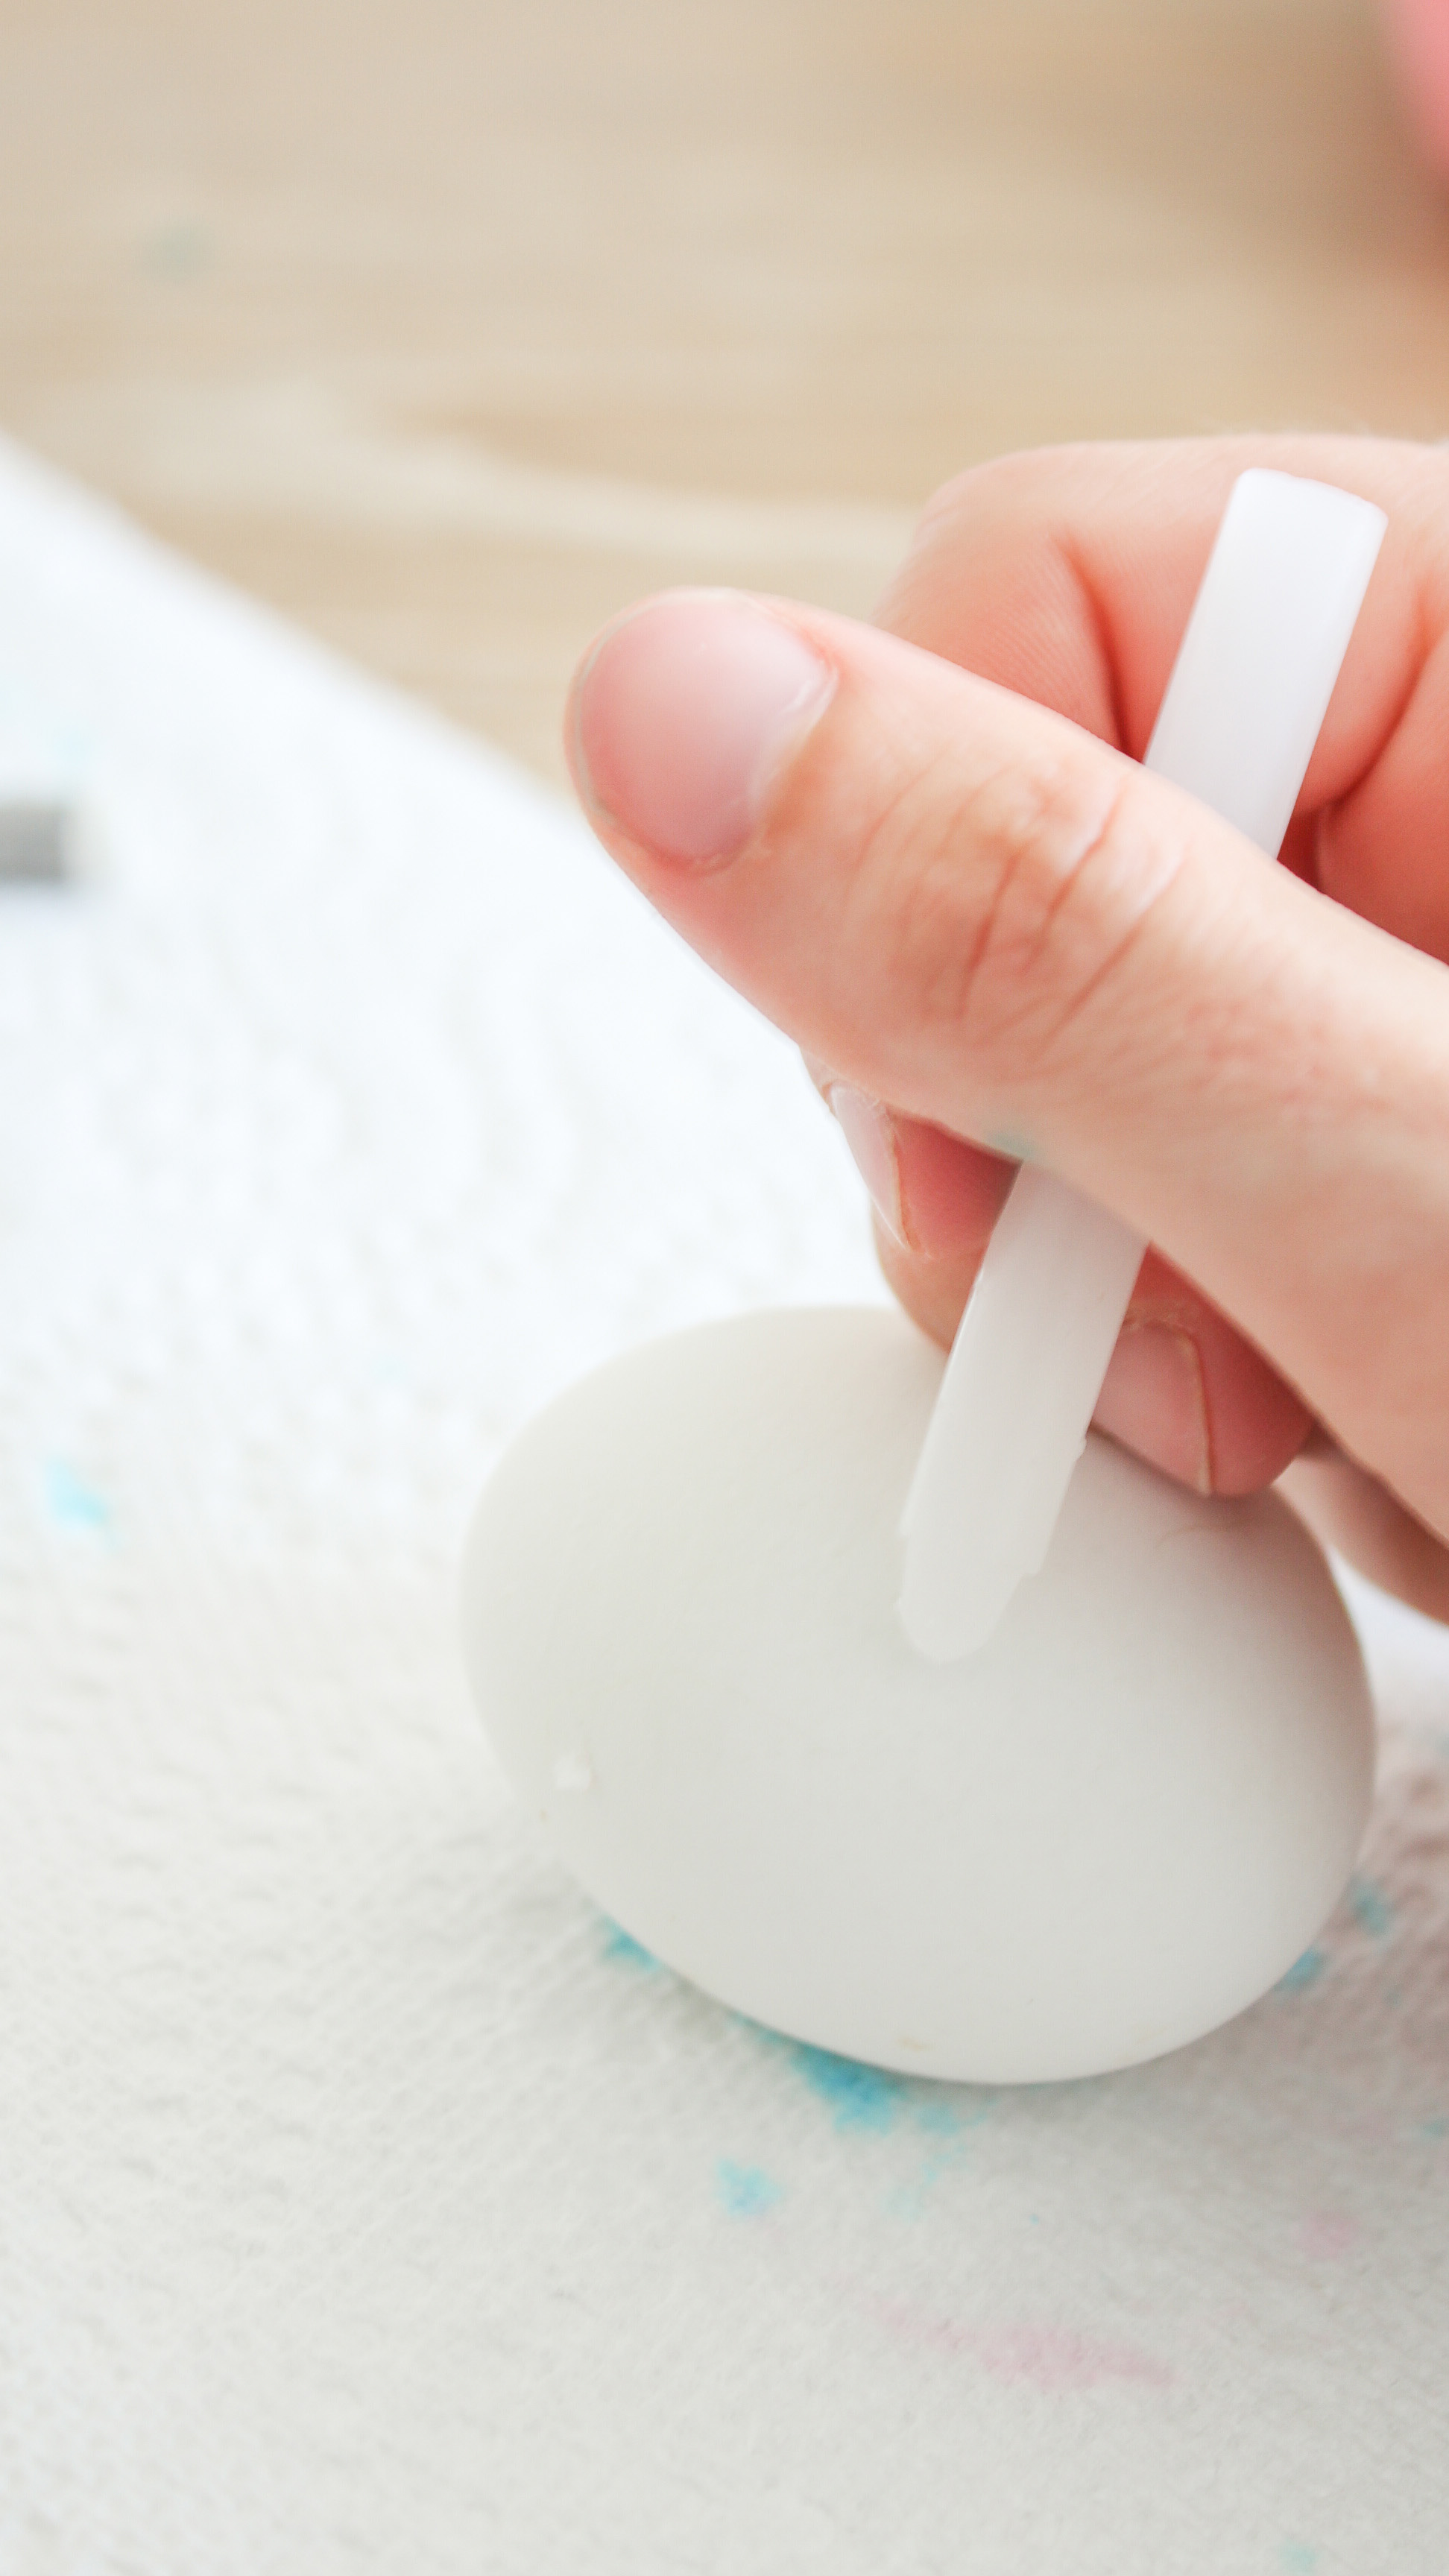
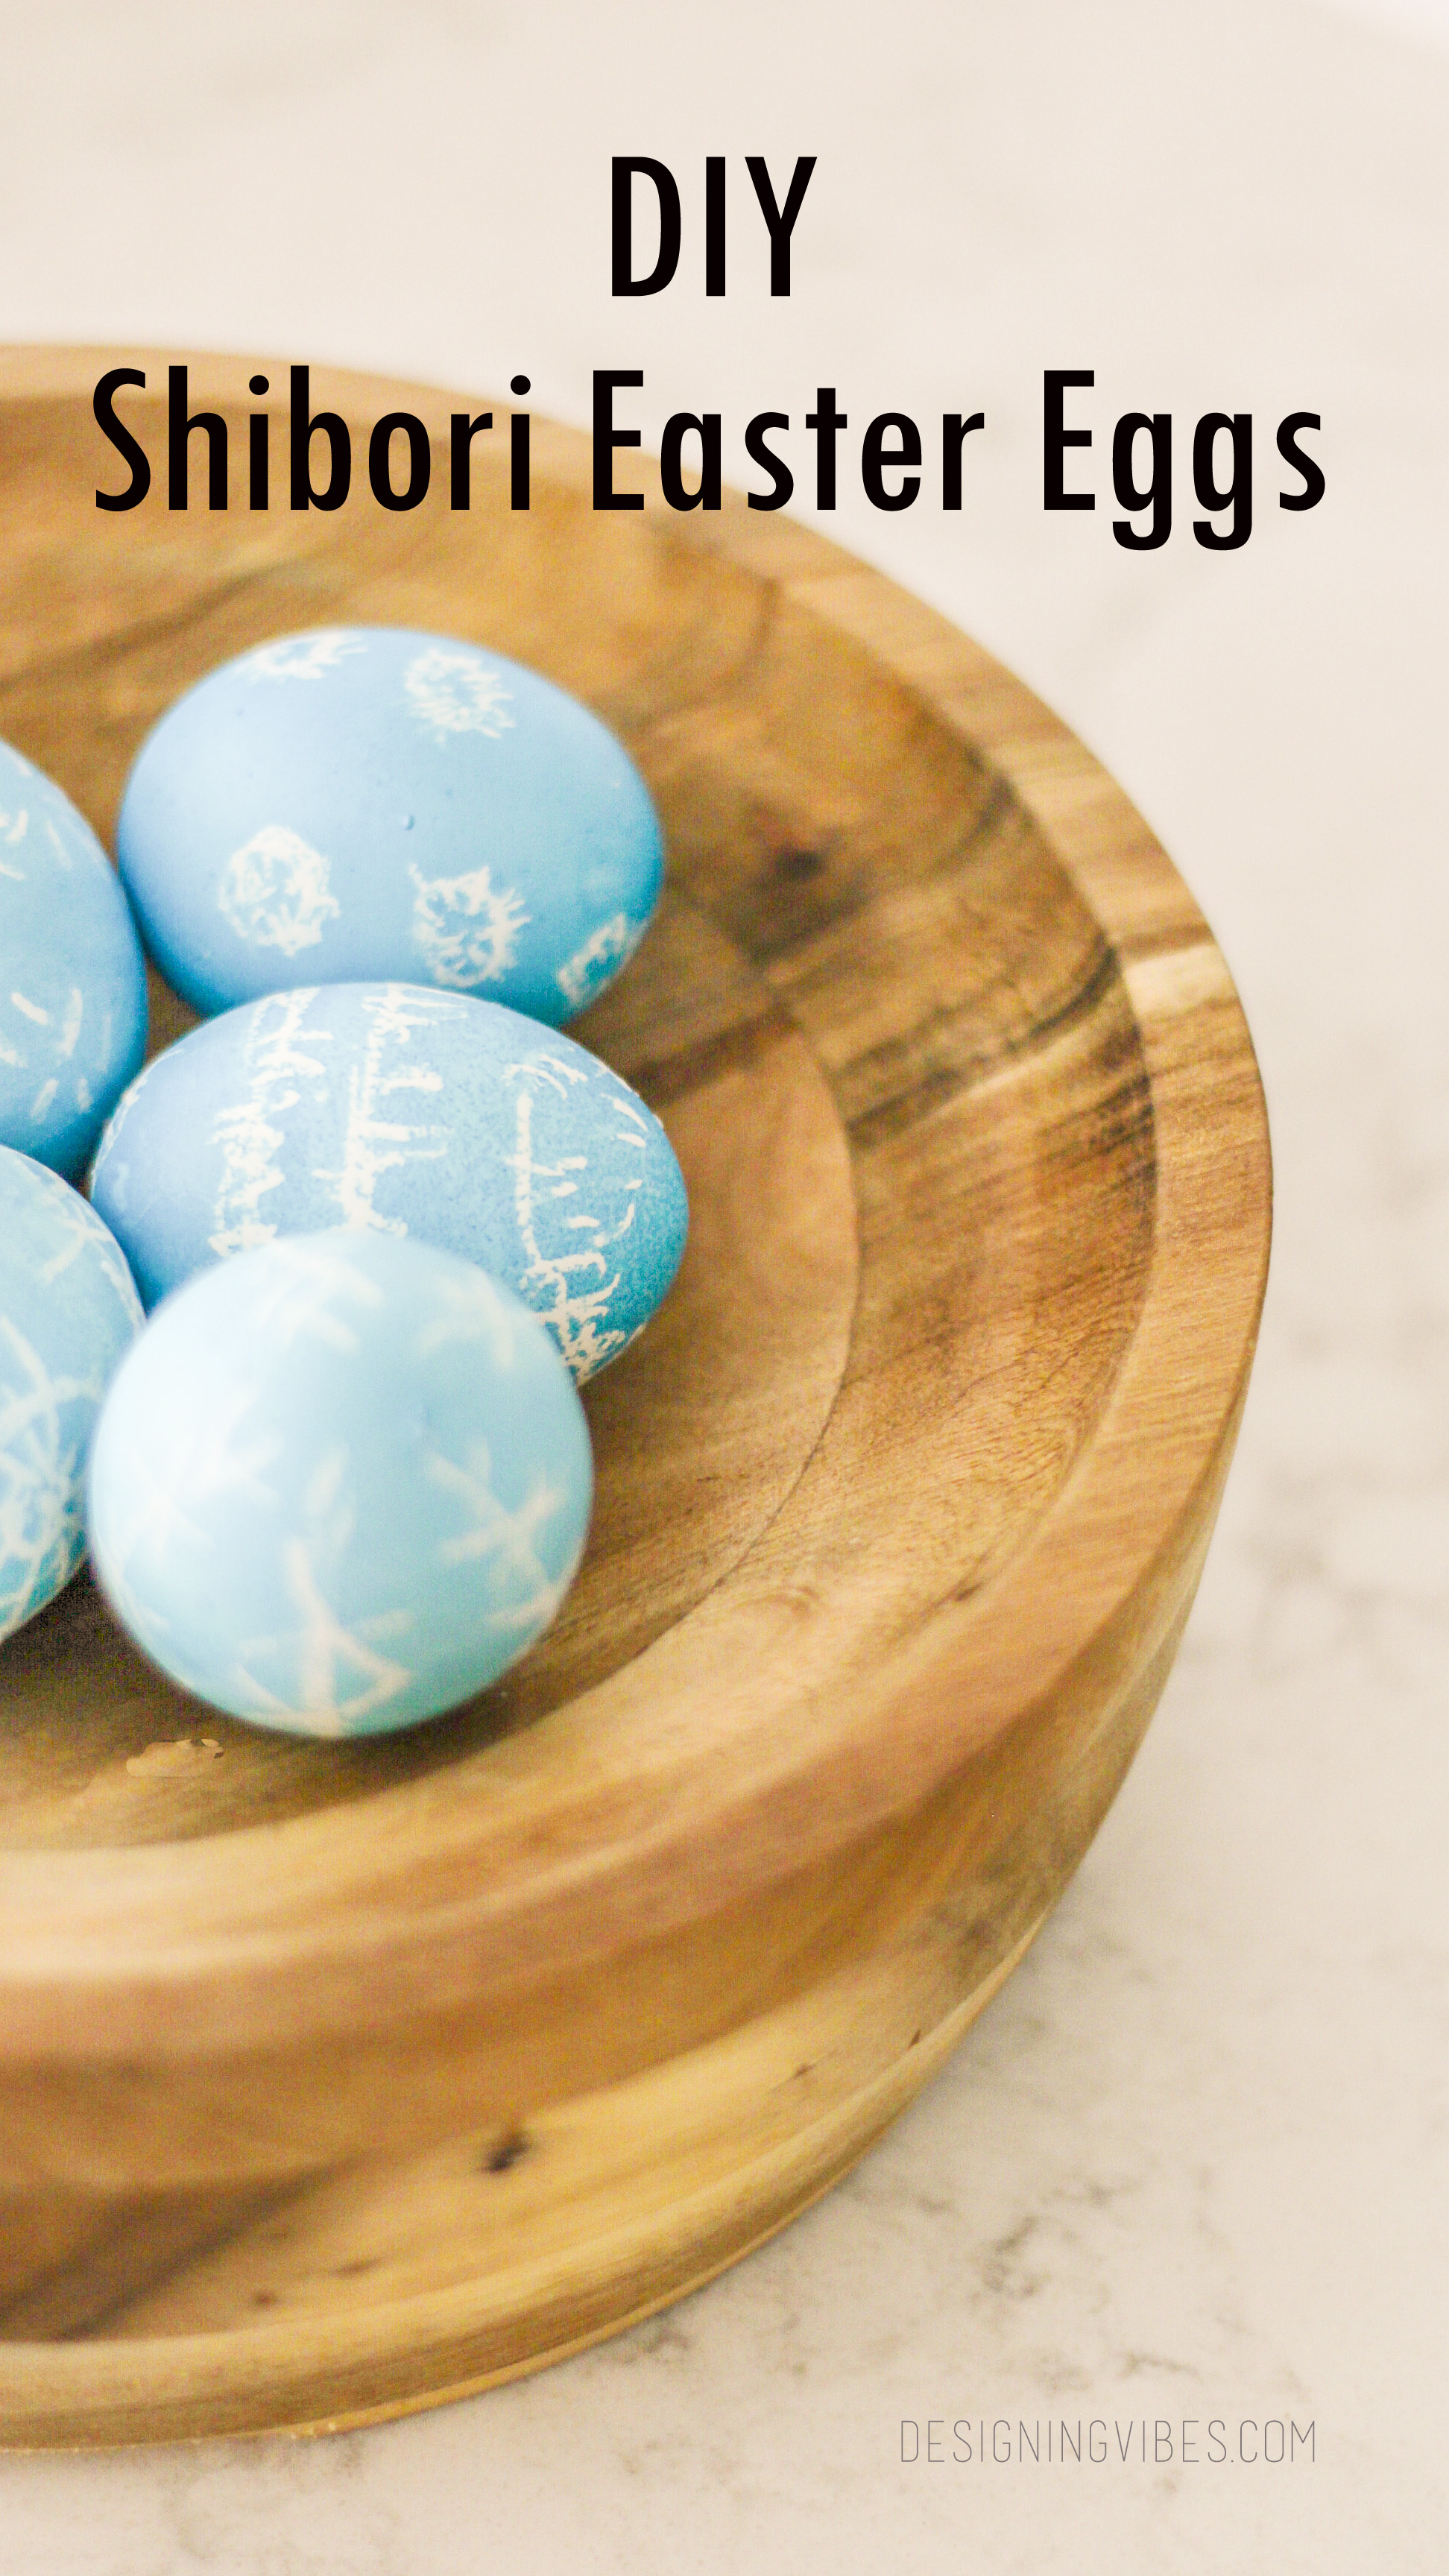
Before placing the eggs in the blue dye, with my magic crayon![]() , I drew shibori-esque patterns on my eggs. Because the crayon is clear, you cannot preview what you are drawing…hence why some of the patterns look half-assed.
, I drew shibori-esque patterns on my eggs. Because the crayon is clear, you cannot preview what you are drawing…hence why some of the patterns look half-assed.
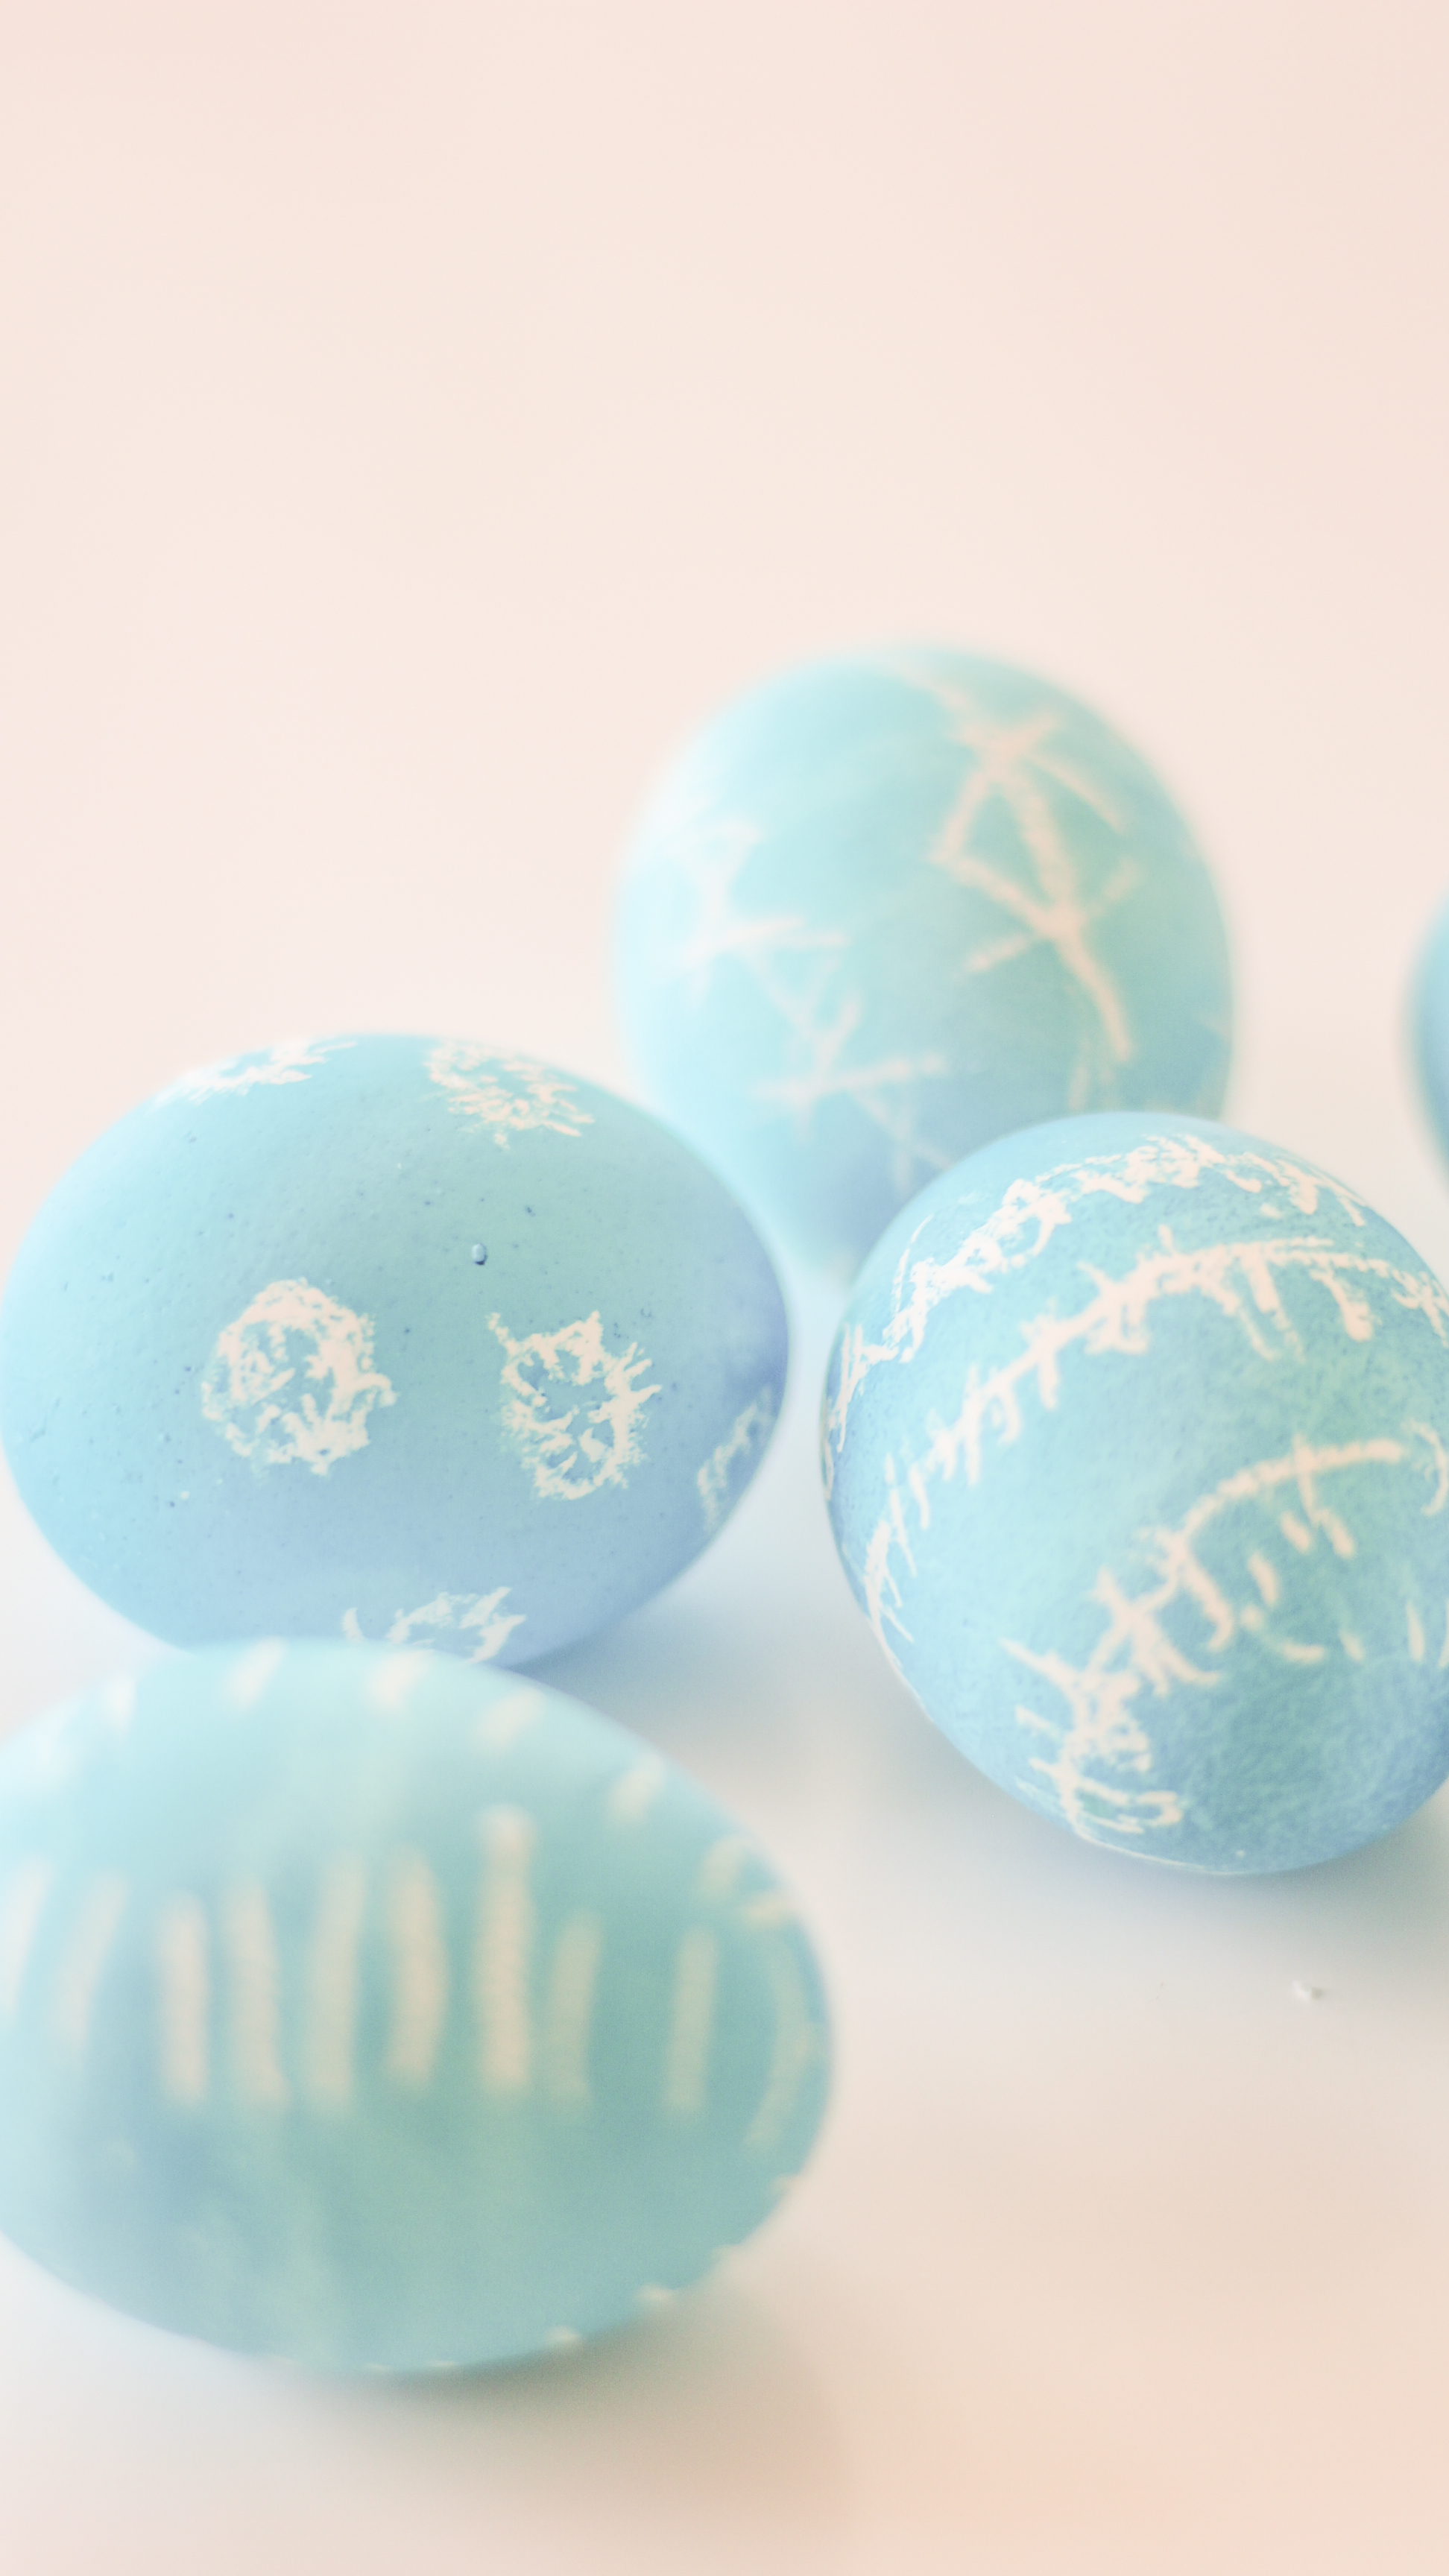
It was kind of like drawing blind-folded.
Once you draw the pattern on your egg, place it in the dye for about 5 to 10 minutes.
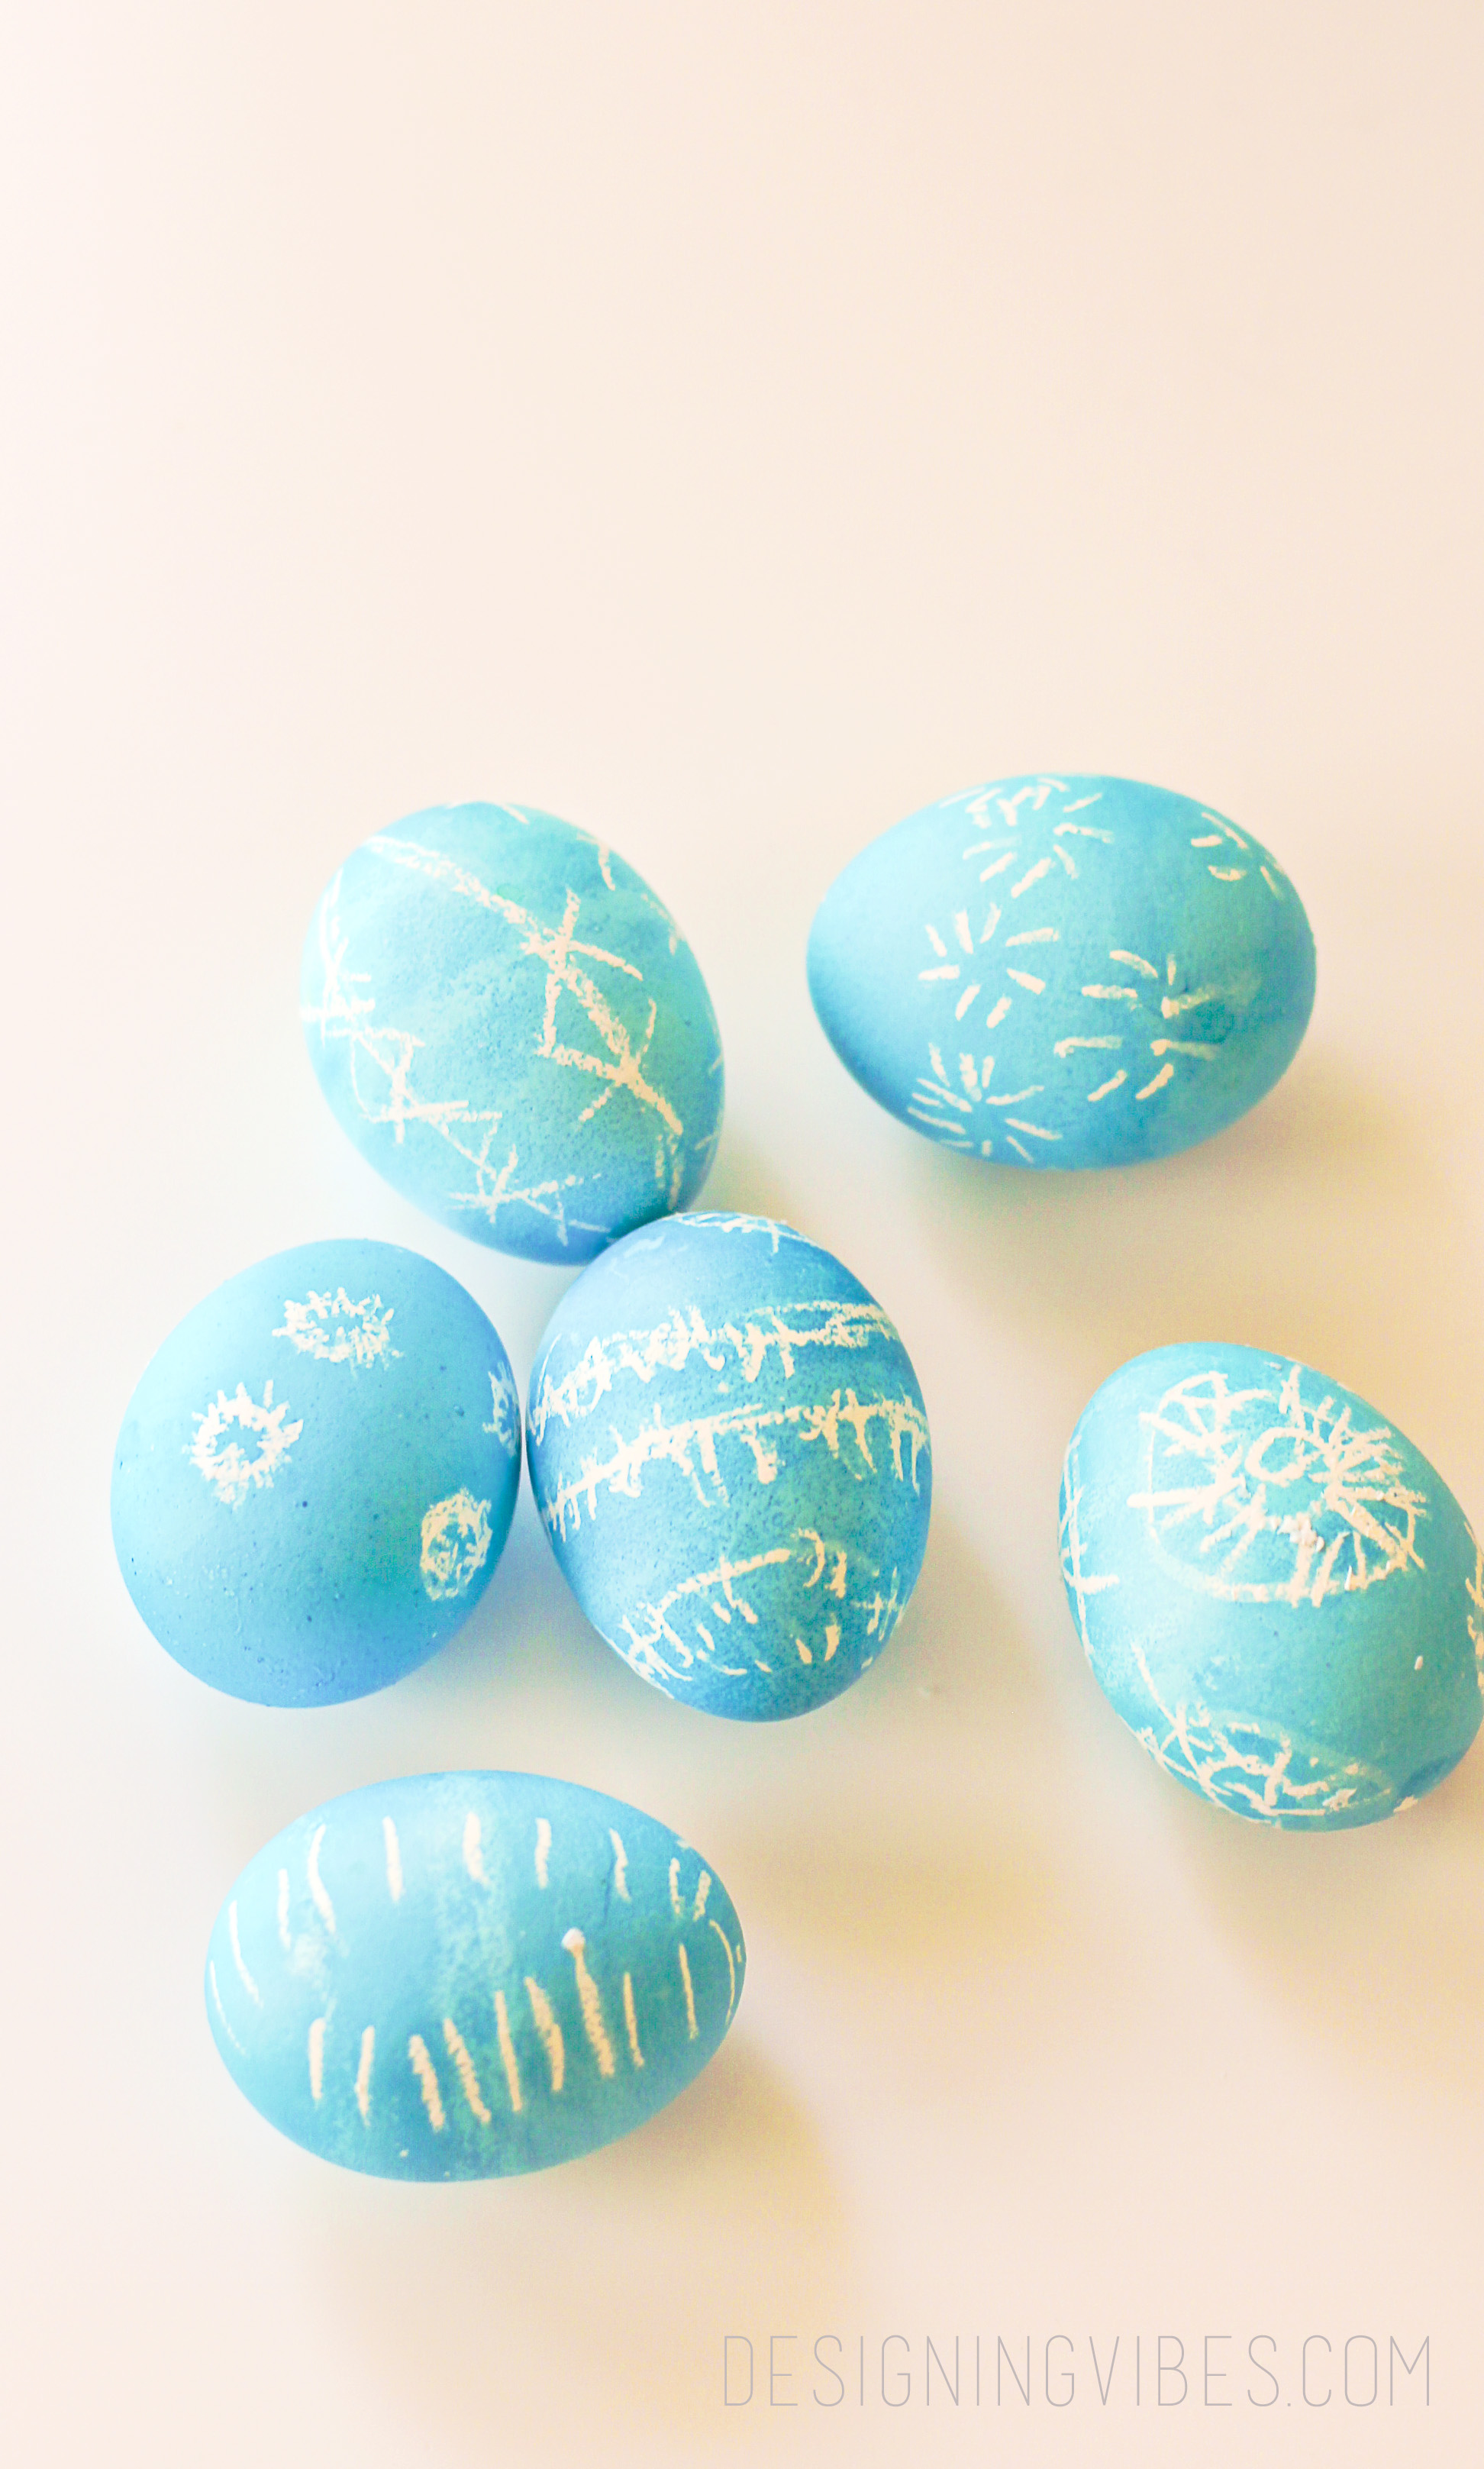
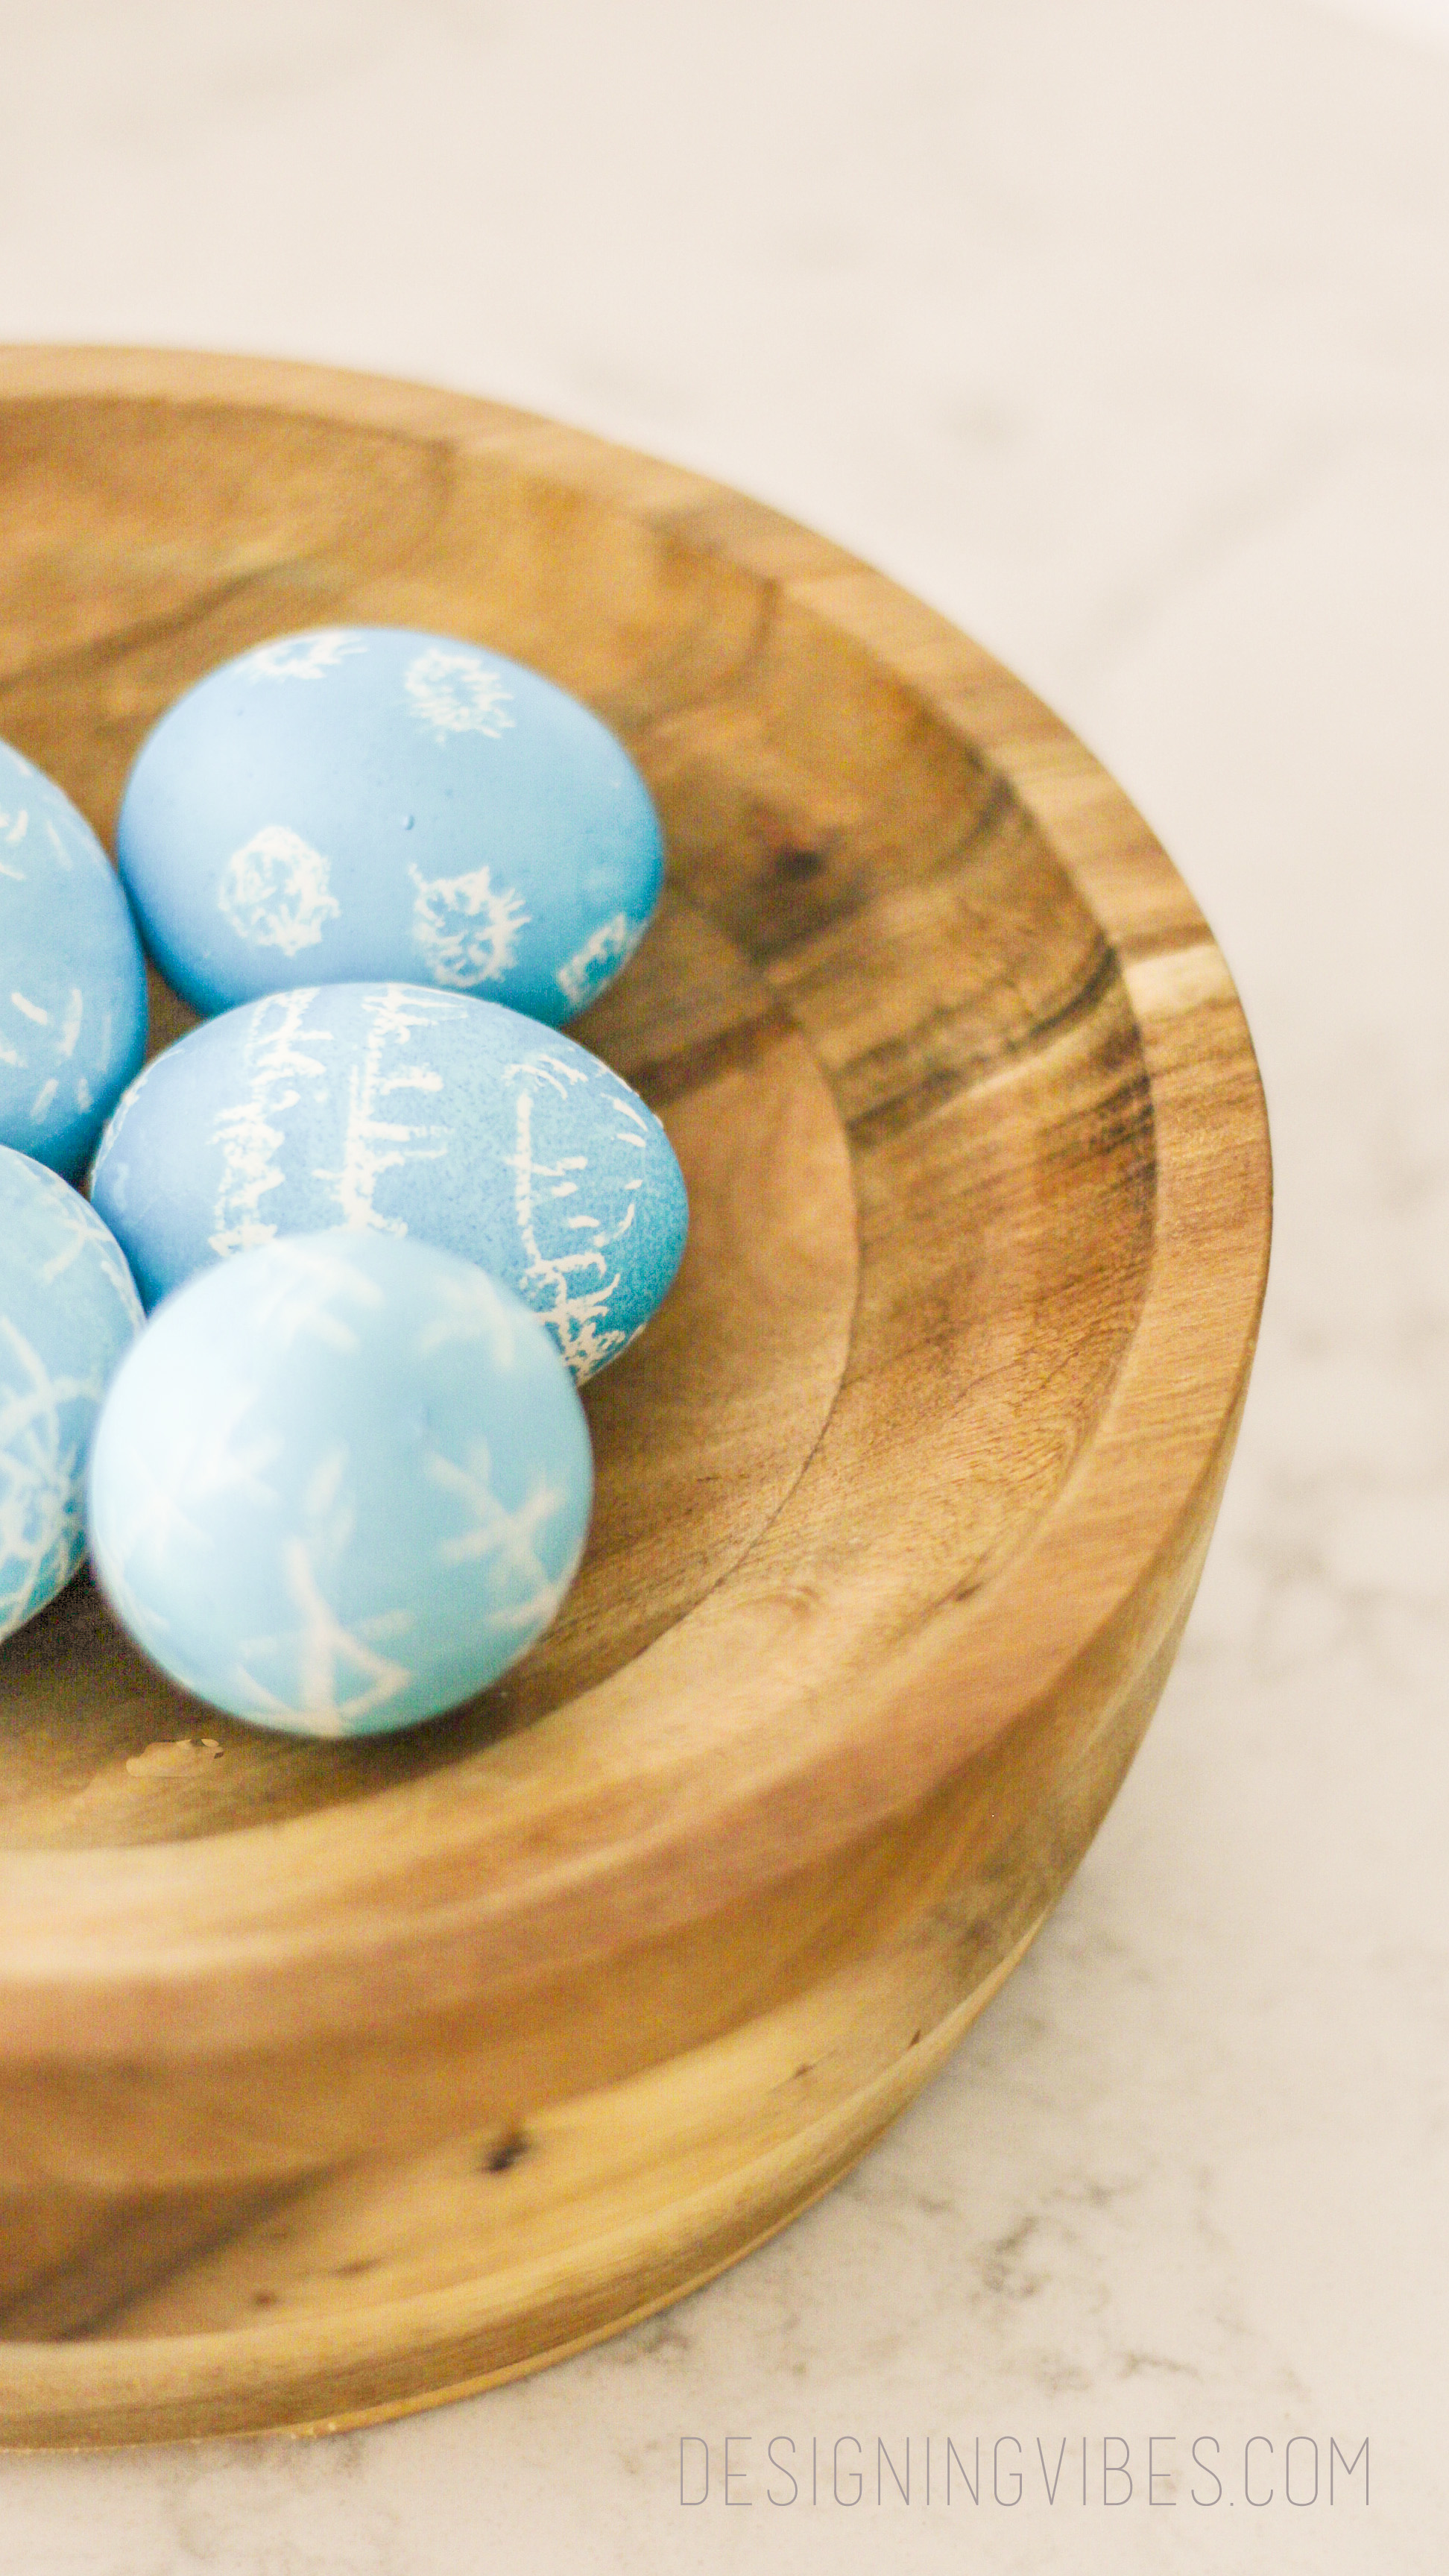
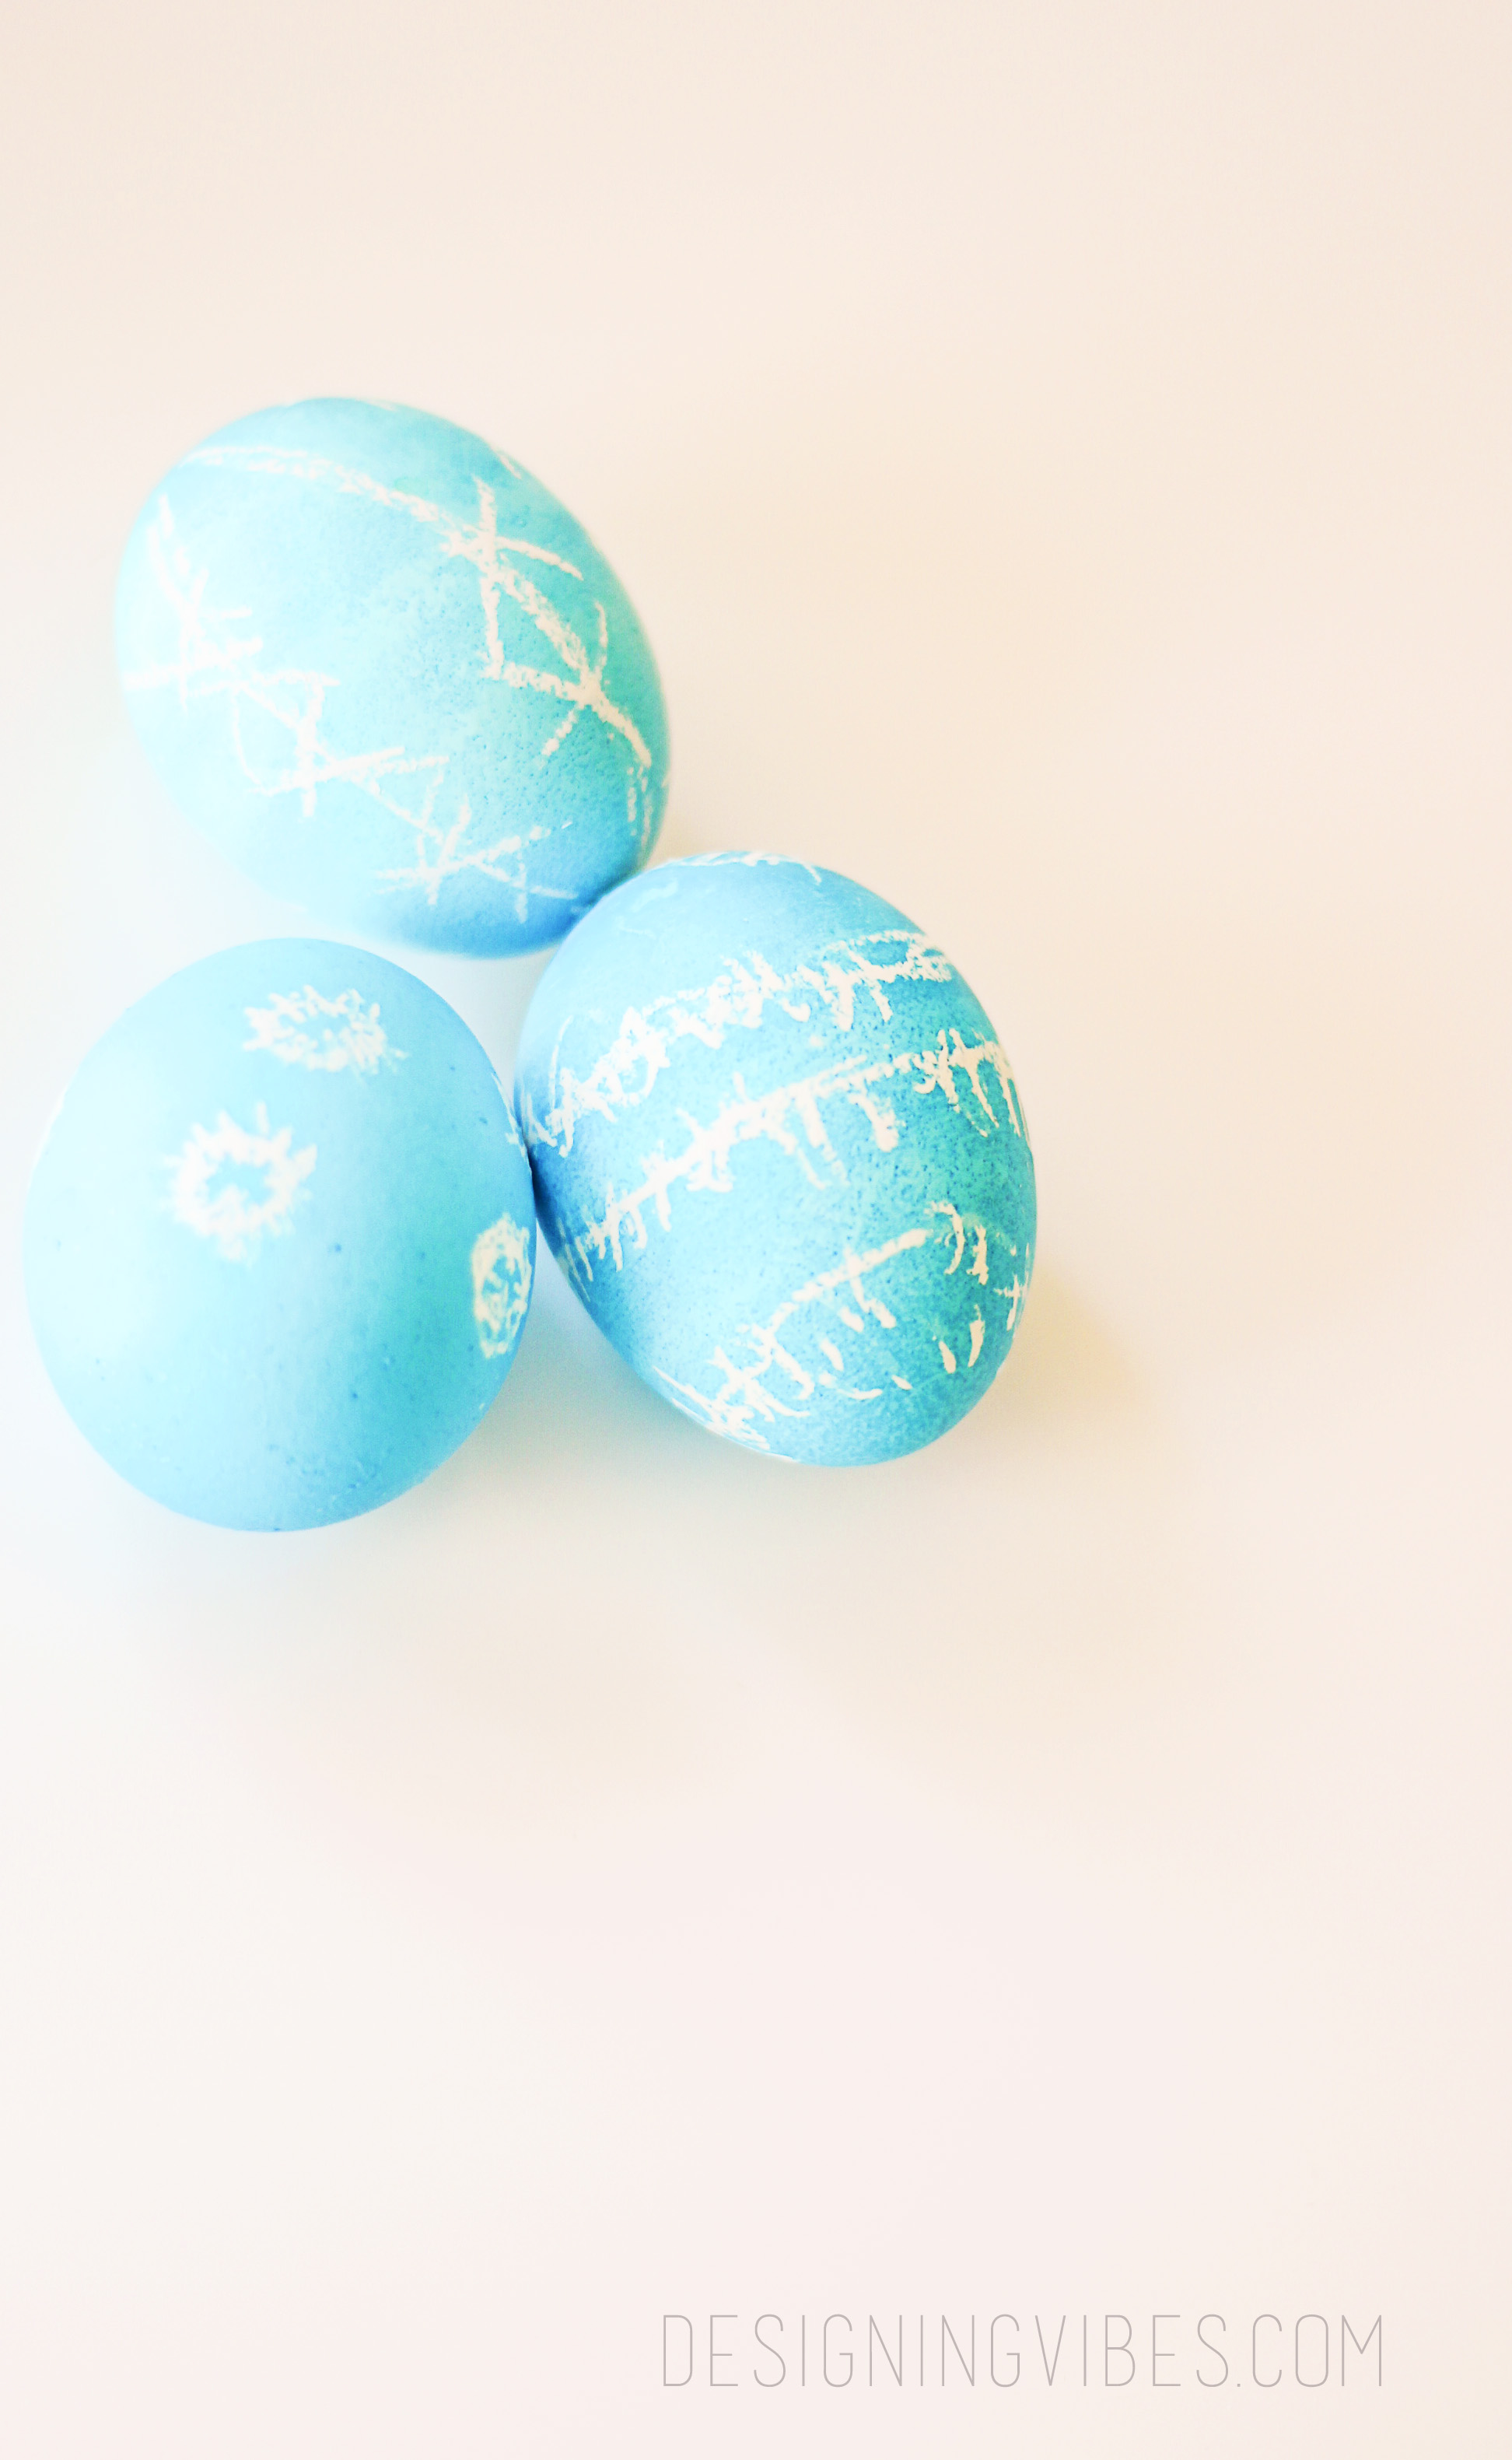
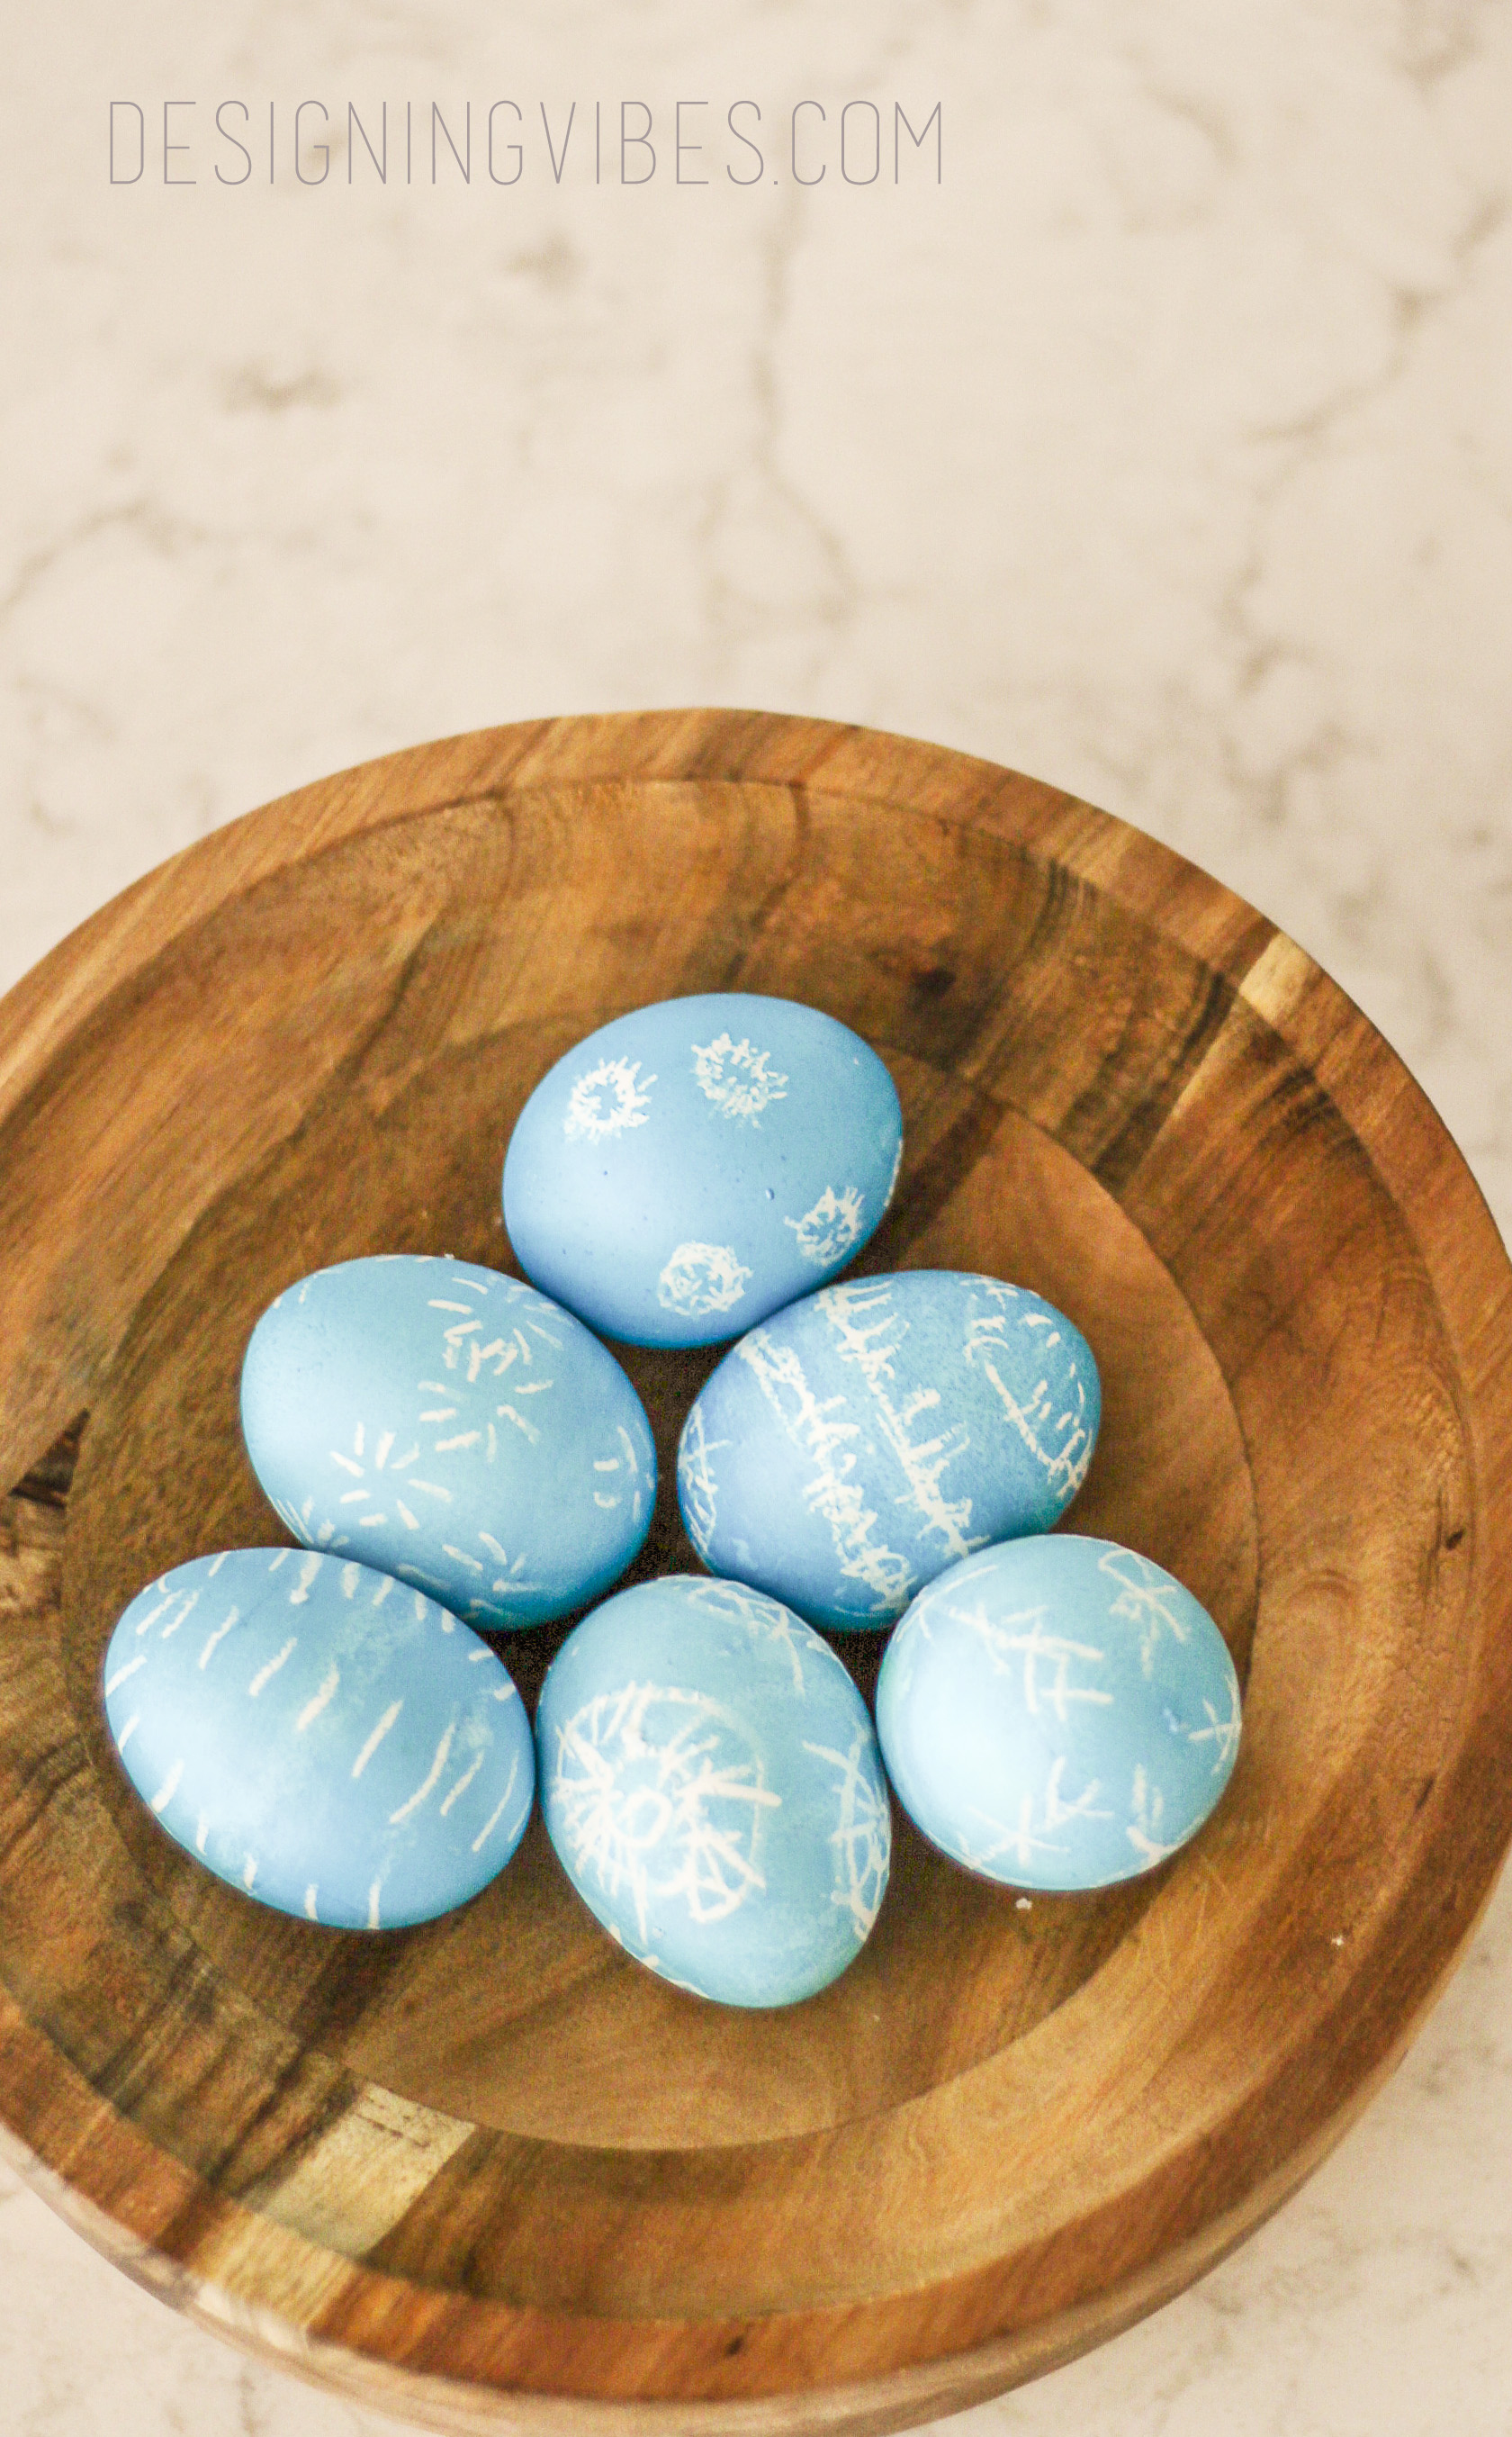
When you pull your egg out of the dye, you will see your pattern….like magic!
With each egg I did, I got a little better. But as I mentioned, you really cannot see what you are drawing.
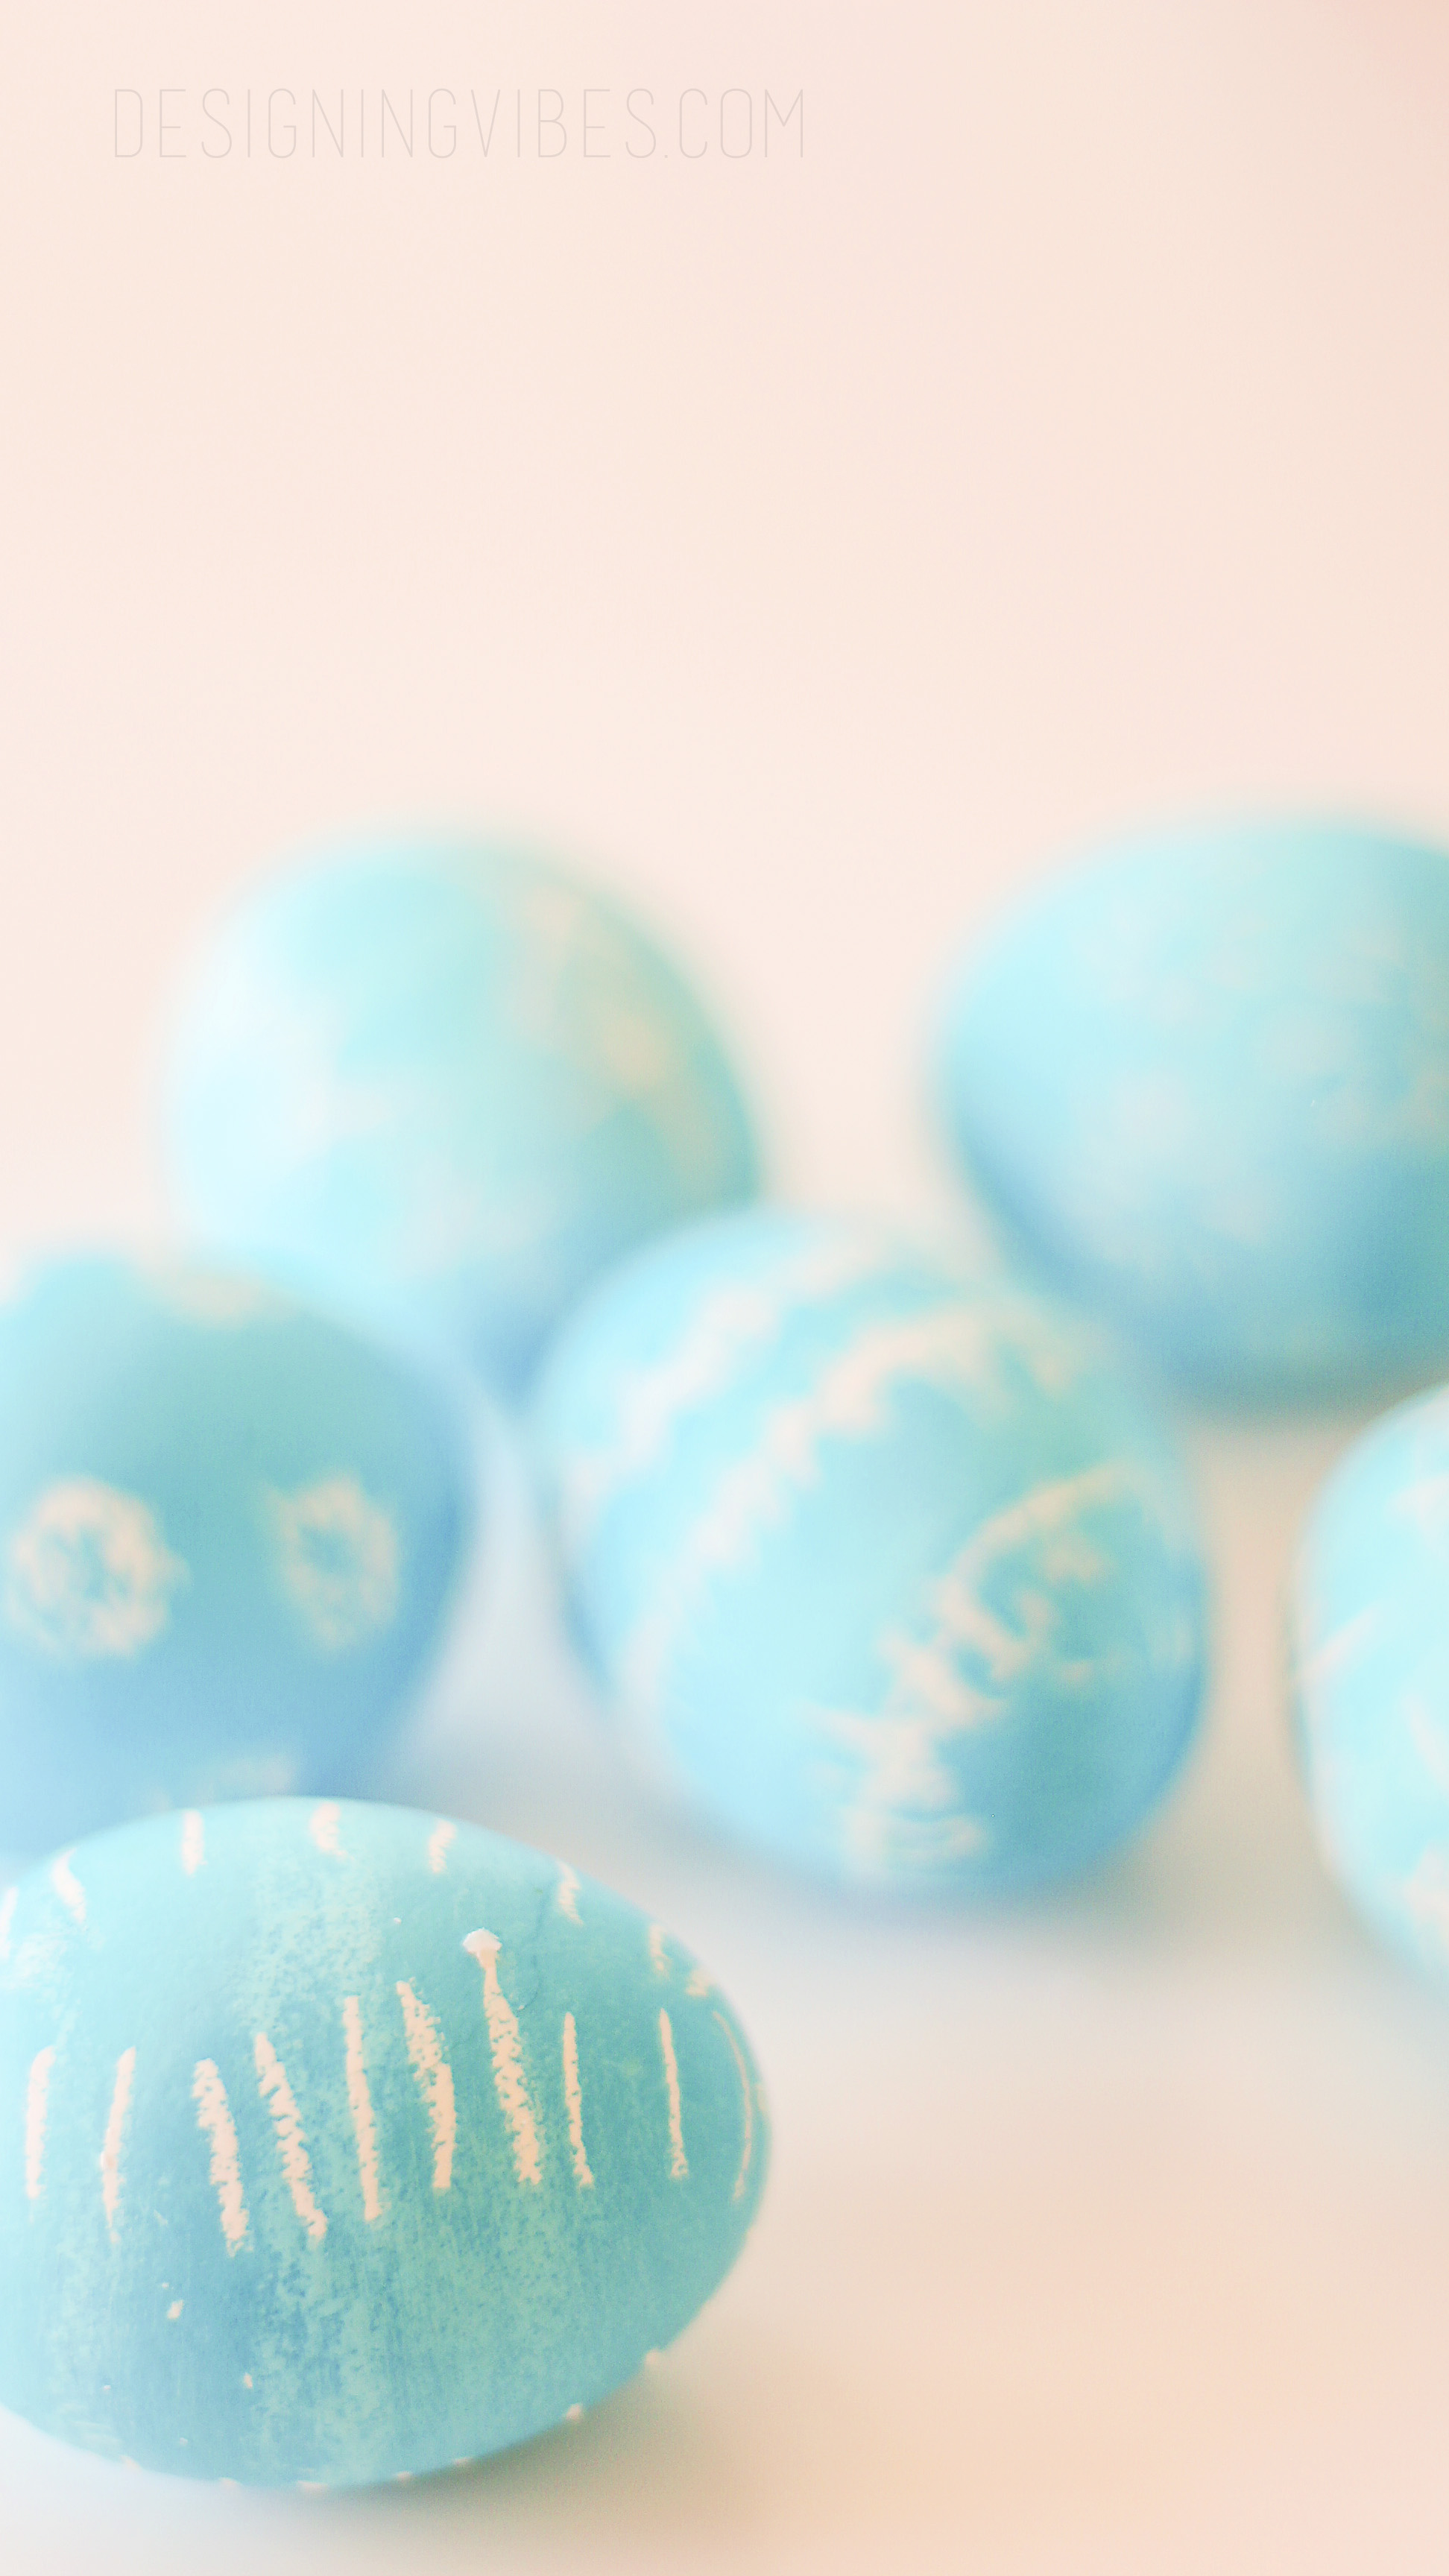
And no, they are not perfect by any means, but I had a great time with my little one.
Wishing all of you a happy Easter!
Now get out there and design some good vibes.
Please share the love and Pin….


Welcome!
My journey in interior design and home improvement began with transforming my first fixer-upper home, all while managing a budget and raising two young boys. My work, a reflection of my passion for creating beautiful, uplifting spaces, has been recognized by top publications like Better Homes and Gardens Magazine, HGTV, and more. I invite you to explore my site and witness the transformation of my home and the vibes we've designed. Read more...


So fun!! Great idea mama!!
Thank you , love!!