Looking for an easy, modern holiday craft? Well you have come to the right spot. Today, I am sharing how I made these concrete Christmas trees for only $20.
For some odd reason, I always find myself on the struggle bus when it comes to decorating my dining room table for Christmas.
I suppose it’s because I want the space to be styled in a festive manner while also not looking cluttered or like I have tried too hard. Essentially, I am aiming to acheive the whole minimal, modern elegance vibe.
*For your shopping convenience, I have included affiliate links. As an Amazon and RewardStyle Associate I earn from qualifying purchases. *
While I was heavily inspired by CB2’s holiday line this year, given all the supply shortage issues, I wasn’t having much luck with it arriving in a timely matter.
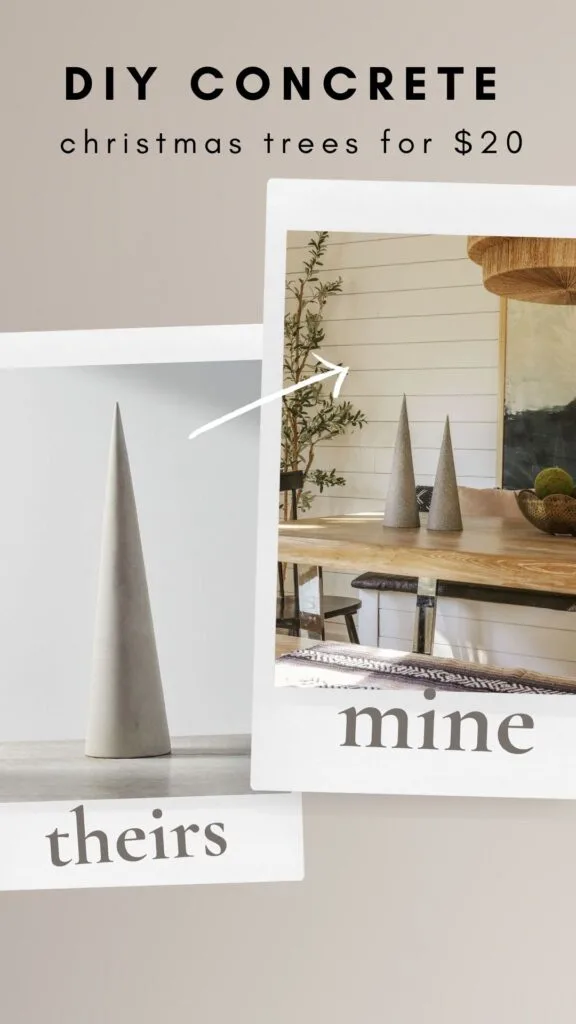
Not to mention, the price tag on these cement trees I had been eyeballing for my table was over $120. No offense to CB2, but I am not down with investing that much into holiday decor (given it will only be seen 30 days out of the entire freakin’ year).
Deep down, I had a feeling I could do the same thing myself for much cheaper.
So… I decided to take matters into my own hands.

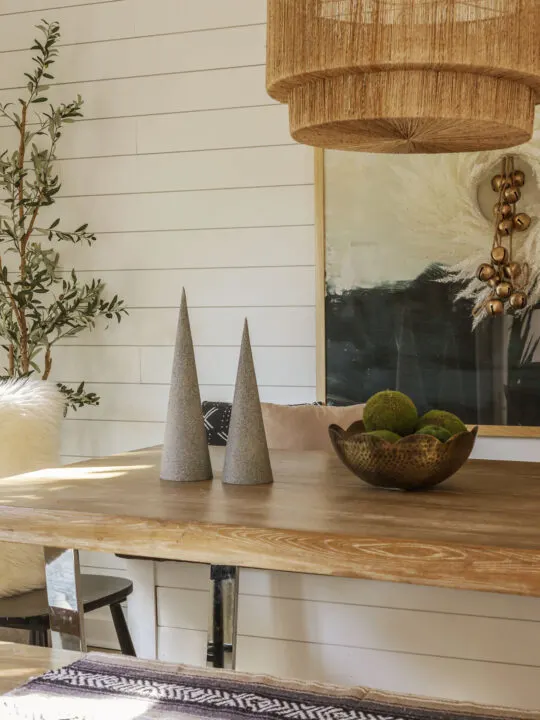
For just $20 and ten minutes of my time, I was able to replicate this high-end look myself (pictured above).
Let me show you how i did it.
How To Make Easy Concrete Christmas Trees:
Materials Needed:
- paper mache cones (I got mine here)
- stone effect spray paint (I used this one)
- top coat (optional)
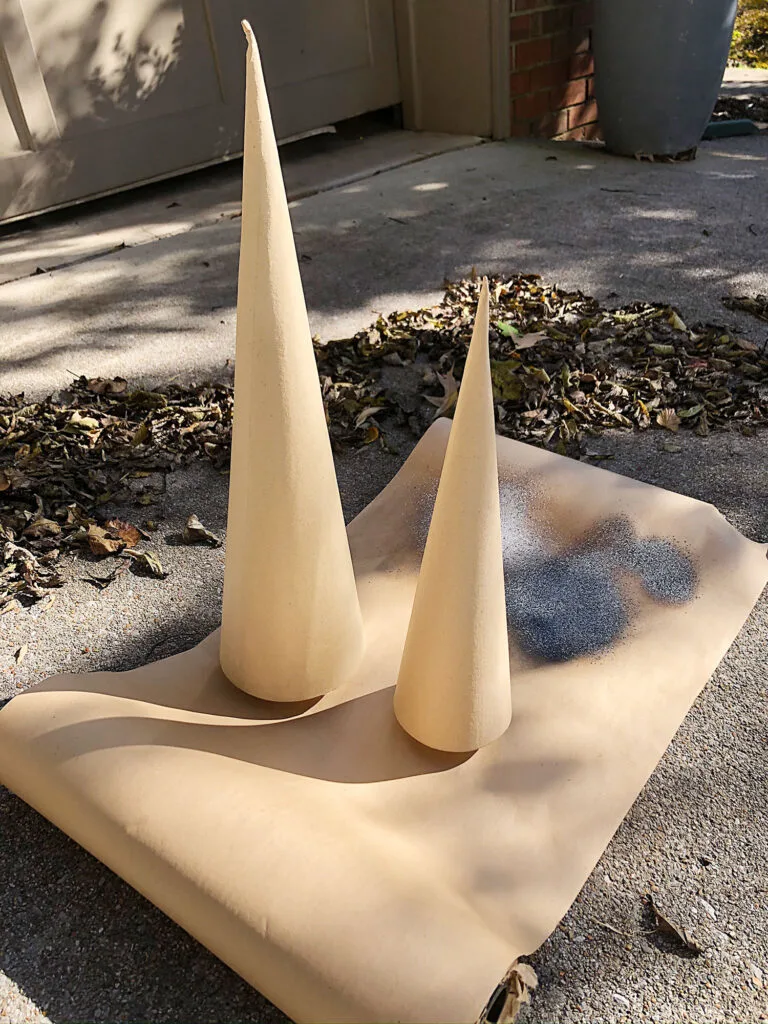
(Step 1). Given my cardboard crafting cones were already a great medium for spray paint, I decided not to use a primer before applying my first coat of spray paint onto the “trees”. After testing a few different colors of stone spray paint on my butcher paper, I went straight for applying my first coat.
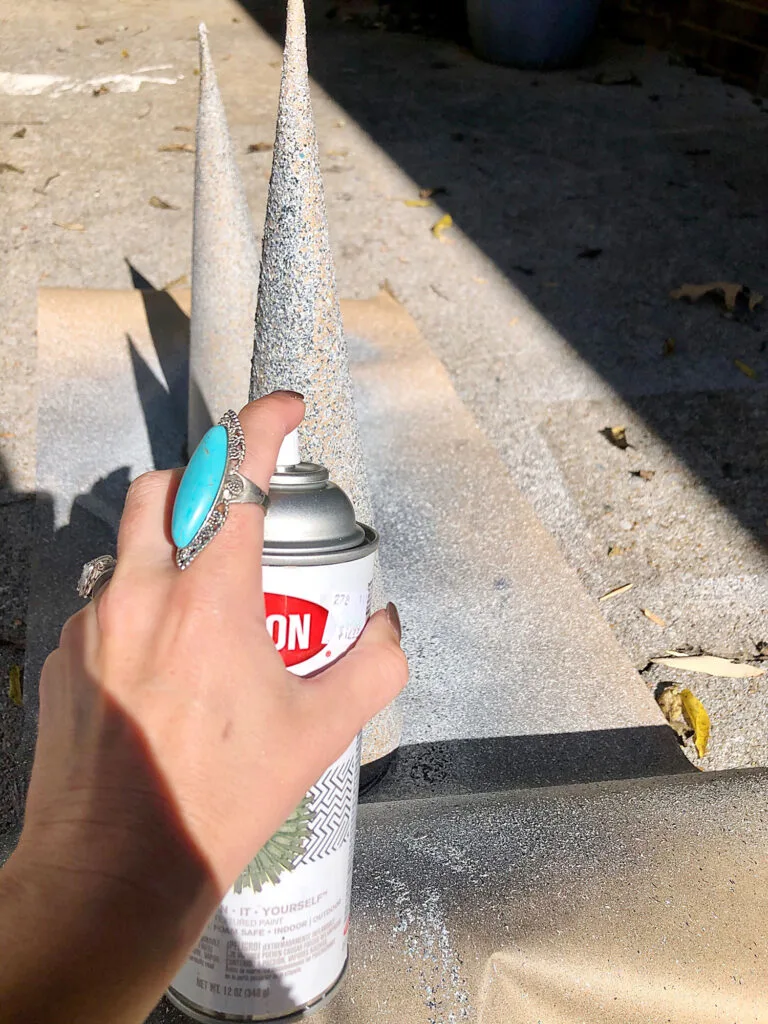
(Step 2). While the cones will not be adequately covered with just one coat of paint, you will have to let them dry fully before applying subsequent coats. If you don’t allow the first coat to dry, you might actually remove some of the finish (like I did). Don’t be impatient like me. Step away from the paint and let the damn thing dry!
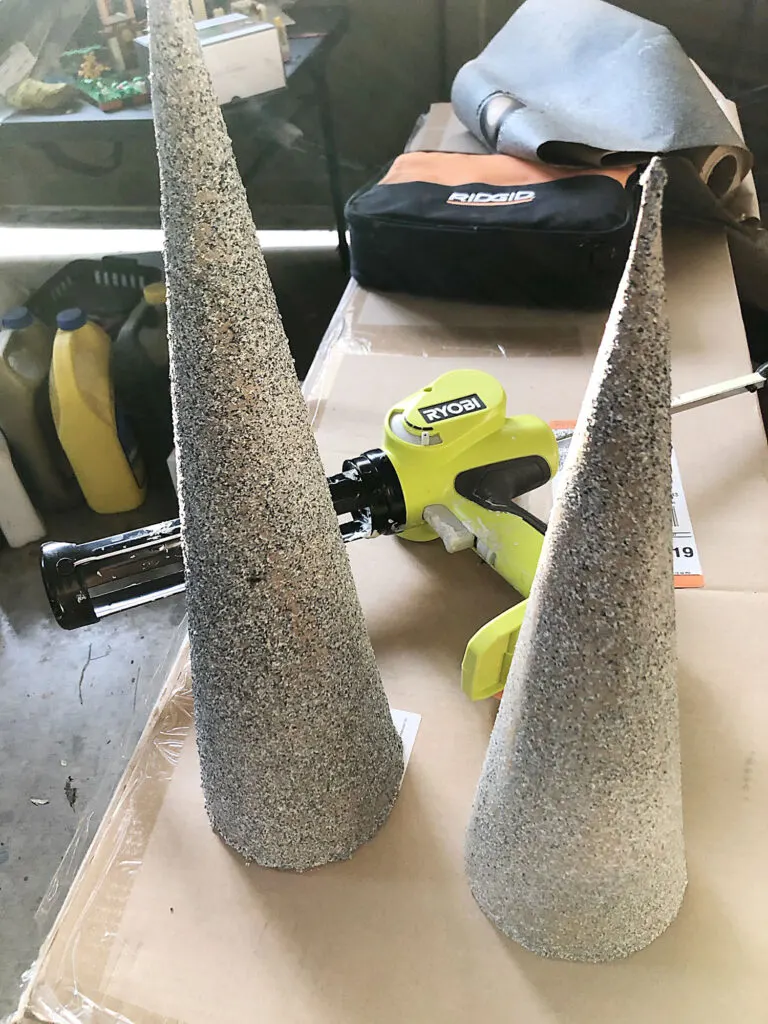
(Step 3). After the first coat of stone spray paint was applied and I realized subsequent coats were counterproductive, I pulled the cones in the garage to dry over night. In the photo above, you can see what they looked like after just one coat.
(Step 4). Once the first layer is fully dry, you can apply a generous second layer.
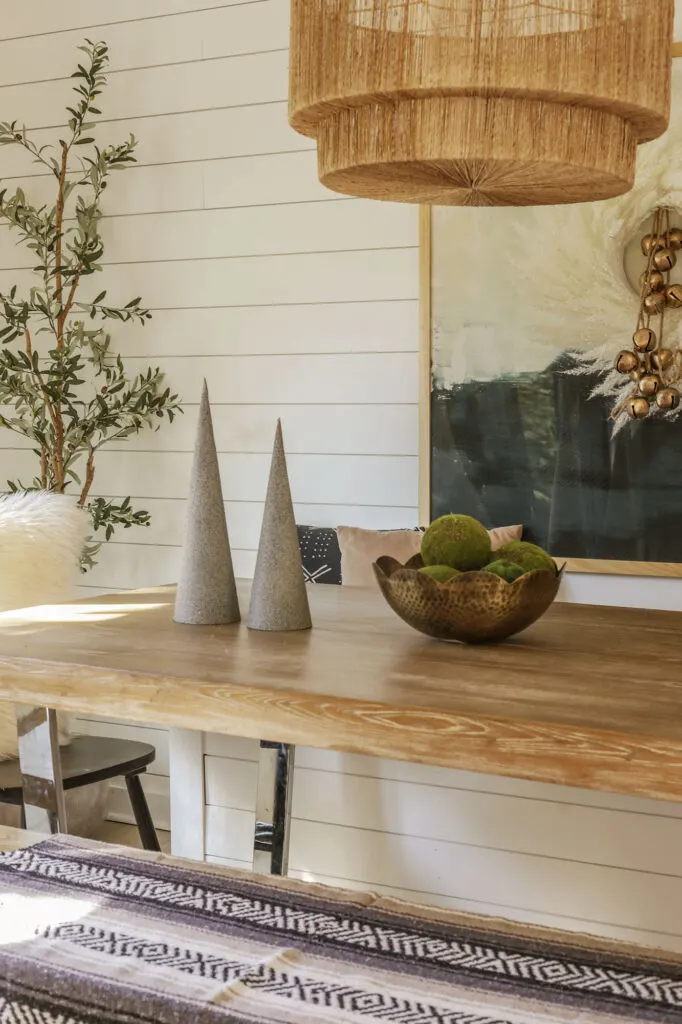
Optional: If you want to ensure that your concrete Christmas trees are durable, you can apply a protective top coat finish to them once all of the stone paint has dried.
Being the impatient person I am , however, I completely disregarded durability. Living life on the wild side!
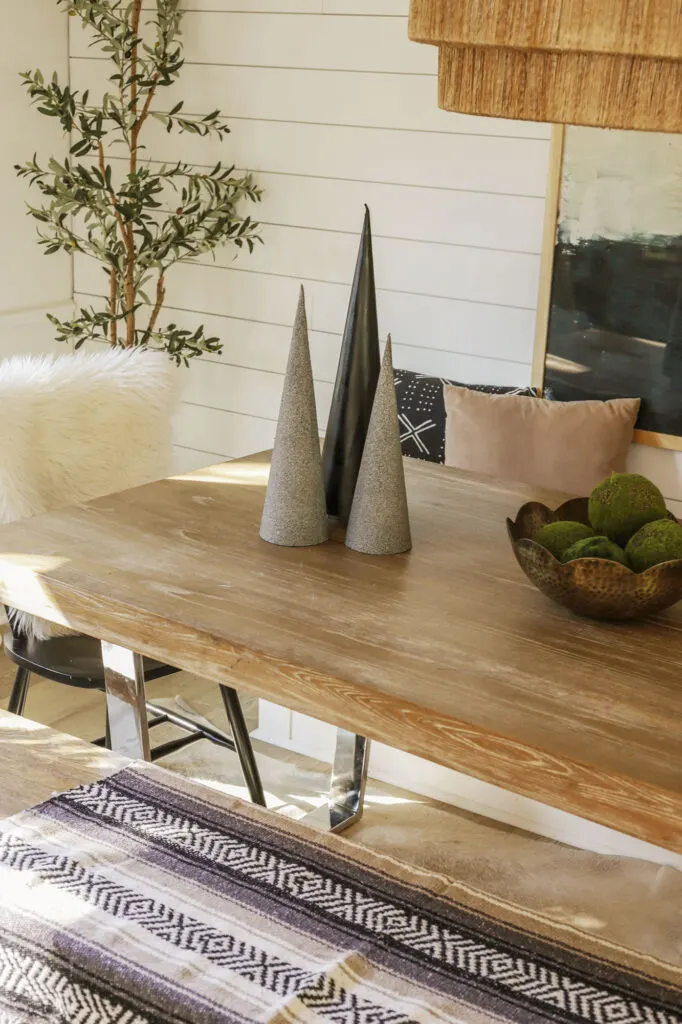
Adding a little variation to the mix, I put some spare matte black paint to use and spray painted two extra crafting cones black. The stone finish is still my fav!
I hope this simple tutorial inspired you to do a little holiday crafting of your own.
Thank you so much for stopping by this week! Now I have got to get working on my Christmas home tour which will be going live next month!
If you found this post inspiring, it would make the biggest difference if you could share it with a friend or on social media…

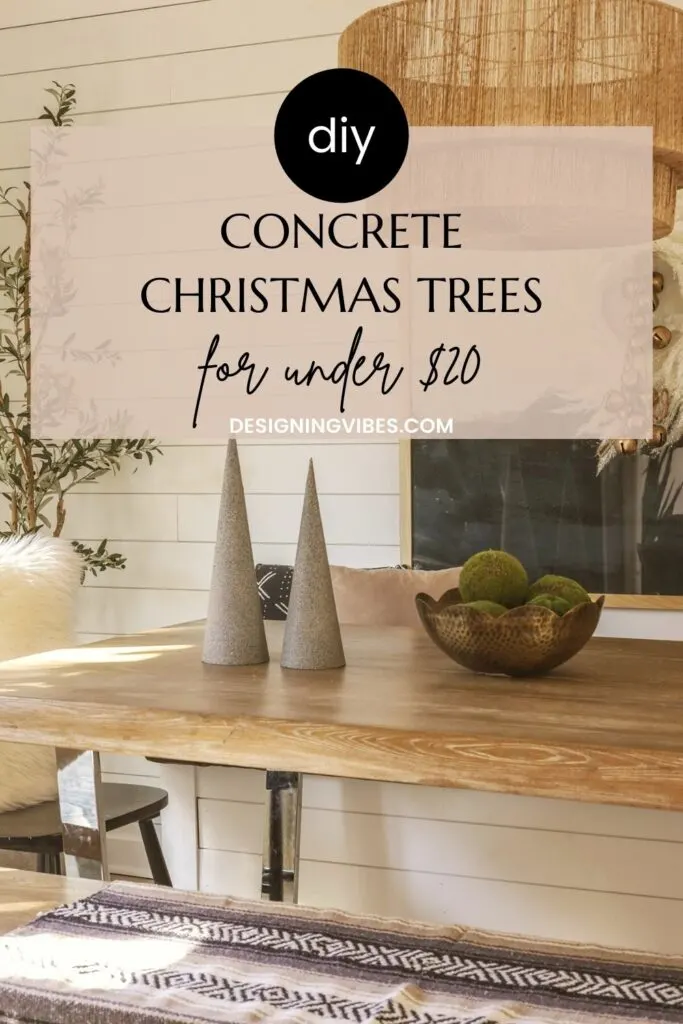
Now get out there and design some good vibes along with a fabulous life!
More Modern Holiday Craft Tutorials:



Marty
Wednesday 17th of November 2021
How fun, I love this idea. Yours look amazing.
Designing Vibes
Thursday 18th of November 2021
Thank you so much, Marty!
Maria
Wednesday 17th of November 2021
I had to pin this for later!!!! Although i will have ZERO time for crafting this year I know that I will want to do this myself next year and I don't want to forget it. I just love how simple this craft is, yet it just as good as the higher price inspiration. Thanks for sharing your craftiness:)
Designing Vibes
Thursday 18th of November 2021
Thank you, Maria! I am so happy with how they turned out. :)