
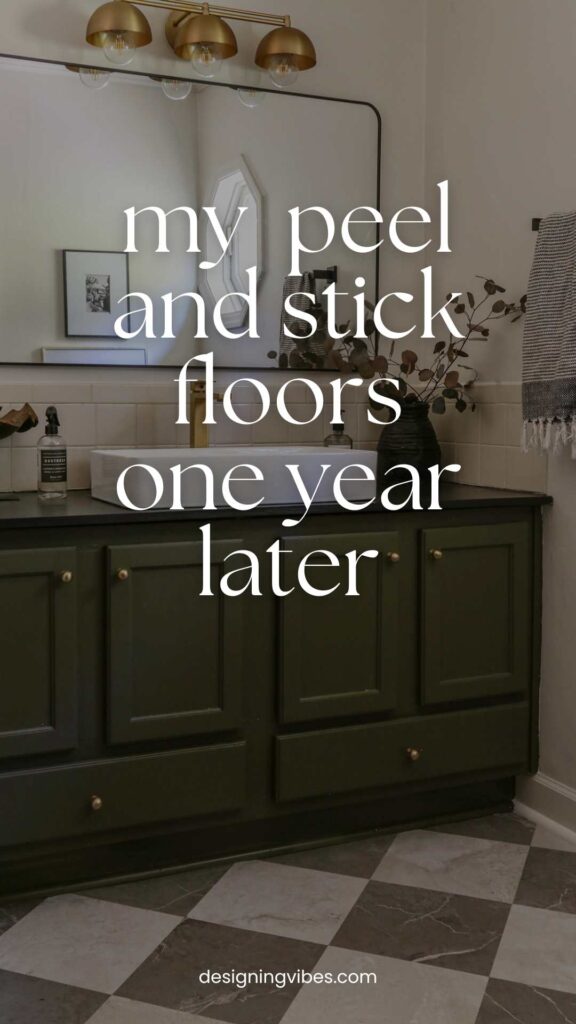
An Honest Review of My Peel and Stick Floor Tiles – One Year Later
If you’re considering peel and stick vinyl tiles for a bathroom or DIY flooring project, you’ll want to read this first. Today, I’m sharing my honest one-year review after installing them in my boys’ bathroom…
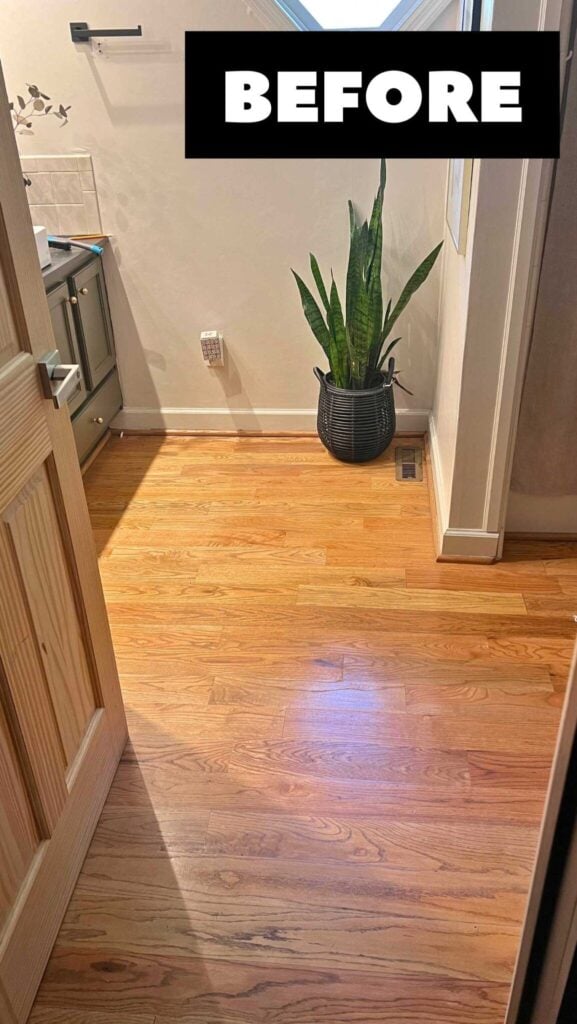
I never thought there would ever come a time where I would willingly install peel and stick tiles over hardwood flooring. Like…only a design-depraved maniac would do that..right?
But life as a boy mom is equipped with some pretty grotesque scenarios. Case in point? Wood floors in a bathroom primarily used by the male species.
Not only did my boys manage to dump gallons of water on the floor with each bath time, but the real kicker was their inability to aim in the toilet (resulting in a constant urine stench no matter how much I mopped).
*For your shopping convenience, I have included affiliate links. As an Amazon and and LTK Associate I earn from qualifying purchases. *
While I initially planned on simply installing click and lock LVT flooring over the existing bathroom floors given I did this quite successfully at my previous home, I was super curious about peel and stick flooring.
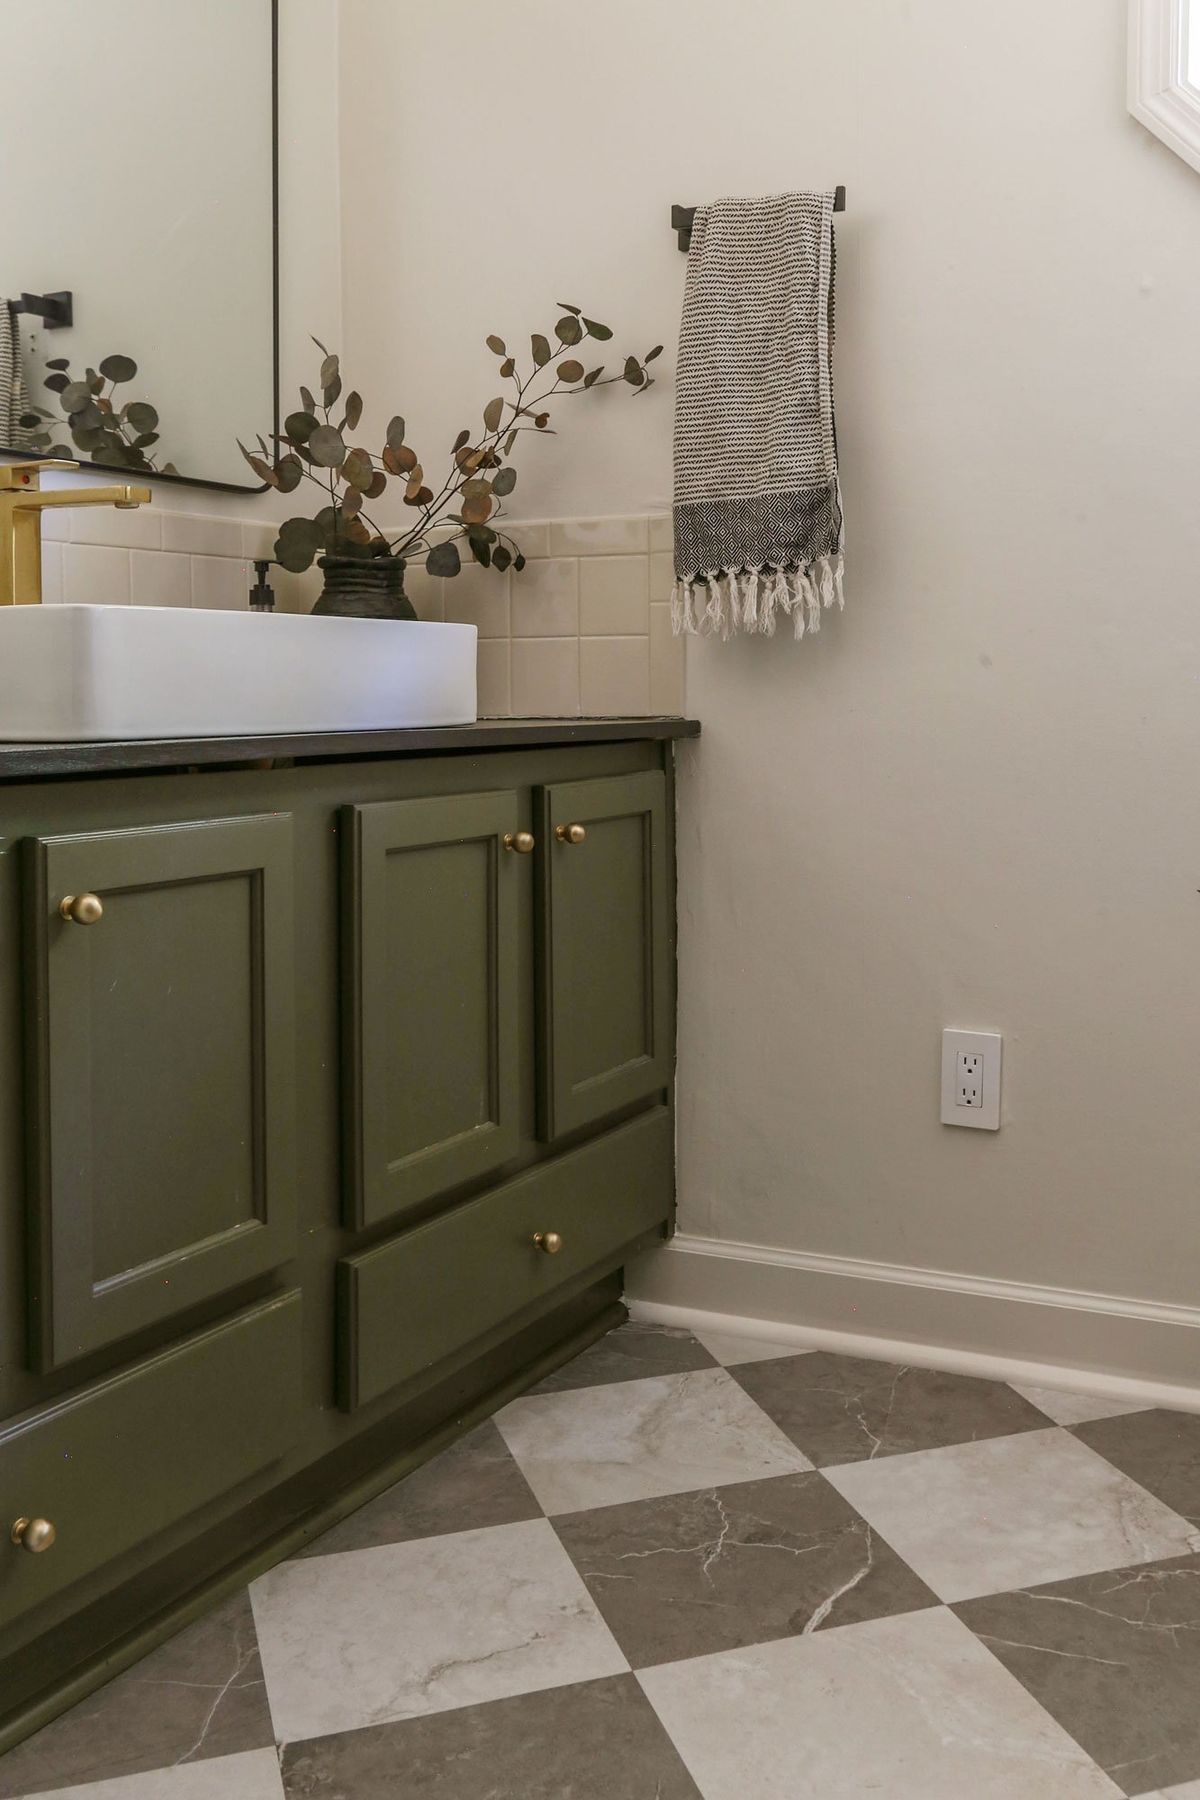
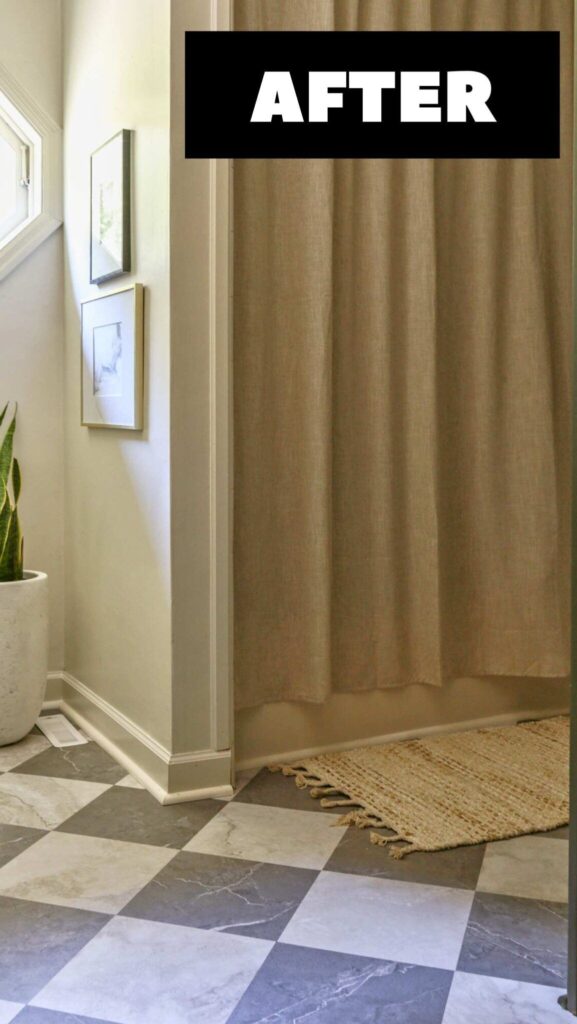
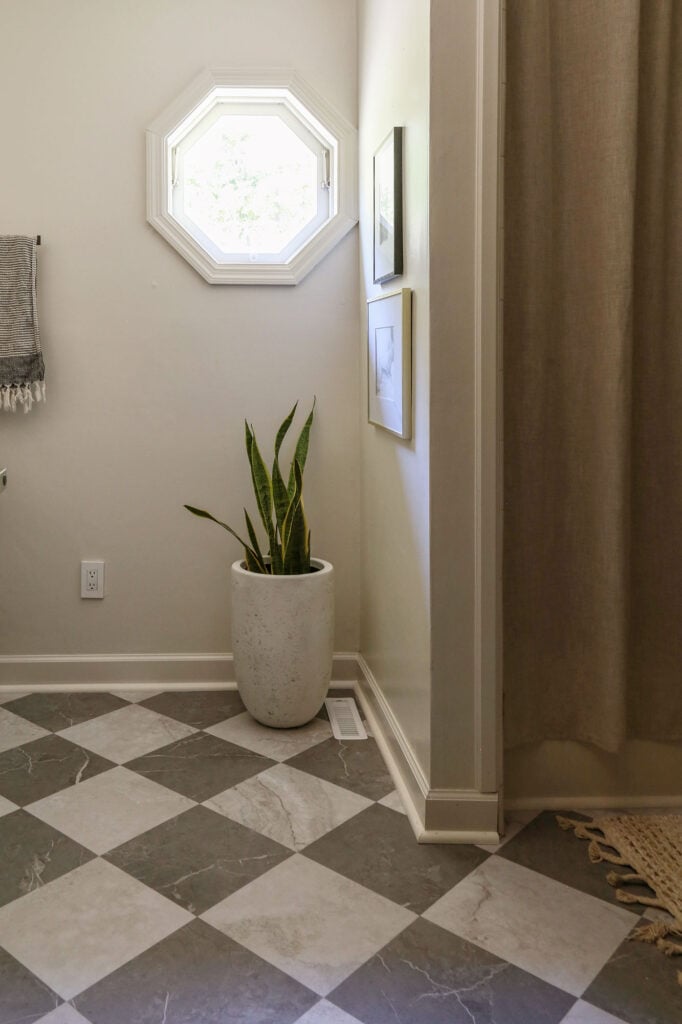
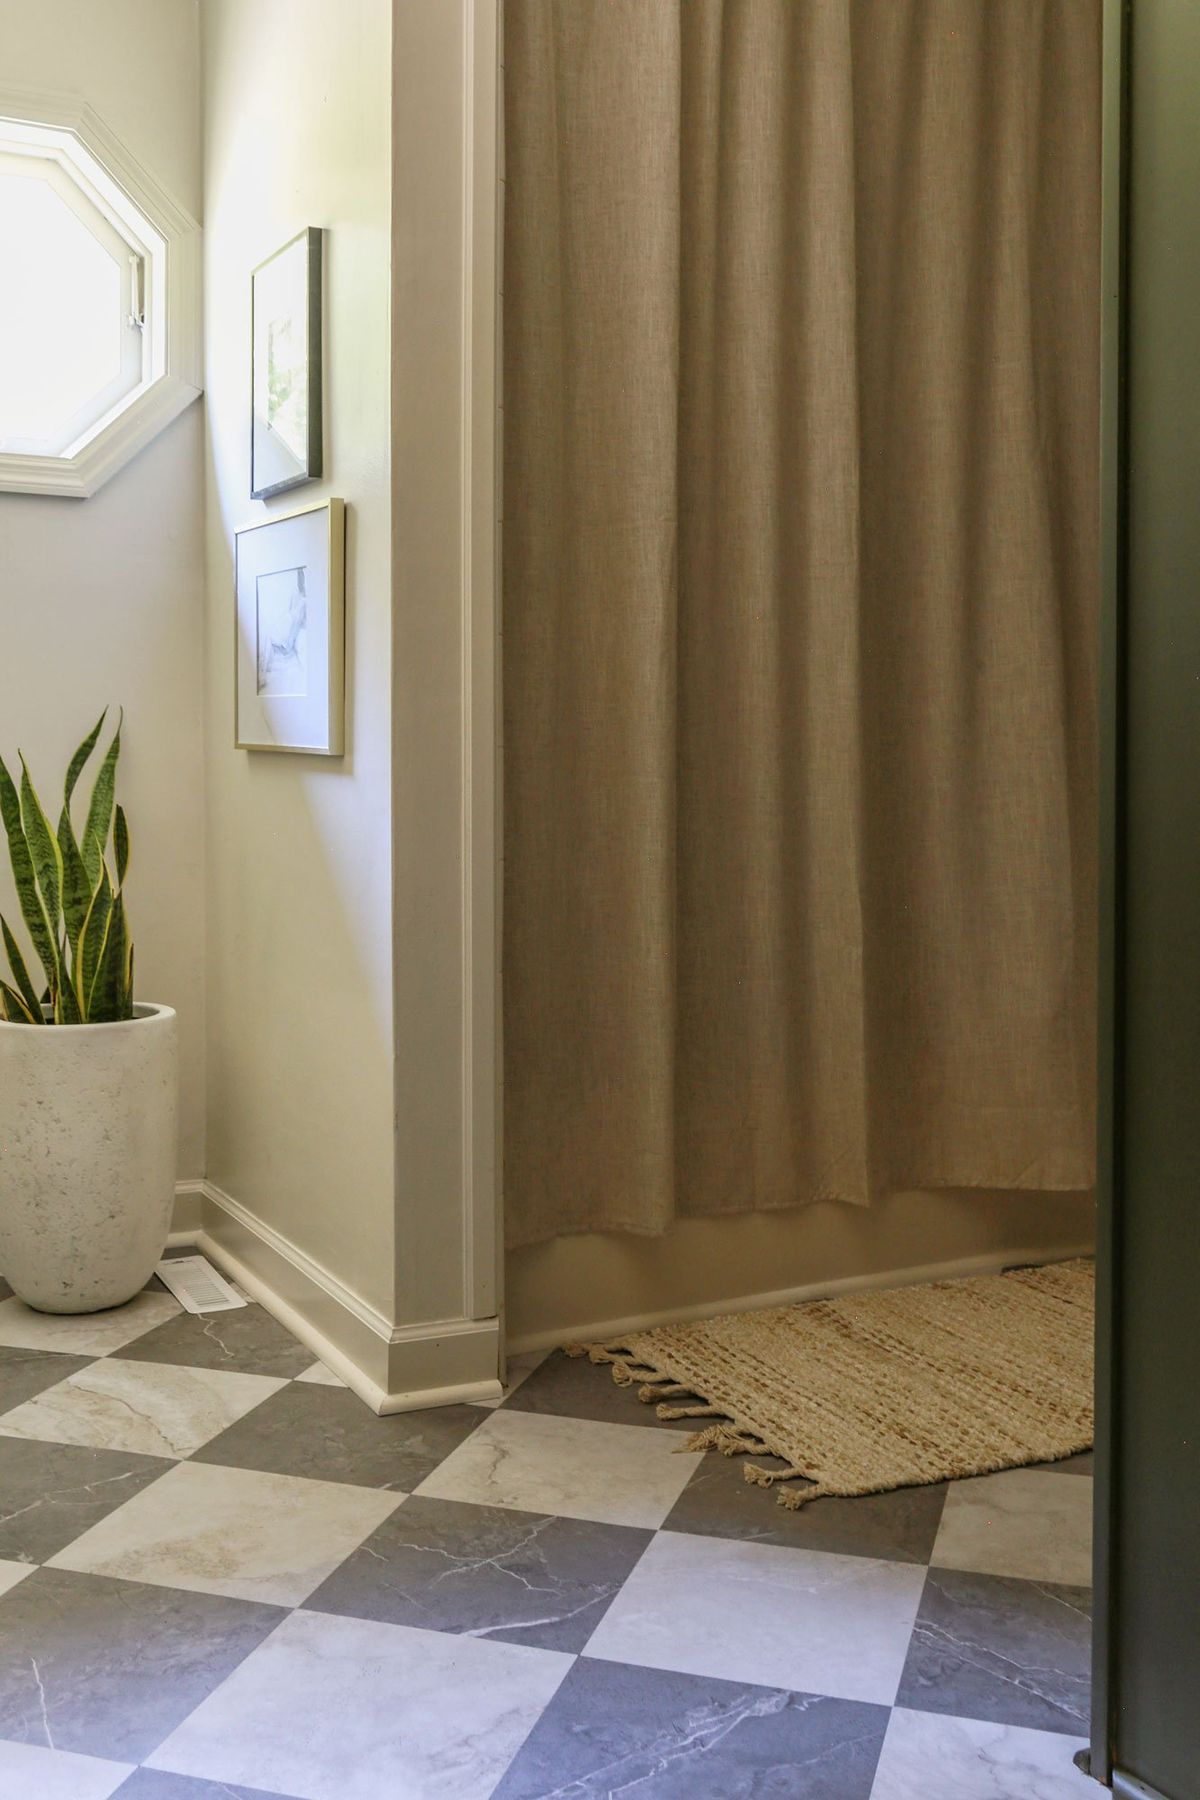
Growing quite smitten for all of the checkboard flooring I was seeing in my Pinterest feed, as soon as I laid my eyes on these marble-looking peel and stick tiles from Lowes (I used the colors Mystic Marble and Alpine Stone), for under $100, I knew I had to give them a try.
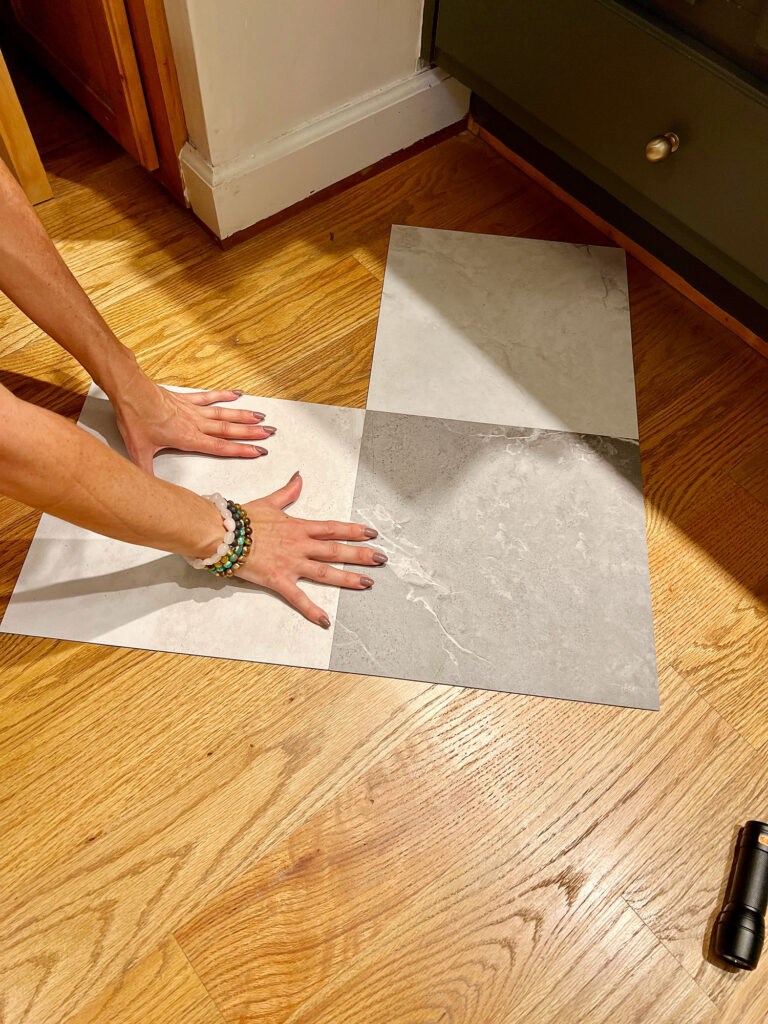
While installation was fairly straightforward (you can read my full peel and stick flooring tutorial here), the project still took an entire weekend to complete because of all the precise cuts we had to make.
That’s the thing about small spaces…they seem easy, but all those corners and edges end up slowing you down.
Nonetheless, when I finally saw the finished product, I knew all of our efforts had been well worth it. And for less than $100, I am not going to lie….I had some apprehension that this transformation was all too good to be true.
Vinyl Peel and Stick Tile Flooring After One Year:
With bated breath, I have monitored the peel and stick flooring for an entire year- waiting for something to go wrong. But here we are over 12 months later, and this little gap between two of the tiles at the base of my vanity has been the only issue I have noticed….
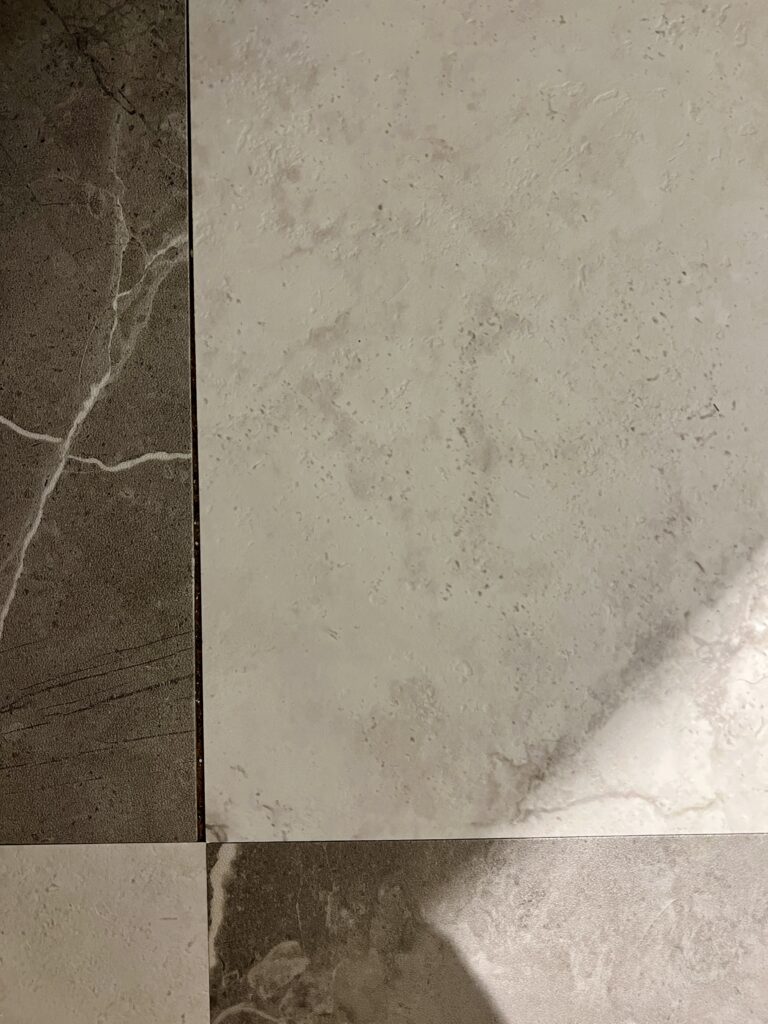
While I would be a bit more concerned if this had happened at the base of the toilet or tub, given this area does not get exposed to much water, I am not all that worried.
Looking back, we probably should’ve used a floor roller to ensure proper adhesion and prevent any lifting (rather than my half-a$$ed method of just walking over the tiles). But in the wise words of Bob Marley, I think every little thing’s gonna be alright.
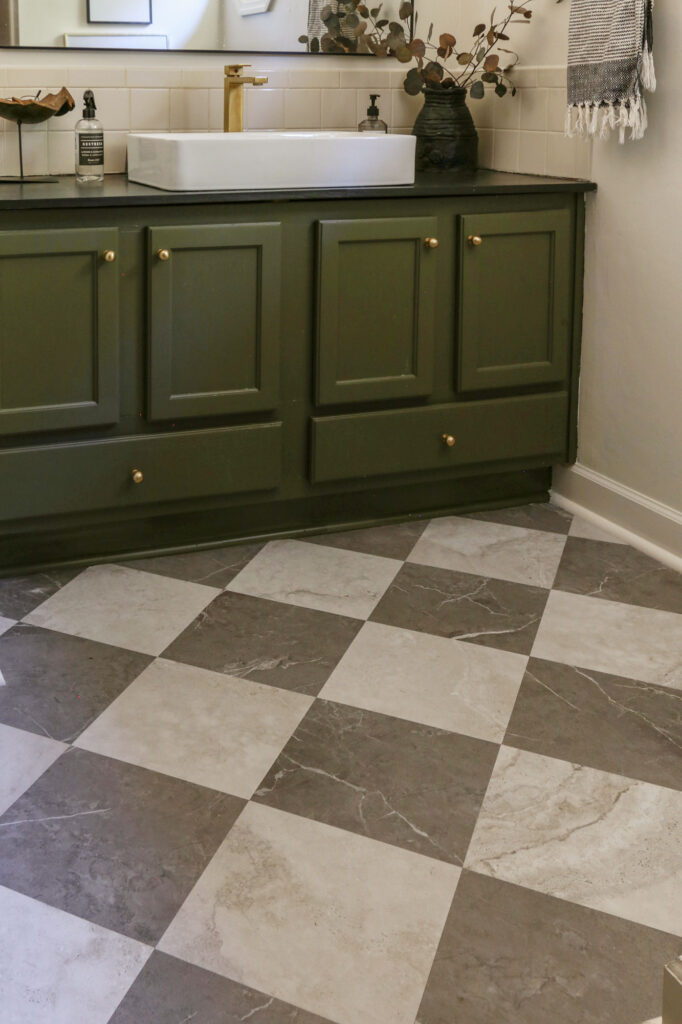
Cleaning them only occasionally with a Swiffer mop, not only have these tiles proven easy to maintain, but I can proudly say this bathroom no longer reeks of urine.
And after a year of daily wear and tear, they’ve held up beautifully while giving the space a serious aesthetic upgrade. For under $100, I’d call that a DIY win worth celebrating.
If you are on the fence about peel and stick floor tiles, I say go for it, sis!
Just approach the project with realistic expectations- accepting they may be more of a temporary upgrade versus a lifetime solution.
Thank you so much for stopping by and spending some time with me this week! If you found this post helpful, it would mean so much to me if you could share it with a friend or on social media…
Until next time, keep on designing a life that feels as good as it looks!


Welcome!
My journey in interior design and home improvement began with transforming my first fixer-upper home, all while managing a budget and raising two young boys. My work, a reflection of my passion for creating beautiful, uplifting spaces, has been recognized by top publications like Better Homes and Gardens Magazine, HGTV, and more. I invite you to explore my site and witness the transformation of my home and the vibes we've designed. Read more...


What is the color of the green cabinet in the bathroom. I love it.
Thanks, Jen! 🙂 The color is Dark Olive by Benjamin Moore. I have a separate blog post all about it along with my honest review of it here https://designingvibes.com/my-review-of-dark-olive-by-benjamin-moore/