

How to Fake a Waterfall Countertop on a Budget (to Modernize a Kitchen Bar)
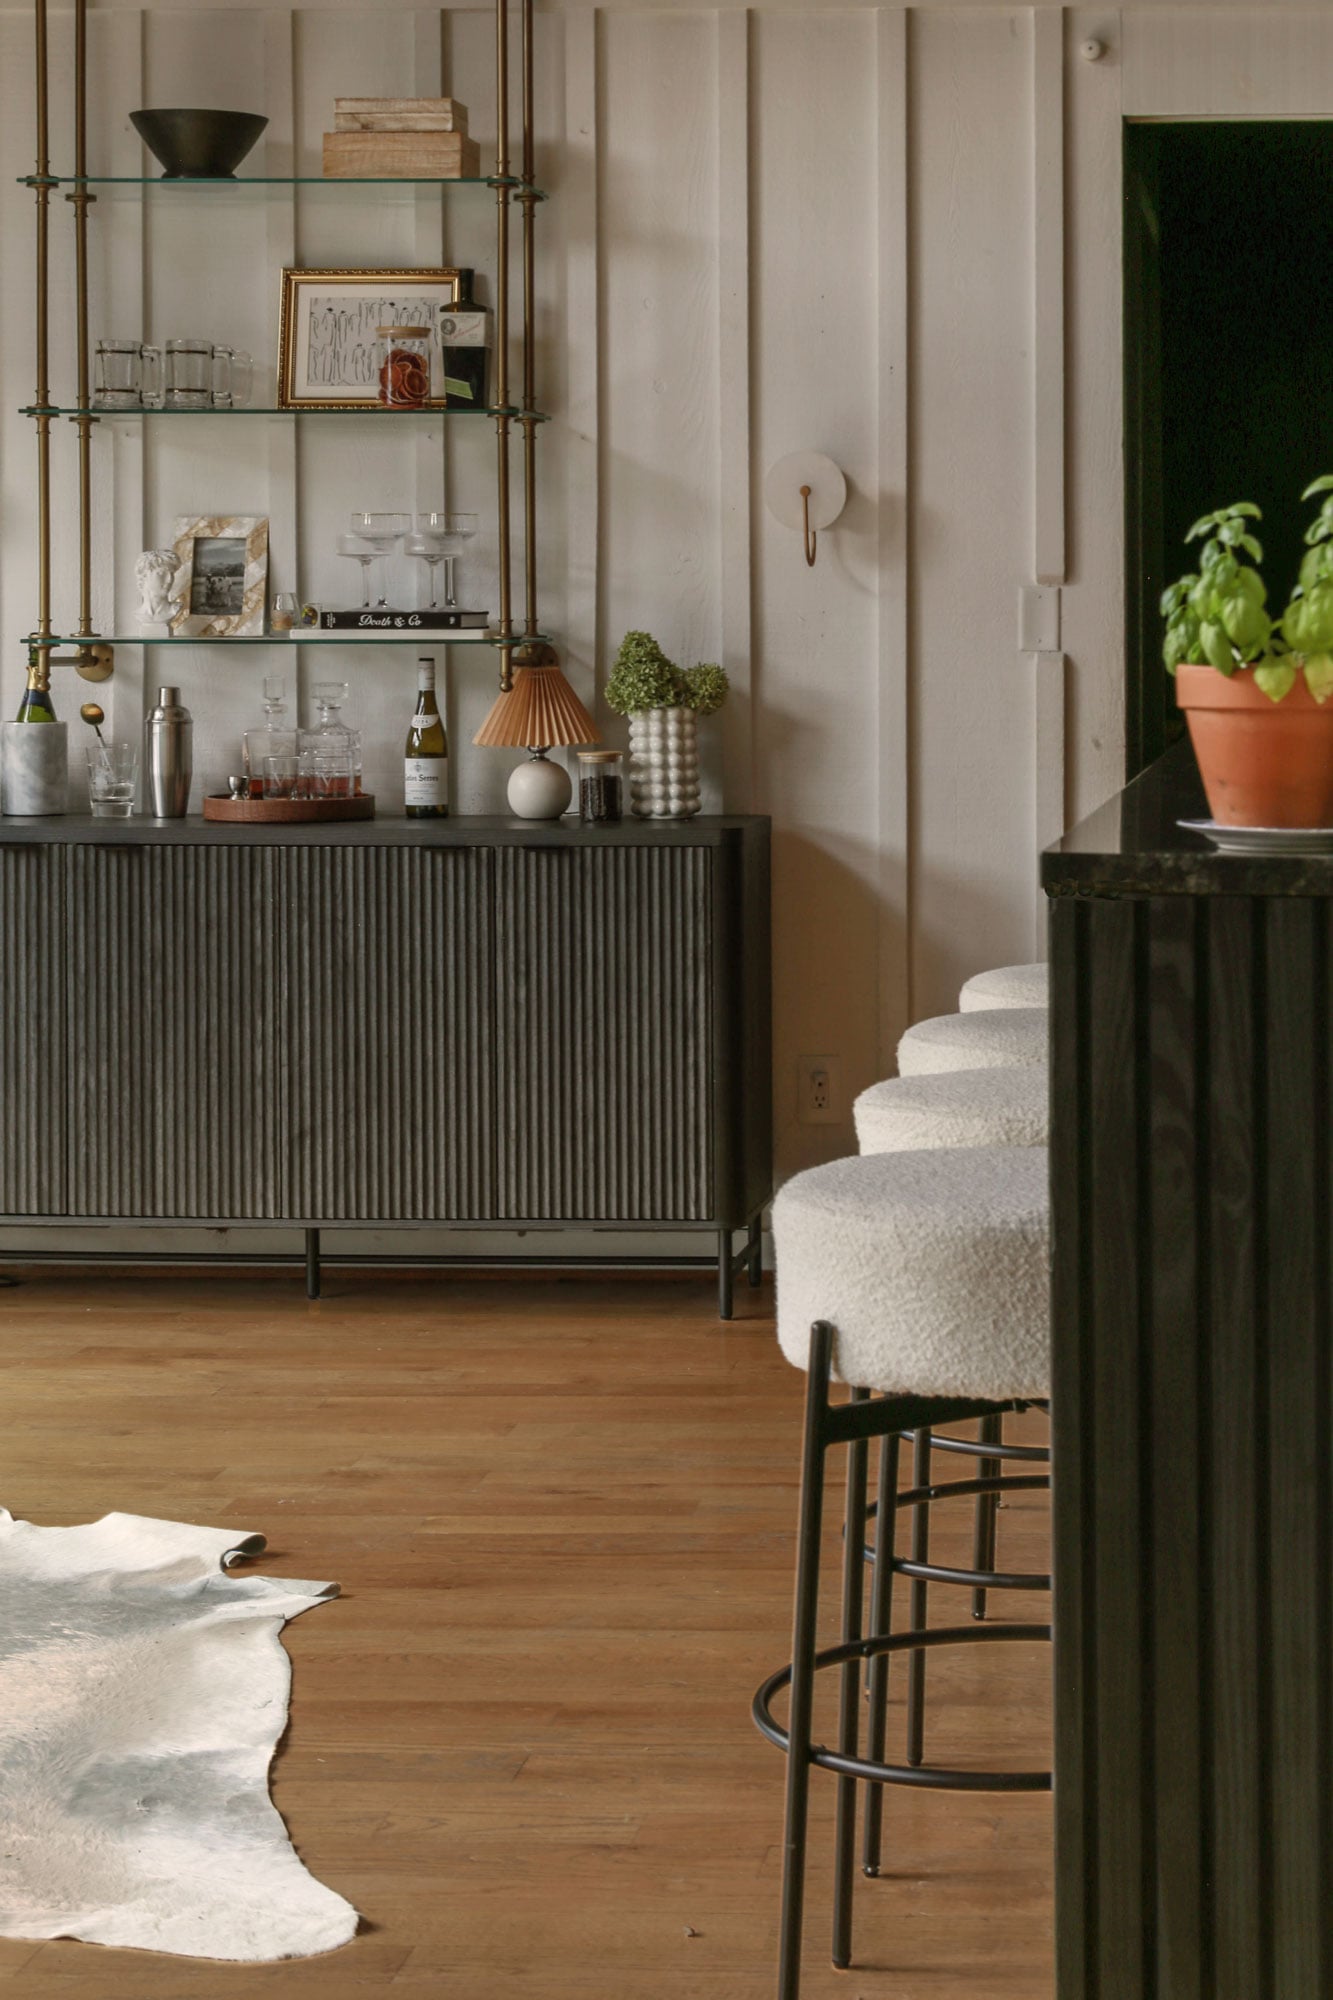
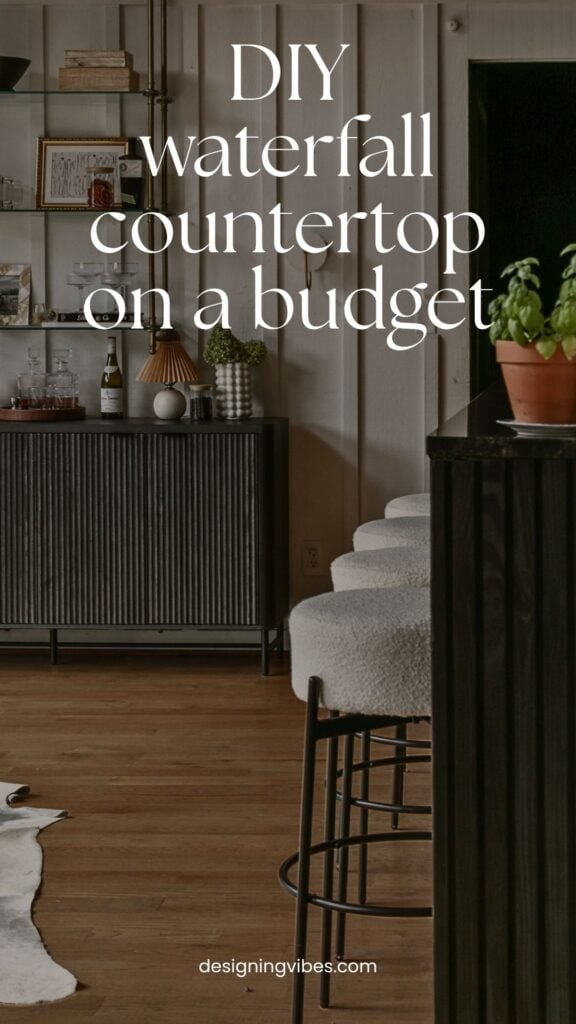
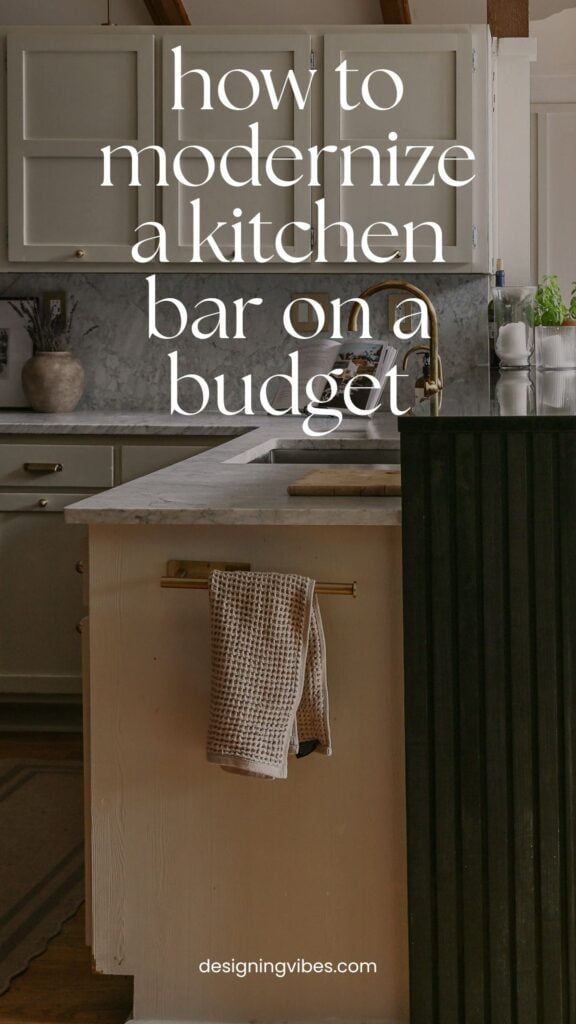
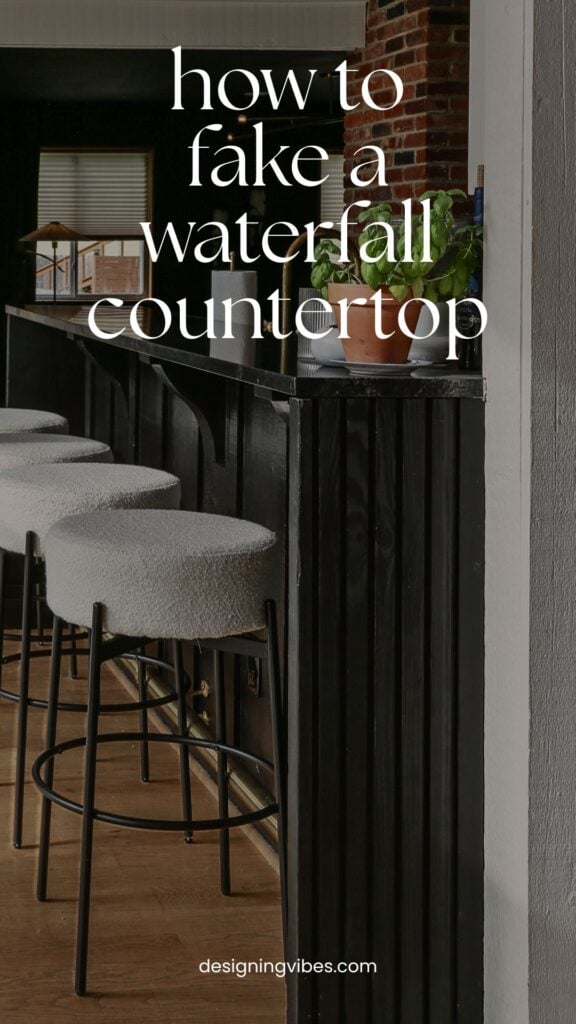
Stuck with a raised kitchen bar that’s feeling a little dated? Today I’m sharing how we spent just $30 to fake the look of a waterfall countertop- using inexpensive pine boards, a router, and paint to make our existing bar feel more modern, intentional, and grounded...
When we purchased our mid-century modern lake cottage almost five years ago, we knew we wouldn’t be making any radical changes to the existing footprint.
Given that the house itself was already outside of the budget we had originally aimed for (because budgets are apparently mere suggestions in the post-2020 housing market) , the goal was to simply lean into what was– making a few cosmetic updates here and there as time and income allowed.
Case in point: the dreaded raised kitchen bar.
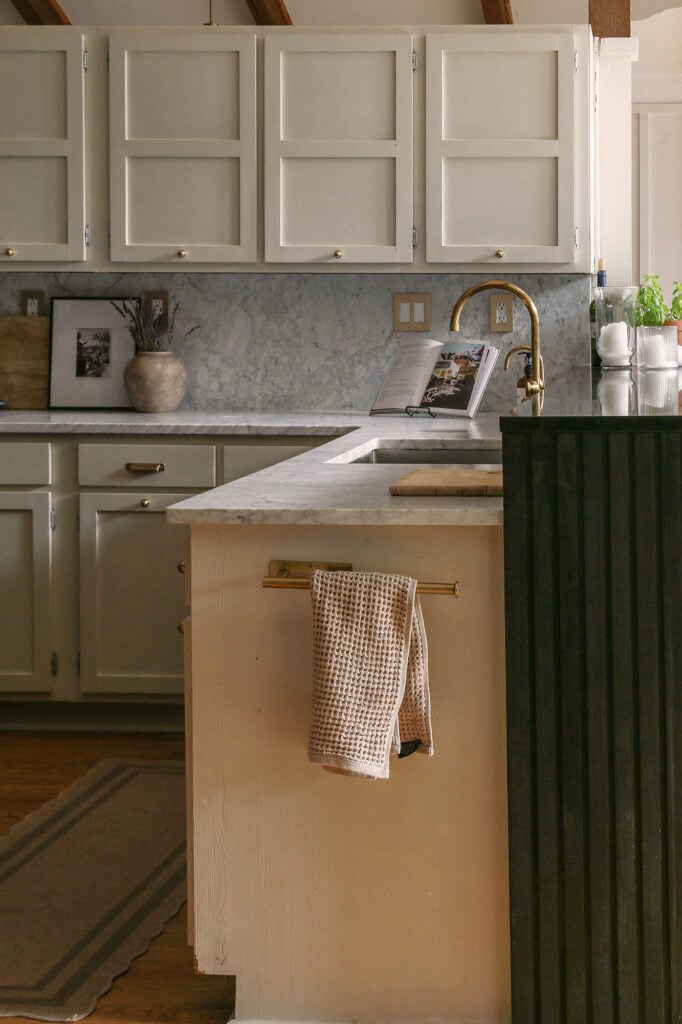
Now… when I say “dreaded,” please know I’m saying that mockingly (you can’t hear my tone, I know).
Raised kitchen bars have gotten a pretty unfair rap over the past decade or so because, as it turns out, we use the hell out of ours.
But…had I been a high roller with the budget to gut this kitchen from day one, I probably would’ve lowered it without a second thought- never realizing just how incredibly convenient these things are when you entertain (particularly when you have a Golden Retriever who can’t reach the appetizers).
But seriously…whenever we have people over, everyone inevitably ends up gathered around this bar- eating, drinking, and getting sufficiently boozed up on whatever my evil bartender of a husband happens to be serving that night (usually his stout espresso martinis).
So rather than sacrifice function (and one of the only dog-safe places to put all the munchies) for the sake of making our kitchen more “current,” I decided that if we were going to keep the raised bar, we might as well make the damn thing look intentional.
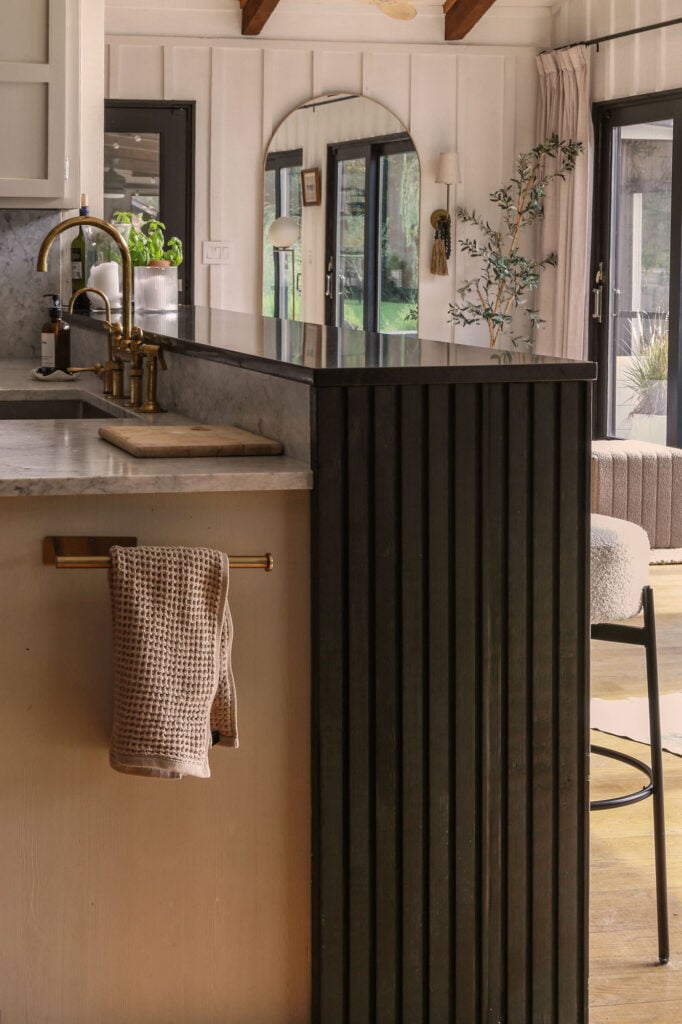
And knowing this is exactly how the space functions when we entertain, I wanted to really lean into the whole bar concept (think old-school pub meets soulful Euro bistro).
So…first order of business? Making the existing bar feel more grounded and substantial.
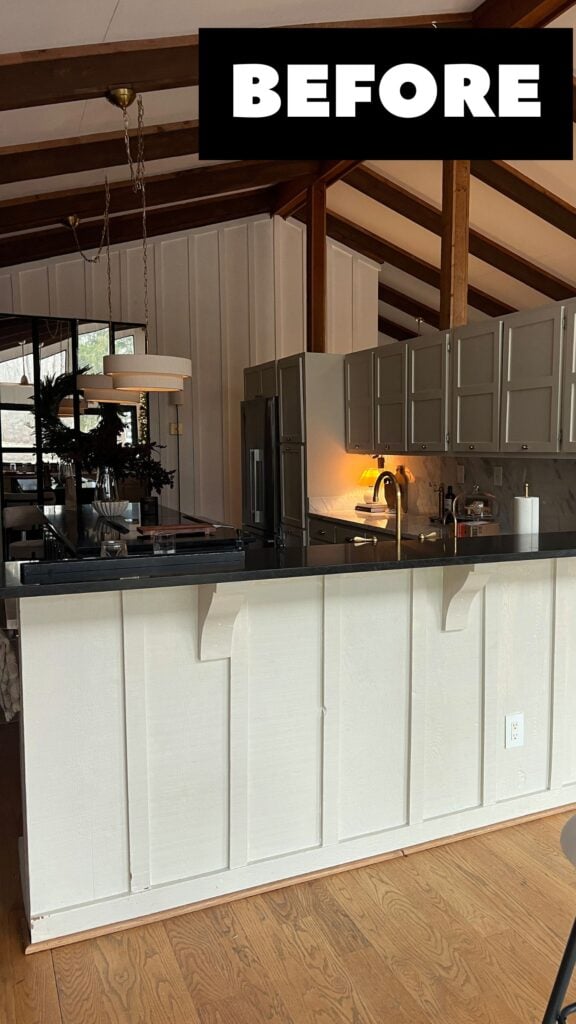
To be fair, there was nothing inherently wrong with the bar before. But visually, it always felt a little…floaty.
Between the Natural Cream cabinetry, Shoji White walls, wood floors and beams, and light bar surround, there was a whole lot of light-on-light-on-wood happening. And while the honed black granite gave me some much-needed contrast up top, there was nothing really anchoring it to the floor.
Basically, the whole thing needed more contrast, more dimension, and a hell of a lot more personality. (And yes, please excuse the Christmas remnants in the “before” photo. We started this project right after the holidays-a seemingly insignificant detail that will become comical later.)
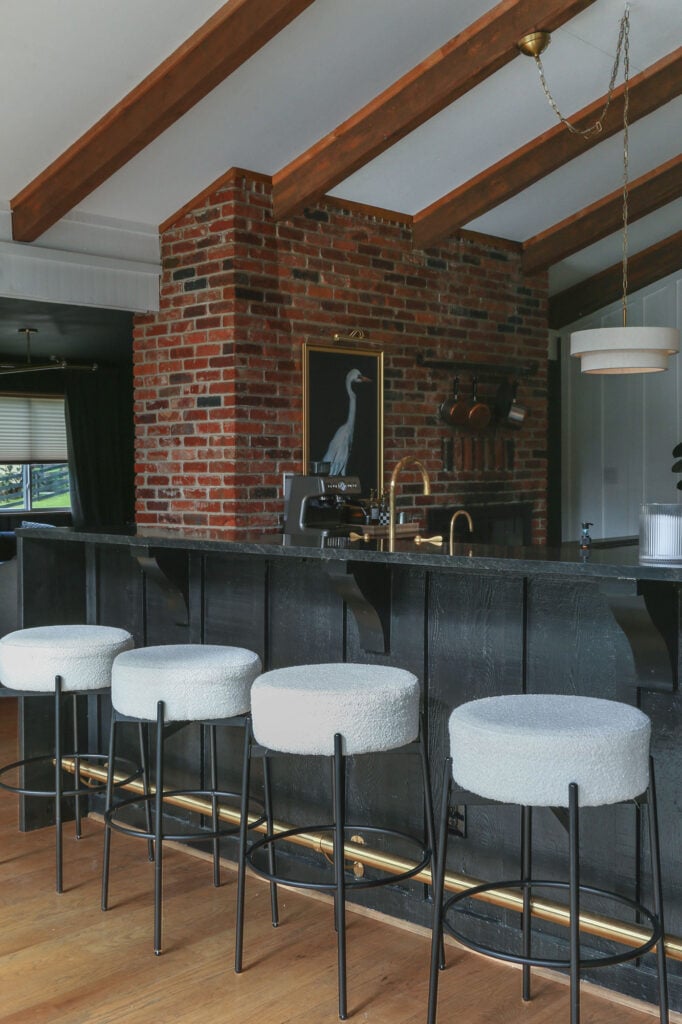
By framing the bar in black, we visually carried the honed granite all the way to the floor, instantly giving the whole thing more weight and architectural presence. The routed vertical grooves in the “waterfall counter” added the texture and dimension I was craving, while the brass foot rail brought in that slightly old-school, pub-meets-European-bistro vibe I had envisioned.
But more than anything, I love how much cozier and more inviting the whole bar feels now. It actually feels like a place you want to pull up a stool, order a drink, and stay awhile.
The best part? The entire faux waterfall surround cost us around $30 to build.
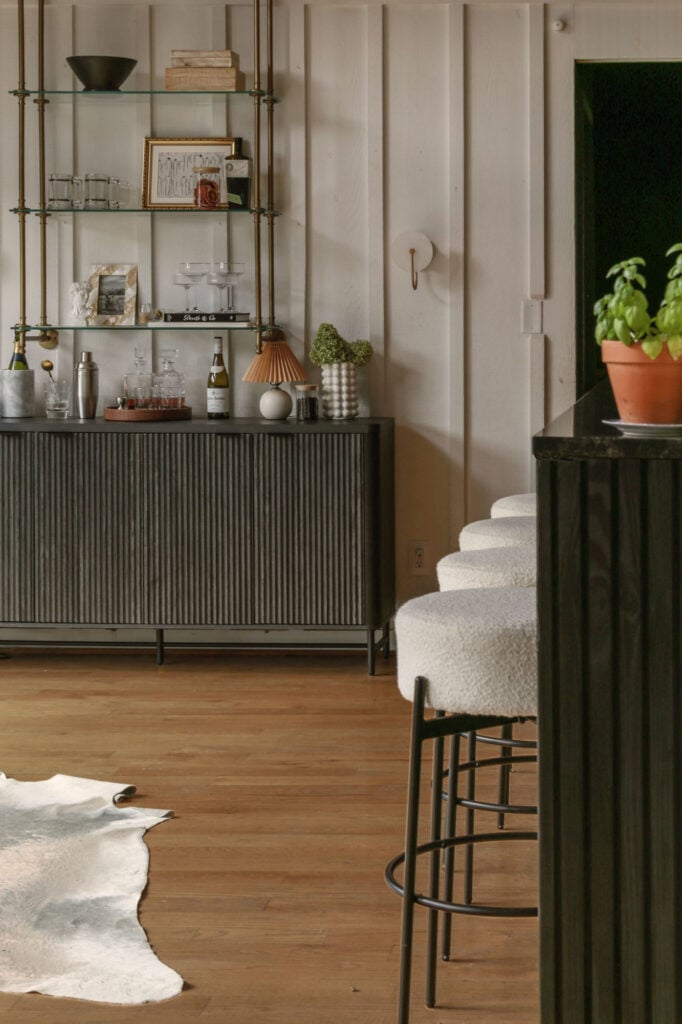
Why I Didn’t Do a “Real” Waterfall
Now… you may be wondering why we didn’t just install a true stone waterfall when we replaced the bar countertop in the first place.
Well…aside from the obvious budget issue, there was another logistical problem…
Like most of the renovations in this house, our kitchen had to happen in phases. At the time, I only had enough in the budget to replace the bar and island countertops with honed black granite (the perimeter countertops would have to wait another two years).
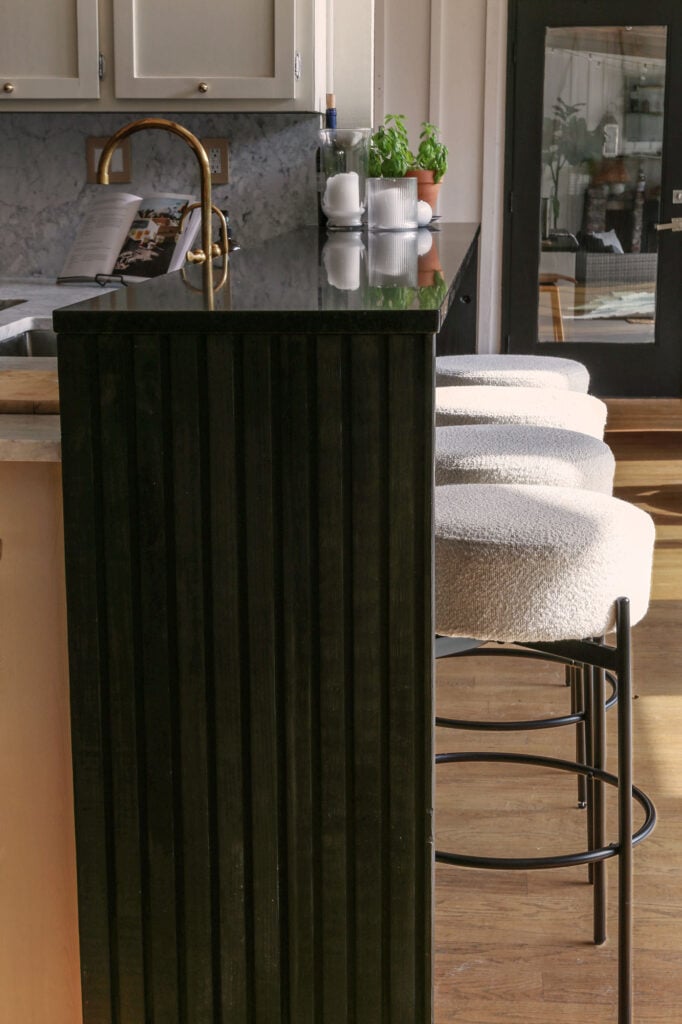
And because of the way everything connected, I knew the black granite bar top would eventually need to be temporarily removed when it came time to replace the perimeter countertops and backsplash. So… permanently installing two stone waterfall panels underneath a countertop we already knew would have to come back off would’ve made very little sense.
So …even if my wallet had been feeling a little more generous, the timing wasn’t exactly ideal.
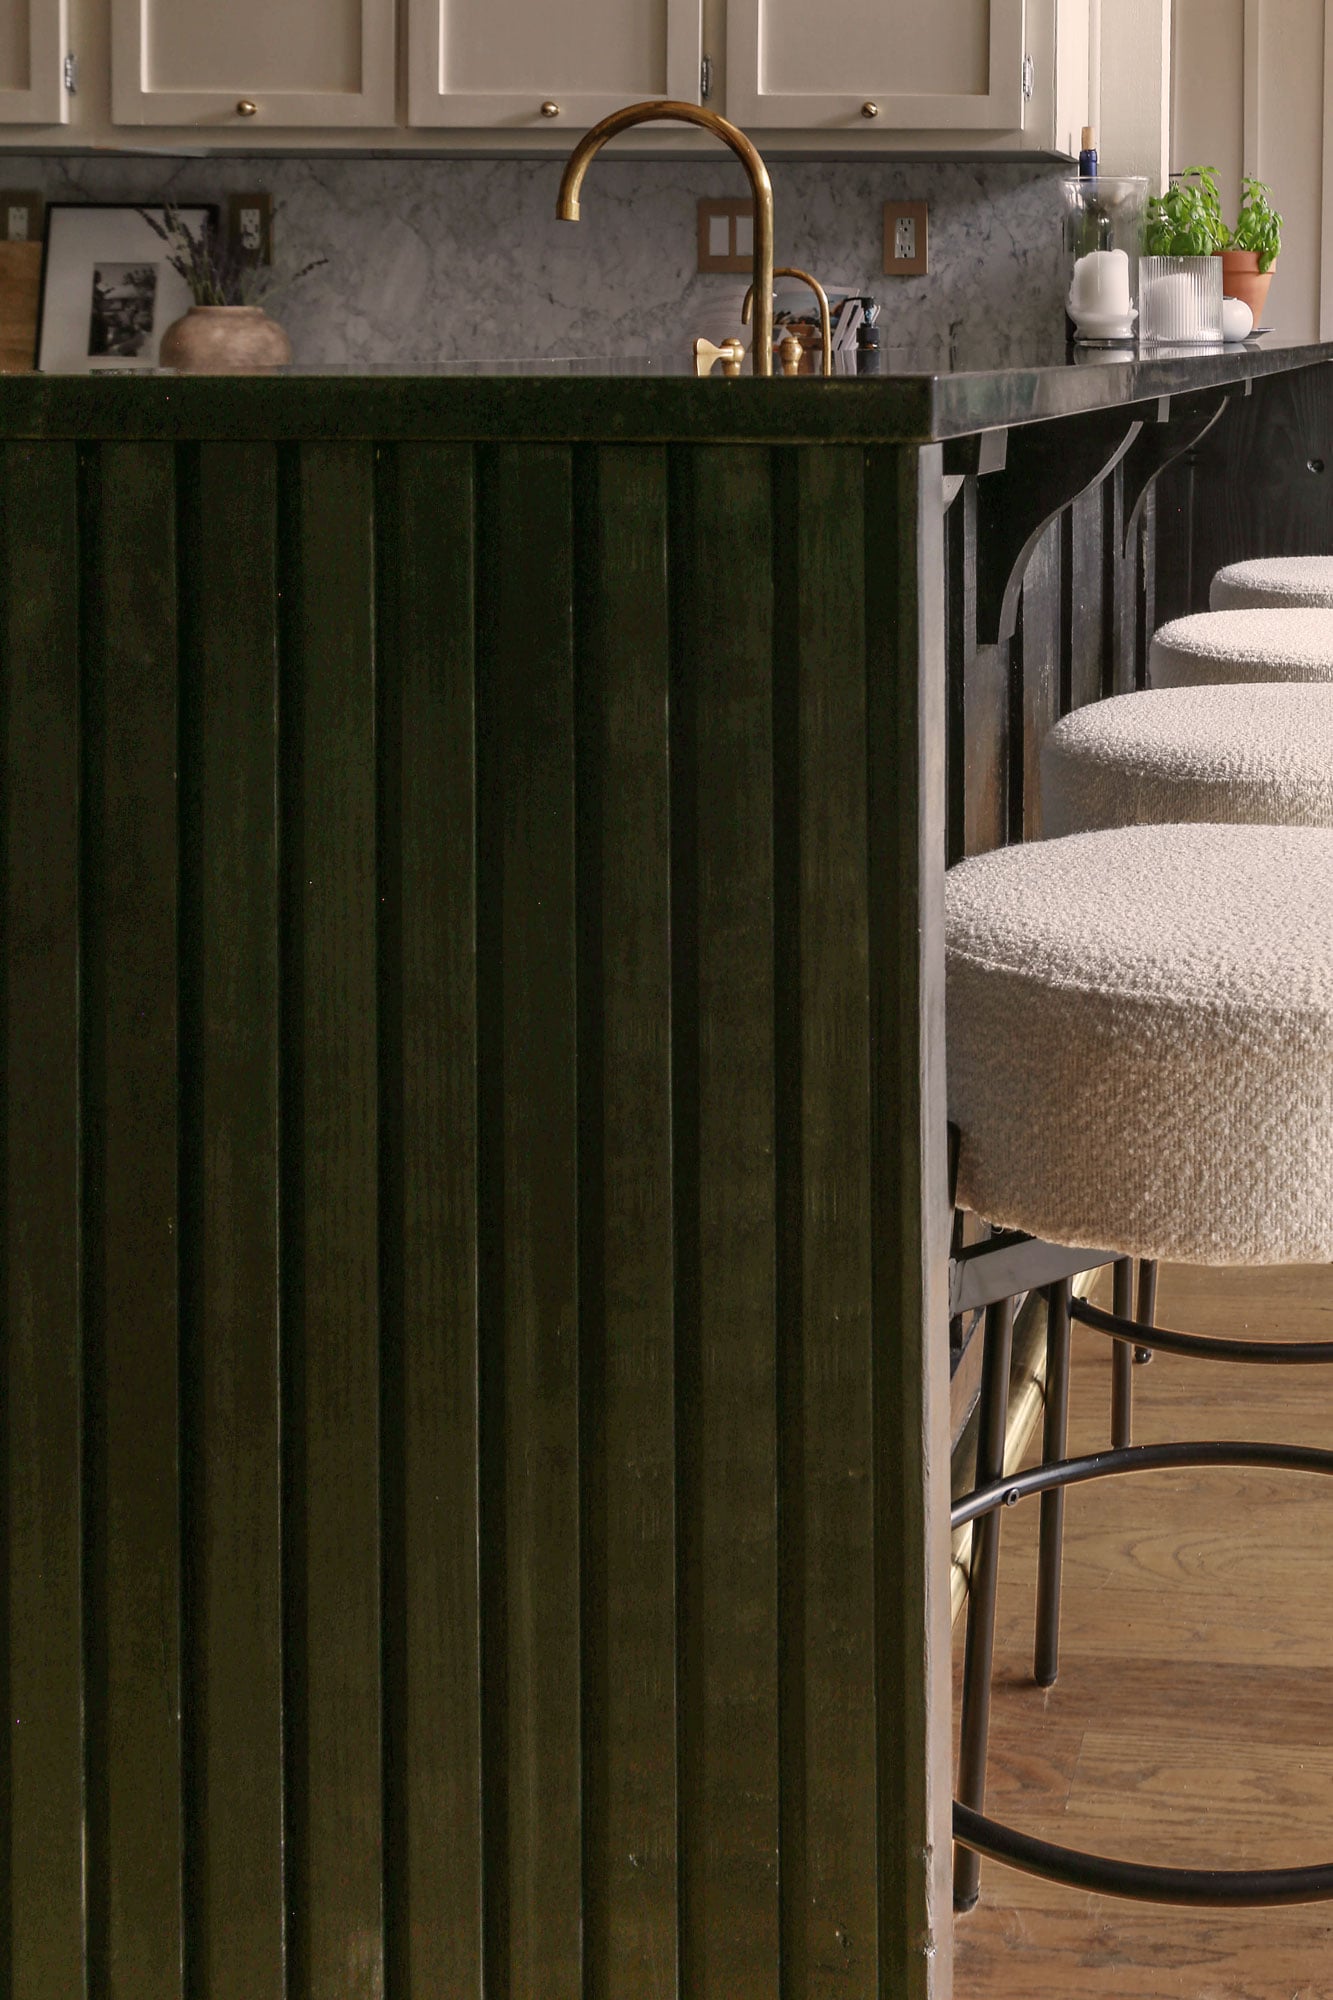
Now that you know the rationale behind my choices, let me show you how to recreate this look for your own home…
How to Build a DIY Faux Waterfall Countertop:
Supplies Needed:
- Circular saw
- Clamps
- Router (for channel/fluted detail)
- Wood glue
- Kreg R3 pocket hole system
- 2x boards
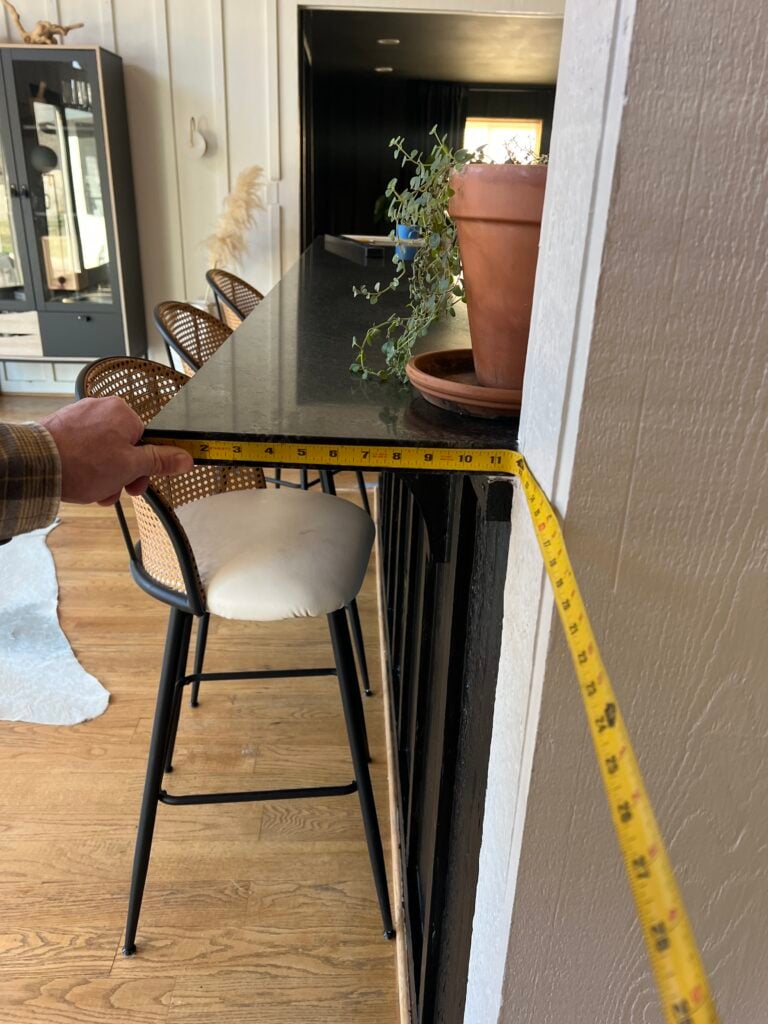
(Step 1). Determine dimensions for the waterfalls.
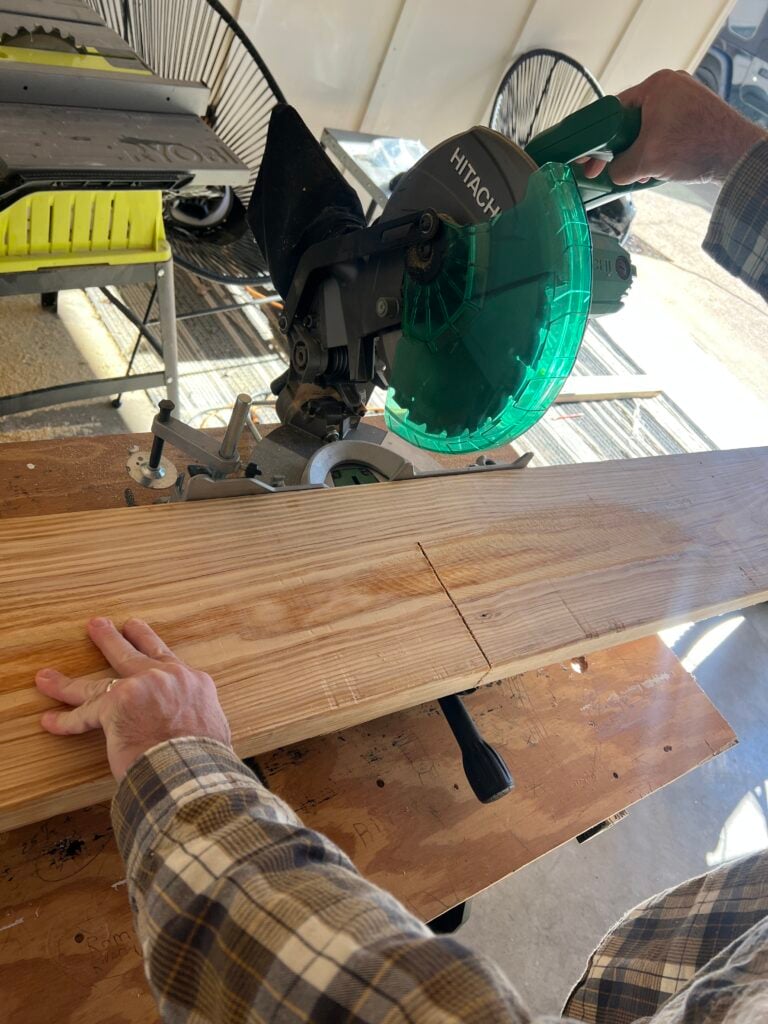
(Step 2). Cut 2x stocks to desired dimensions.
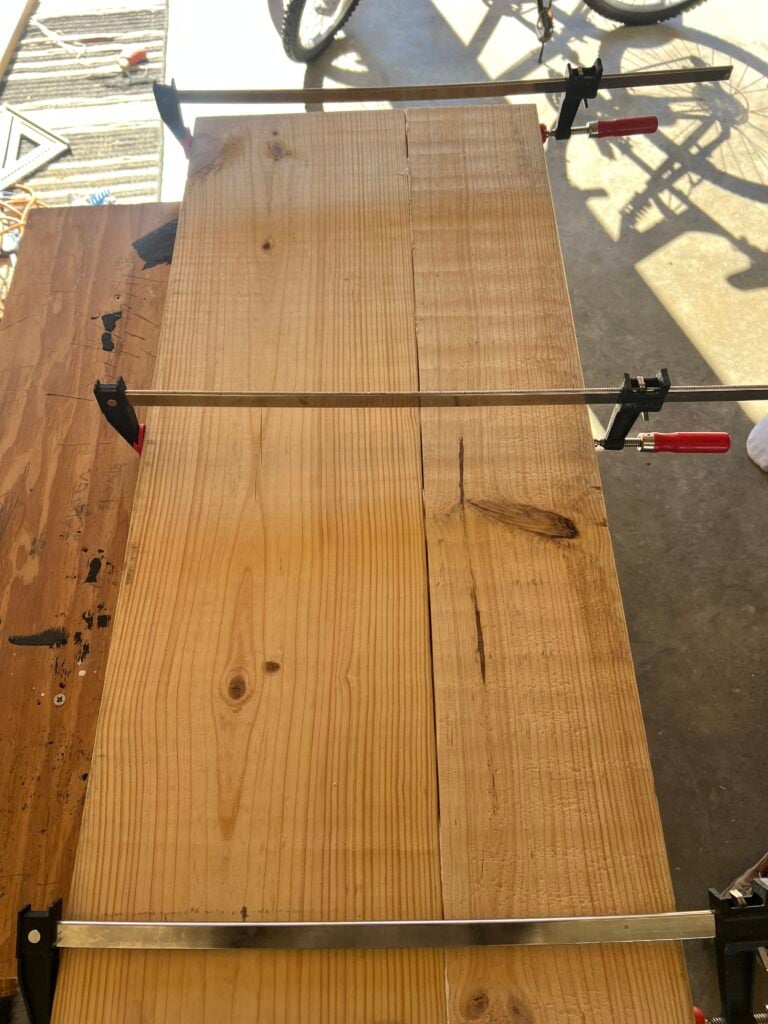
(Optional) On one side of our bar, we had to join two boards together to create the proper width. If this is the case for your project, use wood glue and clamps to connect the boards.
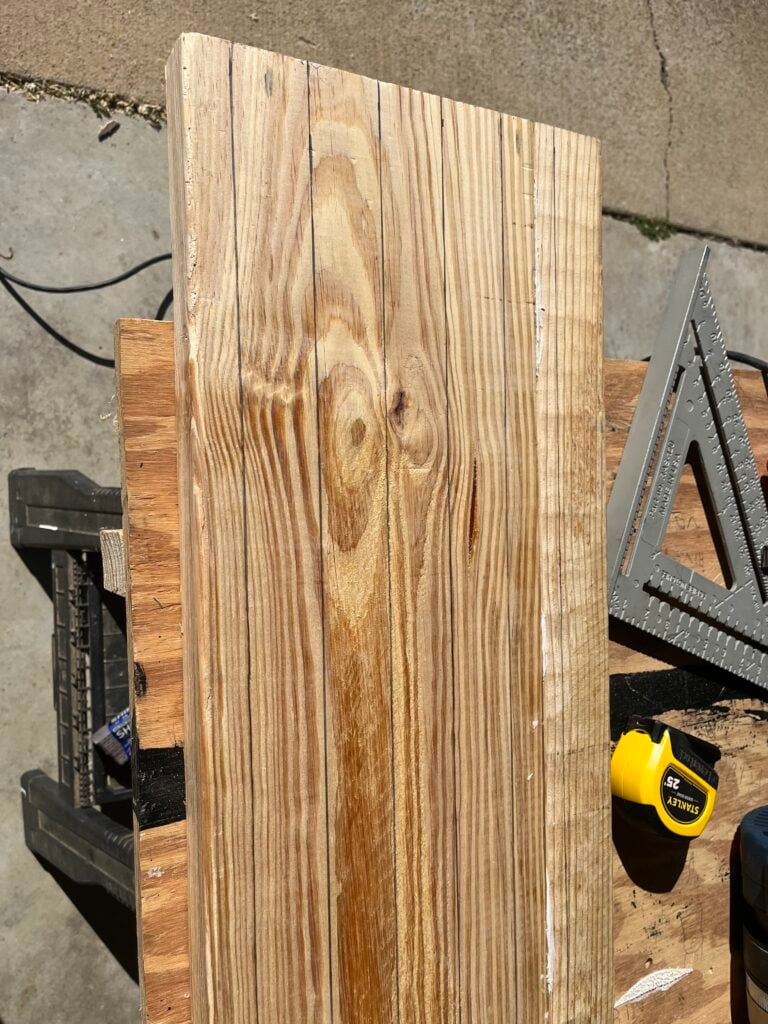
(Step 3). To create a channeled, textural effect in your waterfall, mark lines on your boards for desired grove spacing.
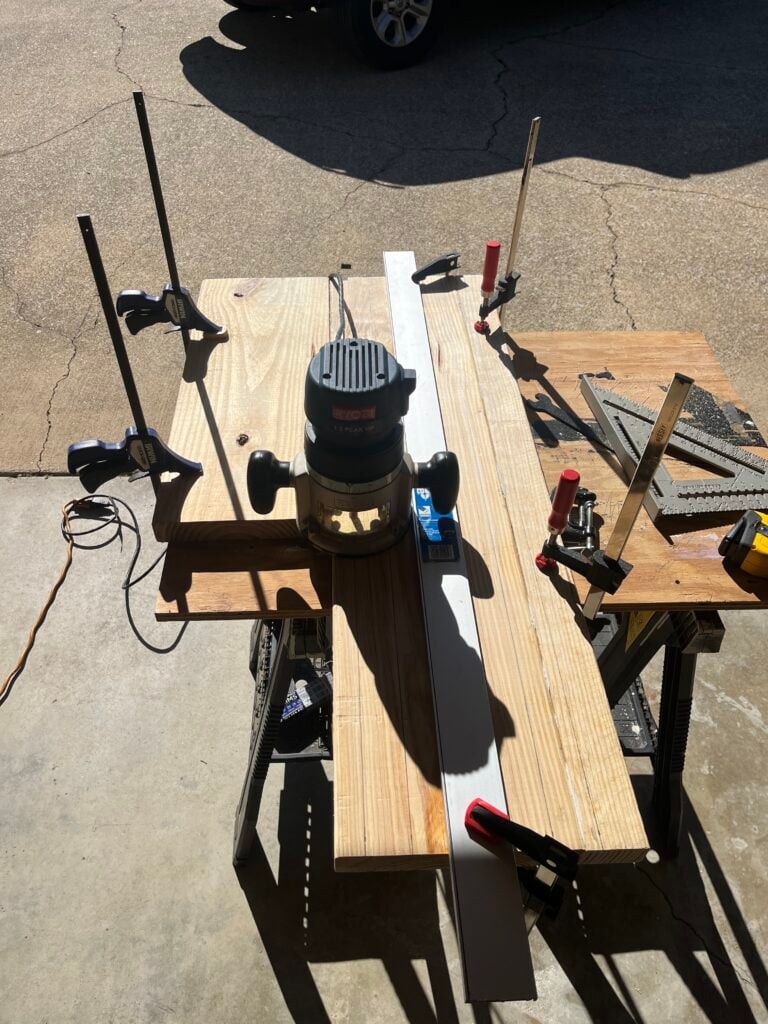
(Step 4). Set up router to desired depth and use correct router bit for groove width.
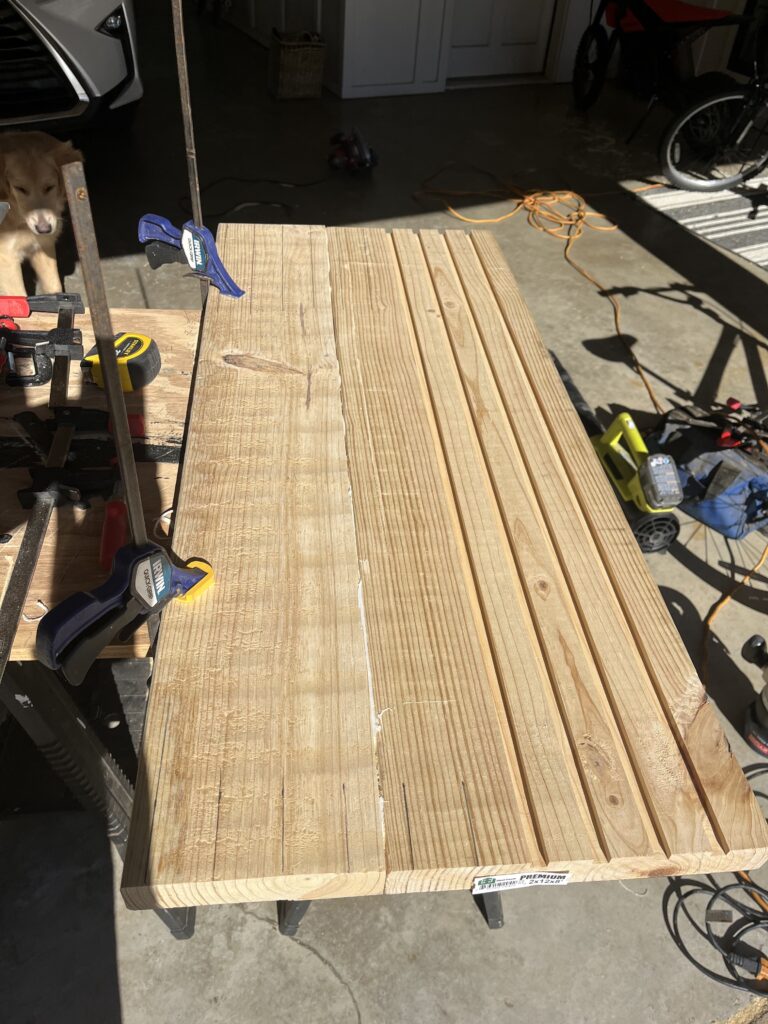
(Step 5). Secure guide for router to the right side of the router. Since the router bit turns clockwise, the router will want to pull itself to the right. That is why the guide needs to be setup on the right side of the router. As you move the router, it will pull itself against the guide.
(Step 6). Once grooves are formed, you can now sand, prime and paint your boards. I painted mine Tricorn Black by Sherwin Williams to match my black granite counters.
Ok…remember those Christmas decorations in the “before” photo? Well…here’s where that becomes comical. So although we built the faux waterfalls in about a day (right after Christmas), we had no idea our practically brand-new marble countertops were about to need replacing (due to a rare oxidation issue). Since the black granite bar top had to be temporarily removed during that process, our finished waterfall sat patiently waiting for months before we could actually install it.
But once the new perimeter countertops were finally in and the bar top was safely back in place, we were ready to permanently attach the waterfall (it only took half a year).
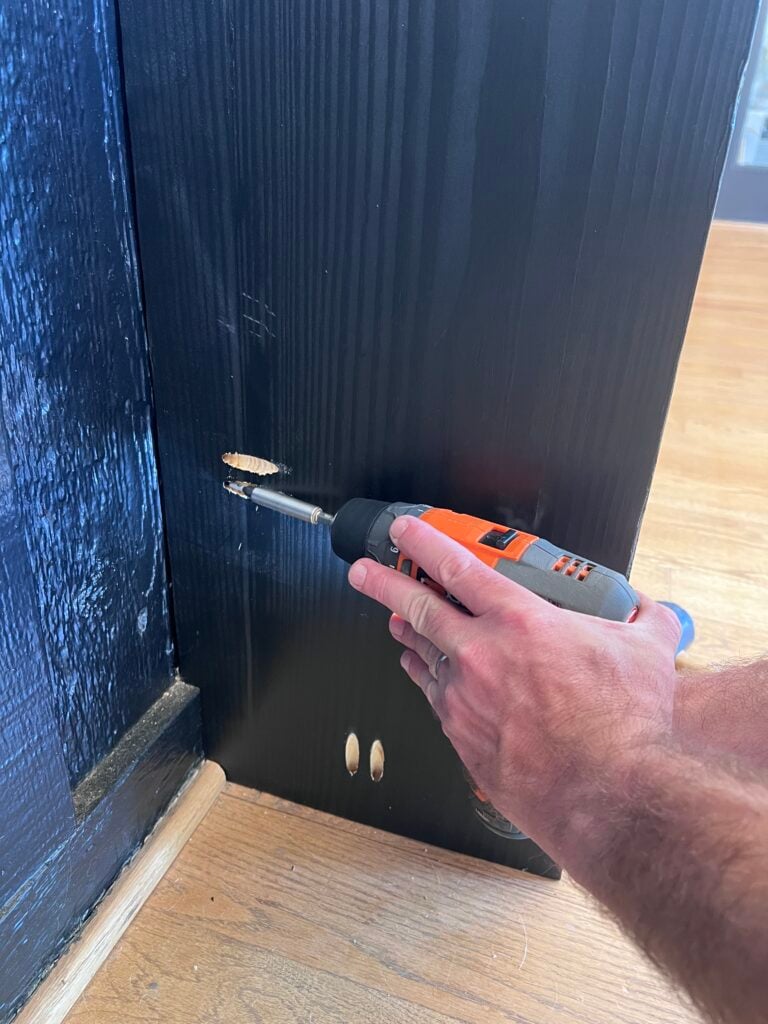
(Step 7). To ensure the waterfall counters stay in place, we decided to attach them to the wood floors and to the wood base of the bar. We used pocket joinery ( Kreg R3 pocket pocket hole system) to secure waterfalls to the bar and floor.
I then had to do back in and repaint the places where the pocket holes were drilled so that they were adequately concealed.
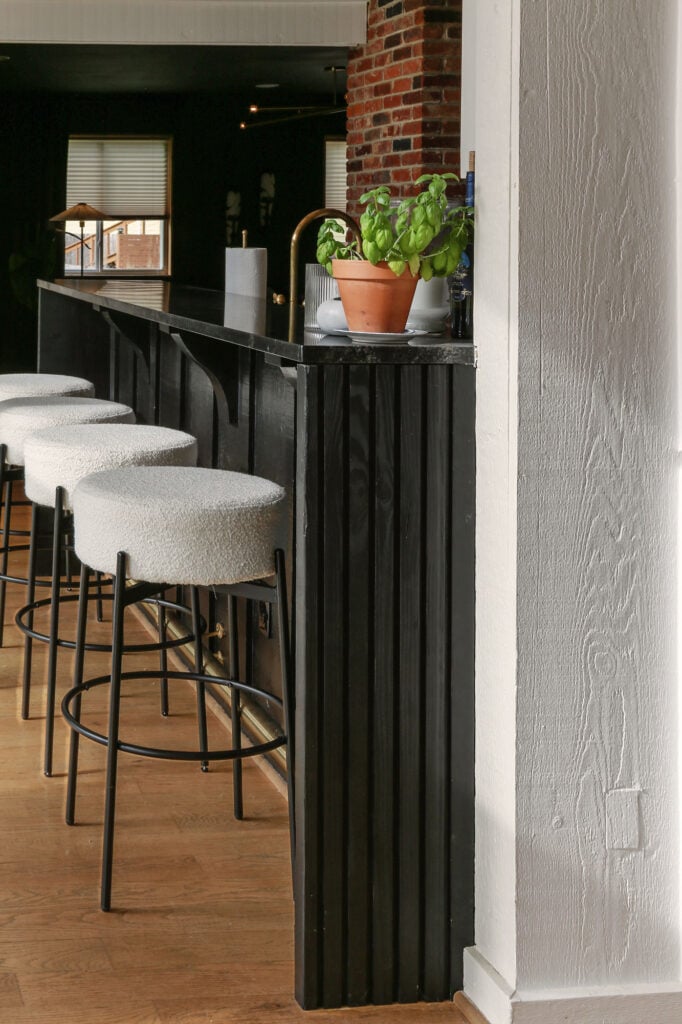
While real stone waterfalls would have been ideal, that simply wasn’t in the cards for me.
Nonetheless.. for such an inexpensive DIY, I honestly can’t believe how much more finished the entire bar feels now.
Thank you so much for stopping by and spending some time with me this week! I hope this post inspired you to embrace the “dreaded” raised kitchen bar (whether ripping out perfectly good cabinetry simply isn’t in the budget, or, like me, you’ve realized the damn thing is actually pretty practical).
Until next time, keep on designing a life that feels as good as it looks!


Welcome!
My journey in interior design and home improvement began with transforming my first fixer-upper home, all while managing a budget and raising two young boys. My work, a reflection of my passion for creating beautiful, uplifting spaces, has been recognized by top publications like Better Homes and Gardens Magazine, HGTV, and more. I invite you to explore my site and witness the transformation of my home and the vibes we've designed. Read more...




That looks amazing! I think I’d rather hold keep my money and do that, because it’s gorgeous! The brass rail across the bottom is stunning to me, as I like shiny things 🤩
Enjoy the remainder of your summer.
You know I’m always looking for a way to get the look without spending a small fortune, Donna! 😂 Thank you so much for always cheering on my crazy little projects…it truly means a lot to me. And I hope you soak up every last bit of summer too, friend! 🤍