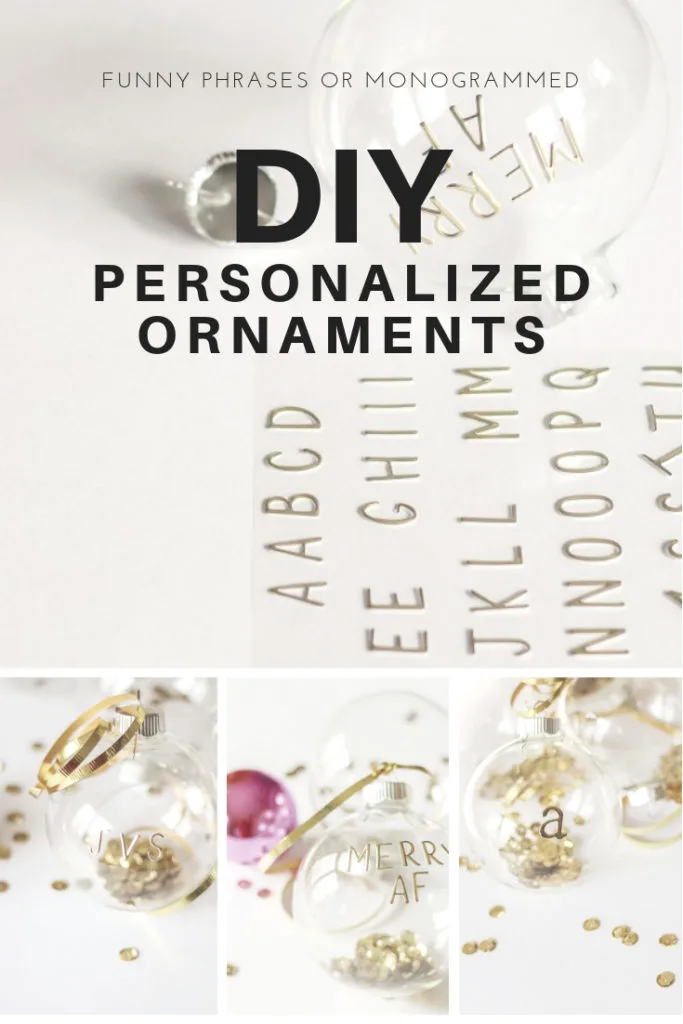
If you are in need of cheap Christmas gifts for your friends, you will definitely want to check out this tutorial for easy, DIY personalized Christmas ornaments.
As you will see below, I have provided two different takes on this personalized ornament: a modern, inappropriate version for those friends with a sense of humor and a tamer approach with the standard monogrammed ornament (at the bottom of the post).
If you checked out part one of my Christmas Home Tour, you may have noticed my “Festive AF” banner in my mudroom…
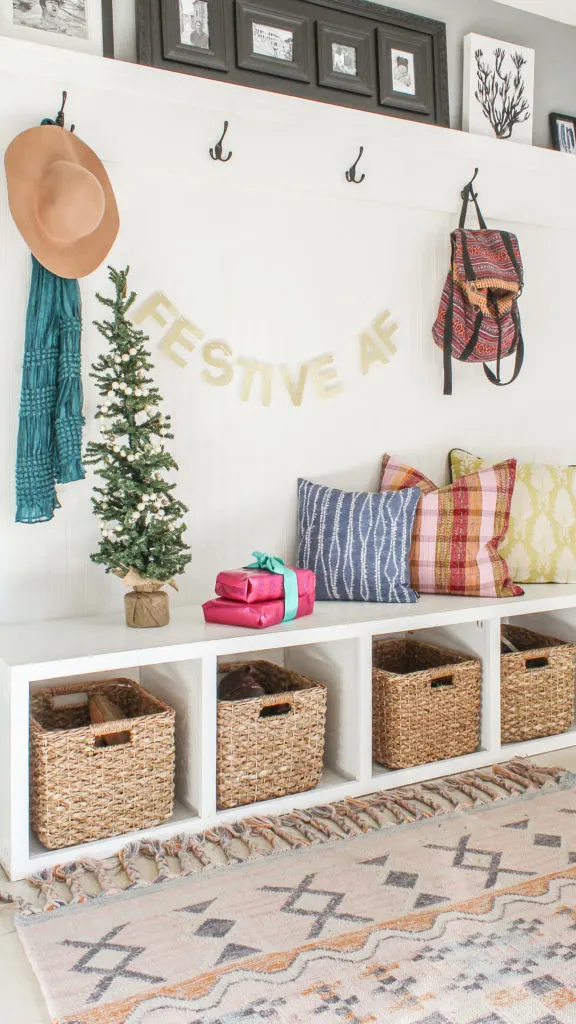
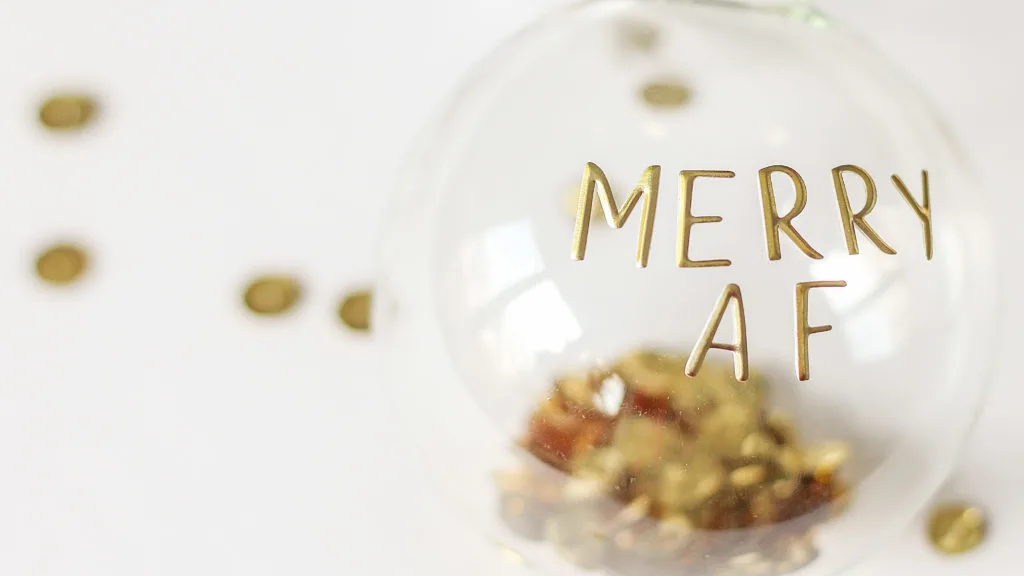
The funny verbiage not only tickles my inappropriate sense of humor, it has also seemed to give many of you the giggles. So, I thought I would take it a step further and find a way to spread the laughter in the form of a modern, DIY Christmas ornament. If you are looking to brighten a fellow, potty-mouth friend’s day, I think this “Merry AF” ornament would make a great holiday gift. It would also be adorable to give as a favor if you are hosting a holiday party.
So let me show you how I made these babies in 3 simple steps. I promise…..it is easy AF, friends.
DIY Personalized Ornament Materials
- large, clear Christmas ball ornaments (I used 4 inch)
- gold alphabet stickers of your choice (just make sure scale of letters are in proportion to size of ornament)
- gold sequins
- ribbon (optional)
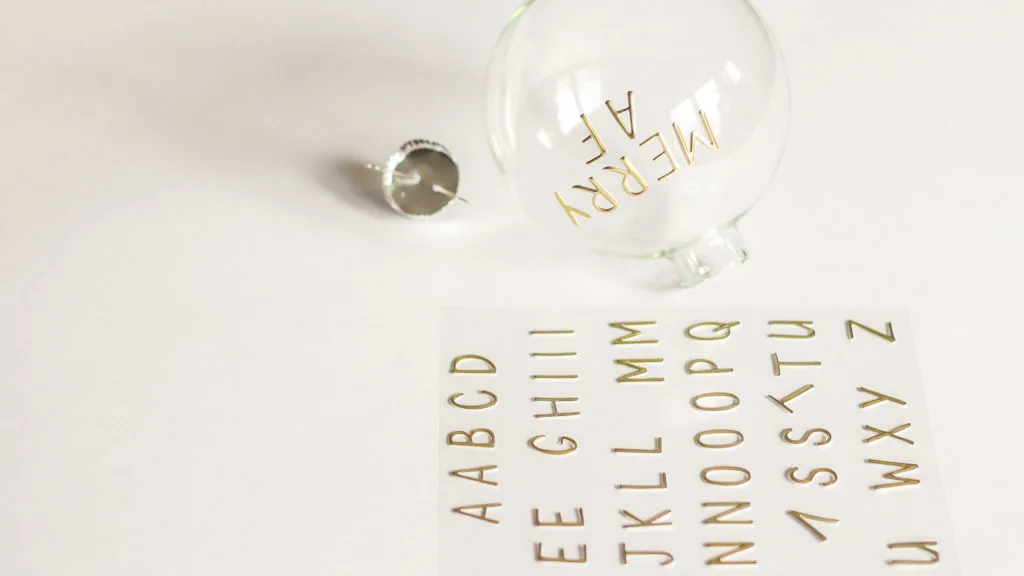
(Step 1) Decide what text you want to use, and apply letter stickers to the ornament. I purchased multiple types of stickers to see which worked best for the ornaments. I will say that some stickers adhere (and are more durable) than others. So I recommend buying a few different types of stickers to see which stick to the ornament the best. If you notice the letters are not sticking as well as you would like (if you are using thick, embossed designs)you can always dip the back of the letters in hot glue….just don’t use too much or the excess will be evident on the ornament.
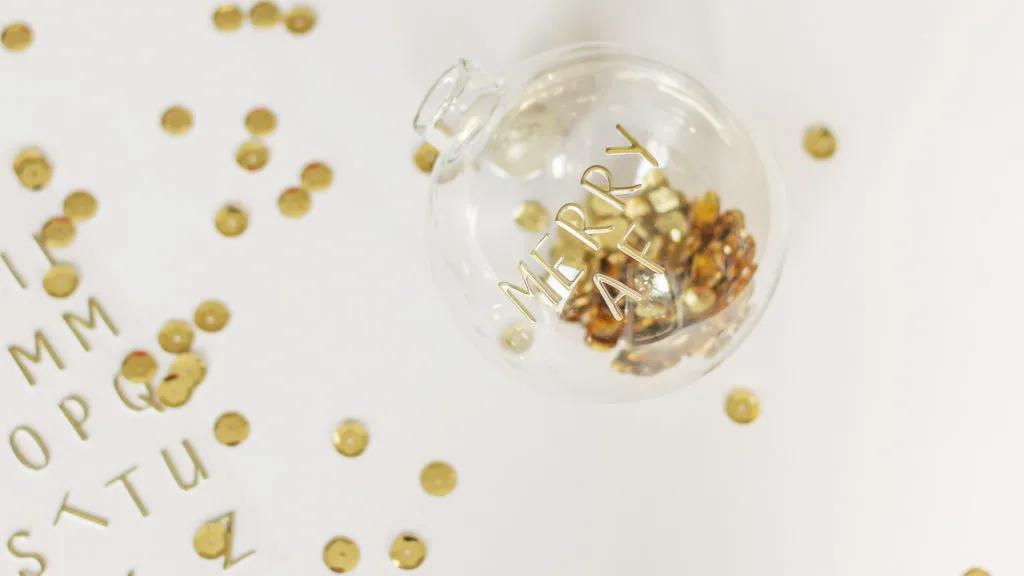
(Step 2) Once your phrase is complete, take the metal top off of the ornament and partially fill with sequins. Place top back on ornament. So that the text remains clearly visible, be sure not to fill the ornament too much as you will not be able to distinguish the gold letters from the gold sequins.
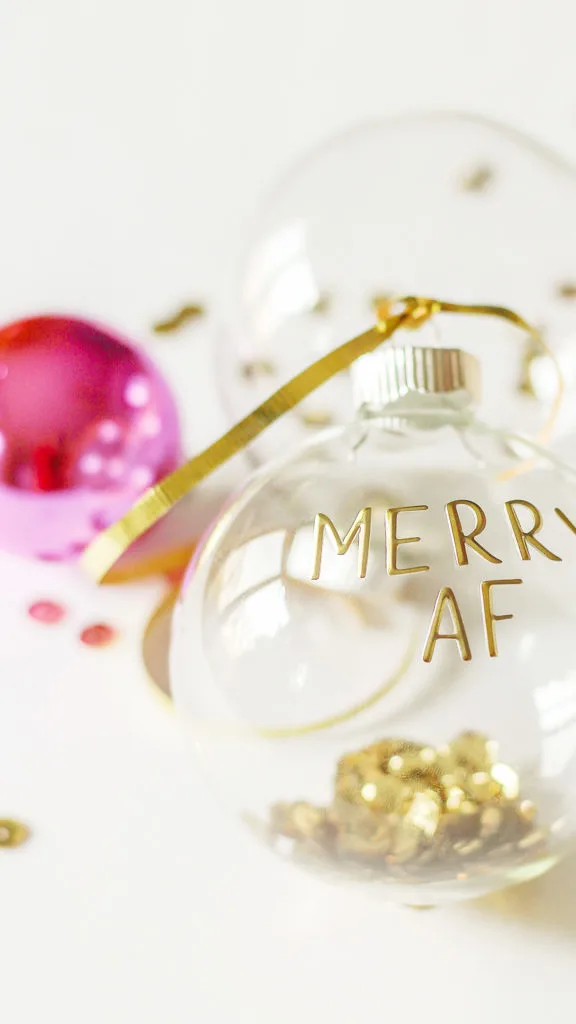
(Step 3) This step is completely optional, but for a little more glam factor you can loop some ribbon through the top of the ornament. Voila….your ornament is complete!
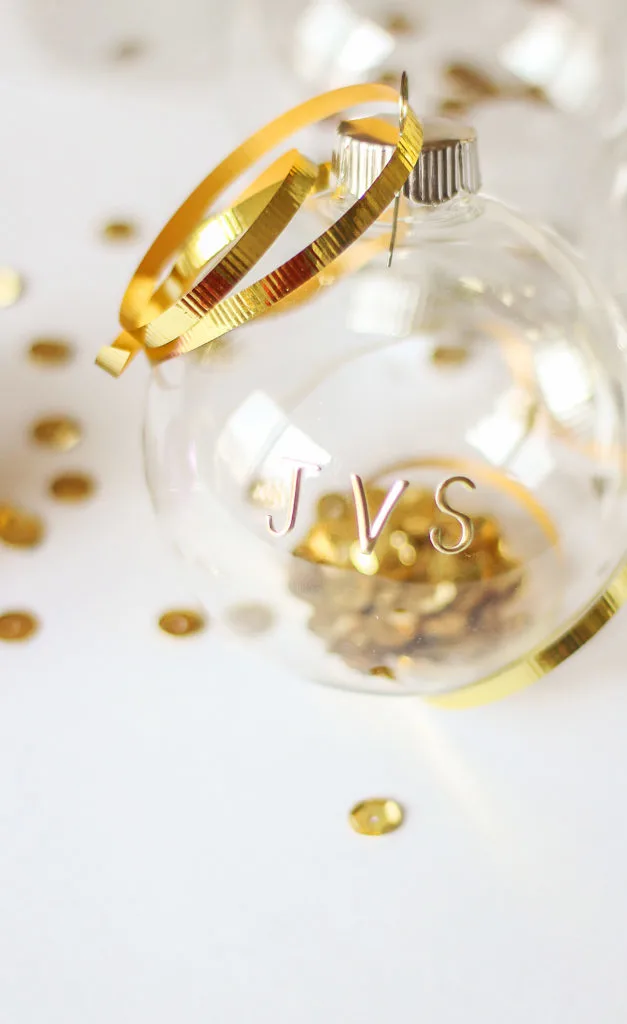
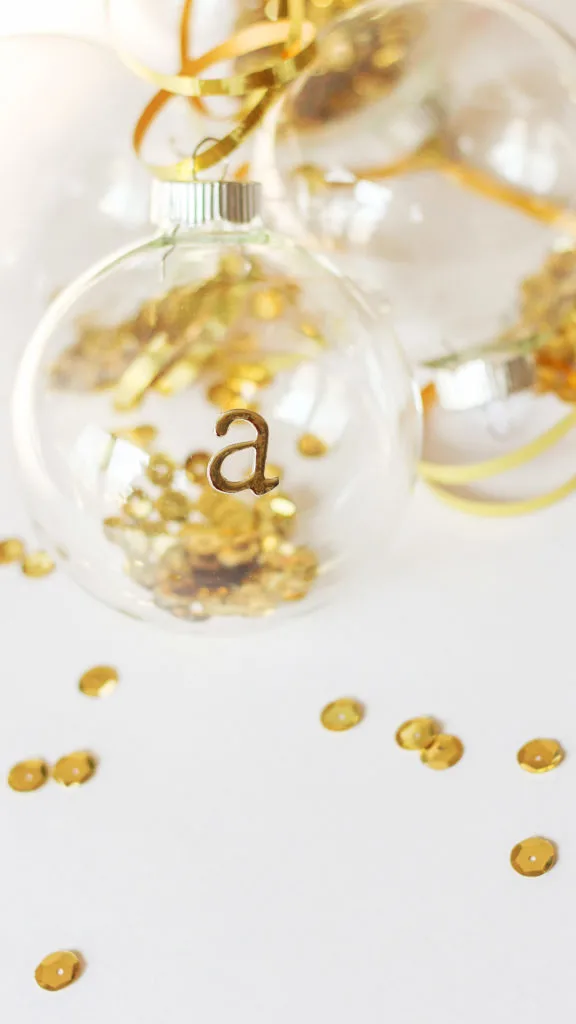
And for those of you not wishing to rock the comedic boat so to speak, you can always add the alphabetic stickers in a monogrammed fashion as you can see below….
Now please excuse me as I return to my holiday regimen of chocolate chip cookies and Irish coffee…I am busy working on my winter blubber.
Wishing all of you a very Merry Christmas!
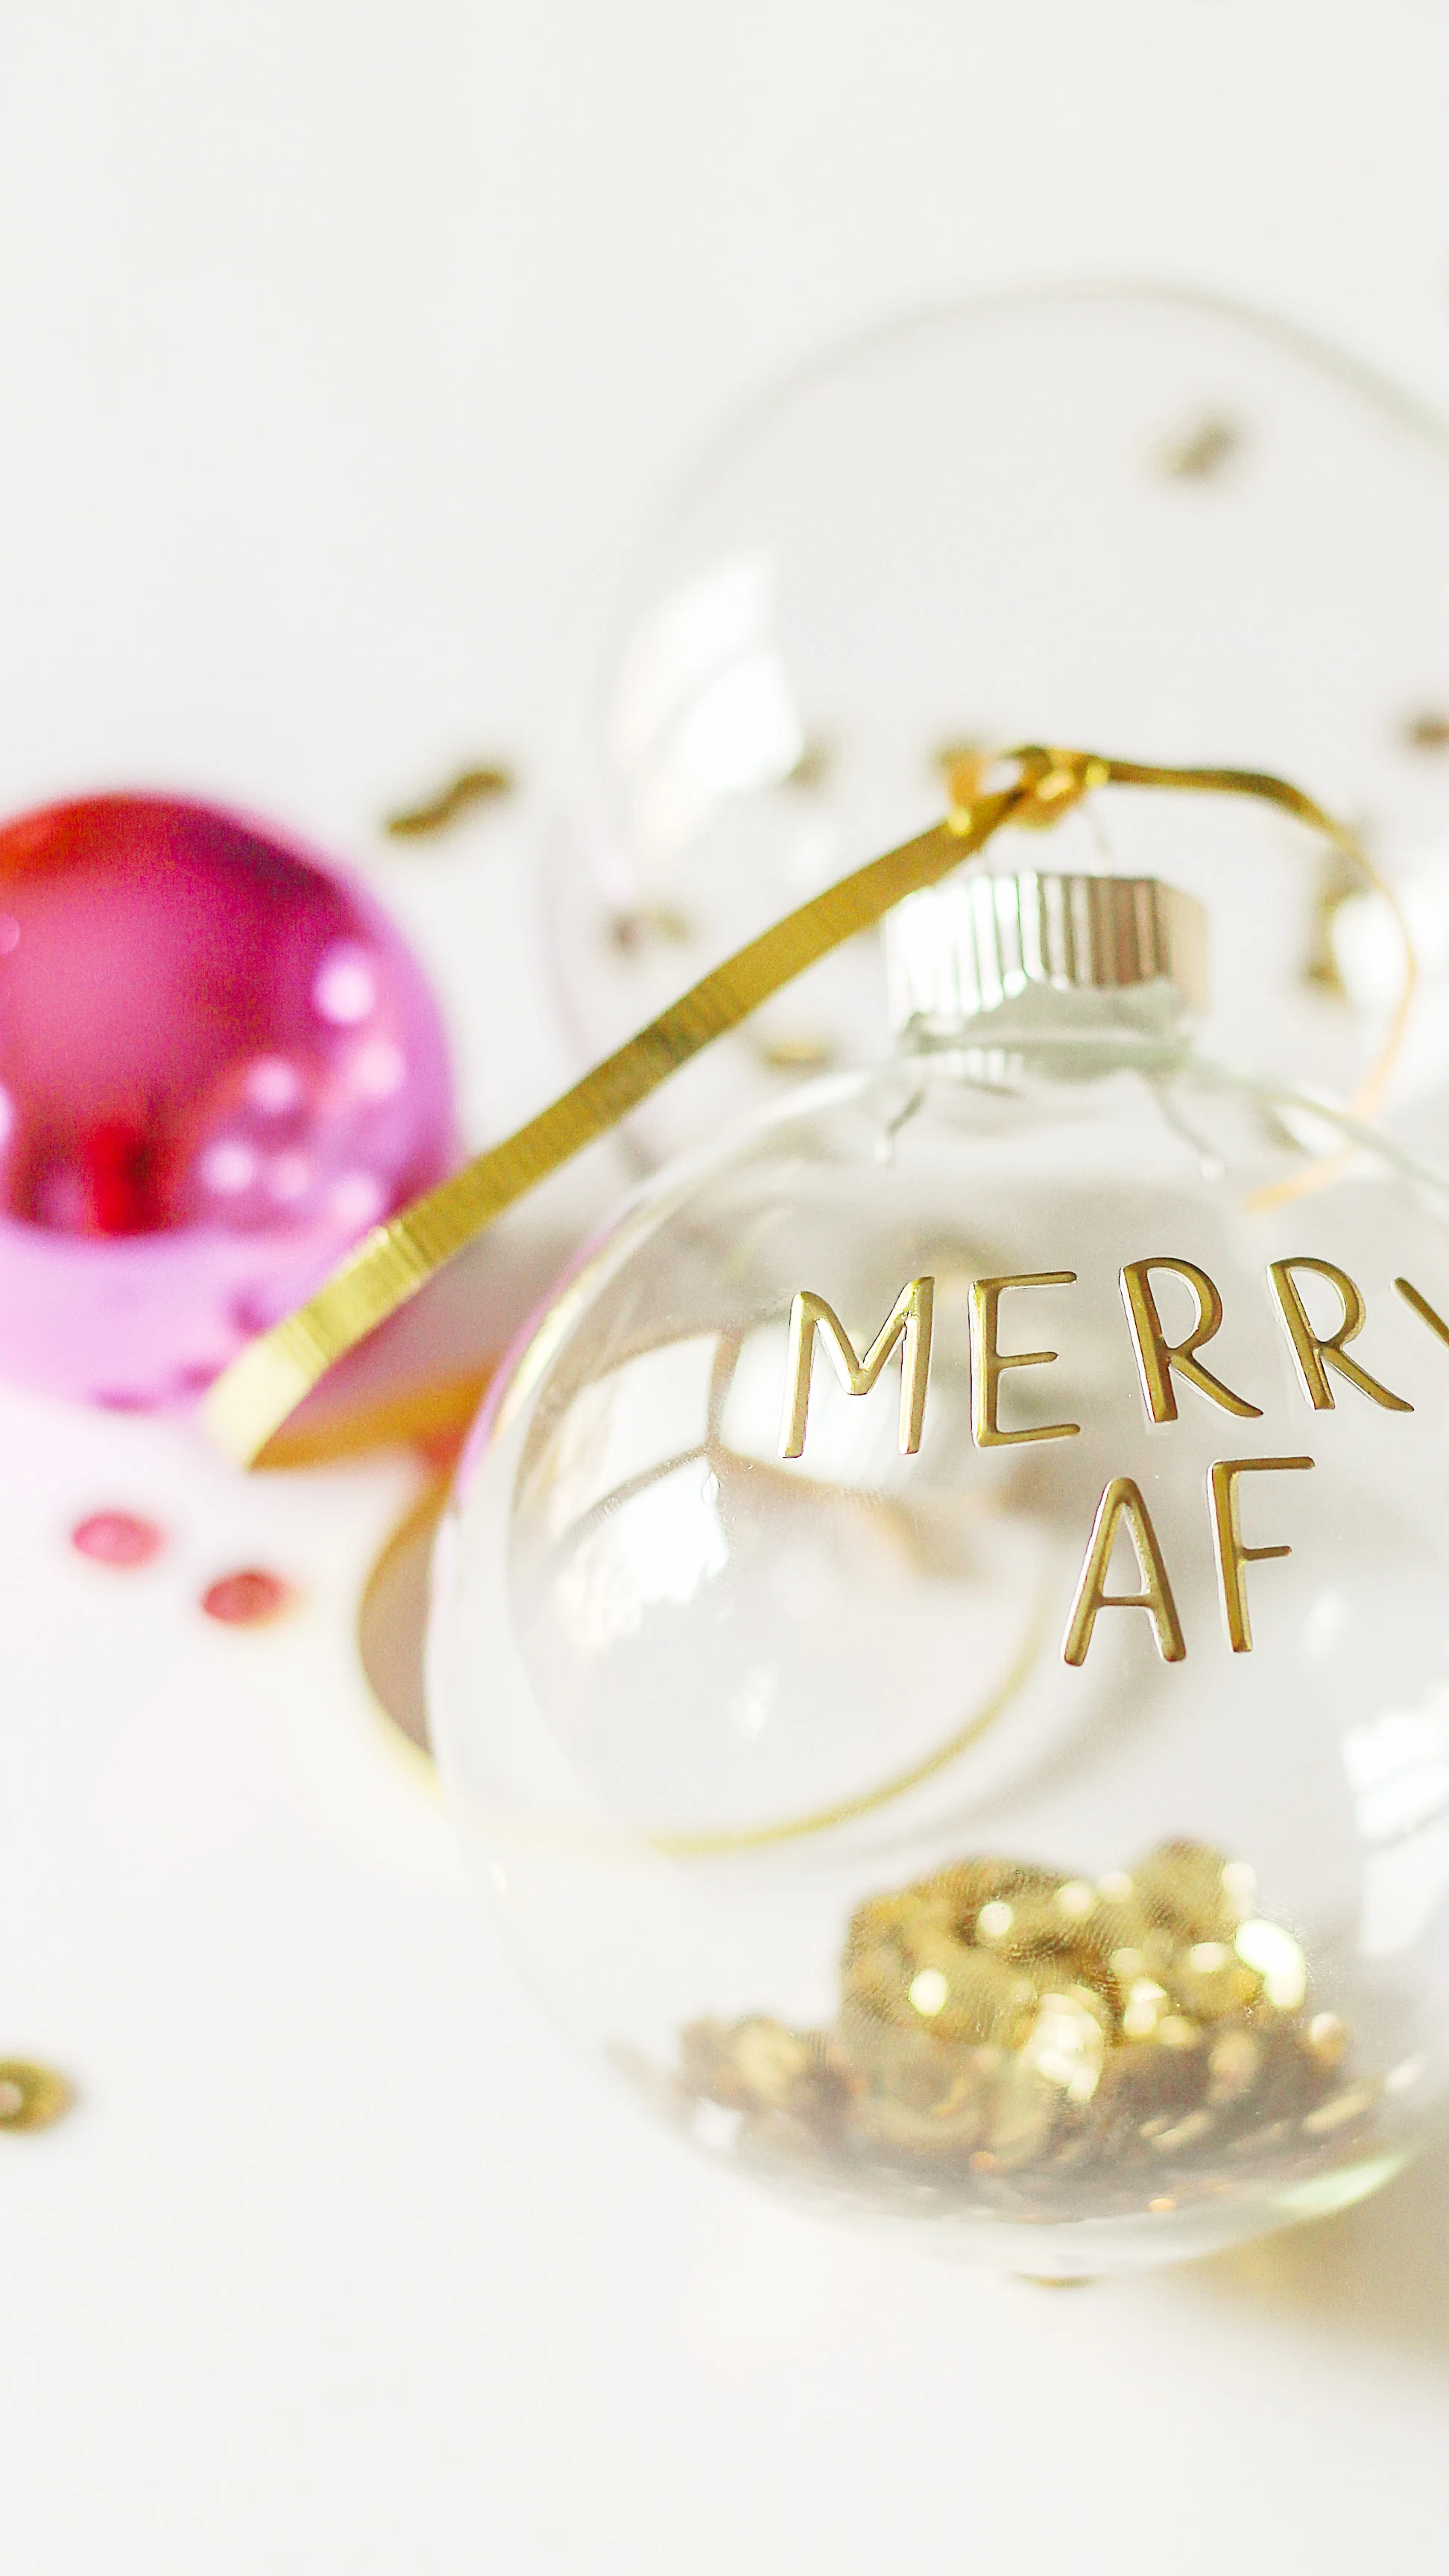
Now get out there and design some good vibes, and please spread the love by pinning….




Beth
Sunday 3rd of December 2017
Super cute, and love how easy they are!
Designing Vibes
Monday 4th of December 2017
Thank you so much, sweet friend!
neelam
Saturday 2nd of December 2017
Erica! These are so great! What a great idea for a hostess gift. xx Neelam
Designing Vibes
Sunday 3rd of December 2017
Thank you so much, Neelam. Wishing you a happy holiday season.