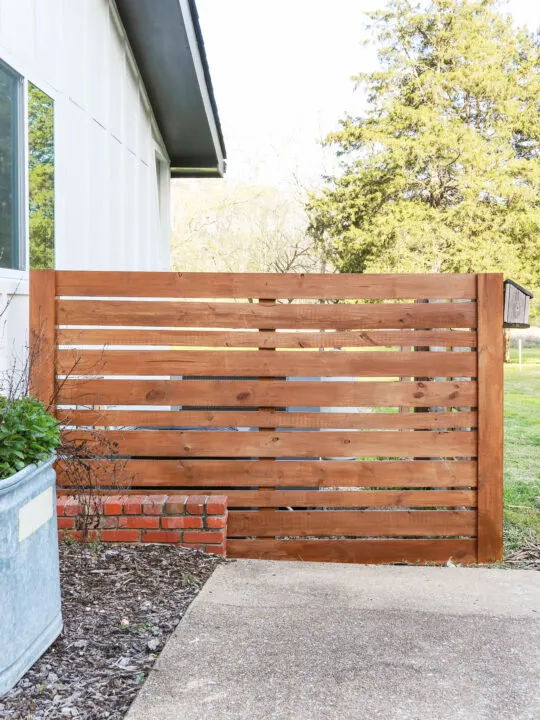
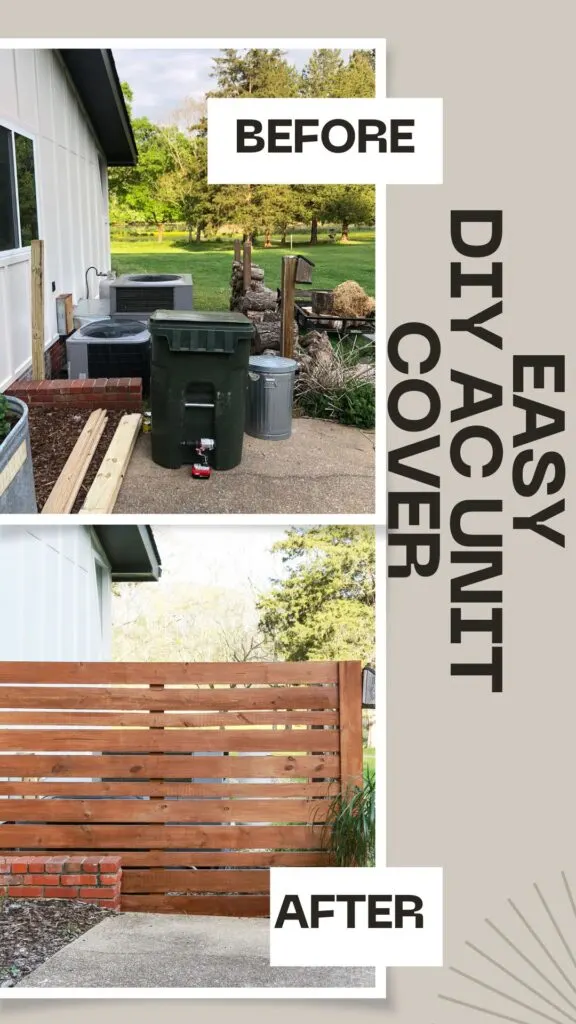
With spring in full bloom, now is the perfect time to start thinking about curb appeal and other outside oriented home improvement projects. In today’s tutorial , I am sharing how to hide that eyesore of an air conditioner unit and/or trash can with this simple DIY cover fence.
While AC units are certainly one of the most incredible marvels of modern times, let’s face it, they aren’t very pretty to look at.
In fact…I would go as far as to say that they are ugly AF.
Throw in some garbage cans and a propane tank on top of the two unsightly AC units, and you have one hell of monstrosity as certainly was the case for me…
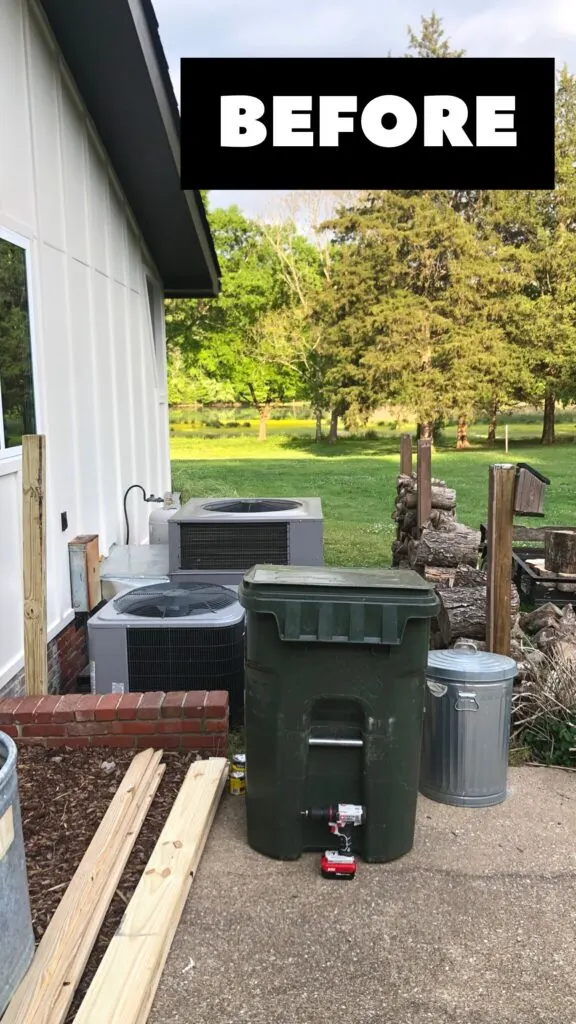
But with a little elbow grease and some treated pine boards, you can make some really magical sh*t happen- a fun little disappearing act of sorts.
Now you see it, now you don’t…
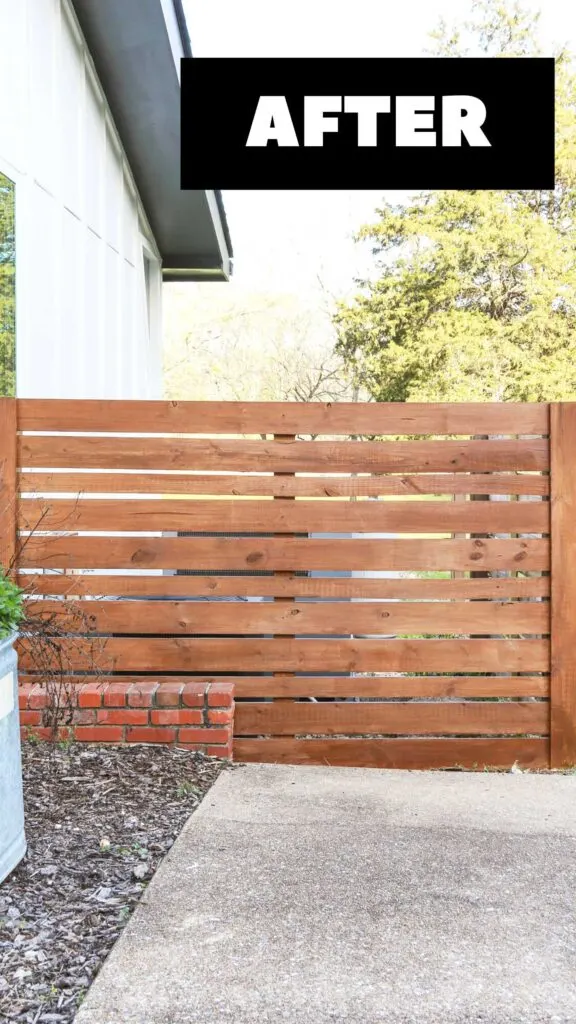
For half a day’s work and under $200 in materials, you too can give your outdoor space a major upgrade!
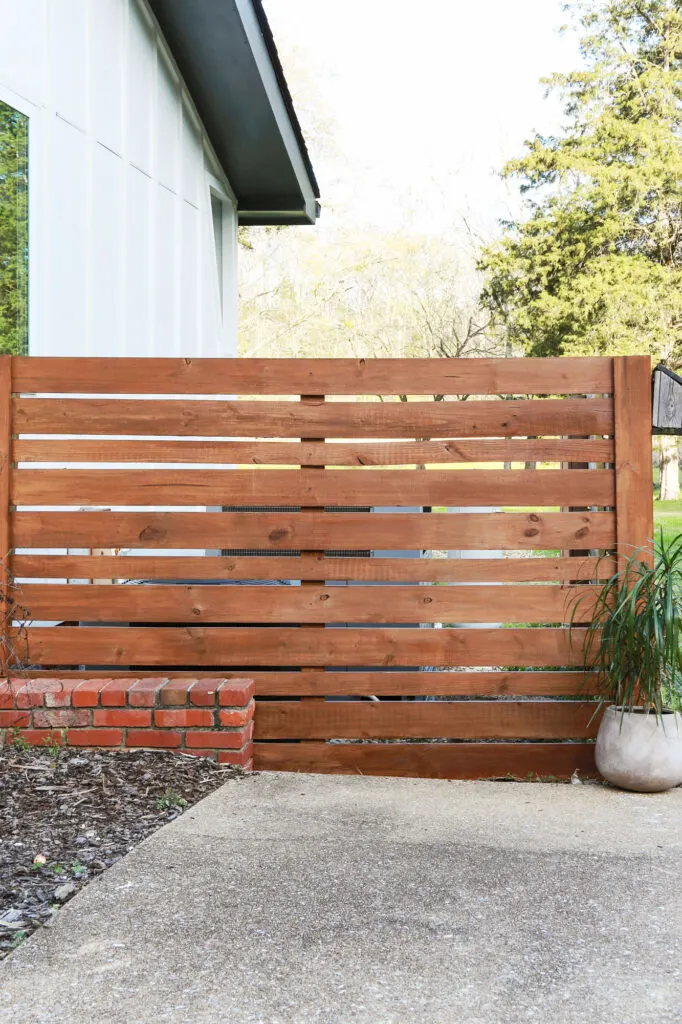
While everyone’s set up is different, my husband and I built our particular fence cover large enough to conceal two AC units, a medium size propane tank and an outdoor garbage can.
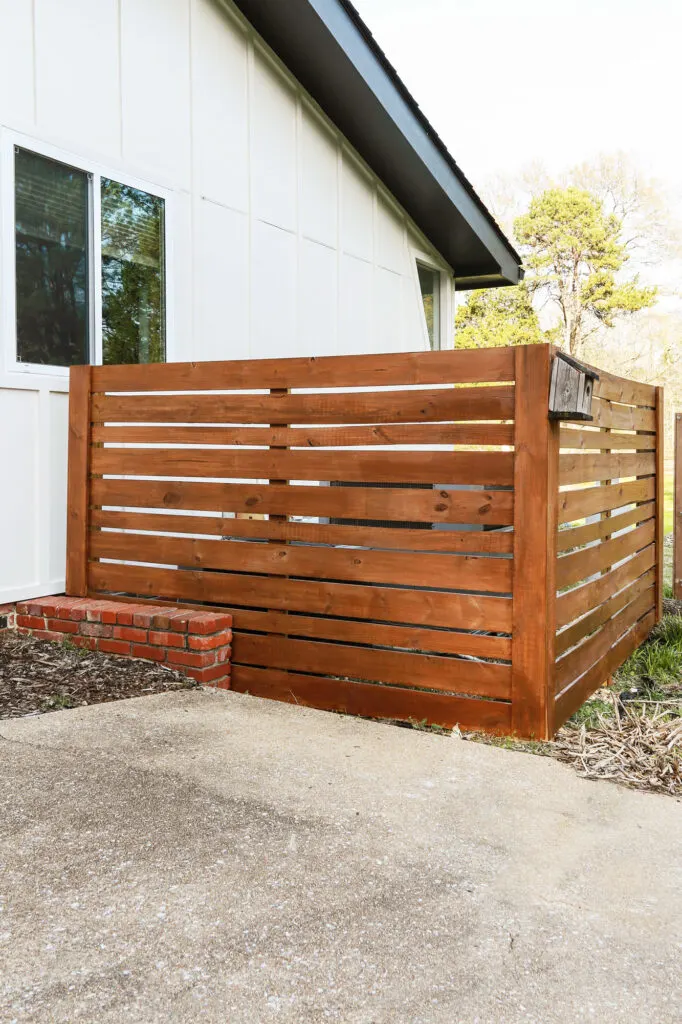
Let me show you how how we did it…
How To Build a DIY AC Unit Cover-
Materials Needed for AC Fence:
- Nail gun or driver
- Nails or screws (outdoor rated)
- Level
- Quick set concrete if installing post in soil
- Post anchors if installing post on concrete
- Miter saw
- Tape measure
- Clamps
- 1x boards
- 2×4 boards
- 4×4 posts
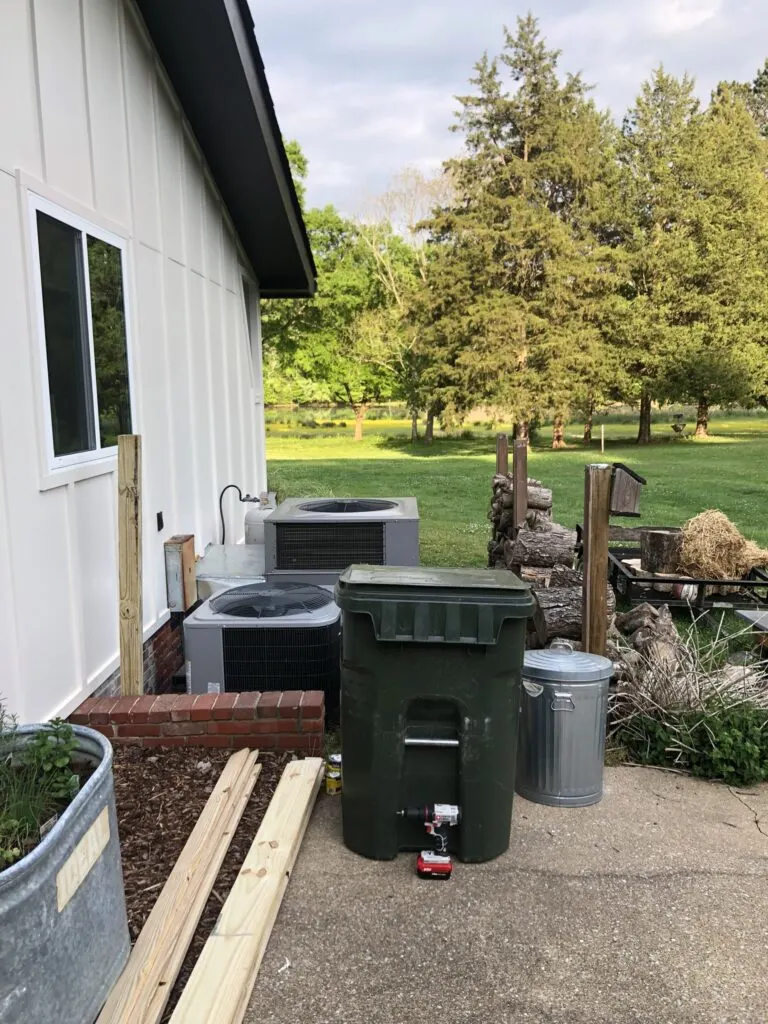
(Step 1). Install 4×4 pressure treated post. If installing on concrete, use a post anchor and follow anchor directions. If installing in soil, use a fast set concrete mix and follow directions on bag.
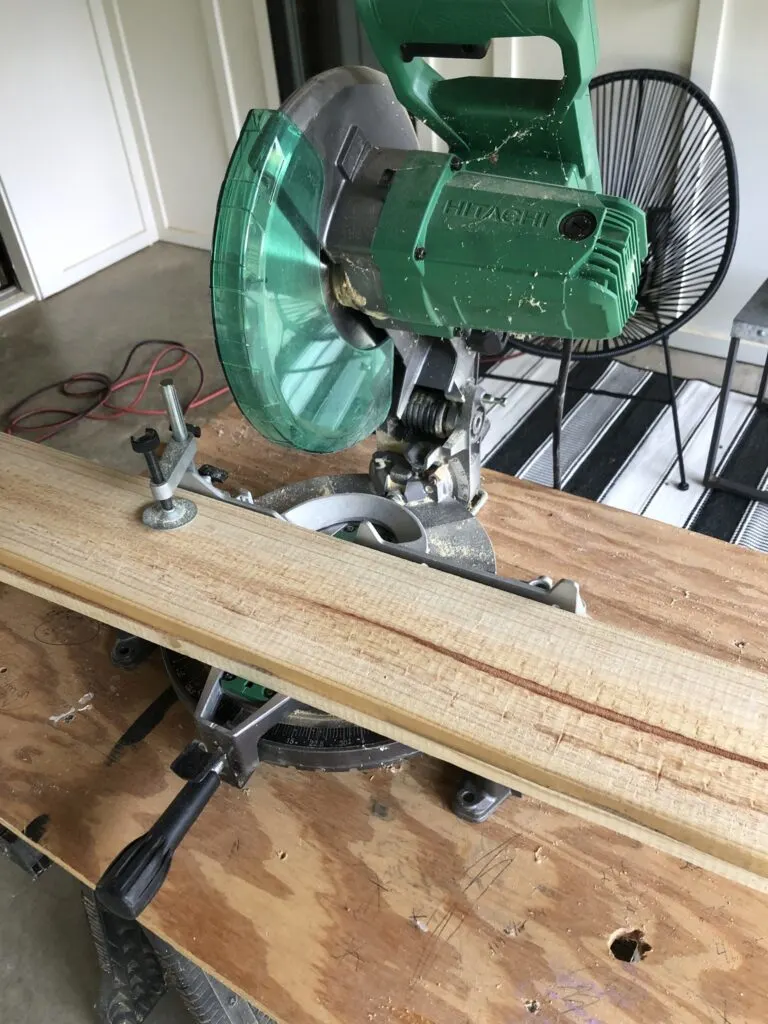
(Step 2). Cut horizontal boards to length. To add interest to the design of the boards, I used 1×4 and 1×6 pressure treated boards. After 2 1×6 boards, I added a 1×4 for variation. I repeated this pattern.
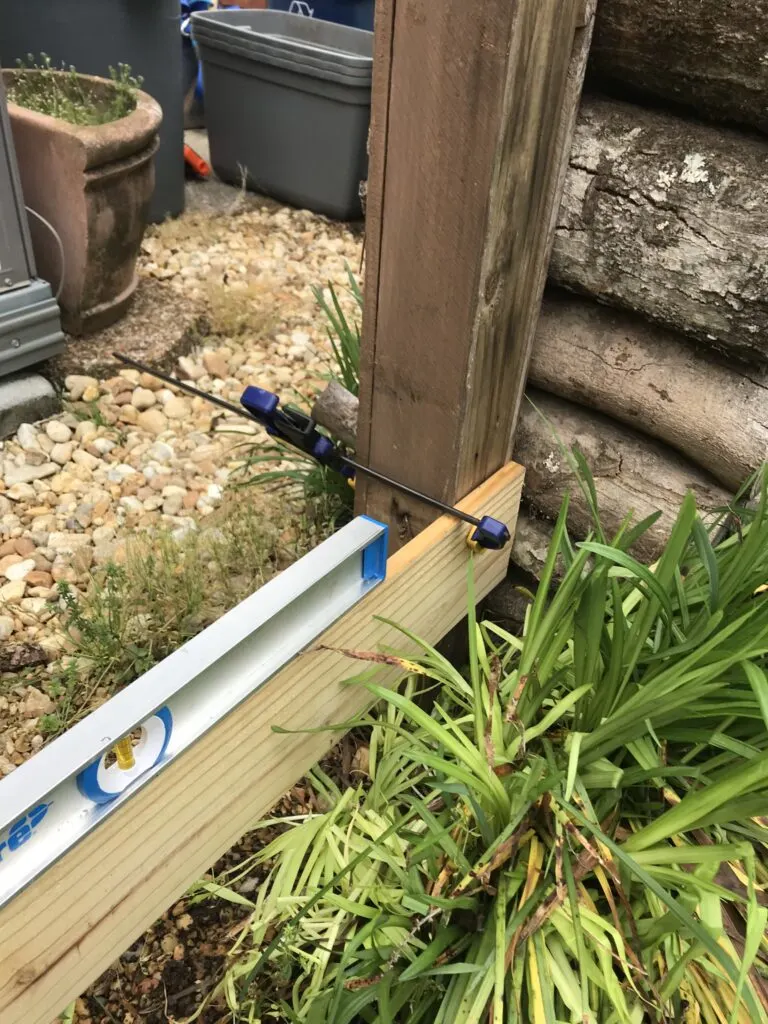
(Step 3). Attach boards to post using either nails or screws. I used one of the boards as a spacer to make sure the spacing was consistent.
Use a level to level boards and clamp boards in place and attach boards. I used outdoor rated screws.
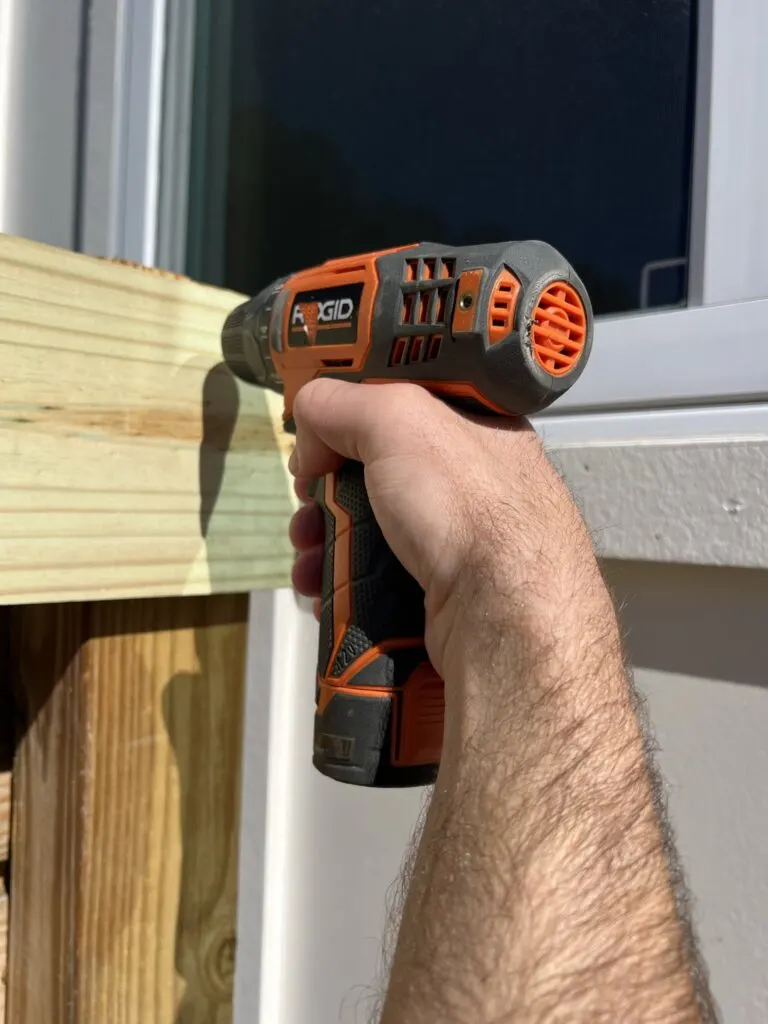
(Step 4). For a more finished look, cut vertical cap boards to length. In the picture below, you can see how we were in the process of this. Look how the left side has the vertical cap and the right side does not yet.
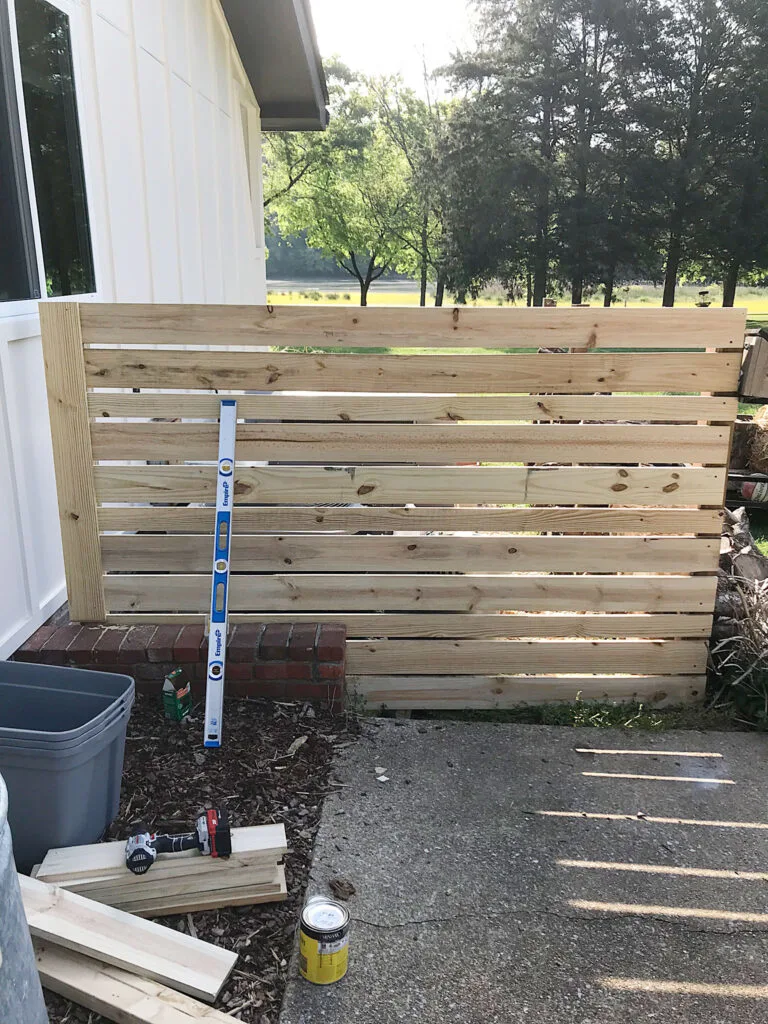
(Step 5). Plum cap boards with a level and attach using either screws or nails. I used outdoor rated trim head screws.
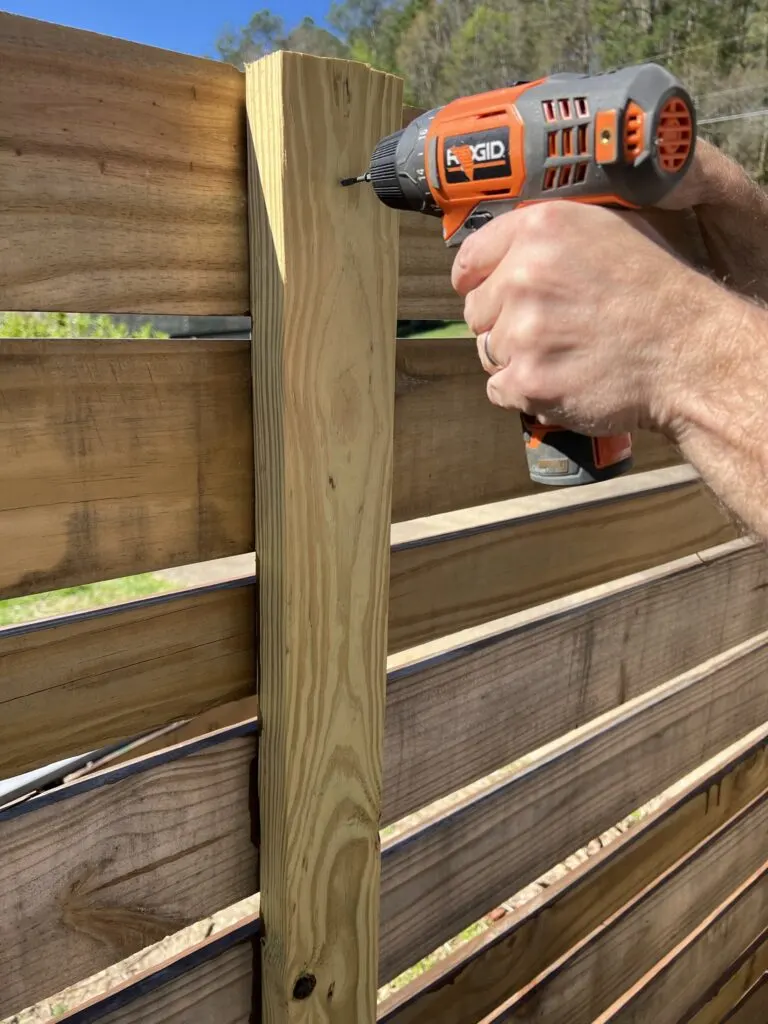
(Step 6). Now moving on to create additional support for the horizontal beams so that they don’t warp….Measure and mark the center line between posts. Additional 2×4’s will be applied here at the center line of the back side of the fence.
(Step 7). Cut pressure treated 2×4’s to height of the fence. You will need a 2×4 for each panel.
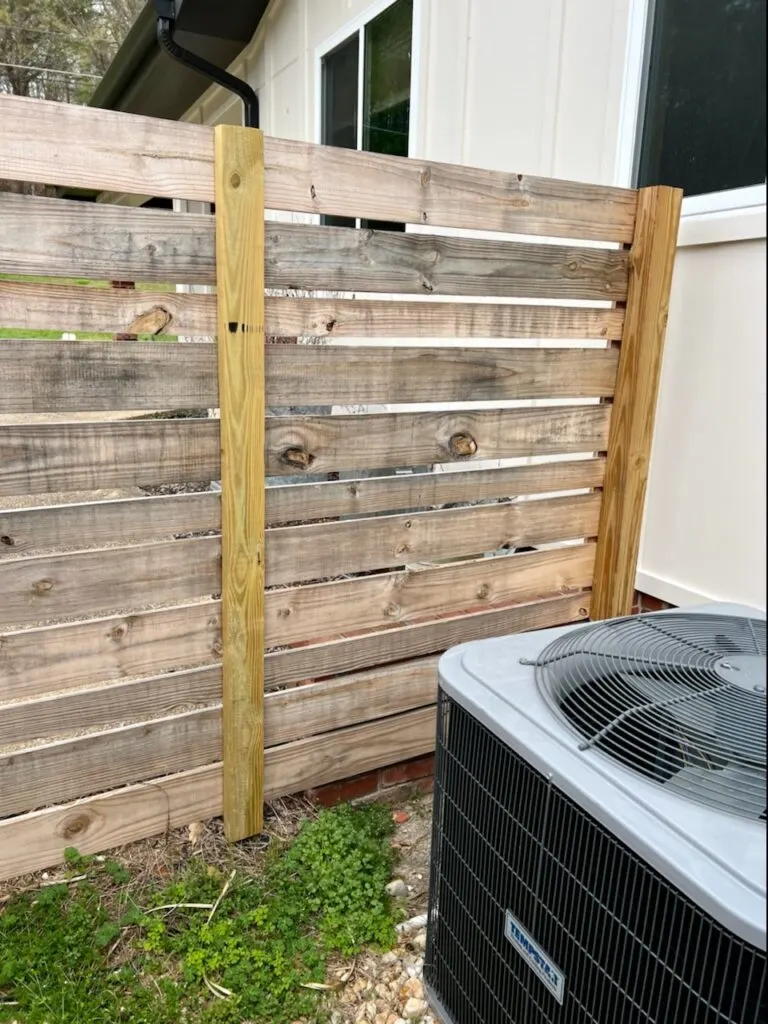
(Step 8). On the backside of the fence, plum and attach a 2×4 pressure treated board at the center line.
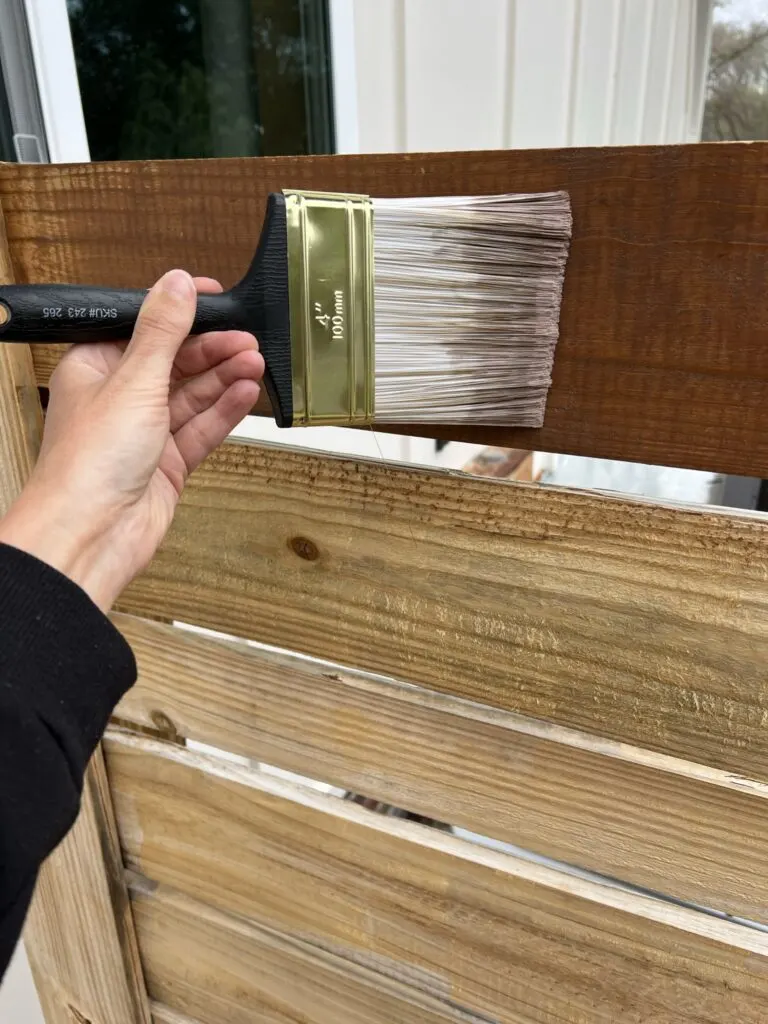
(Step 9). To further elevate the look of the fence, I stained the boards in a semi-transparent stain ( Chocolate by Behr). Luckily it only took be one coat of stain.
Note: To ensure even and effective coverage, you need to wait for your pressure treated wood to fully dry before applying any stain. Depending on your unique climate and sun exposure, this can take anywhere from one month to three months.
As for me, it’s kind of embarrassing to admit, but once my husband and I built the fence, I kind of got distracted with other projects and ultimately waited eleven freaking months to stain the fence. Whoops!

Nonetheless , the stain made such a big difference in the aesthetic of the fence and I love how this particular color works really well with our brick foundation.
This simple DIY AC unit cover truly worked wonders for the curb appeal of our home given the unit used to be clearly visible from the road on one side of our house.
Now that the weather has finally warmed up in my neck of the woods, next to tackle on my to-do list is the actual landscaping. While I had made tons of progress with it all last year, an abnormally frigid winter was not kind to many of my ornamental grasses and rosemary. Womp Womp!
If you are interested in more outdoor home improvement projects, you can check out the following articles:
More of MY Outdoor Home Improvement Projects:
- Front Door Makeover with Gel Stain
- How to Make an Above Ground Pool Look Inground
- Easy DIY Faux Hedge Wall
- Cheap Garage Door Transformation
- DIY Outdoor Dining Table
Thank you so much for stopping by this week! I hope you found this DIY tutorial helpful and inspiring.
It would mean the world to me if you could share this post with a friend or on social media…

Now get out there and design some good vibes along with a fabulous life!

