
How To Build Cabinets Over a Refrigerator For Under $60

Does your big, bulky a$$ refrigerator stick out like a sore thumb? In today’s DIY tutorial, I am sharing how to elevate your kitchen by framing in your fridge with “custom” cabinetry- all for well under $100.
Sure…countertops, hardware, paint selections and lighting are all critical elements of a well-designed kitchen. But there is one detail many people tend to overlook when it comes to this hardworking space- refrigerator cabinetry and/or framing around it.

And yes… if you’re following the trends, fully integrated (a.k.a. disguised) appliances are all the rage right now (I mean… at least for the multimillionaires out there). But if dropping five figures on a new fridge isn’t in the cards, the next best thing is to frame that bad boy in with cabinetry that blends seamlessly with the rest of your kitchen.
So after about two years of ruminating on this design knowledge myself, I finally got around to correcting my kitchen’s eye sore…

While I was lucky enough to have leftover materials from a previous project already on hand when I built DIY cabinets for my outdoor kitchen/wet bar, even if you have to purchase new materials yourself, it shouldn’t cost you more than $100 to replicate this look…

Now let me show you how my genius husband built these DIY cabinets for over our refrigerator…
*For your shopping convenience, I have included affiliate links. As an Amazon and RewardStyle Associate I earn from qualifying purchases. *
DIY Refrigerator Cabinetry Tutorial:
Materials Needed:
- ¾ Veneered plywood stock
- 1.25” Wood screws
- Driver
- Kreg accu-cut system
- Kreg concealed hinge jig
- Concealed hinges
- Circular saw with plywood saw blade
- Wood glue
- Clamps
- 1/4” MDF stock
- hardware to match existing cabinetry (I got mine for a steal on Amazon)
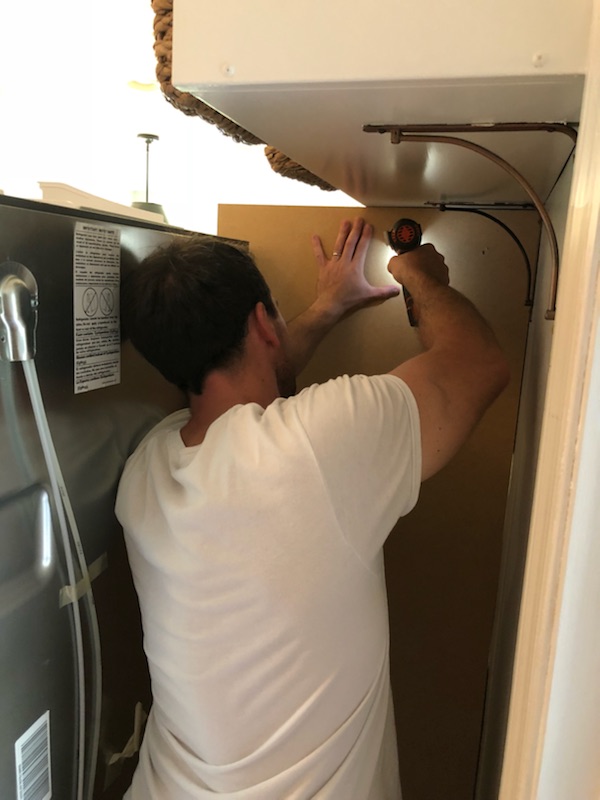
(Step 1). Luckily our lake cottage kitchen already had the actual framing on each side of the refrigerator so that it was only a matter of building cabinets for over the refrigerator. At our previous home, that was not the case and we had to build a side panel.
If you need to frame in the side of your fridge, head to my previous tutorial first where I show you how to attach a side panel for your refrigerator onto the existing cabinetry. Just note that you will want to replace the MDF we used for something sturdier like veneered plywood so that it can support the cabinet you will be building.

(Step 2). Using ¾ stock, measure and cut to length side supports for bottom shelf.
(Step 3). With your driver, attach side supports using 1.25” wood screws.

(Step 4). Measure and cut ¾ stock for bottom shelf.
(Step 5). Set bottom shelf on side supports.
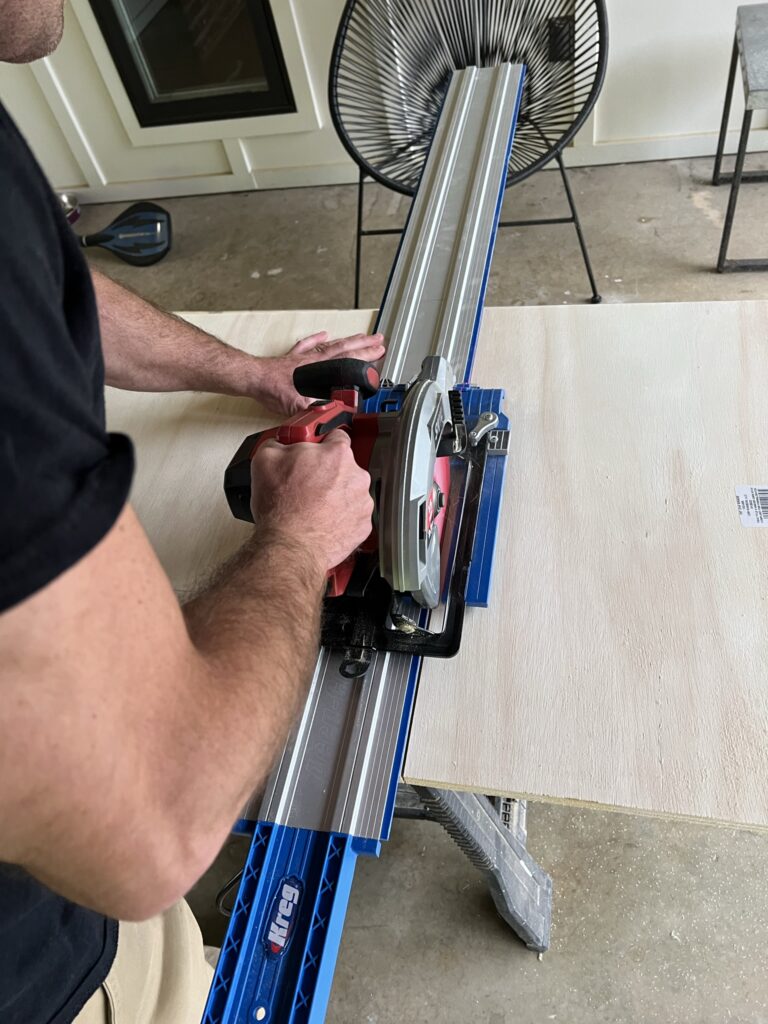
(Step 6). Using veneered ¾ stock, measure and cut for cabinet doors. Measure taking into account the desired overlay. We used the Kreg accu-cut system with a circular saw blade designed for plywood.
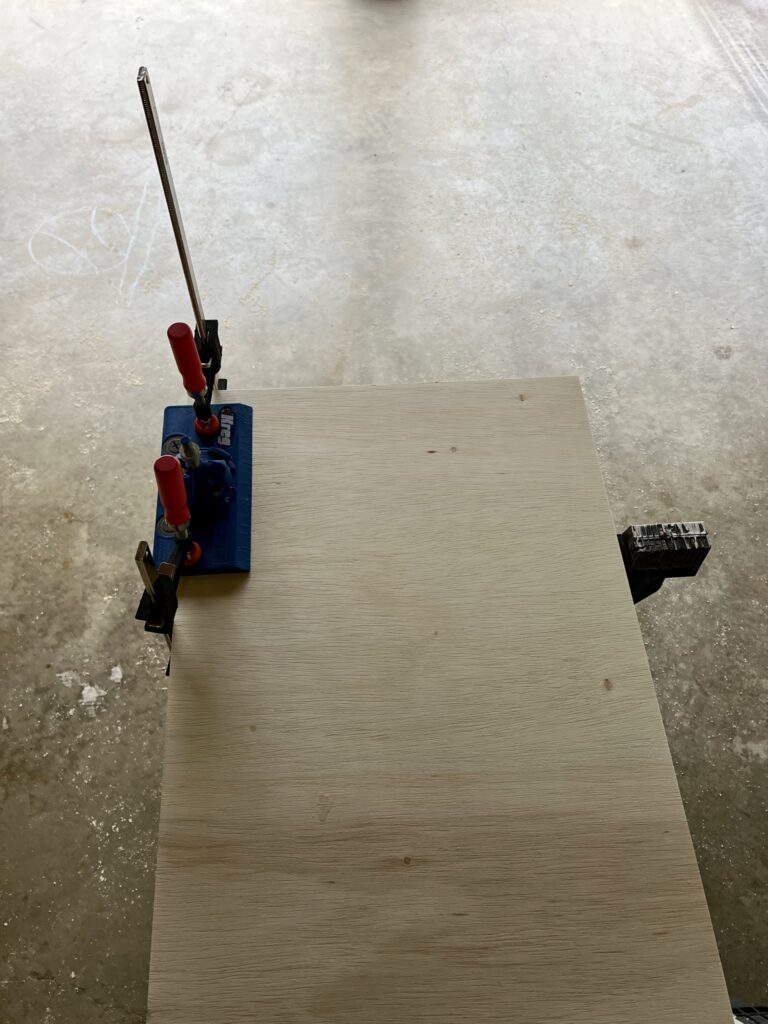
(Step 7). Mark hinge location on doors and install hinges using the Kreg concealed hinge jig pictured above.

(Step 8). Attach cabinet doors and check fit to make sure they open and close properly. Adjust accordingly using the hinge adjustment screws.

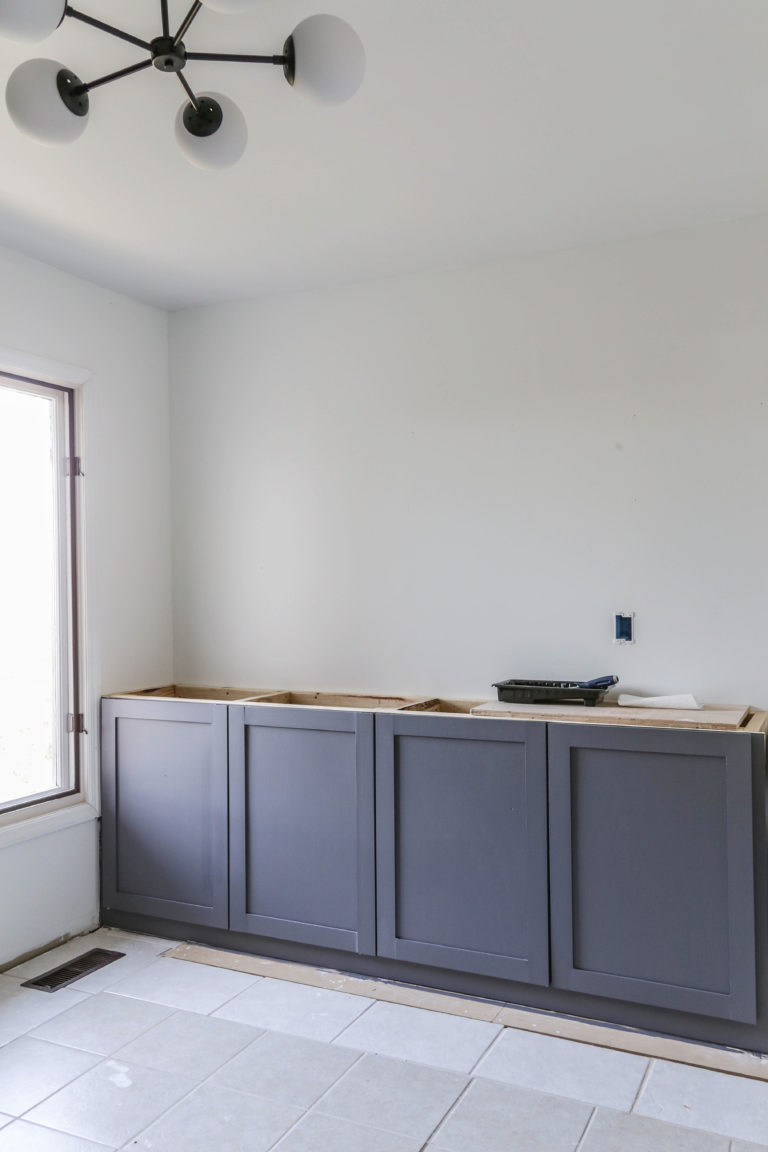
(Step 9). This is where my impatience got the best of me. I knew the shaker detail would eventually need to be added, but we were having company over and I decided to just go ahead and paint the plain panels and attach them back to the surrounding cabinetry as we did not have time in that moment to add the finishing millwork.
Note: You will want to sand and prime your cabinets before painting them!

(Step 10). After a few weeks, we finally got around to adding the finishing touches to the cabinets. Using ¼ MDF stock we had leftover from another project, measure and cut rails and stiles (you can use veneered plywood as well).
Next, attach the rails and stiles to the door panels using wood glue and clamps.

Note: You will want to sand and prime your cabinets before painting them! If you’re still undecided on a product, I break down my honest thoughts on the best cabinet paint in this detailed post.
(Step 11). Last, install your doors and hardware. Voila! So much better.

If you would like a more detailed breakdown of how to build cabinetry framing and doors, I highly suggest this separate tutorial for how I built kitchen cabinets from plywood. It’s an oldie but a goodie.
While I would’ve loved to share something a little more seasonal and festive with you today for the holiday weekend, May has been absolutely bananas- between onboarding new consulting clients and juggling all my kiddos’ school and extracurricular chaos. I figured it was better to show up with something than ghost you completely!
That being said, thank you so much for stopping by this week and spending some time with me! If this post sparked inspiration, it would mean the world to this little business of mine if you’d pin it on Pinterest or share it with a friend…

Until next time, keep on designing a life that feels as good as it looks. Wishing you a wonderful Memorial Day weekend as well! xoxo


Welcome!
My journey in interior design and home improvement began with transforming my first fixer-upper home, all while managing a budget and raising two young boys. My work, a reflection of my passion for creating beautiful, uplifting spaces, has been recognized by top publications like Better Homes and Gardens Magazine, HGTV, and more. I invite you to explore my site and witness the transformation of my home and the vibes we've designed. Read more...


Thank you so much for this post! I’ve always believed a fridge should have a comfy, tucked away home. That looks amazing!
Enjoy the rest of your week and your long weekend!
Thank you, Donna! You are the best. 🙂 Hope your holiday weekend is full of relaxation and cheer. xoxo
Great info! I always enjoy reading your posts. Would you please share the name of the granite in the photo? Have a wonderful Memorial Day weekend!
Hi Shannon! So happy to hear you enjoy my posts. 🙂 The black slab on my island is River Black Honed Granite. I actually have a whole detailed post about it here https://designingvibes.com/black-honed-granite-that-looks-like-soapstone/. I hope you have an awesome holiday weekend!
Thank you for that link! 💖
We always need more storage. This is a stylish and practical solution.
I feel ya on the storage (I personally love hiding all of my kids candy in these cabinets). Wishing you a wonderful holiday weekend, Mary! 🙂