Hey, yall! Welcome to the tour of my first-ever, fixer upper home. Pour yourself a cocktail, take off your shoes and kick back while I show you just how far this 1980’s rancher has come.
If you haven’t read the origin of our fixer upper journey, I suggest you check out this post first. It explains why we ditched our new construction home, for an outdated rancher.
Just so you can appreciate what a dump this place was when we first moved in three years ago, let me show you what it looked like the day we moved in. I know everyone probably thought we were crazy for selling our new construction cottage for this neglected ranch home…..
Living Room Before:
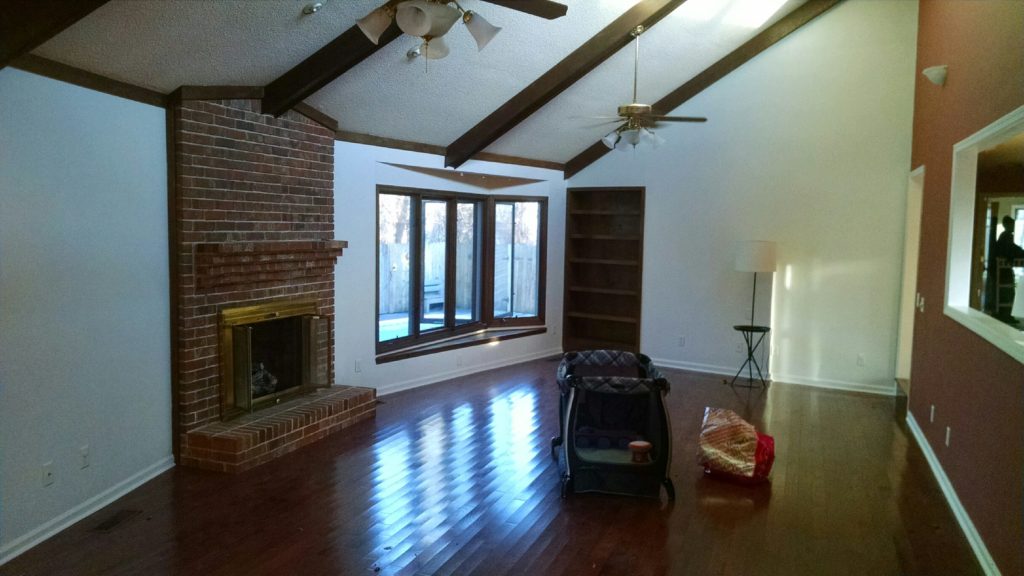
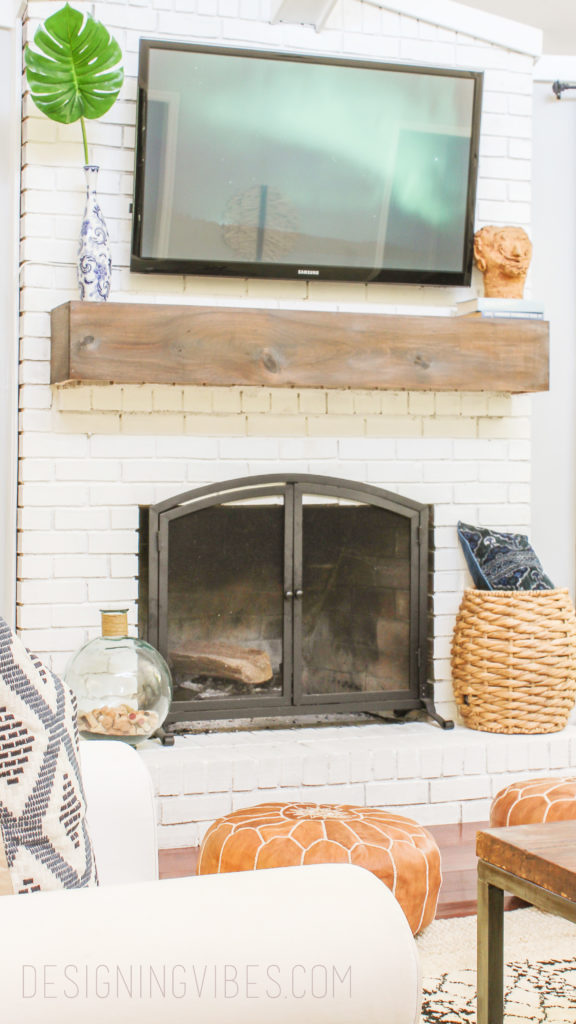
But you would really be surprised what some paint, decor and a few clever DIY hacks can do for a space……..
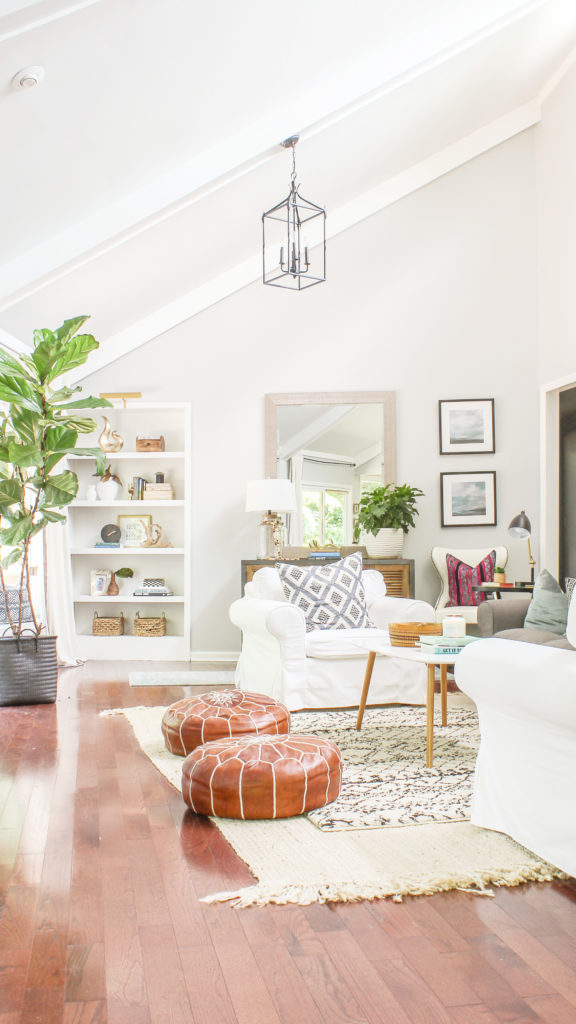
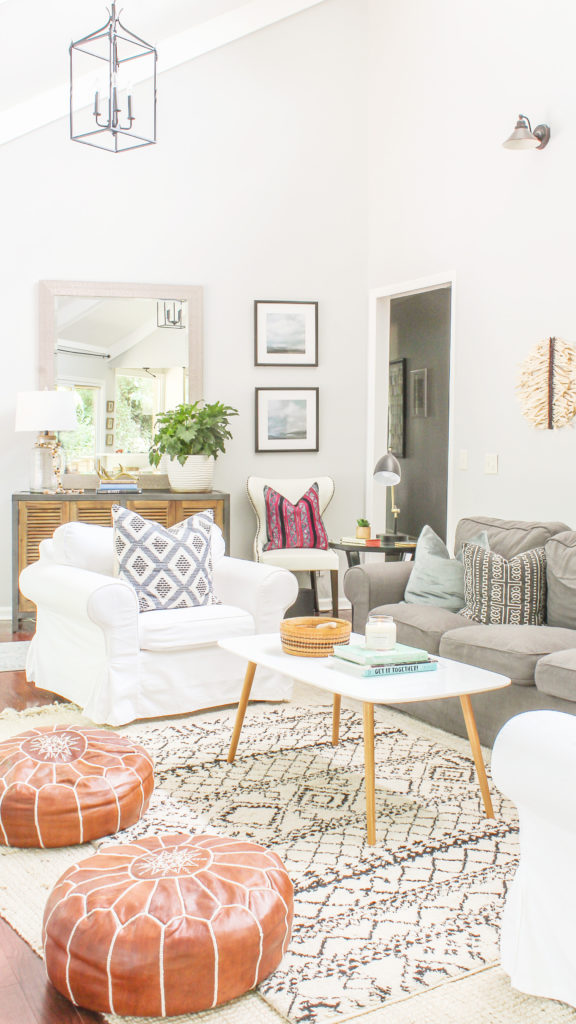
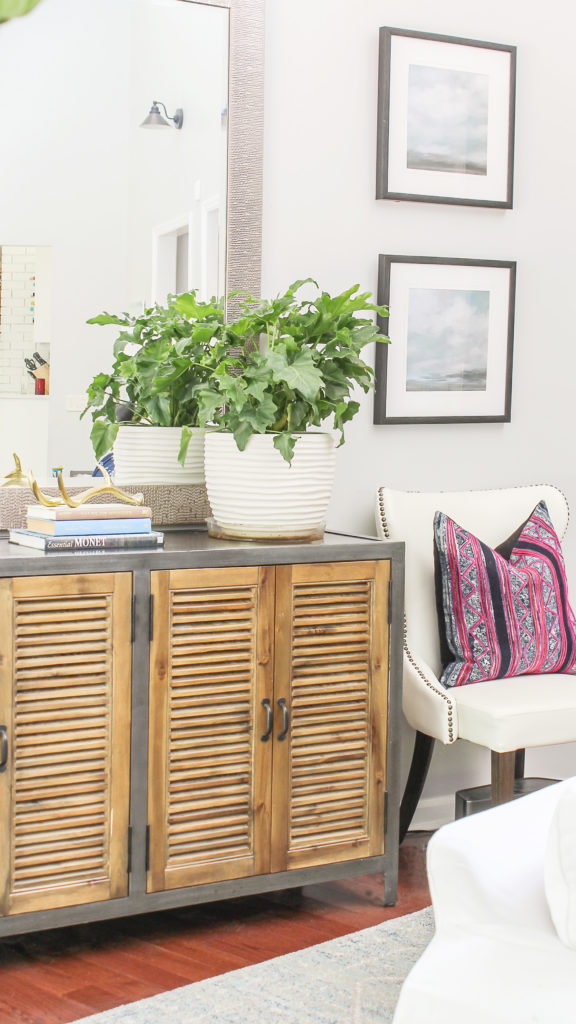
To check out the full details of this transformation, you can click here.
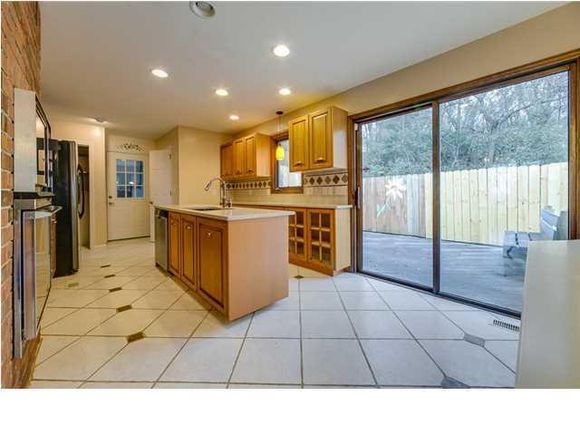
Moving on to the kitchen, this is what it looked like the day we moved in…..
Kitchen Before:
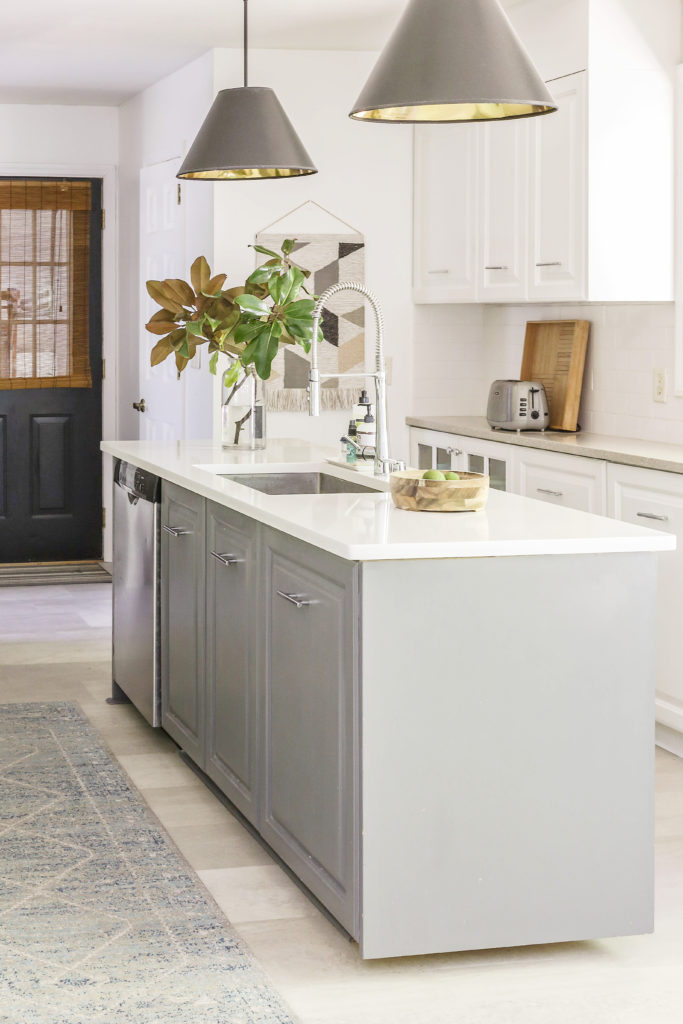
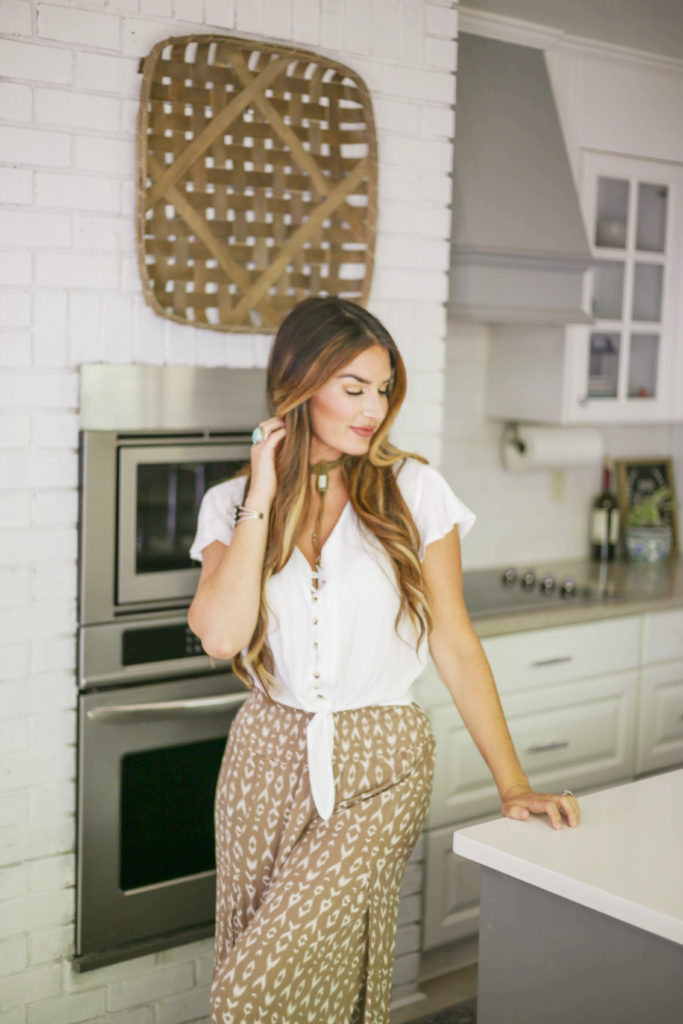
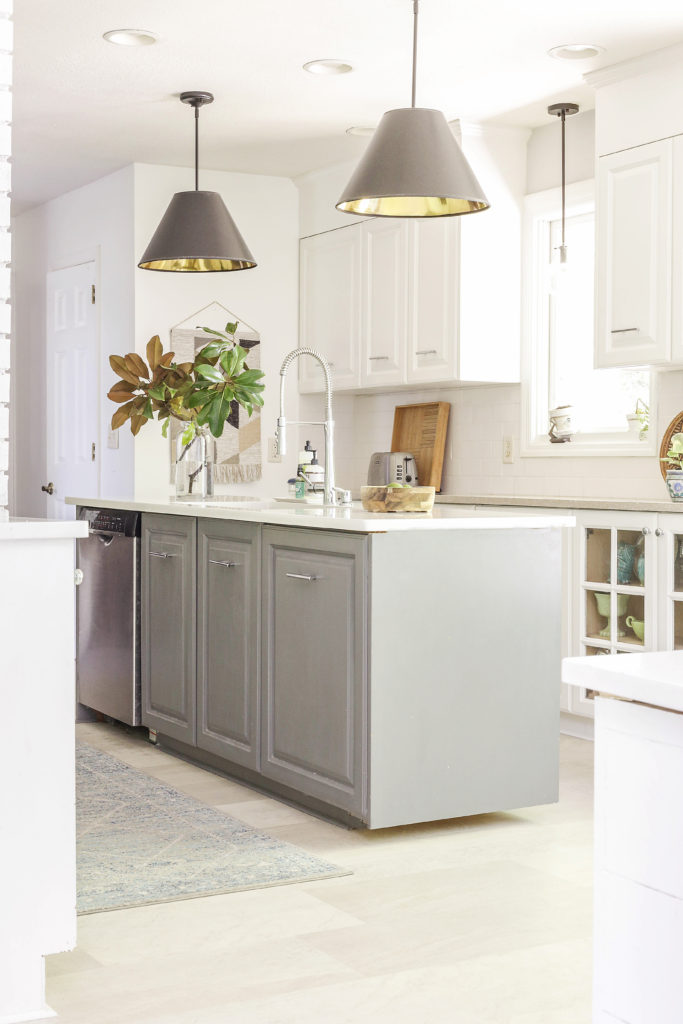
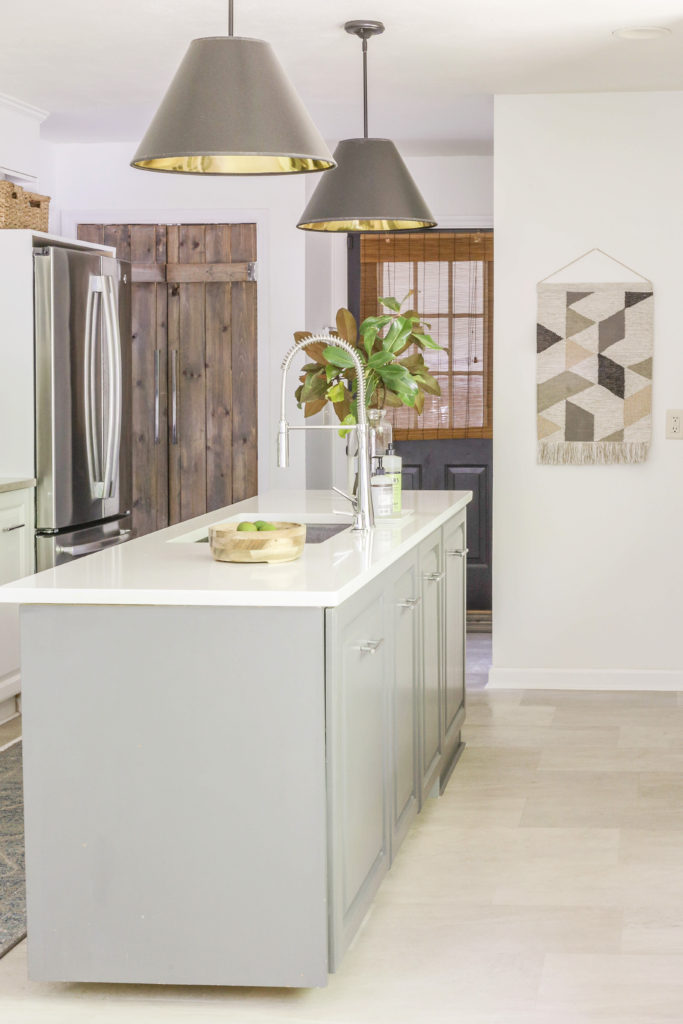
Here is what it looks like after some paint, DIY pendants, backsplash and new flooring…..
We also just recently upgraded the countertops on our island and bar which you can read about here.
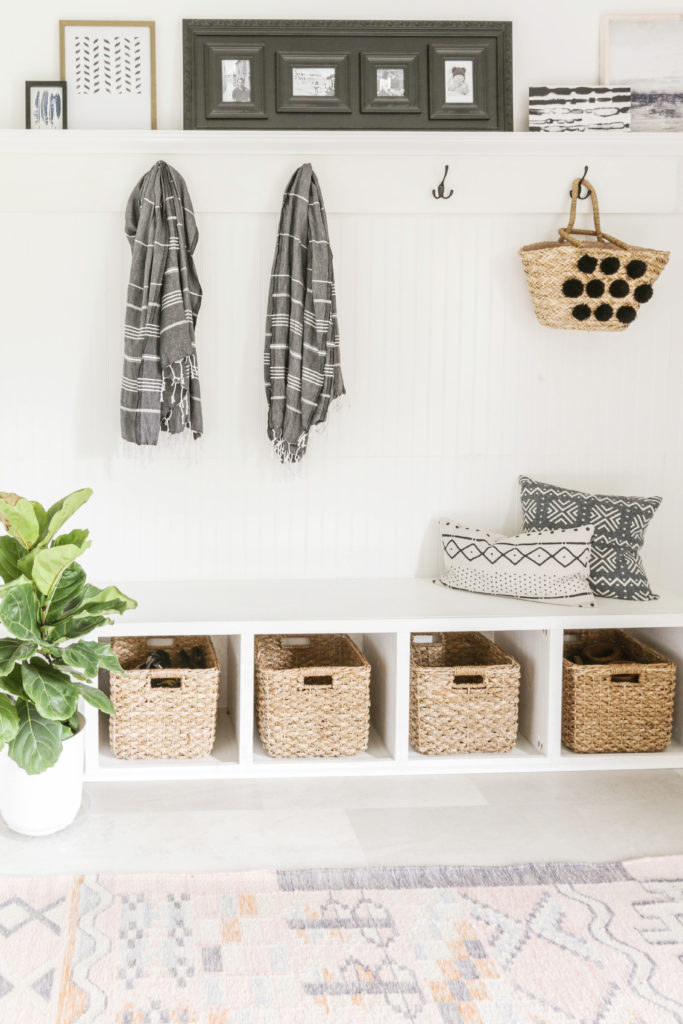
Moving along to our DIY mudroom/butler pantry combo, here is what it looked like before we painted it and built a custom, DIY bench (for under $200). …..
Mudroom/Butler Pantry Combo Before:
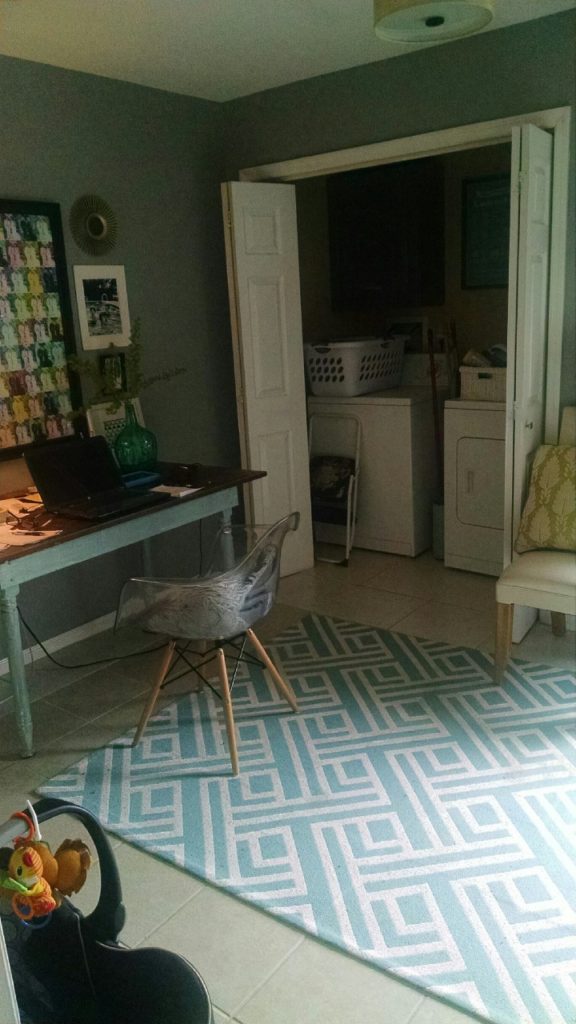
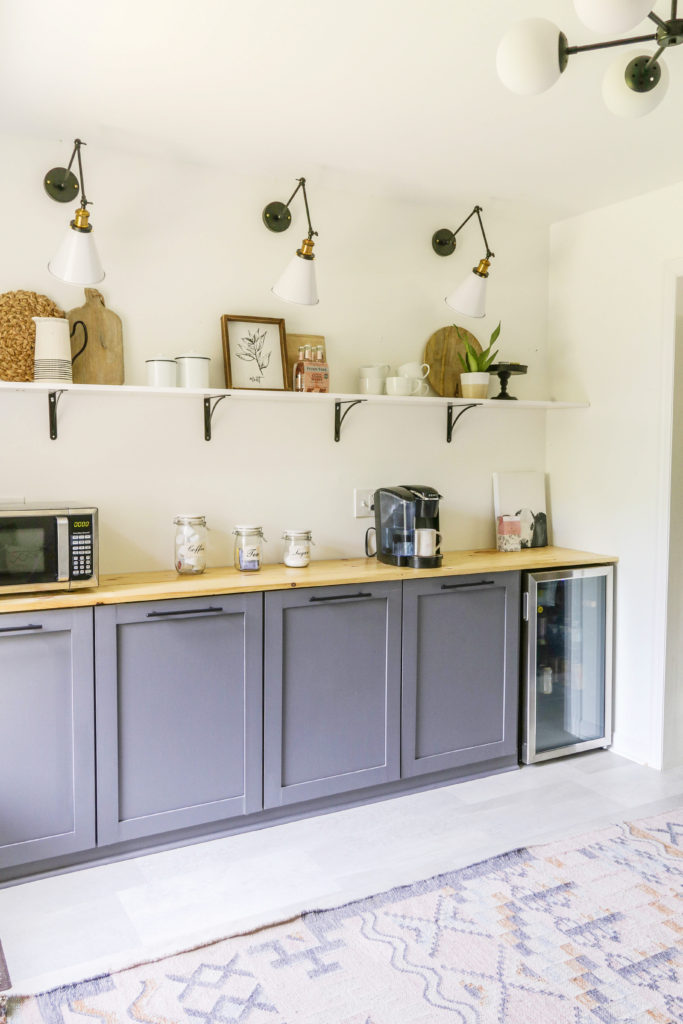
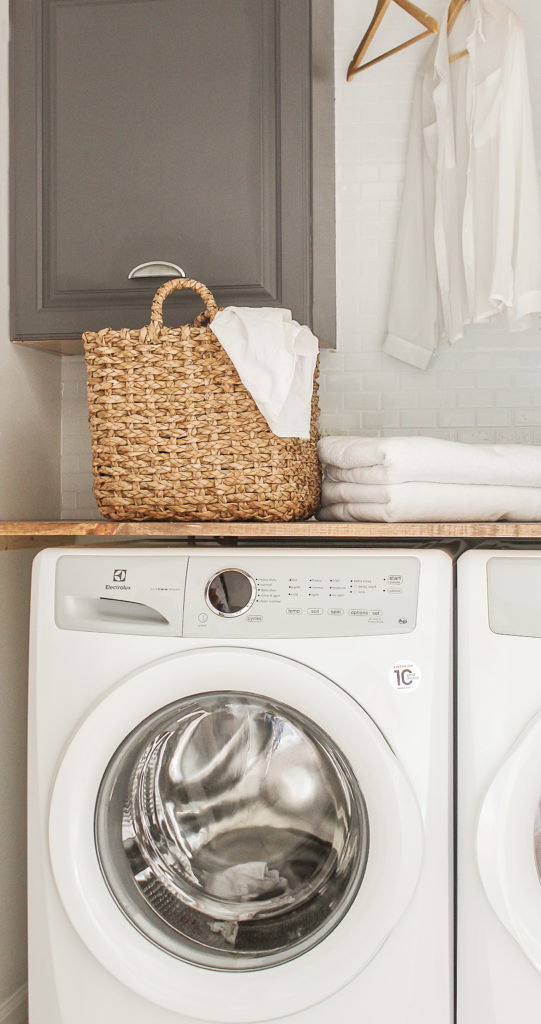 You can click here for the full DIY mudroom tutorial. You can click here for the Butler Pantry tutorial (along with DIY cabinets ).
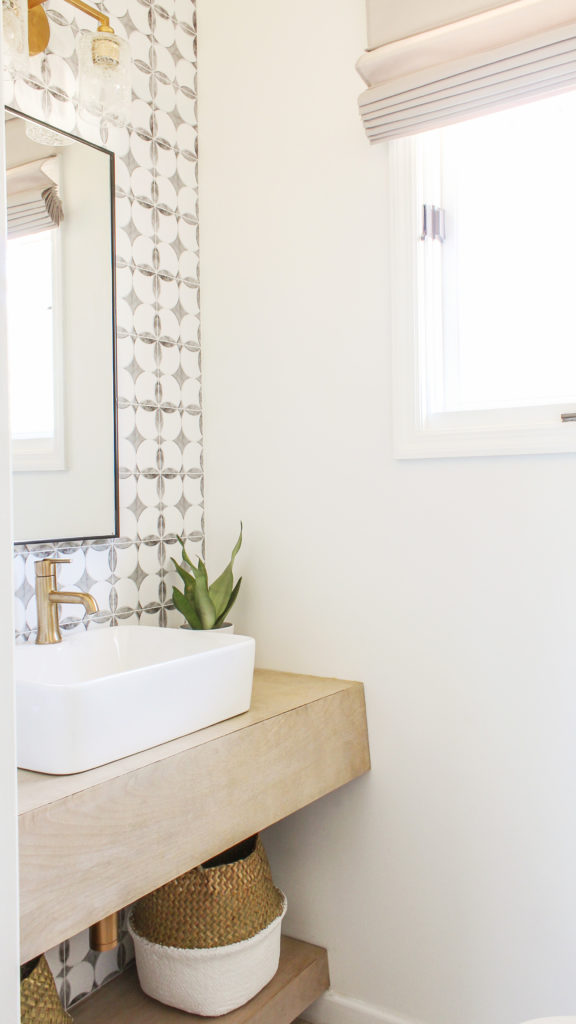
Moving along to a more recent project, is our powder room. Here is what the space looked like before we gave it a little TLC….
Powder Room Before:
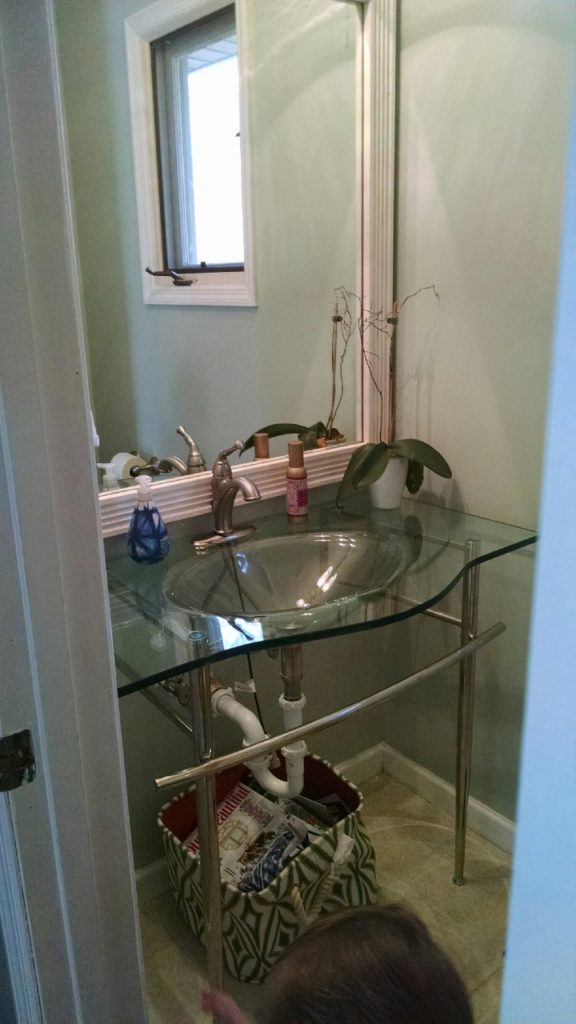
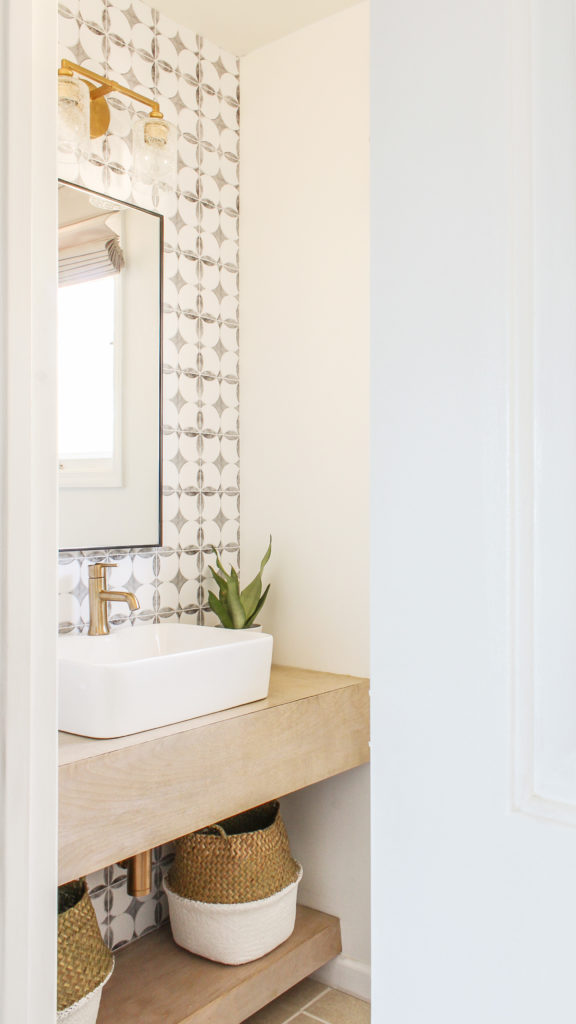
Here is what it looks like after we built a floating vanity and installed some removable wallpaper that resembles cement tile.
You can click here to read the full DIY powder room tutorial.
When we first moved into our 1980’s dump (I mean home), the dining room was such a hot mess…..
Dining Room Before:
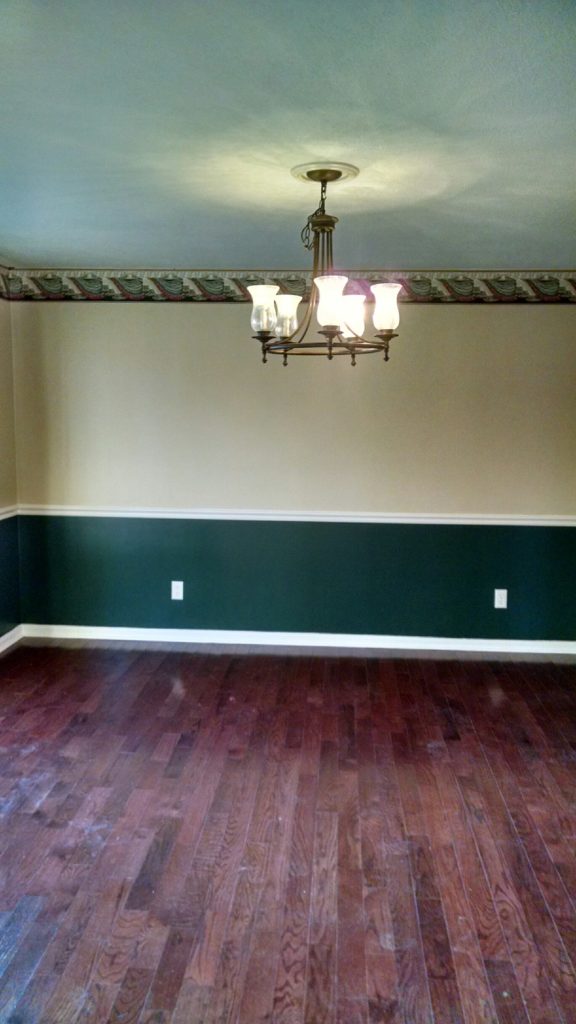
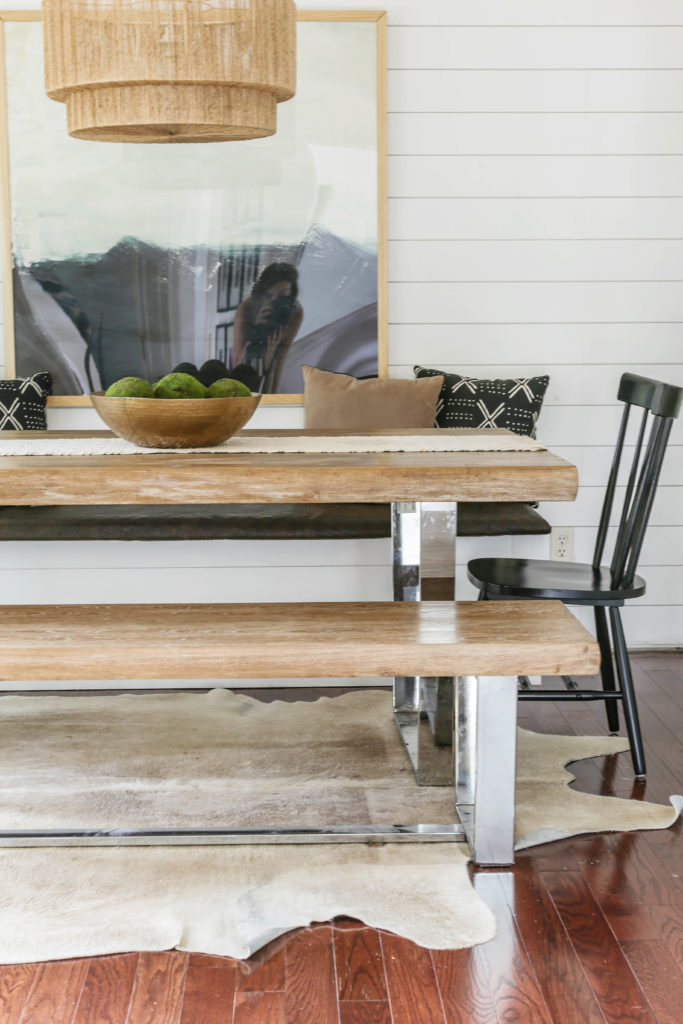
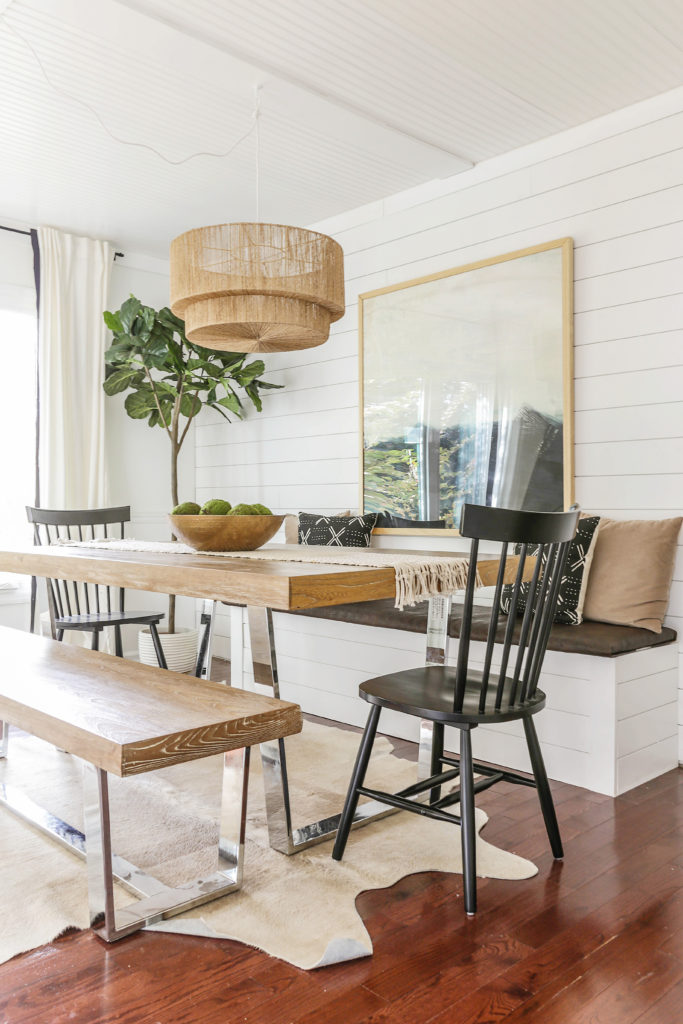
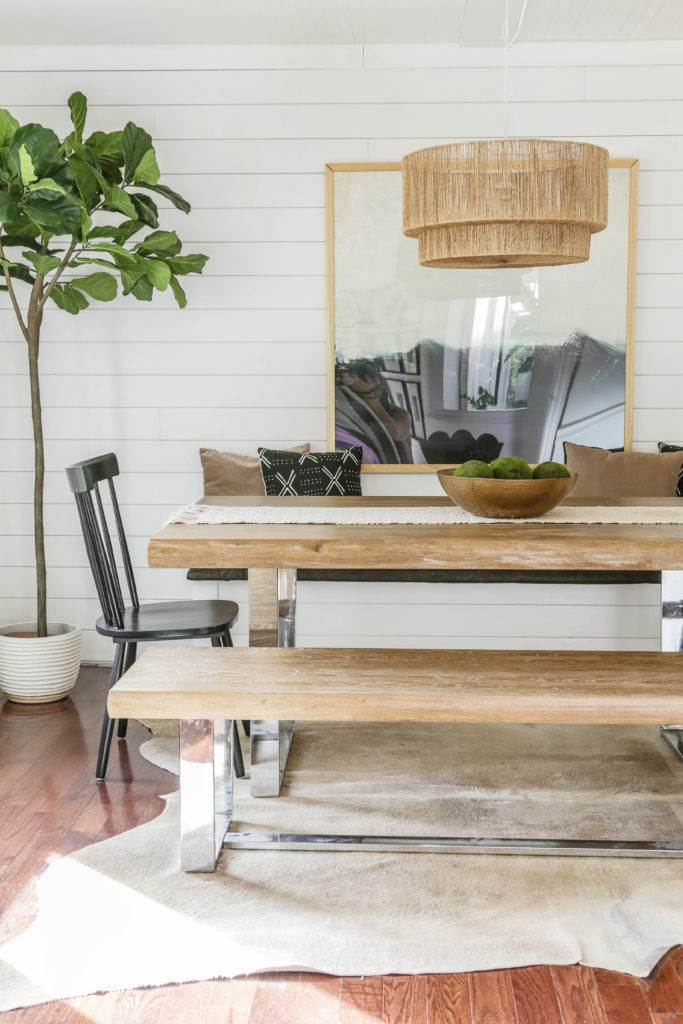
After some paint, a DIY shiplap feature wall, and new decor- it feels like a modern farmhouse haven. To see the full details of this dining room transformation, click here.
Foyer Before:
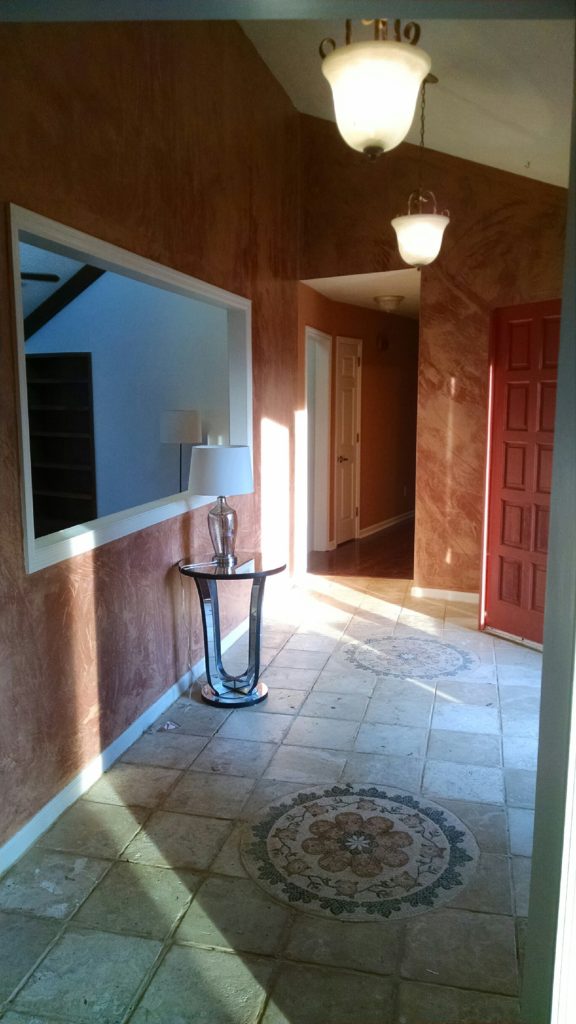
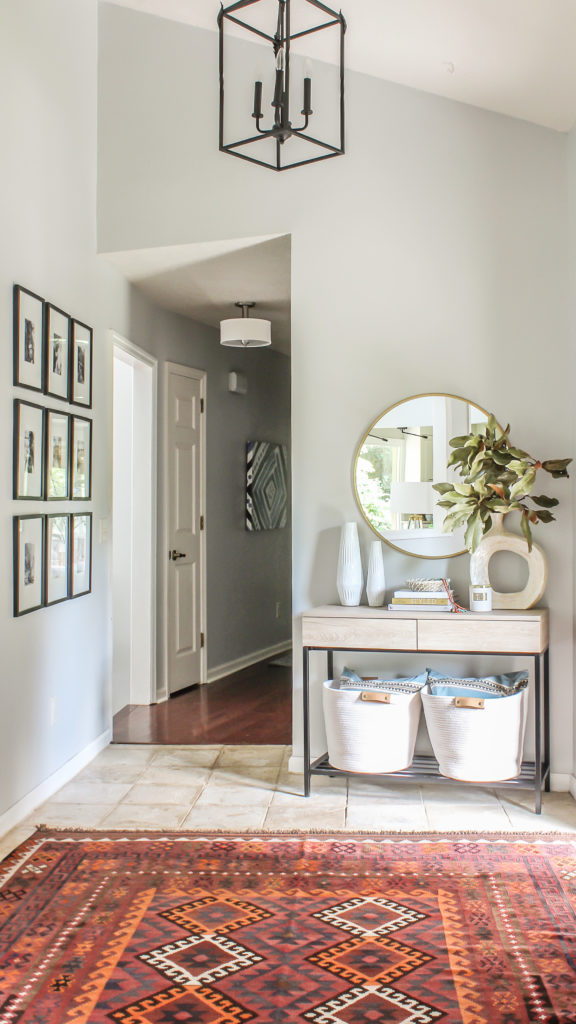
To read the full details on my foyer transformation, you can click here.
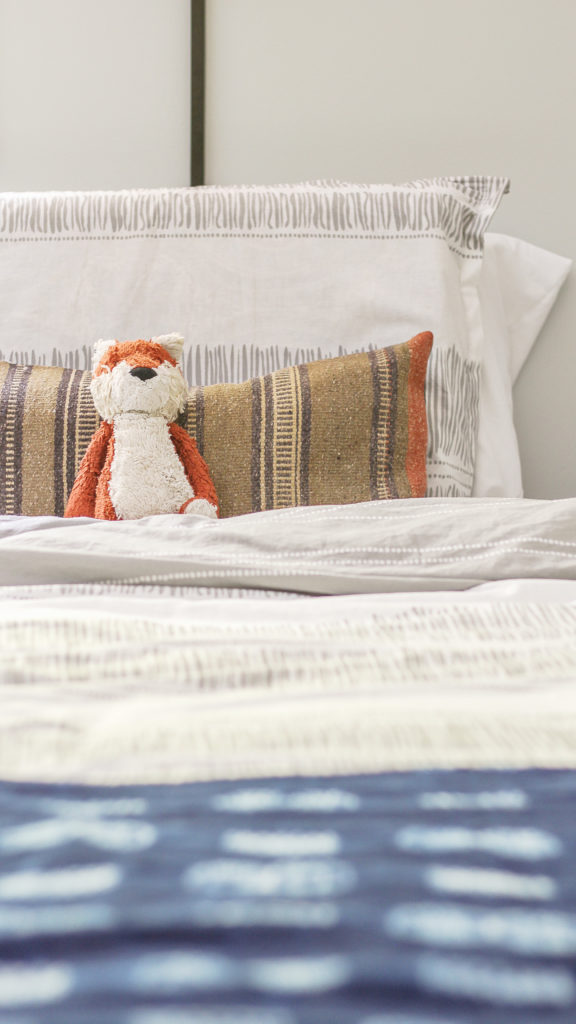
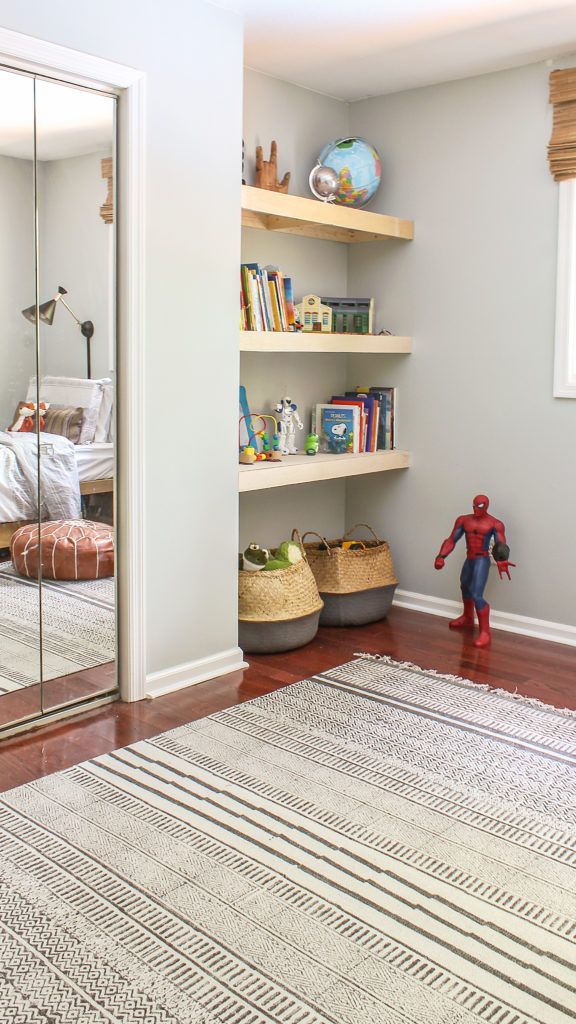
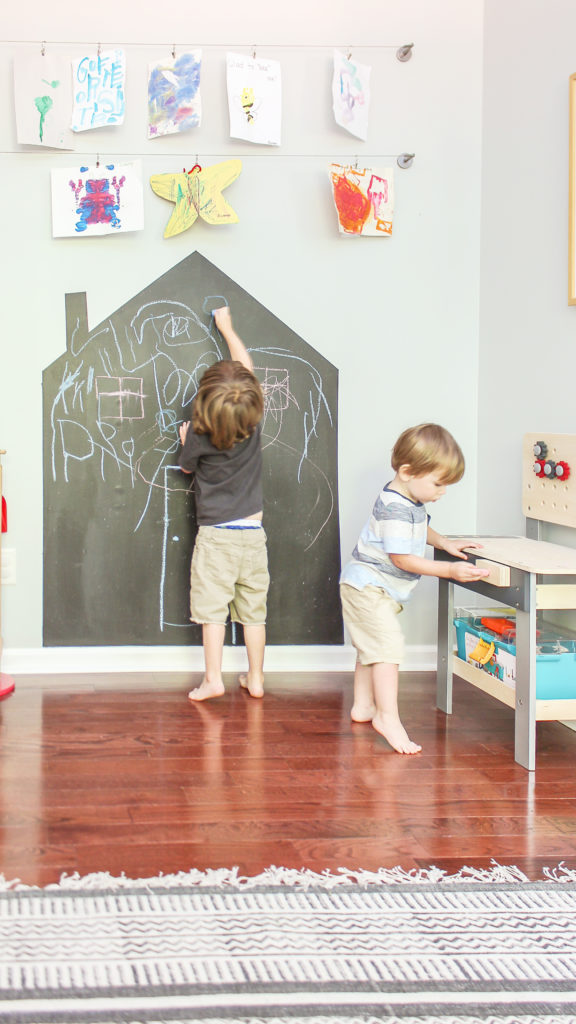 Until pretty recently, my son’s room was in pretty bad shape as well….
Roman’s Room Before:
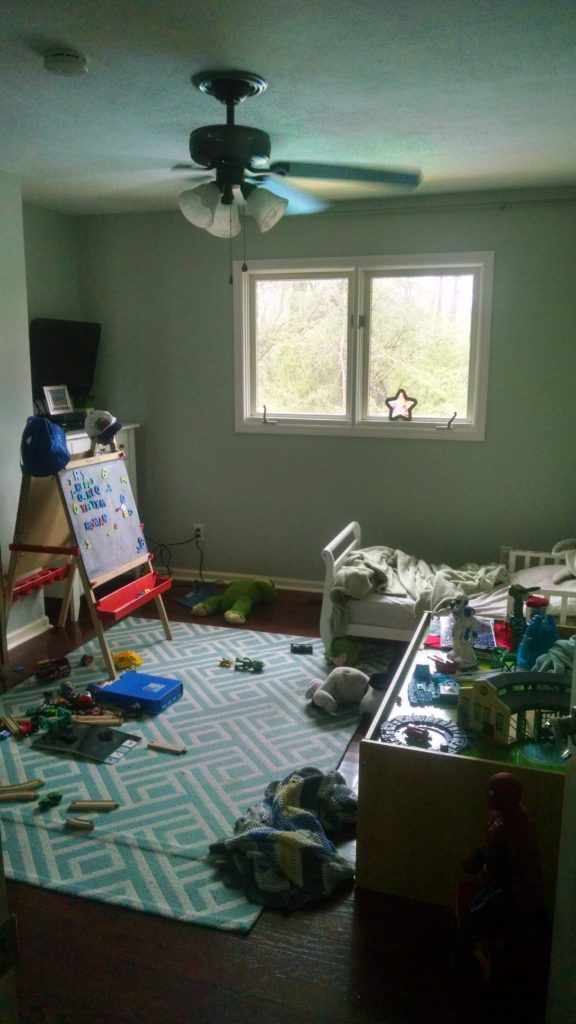
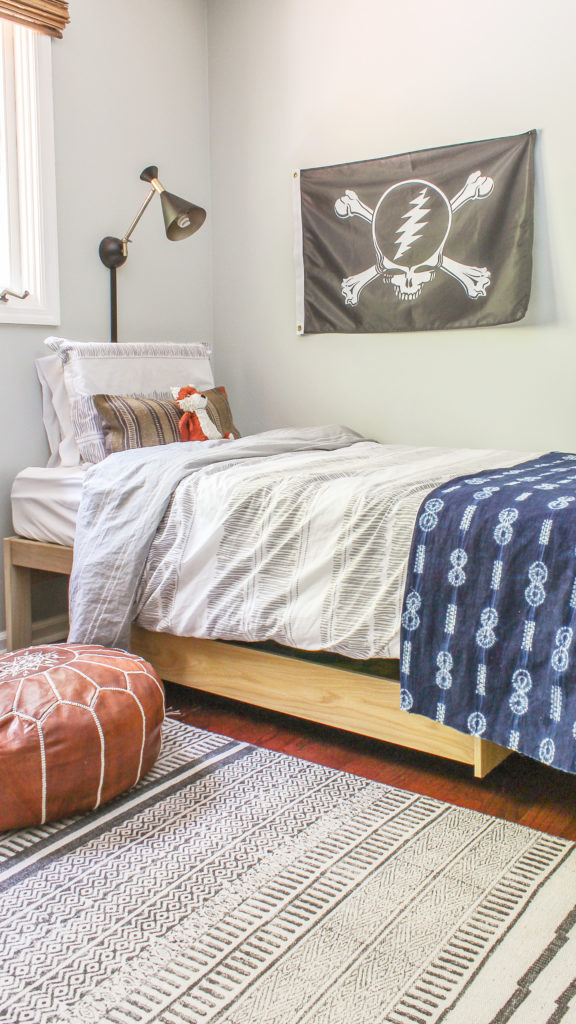 To read the full details of his room makeover, click here.
Master Bedroom
The master bedroom was probably the only room I considered “move in ready” when we first bought our fixer upper. A fresh coat of paint, some decor and light fixture have been enough to make this space somewhat acceptable for the time being.
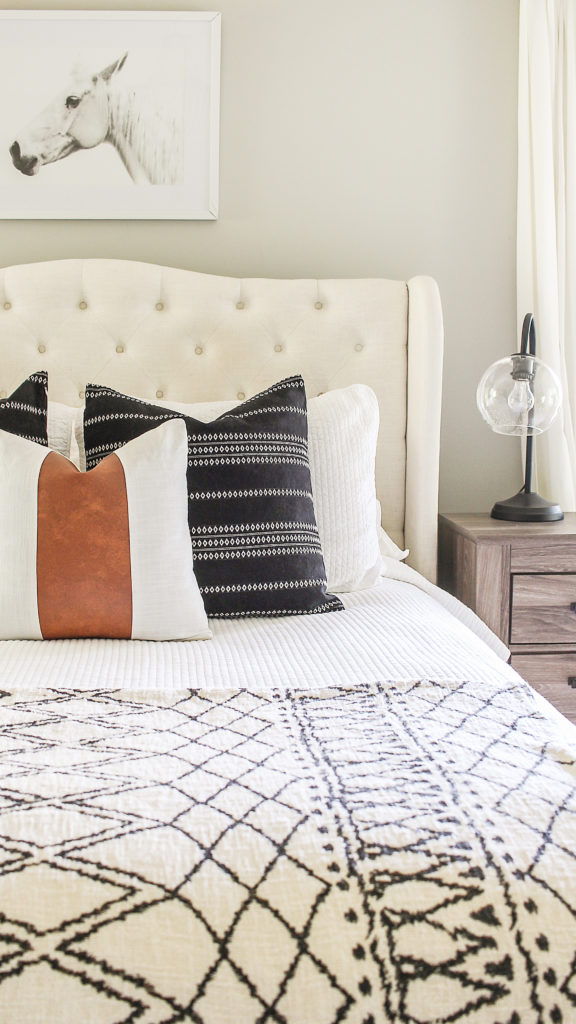
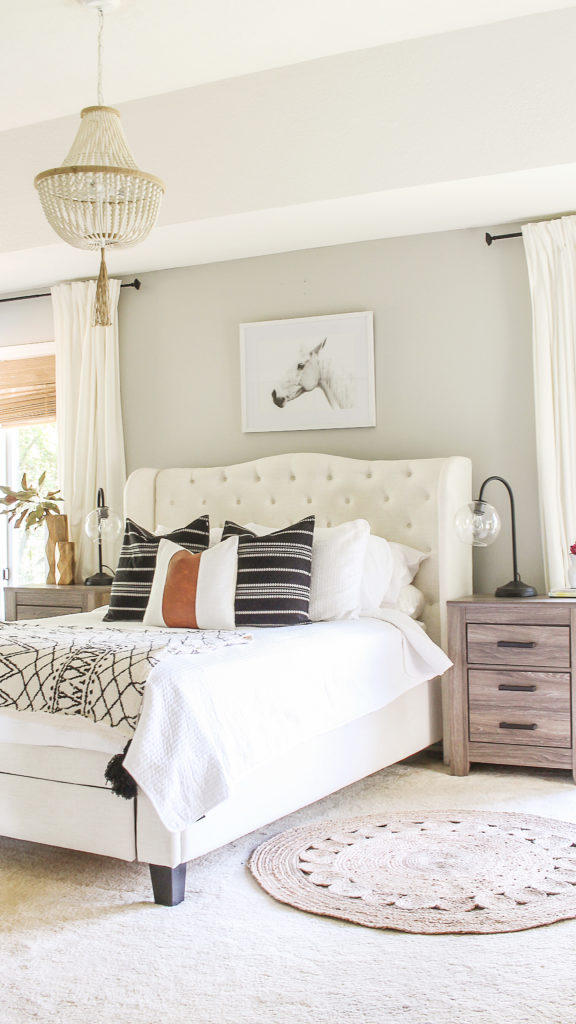
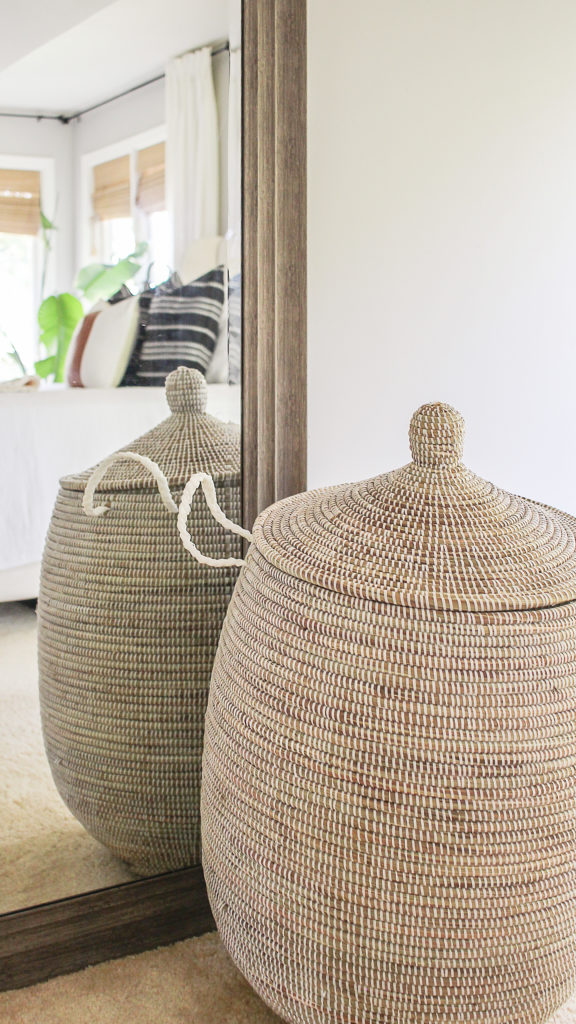
If you would like to read about my master bedroom makeover, you can click here.
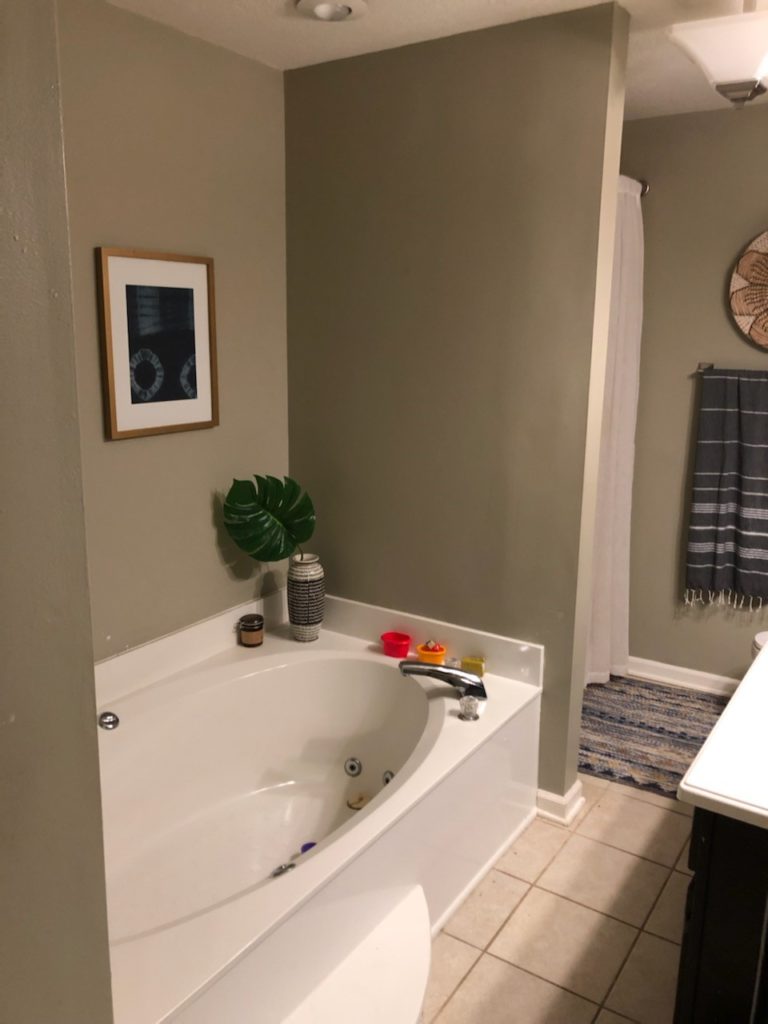
Moving on to the master bathroom, here is what the space looked like when we first moved in..
Master Bathroom Before:
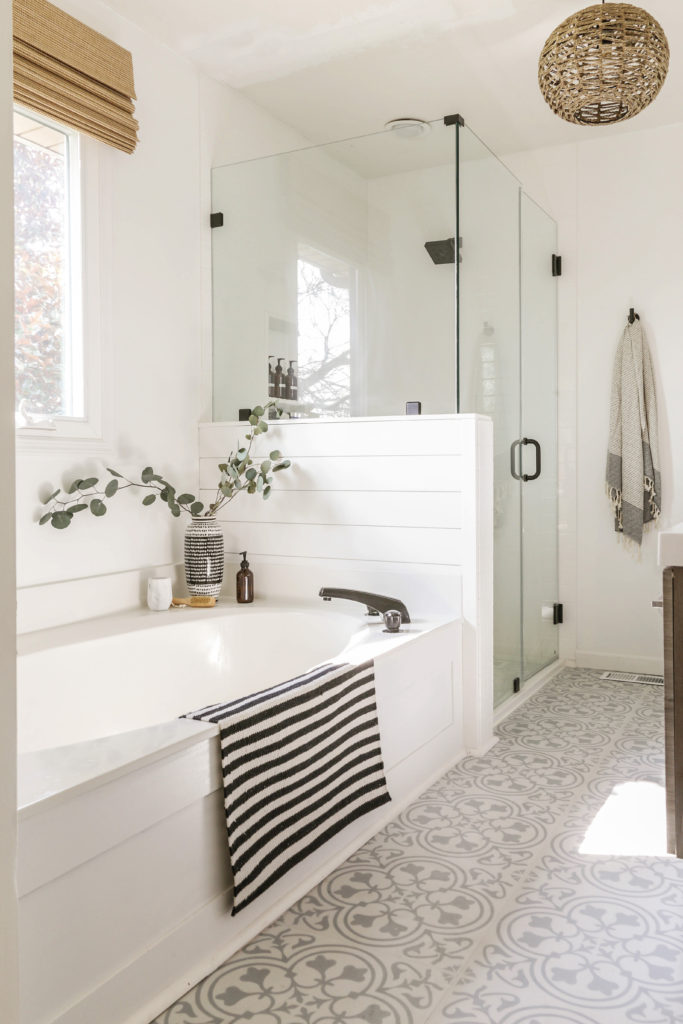
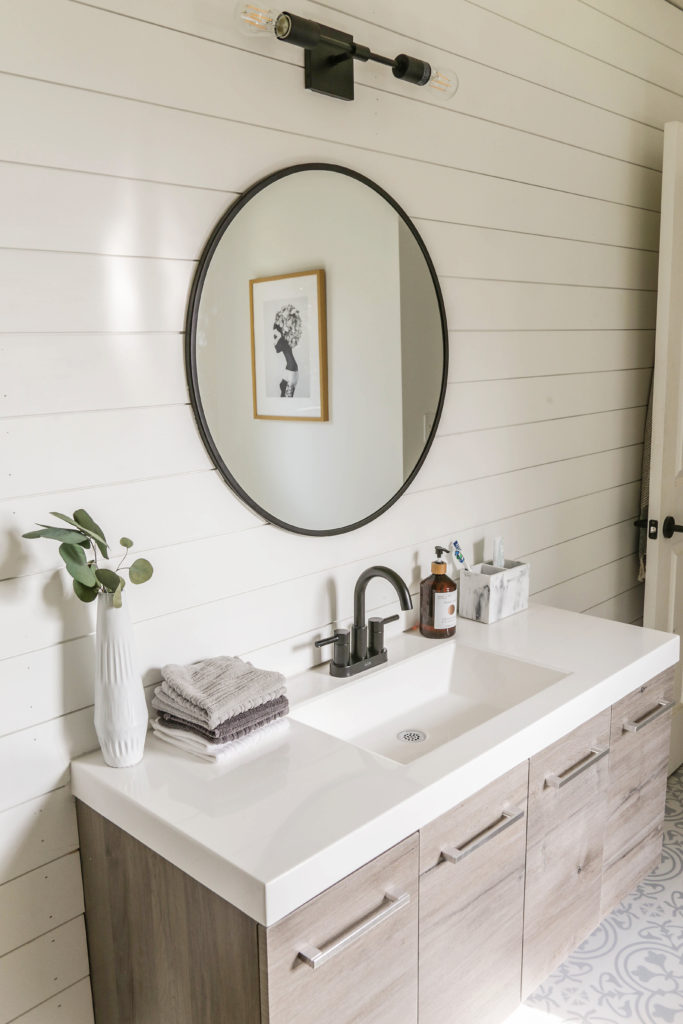
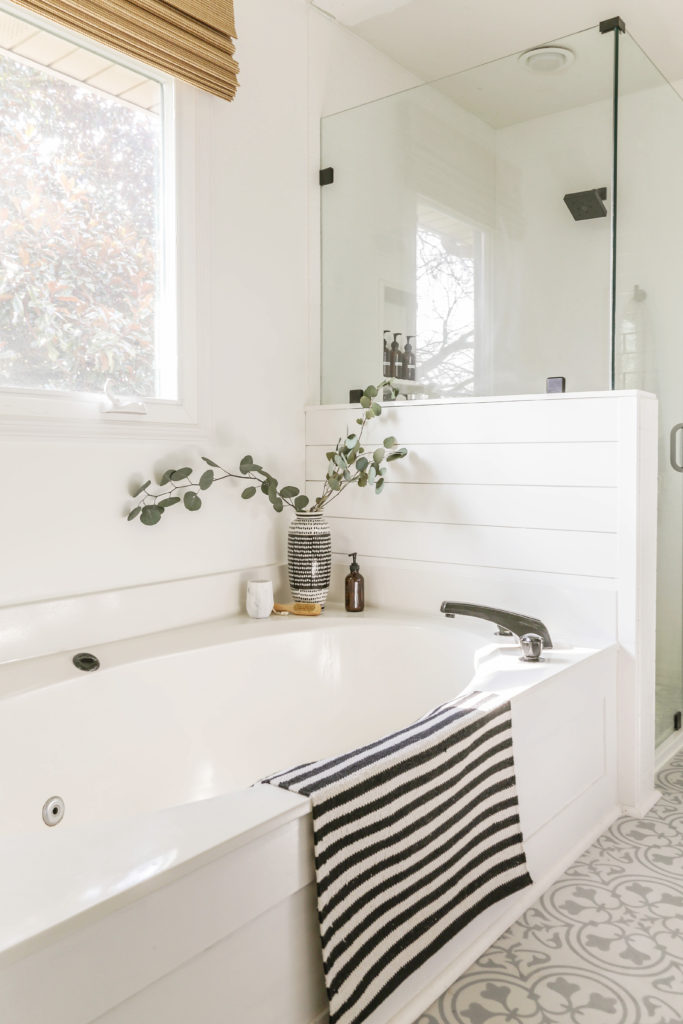
After some clever DIY hacks and some extra assistance from a professional contractor (for the shower and wall remodel), my master bathroom is the perfect Boho meets Modern Farmhouse spa retreat..
To read all about the Master Bathroom remodel, you can click here.
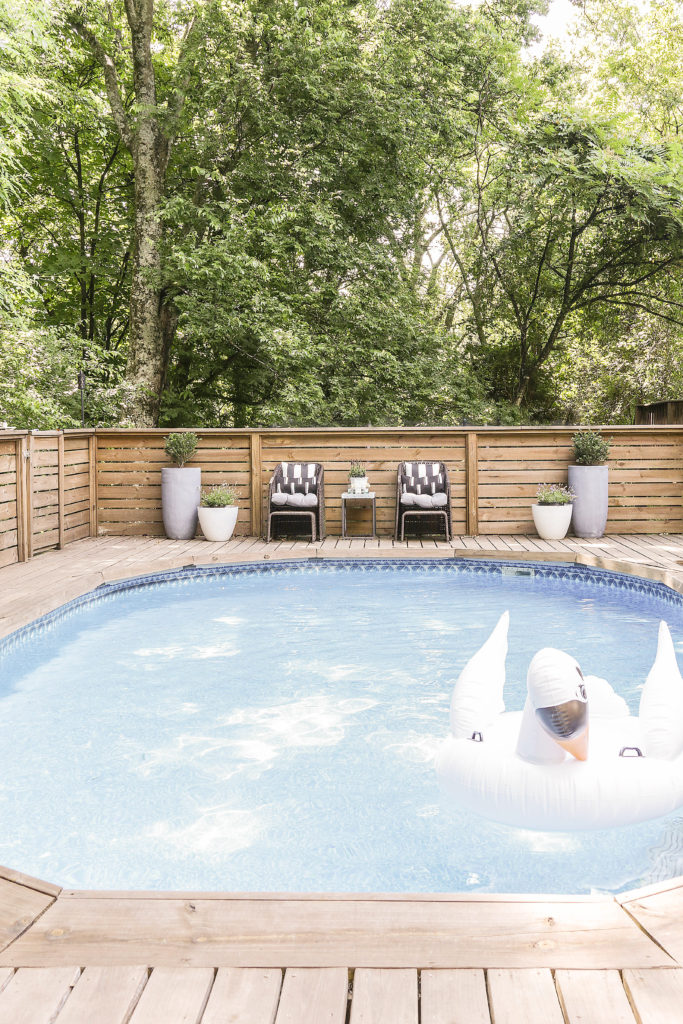
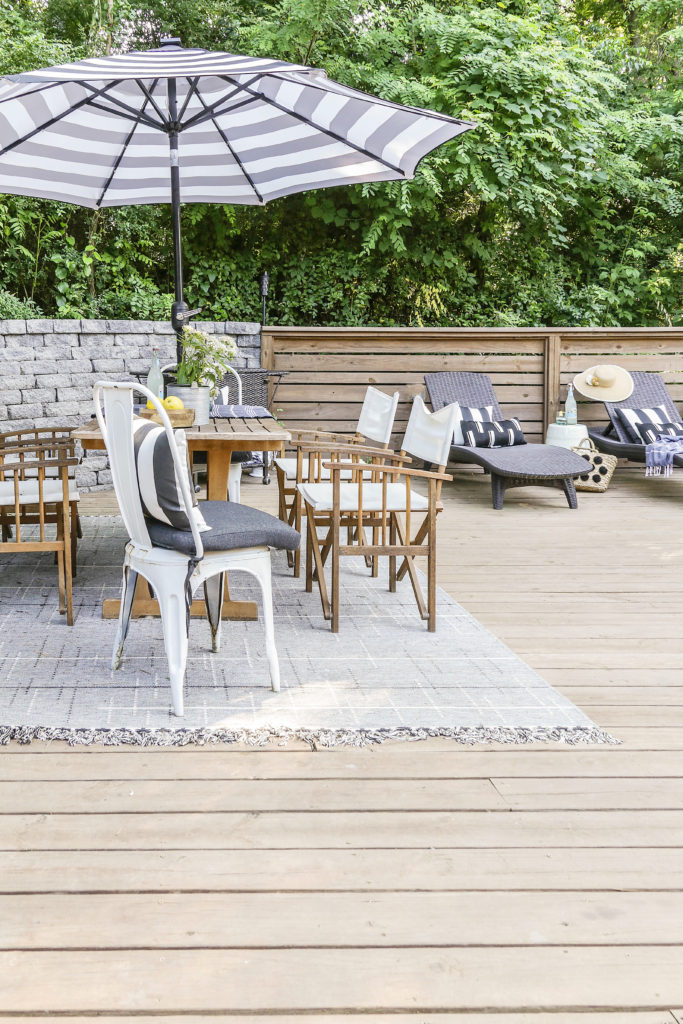
Last but not least is the pool area. Guys….there was some major drama involving this space (which I suggest you read about here). Here is what it looked like when we first moved in…..
Backyard Before:
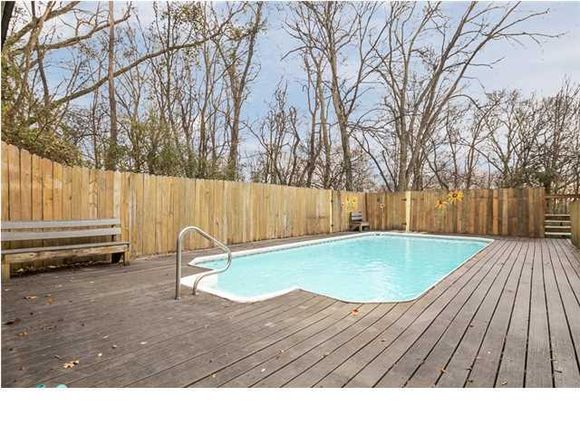
Backyard During Our Nightmare of a Surprise Demo and Excavation:
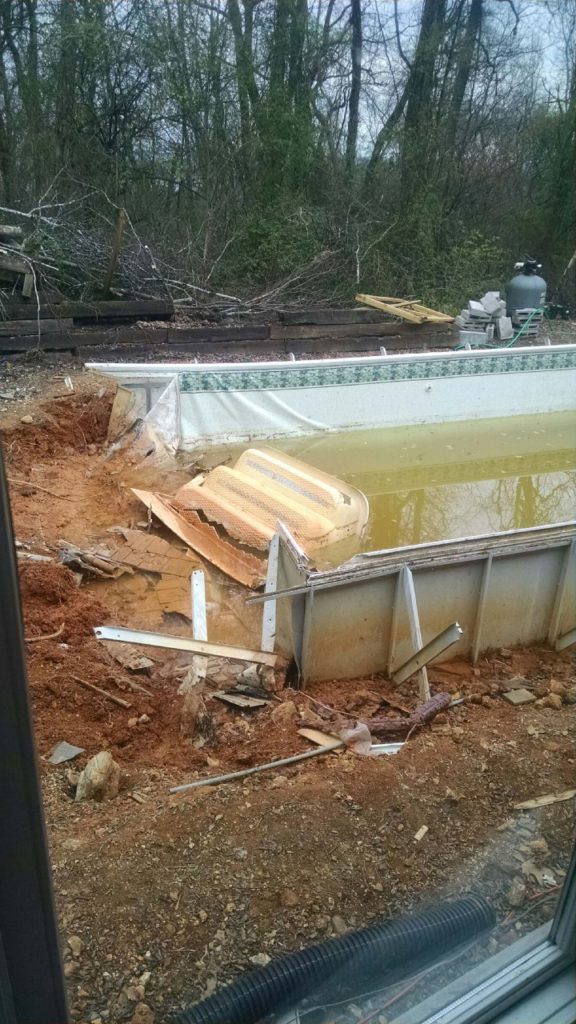
Essentially, we found out 2 years into owning our home that we would have to tear down the deck and excavate the pool as it was not graded and installed properly the first time around.(read the full details here) It was a nightmare that set us back $30,000, but look how much nicer it is now…..
While the whole fixer upper process has been one hell of an emotional roller coaster, I still don’t regret it. I am so proud of what my husband and I have been able to accomplish with our own two hands, and I think it will be a great example for our two little boys.
Thanks for stopping by! Now get out there and design some good vibes.

To see the before and afters of our full renovation, click here.


