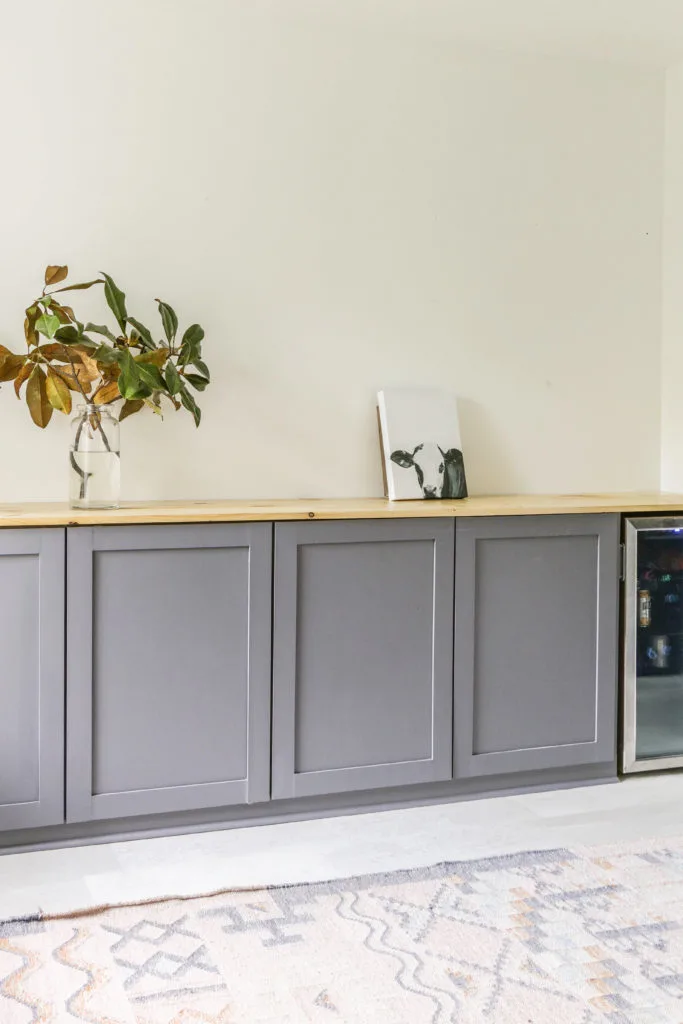
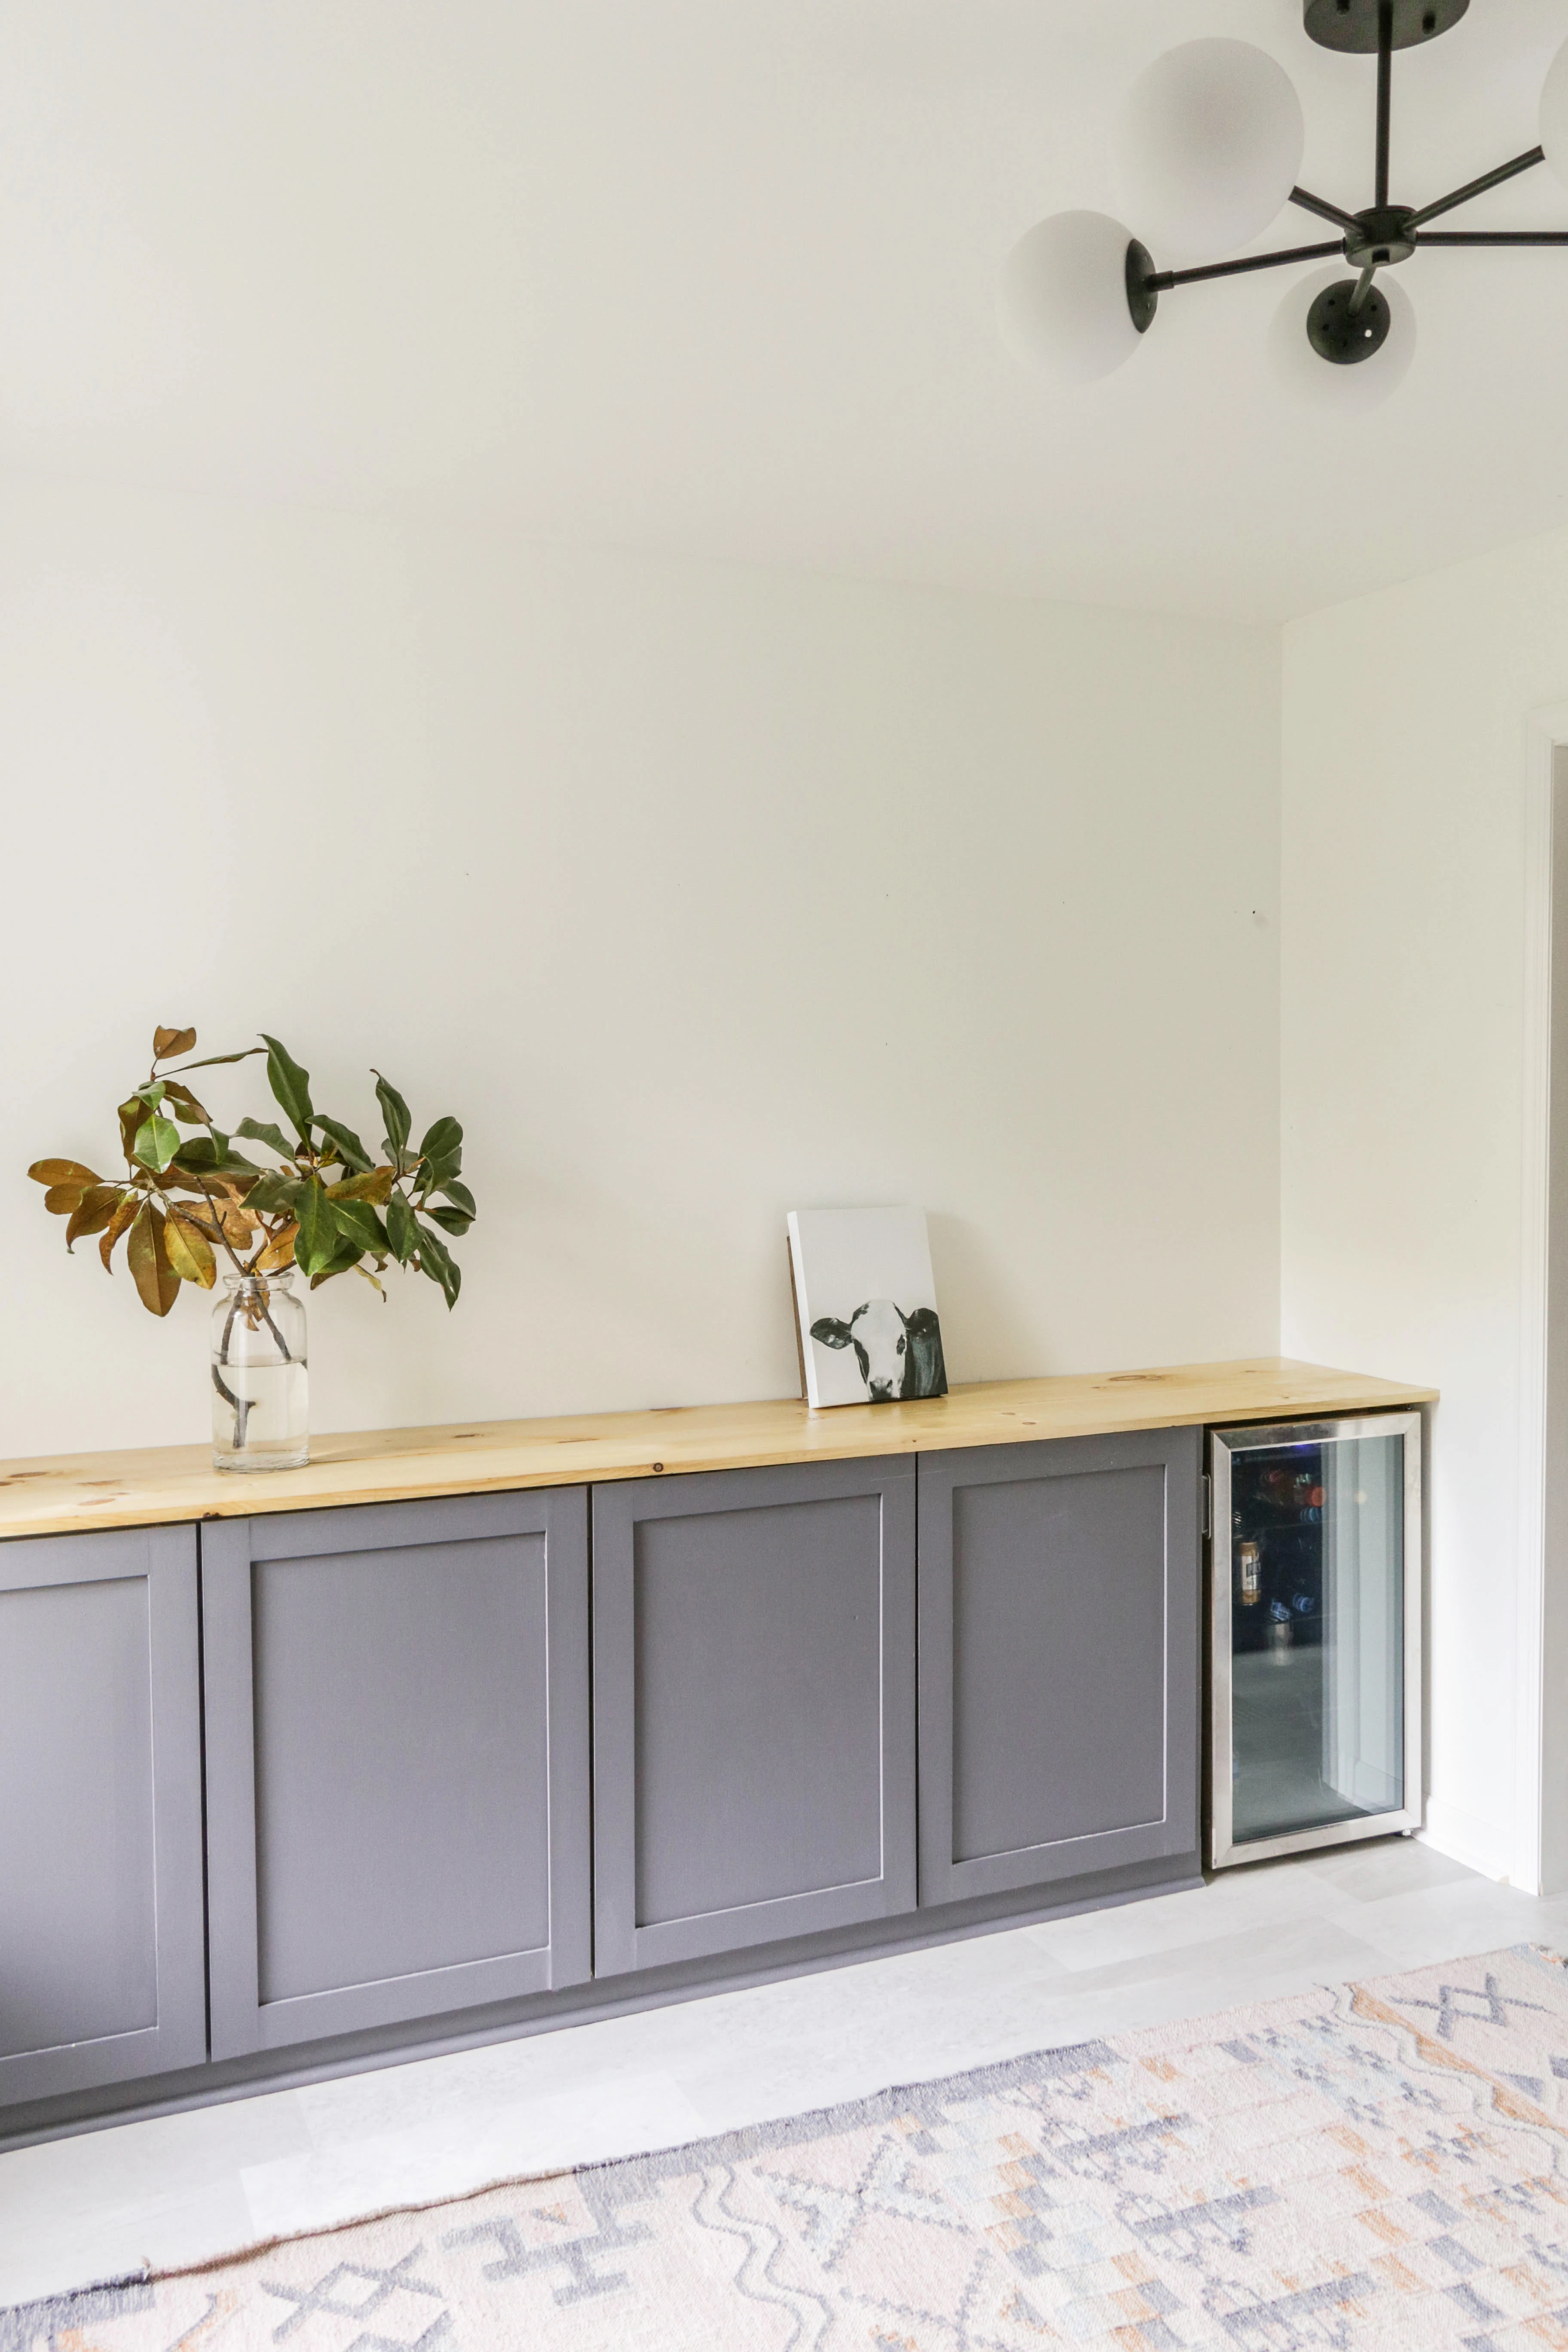
I am sure by now you guys have totally forgotten about my butler pantry build (which has kind of morphed into a sh*t show at this point) , but I am happy to report a little bit of progress today with my DIY, wood countertops.
Not only was I able to keep the investment of this project under $50, these babies were incredibly easy to build.
Today I am going to show you how to replicate this process and I am also sharing my progress report on the never-ending saga that is my DIY butler pantry.
In my four years of owning a fixer upper, I am beginning to accept some hard truths…
Sometimes the most “straight-forward” projects, have the tendency to spiral into much more time-consuming endeavors. Case in point? The flooring install here in the butler pantry.
To make a long story short….before we could install floating Luxury Vinyl Tile in our butler pantry, we had to rip up a considerable portion of the new LVT flooring we had just installed in our adjoining kitchen, to allow for a seamless flow of our click and lock LVT flooring.
This also meant that we had to rip out baseboards and door trim (which we had just installed a year ago) only to have to install and paint it all over again.
Essentially, the remodel of one room inflicted a domino effect onto two other adjoining rooms – the kitchen and the powder room.
So…lesson learned: if you are going to install click and lock LVT, be sure to do all adjoining rooms at once as you have to work row by row to “click” and secure the floating tiles into place.
While all of this was an unexpected pain in the a$$, I am thrilled to say that it is now behind us and we are finally able to turn our attention back to the initial project- the butler pantry.
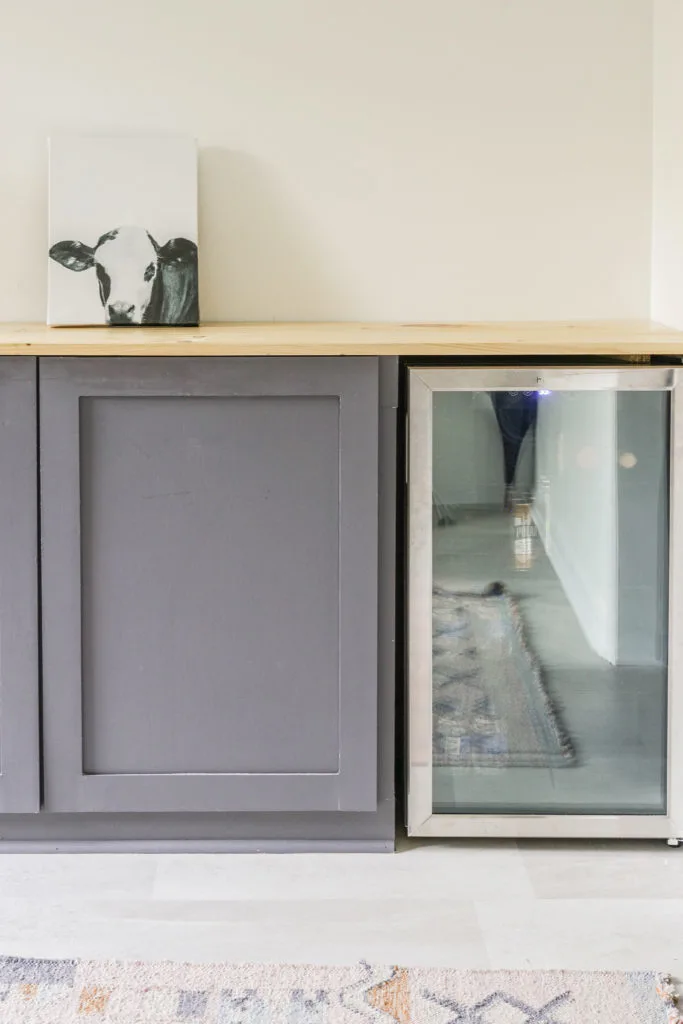
Wanting to offset the investment of the flooring (which was $1000 for the mudroom/butler pantry and powder room), I decided to take the frugal route for our counters.
Using cheap pine board and some stain I already had in my garage, these countertops costed less than $50 to make.
Let me show you how it’s done…
For your shopping convenience, I have included affiliate links.
DIY Wood Countertop Instructions:
1. Determine dimensions of countertop.
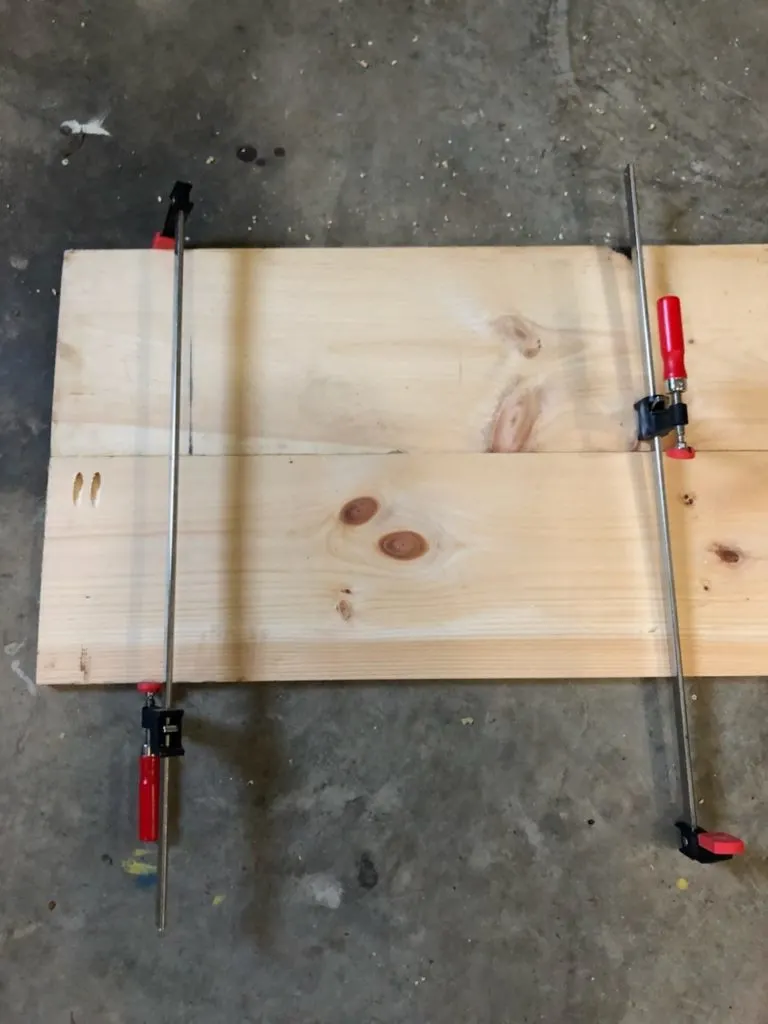
2. If depth is less than two boards together (example: desired depth is 16”, two 1×8 boards would provide a depth of 14.5” because nominal size is not actual size. Actual size of 1×8 is .75” x 7.25”. So you would use two 1×10’s which would provide 18.5”. You would “rip” 2.5” off one of the 1×10’s to measure 6.75” wide.)
3. Connect boards with wood glue and pocket hole jig and screws. I also clamped the boards together to minimize gaps at center seam.
4. Cut boards to desired length once glue has set.
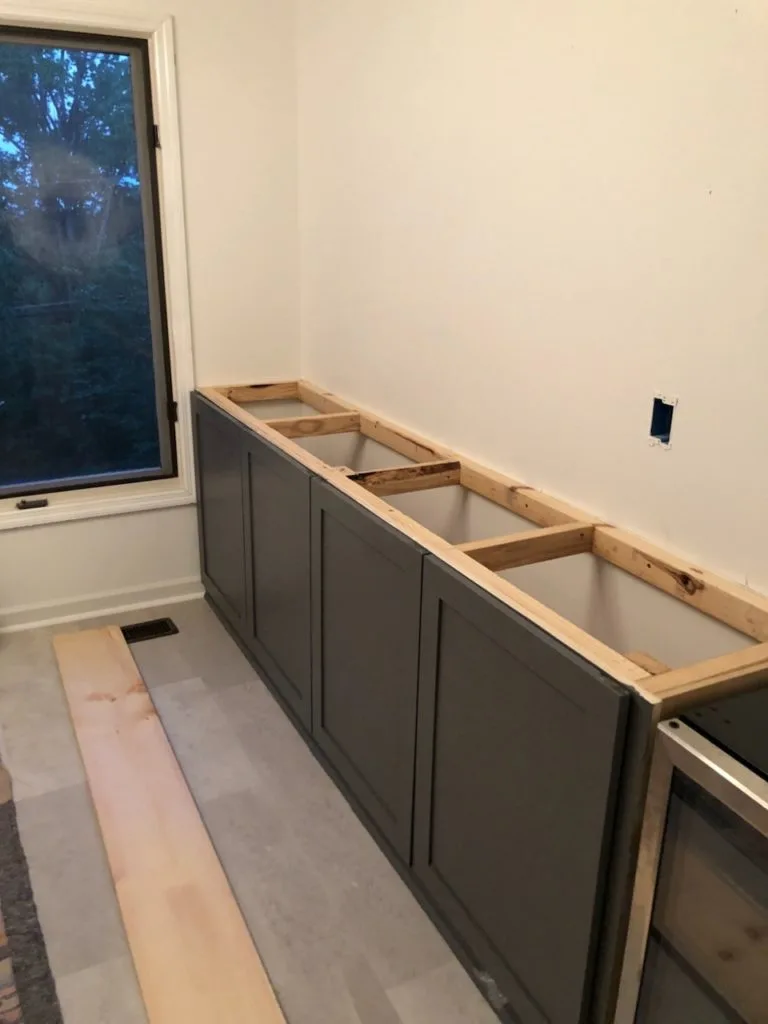
5. Anchor top to framework with 18 gauge brad nails or your choice of screws (I like trim head screws due to the minimal sized screw head.
6. Stain the boards with desired color stain (I used this one in “Natural”). I only applied one coat of stain.
7. To protect finish against water, apply two coats of water resistant top coat(I used this one).
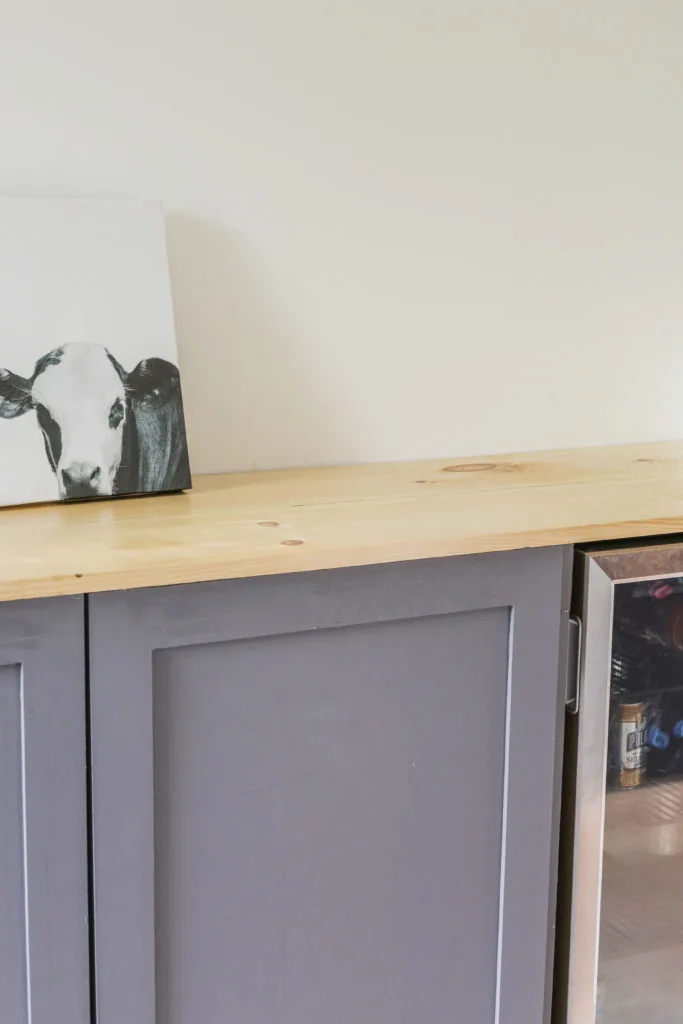
Now that the countertops are installed, we need to install the floating shelves, sconces and relevant electrical work.
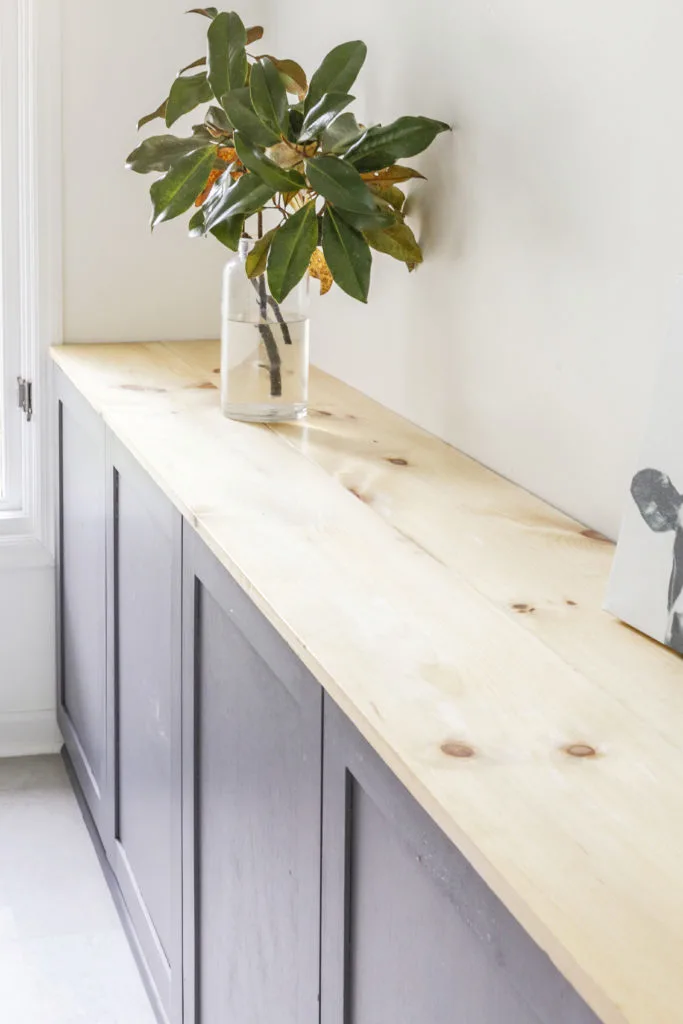
Being the cheap skate that I am, I ordered my sconces from China (for only $30/sconce), so I will probably receive them in about 12 months.
But seriously.. the sconces should be arriving from China in a week or two. So…once they arrive, I will then determine where to install the proper electrical receptacles and where to place the DIY floating shelving.
We will also need to install electrical for the smaller appliances which I will be relocating to the new countertops here.
That being said, I am hoping this room will be finished within three weeks (fingers crossed my cheap sh*t from China comes in a timely fashion).
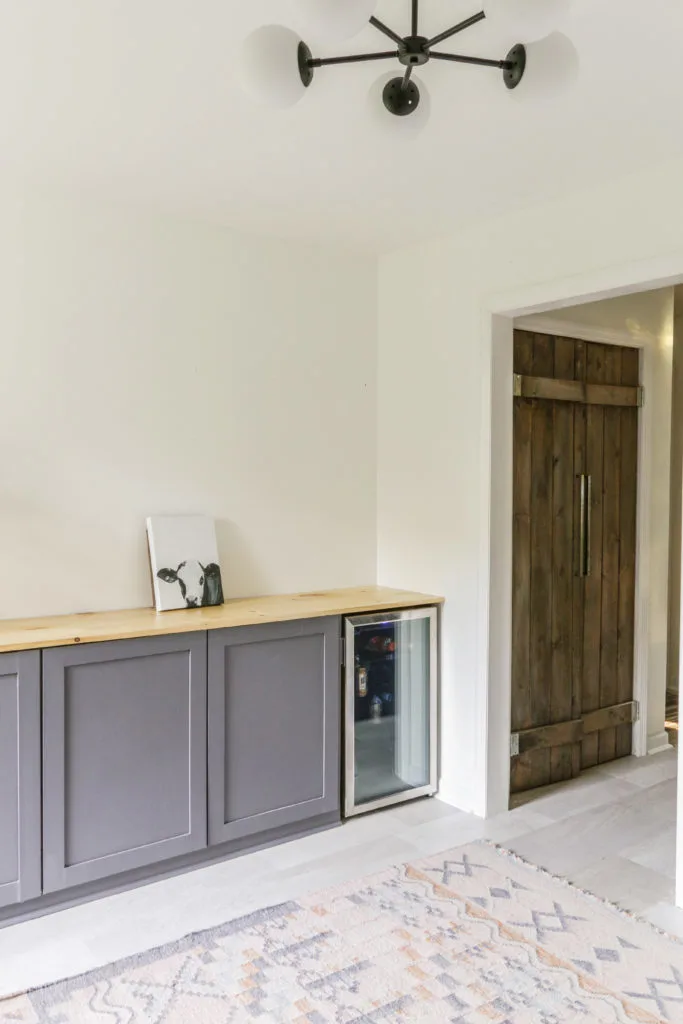
And in case you missed the DIY Cabinets post, you can click here to see how my husband built these beauties for less than $200.
Wishing all of you beautiful mamas a Happy Mother’s Day in advance!
Now get out there and design some good vibes!
Thank you so much for supporting this small business by sharing this post with a friend or on social media. It truly means the world to me.



Vinod | ClaySys Builders
Tuesday 14th of May 2019
Amazing work. Really an inspiration
Designing Vibes
Tuesday 14th of May 2019
Thanks for the kind words, friend!
Kathryn
Monday 13th of May 2019
They turned out beautiful! Certainly look more expensive than $50.
Designing Vibes
Tuesday 14th of May 2019
Thank you so much, Kathy! I hope you had a good Mother's day!
Mary-The Boondocks Blog
Thursday 9th of May 2019
Beautiful so far Erica. And now you have so much more storage space too. Come to my NY home and help me make sense of my closet sized kitchen. ;)
Designing Vibes
Friday 10th of May 2019
Thank you so much, Mary! I am super excited about the extra countertop space...I can only imagine how challenging it must be utilize space in NY. I would love to visit you there though. ;)
Shirley McIntosh
Wednesday 8th of May 2019
Hi Erica, Love your butler pantry. And you are looking as beautiful as ever. Keep the posts coming!
Designing Vibes
Wednesday 8th of May 2019
Thank you so much for your sweet words, Shirley! You just put a smile on my face. Wishing you a wonderful rest of your week.
Julie S
Wednesday 8th of May 2019
Hey, things are coming together in here! Keep it up, sister - the speed of life is sooo not the speed of my fantasies. My hall bathroom reno is proving that to me yet again...
Designing Vibes
Wednesday 8th of May 2019
It is starting to feel like the never-ending project. haha! You hang in there too, sis. It will all be worth it in the end. Happy Mother's day!