
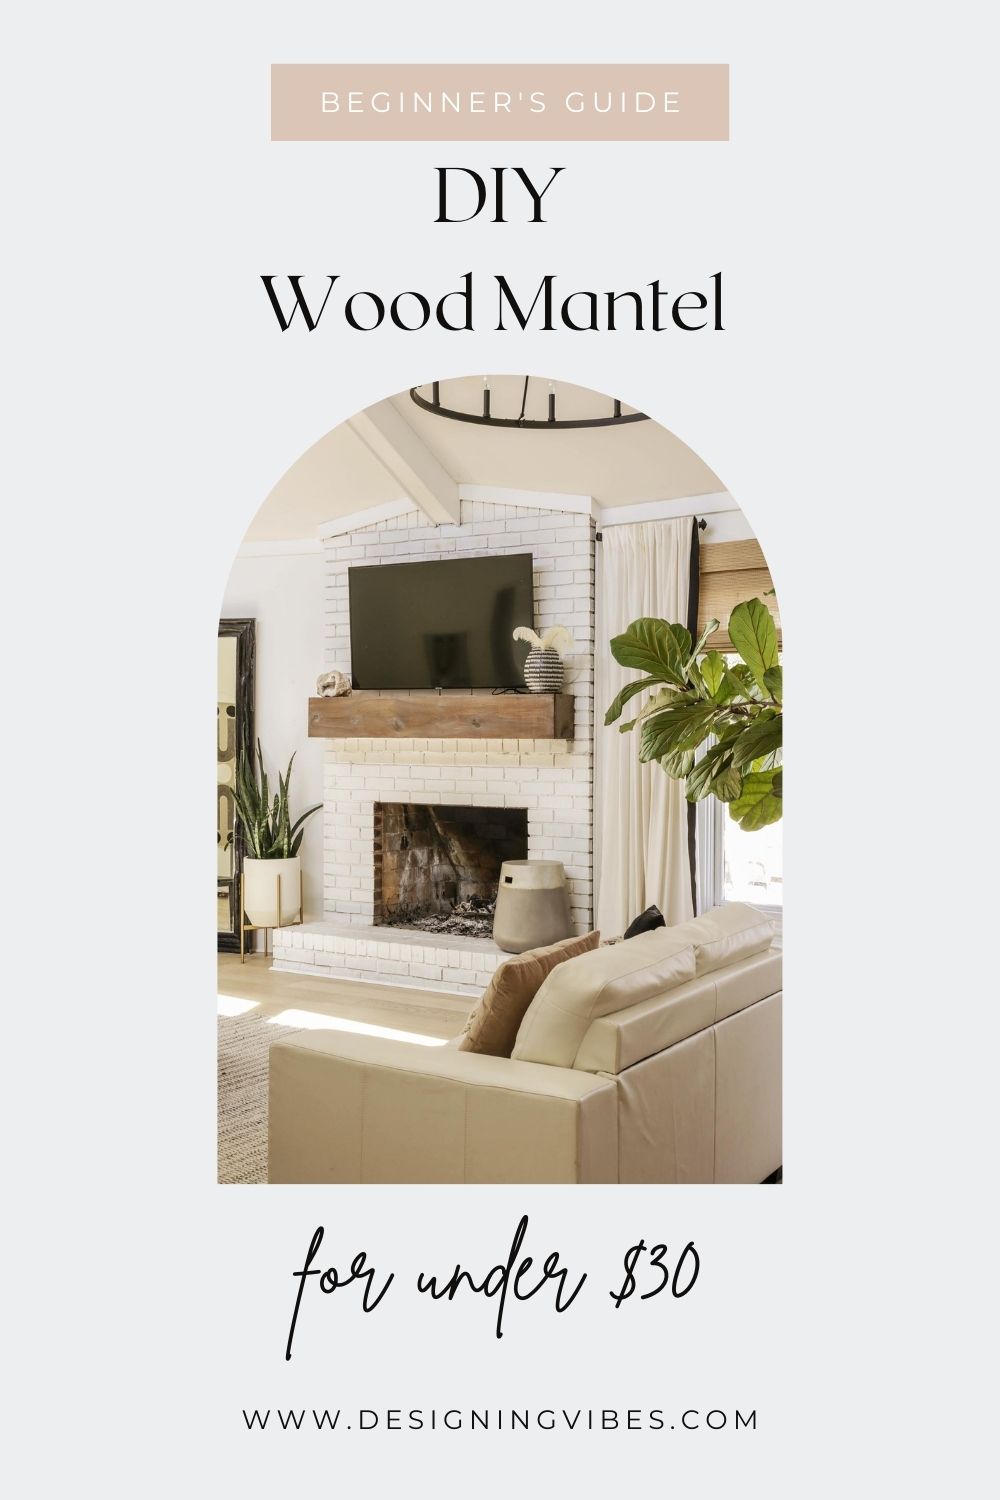
Looking to add some warm, rustic vibes to your brick fireplace? A wood beam mantel is a great place to start. This DIY mantel makeover took only about 2 hours to complete and boy…did it transform the entire look of our living room or what?!

In case you missed it, see my detailed living room transformation post to see how we brightened and updated our living room here.
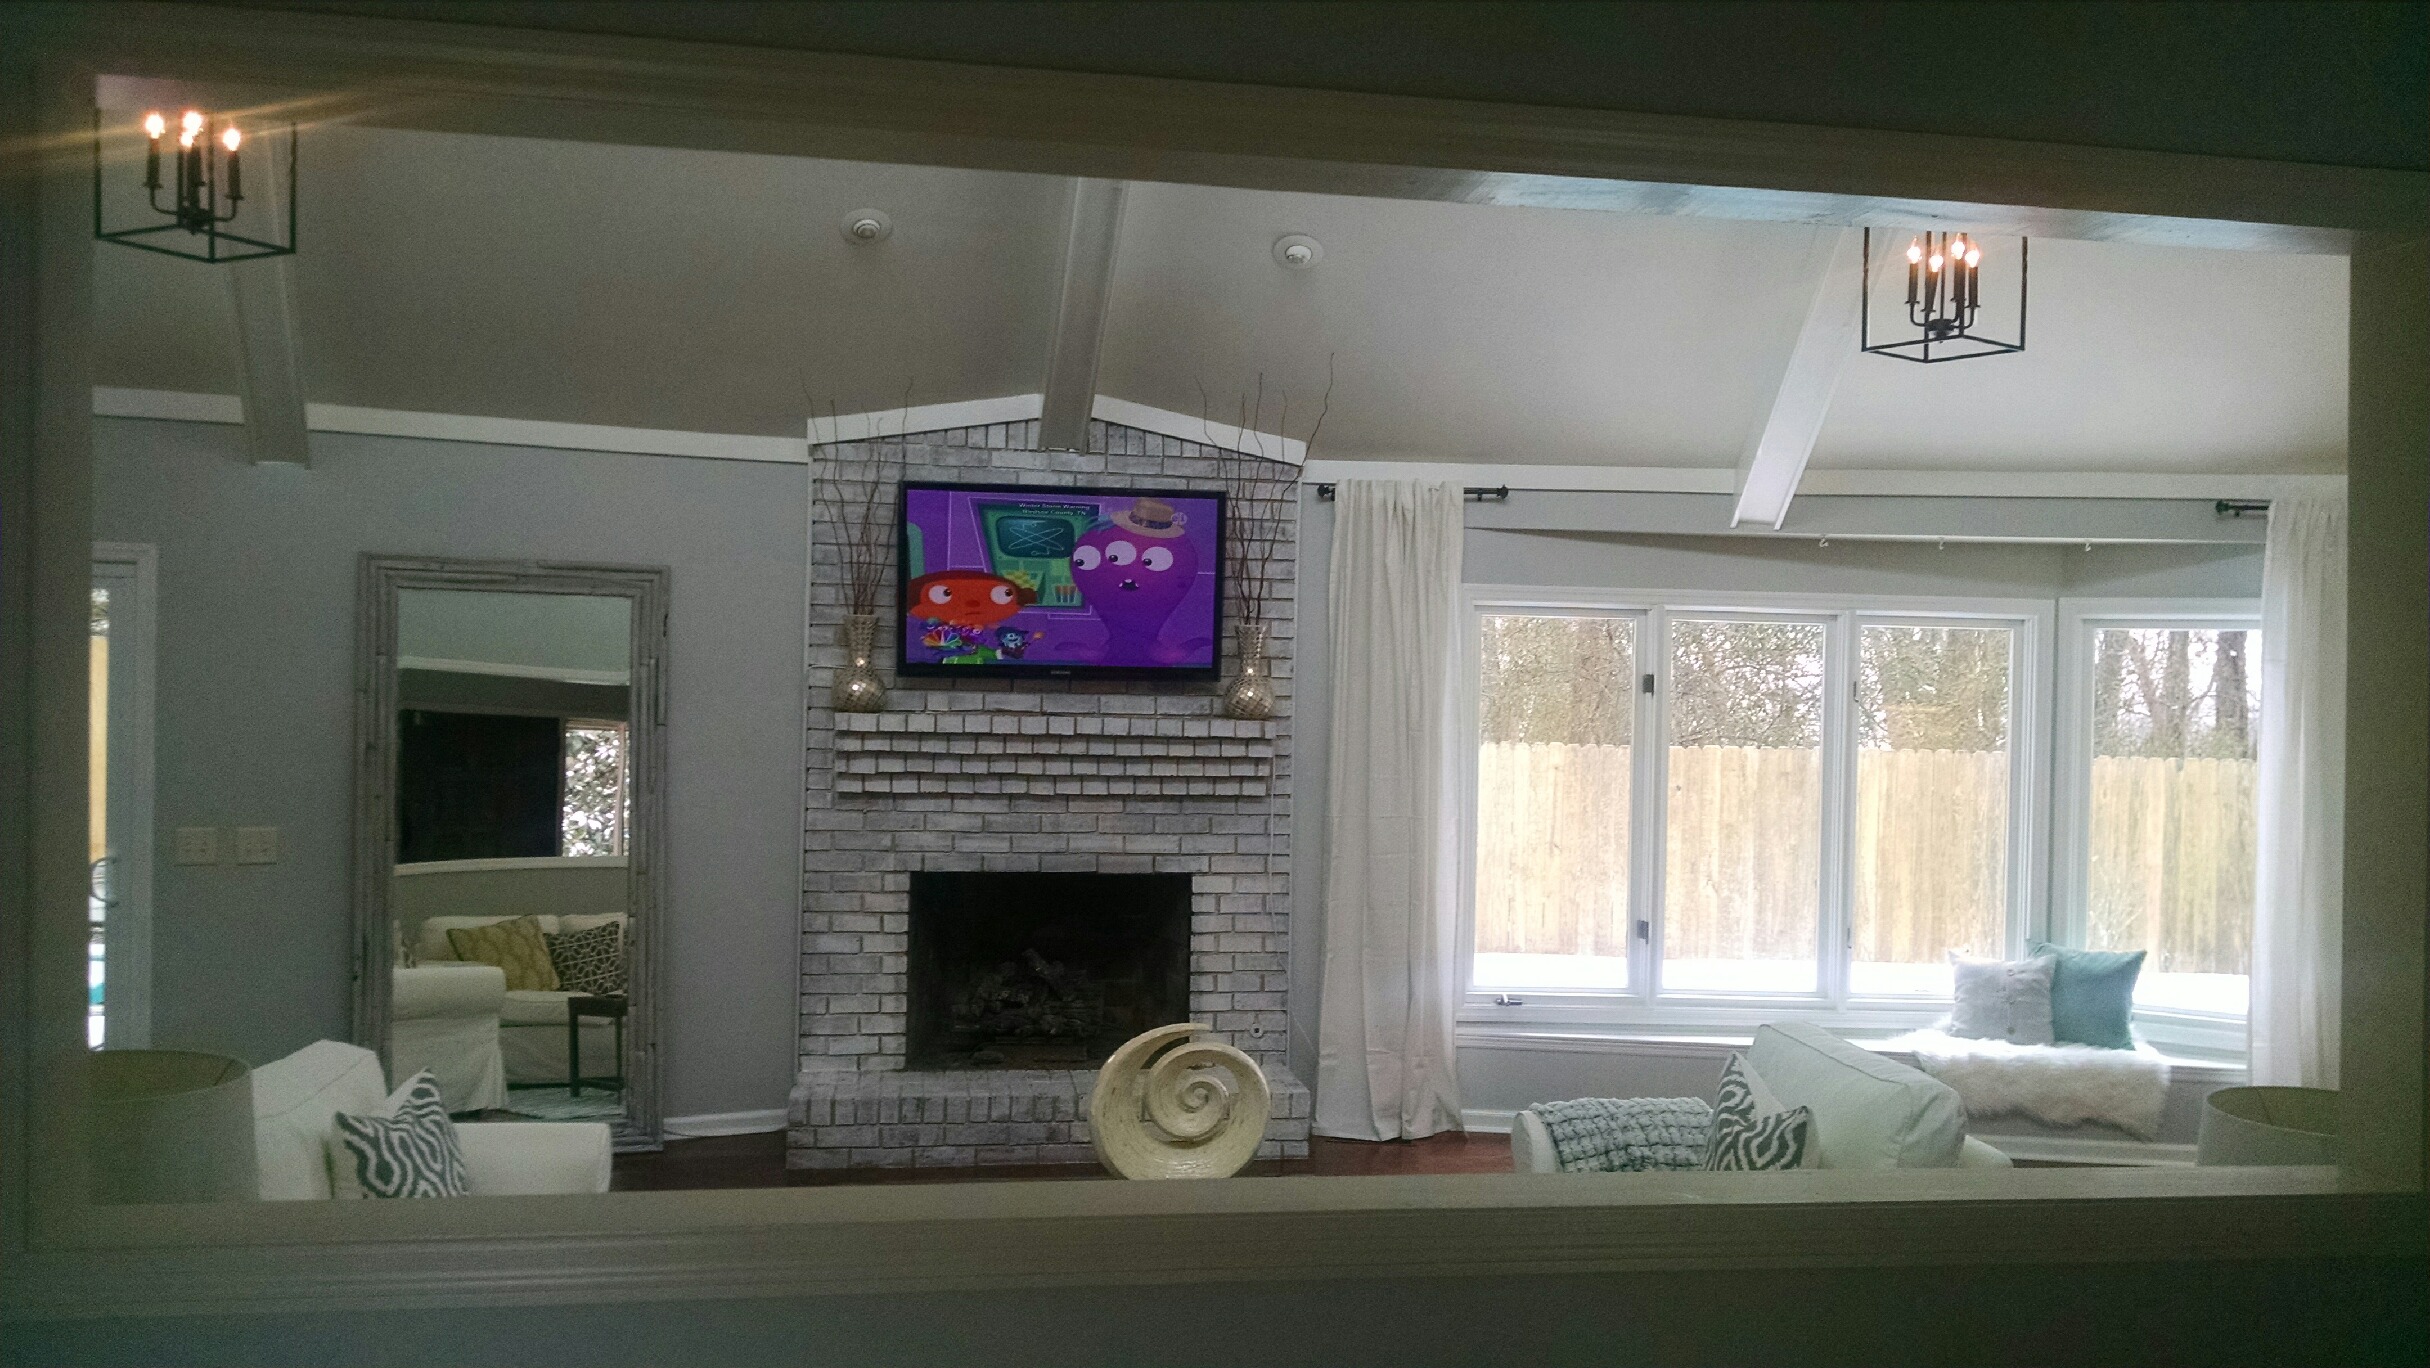
Let’s take a look at how this fireplace looked when we first moved in.

Eek! I hated the tones of this brick and the nasty bronze fireplace screen. I first removed the screen and whitewashed the brick on the fireplace. Read my post on how I whitewashed the brick here.
***Update**** I recently painted over the whitewash completely with white, brick paint. If you need a great tutorial for painting over a brick fireplace, check out this thorough post by Project Allen Designs by clicking here. If you want to know how my painted fireplace is holding up after three years, click here.
Here is what it looked like after whitewashing the brick.
In my opinion, it still lacked character and warmth. Being a Fixer Upper junkie, I see how they often add a wood beam to a plain, brick fireplace. I decided to replicate their style. Let me share with you how we (ok, so it was really just my husband. I was too busy chasing after my 19 month old) added a wood beam mantel to our plain Jane fireplace.
NOTE: We have built this same wood beam mantel twice now. So if you are confused by the different photos of this space, just know it was the same method- simply different stains. Given it has been six years since I originally posted this tutorial, you must keep in mind that our living room has gone through several changes.
For your convenience, I have included some affiliate links. That simply means if you click on one of the links and buy something, I receive a small commission, but don’t worry… you won’t pay a dime more.*
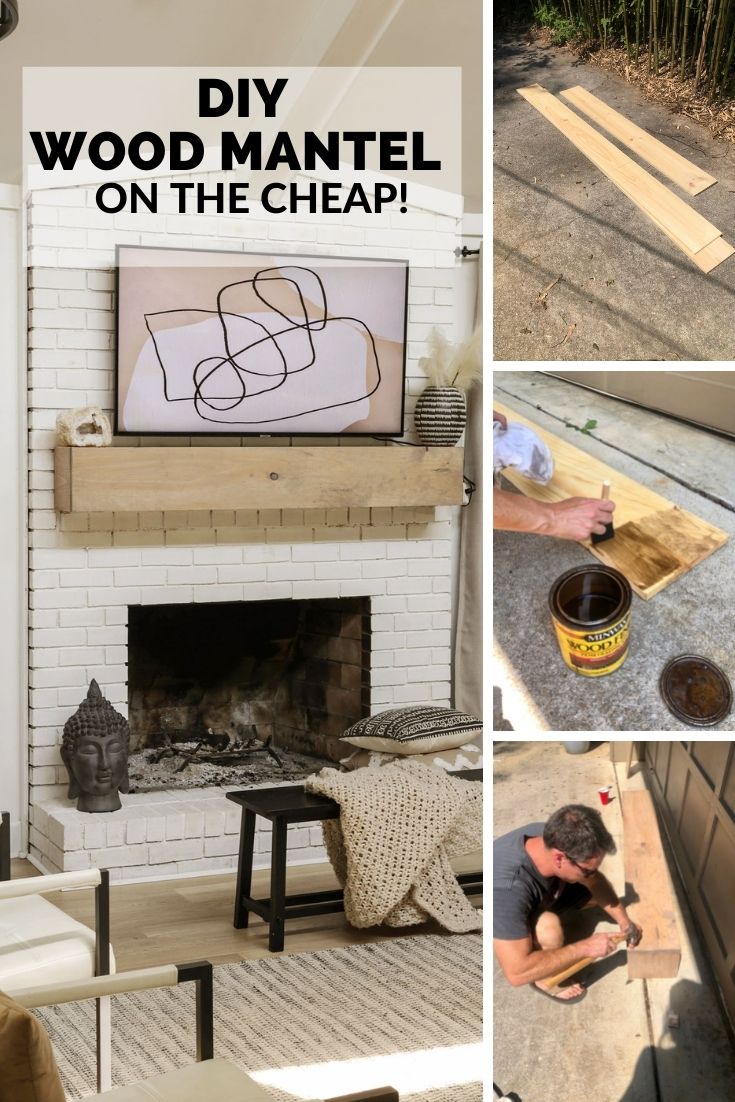
Materials Needed to Build Faux Oak Mantel:
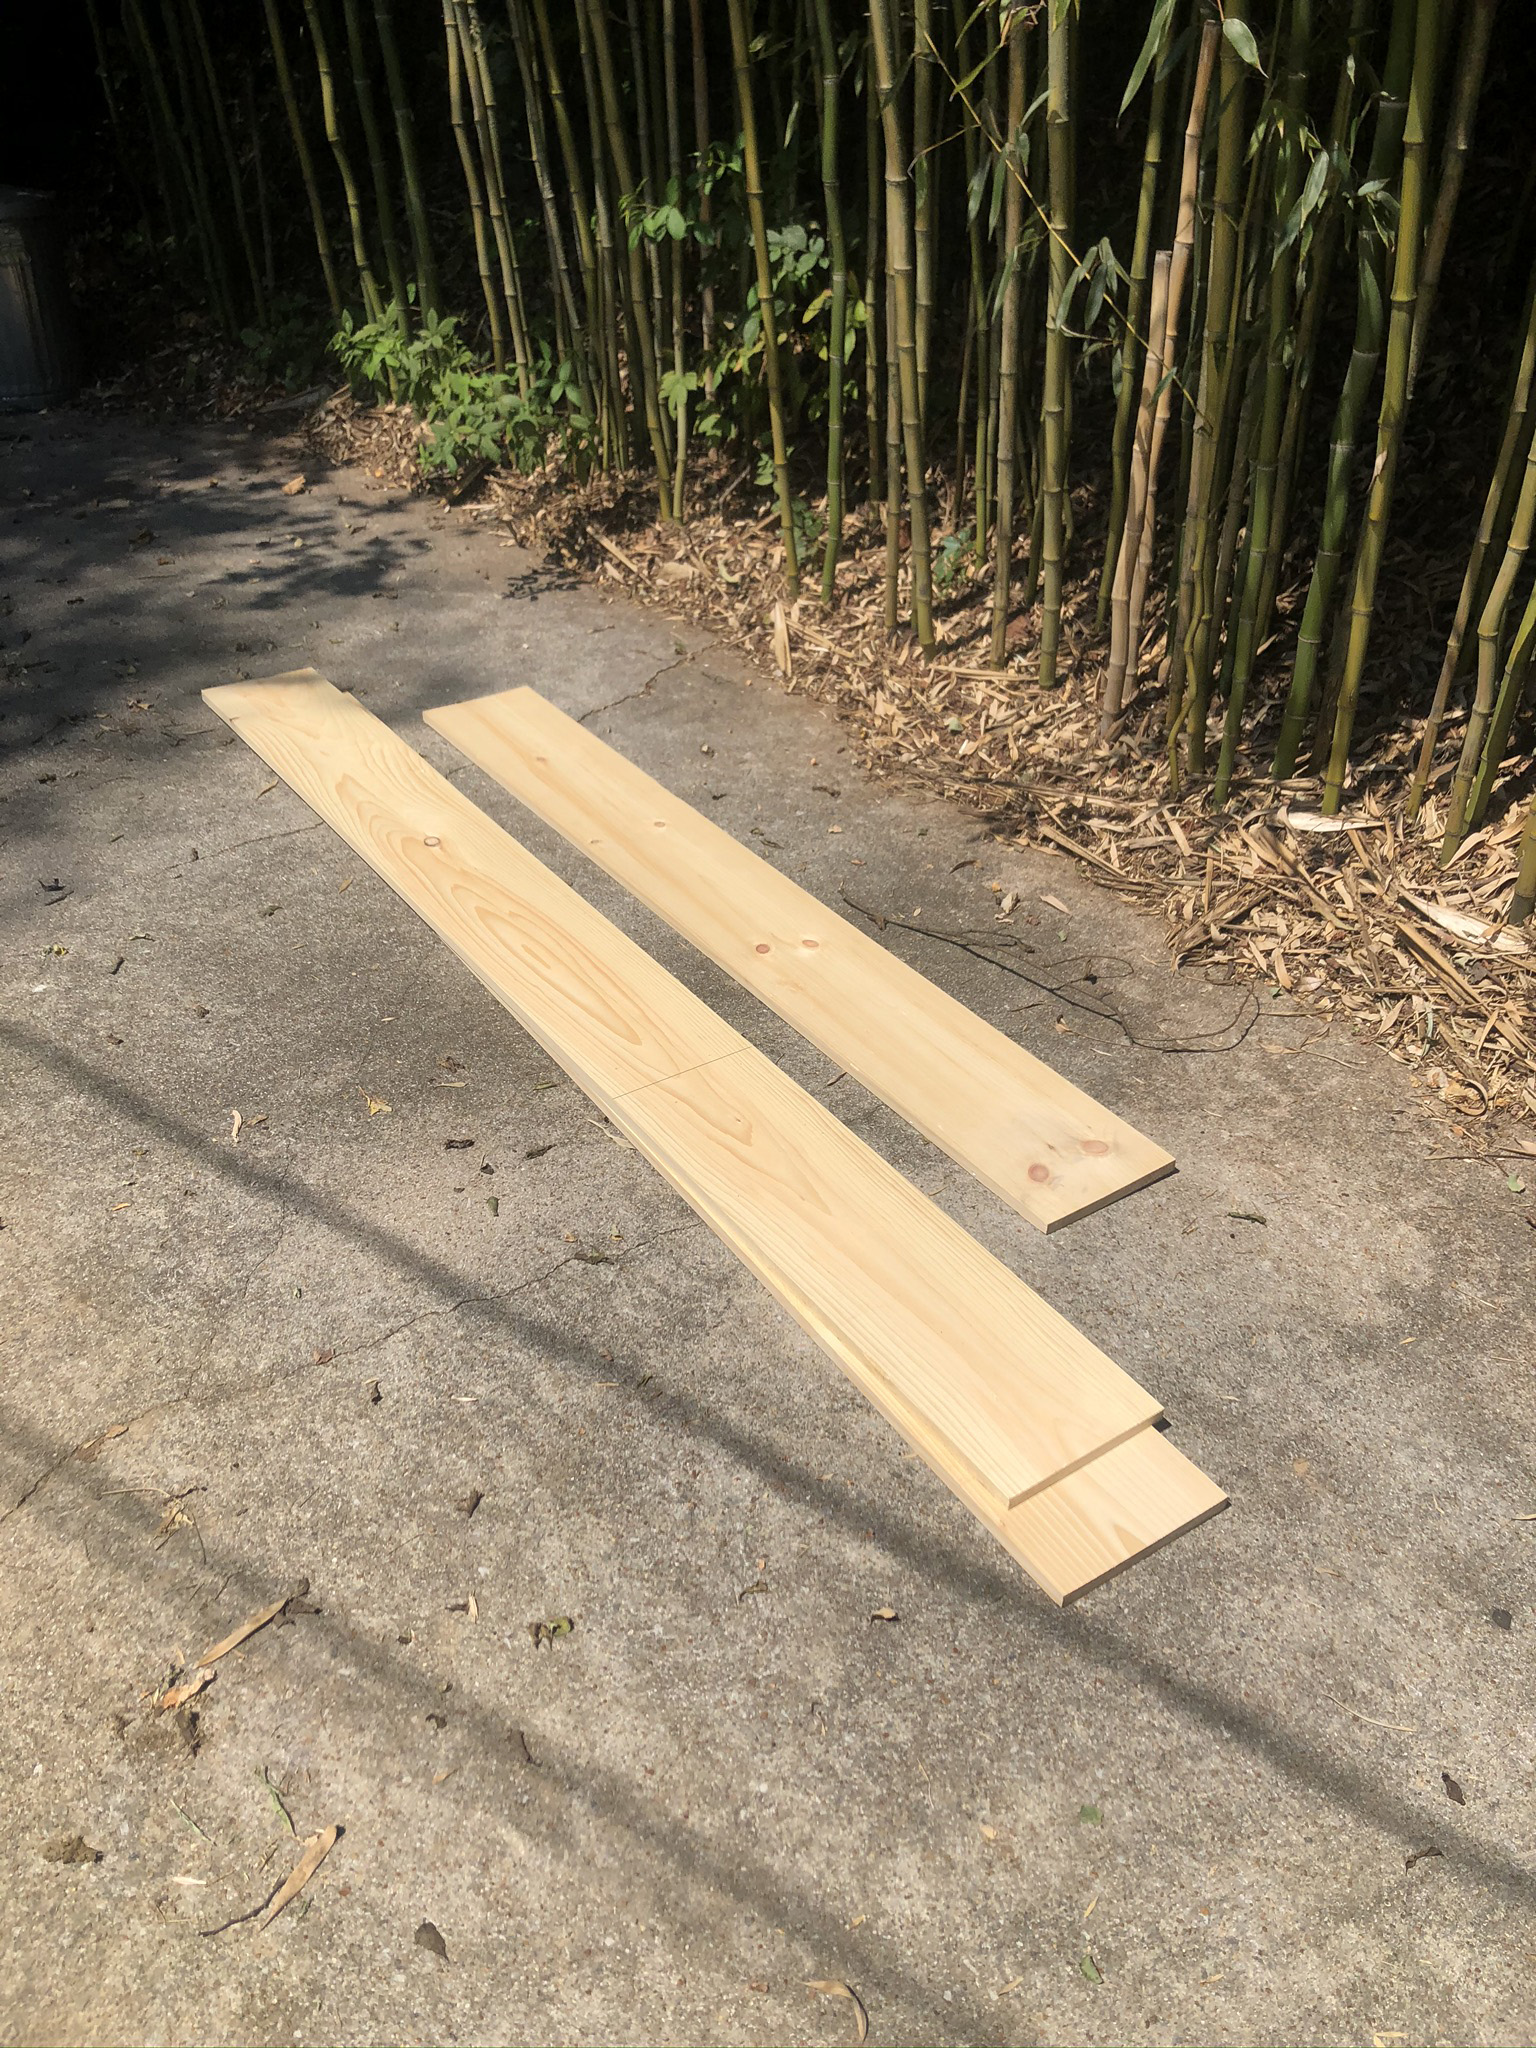
- Common Board ( we used 6’x10”)
- trigger clamps

- 16 gauge finishing nails if you have a nail gun or 6D 1.5” finish nails with nail set.
- Circular Saw or Mitre Saw
- Wood Stain (I used this stain)
- Foam Brush and Rag to apply stain
Because we already had a brick mantel, we decided to basically wrap the existing mantel in the common board. Here is how we did it.
How To Build Wood Beam Mantel DIY Steps:
- Cut the top board the length of the mantel.


- Cut face board length of mantel PLUS an additional 1.5”. This allows seams to be hidden from the front.
- Cut side pieces to fit mantel width PLUS .75″ height so that only one seam can be seen from side.
- With your trigger clamps, clamp top board to mantel so it won’t move while nailing your side boards to it. Like so..
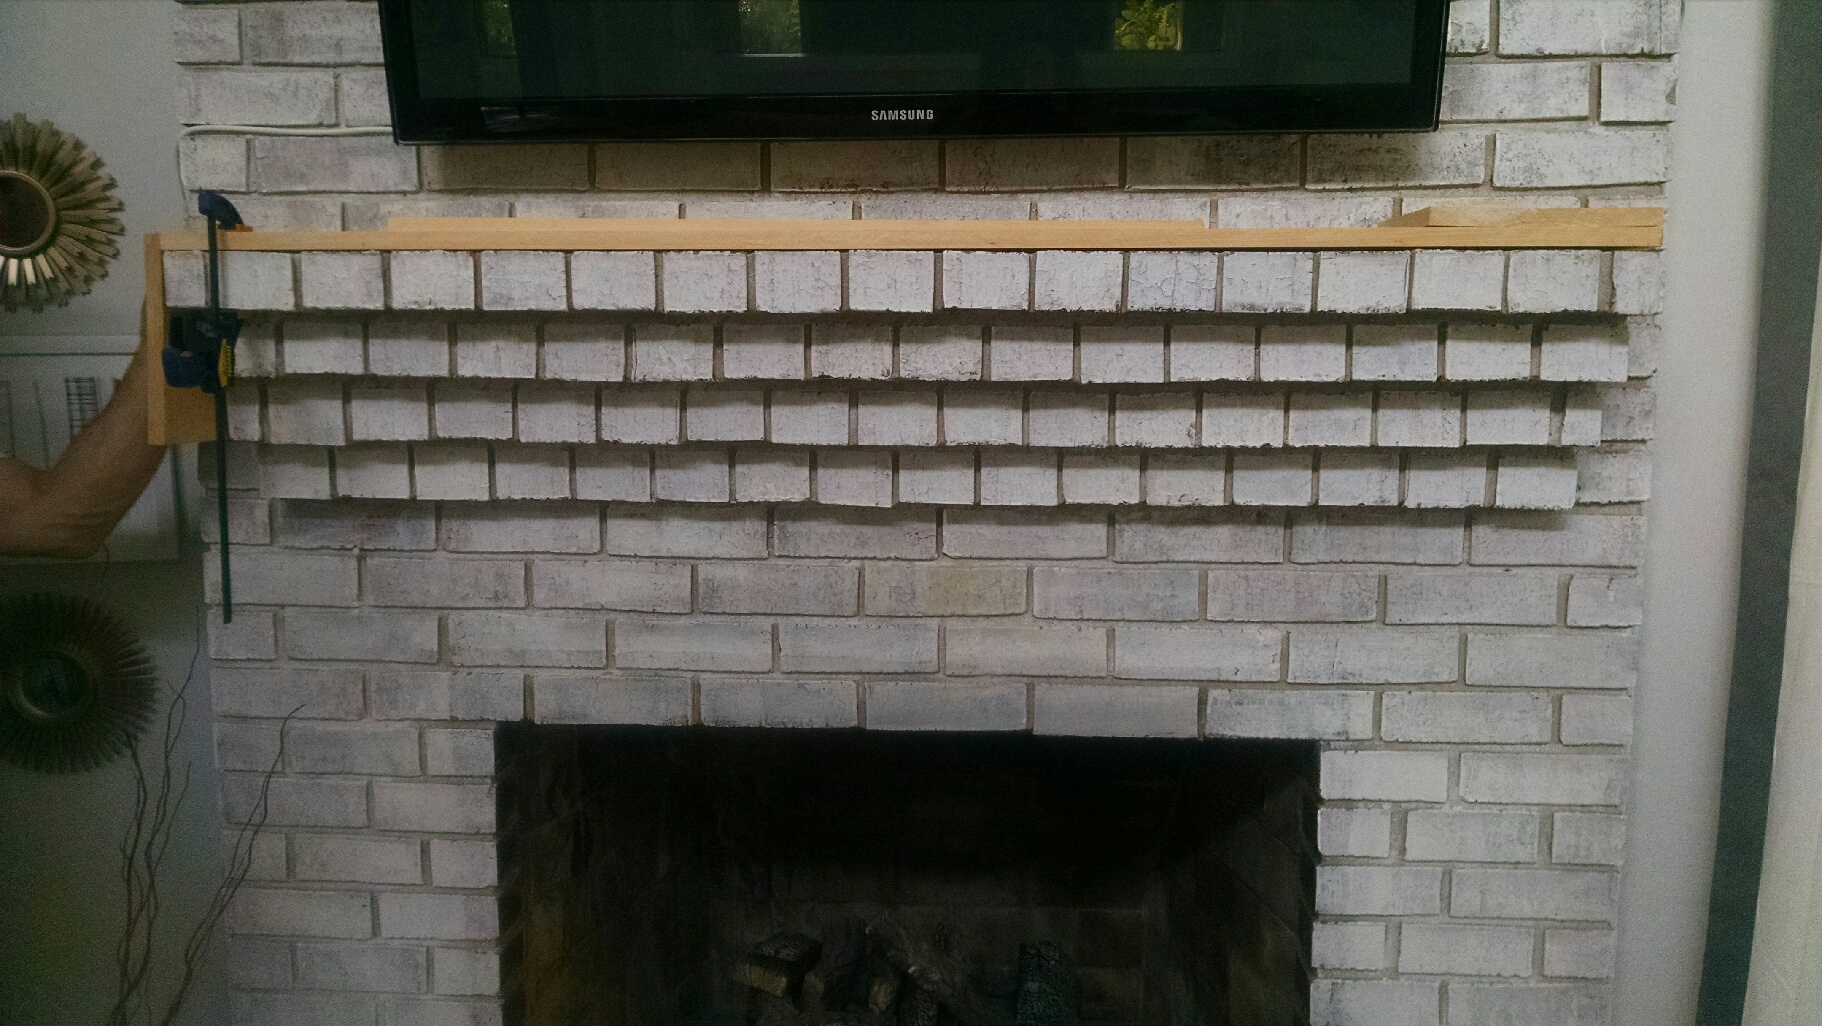
 5. Nail side pieces to top board with 16 finish nail (for those of you lucky ducks with nail guns). If you don’t have a nail gun…no worries. Use 6 D 1.5” finish nail with nail set.6. You are getting there! After side pieces are in place, nail your face board to the side board.7. Stain wood “beam” to finish of your choice. (I used this stain)

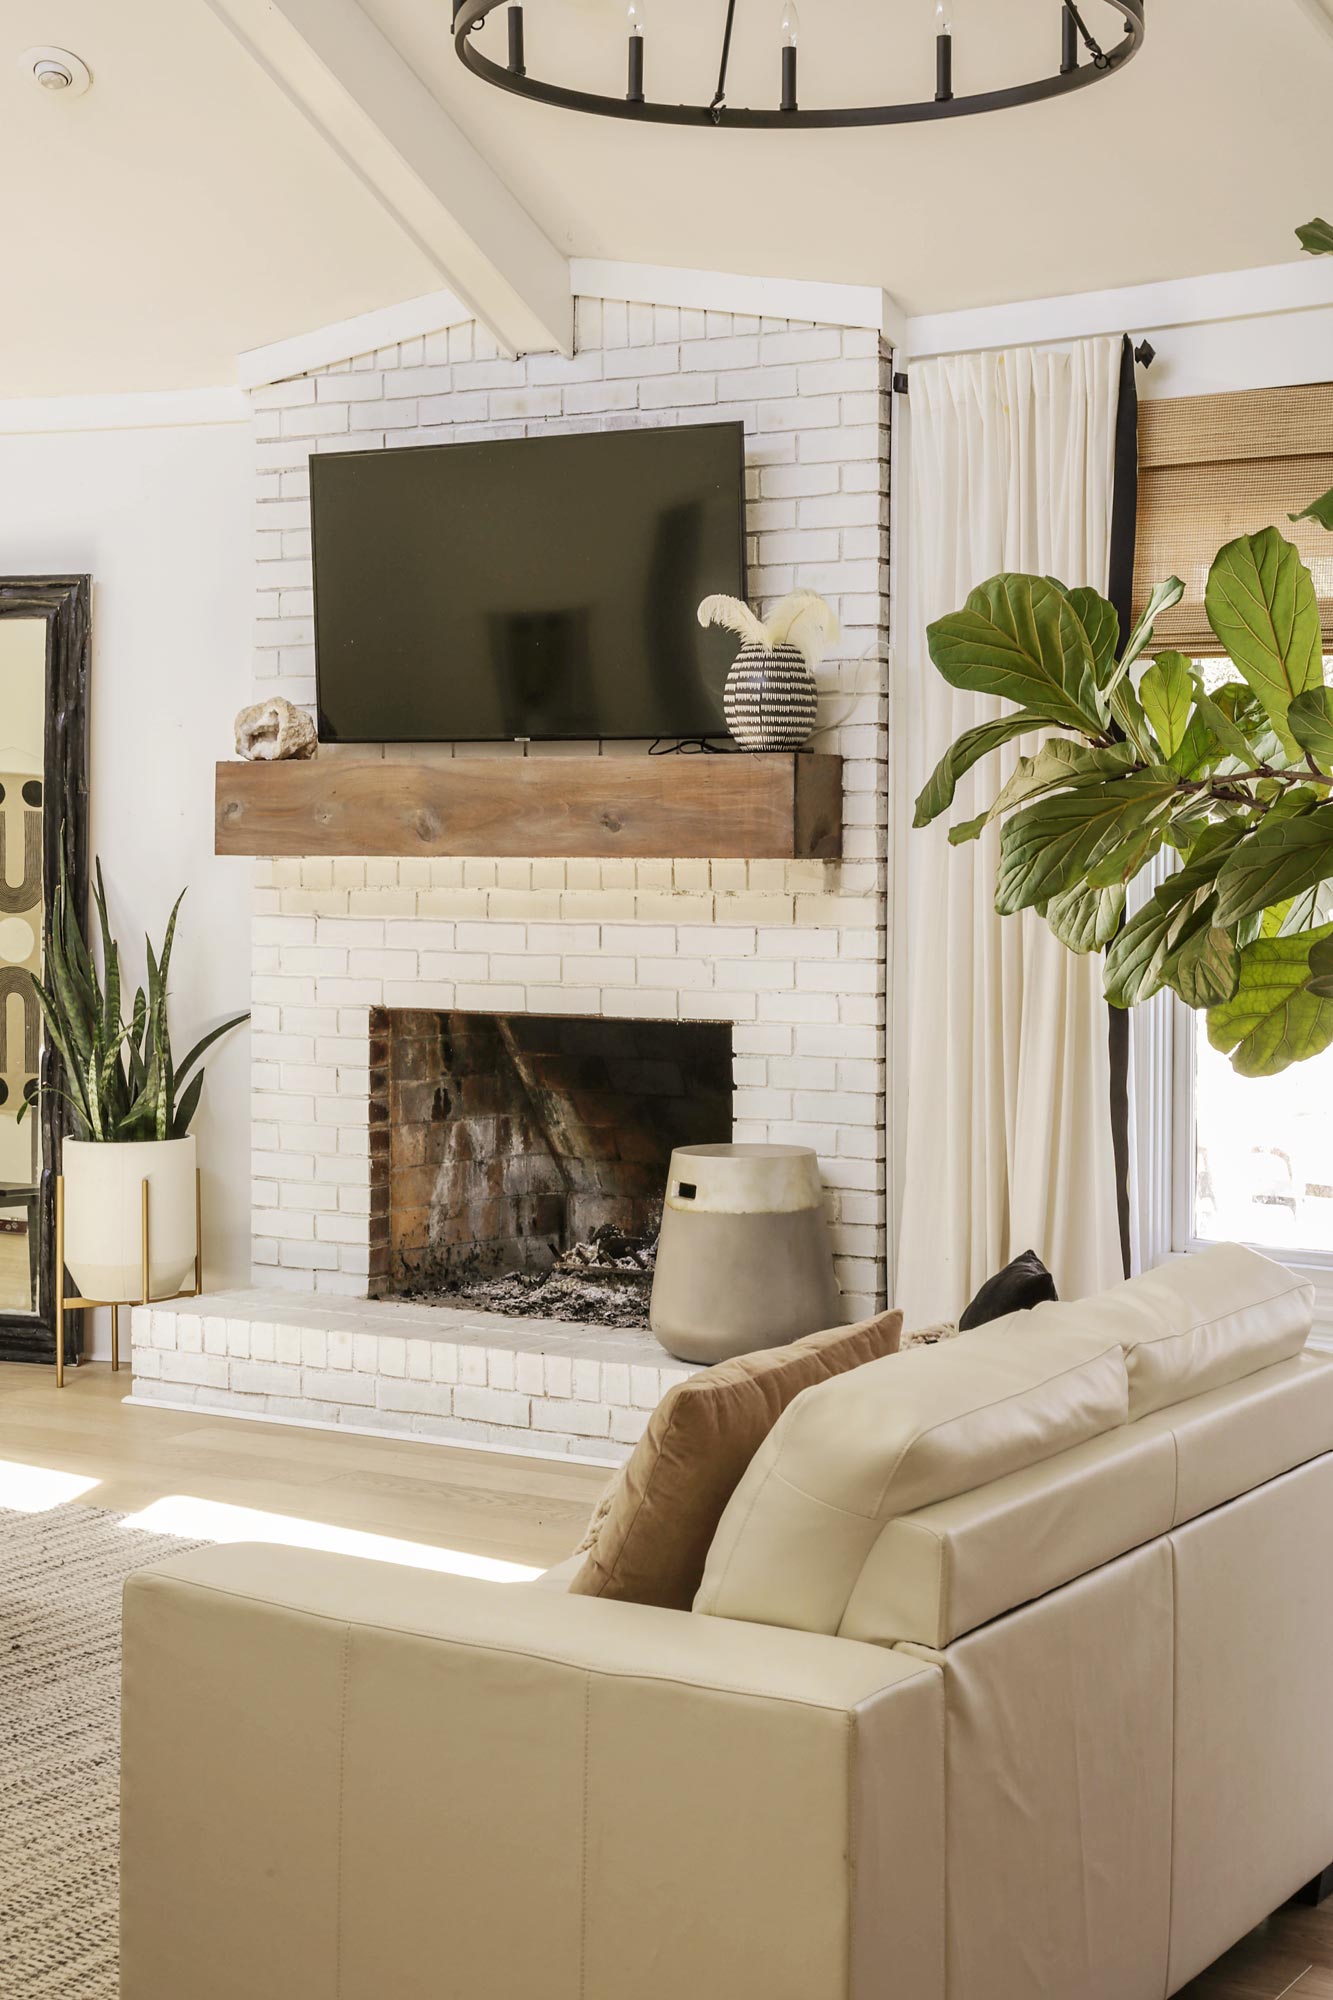
Given the huge impact, this project required such little investment. It really just added that extra touch I was looking for and it makes the room feel so much more cozy. Even better, it only cost around $30 and provided a dramatic impact. Just the extra touch of warmth we needed.
For those of you who are more visual learners, I have also included a video tutorial in this post.
**UPDATED 2021**
We recently installed new oak flooring throughout our home! To match the lighter new floors, we decided to rebuild the mantel (using the same materials and technique) but stain it to look like oak..
To see how we stained the new mantel to look like oak, you can click here for that separate tutorial.
Want to see how we were able to mount our TV on the brick when there was no existing electrical receptacle (and hide the wires)? Click here for that separate tutorial.
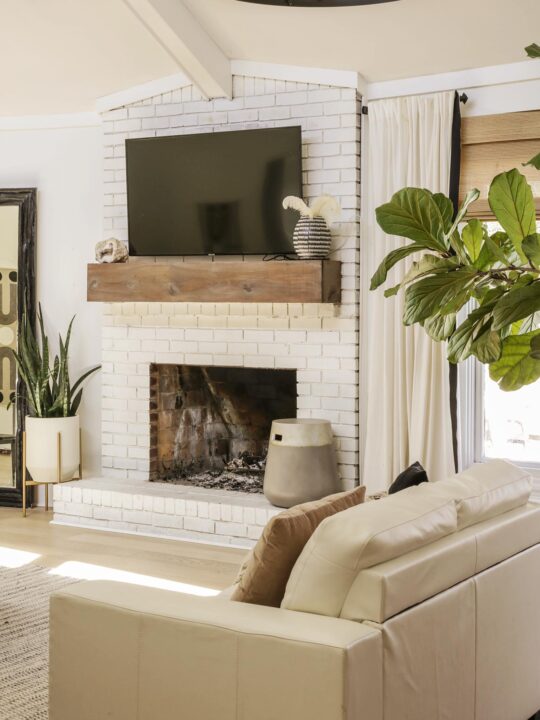
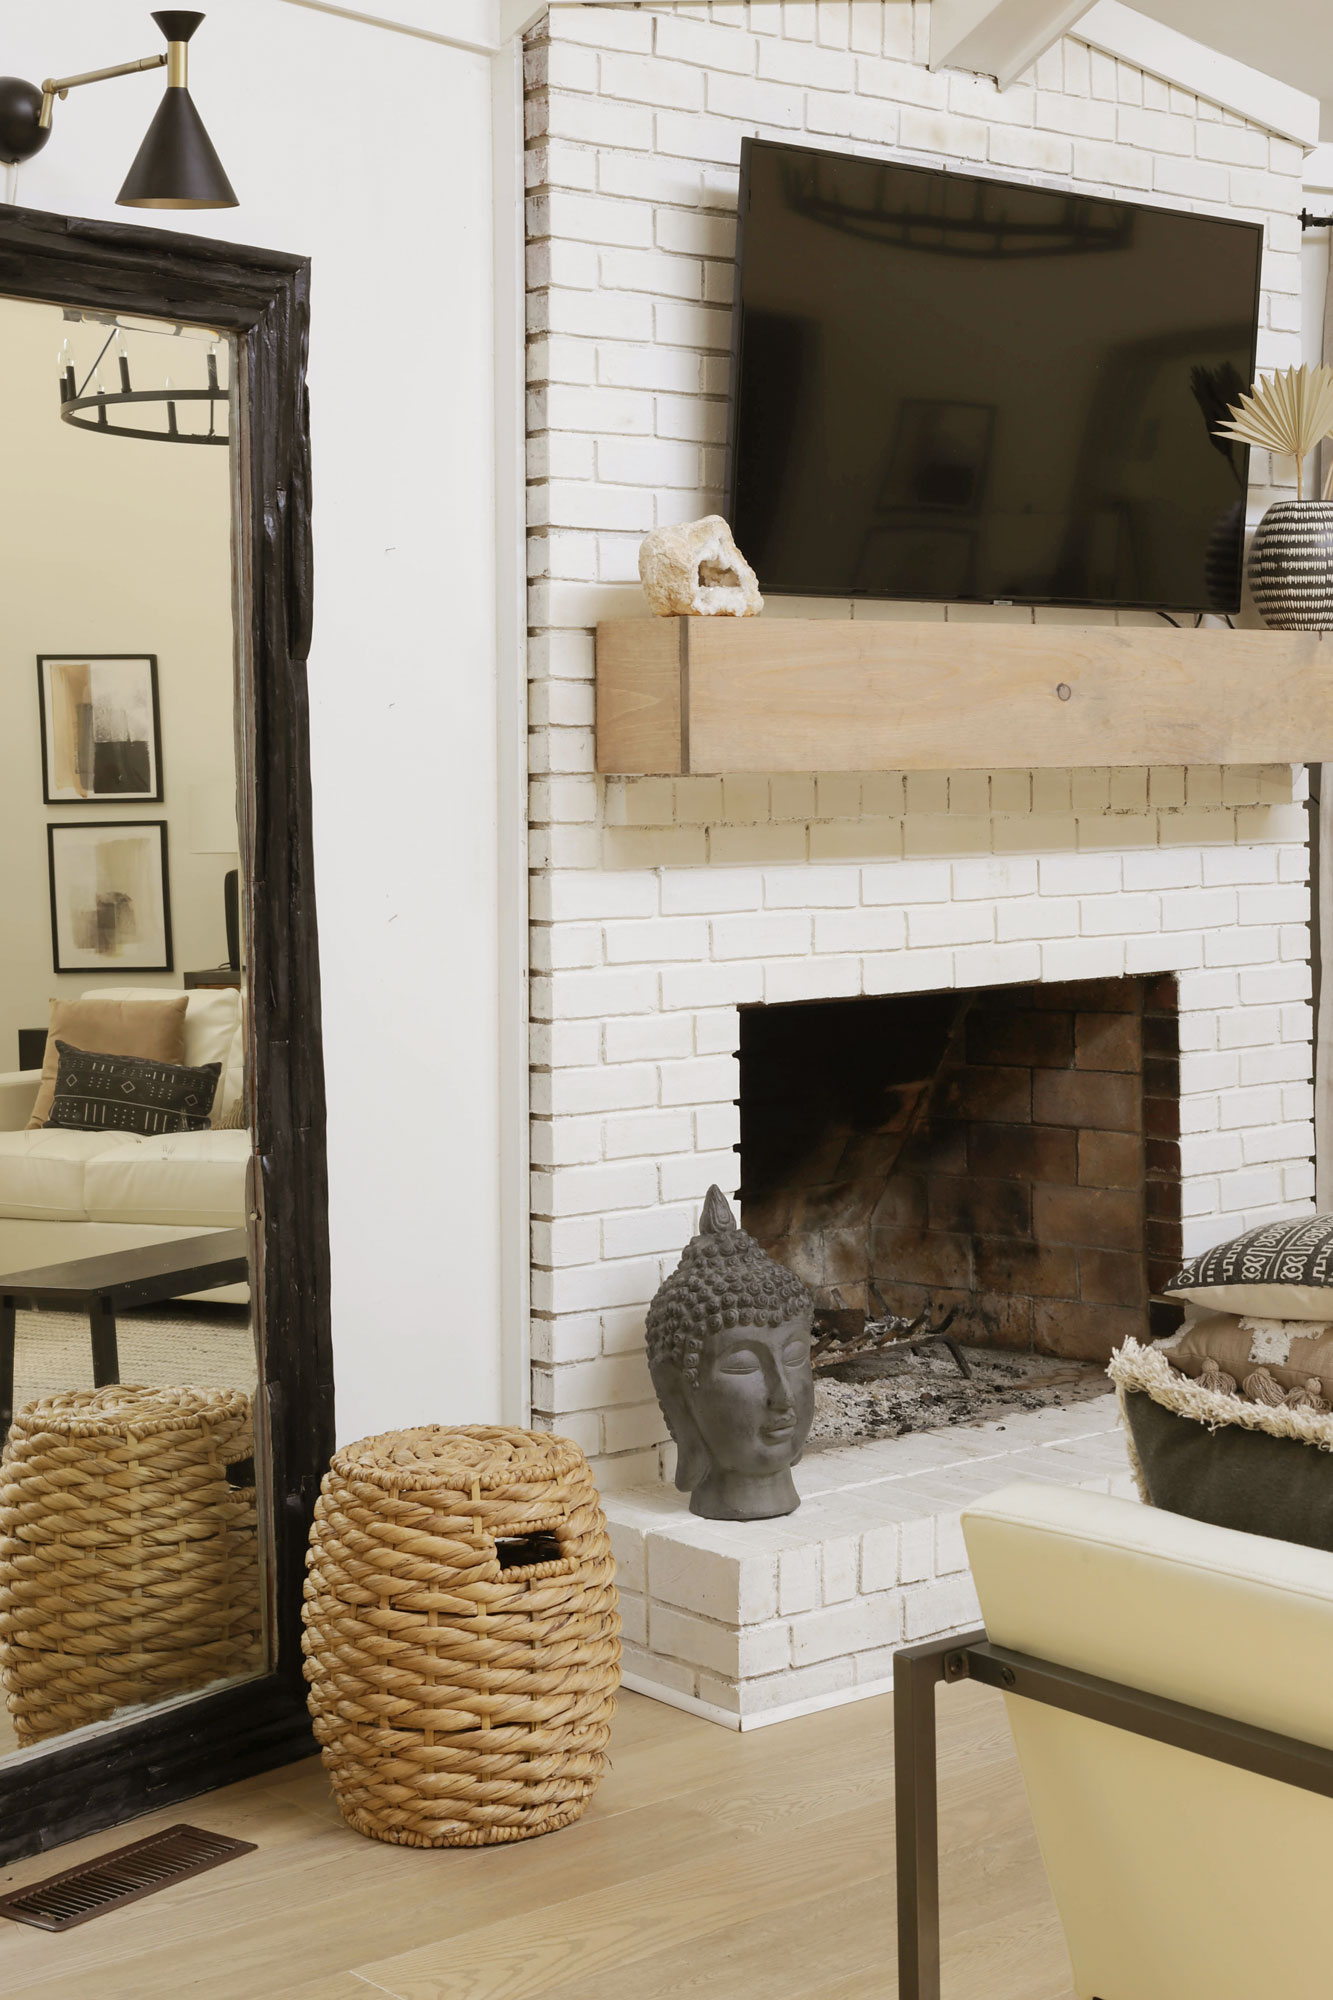
UPDATED 2021: Below is what my fireplace and living room look like now…
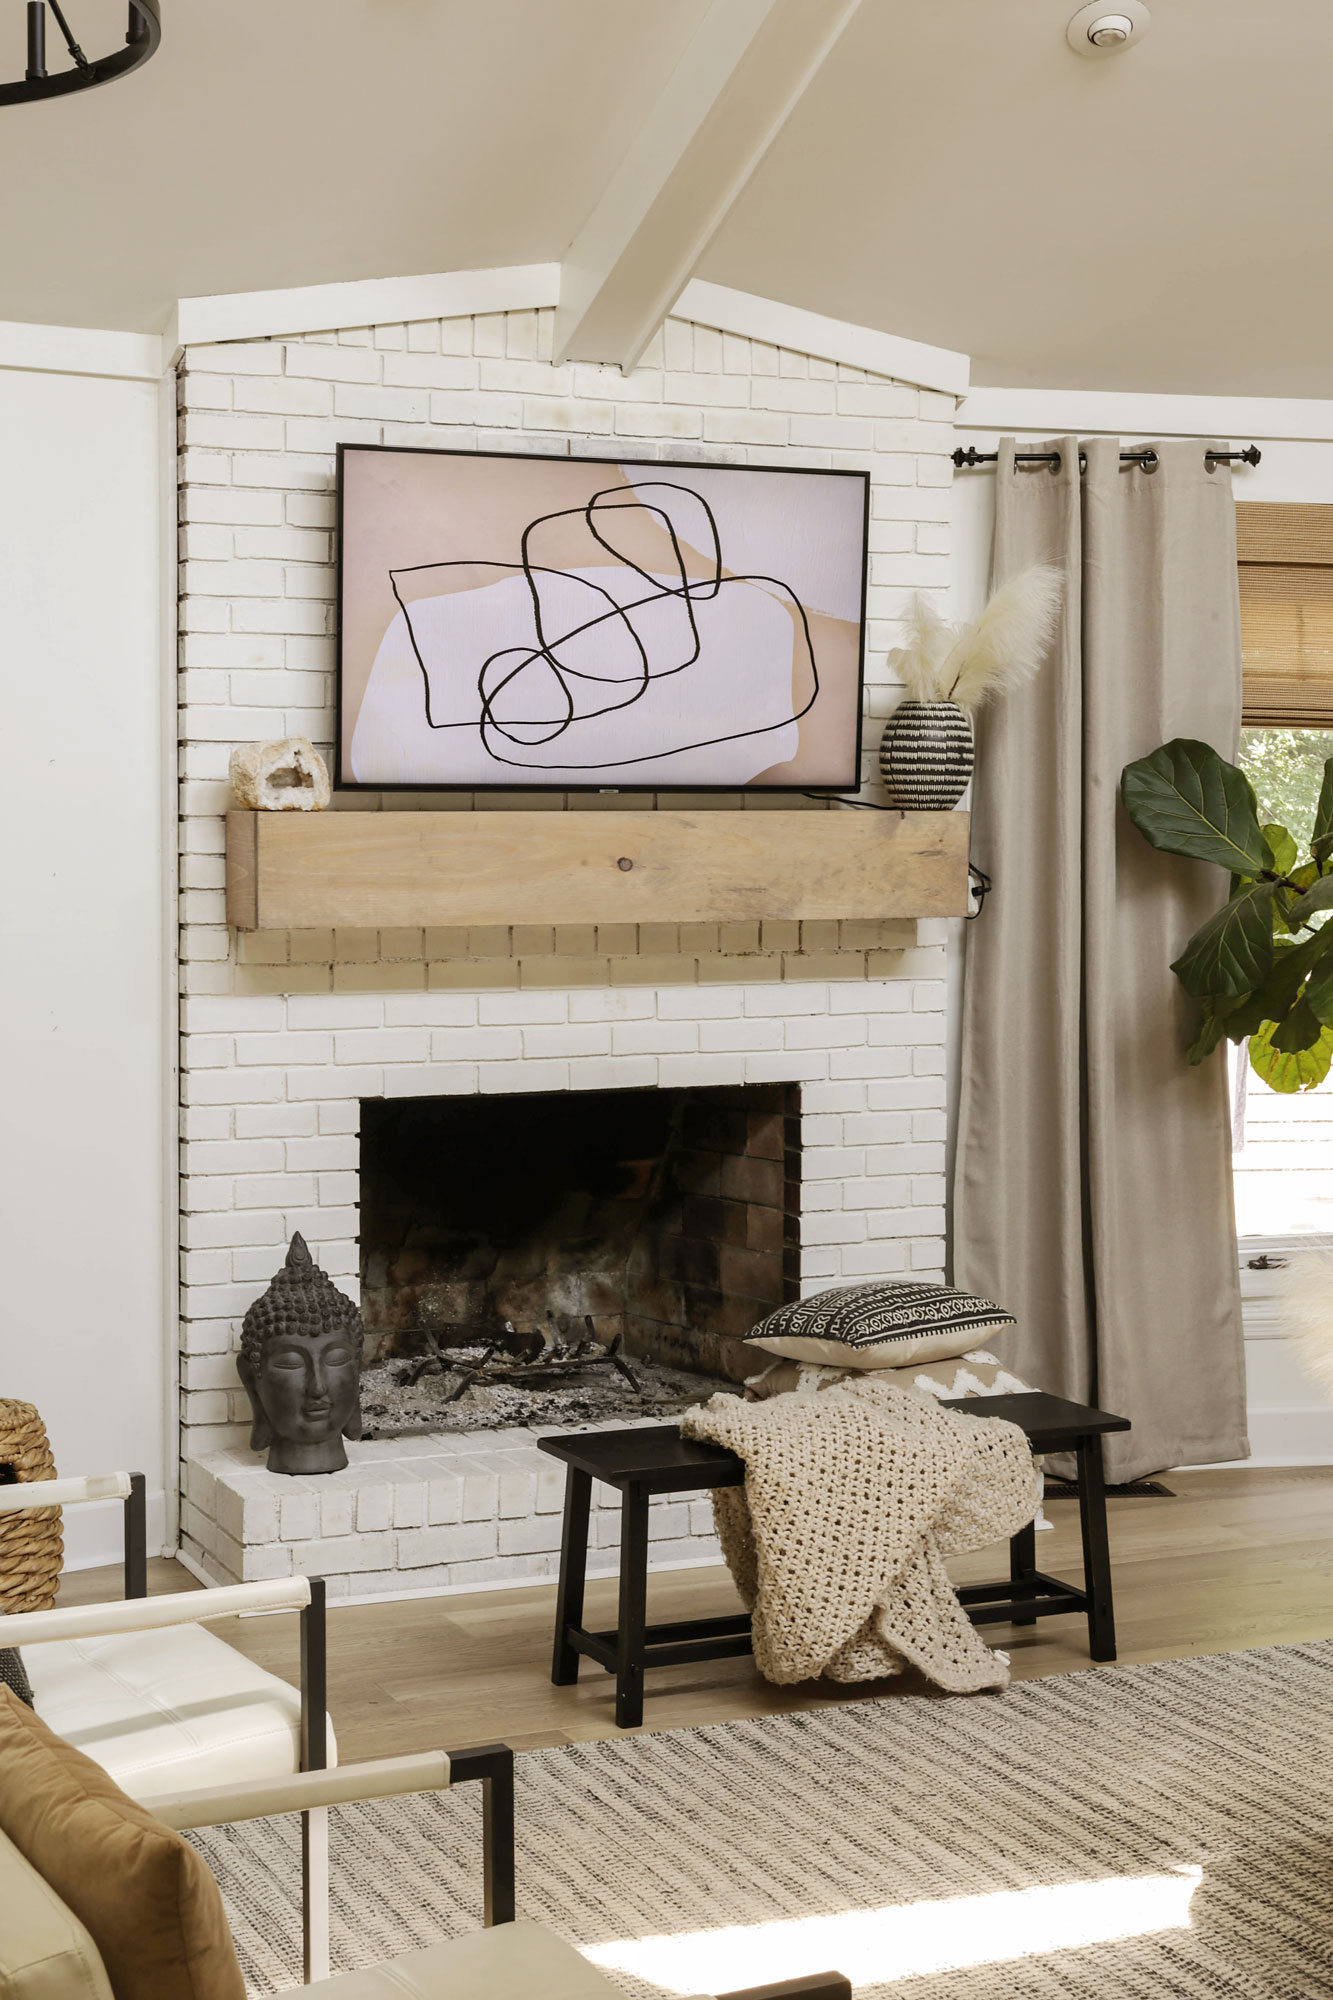
As I mentioned earlier, our living room has gone through quite the metamorphous throughout my half decade of blogging. Nonetheless, all of these photos are the same damn fireplace!
Hope I inspired some of ya’ll. Now get out there and design some good vibes!
And don’t forget to share the love and Pin my post!


Welcome!
My journey in interior design and home improvement began with transforming my first fixer-upper home, all while managing a budget and raising two young boys. My work, a reflection of my passion for creating beautiful, uplifting spaces, has been recognized by top publications like Better Homes and Gardens Magazine, HGTV, and more. I invite you to explore my site and witness the transformation of my home and the vibes we've designed.Read more...

Missy Fogle
Friday 17th of June 2016
I love your blog! My husband and I just purchased our first home almost exactly a year ago (june 2015!) and it's also a 1980's "rancher" style. i put quotations because its a mix of a few different styles (we are in california, so its sort of a california rancher style, but ours 2 stories, and has a few other design inspirations thrown in as well) but from looking at your photos, we have a lot of similar details in our home! (large brick fireplace, sloped ceilings, exposed beams etc).
After seeing all the amazing work you have done, and how similar our design style is, I thought I would run a dilemma by you to see if you have any ideas for us, if you don't mind =) We have a floor to ceiling (i think about 8' high) brick fireplace in our family room that is screaming for a makeover!! Our family room is the smallest living area in the house, with short ceilings because its under the second story, and it can get very dark and dreary in here, so having this huge dark red fireplace makes it that much worse. Also, it's not what I considered to be traditional brick. The bricks are larger in size, smoother in texture, and all one shade/color... but the WORST offense this fireplace is committing is the large brick arch that sticks out on the front, and we have no idea what to do with it! We want to white wash the brick (we were thinking of maybe adding some dark and light shades into the white to make the bricks look as if they were originally multiple shades), but it's the arch that is making us scratch our heads and go crazy! The best way I can describe the arch, is that it's an extra layer of brick added to the front that surrounds the entire opening of the fireplace. We thought of putting a beam up like you guys did, but the only place we could put it would be on top of the arch, and it's too high! I think it would really weird having a mantle towards the top 1/3 of the fireplace, but I just don't know what to do. I've look all over pinterest, and I still have yet to find anything similar, so when I saw your amazing blog, I figured maybe you might have an idea? If not, don't worry... I just figured it surely can't hurt to ask =) Either way, thanks for providing such a wonderful blog filled with gorgeous photos and excellent ideas.... I hope that our home can one day look half as amazing as yours does!
Designing Vibes
Sunday 19th of June 2016
Hey Missy! I am so glad you stopped by. It is really hard for me to imagine what the arch looks like, but if it is brick also...there is not much you can do but try to cover it or completely demo the entire brick fireplace. So sorry I couldnt be of more help. Good luck!!!
Tammara
Sunday 6th of December 2015
Good job! I just read what you did on Hometalk. What a great and quick way to add warmth plus cover the ugly brick mantle. My brick fireplace mantle resembles your brick color and tiered brick mantle and I'm not a fan - after seeing what you did, I'm going to copy it! To confirm, it does not look as if the top wood board is nailed or adhered to the brick mantle top shelf, correct? It almost looks as if the wood could slide over the brick 'mantle ' (before the front is attached that covers the brick mantle). I may make the length a bit a longer, say 4 to 6'' on each side and then make the wood sides longer to cover the width so no bricks from the mantle would show. It may look like a thick box - so I"m just thinking out loud. Do you think if I extended the mantel sides it would work and still be stable? How stable is your wood mantel cover as currently build?
Designing Vibes
Monday 7th of December 2015
Thanks Tammara. No, we did not adhere the top. My husband came up with this idea and acted like the length did not make a difference with stability, so I think it would be ok but don't take my word as I am no expert. I made it that length, because I was afraid it would look , like you said, "a thick box" . If you extended the actual sides though, I would think you would need to adhere the top. Ours fits the mantel very tightly and that is why it is stable.
Maggie Palmer
Tuesday 24th of November 2015
How did you hide the wiring to the electrical outlet to mount the TV without seeing wires?
Designing Vibes
Tuesday 24th of November 2015
Hi Maggie. We used white wire trim to gather all of the wires. Then, we ran the trim down the very side of the fireplace down to the actual outlet which is hidden behind the floor mirror. Since the fireplace and wire trim are both white, it blends very well.
Linda at Mixed Kreations
Thursday 12th of November 2015
I love the wood beam mantle! We want to do something like that on our fireplace. We've looked at a lot of different wood but haven't made up our mind yet. My hubby likes the wood mantles cut from a tree that still has the bark on the front of the mantle, but they are so expensive. I love the rustic look of your wood beam mantle. Thanks for sharing!
Designing Vibes
Thursday 12th of November 2015
Hi, Linda! THanks for the feedback. If you are looking for a cheap and easy fix, I would highly suggest this method. It cost in total aroung $30 and took only 2 hours to do.